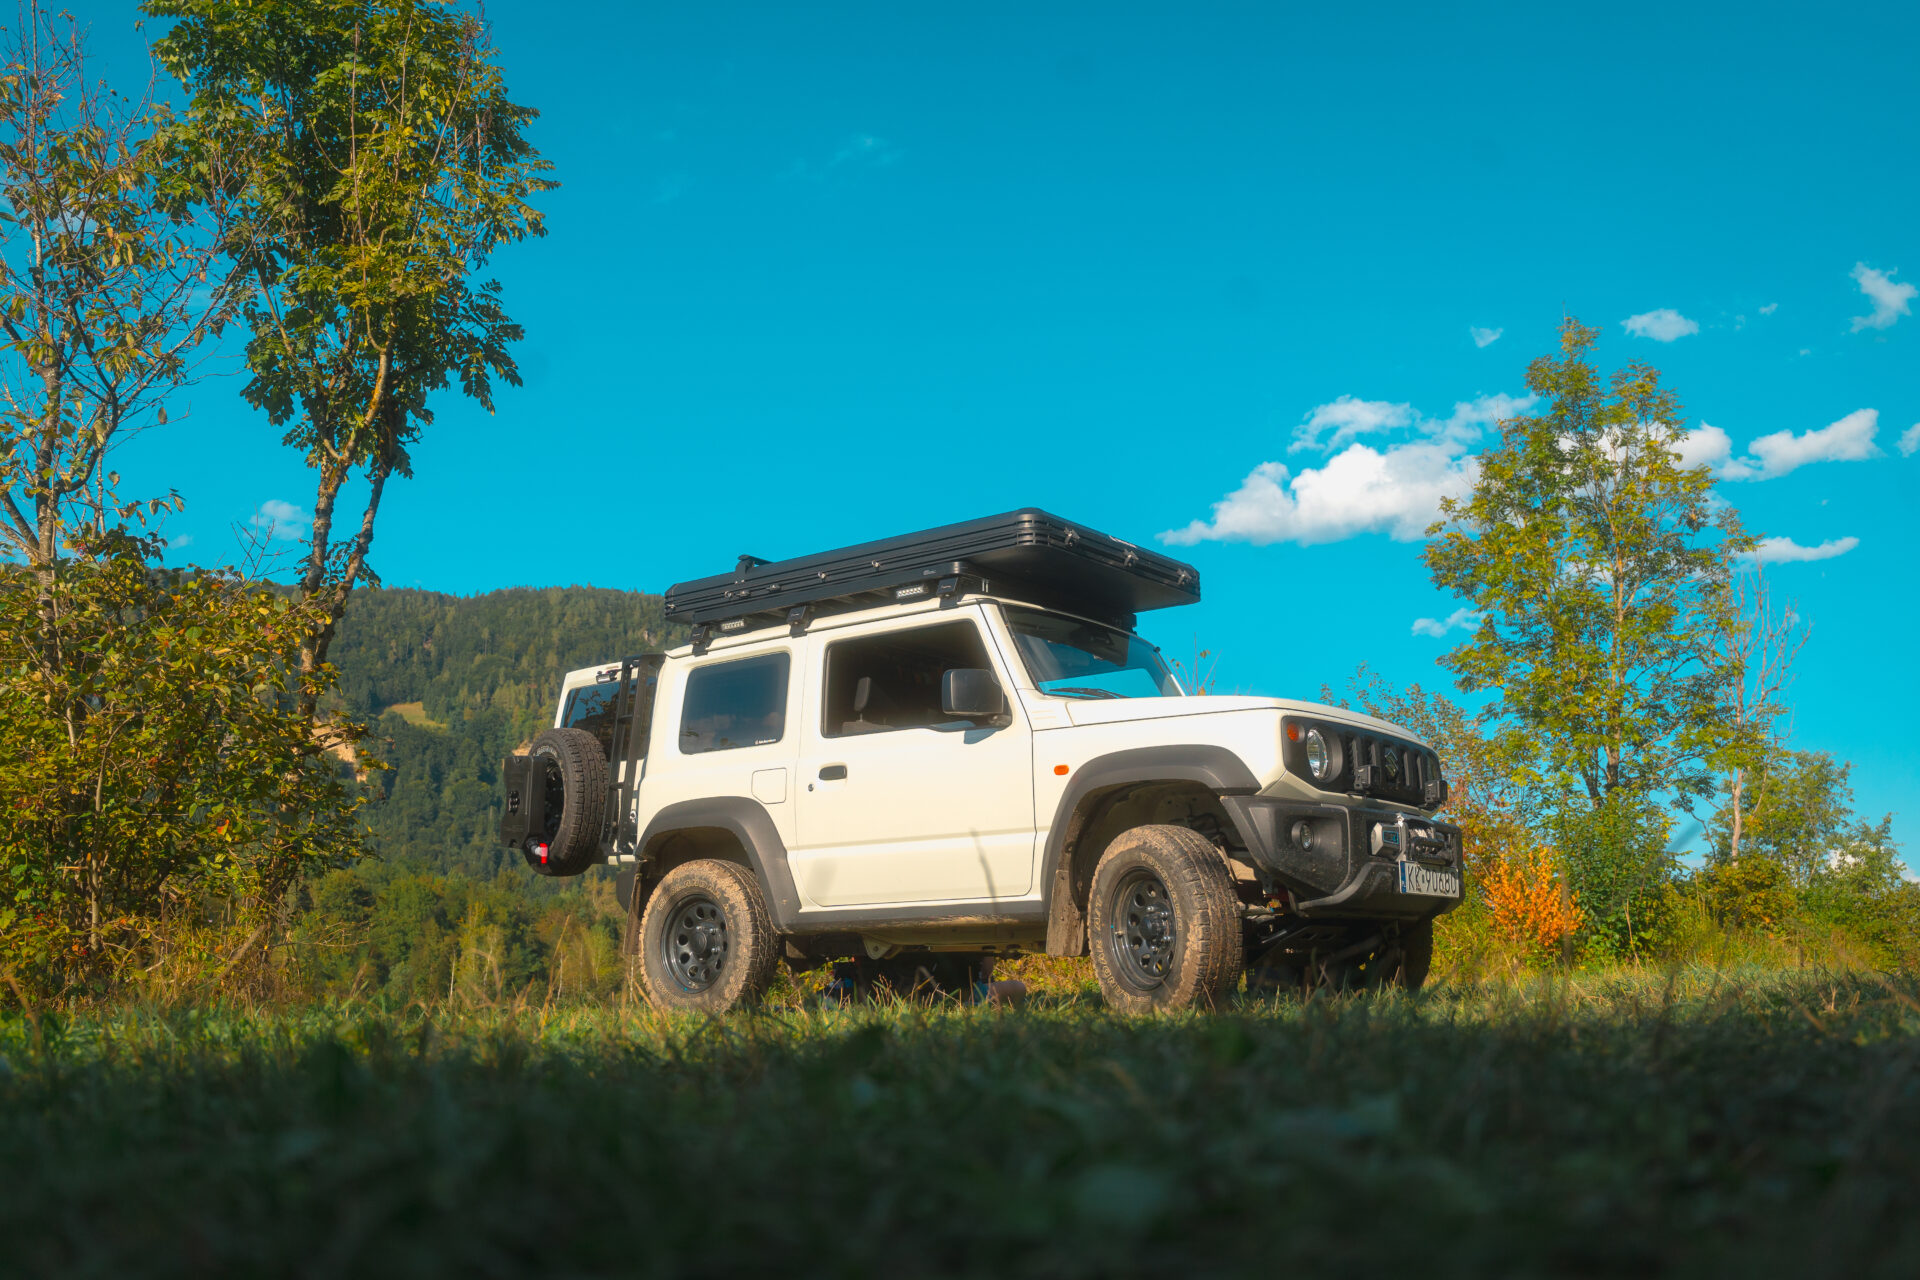
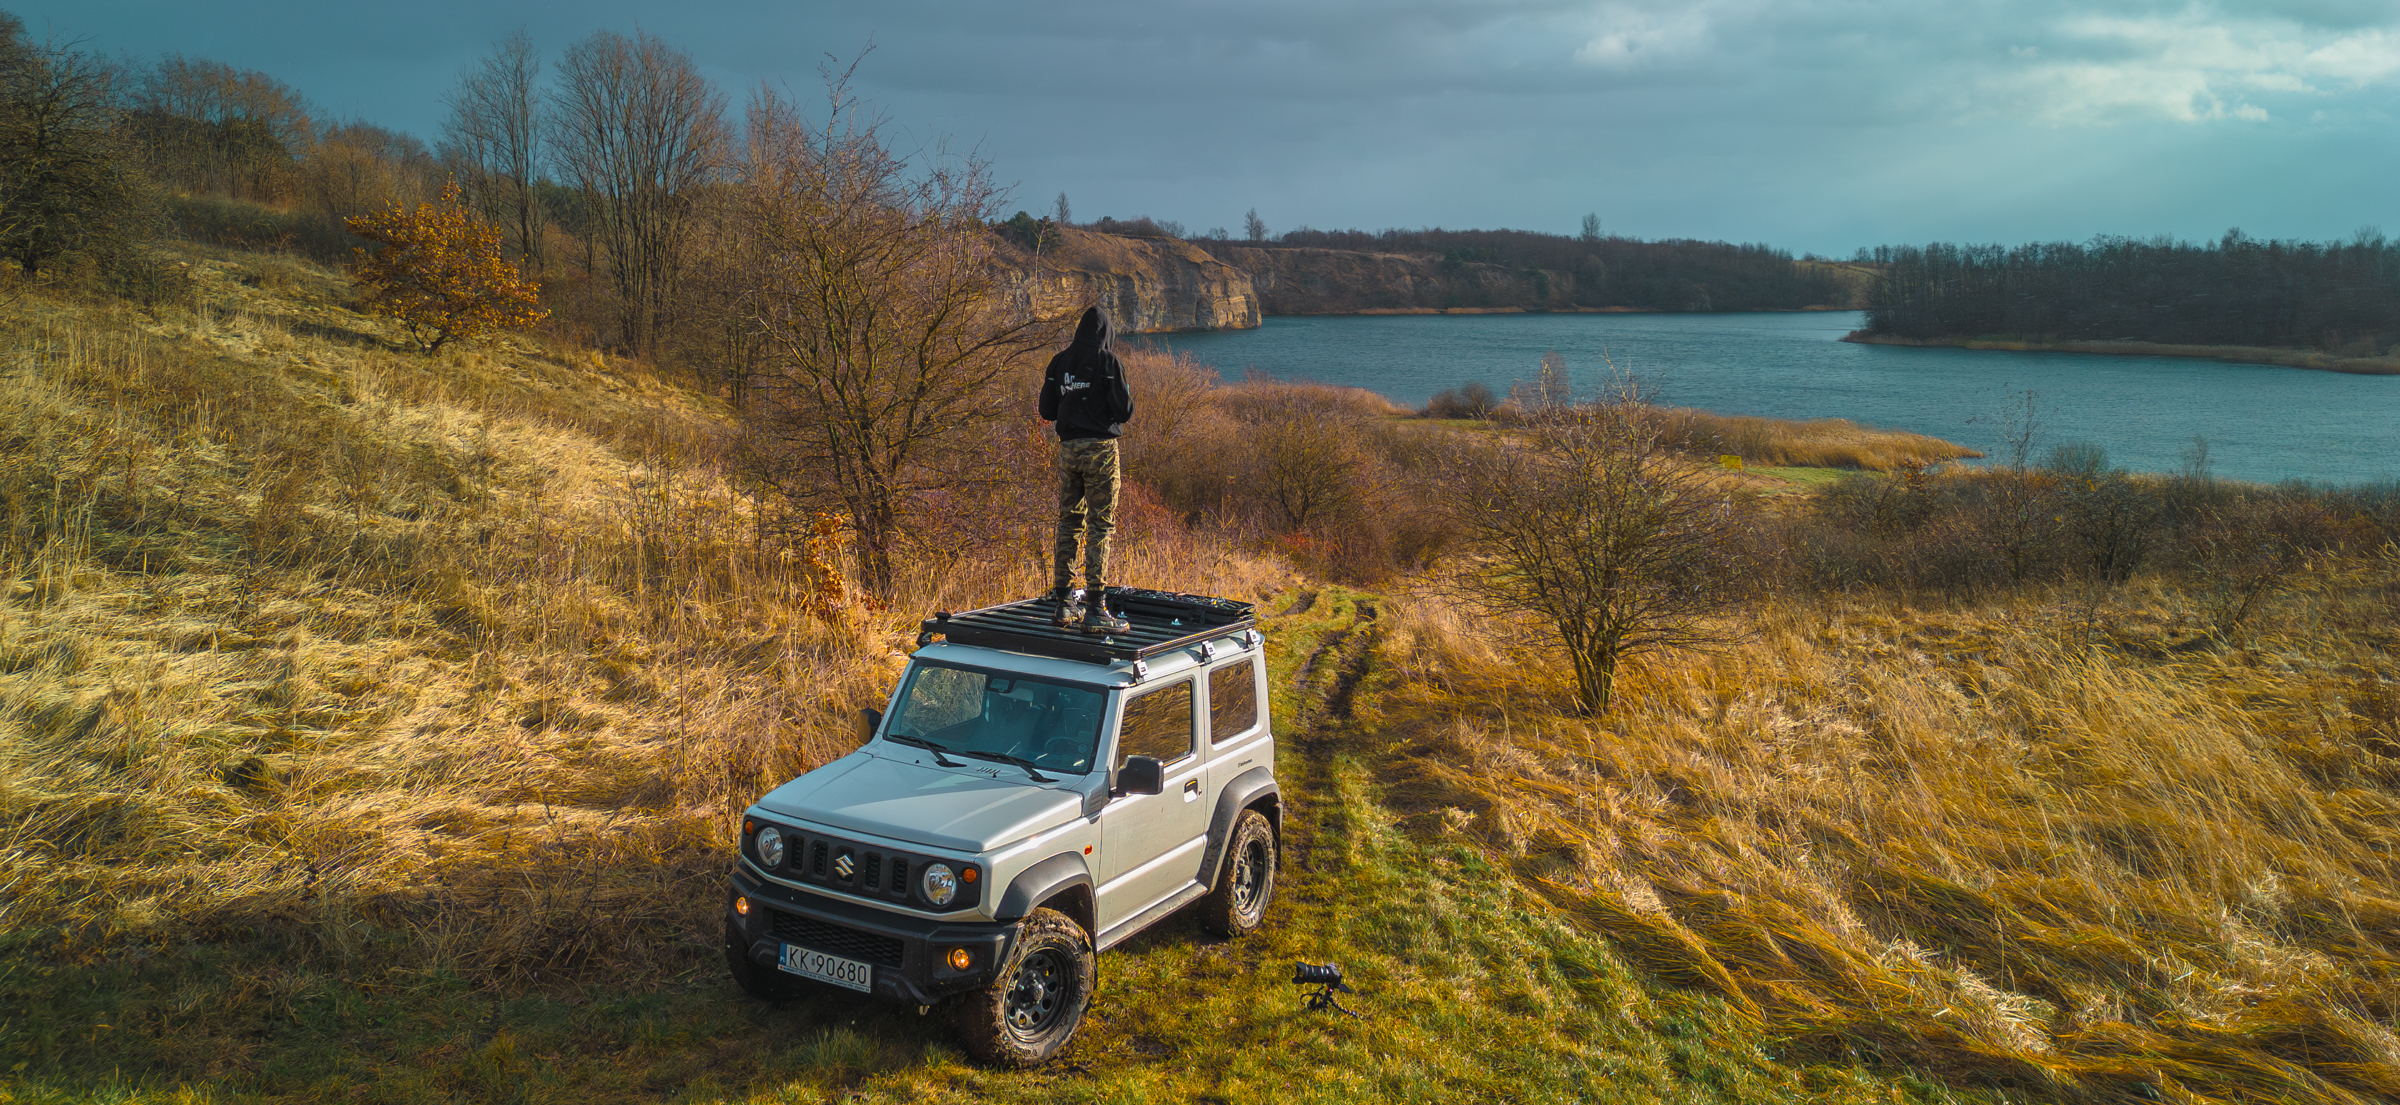
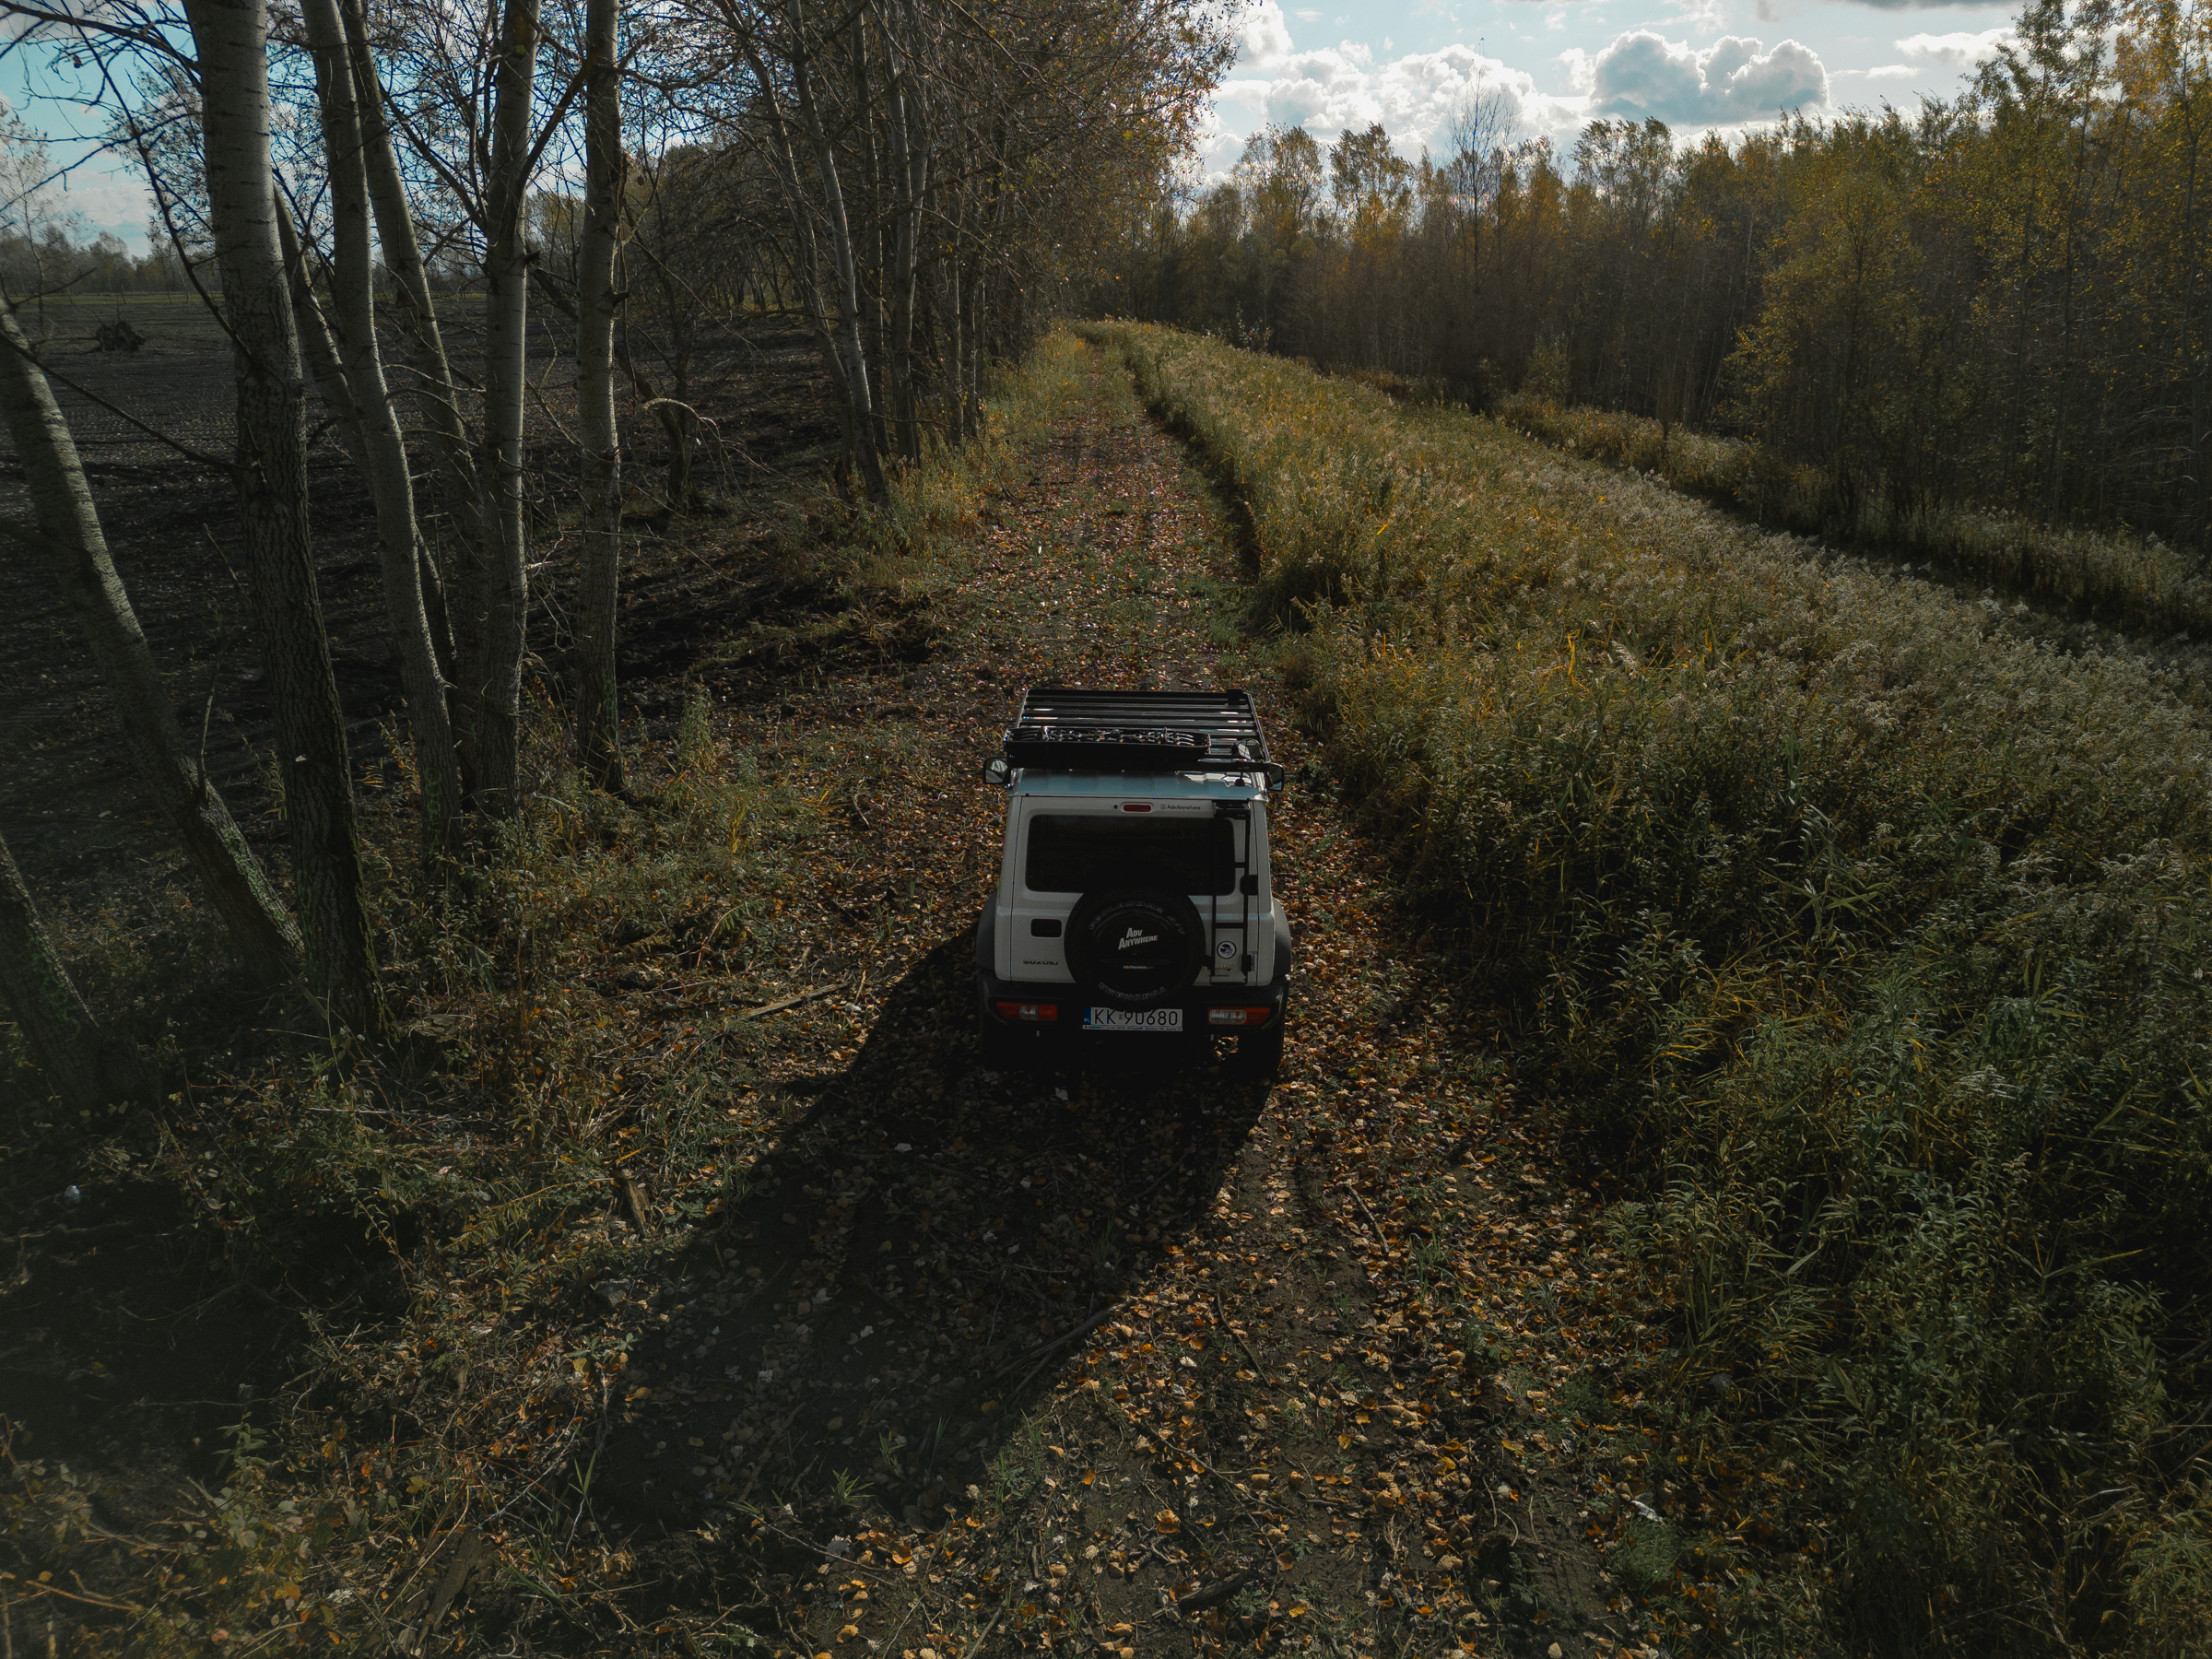
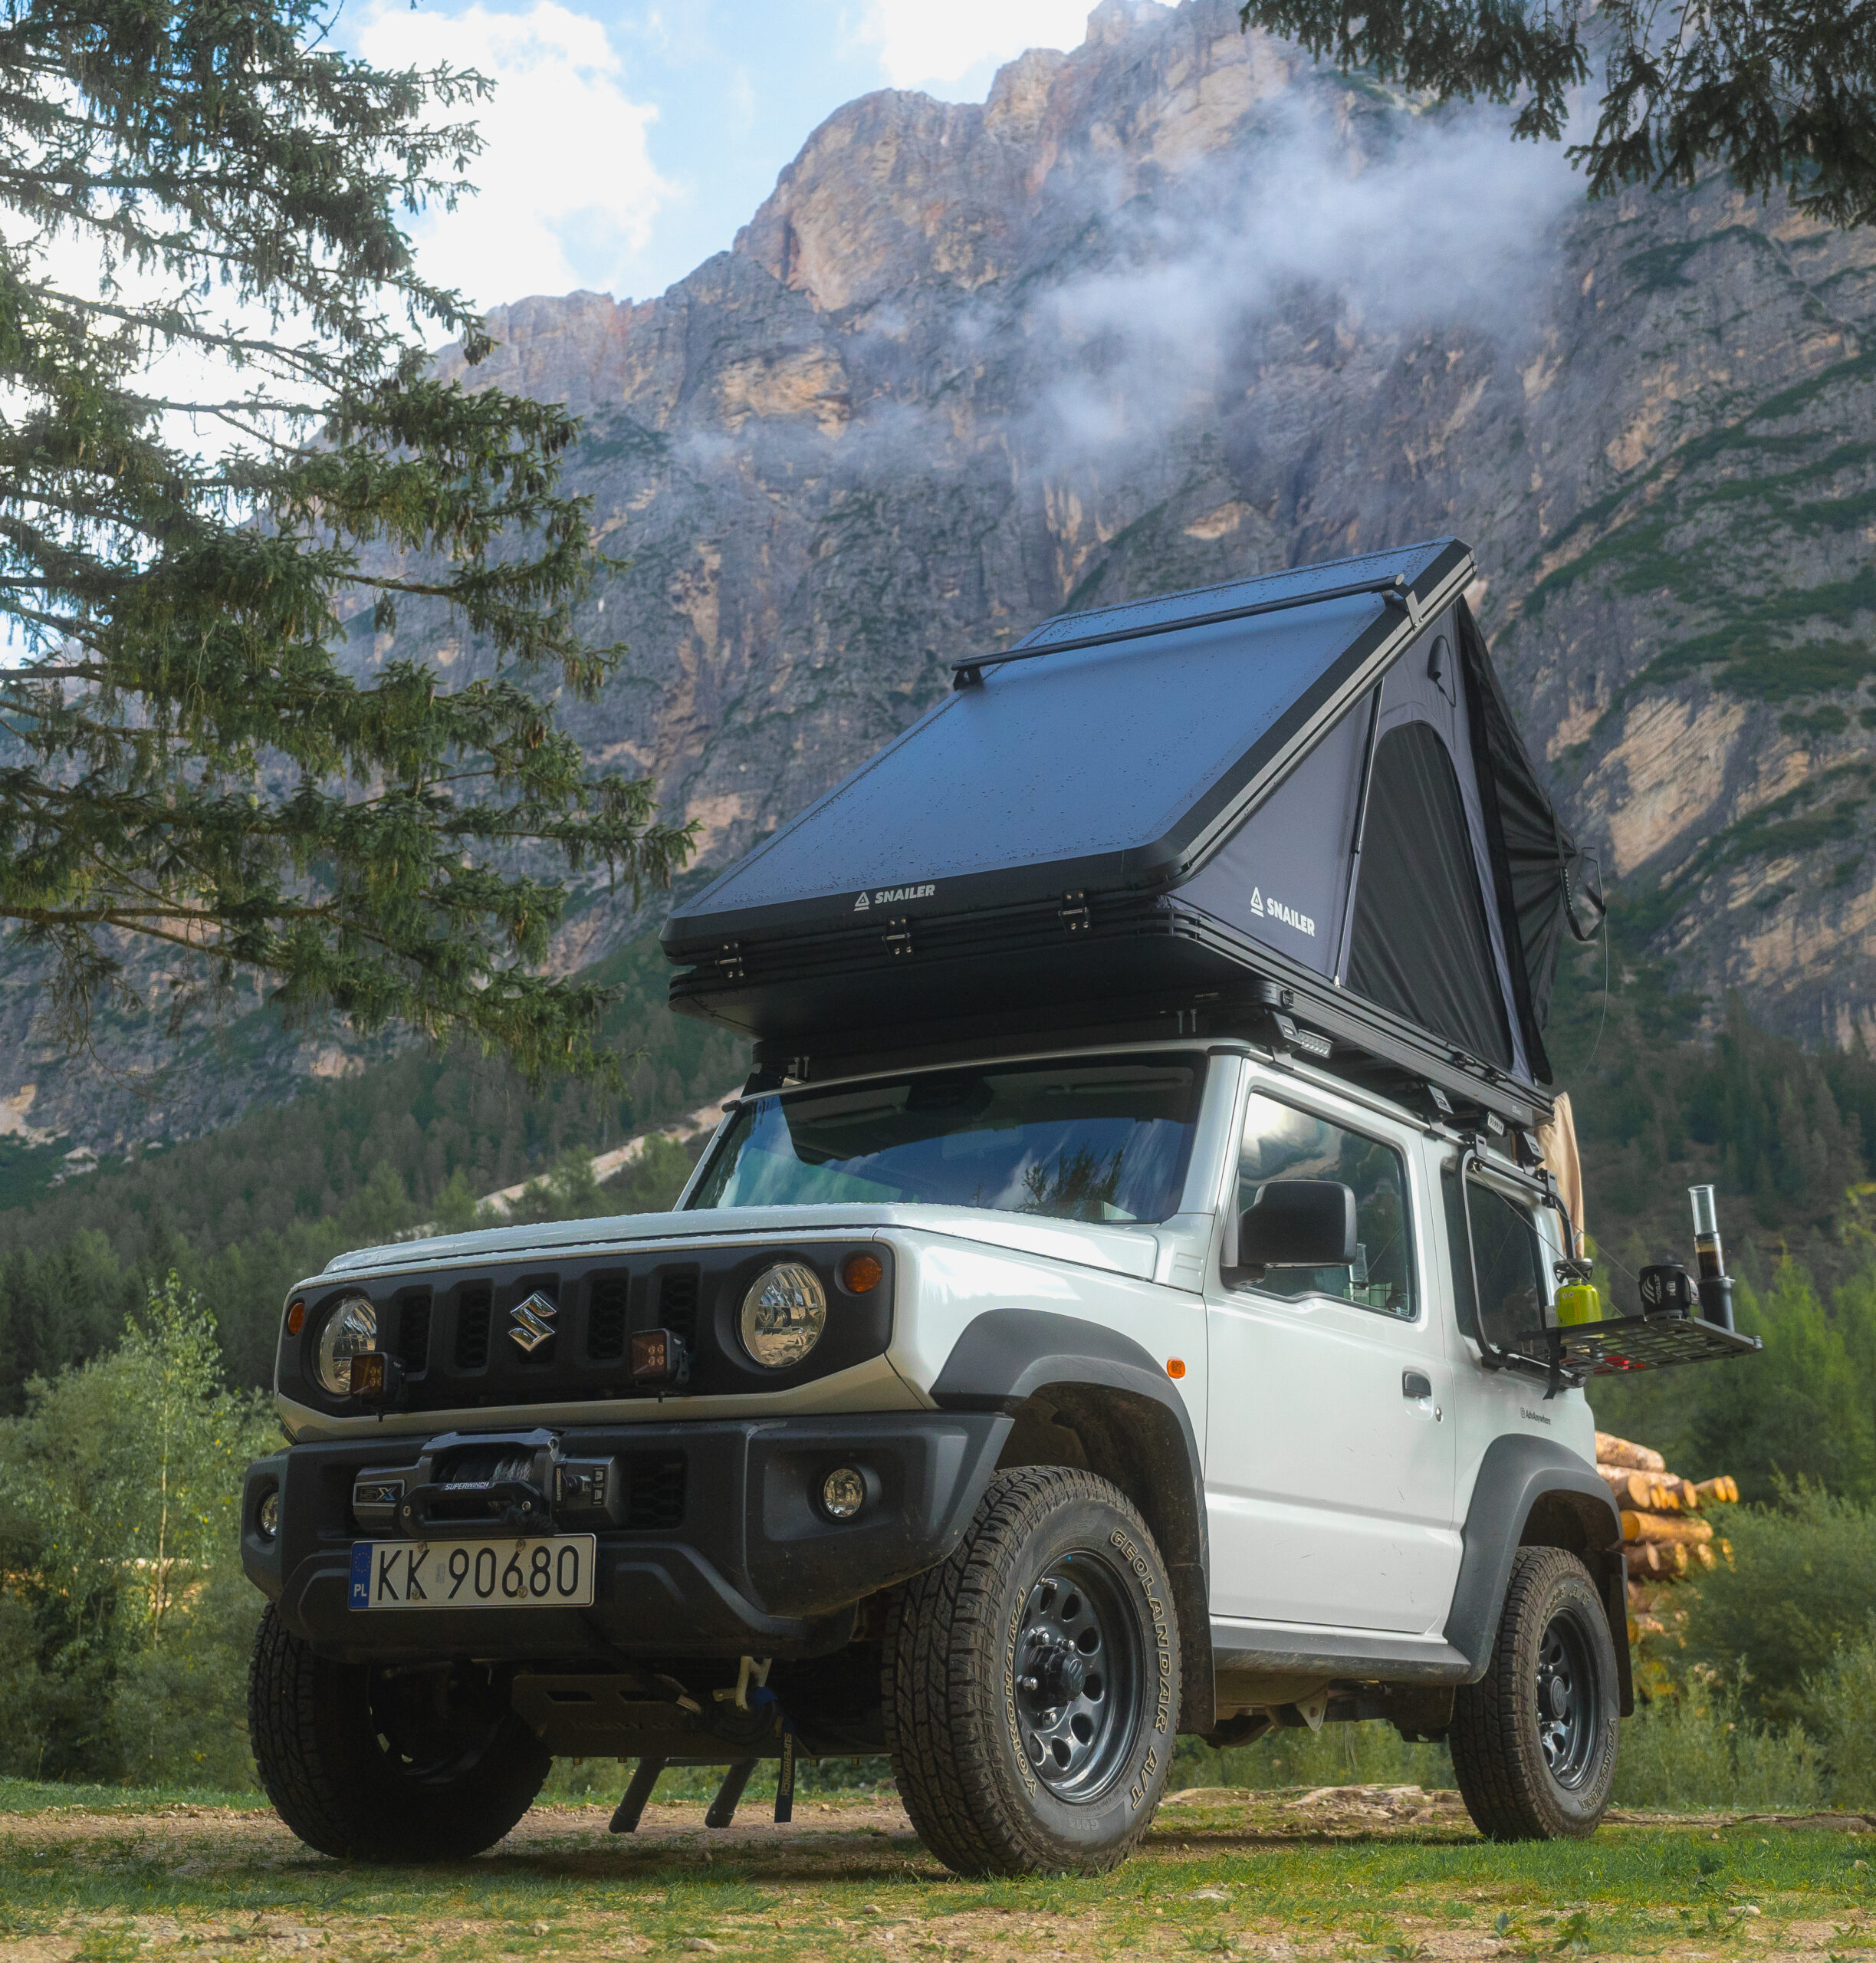
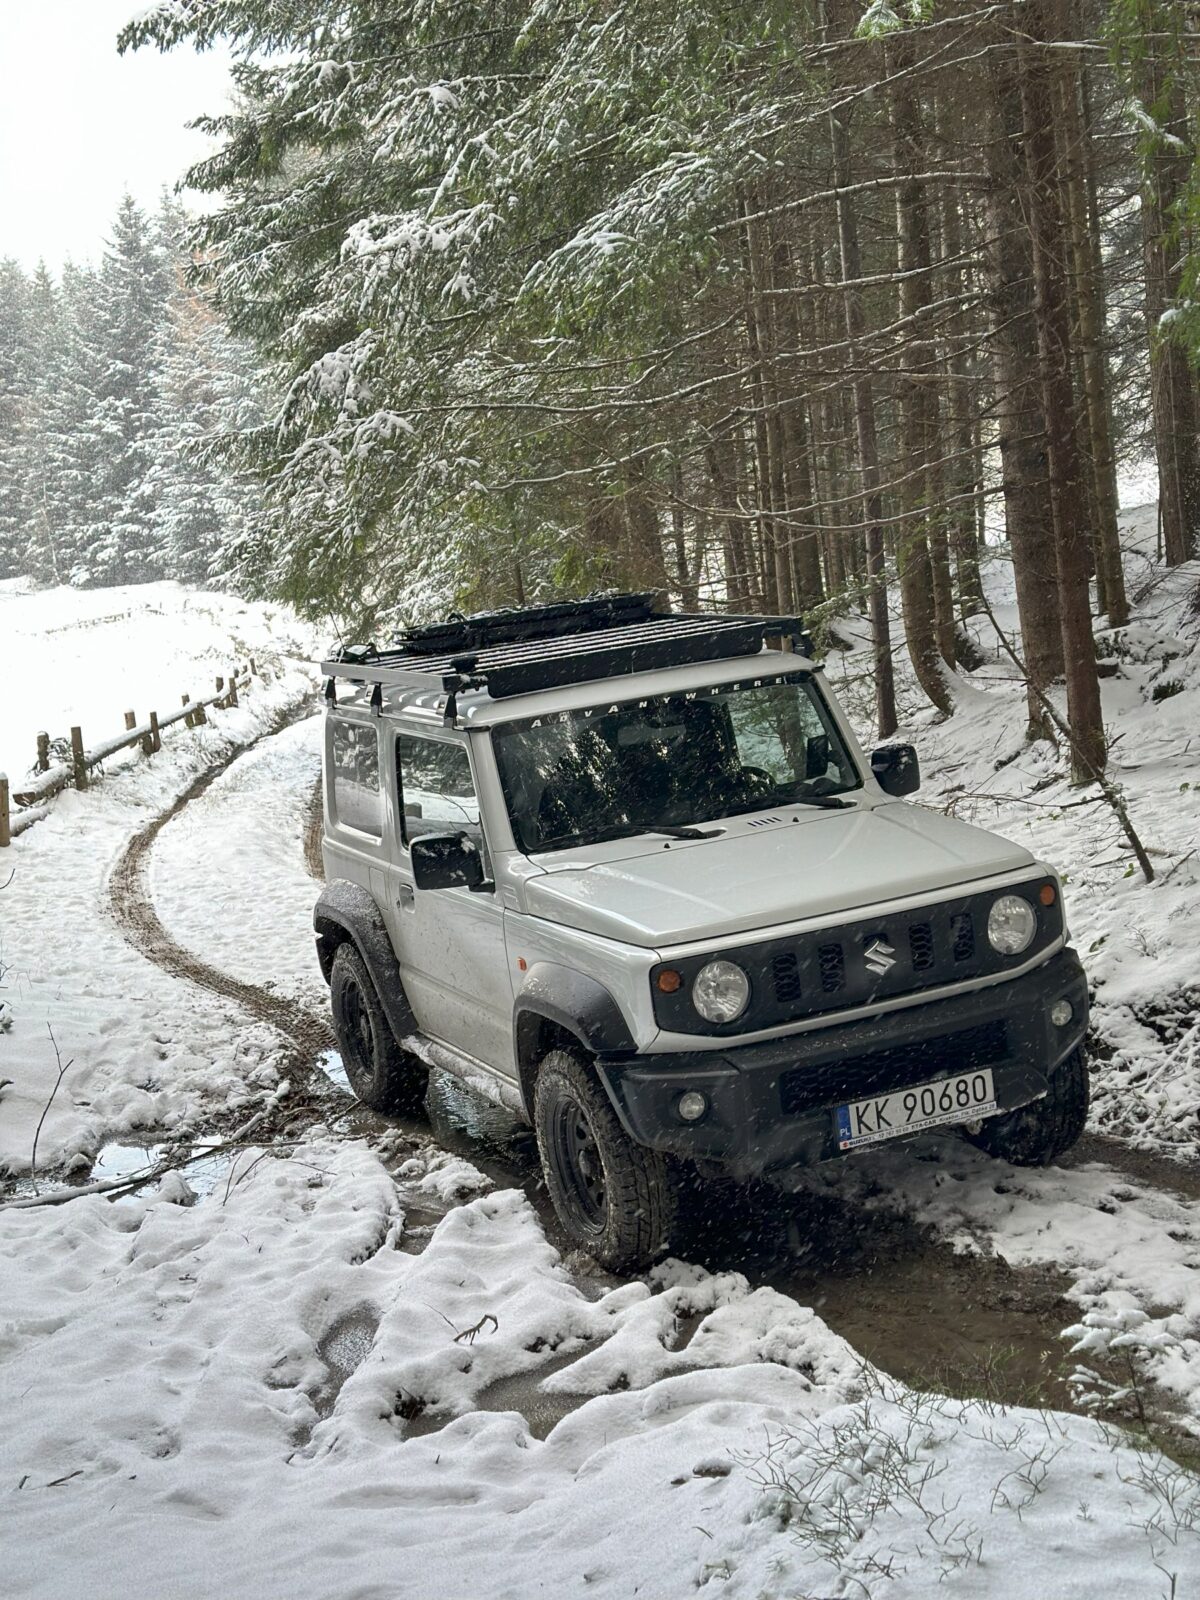
The project aims to create a self-sufficient off-road vehicle that can handle any conditions far from civilization. I invite you to familiarize yourself with what I have already managed to do with my Suzuki Jimny.
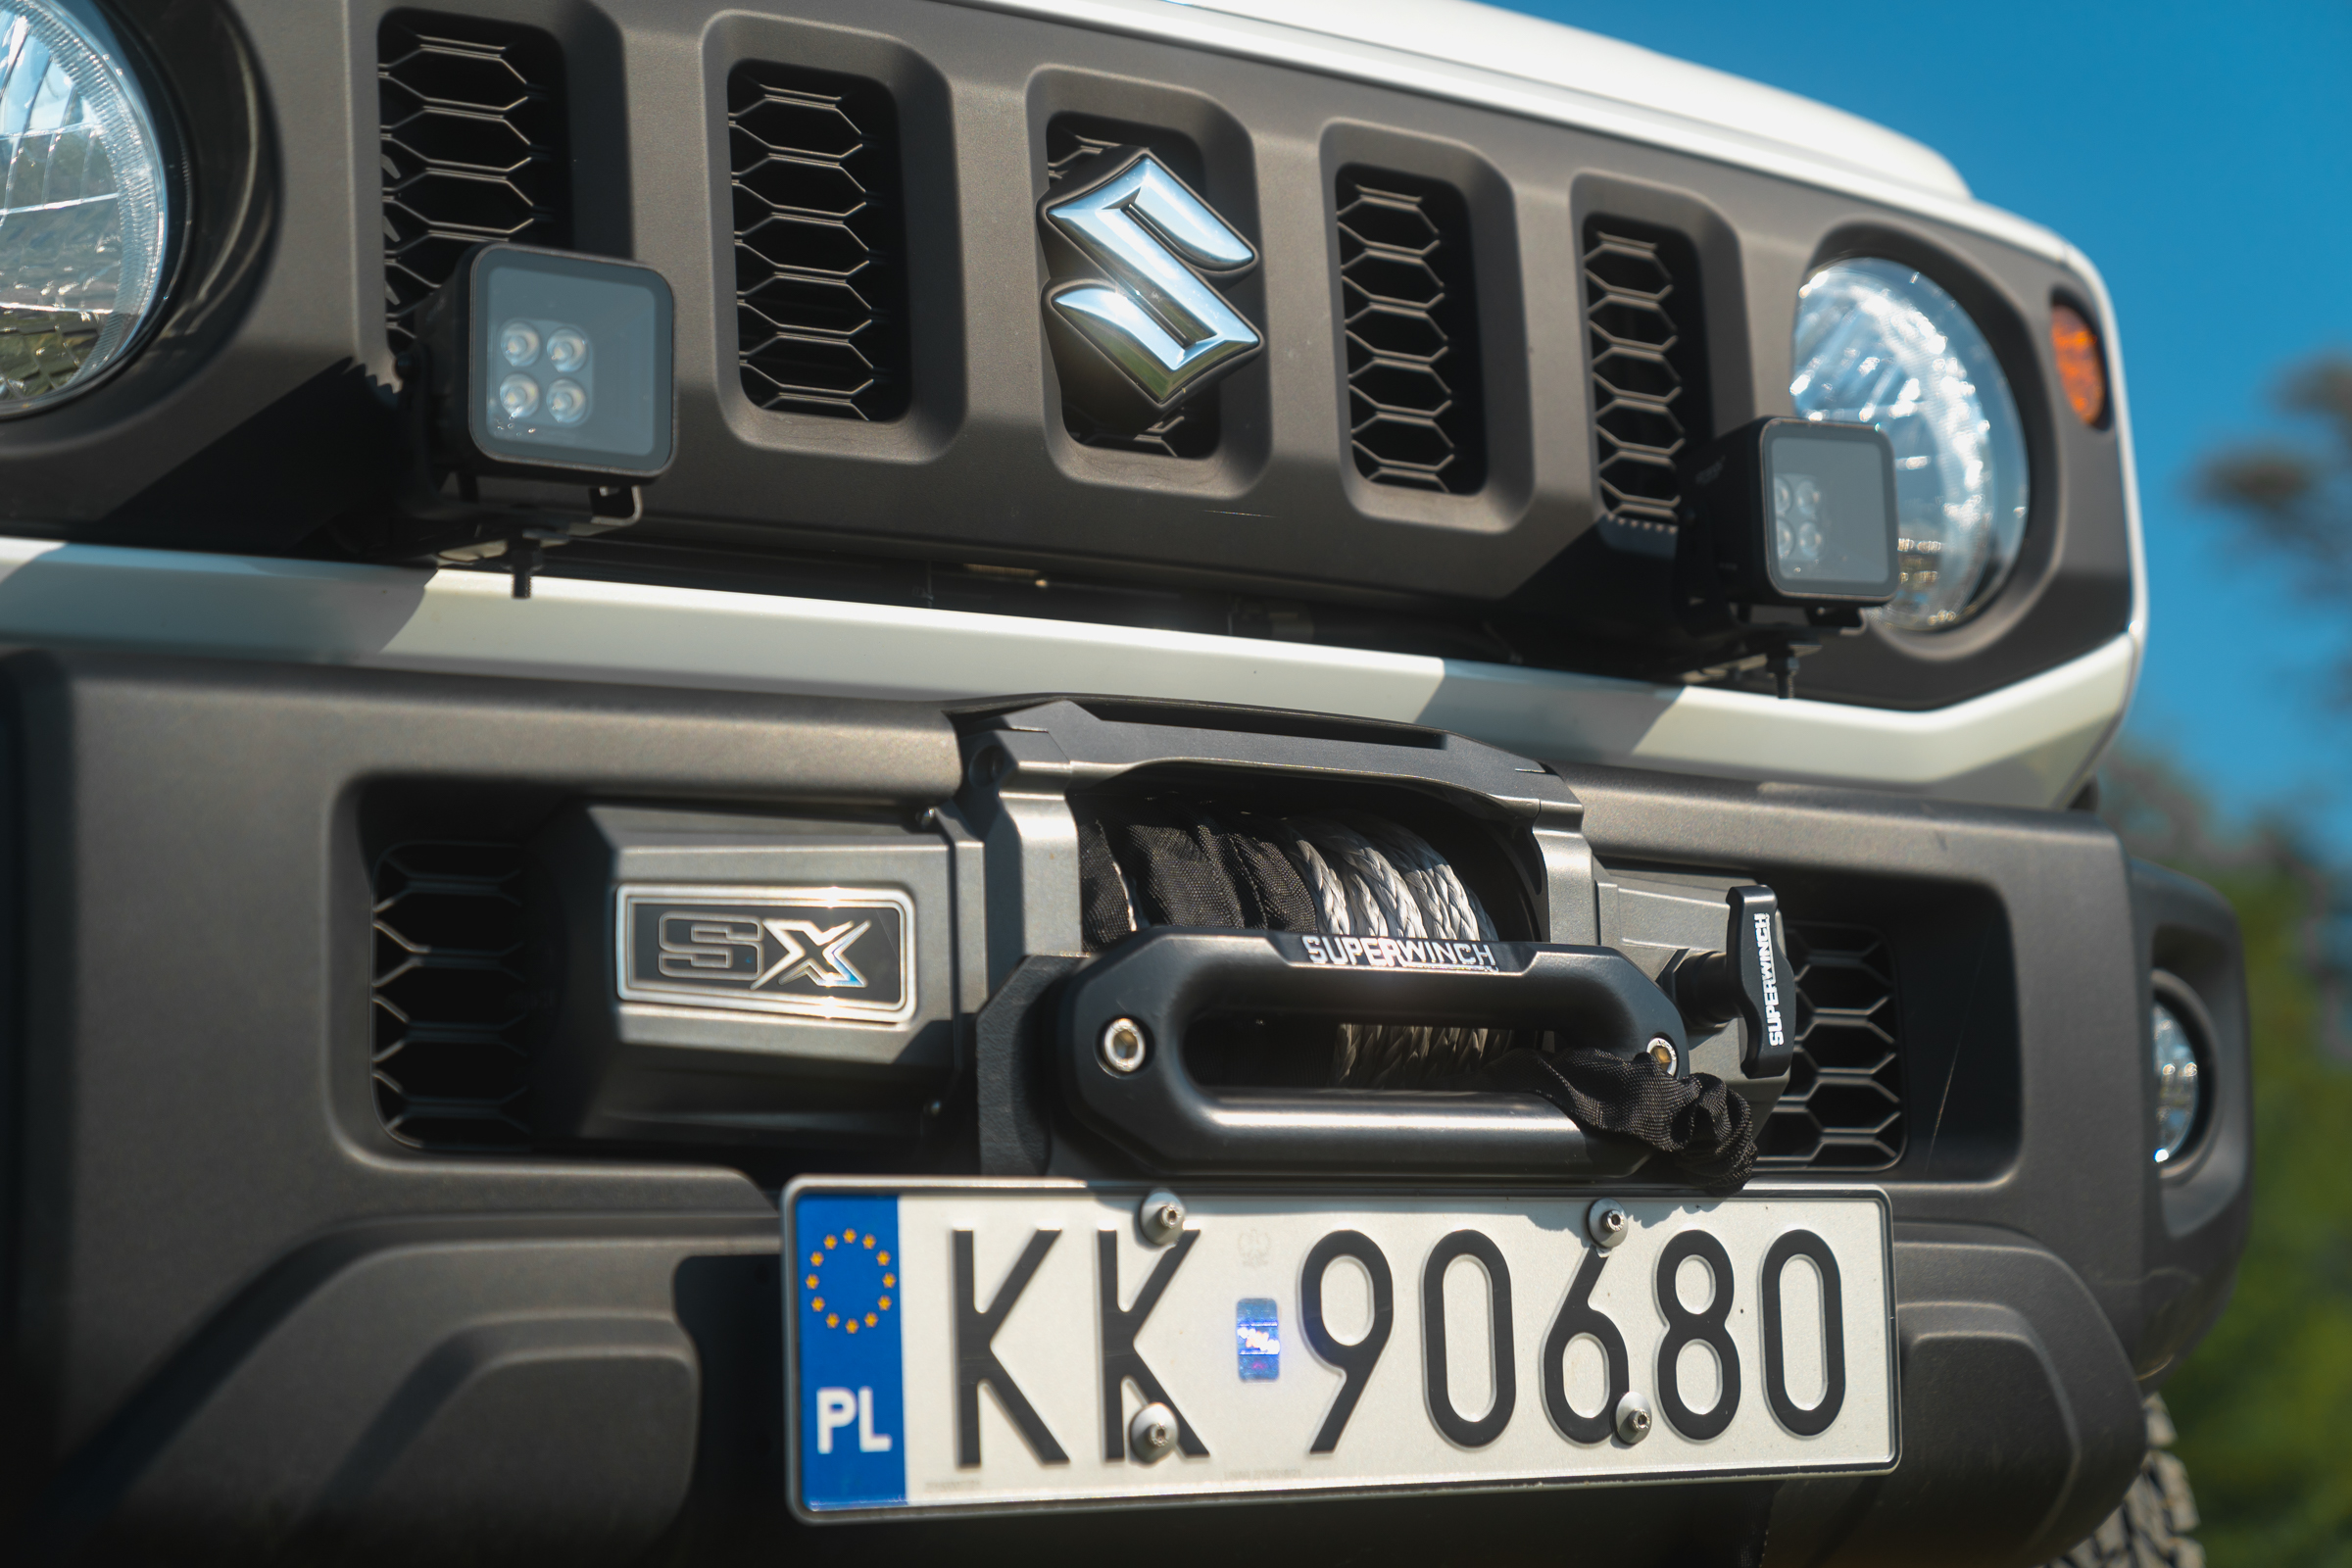
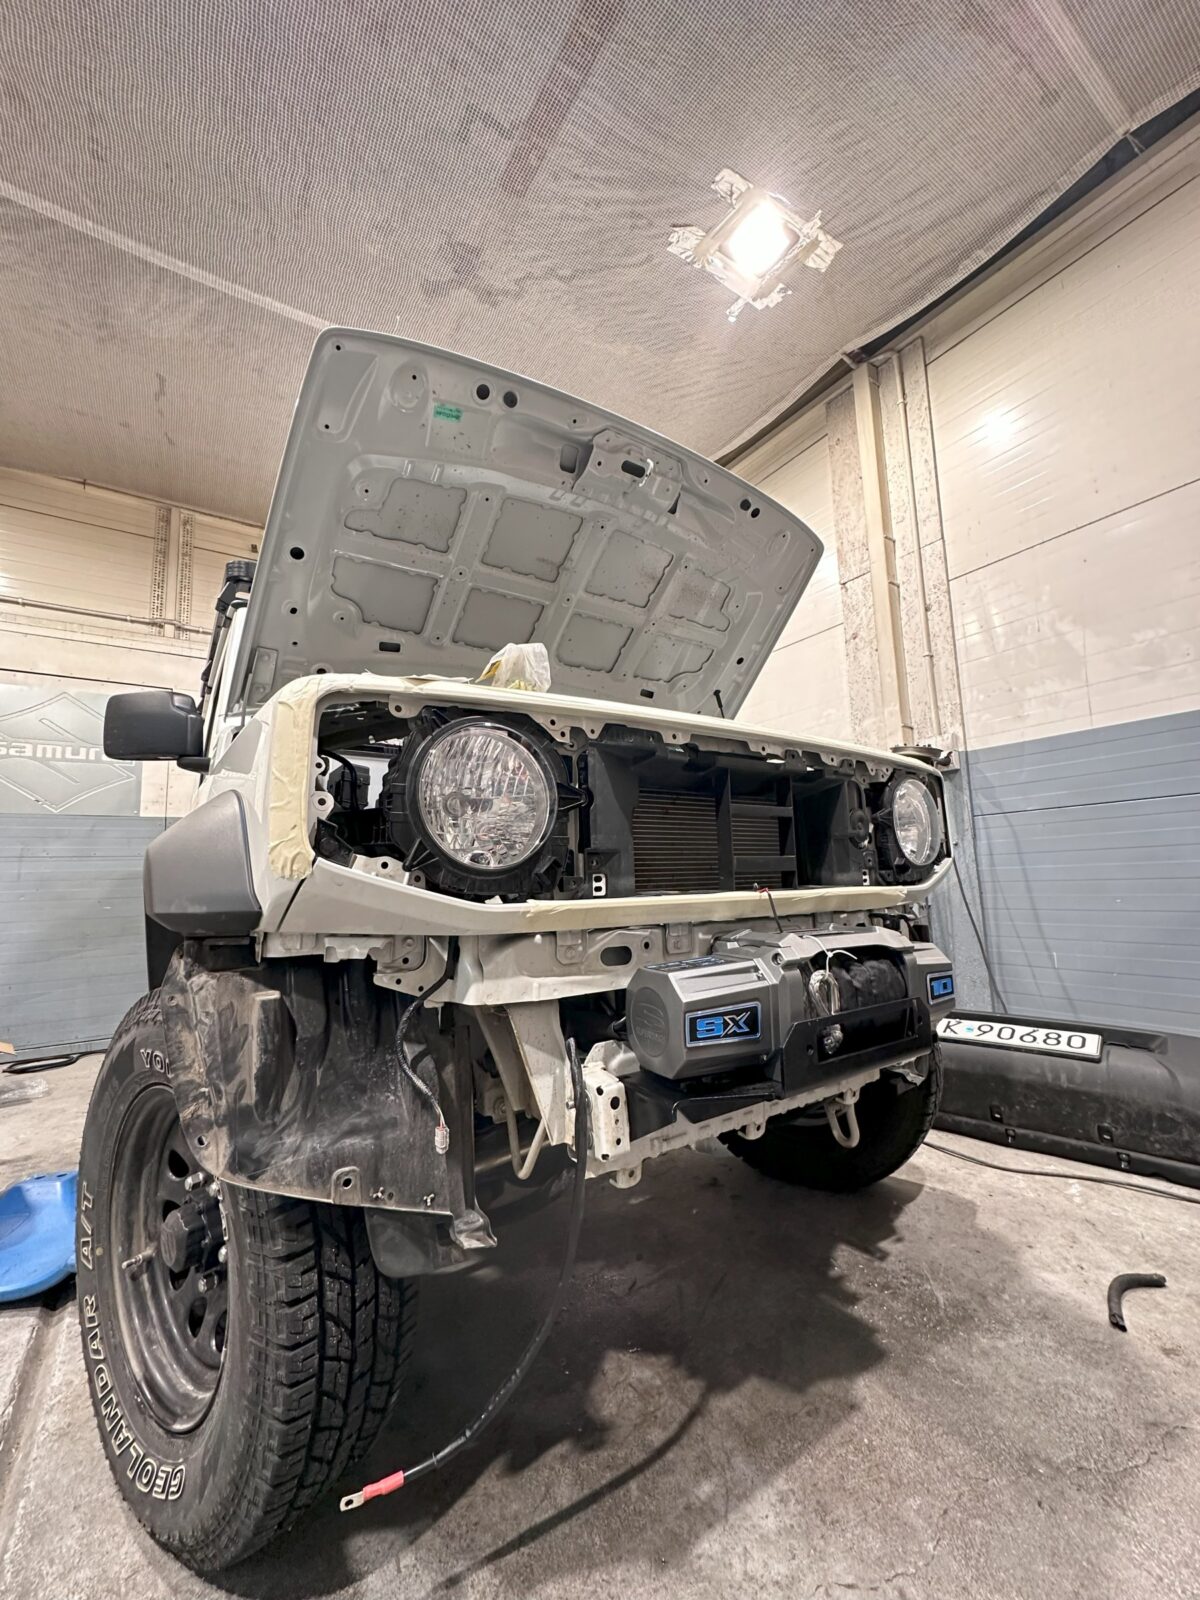
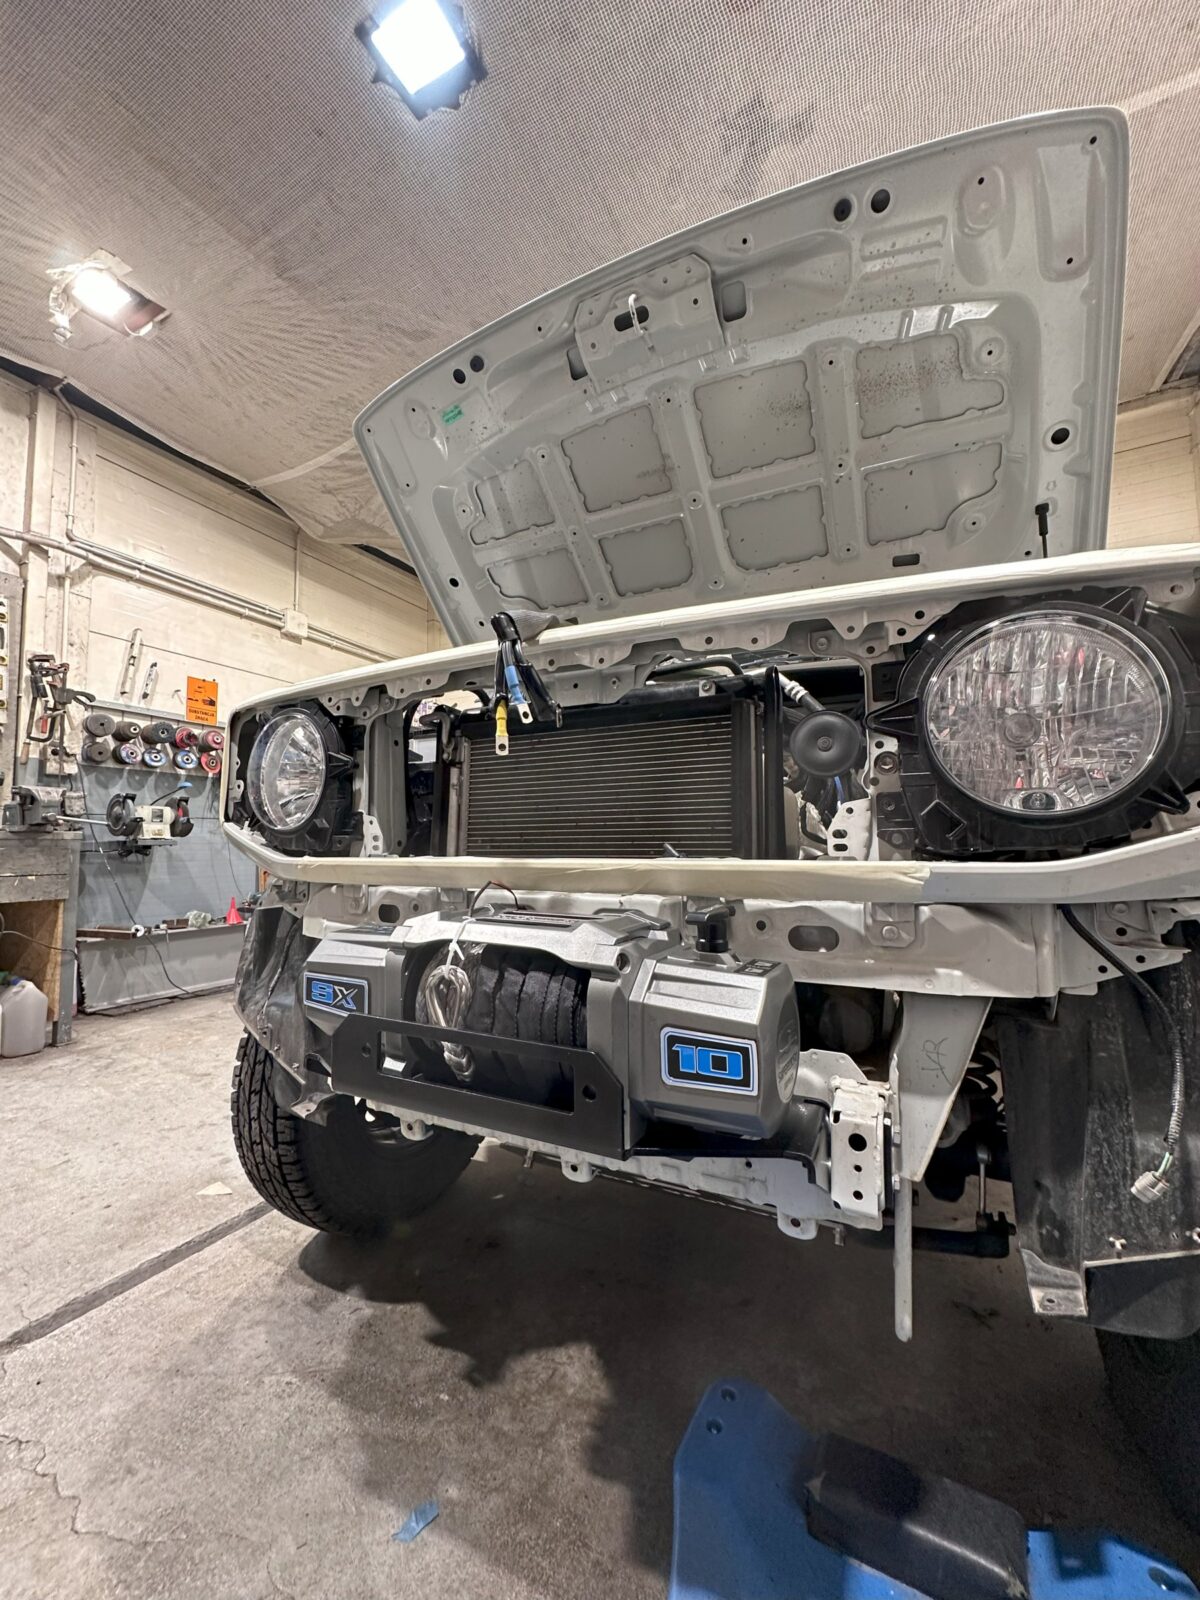
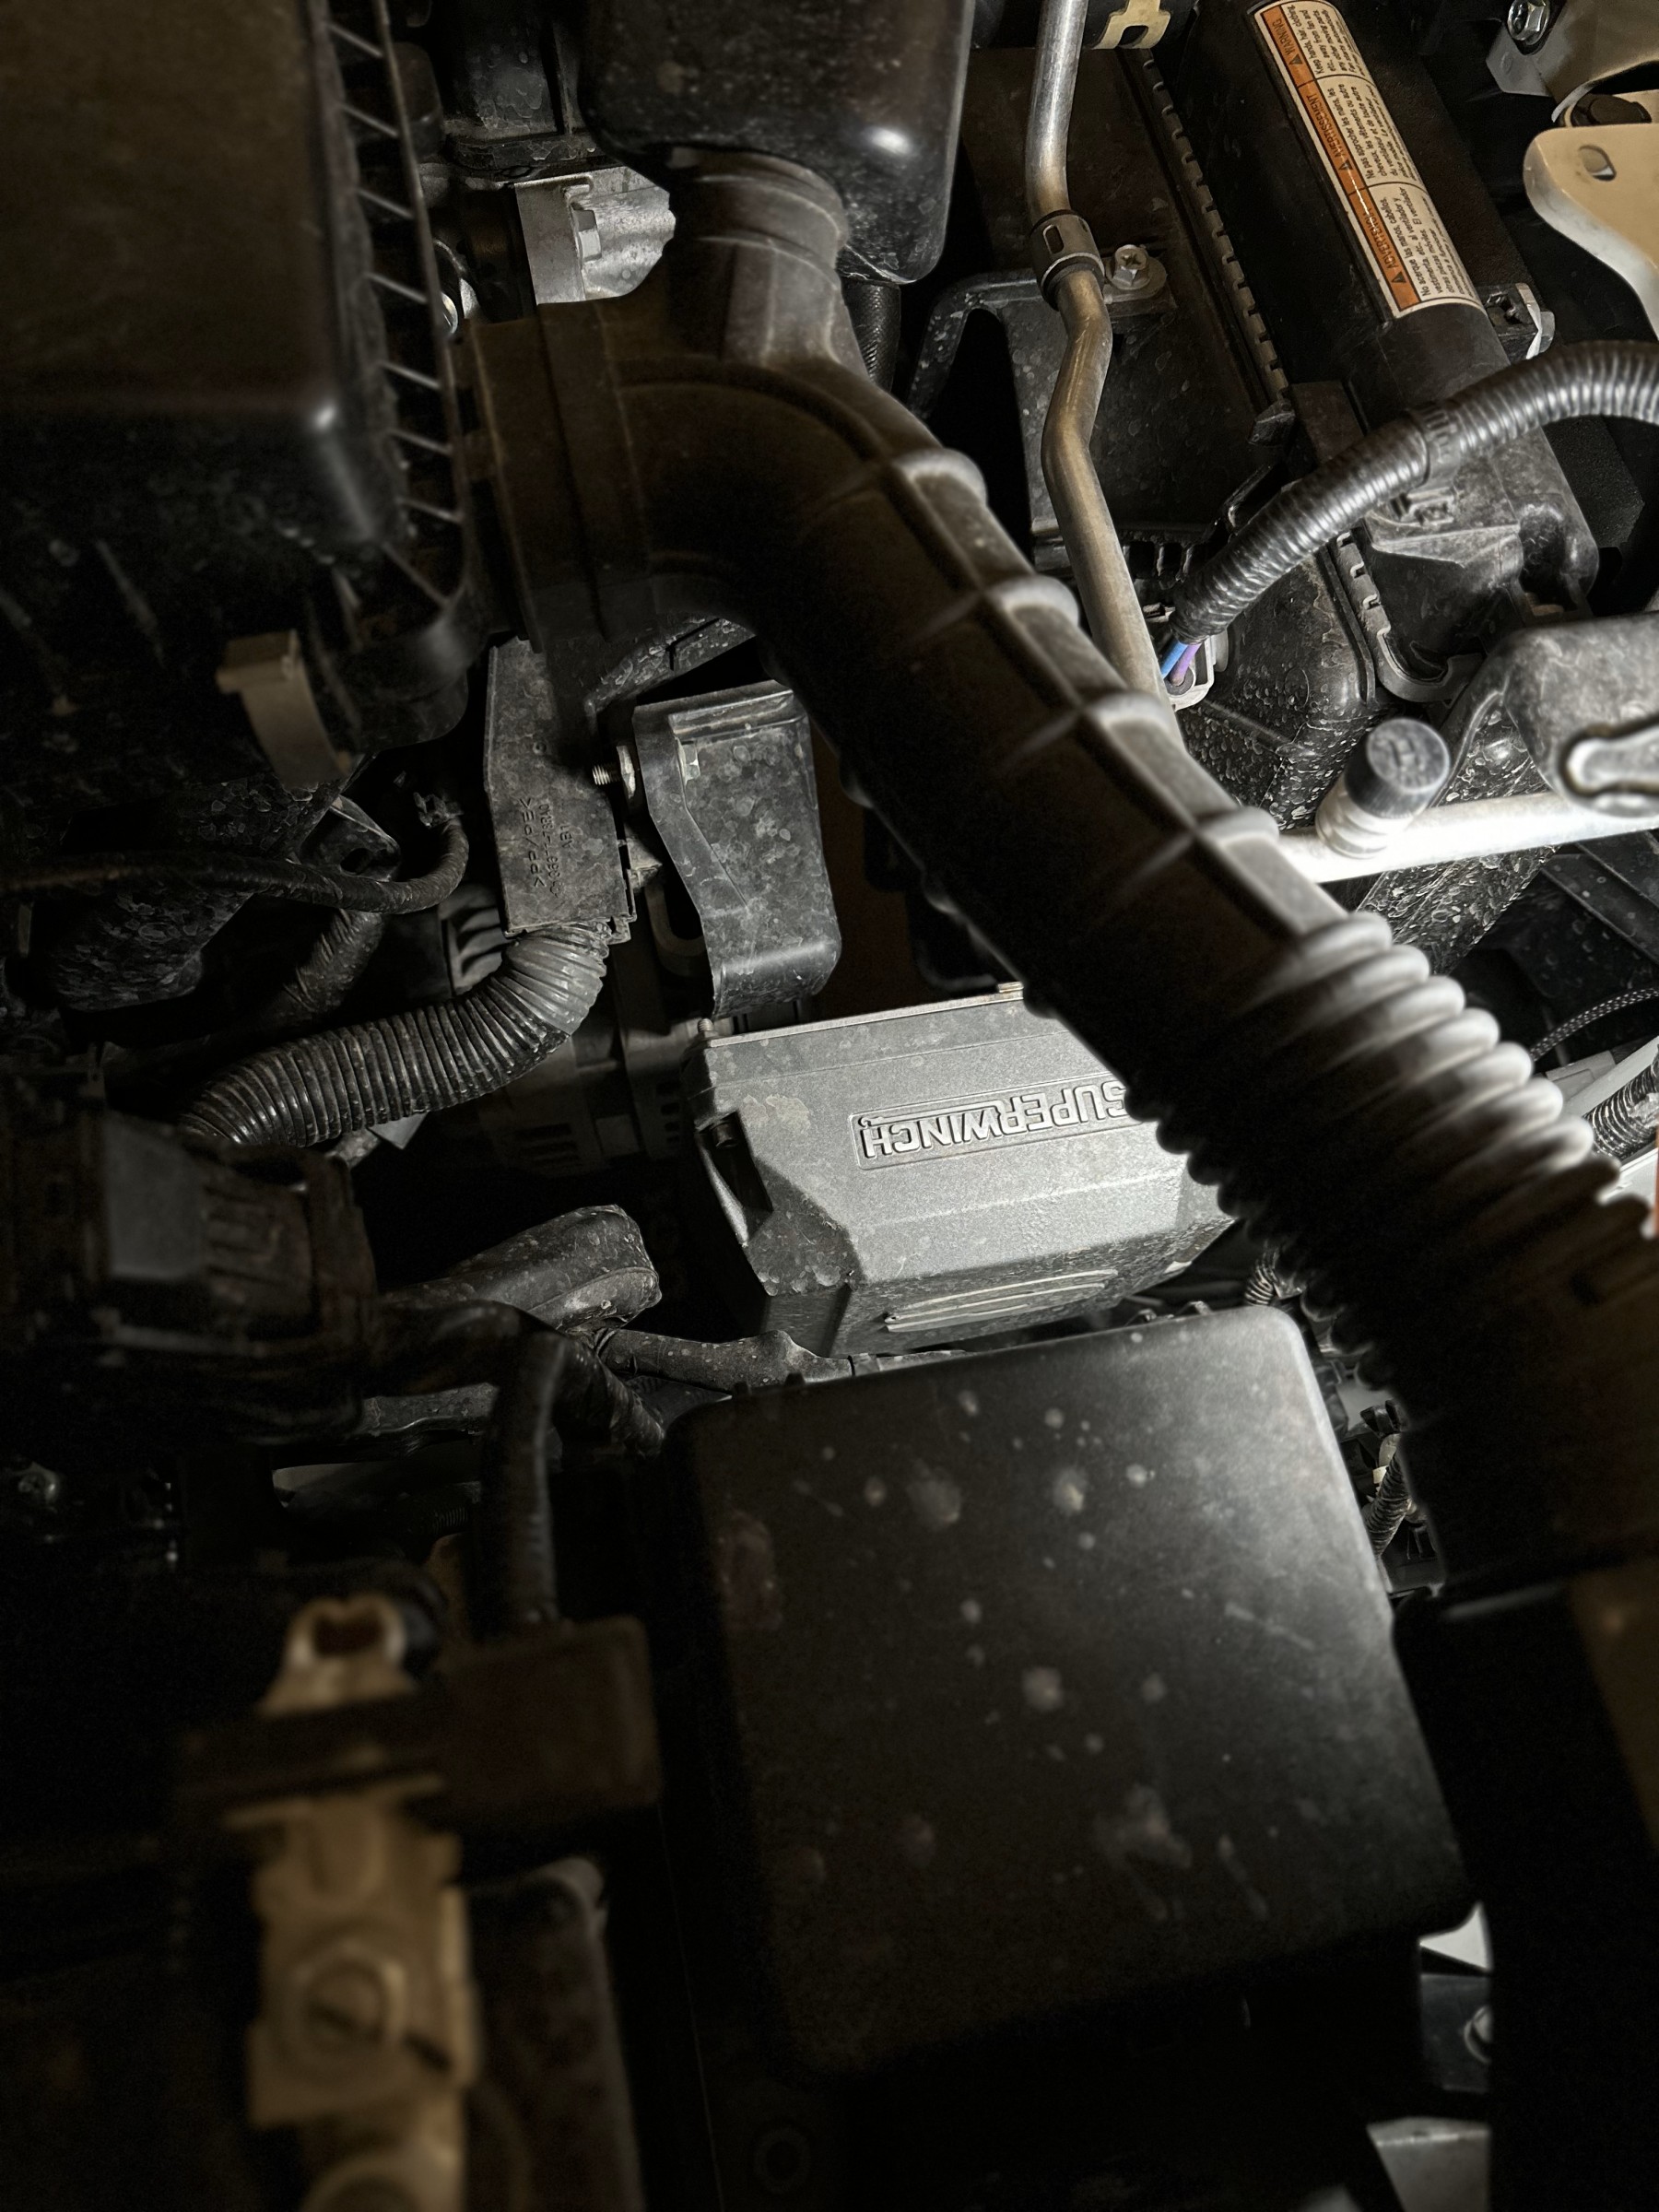
Superwinch SX10 12V Electric Winch with Synthetic Rope
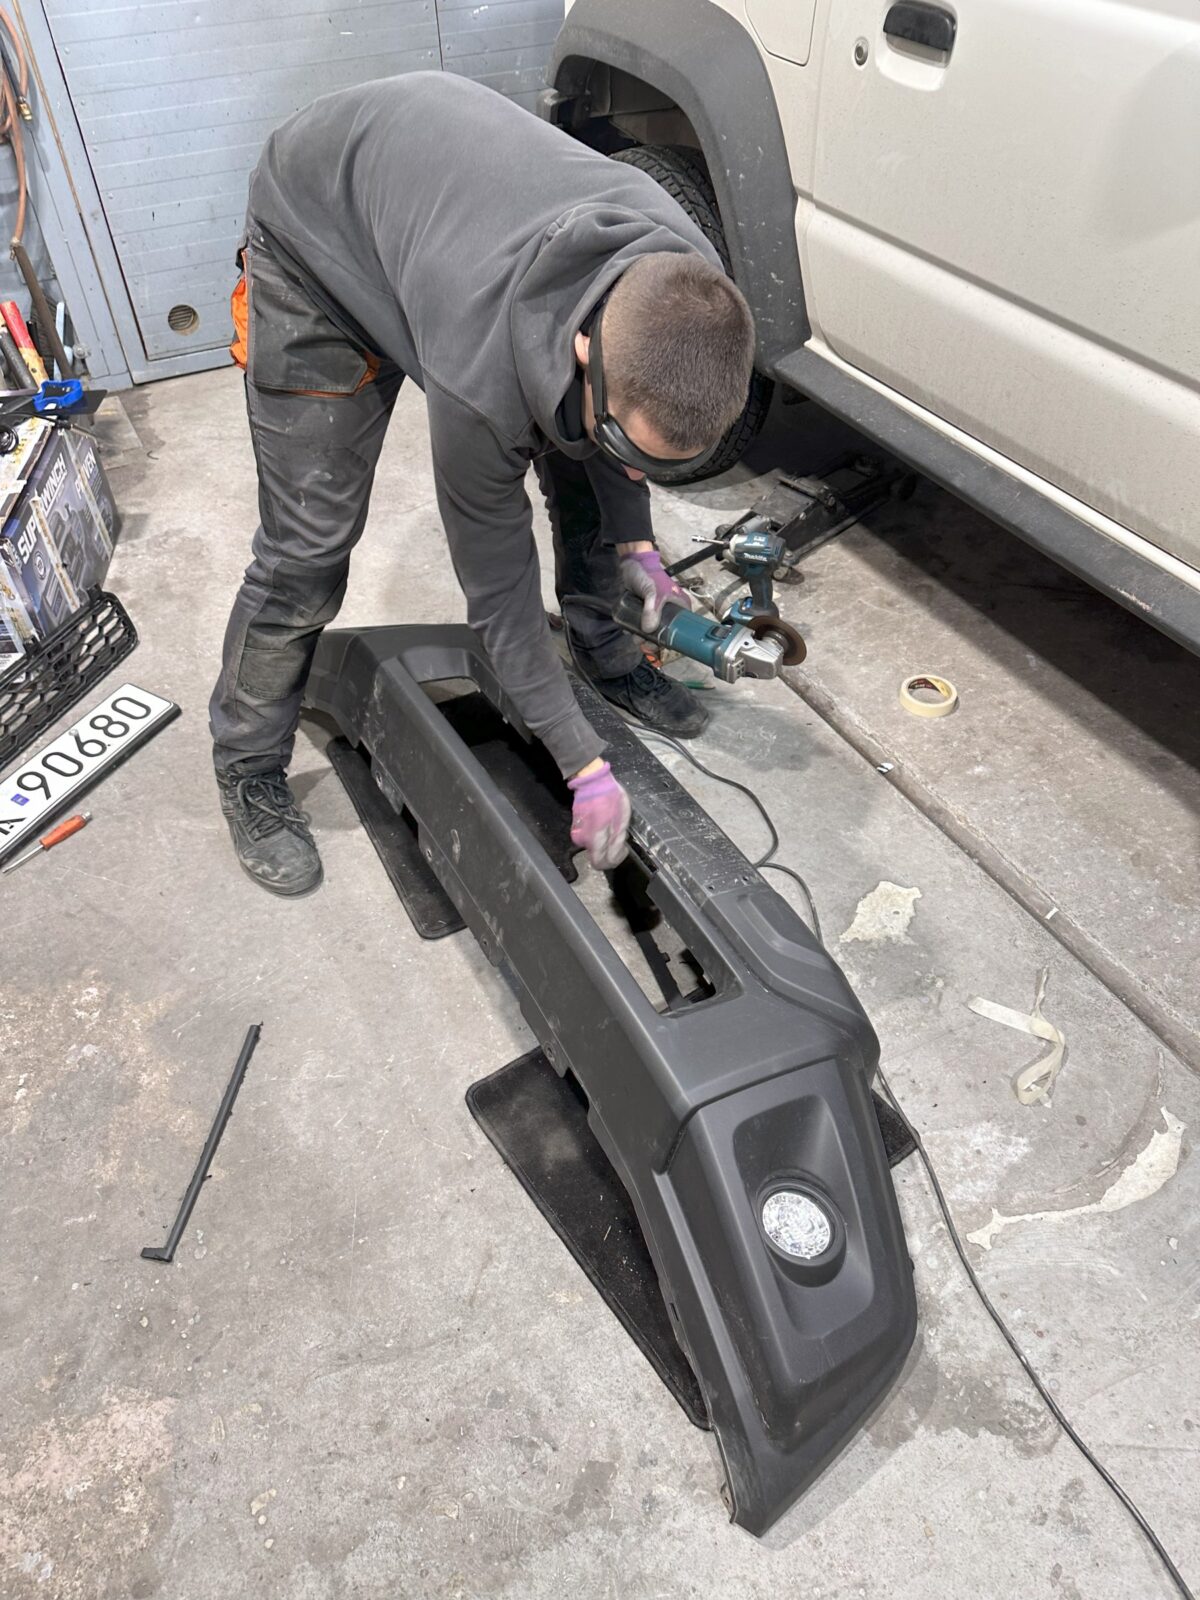
If you plan on going off-road, a winch is undoubtedly an essential item to have.
My choice was the Superwinch SX10 with a 29m synthetic rope. Superwinch is a proven and reliable manufacturer. An alternative could be Warn, but it is a bit more expensive. In the case of the Suzuki Jimny, a winch with a pulling capacity of 4500kg should be more than enough.


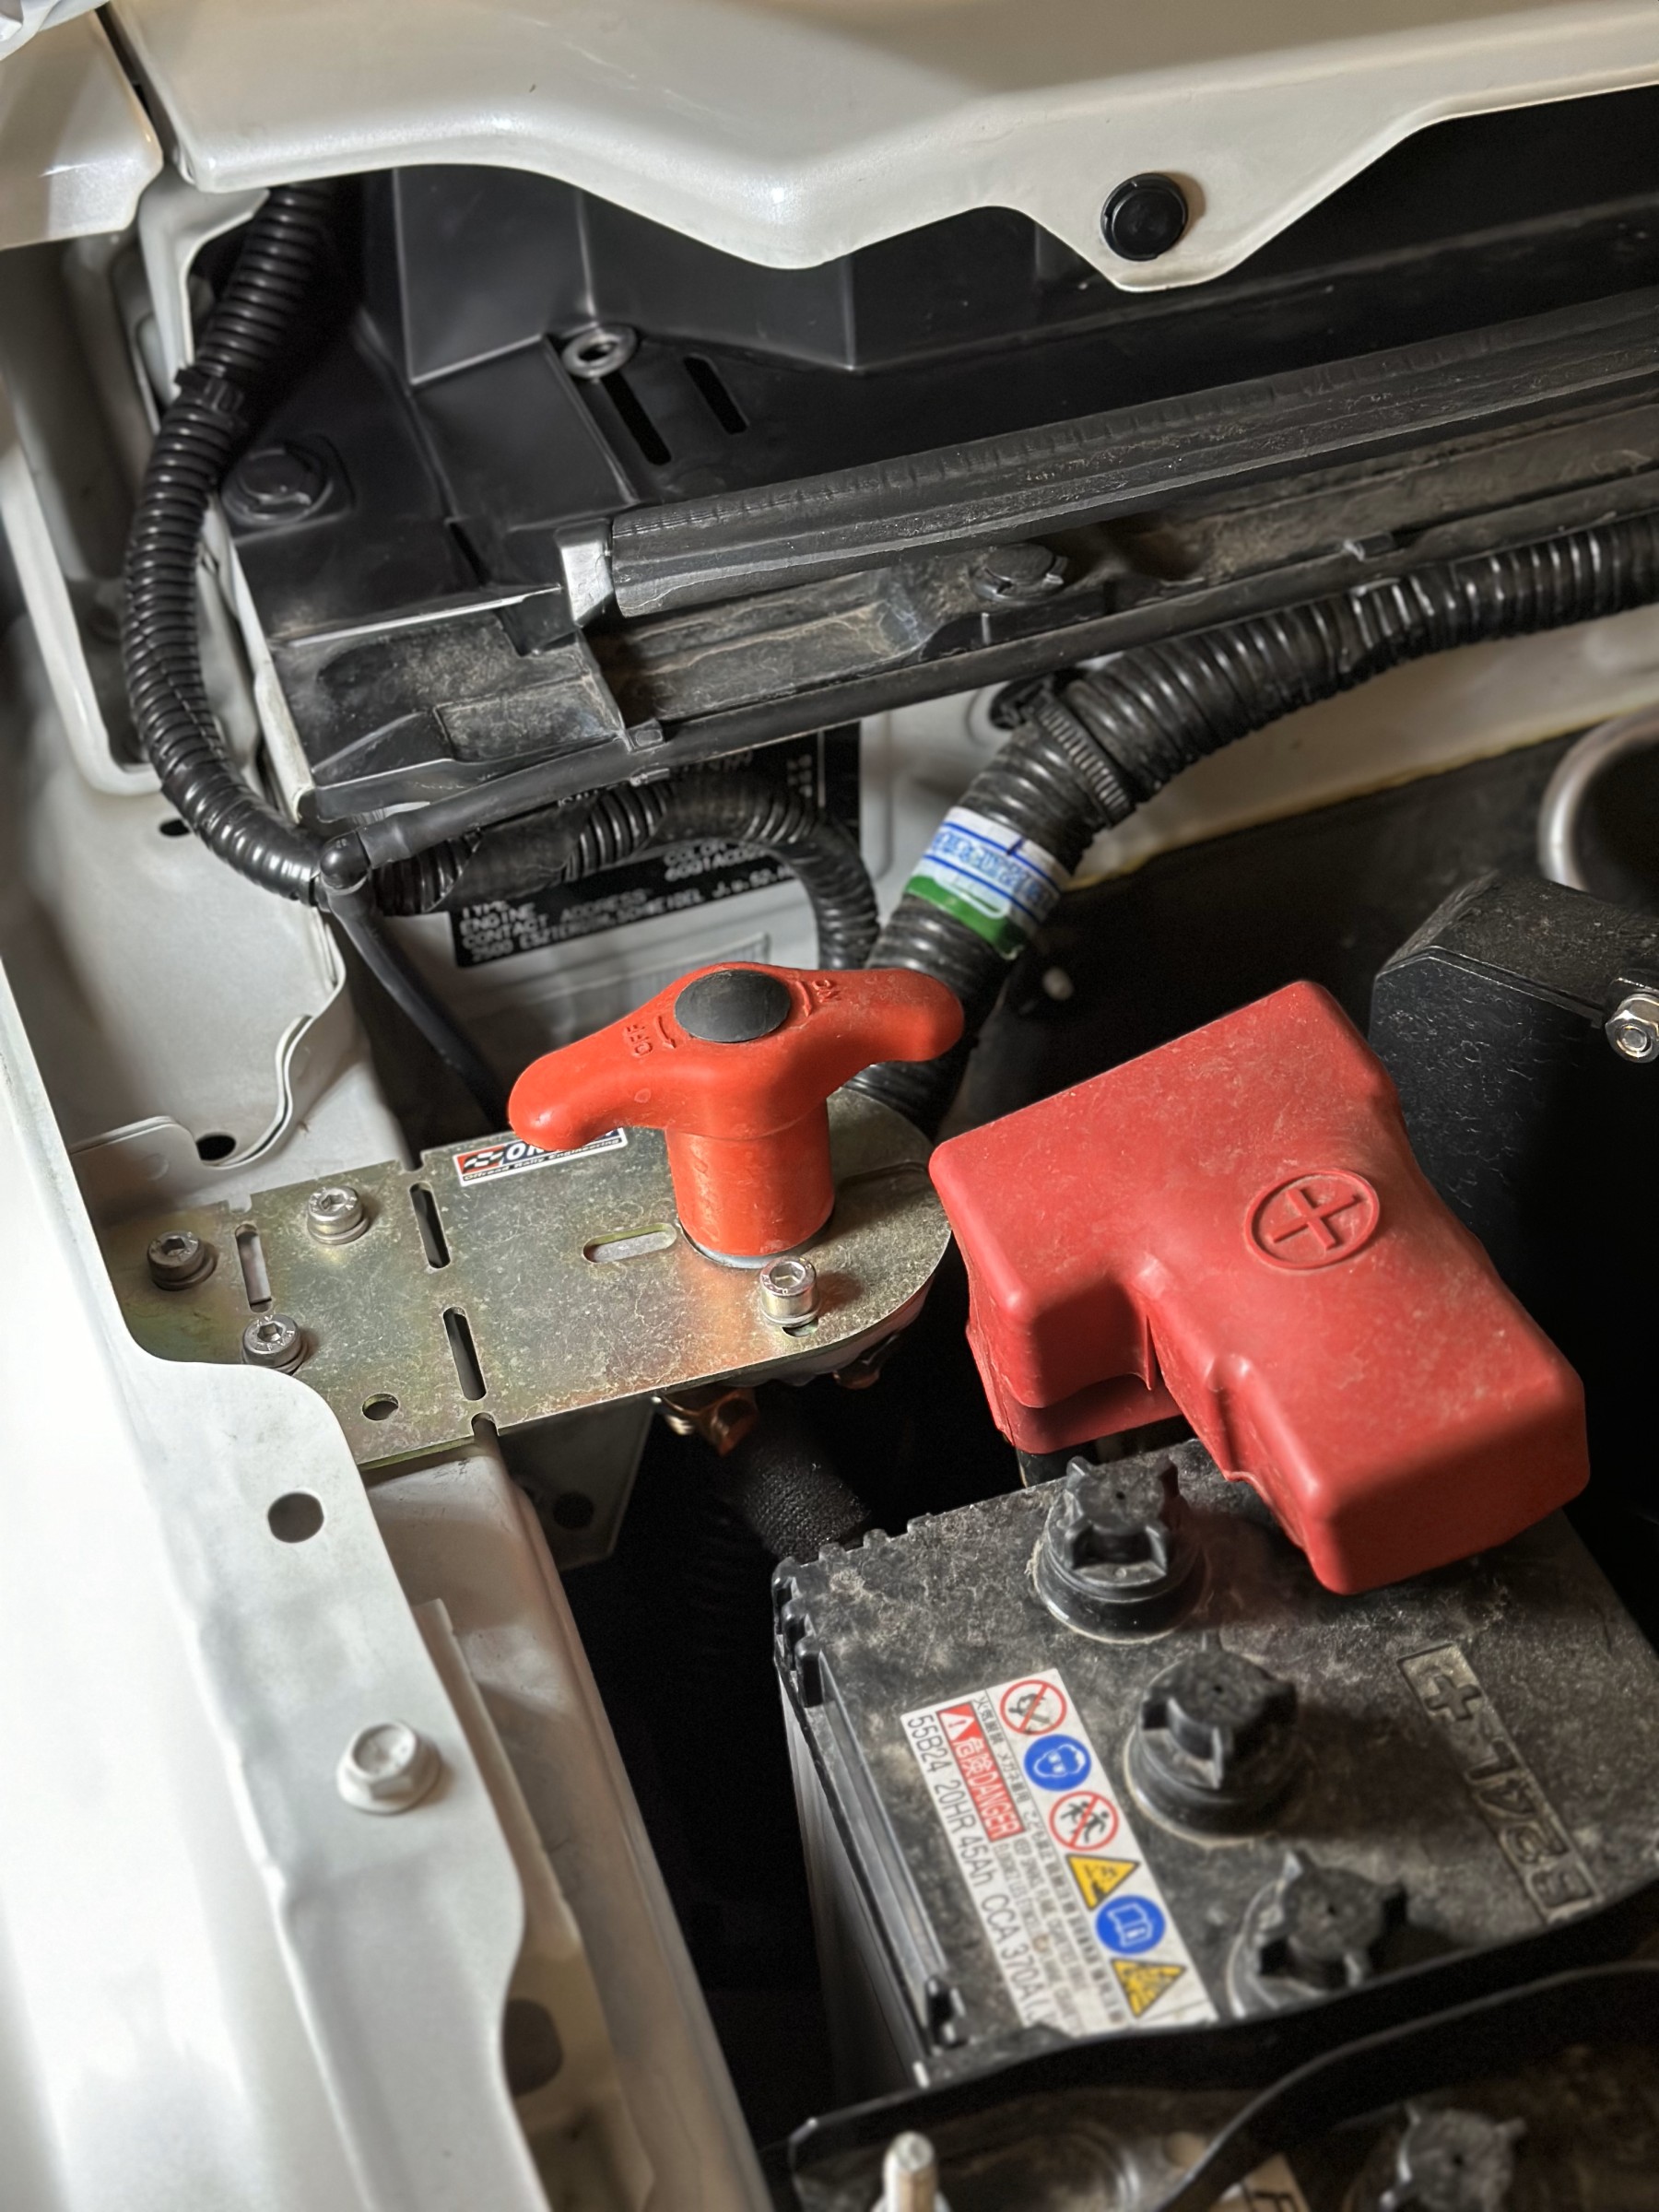
A special main power switch has also been installed, allowing you to disconnect the power supply to the winch in emergencies. It also allows you to disconnect the power supply when the charger is not in use.
Synthetic rope is lighter and more flexible than the steel one. It reduces the potential for damage. It does not require a special mat to dampen the recoil, which is required for steel rope. Synthetic rope does not tend to snap under tension with the same force as steel, which makes it safer. Synthetic rope does not corrode, is easy to unwind and rewind, and does not cut your hands like frayed steel. It should also not freeze as easily. In addition to being more susceptible to abrasion, synthetic rope is better in every way than steel. Hence my decision.
The pulley
This brilliantly simple design can be used to create some advanced techniques for pulling a vehicle out of trouble.
The pulley can be used to change the direction of the rope pull, which is useful when it is not possible to align the winch in a straight line with the object you want to pull. Using a pulley can reduce the load on the winch and reduce wear on its mechanism, which extends its life.
The pulley doubles the force of the winch – by mounting the rope so that it passes through the pulley, the load is divided between two points. Using one pulley can “double” the pull, and using more pulleys increases the force even more.
The rope exits the winch → passes through the pulley → returns to the vehicle.
Using a shackle or other connector, attach the block to the webbing or strap you previously installed around the anchor point. Feed the rope through the block and hook it back to the vehicle. The rope will pull through the block, reducing the load on the winch while doubling the pulling force.
Simple but so effective!
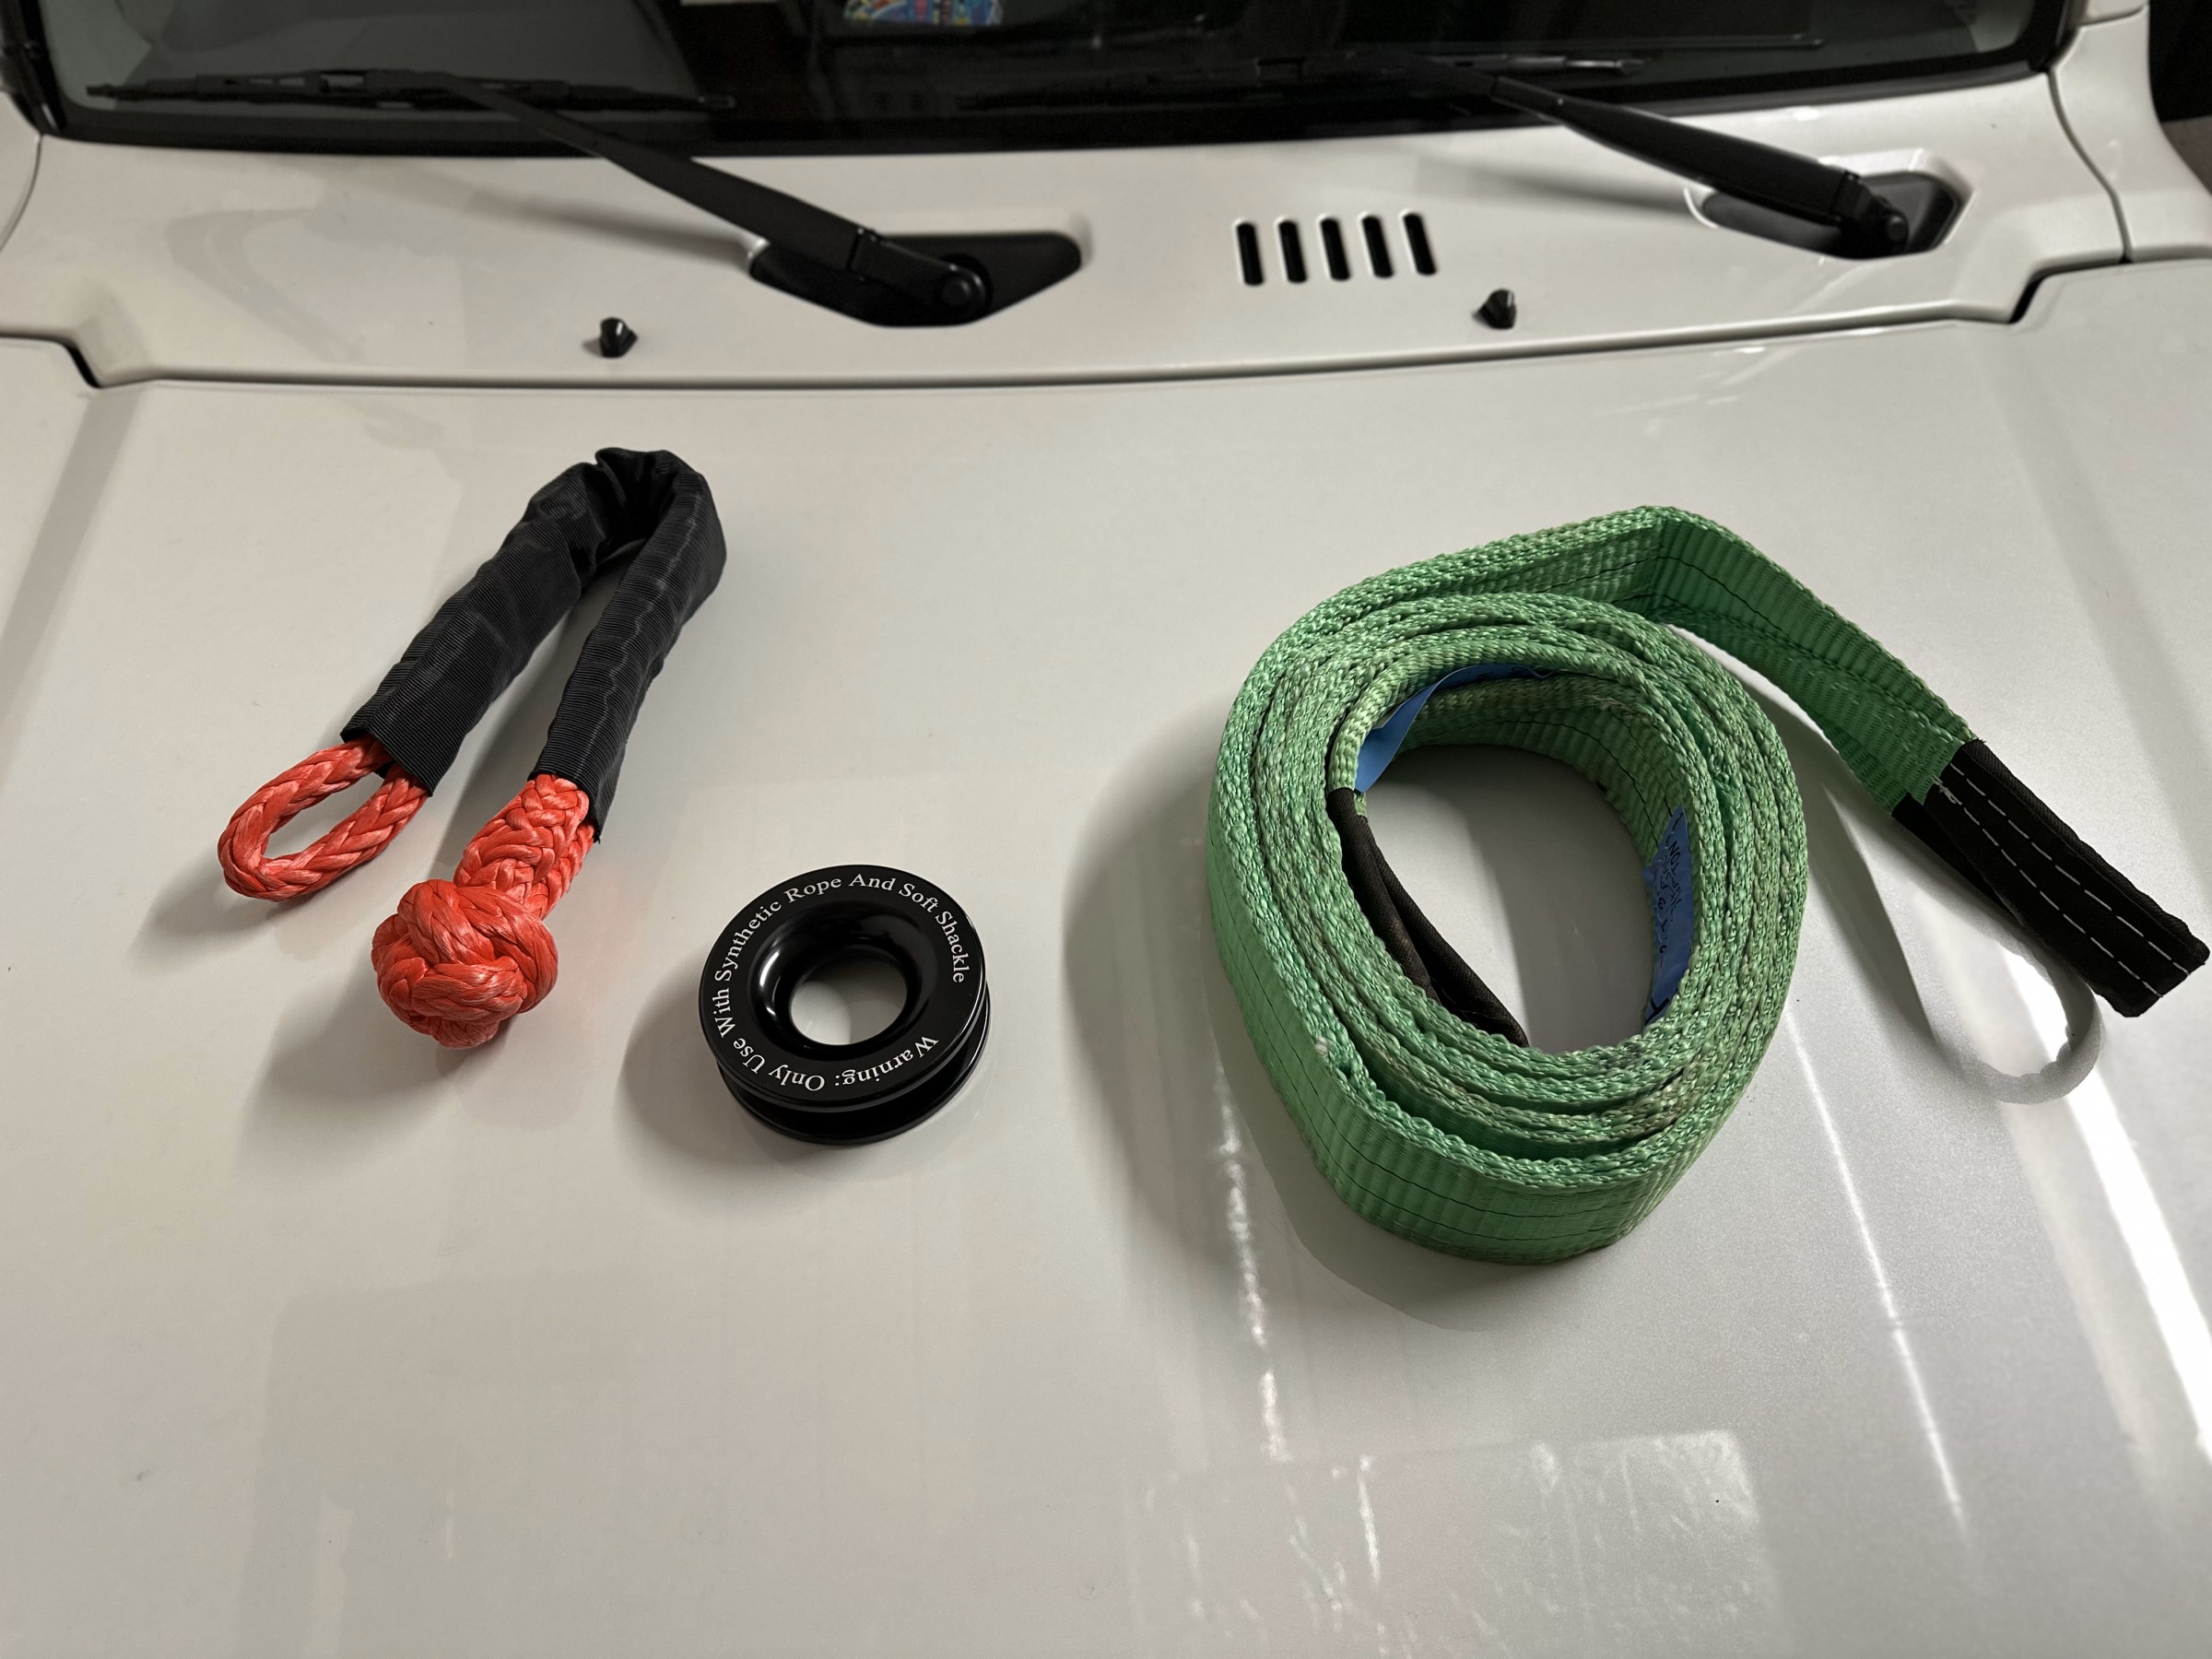
Tree belt
The tree strap protects the anchor point (e.g. tree) from damage by spreading the force over a larger surface area, which prevents the rope from cutting into it. It also provides greater stability and safety by protecting both the winch rope from abrasion and the anchor from excessive pressure. This makes winching operations safer and more efficient.
Synthetic shackle
Here too I prefer synthetic. It’s the only option for synthetic rope. As with rope, synthetic shackles have the same advantages.
Long live synthetic!
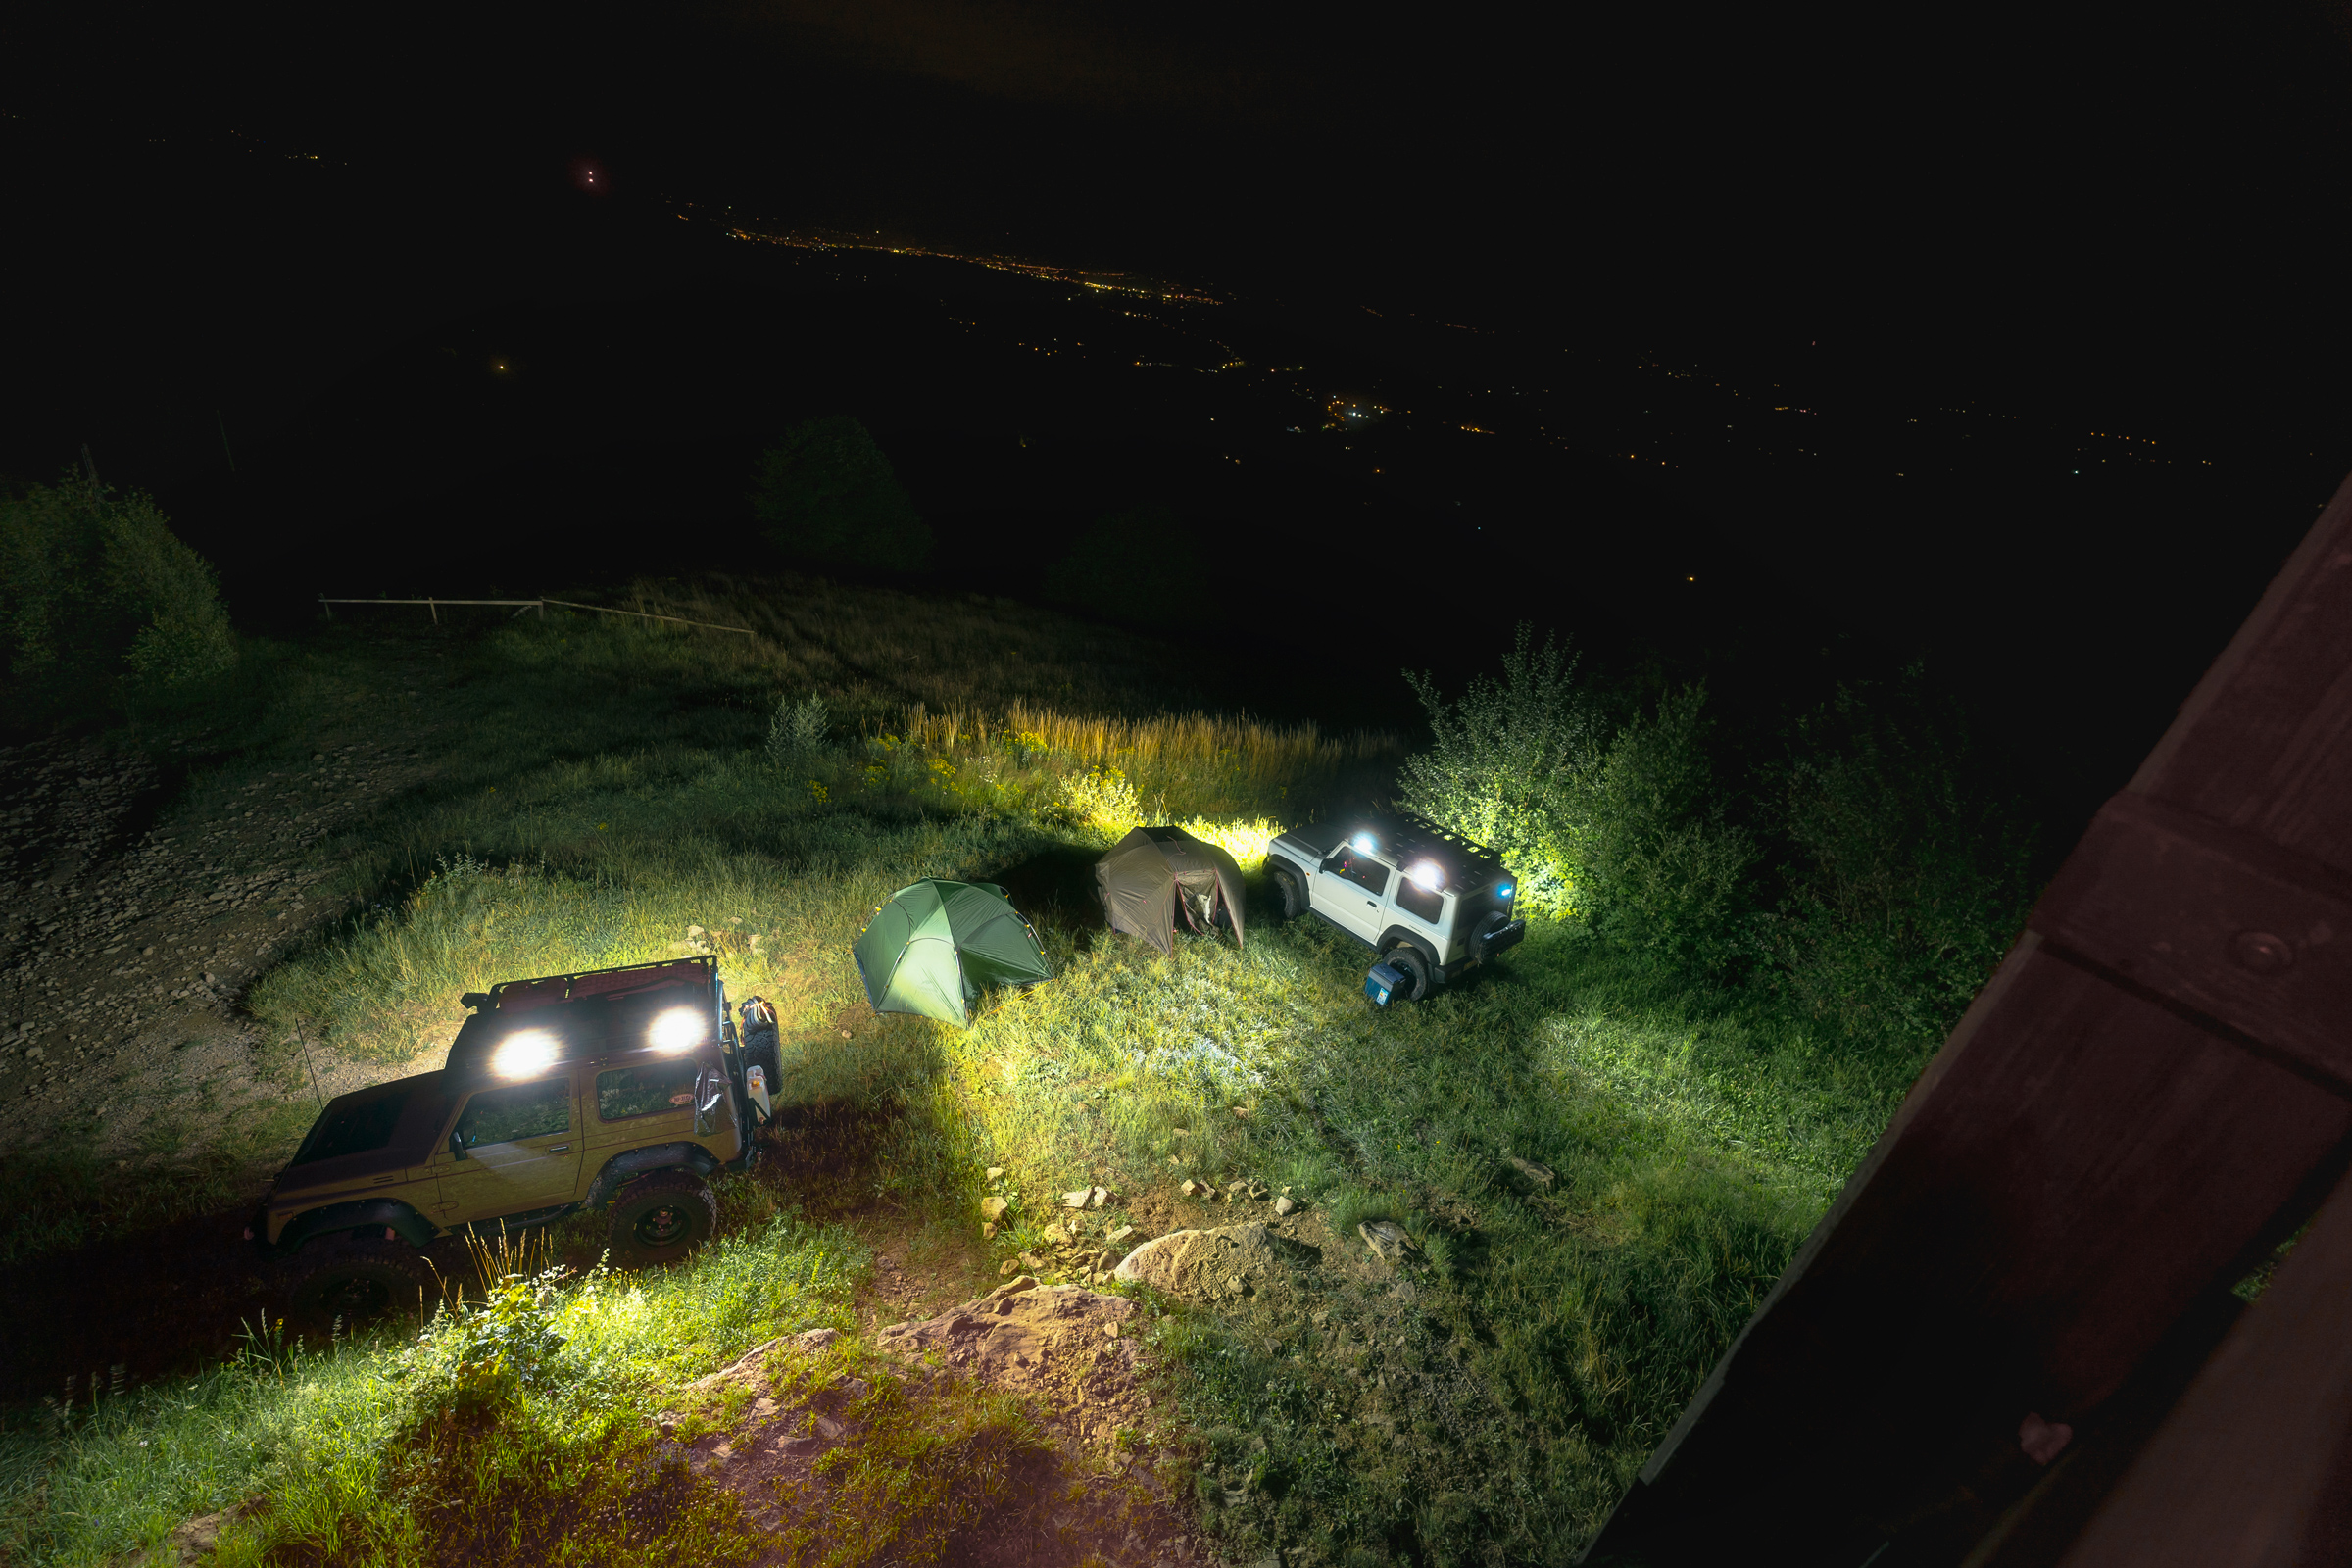
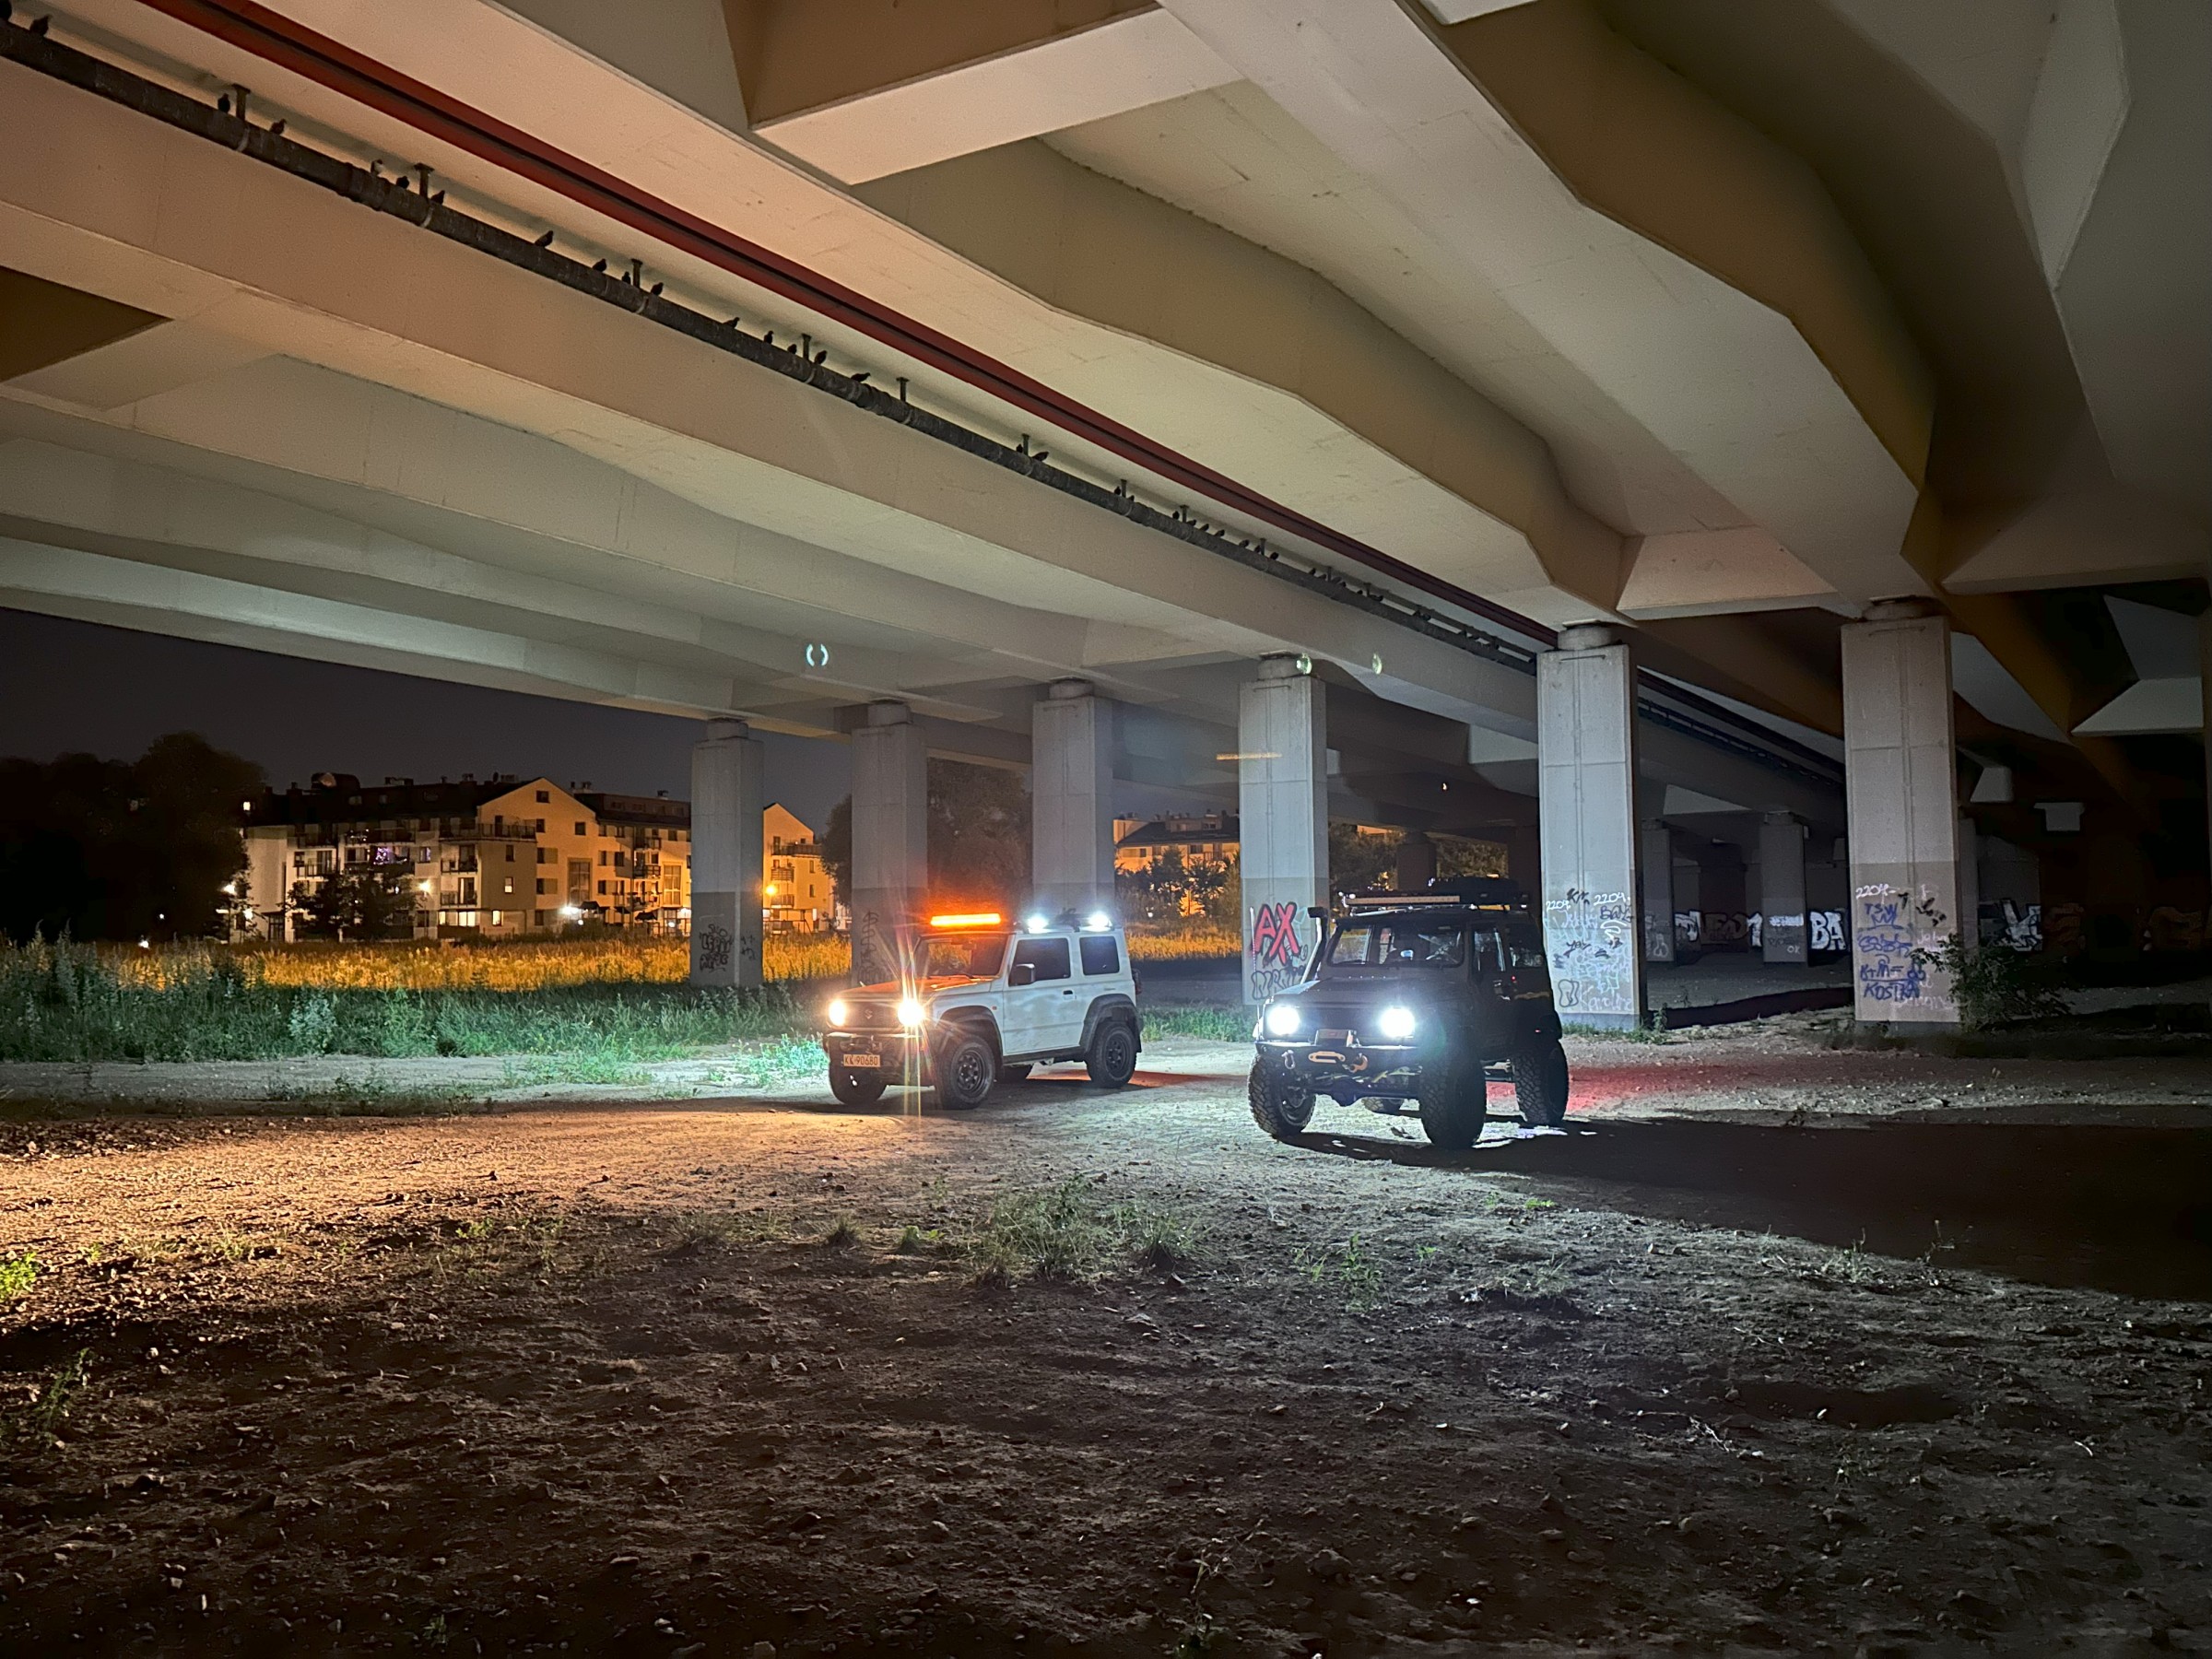
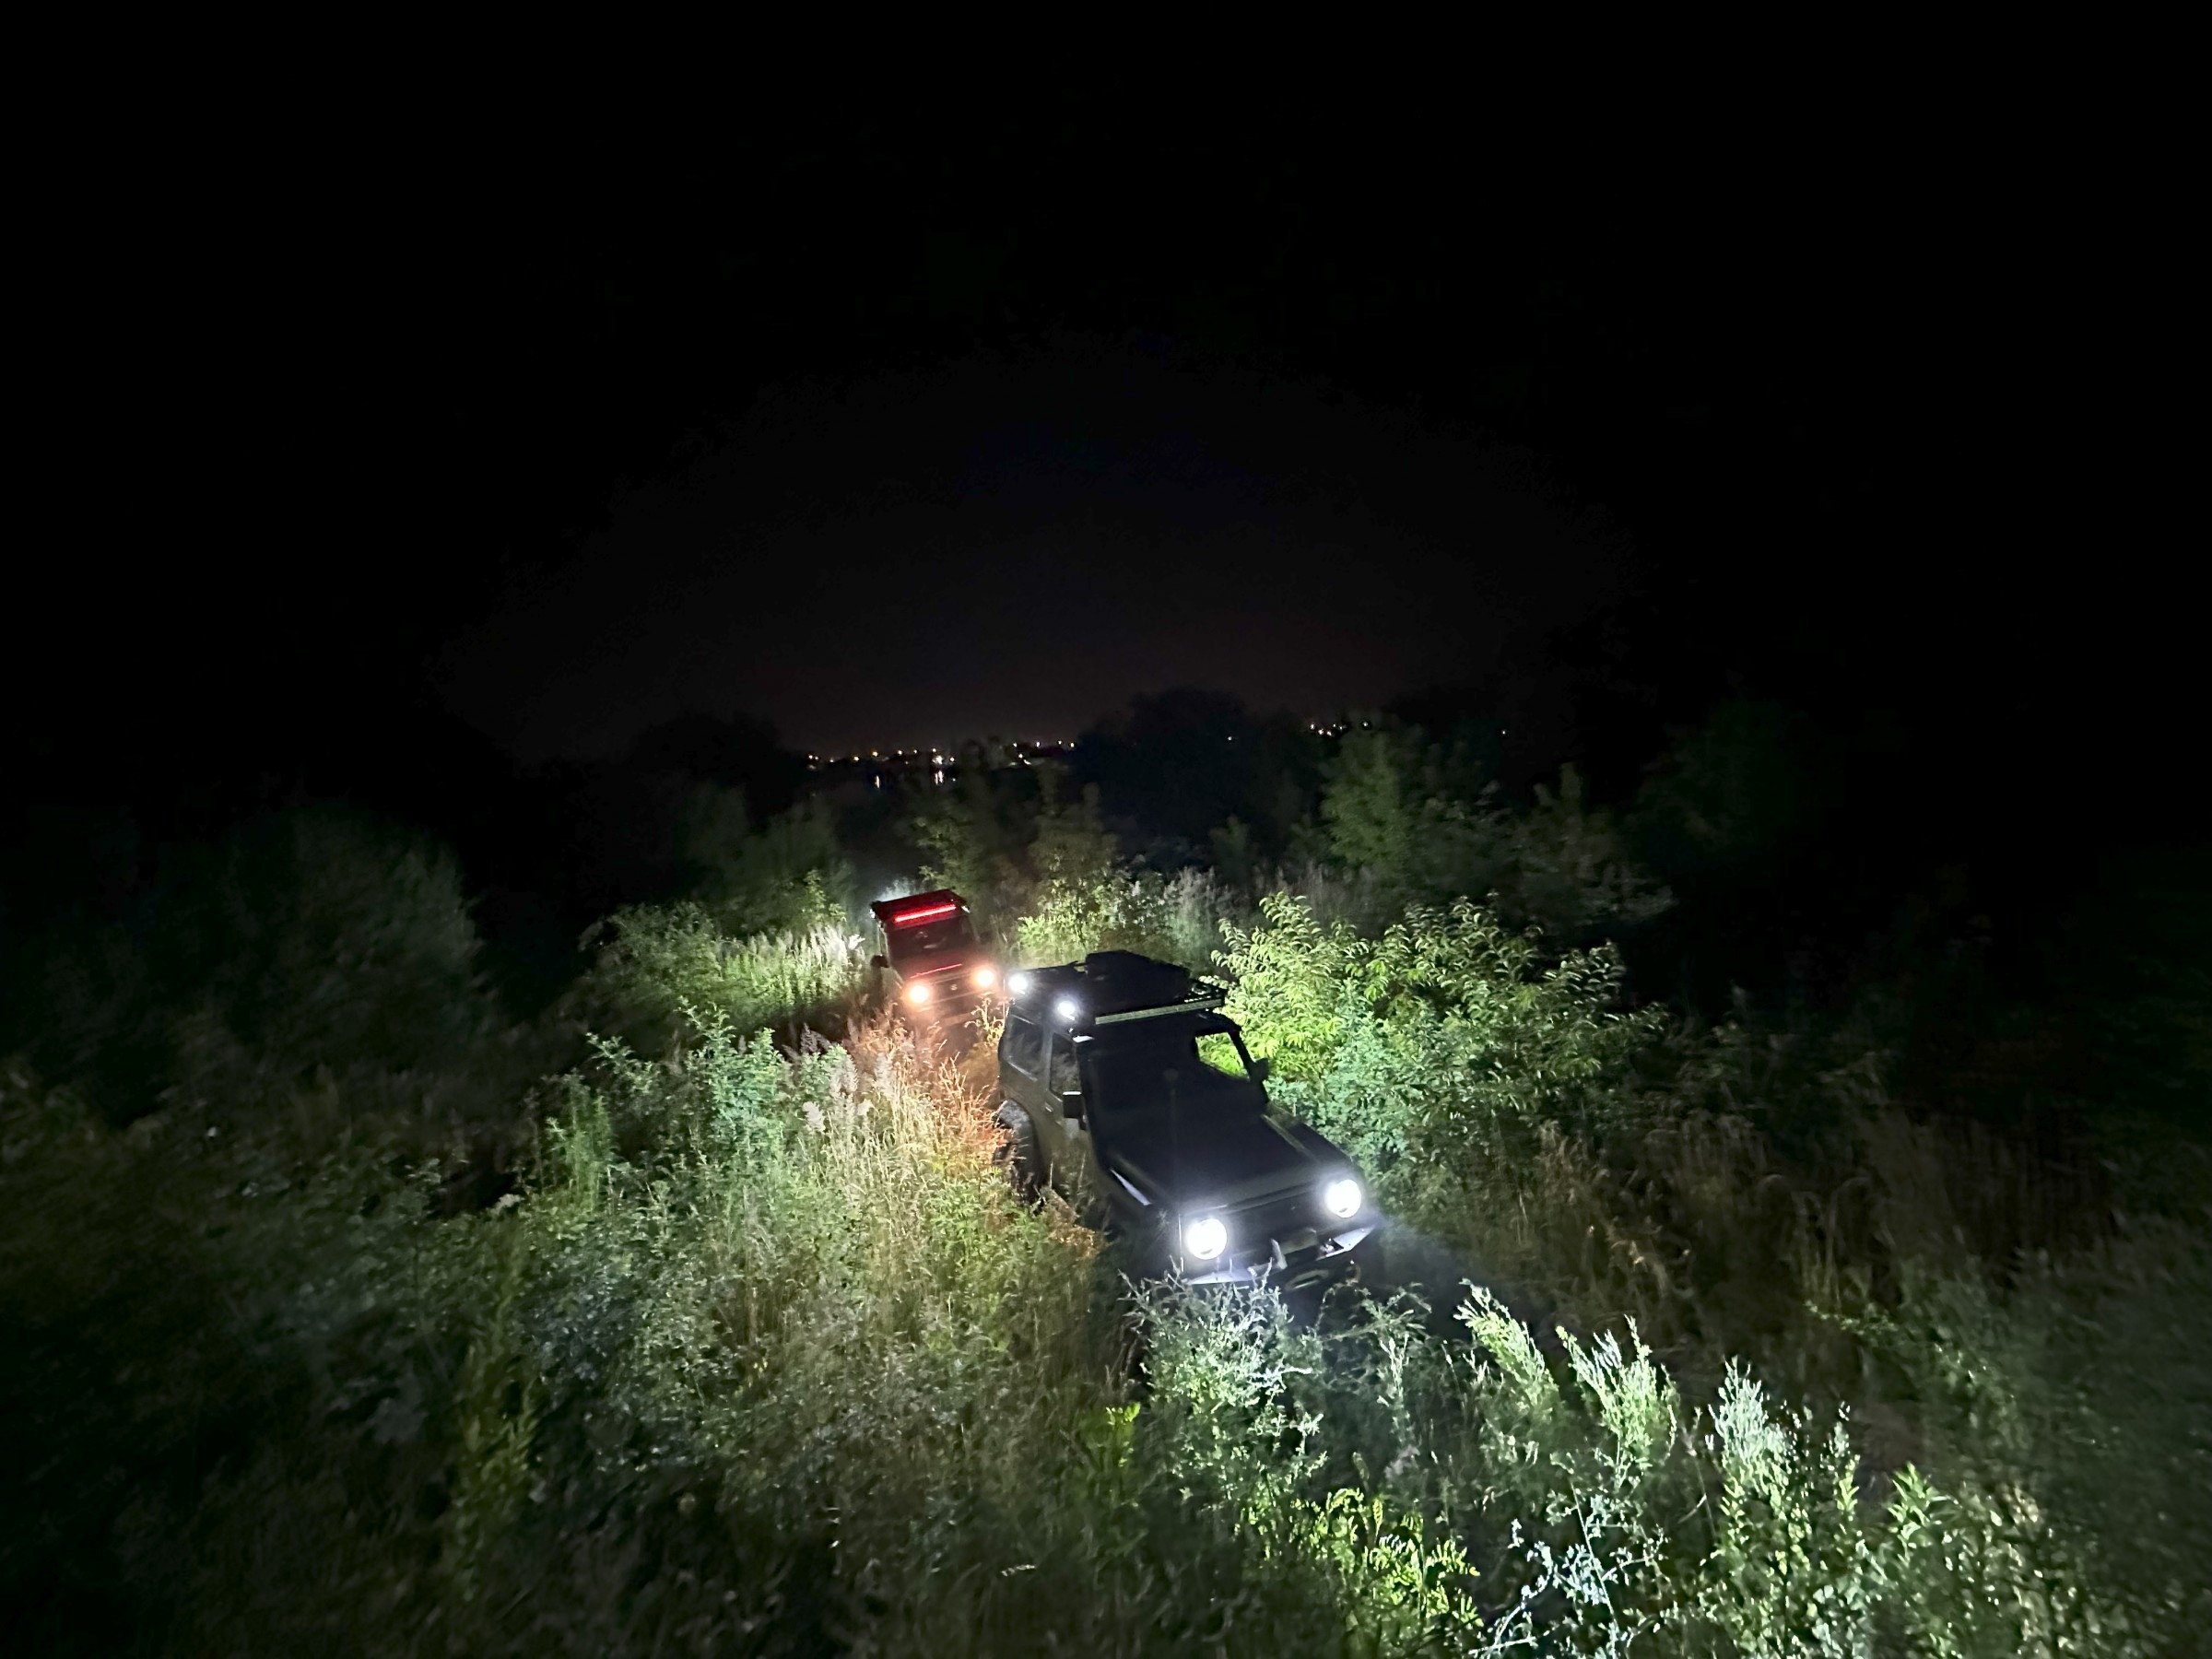
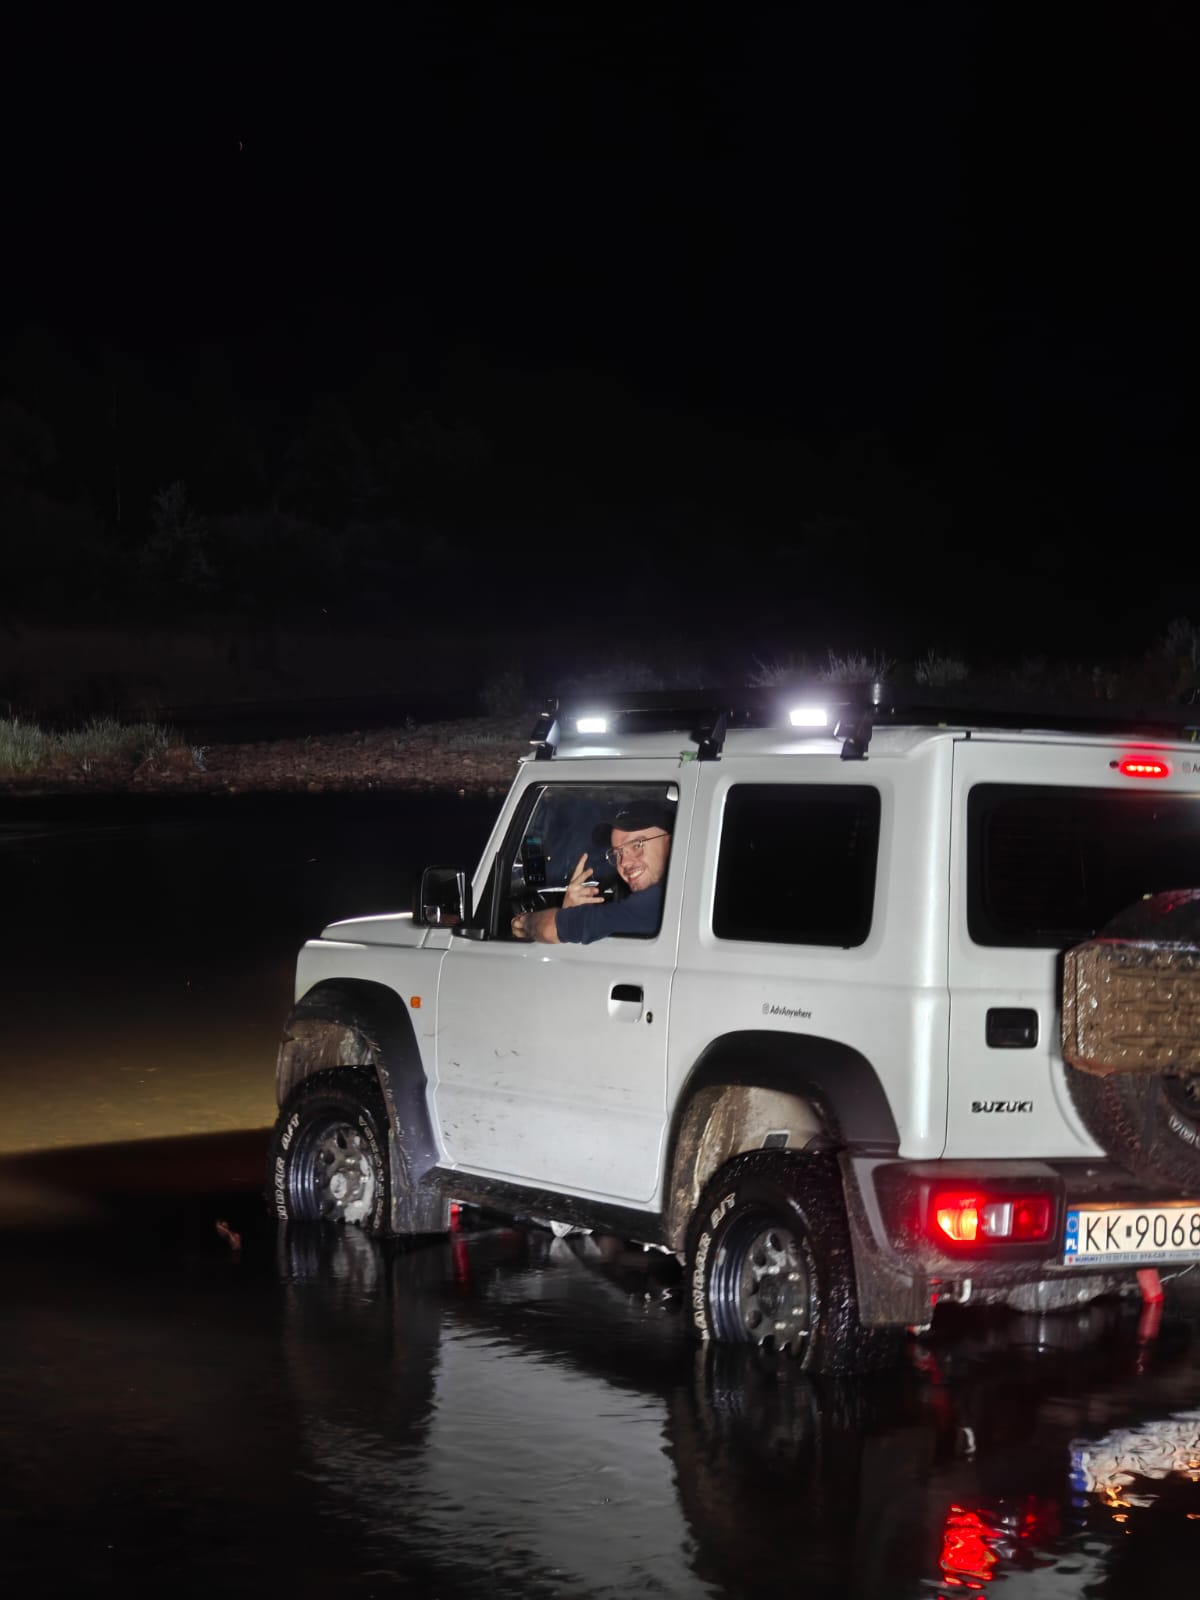
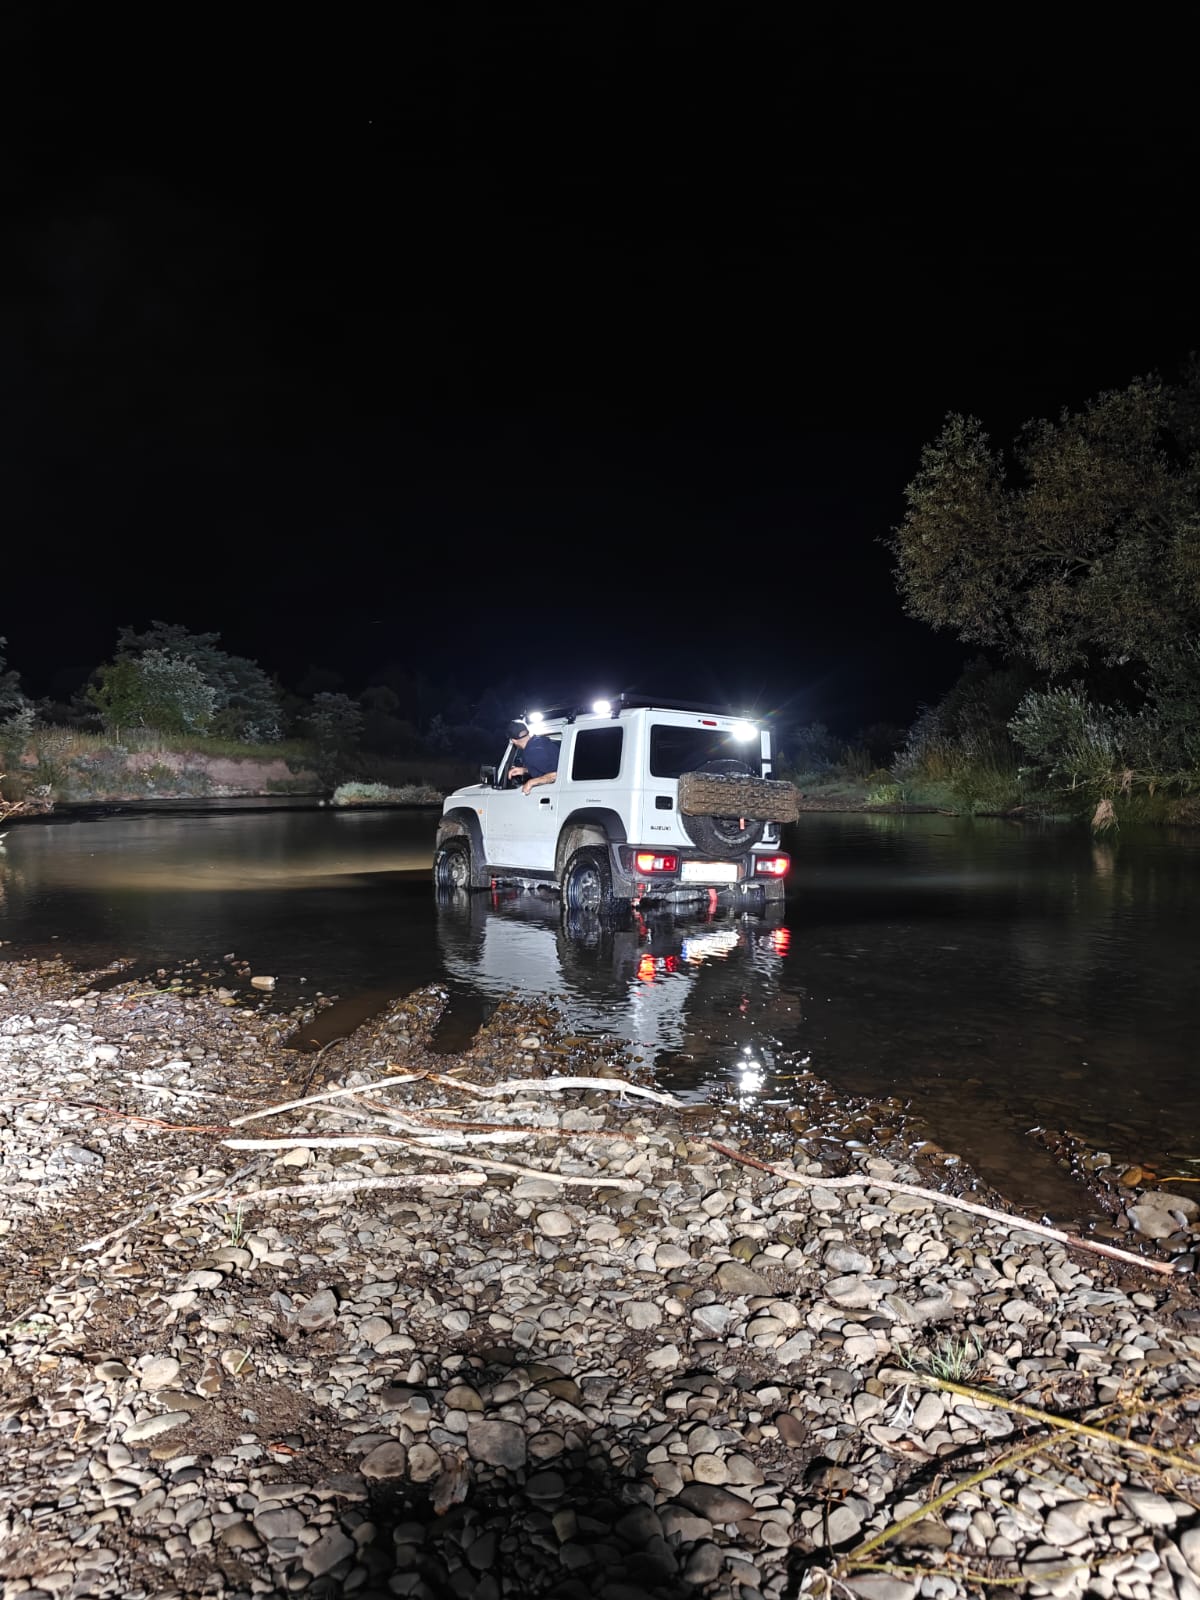
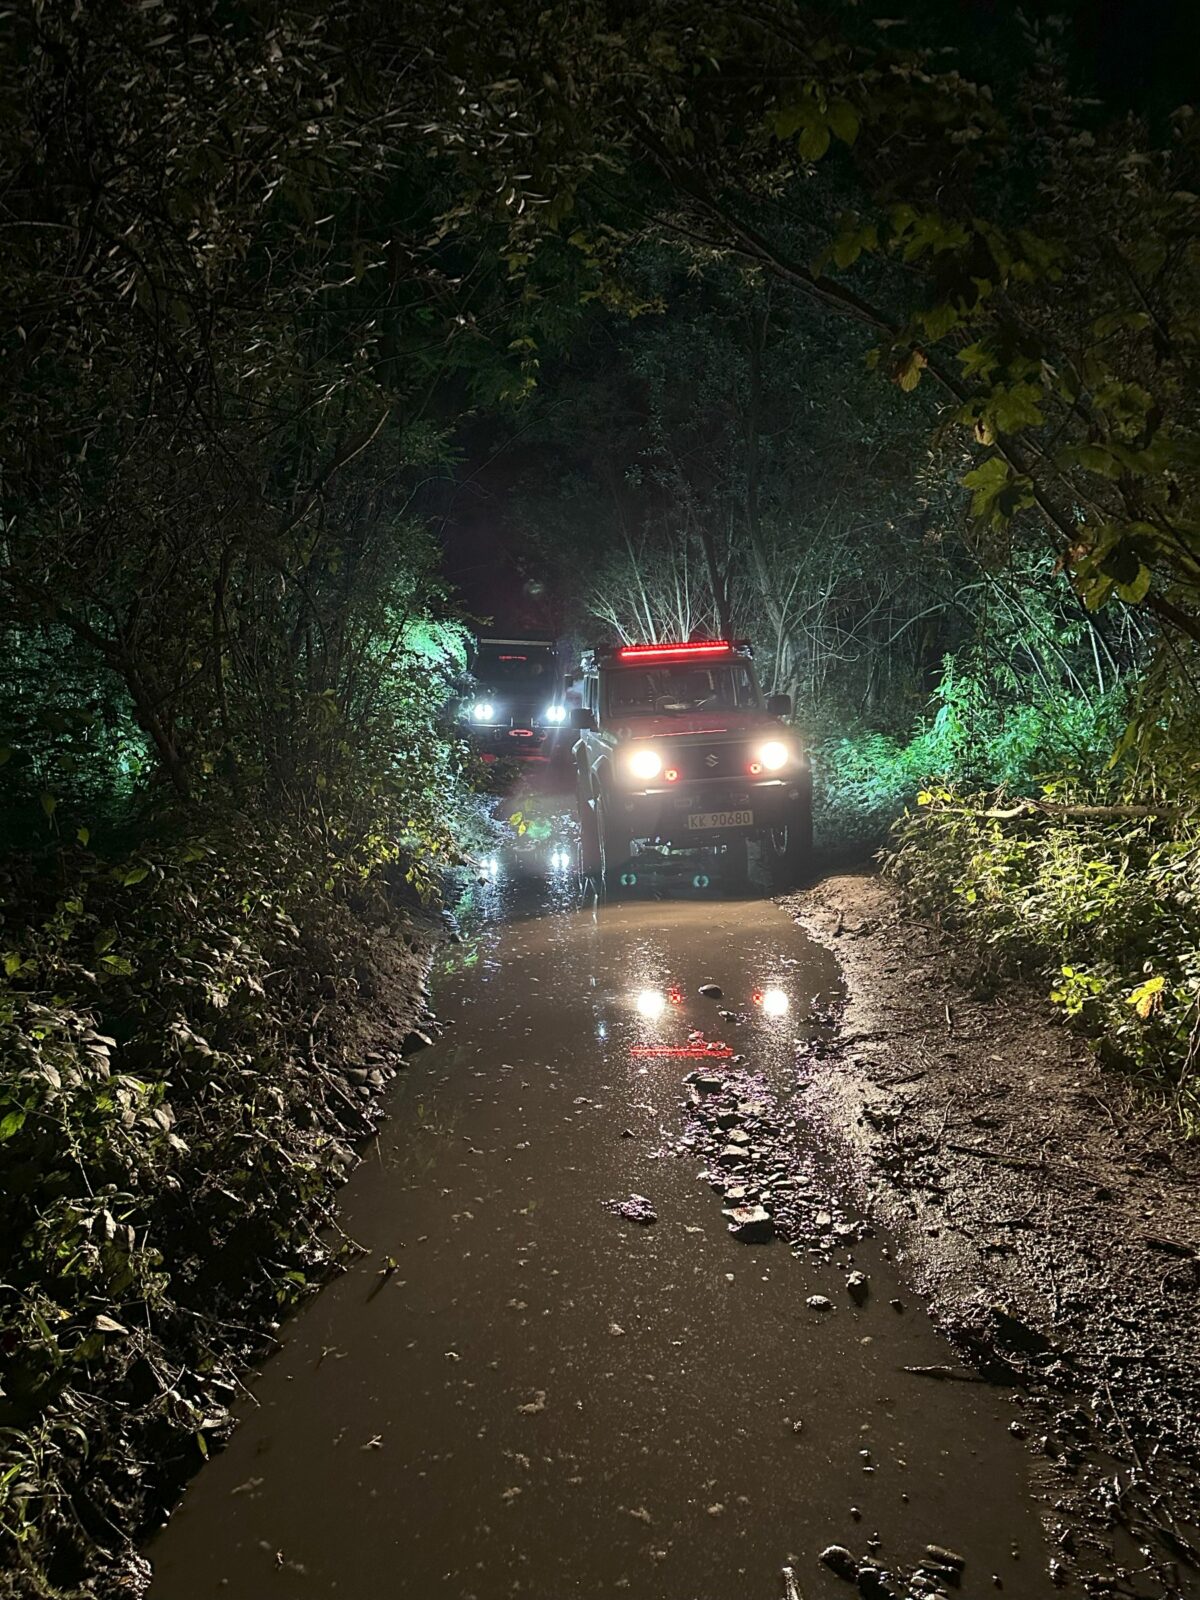
Lighting system
Off-road riding after dark has a unique and unrepeatable atmosphere. I remember the first time I went on a night trip with Michał (who helped me create my JB74). He lit up the entire area in his Suzuki Samurai, while I was dependent only on the front light.
I can’t imagine a longer trip without 360 lighting.
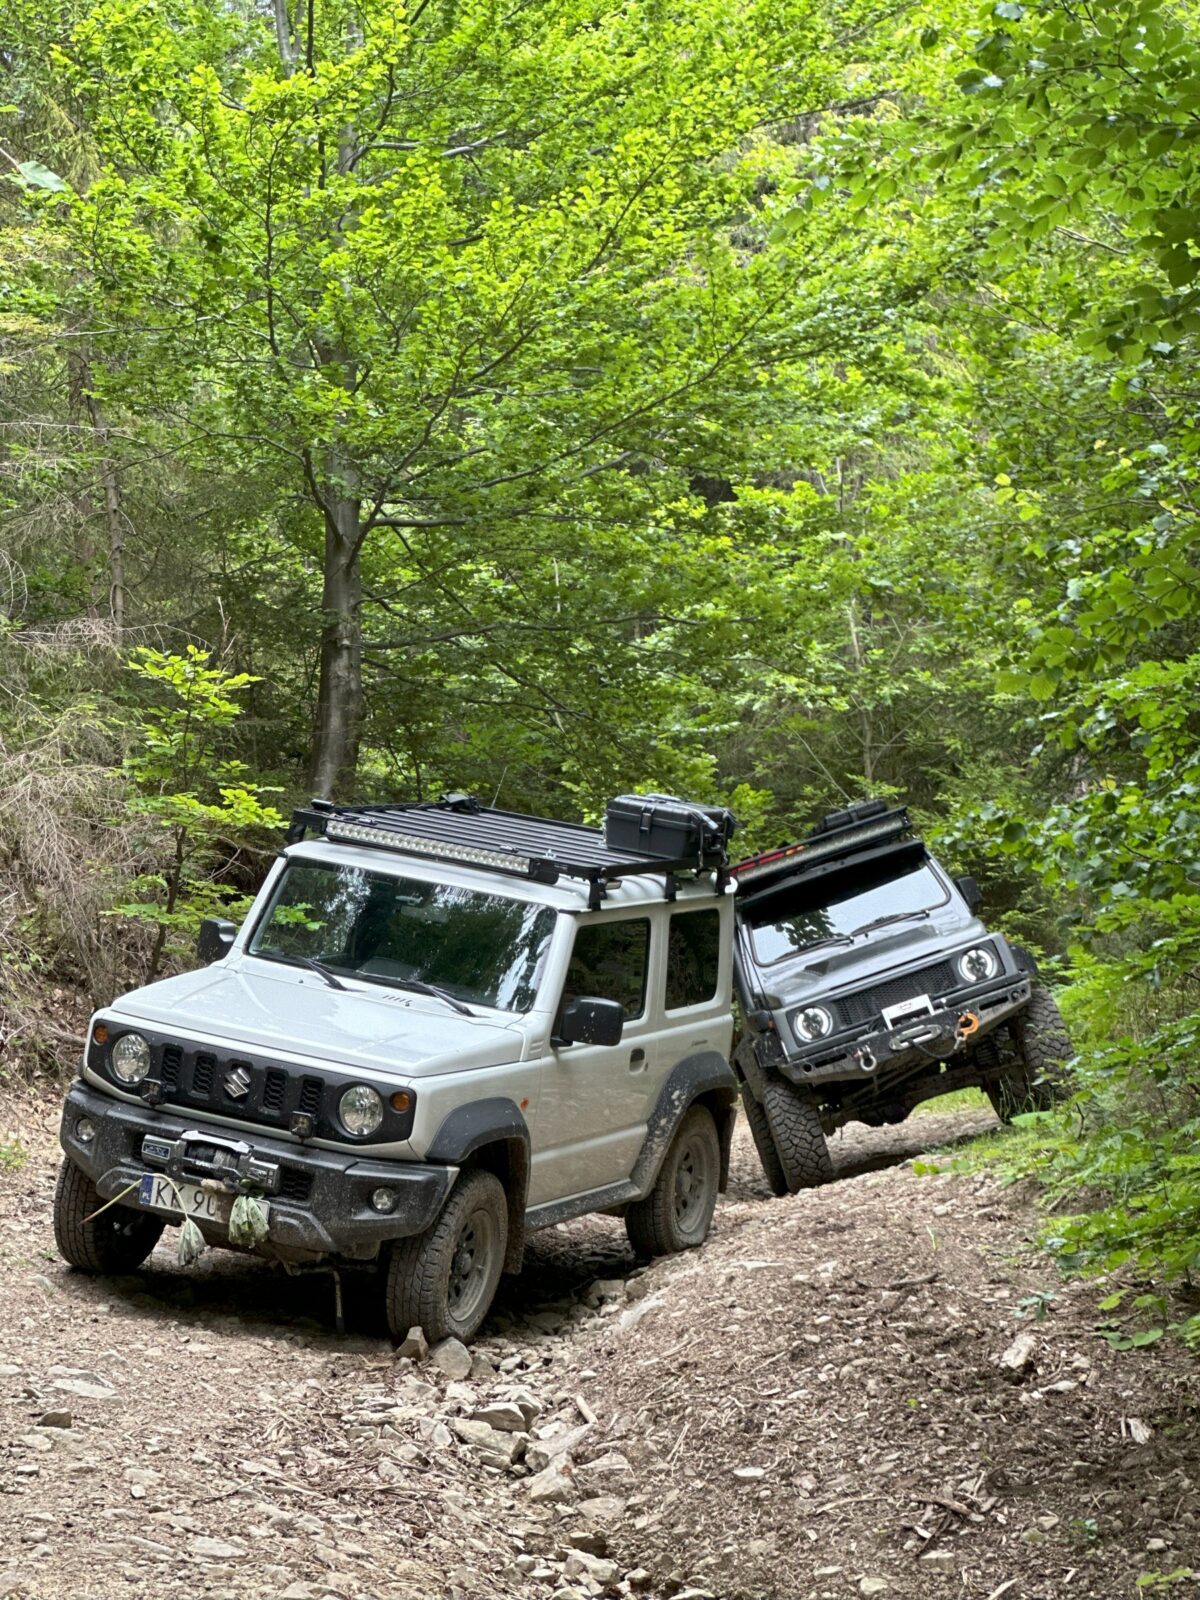
Ledbar Siberia Next Level 38″
A powerful beast that gives a lot of light both at a distance and illuminating what is on the sides. Even though this LED bar is not bent, it shines wide, giving enough light to the sides of the vehicle.
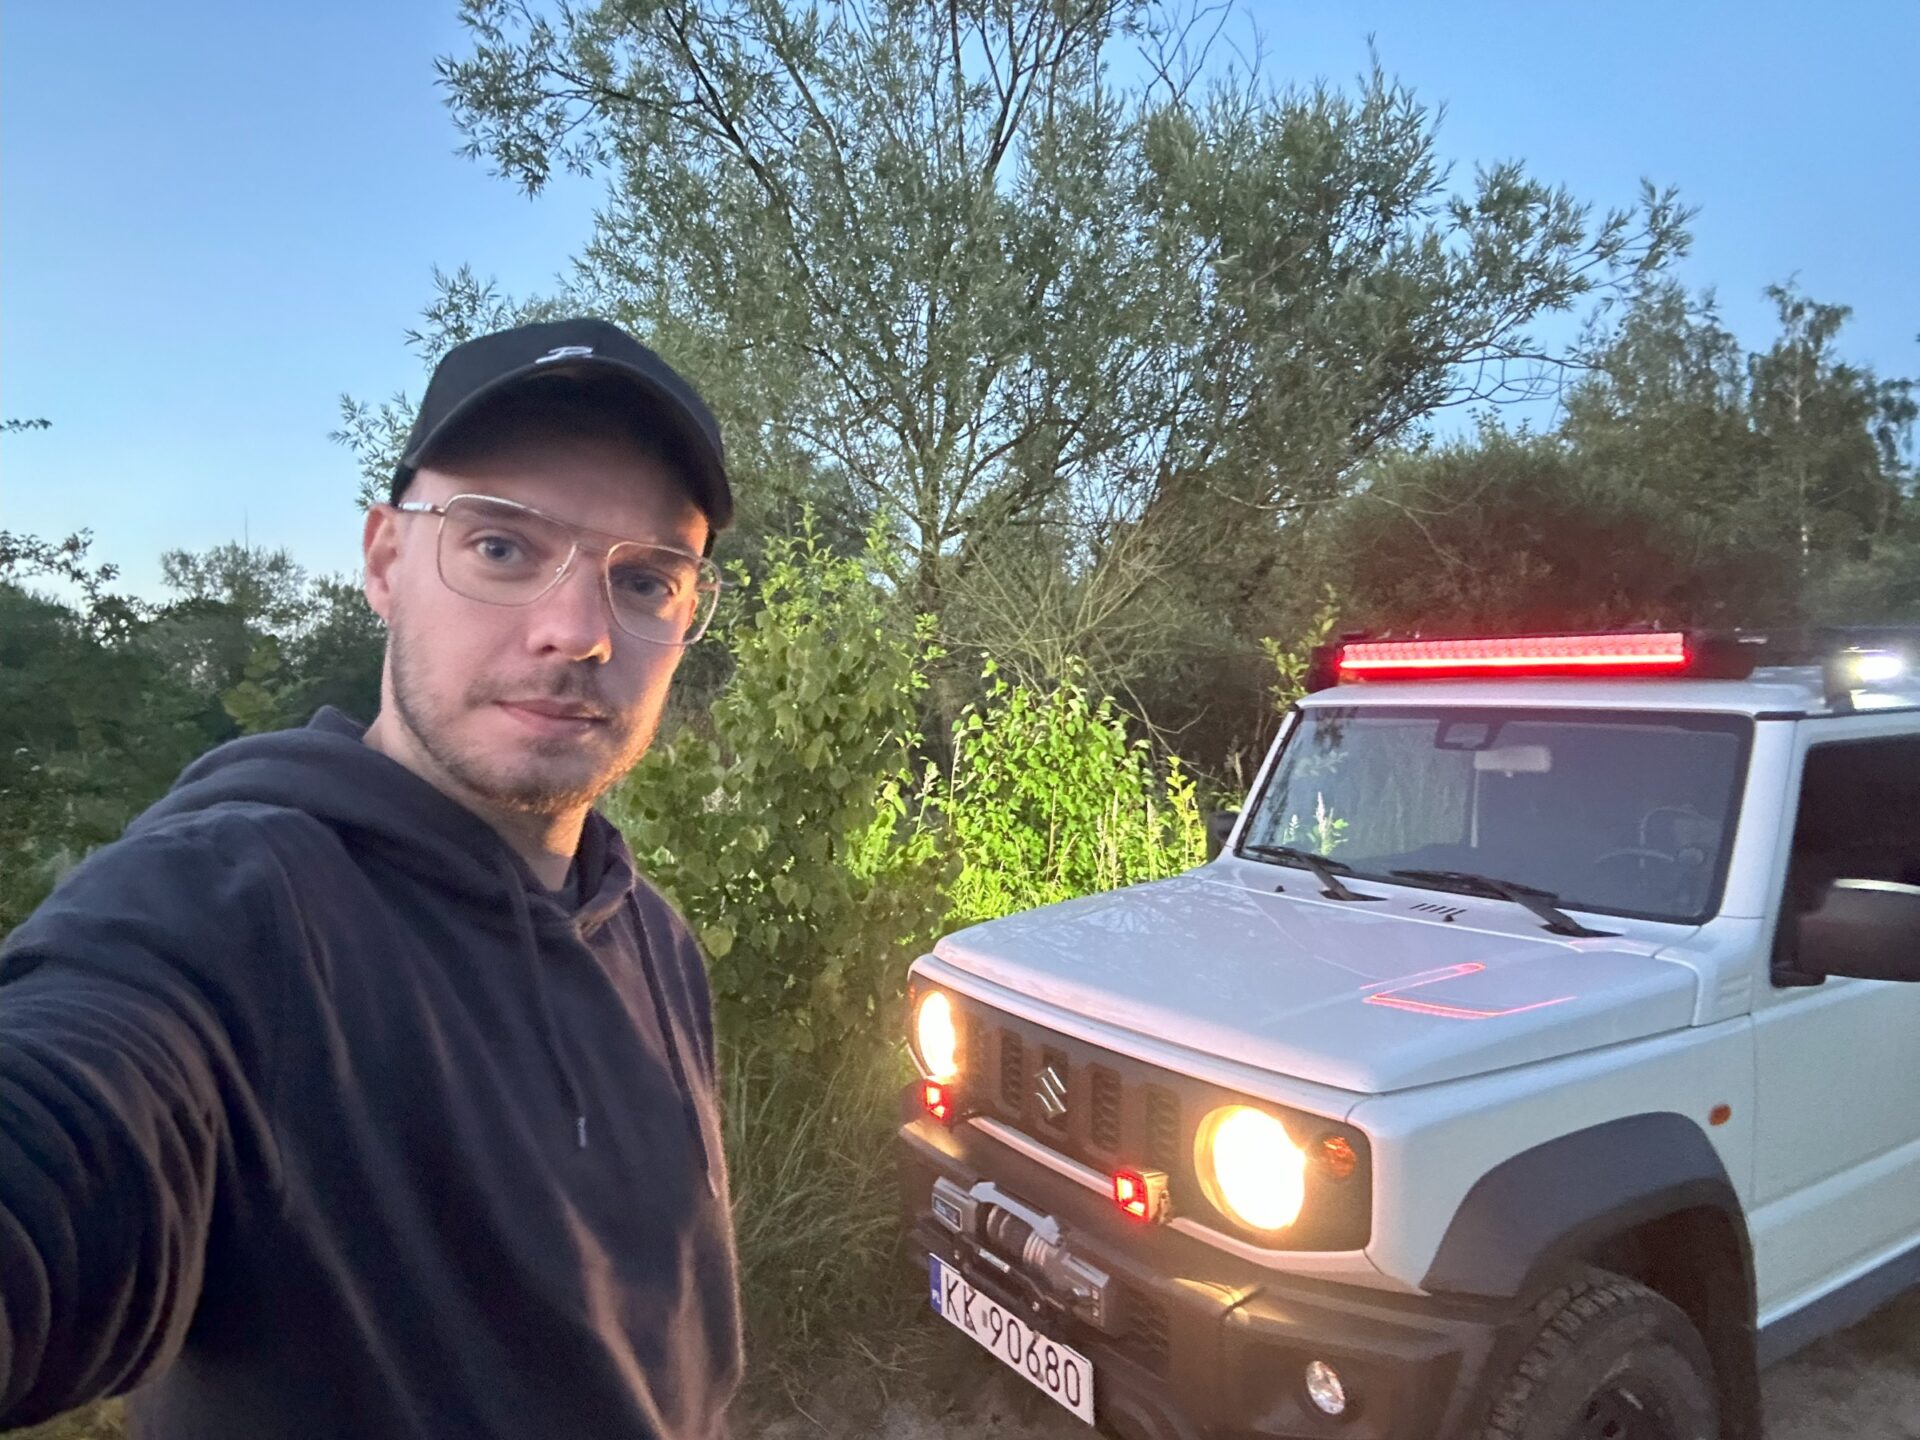
Mounting the LED bar above the windshield can limit visibility in dust, especially when driving in difficult off-road areas. Light placed high above the vehicle can reflect off the rising dust, dirt, or fog, creating a blinding effect. In such conditions, additional lights mounted lower – at the bumper level – work better, which minimizes this effect and better illuminates the road under the layer of dust. That is why two powerful Dark Knight Fortex work lamps hidden in a small housing were mounted on the front.
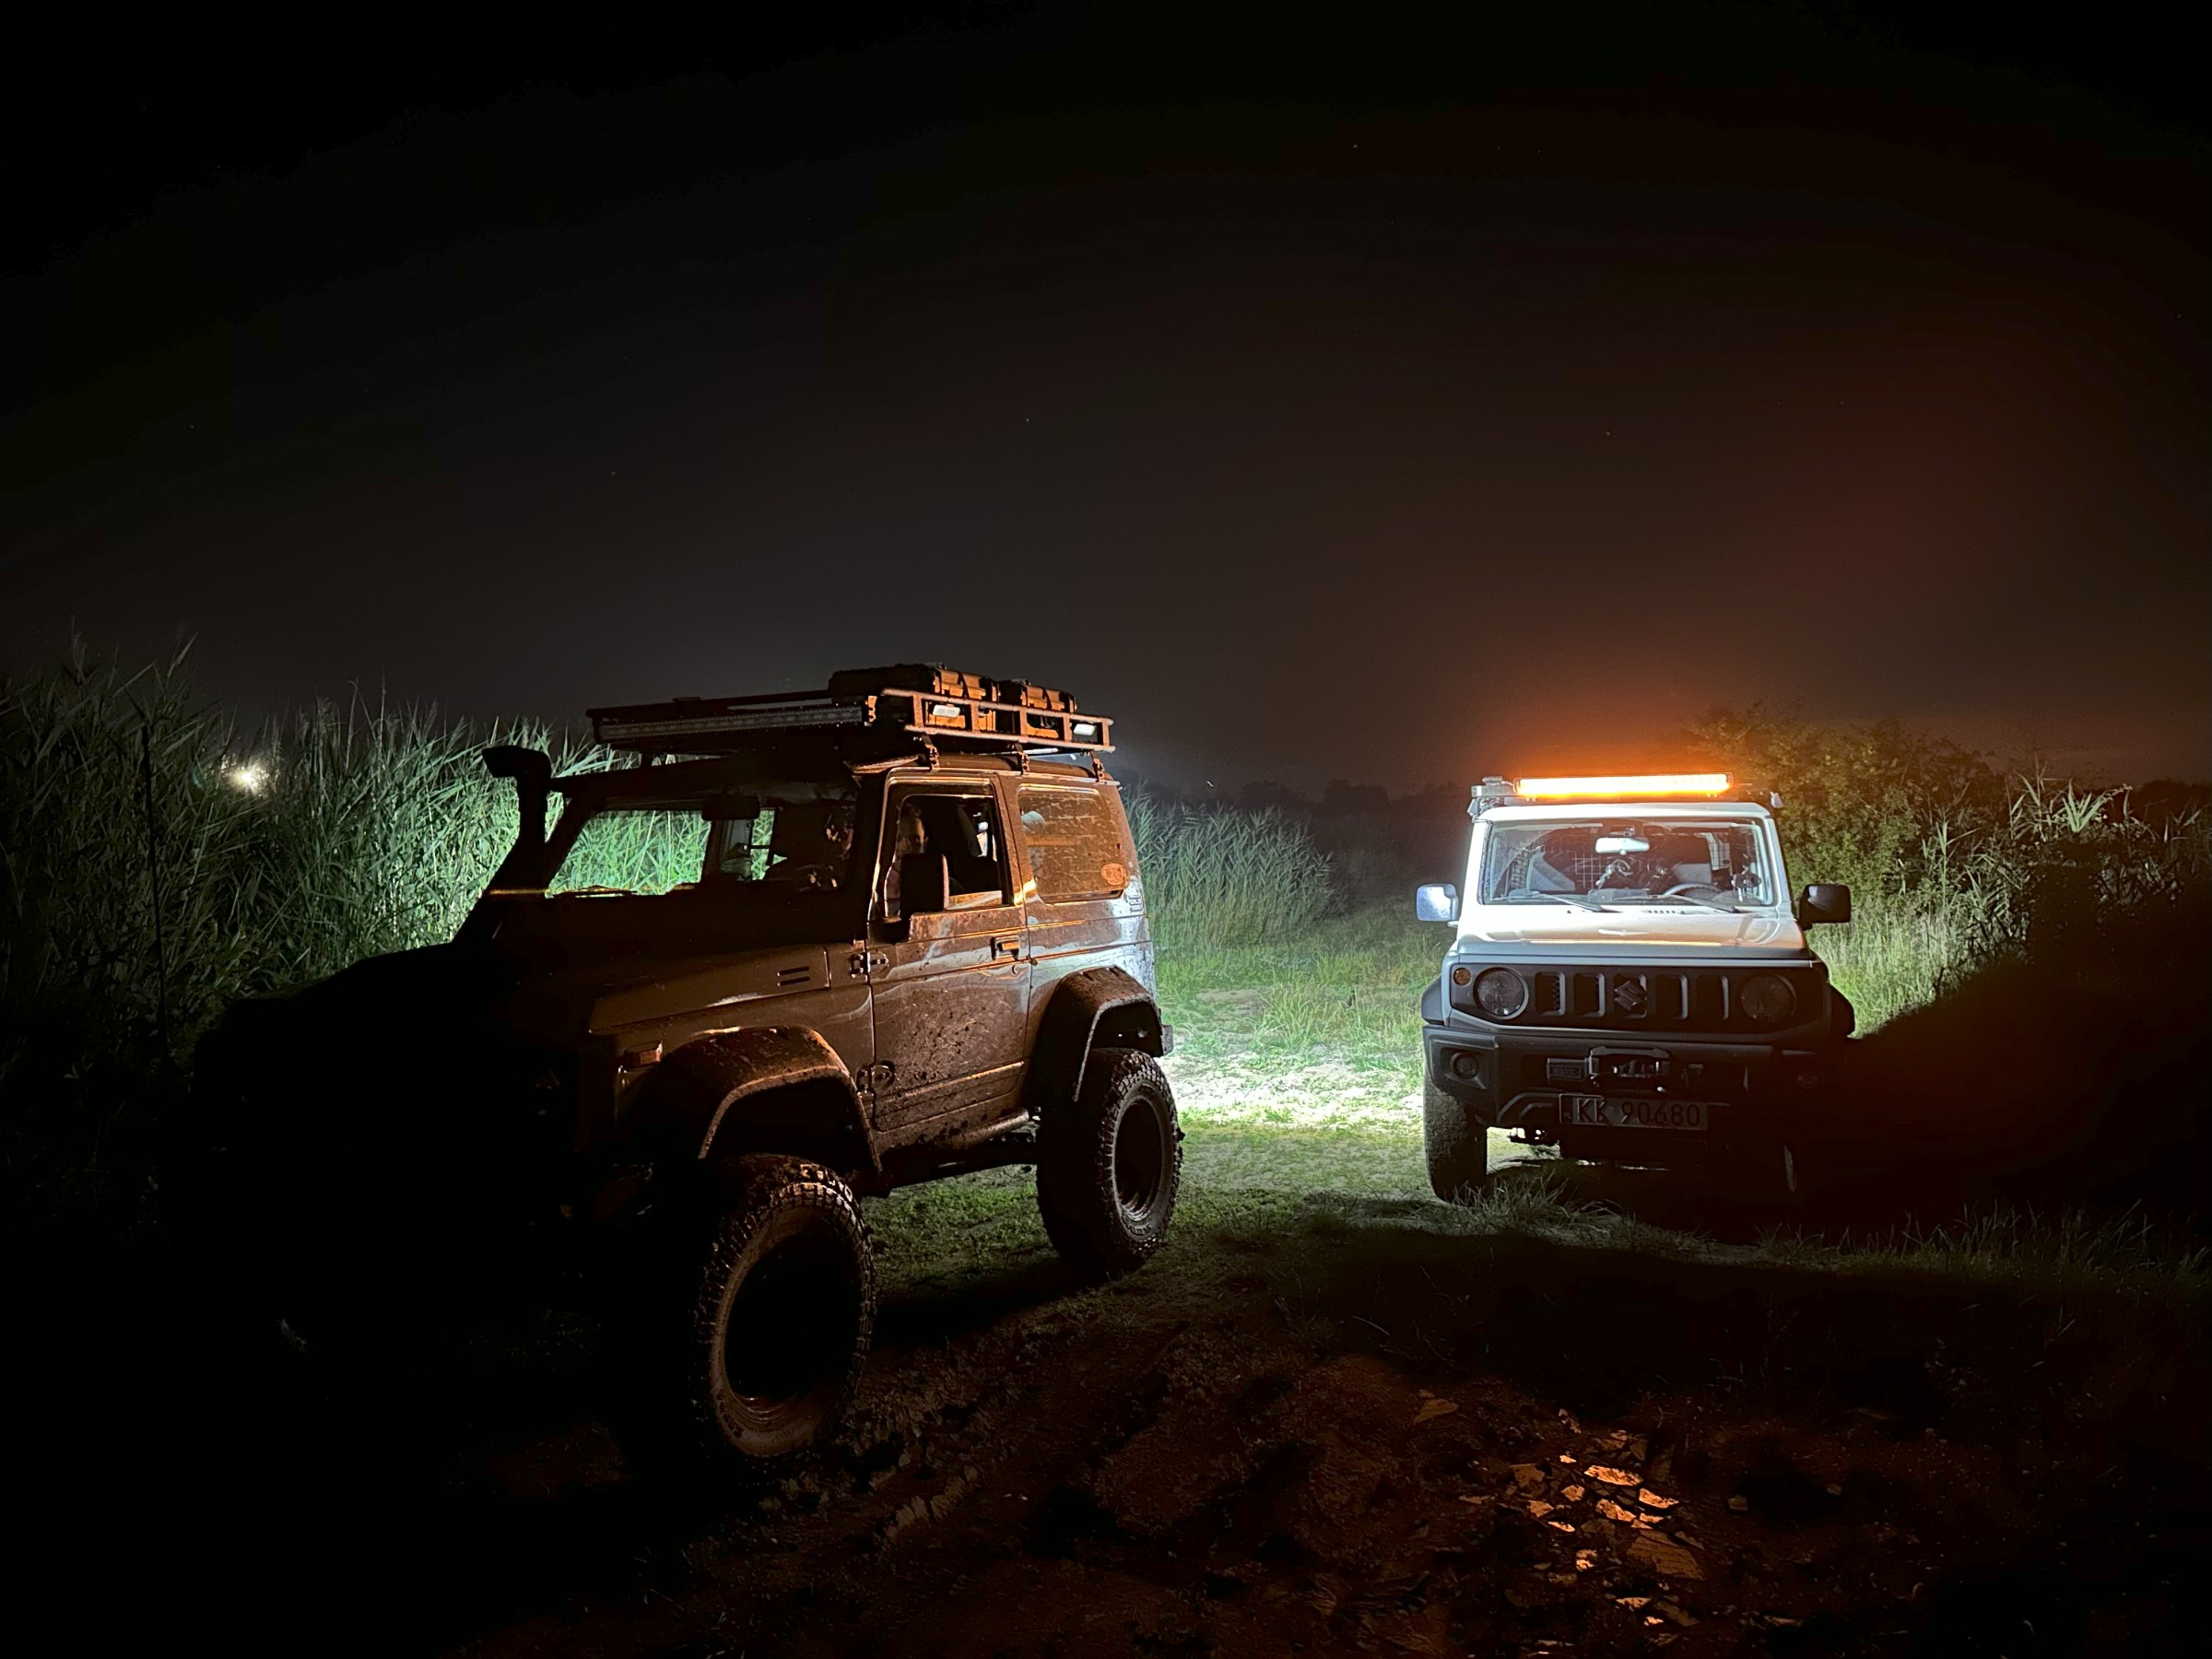
Dark Knight Fortex
The Dark Knight Fortex work light shines with a power of 3200 lumens, which in total gives a little over half the power of the LED bar. Its main advantage is the ability to adjust the color temperature of the light to current needs – you can choose between 4000K (for driving in rain or snow), 5000K, and 6000K (ideal for bright, cloudless nights). The lamp also has a red position light, which not only improves visibility but also gives it a characteristic, attractive appearance.
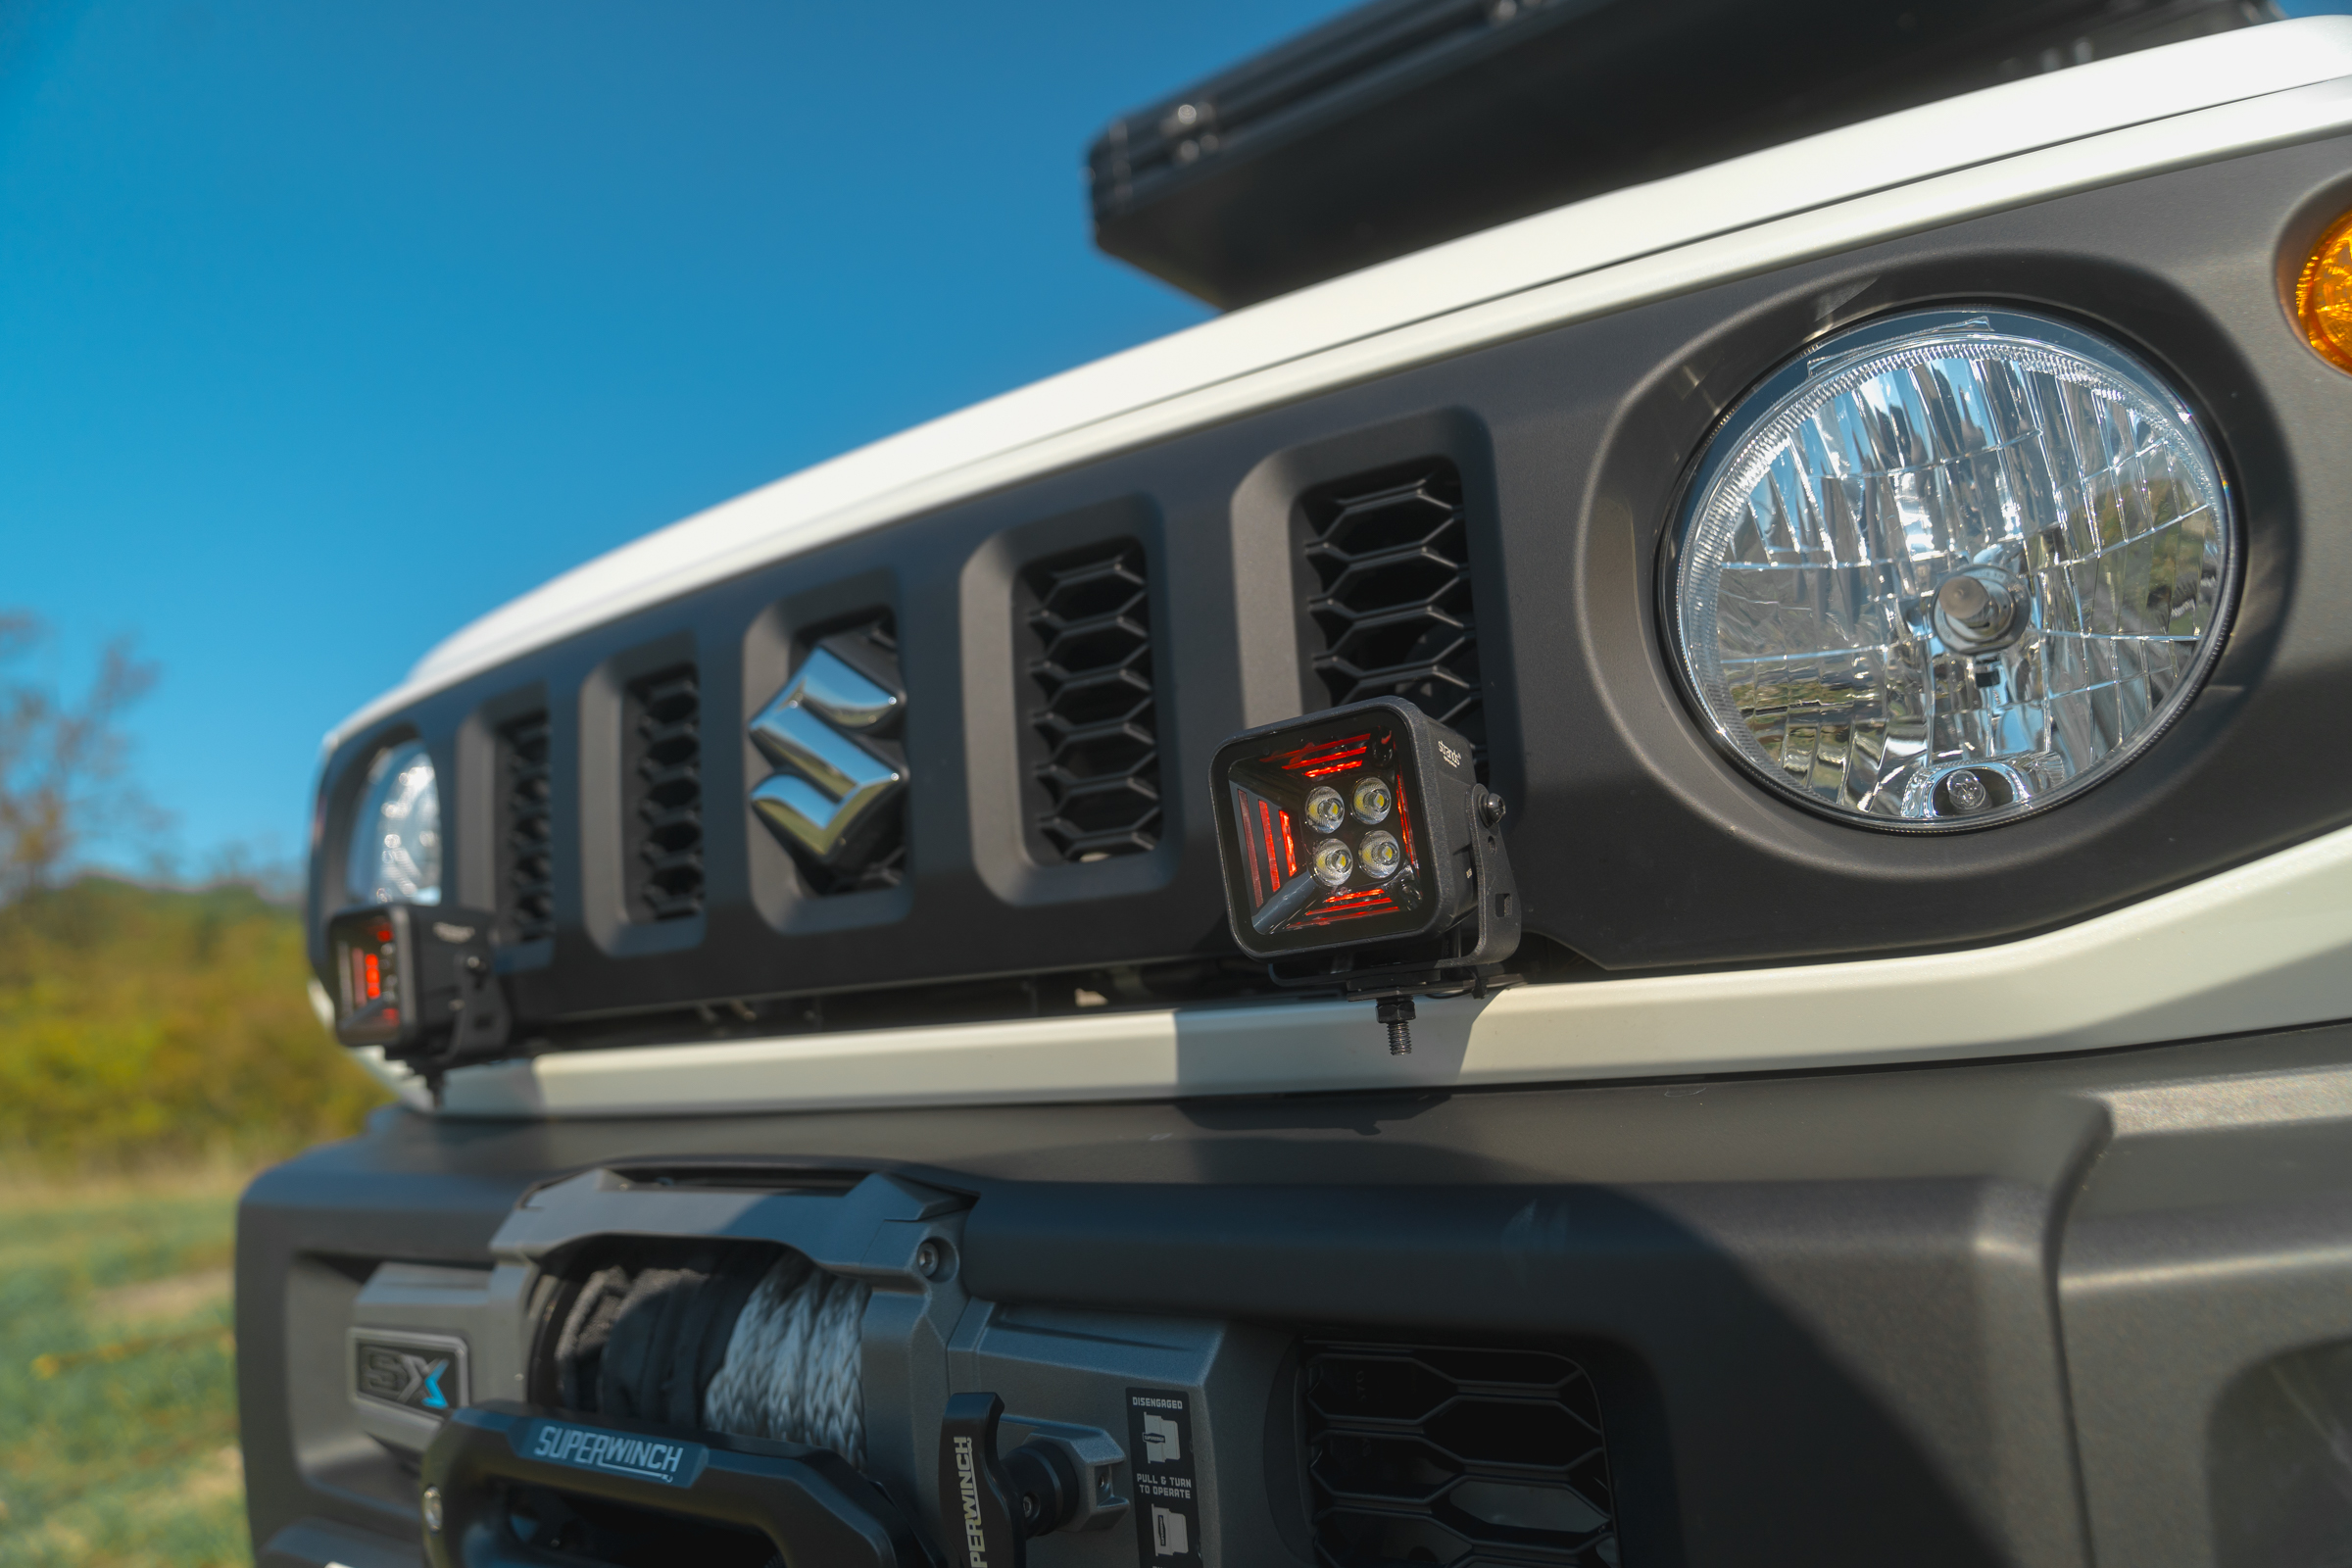
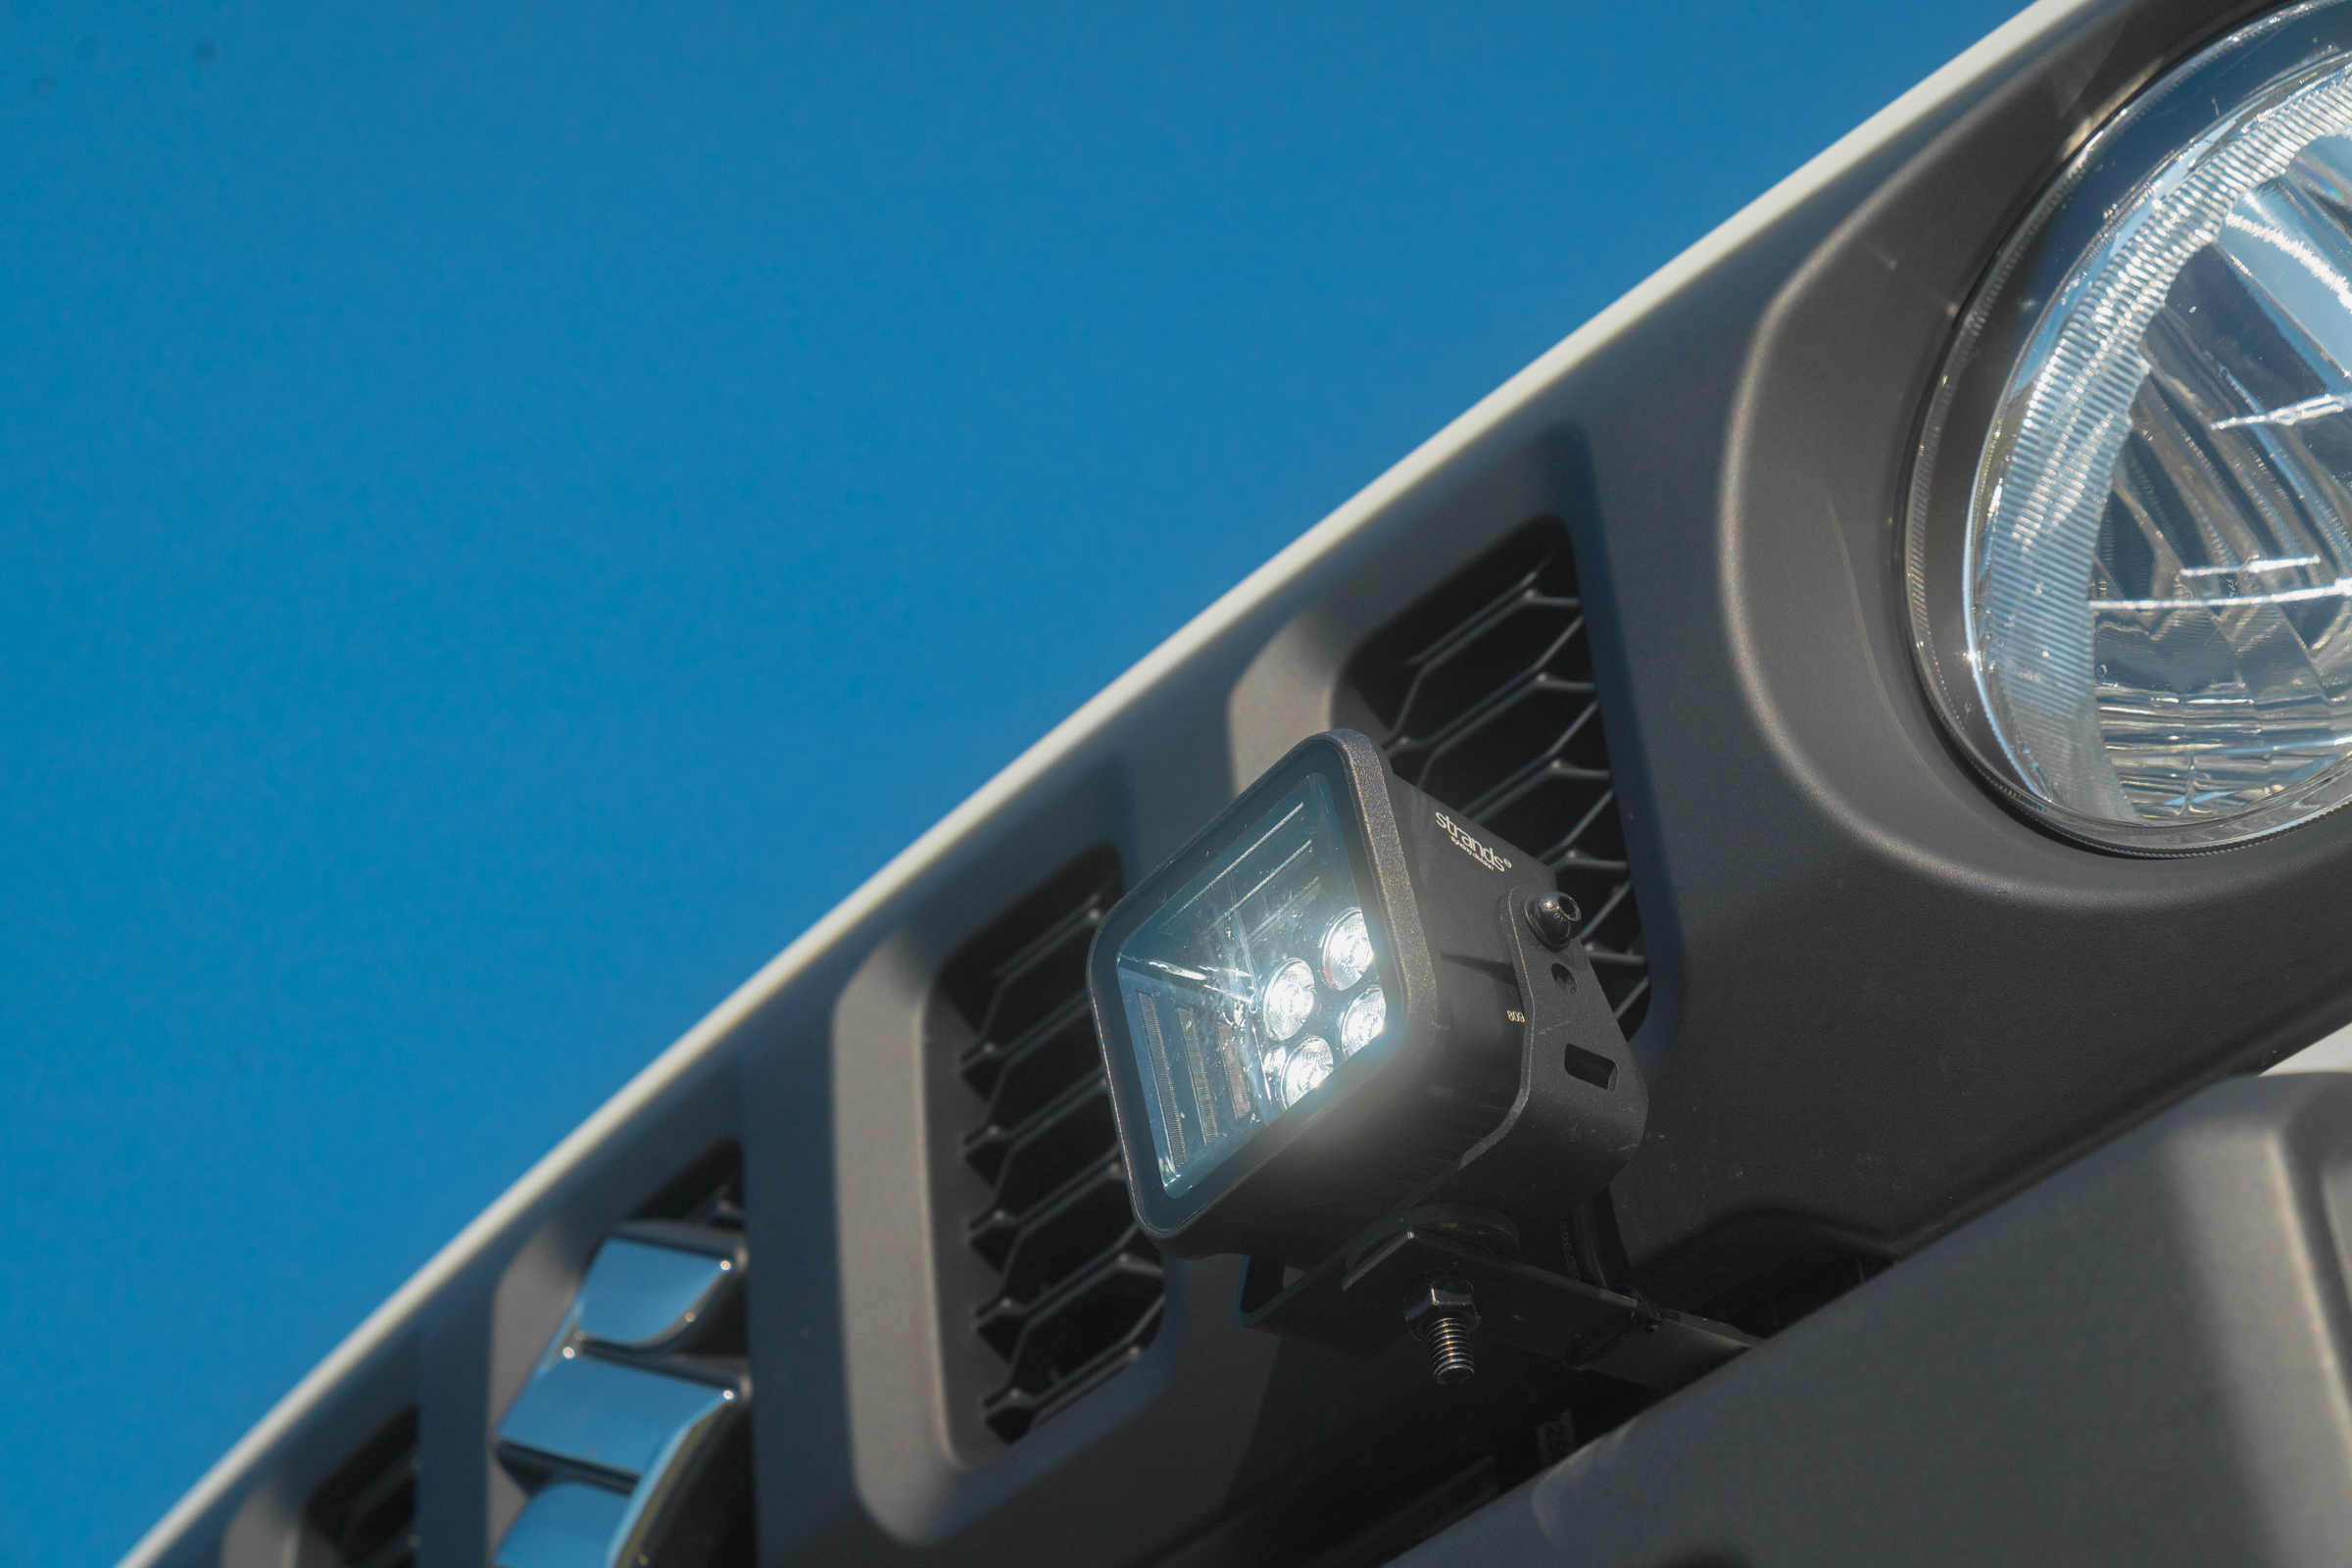
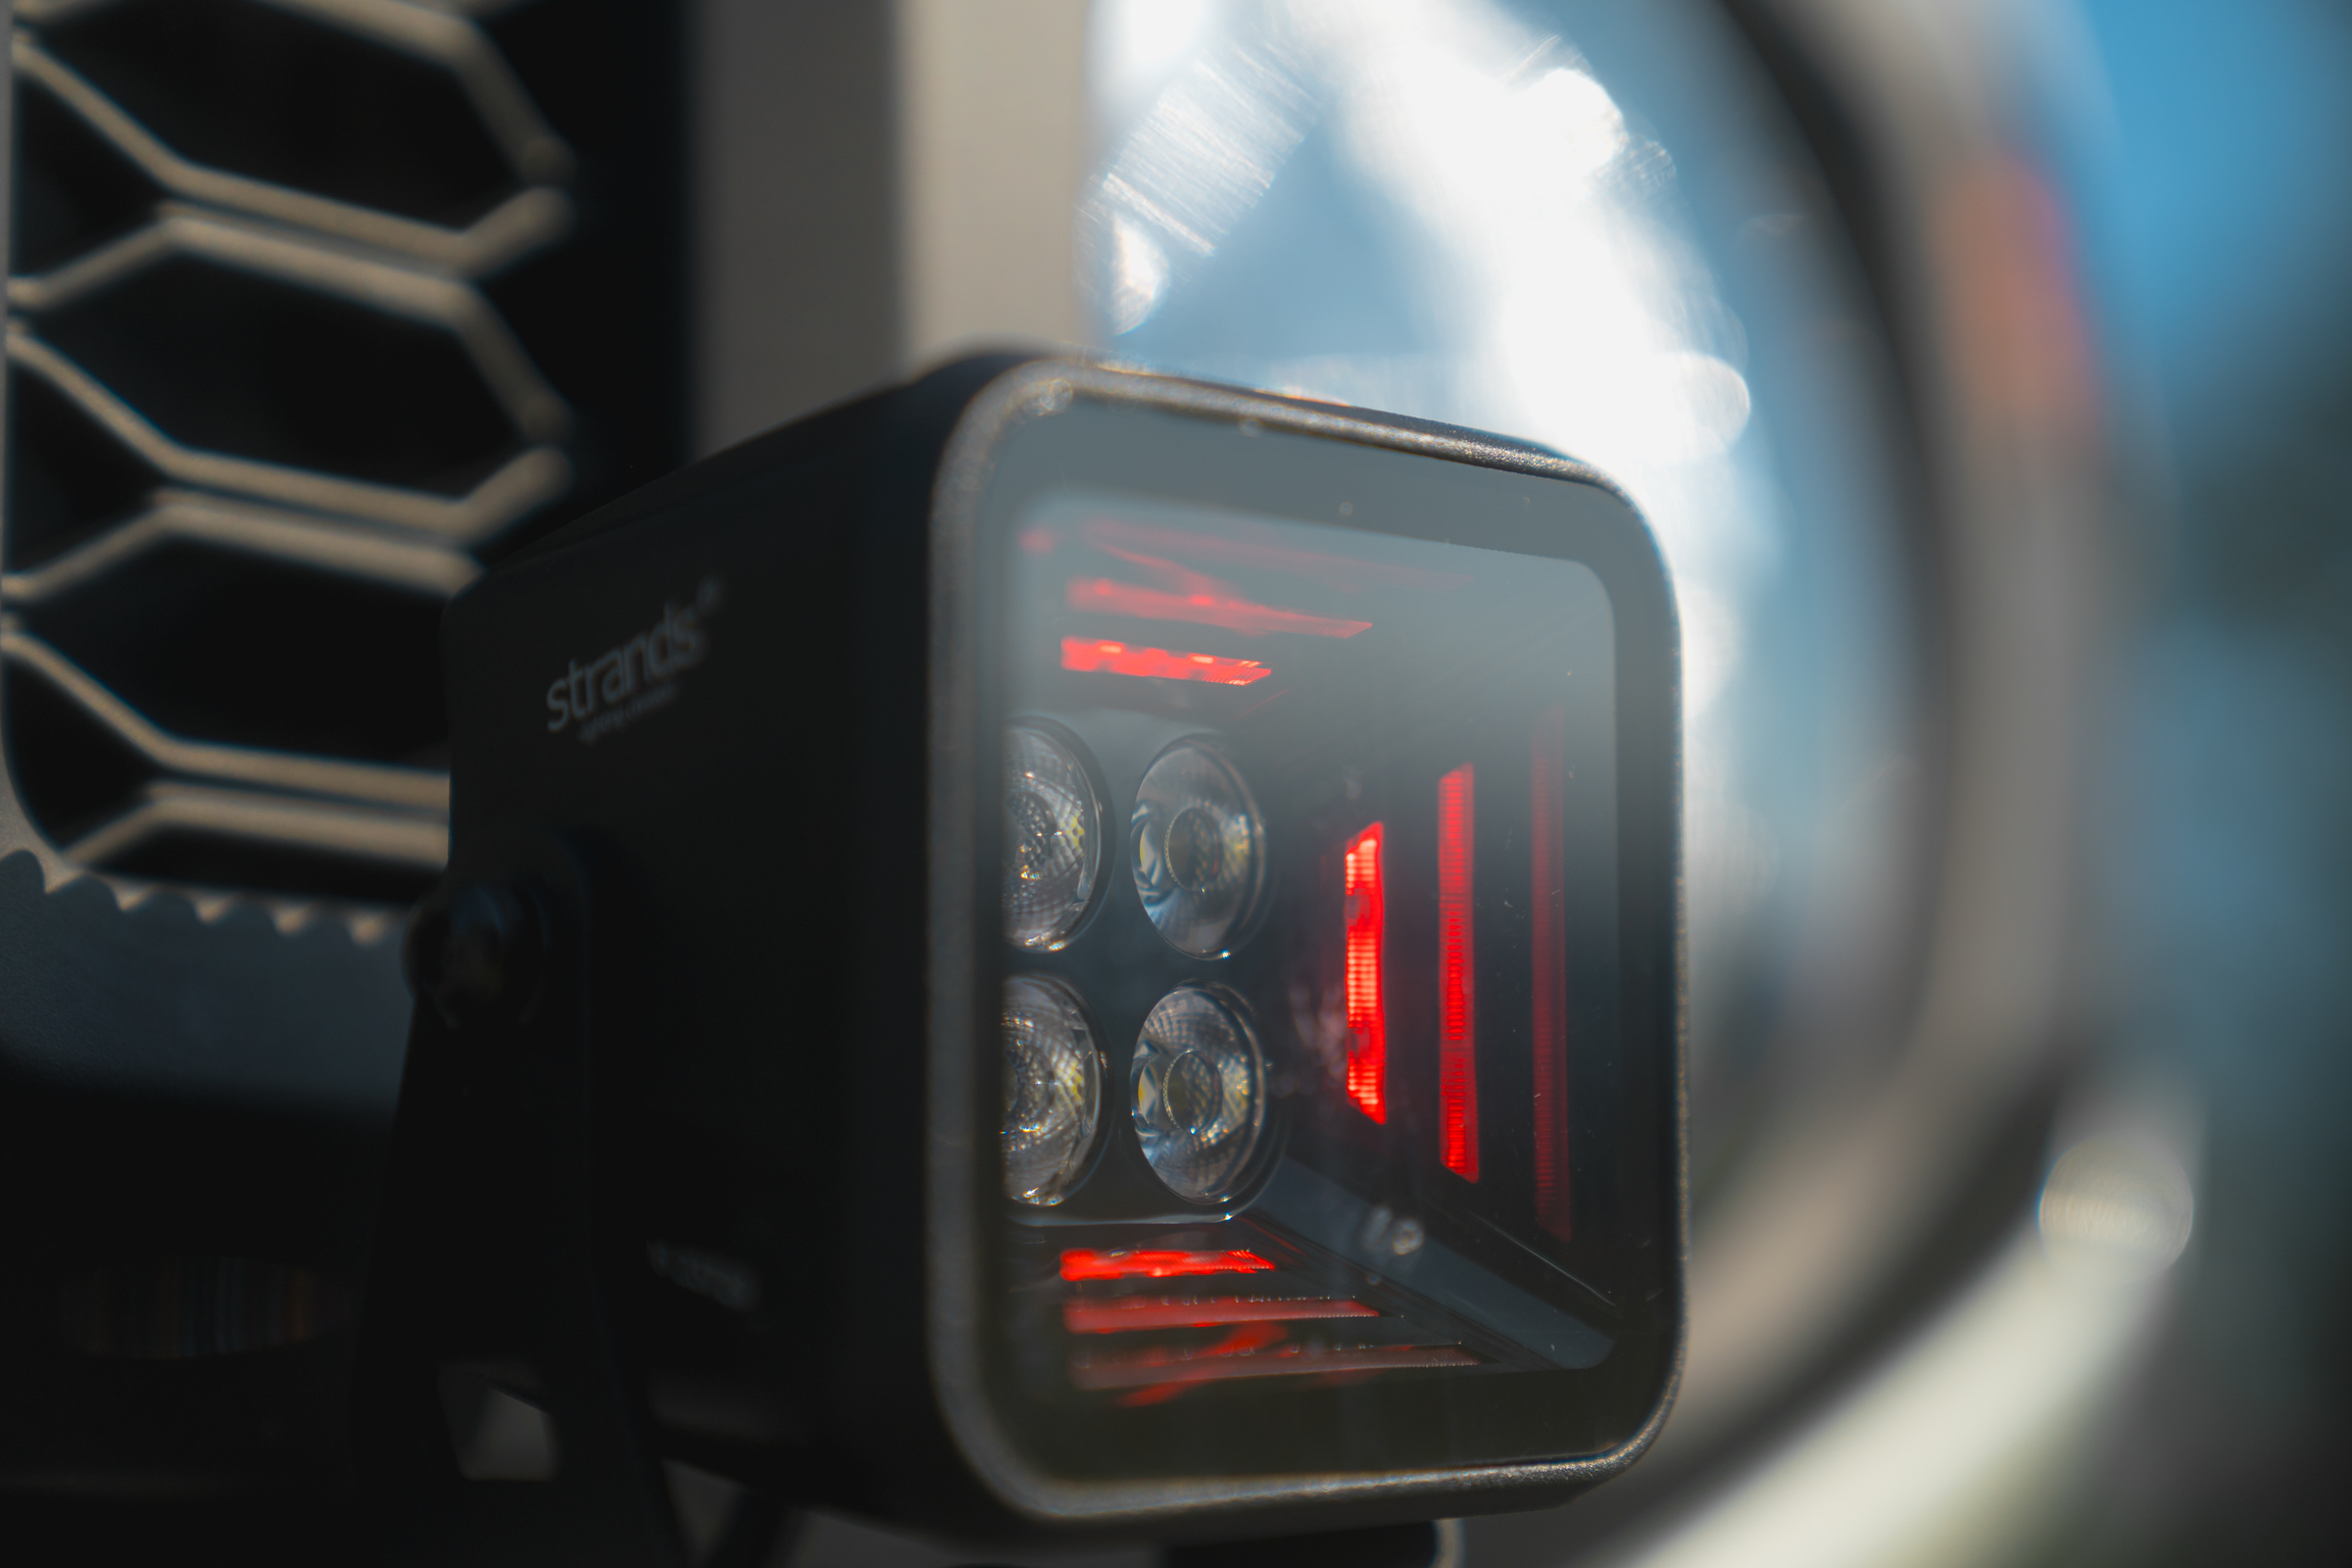
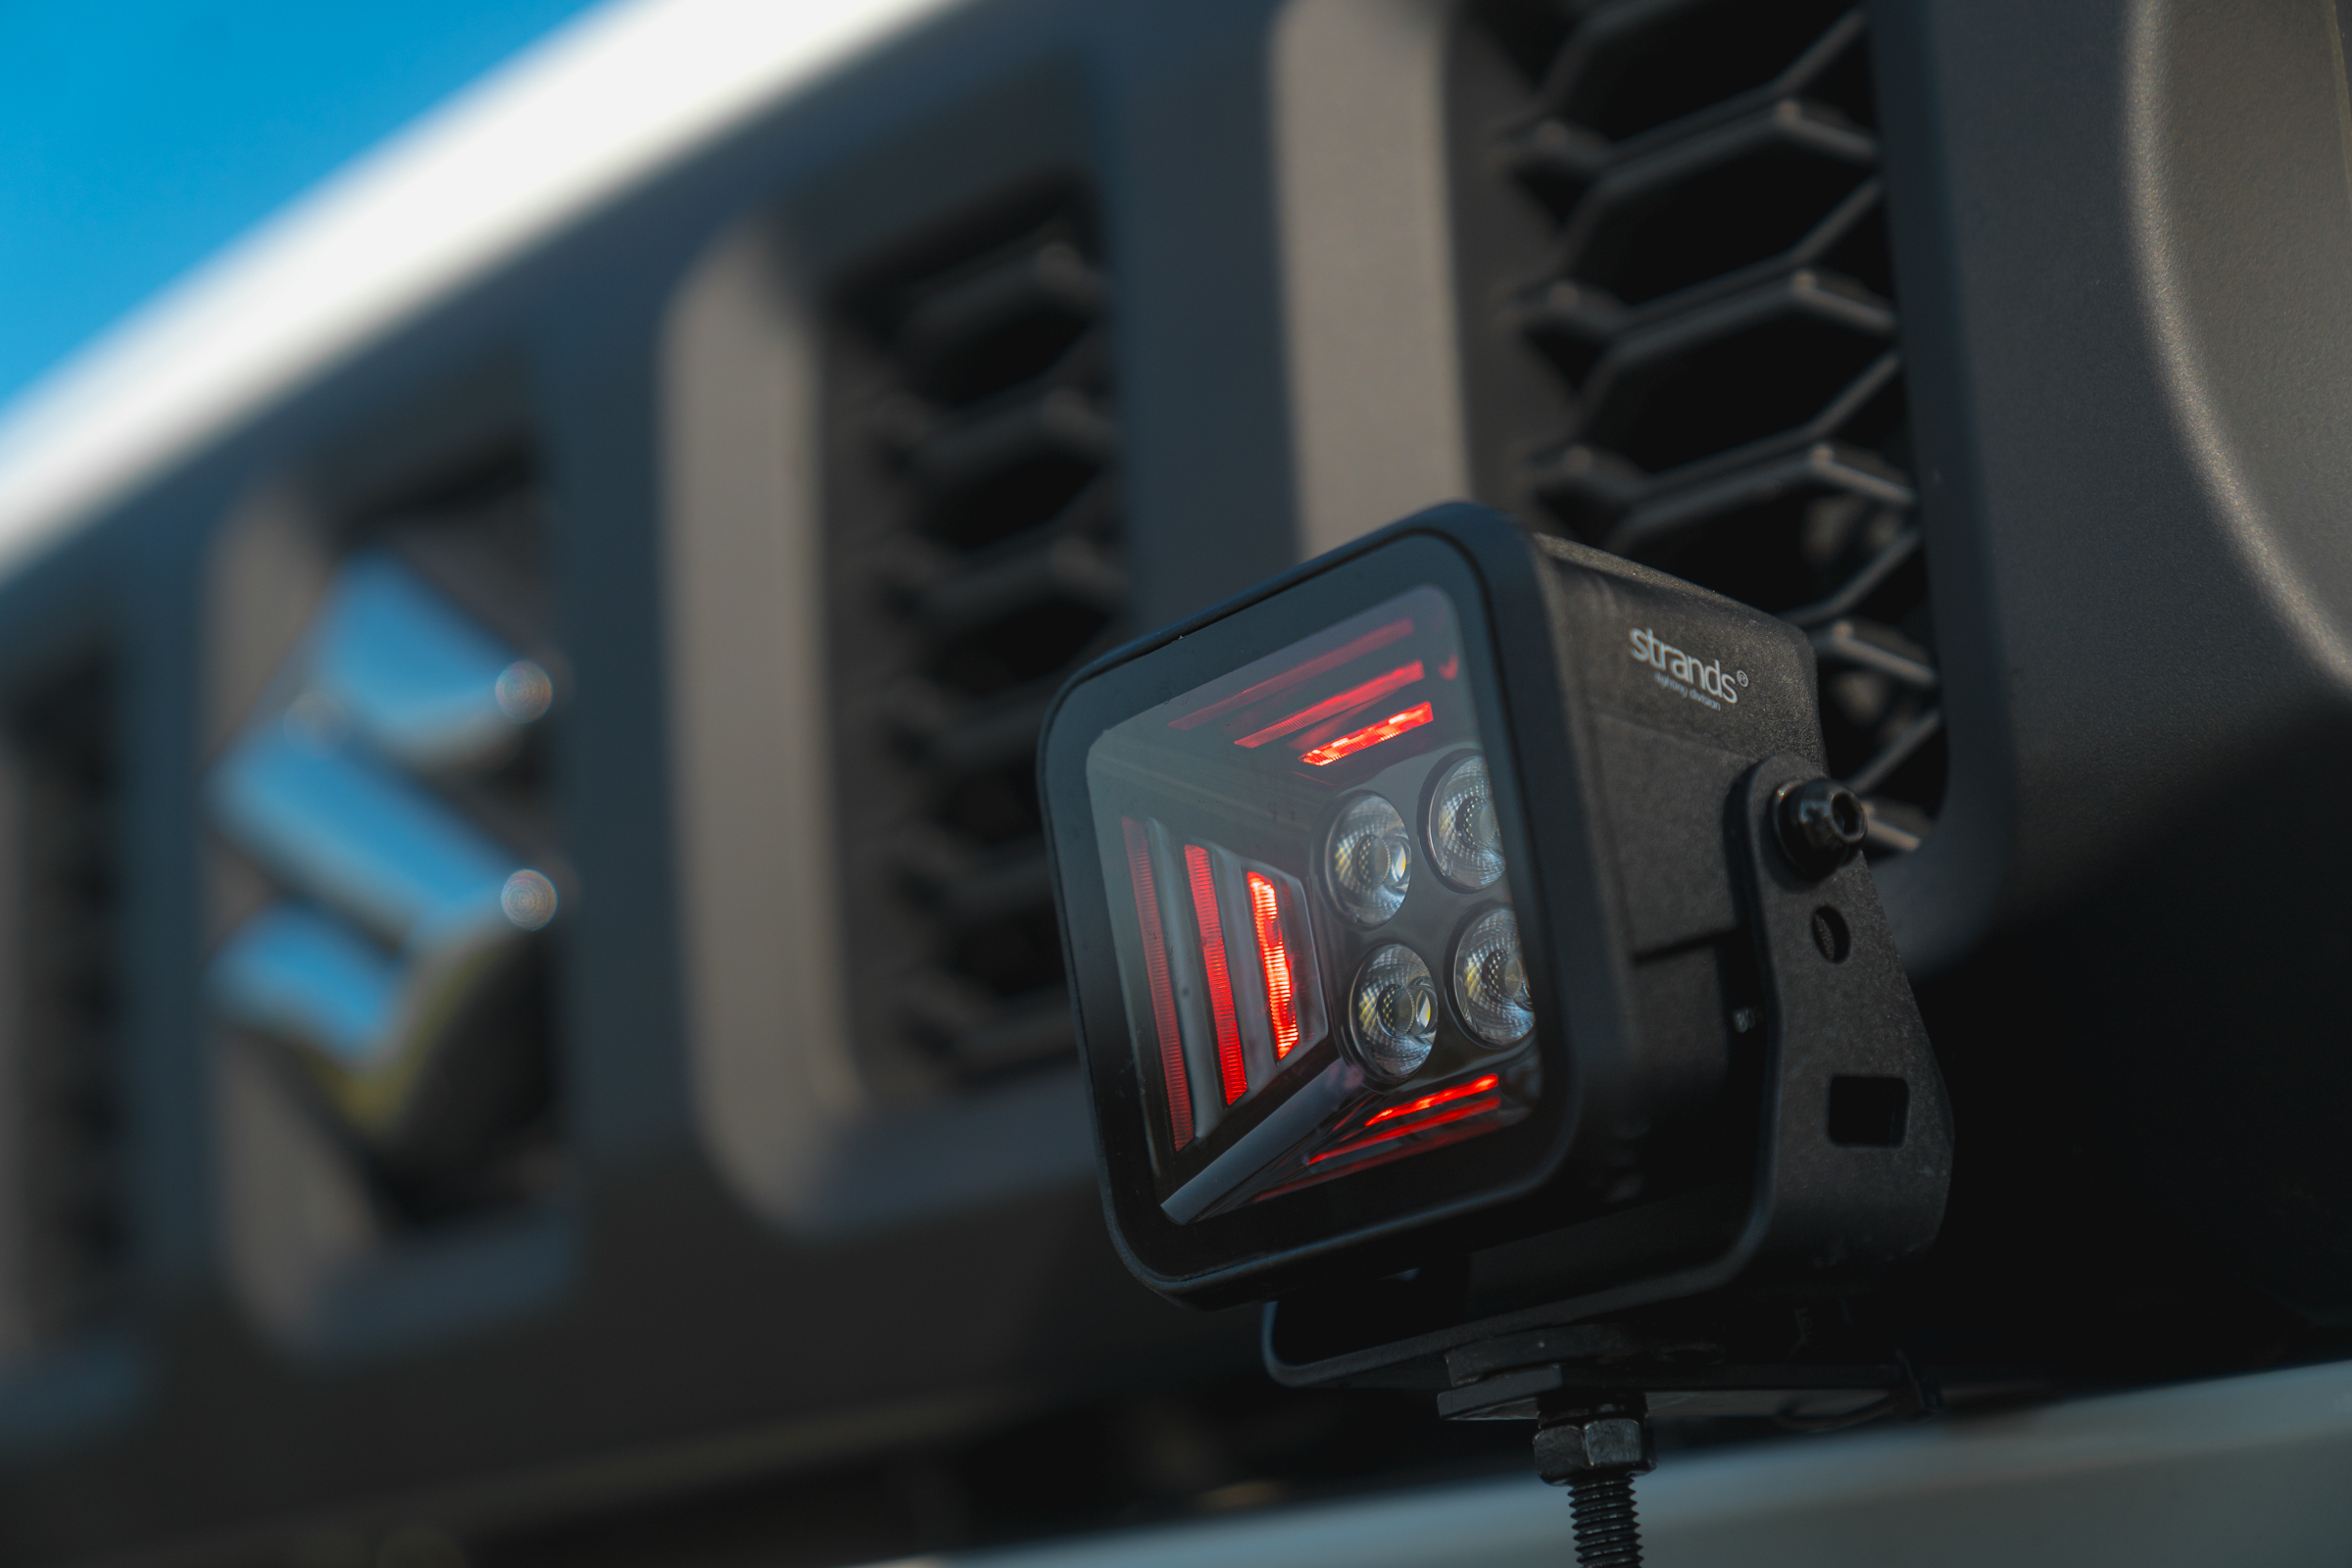
Fortex features a solid construction, covered with a special coating that protects against stone chips, making it extremely durable. It is also waterproof at IP68/IP69K, which ensures reliability in the harshest off-road conditions. Thanks to the 180-degree adjustment range, you can precisely adjust the angle of the light, and the DT4 connector prevents water and dirt from entering.
Side and rear lighting
On the sides went two cheapest 6 LED 18W work lamps with diffused light. The same one landed on the back. In this case, I cut costs. For now, I’m happy with the effect.
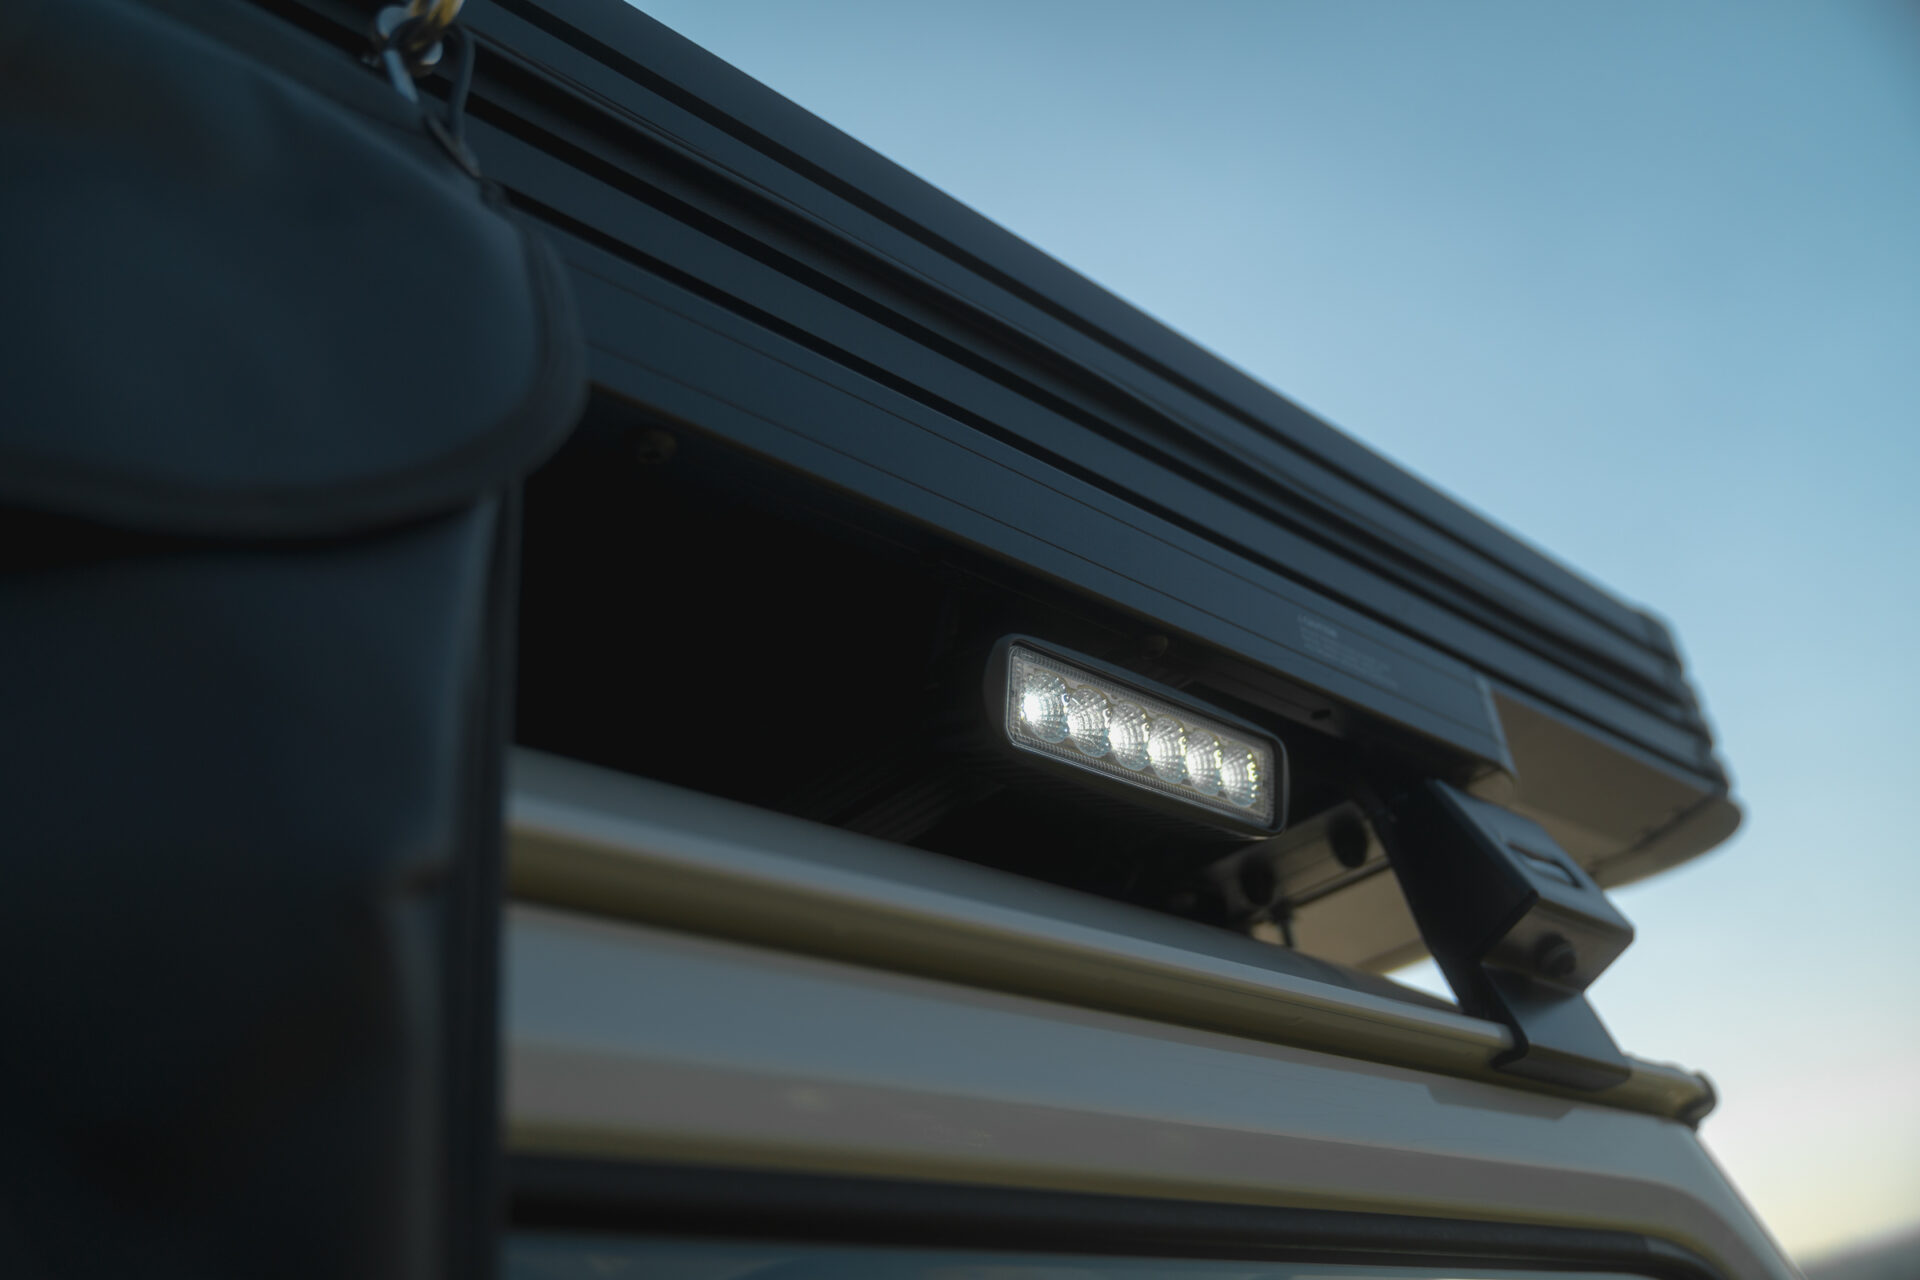
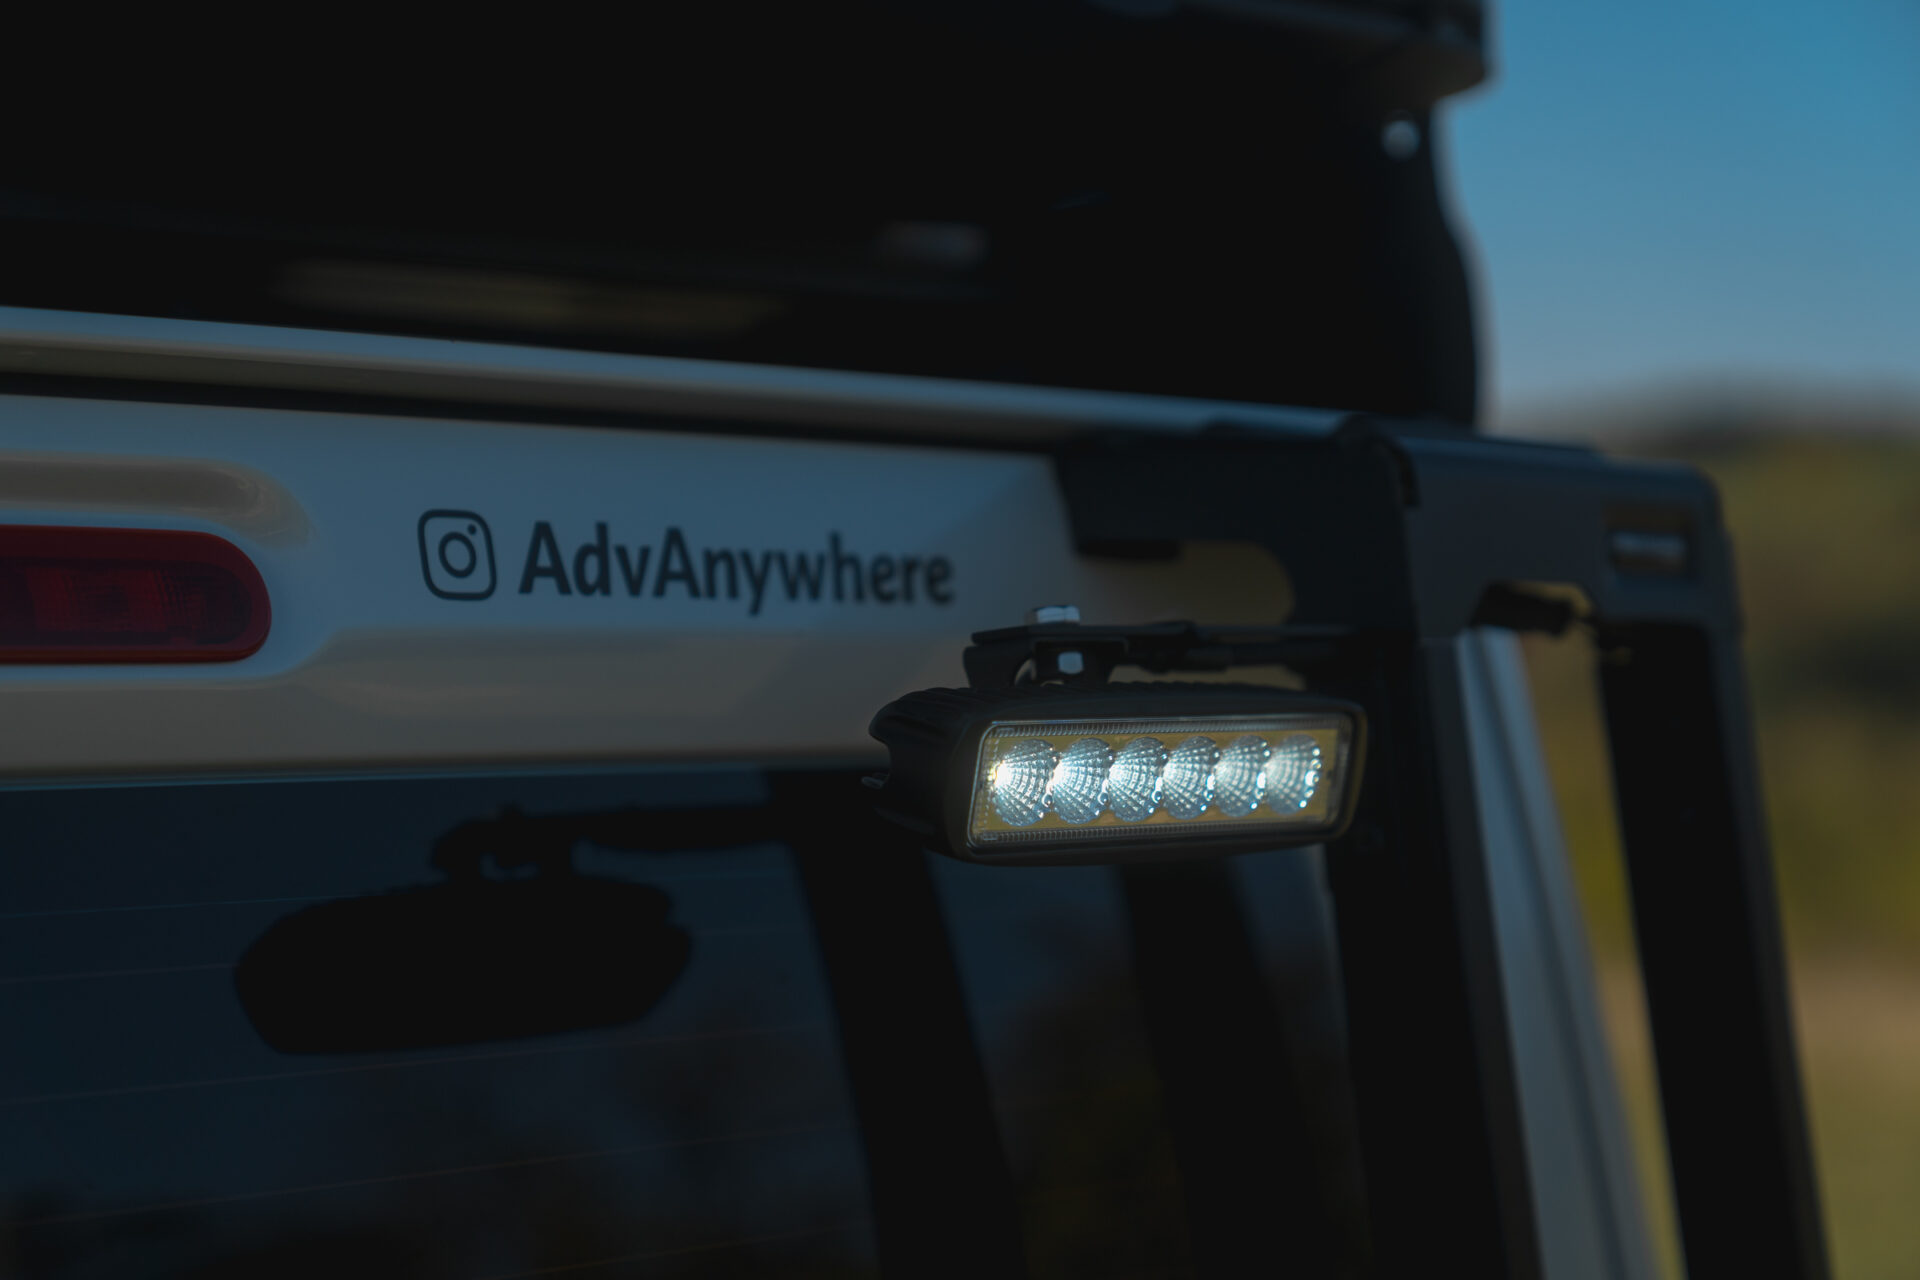
What I will definitely do additionally is cut out shades for these lamps from red transparent plexiglass, to have nice camping lighting that won’t glare during night cooking and resting.
The rear lamp was mounted on the Front Runner ladder. The cable ran easily through the seal into the interior, where it then runs under the plastic to the controller.
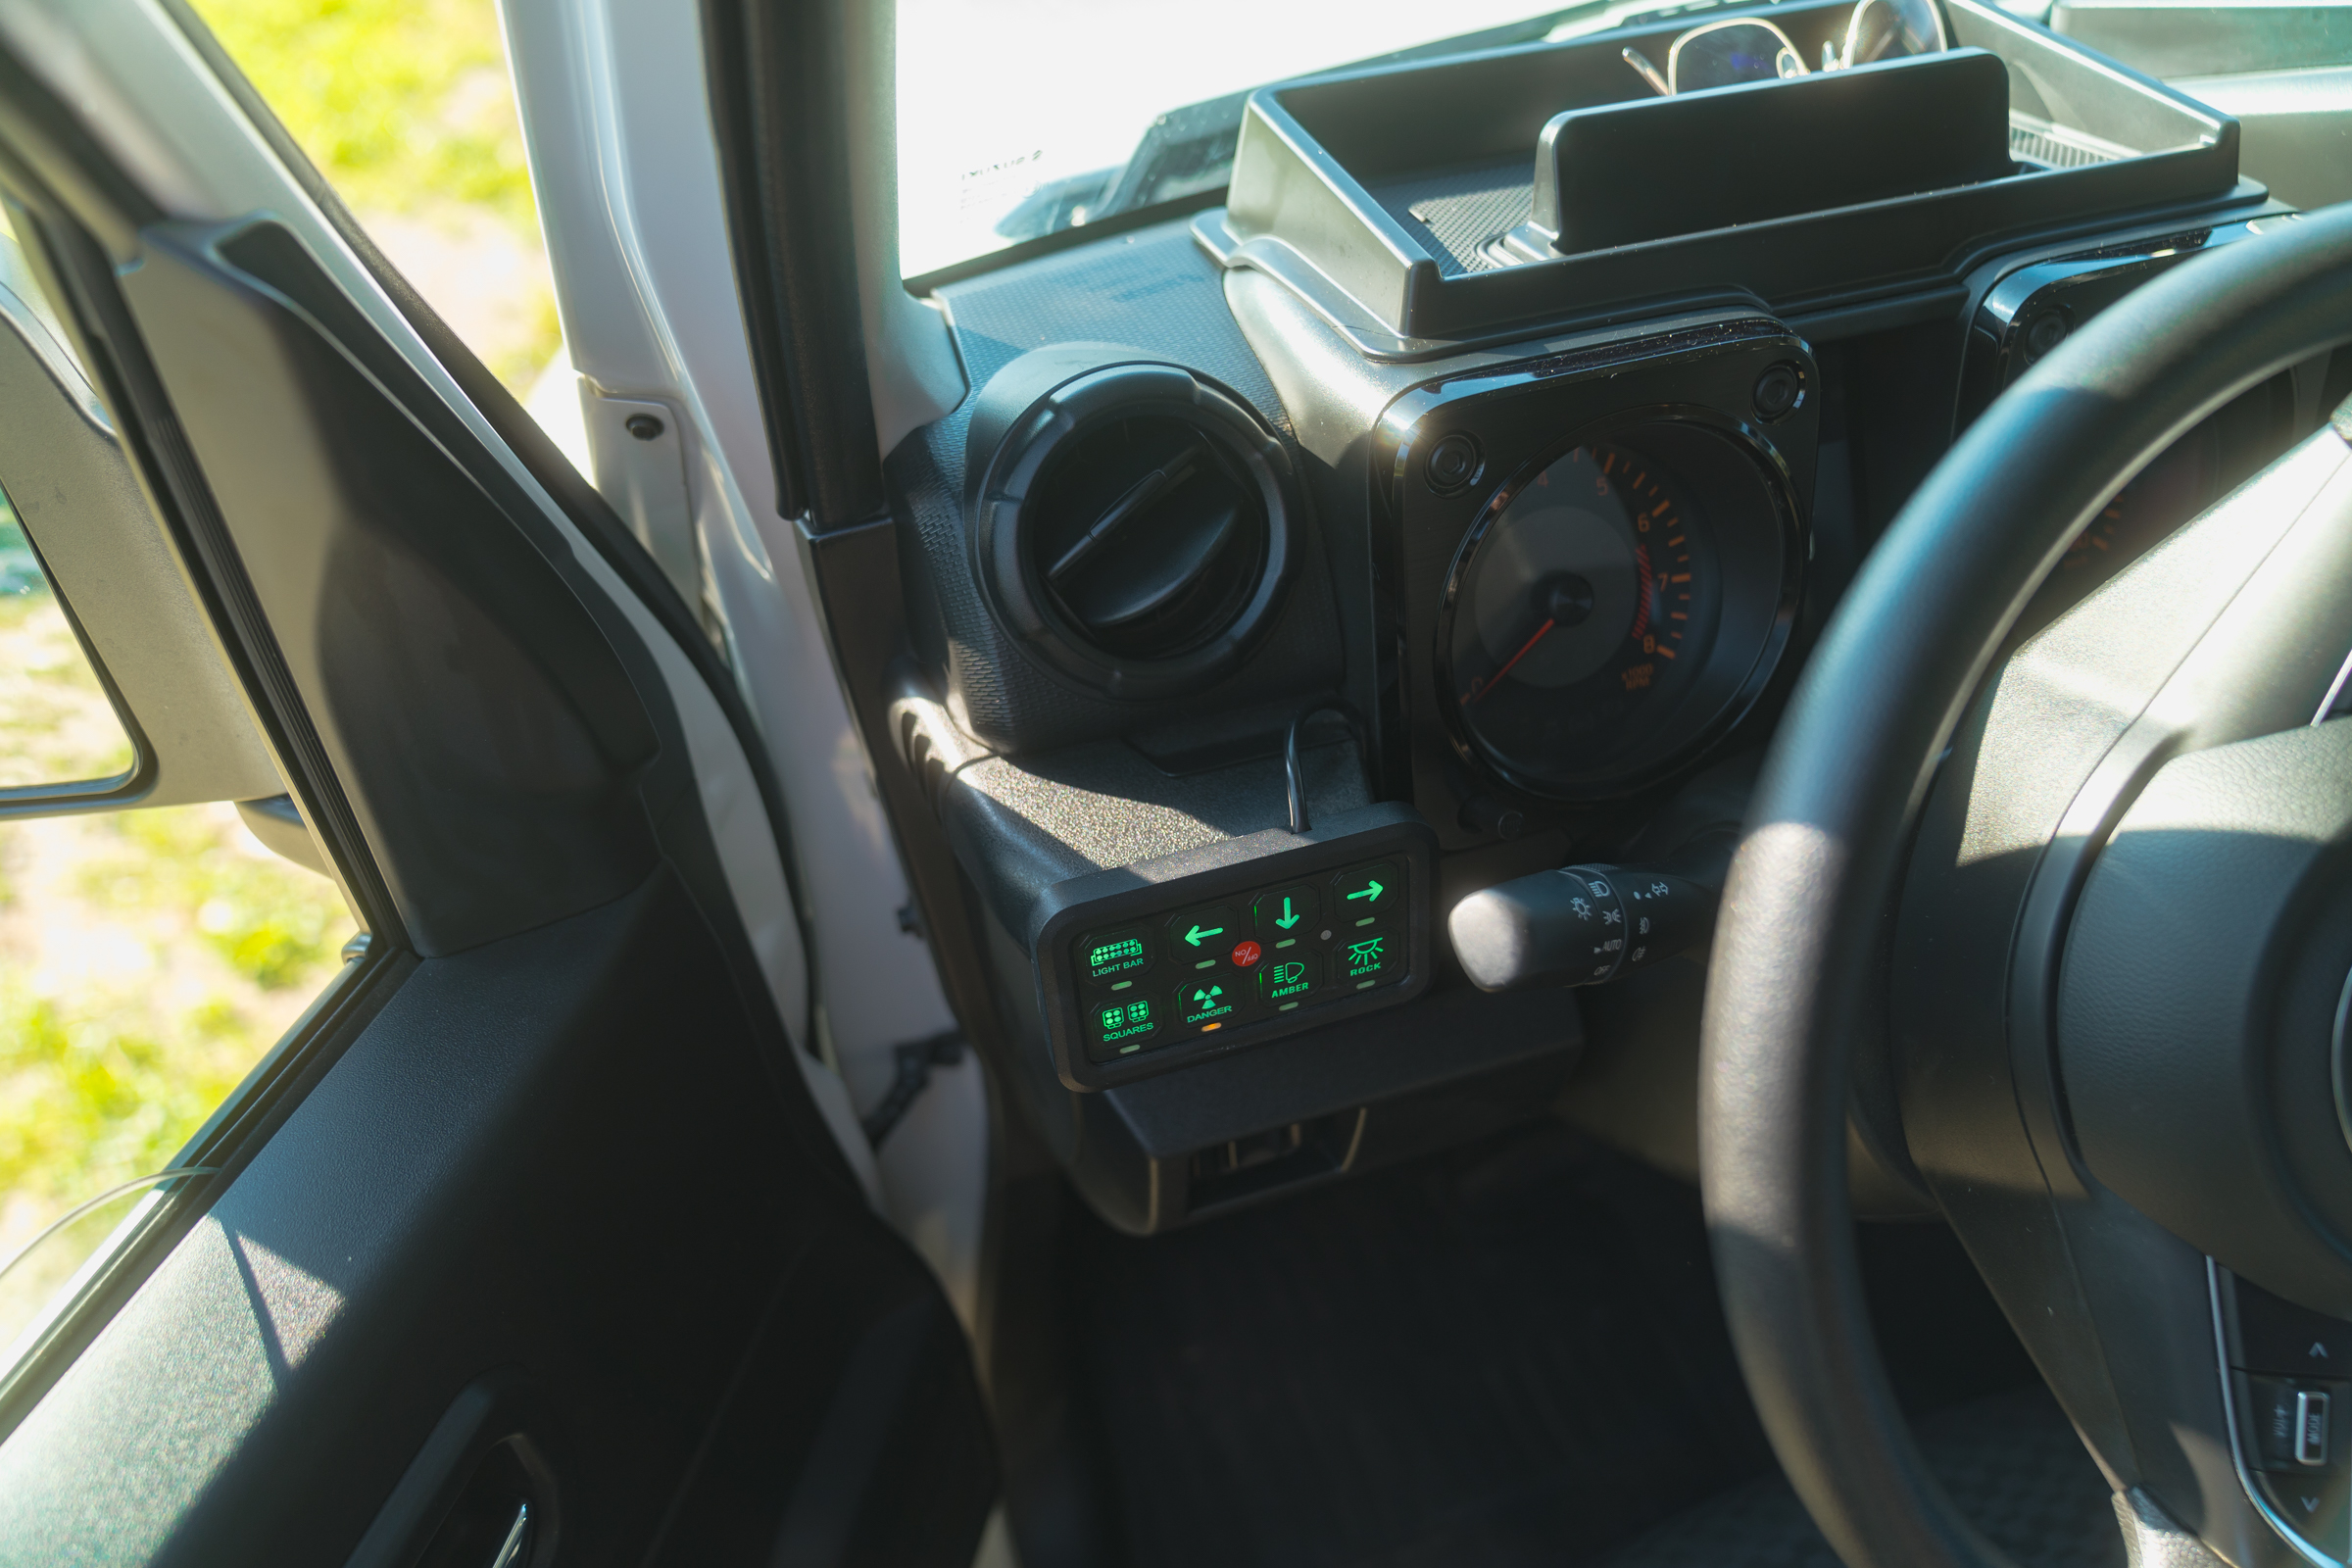
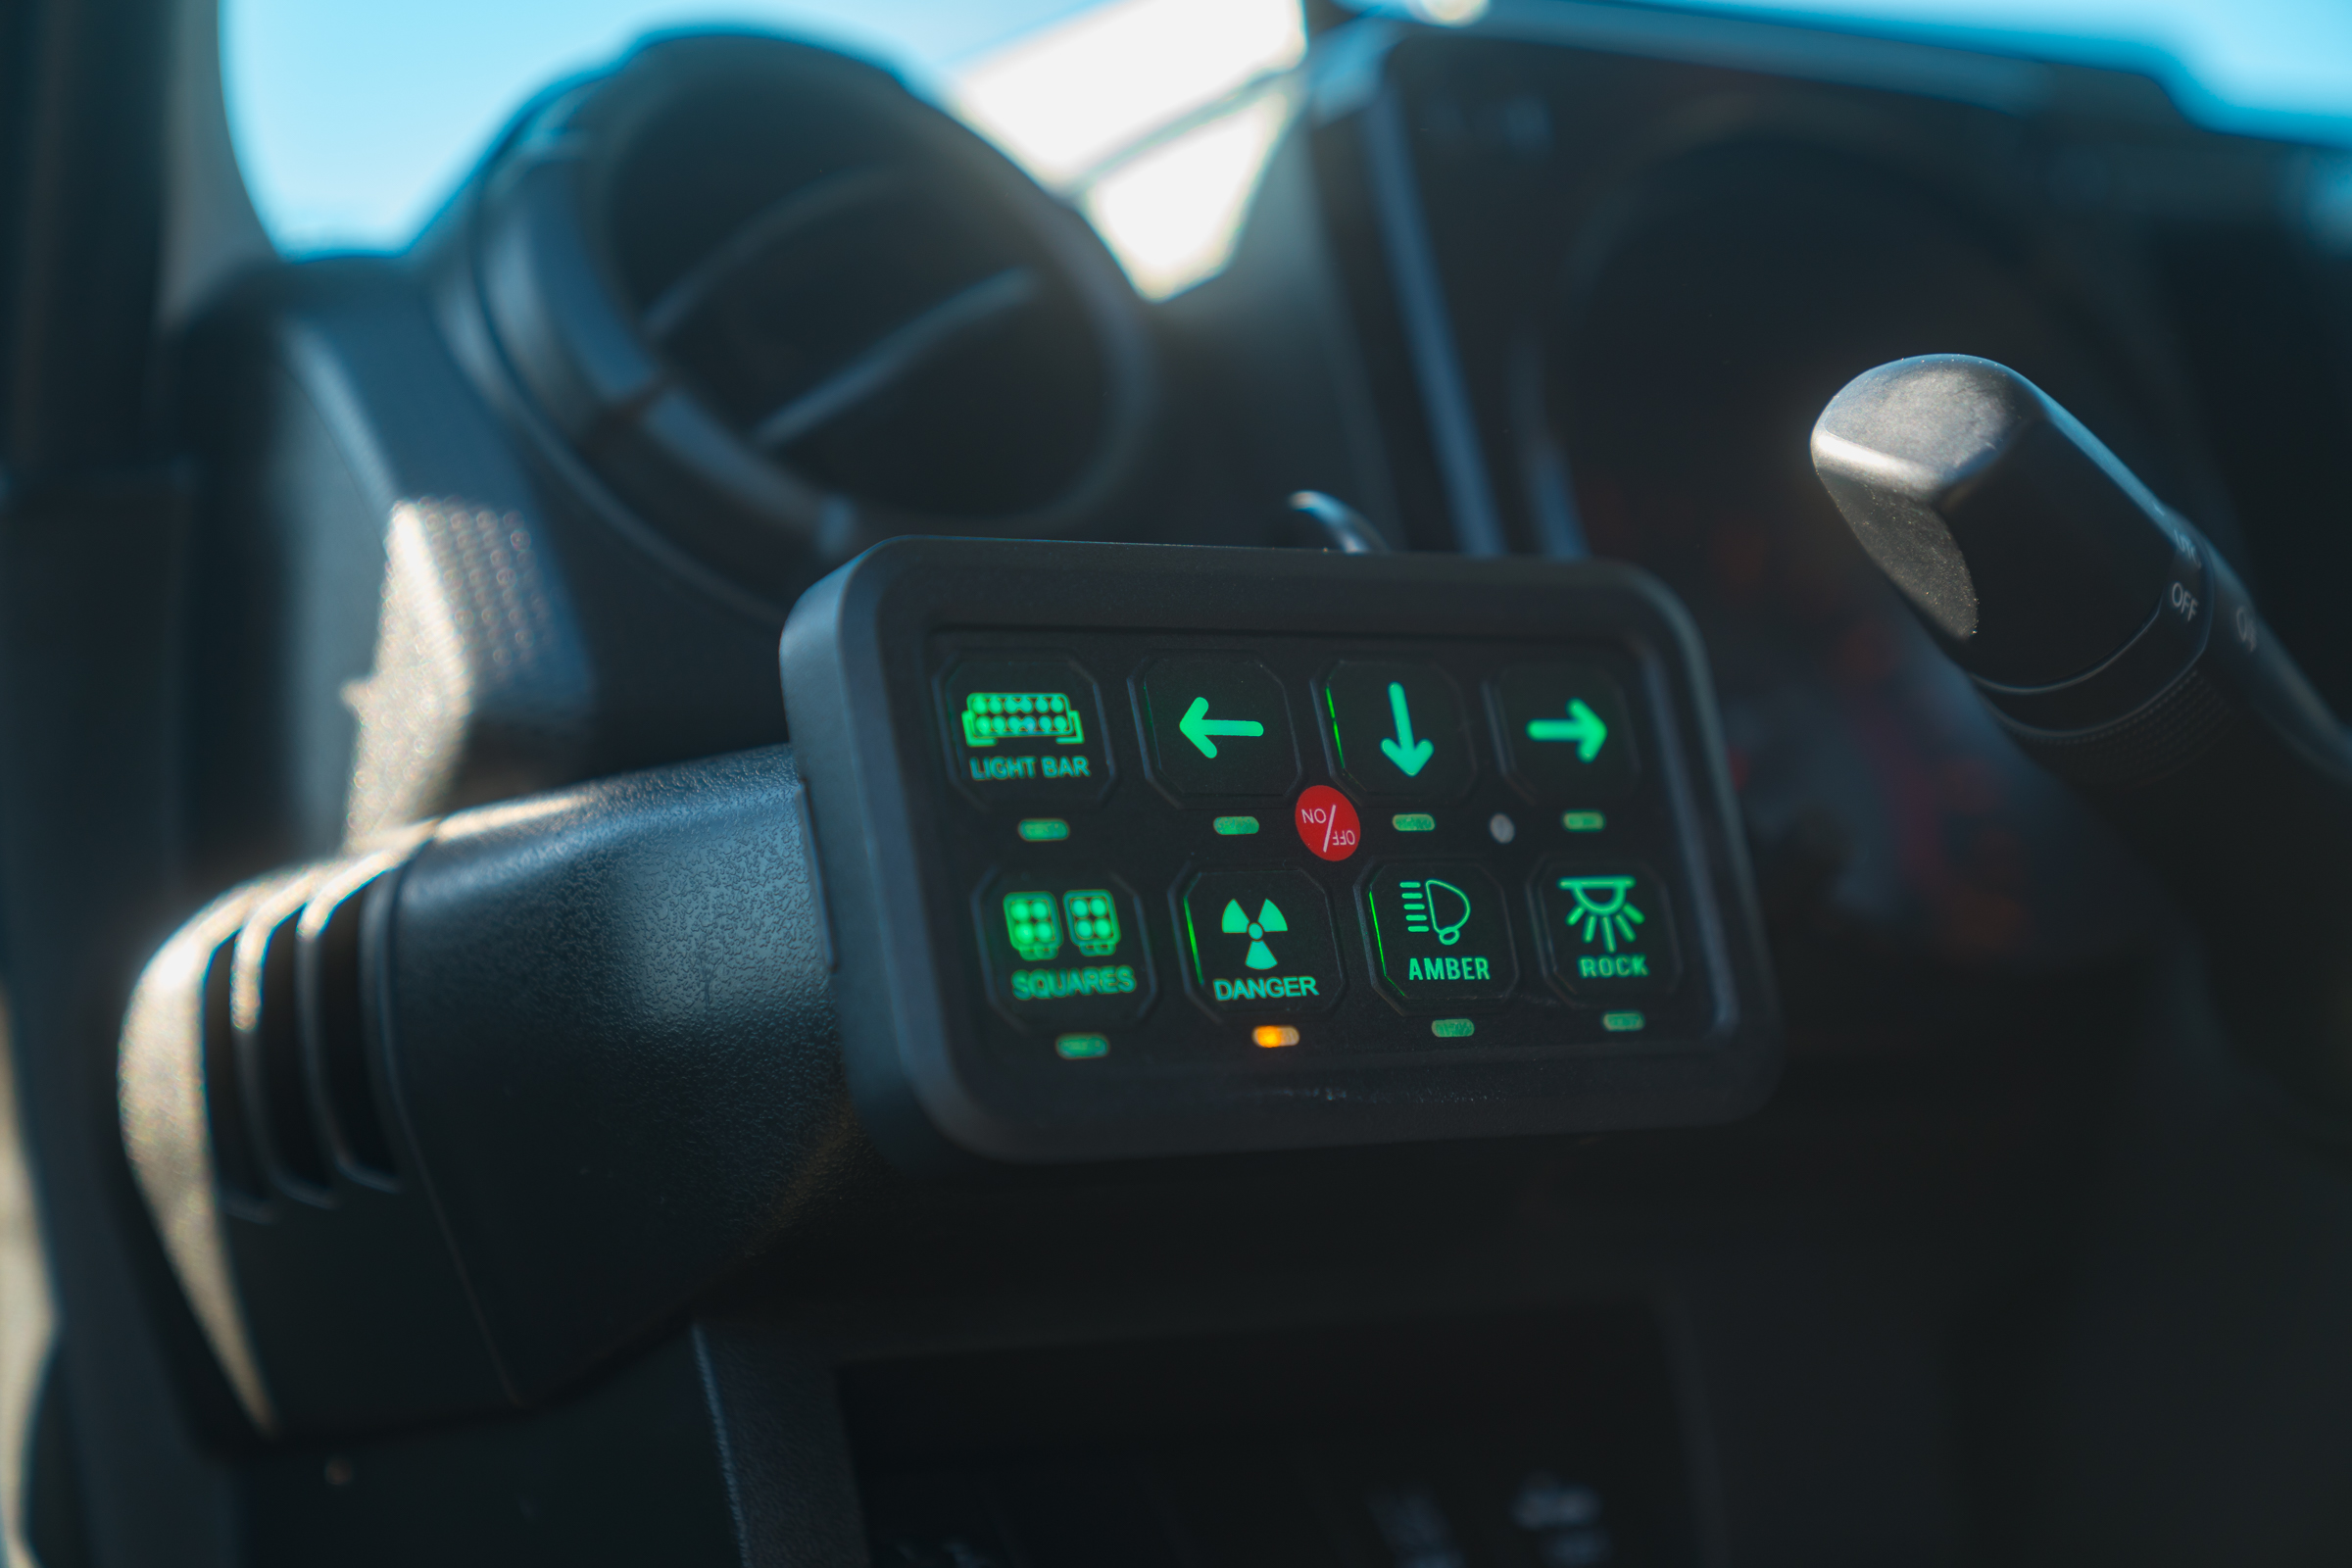
Switch Panel
Here again, cost-cutting and a Chinese Universal Switch Panel with a panel were ordered on AliExpress on Michał’s recommendation. The controller, tested in various conditions, works great and it seems that it will serve for a long time without failure.

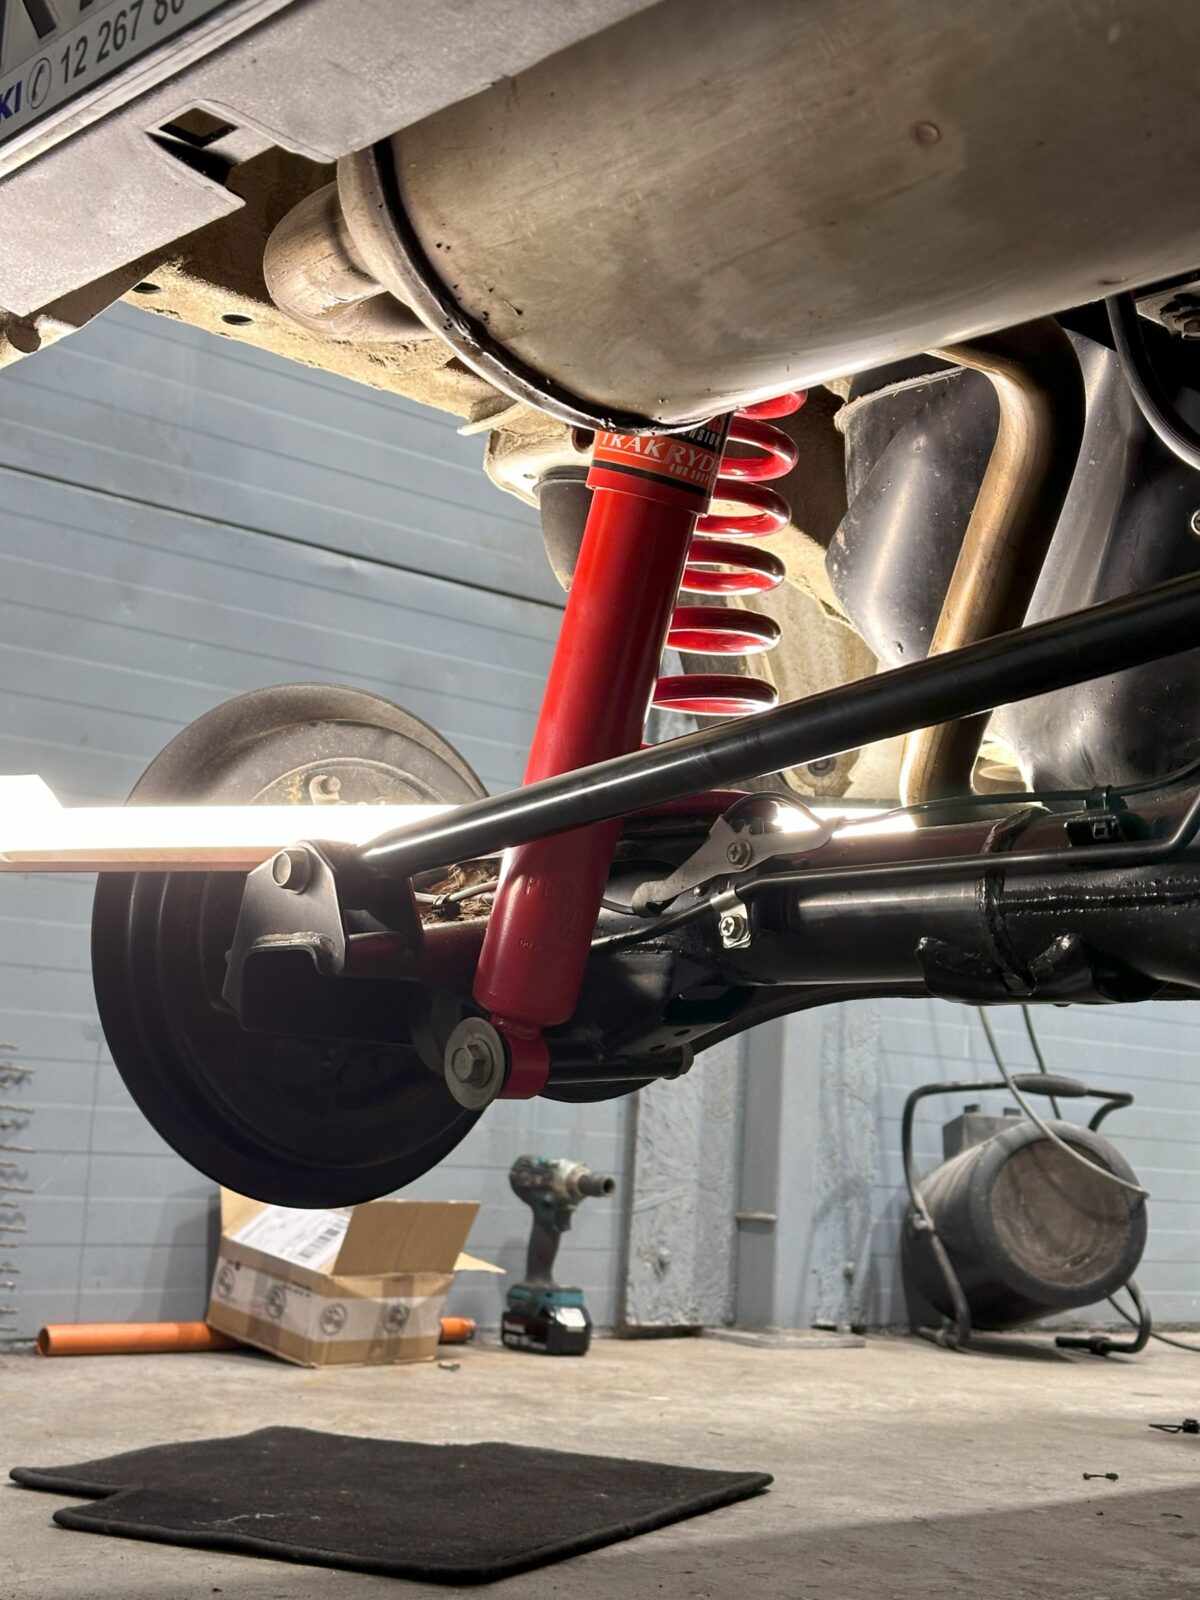
Pedders 2″ suspension kit
The most important modification in the case of Suzuki Jimny. I decided on a 2″ lift because it does not require additional activities such as replacing brake lines. Today, after a year of use, I regret that I did not immediately go for a bigger lift. From what I know, the 3.5″ lift works quite well in the JB74.
What gives a lift?
Lift is simply raising the suspension. It is worth noting that the lift does not increase the ground clearance but raises the body relative to the bridges. However, it allows for the installation of larger wheels, which already increase the ground clearance.
By extending the work of the shock absorbers, the lift also increases the cross-section. This translates into better off-road capabilities. In bumpy terrain, the wheels reach the ground while maintaining traction.
The greater the lift, the better the off-road capabilities, but the worse the vehicle’s behavior in normal driving, especially on bends.
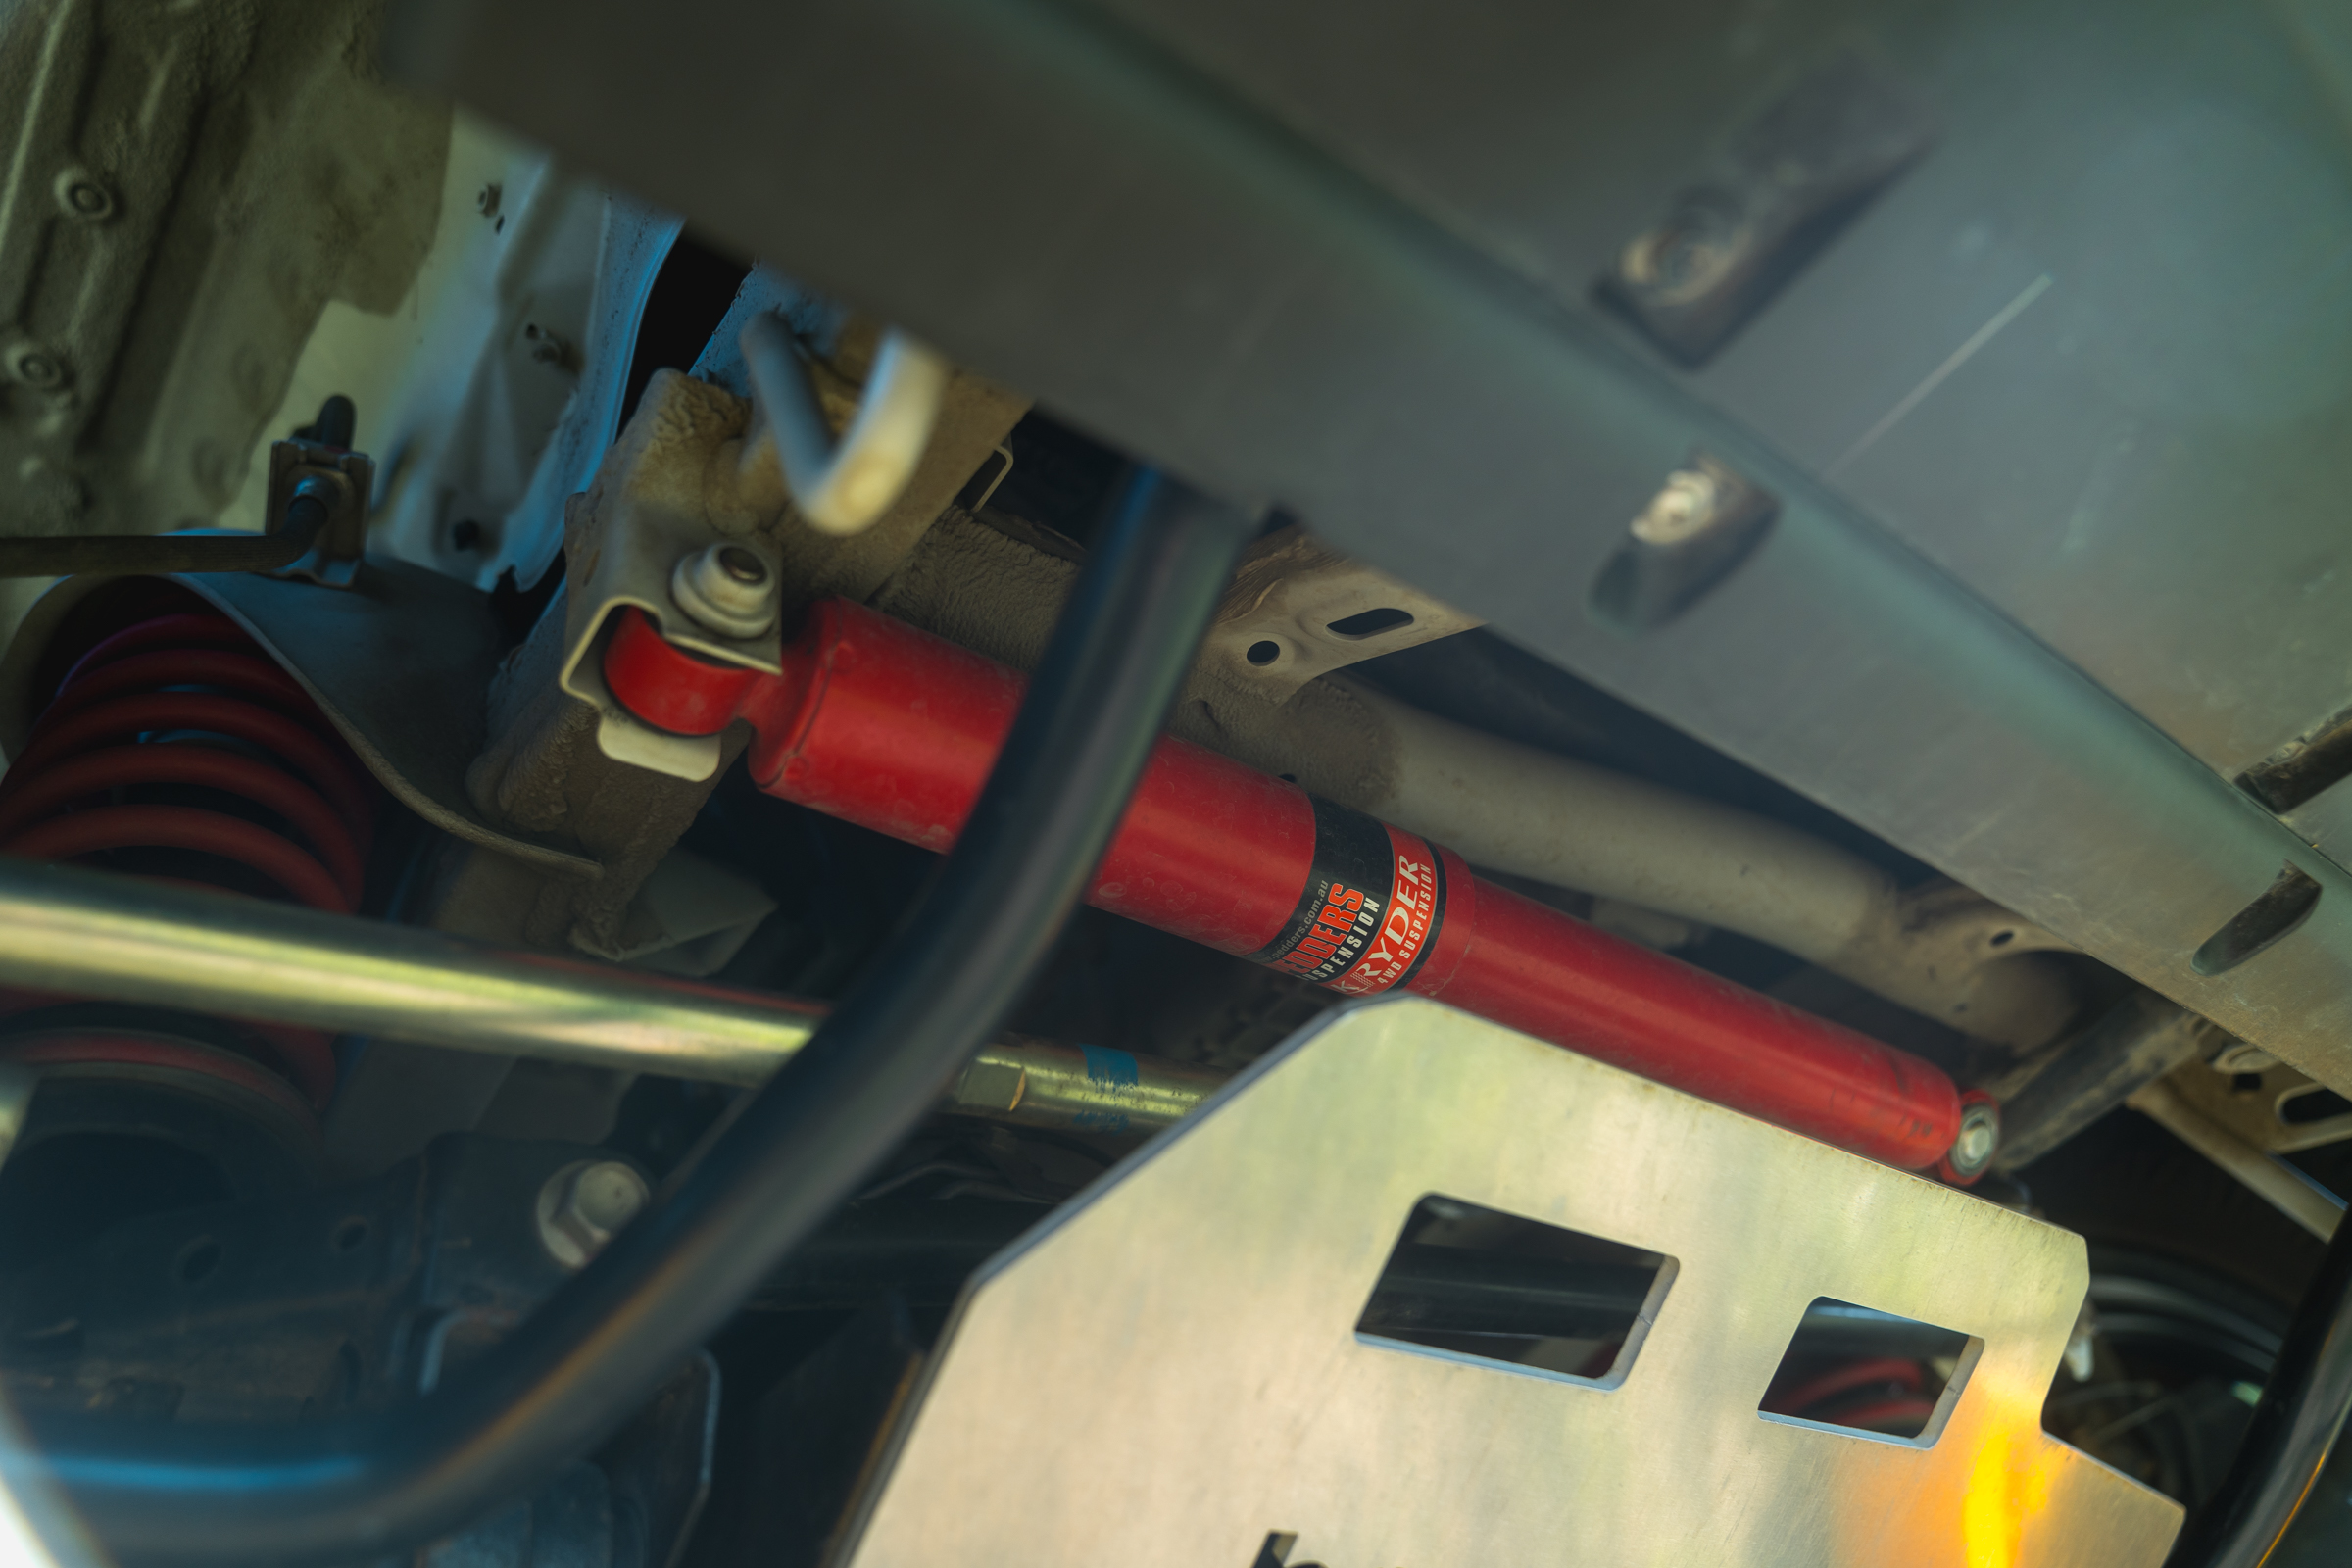
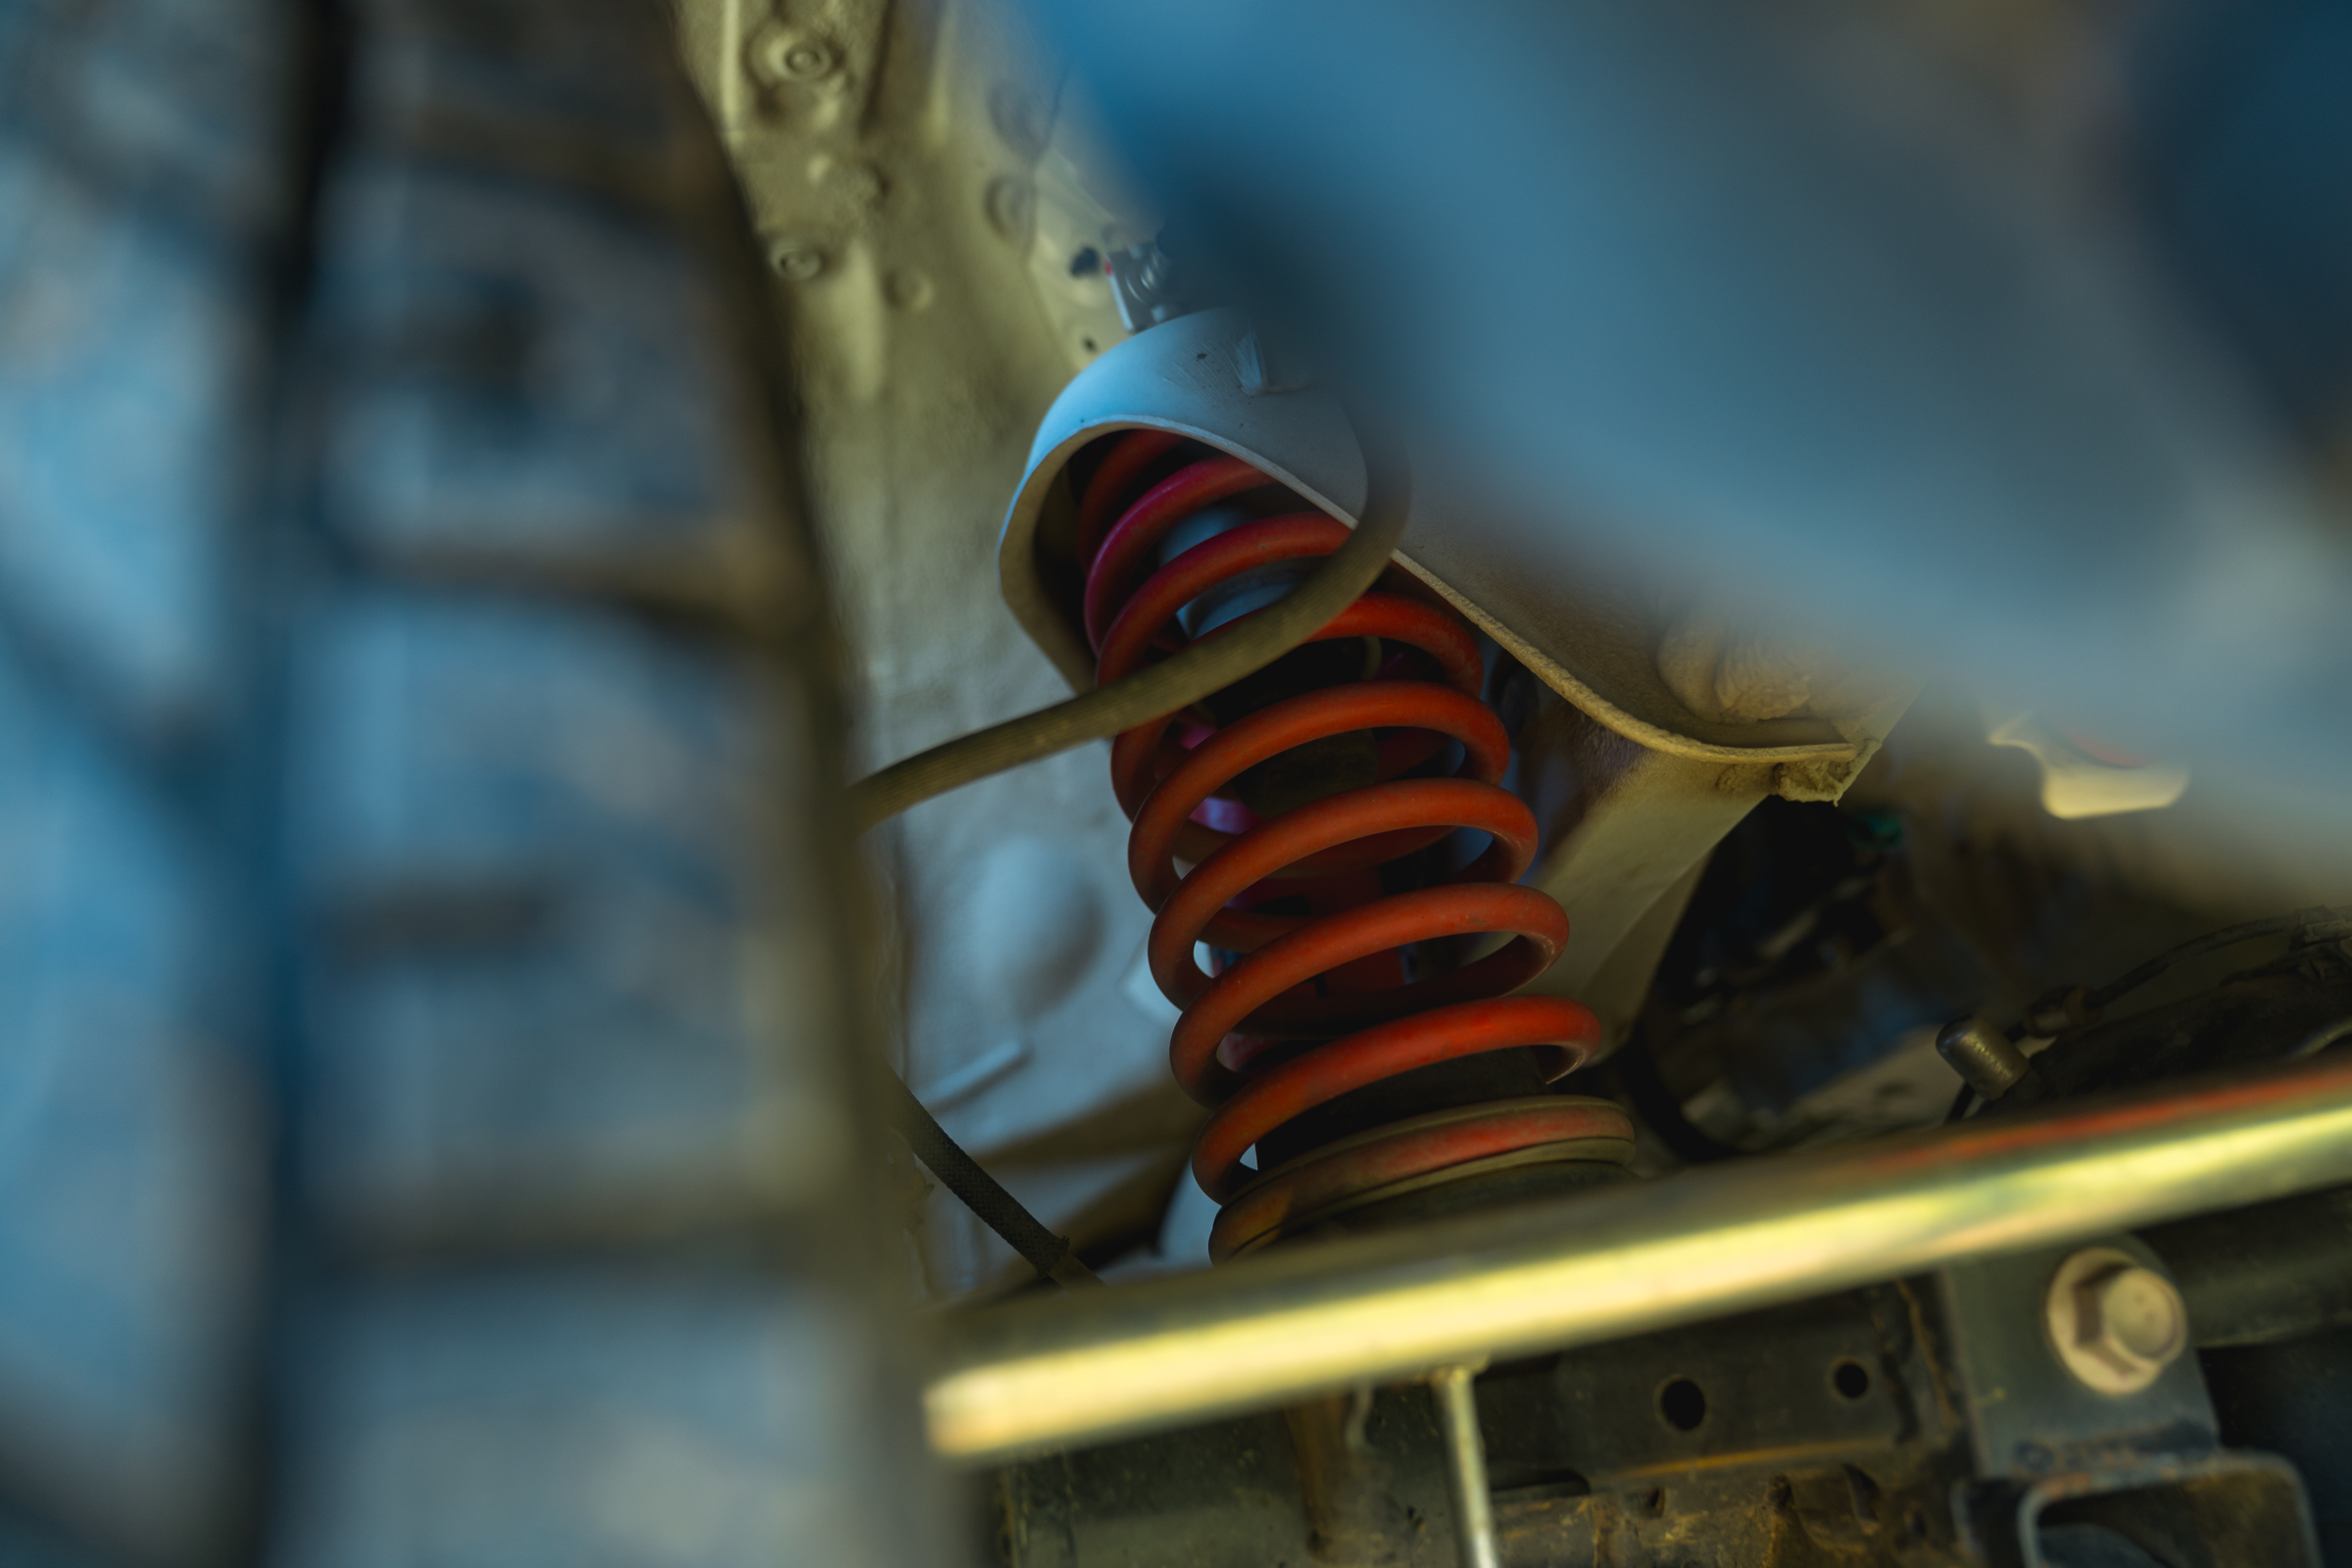

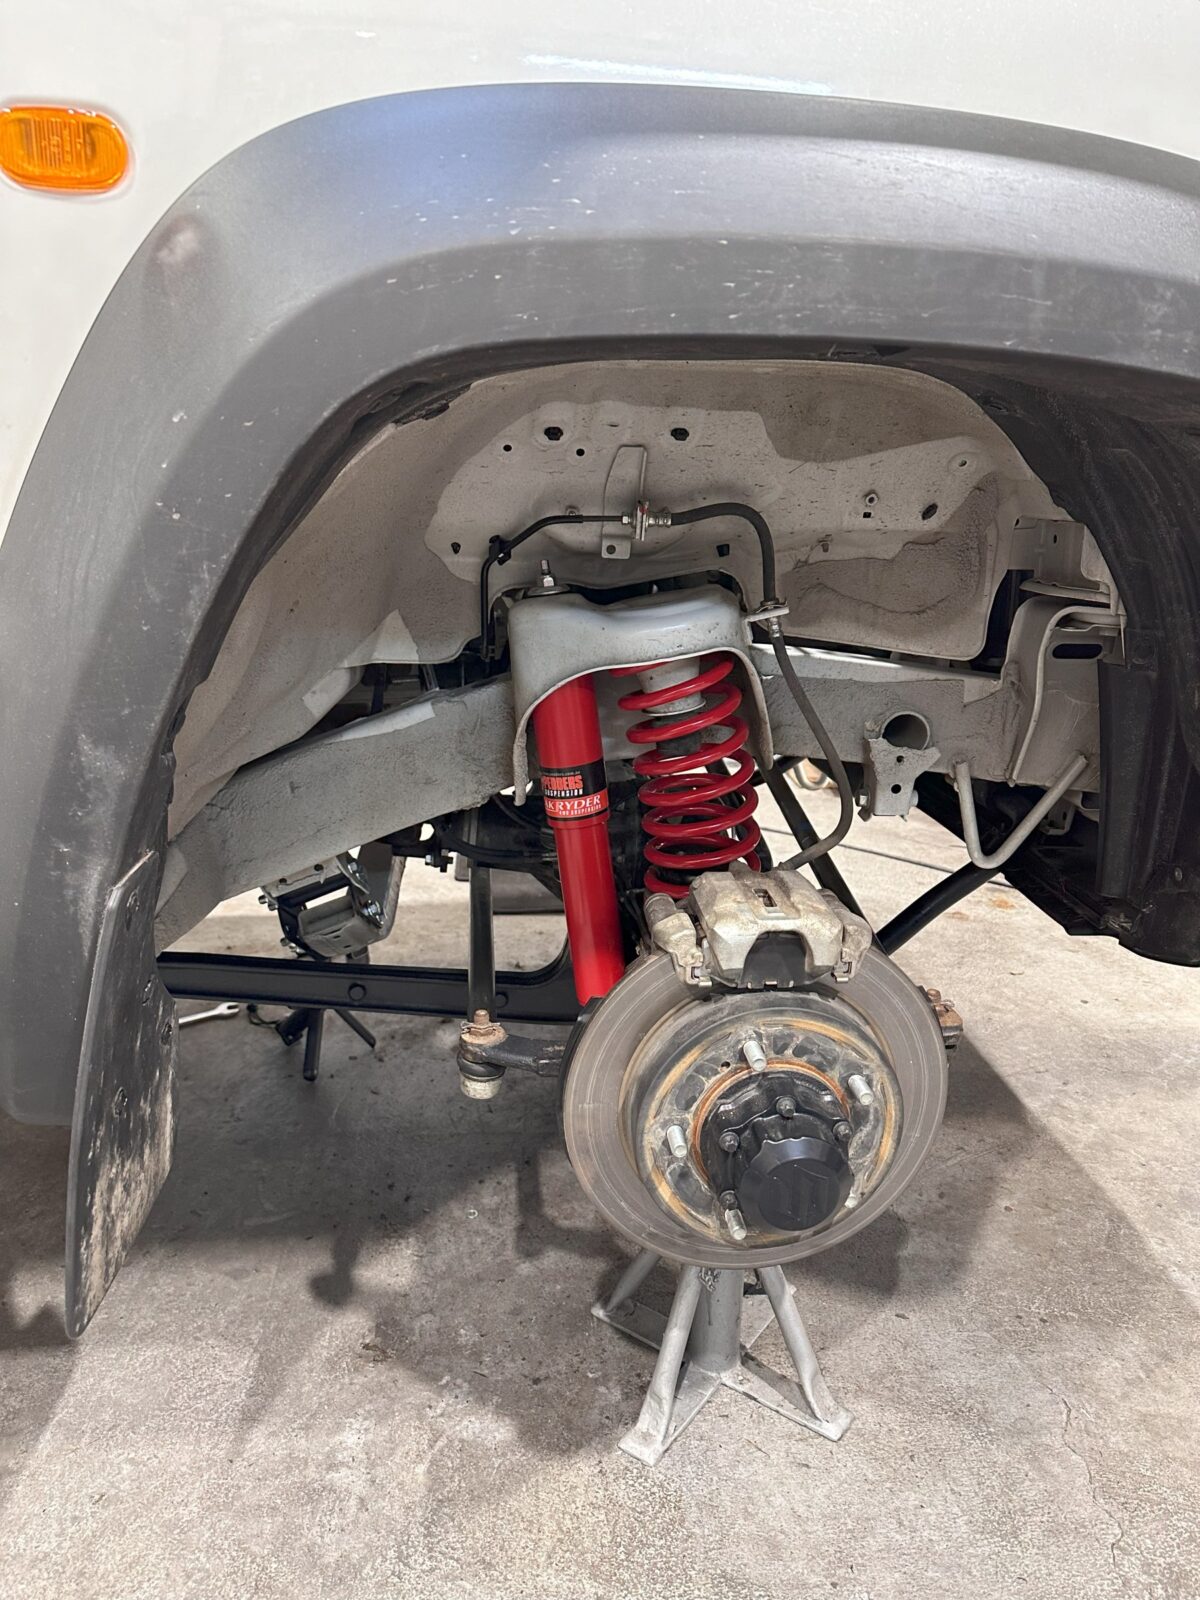
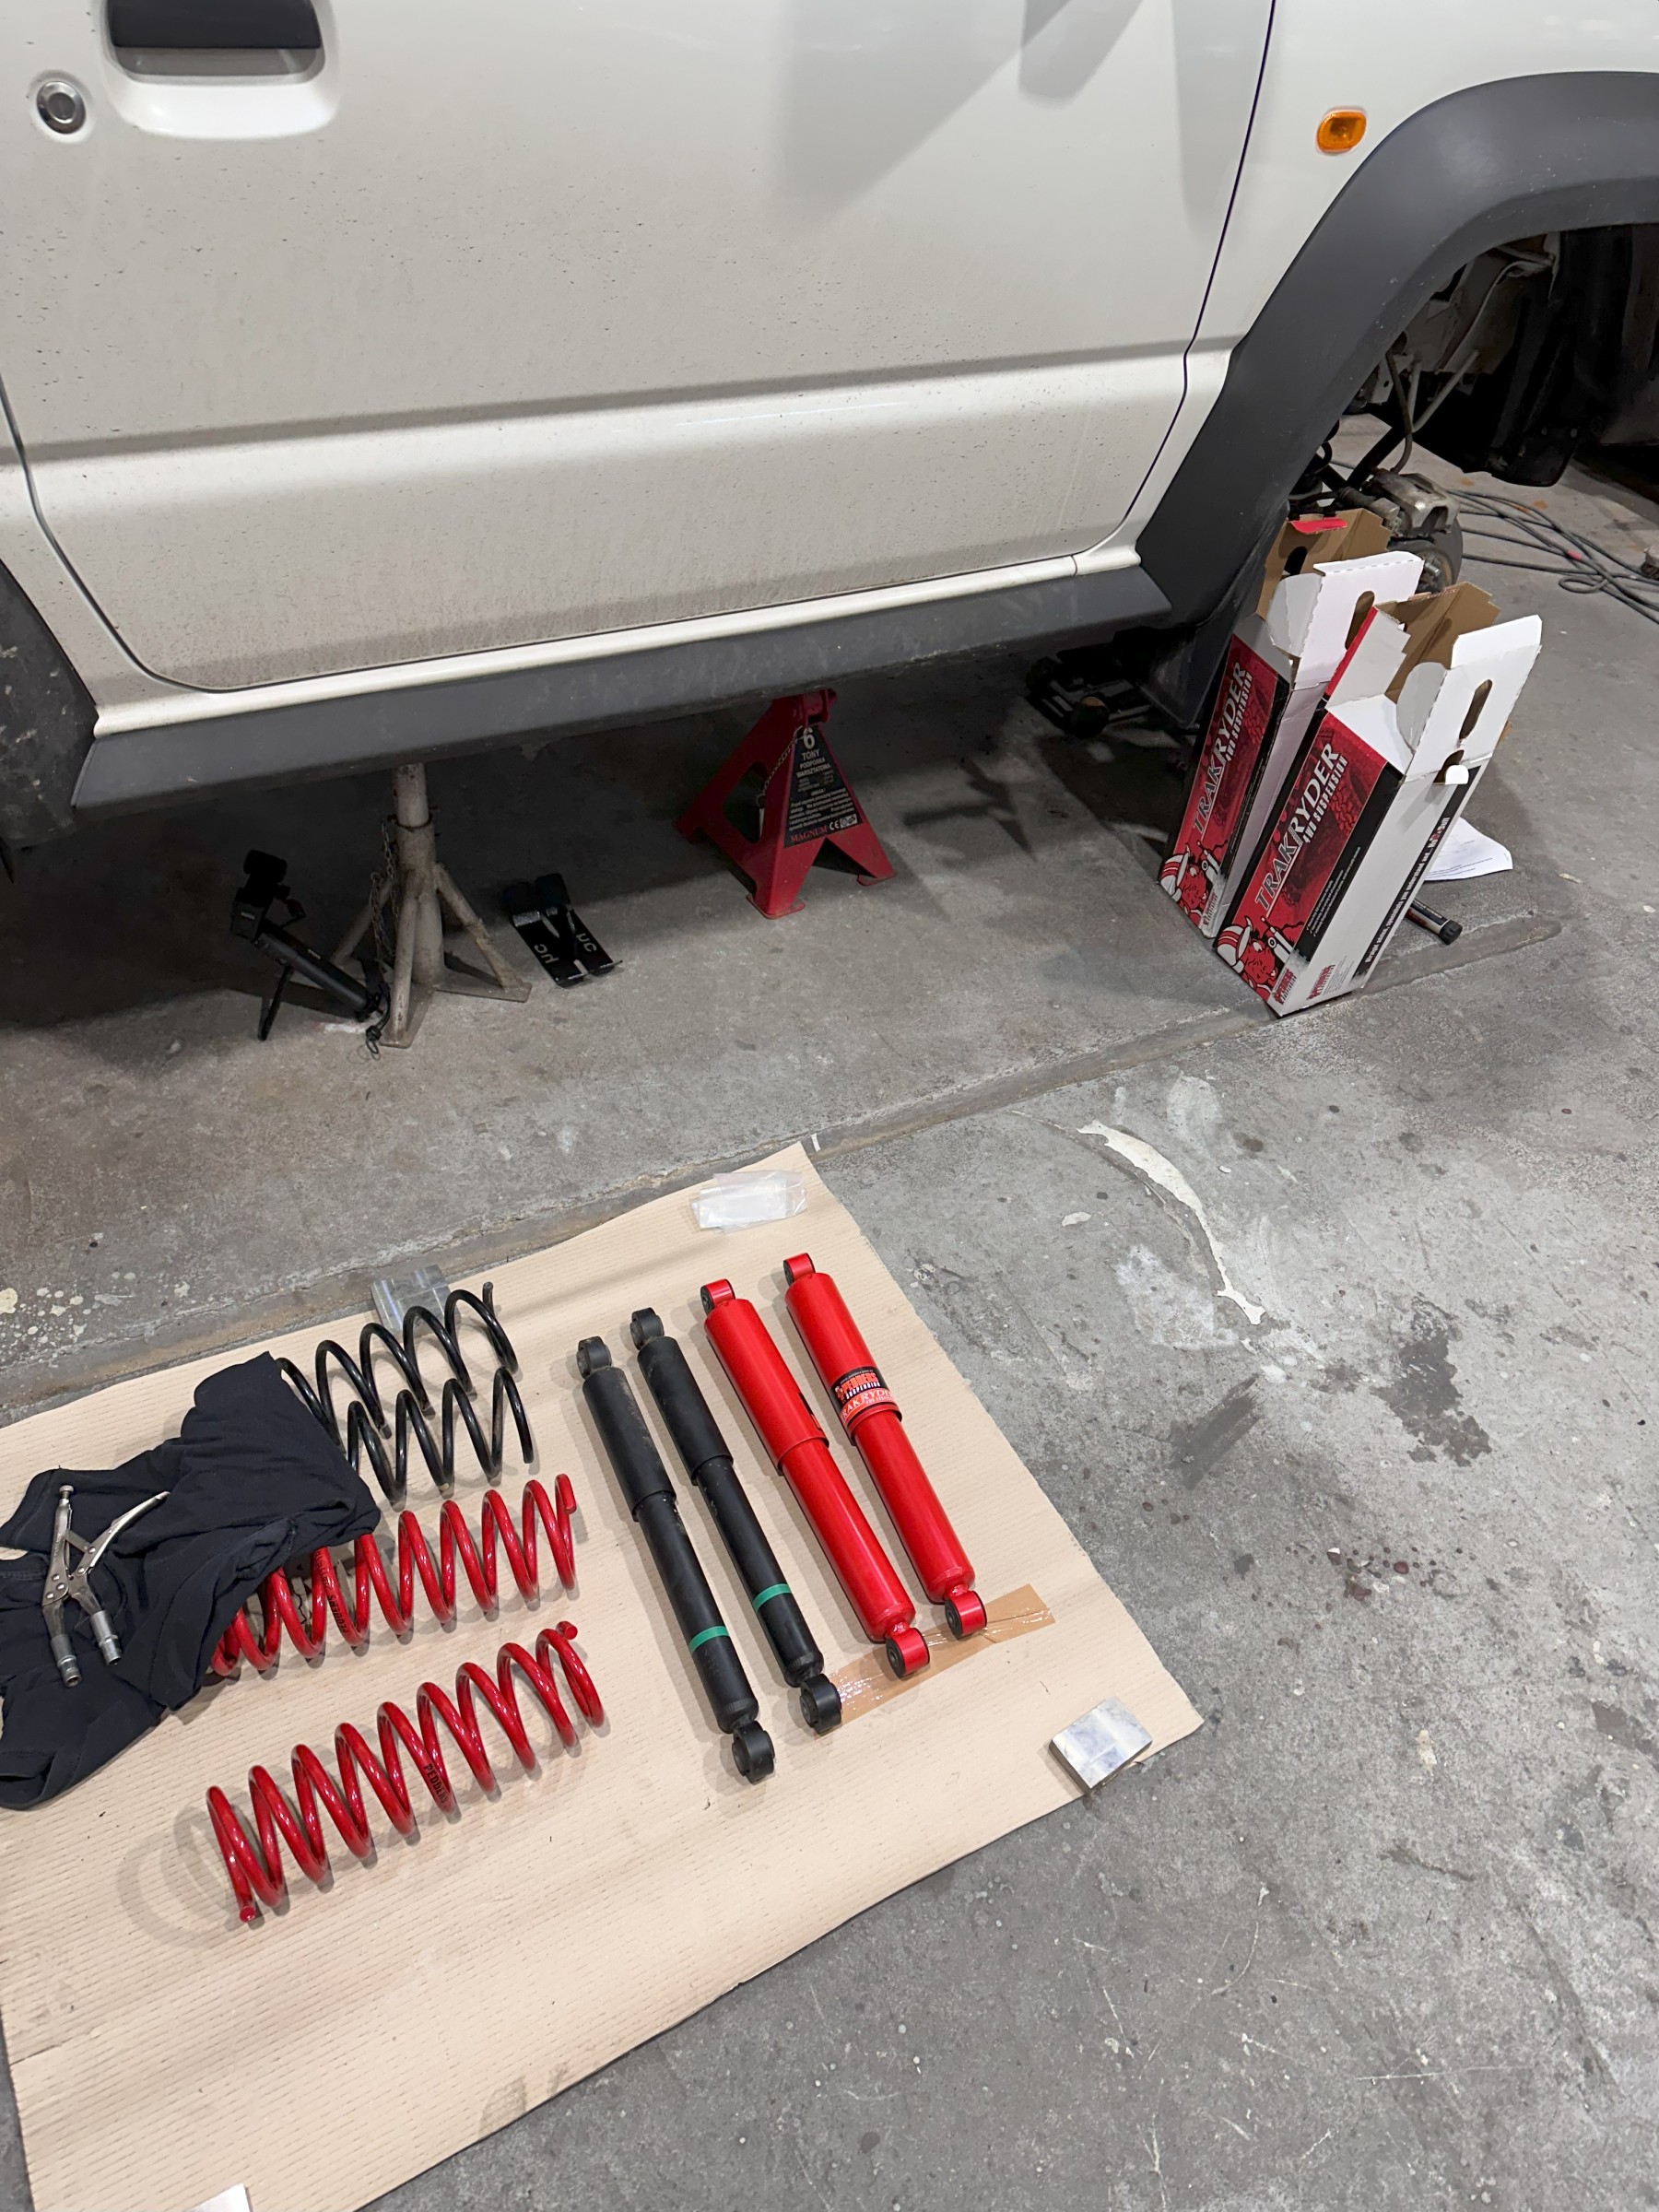
Suzuki Jimny Pedders 2″ Lift
Better quality, thicker, longer springs and shock absorbers not only raise the vehicle but above all incomparably better vehicle behavior. Road bumps are dampened, and Jimny does not rock on bends. Pedders is a much stiffer and harder suspension compared to the factory one. Thanks to this, it compensates for the increased vehicle weight due to the additives.
The behavior on and off-road with the Pedders 2″ suspension is incomparably better. I think mounting a roof rack and a tent in a hard shell on the factory suspension would be a disaster.

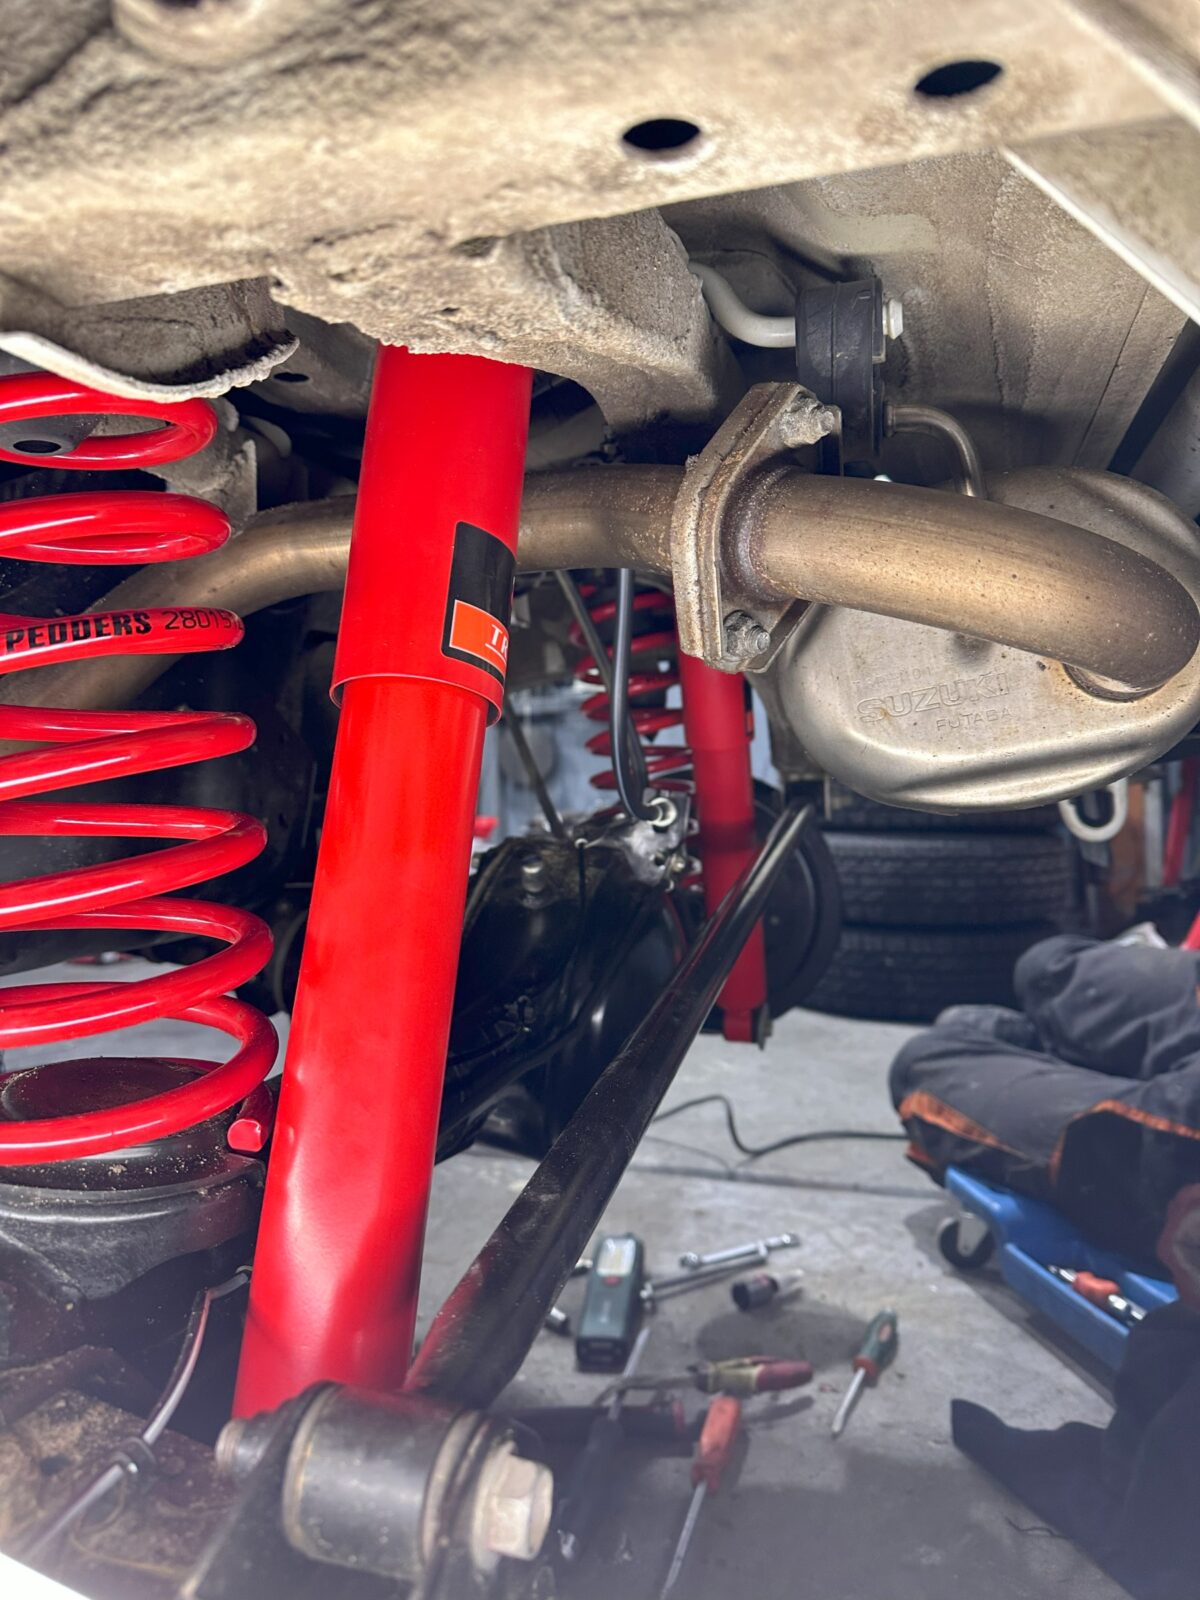
In addition to the suspension kit itself, the following were also needed:
- Frame beam lowering kit under the front driveshaft
- Correcting eccentric bushes at the front axle
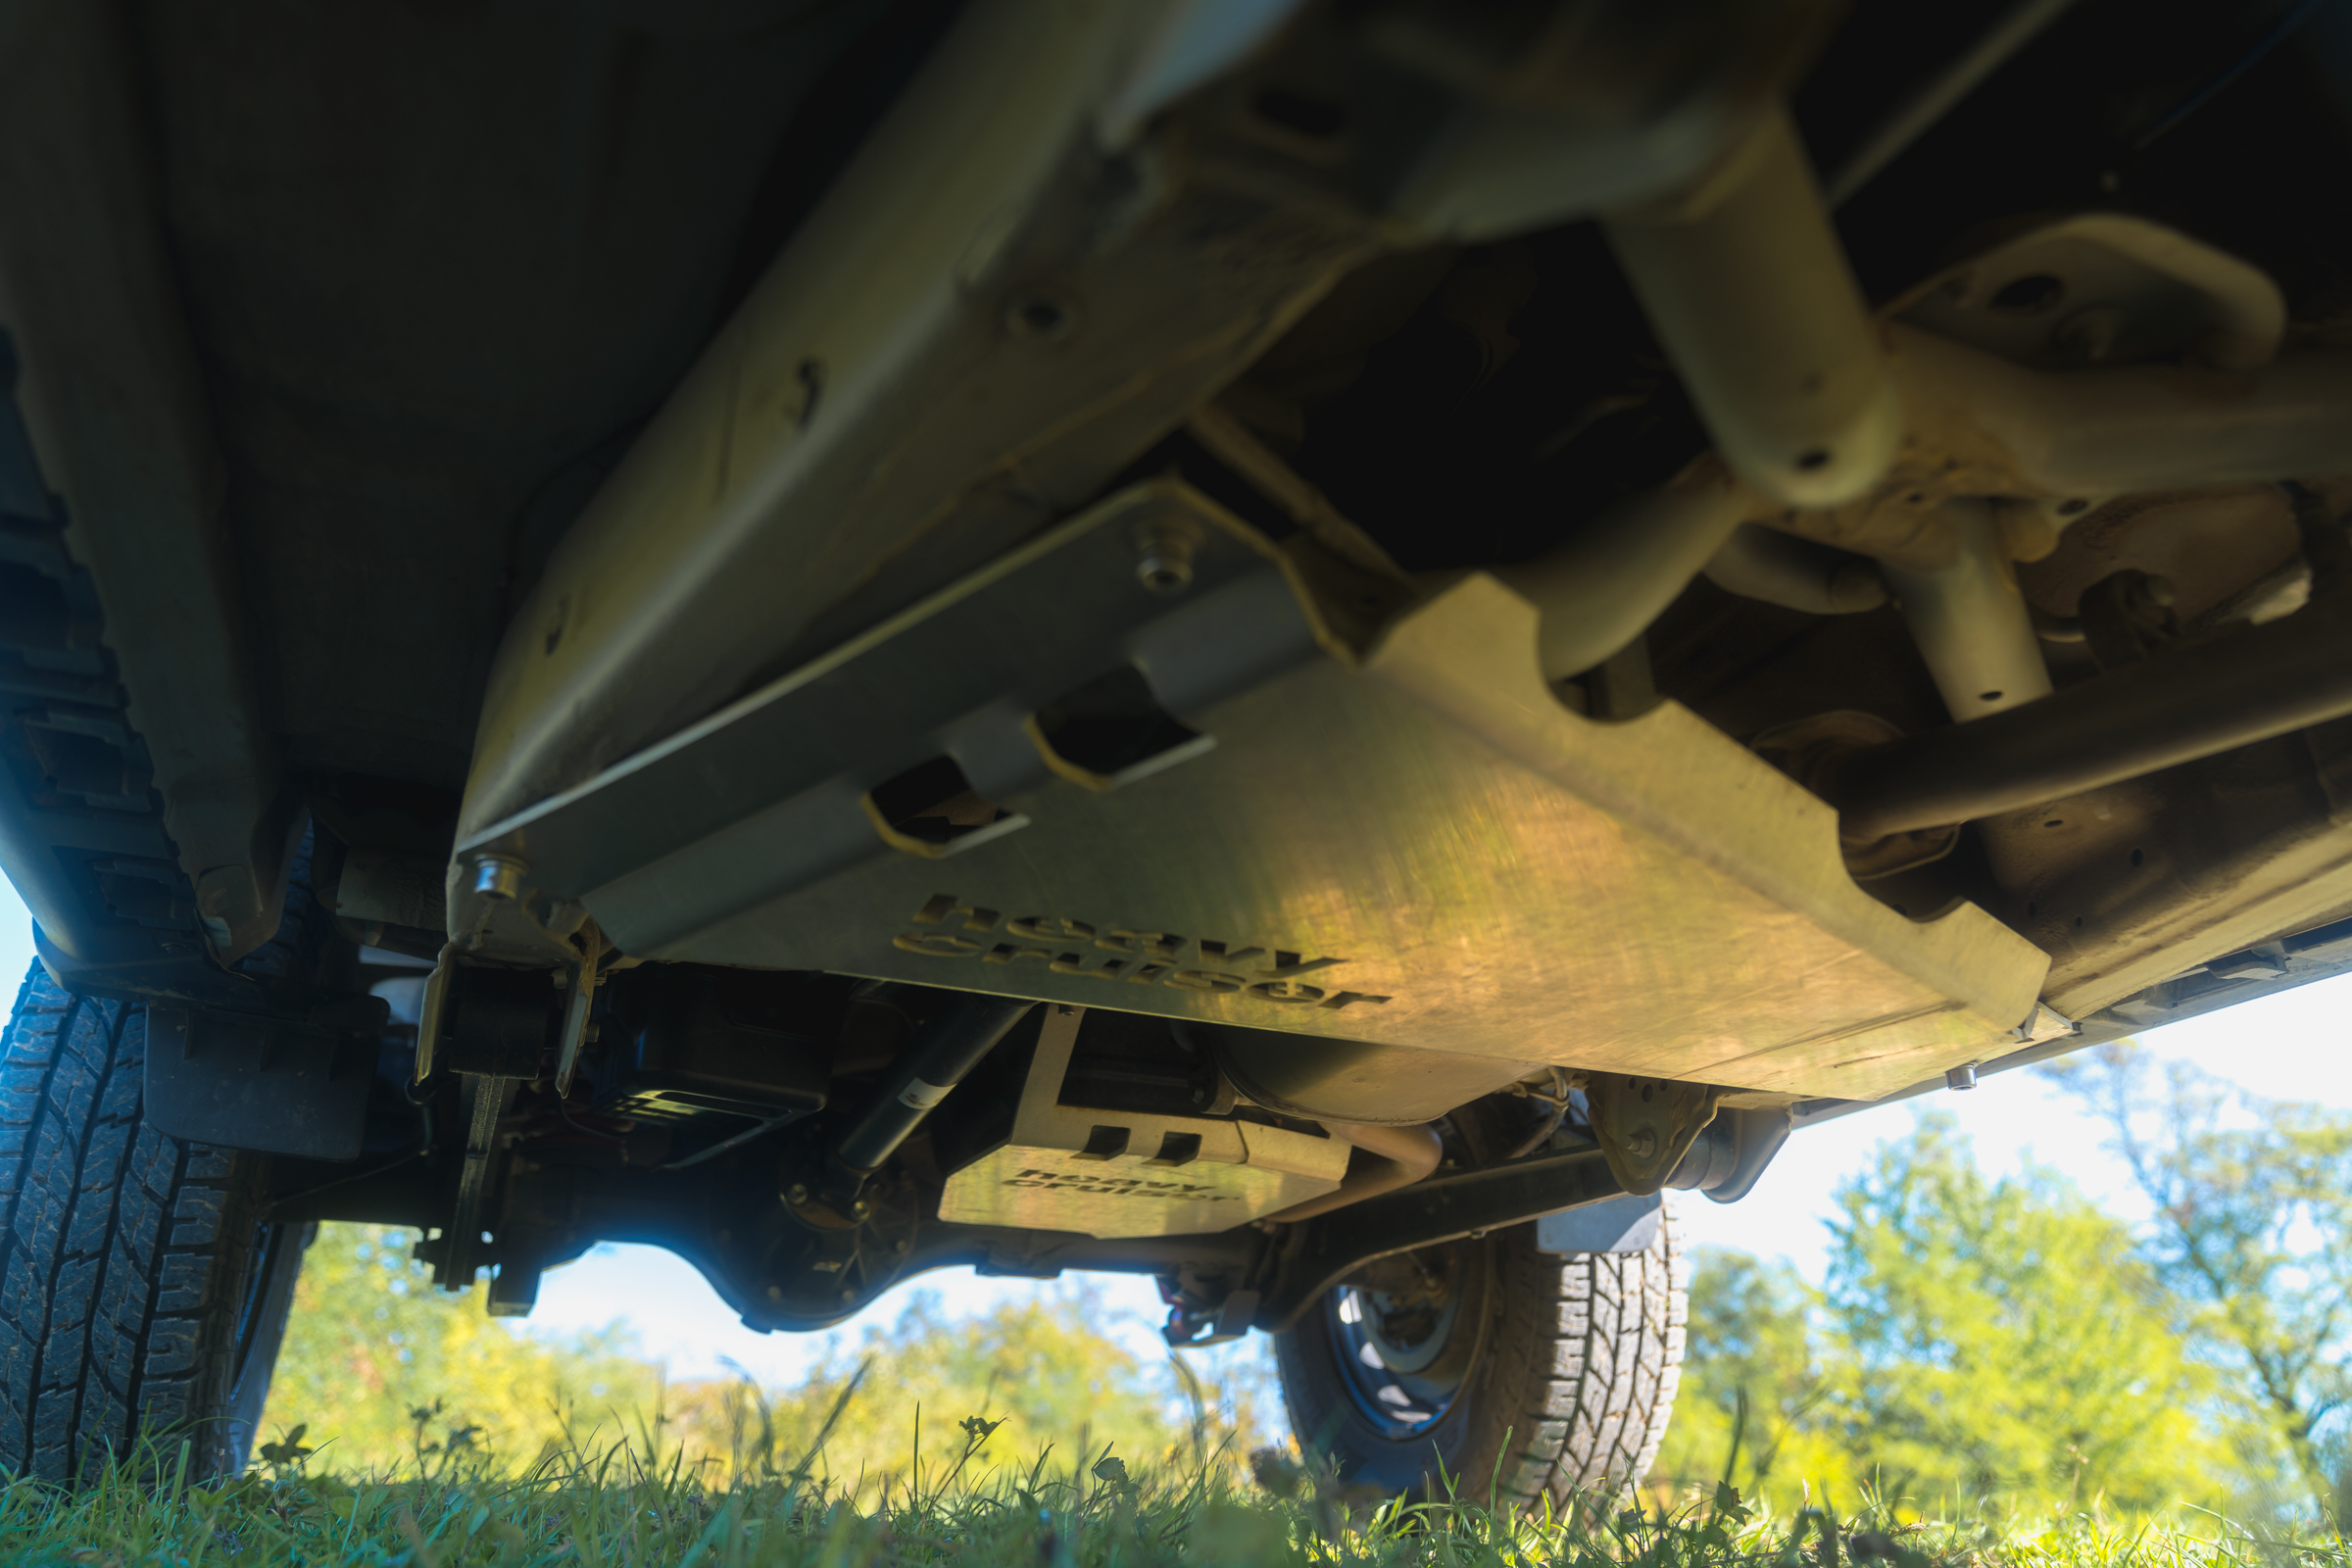
Underbody covers
Having learned from my experience of off-road motorcycle trips, I decided to buy a full set of protective chassis elements. After just one season, some elements turned out to be salvageable.
Engine and front axle cover
This cover has already slid over rocks several times, effectively protecting the Jimny’s heart.
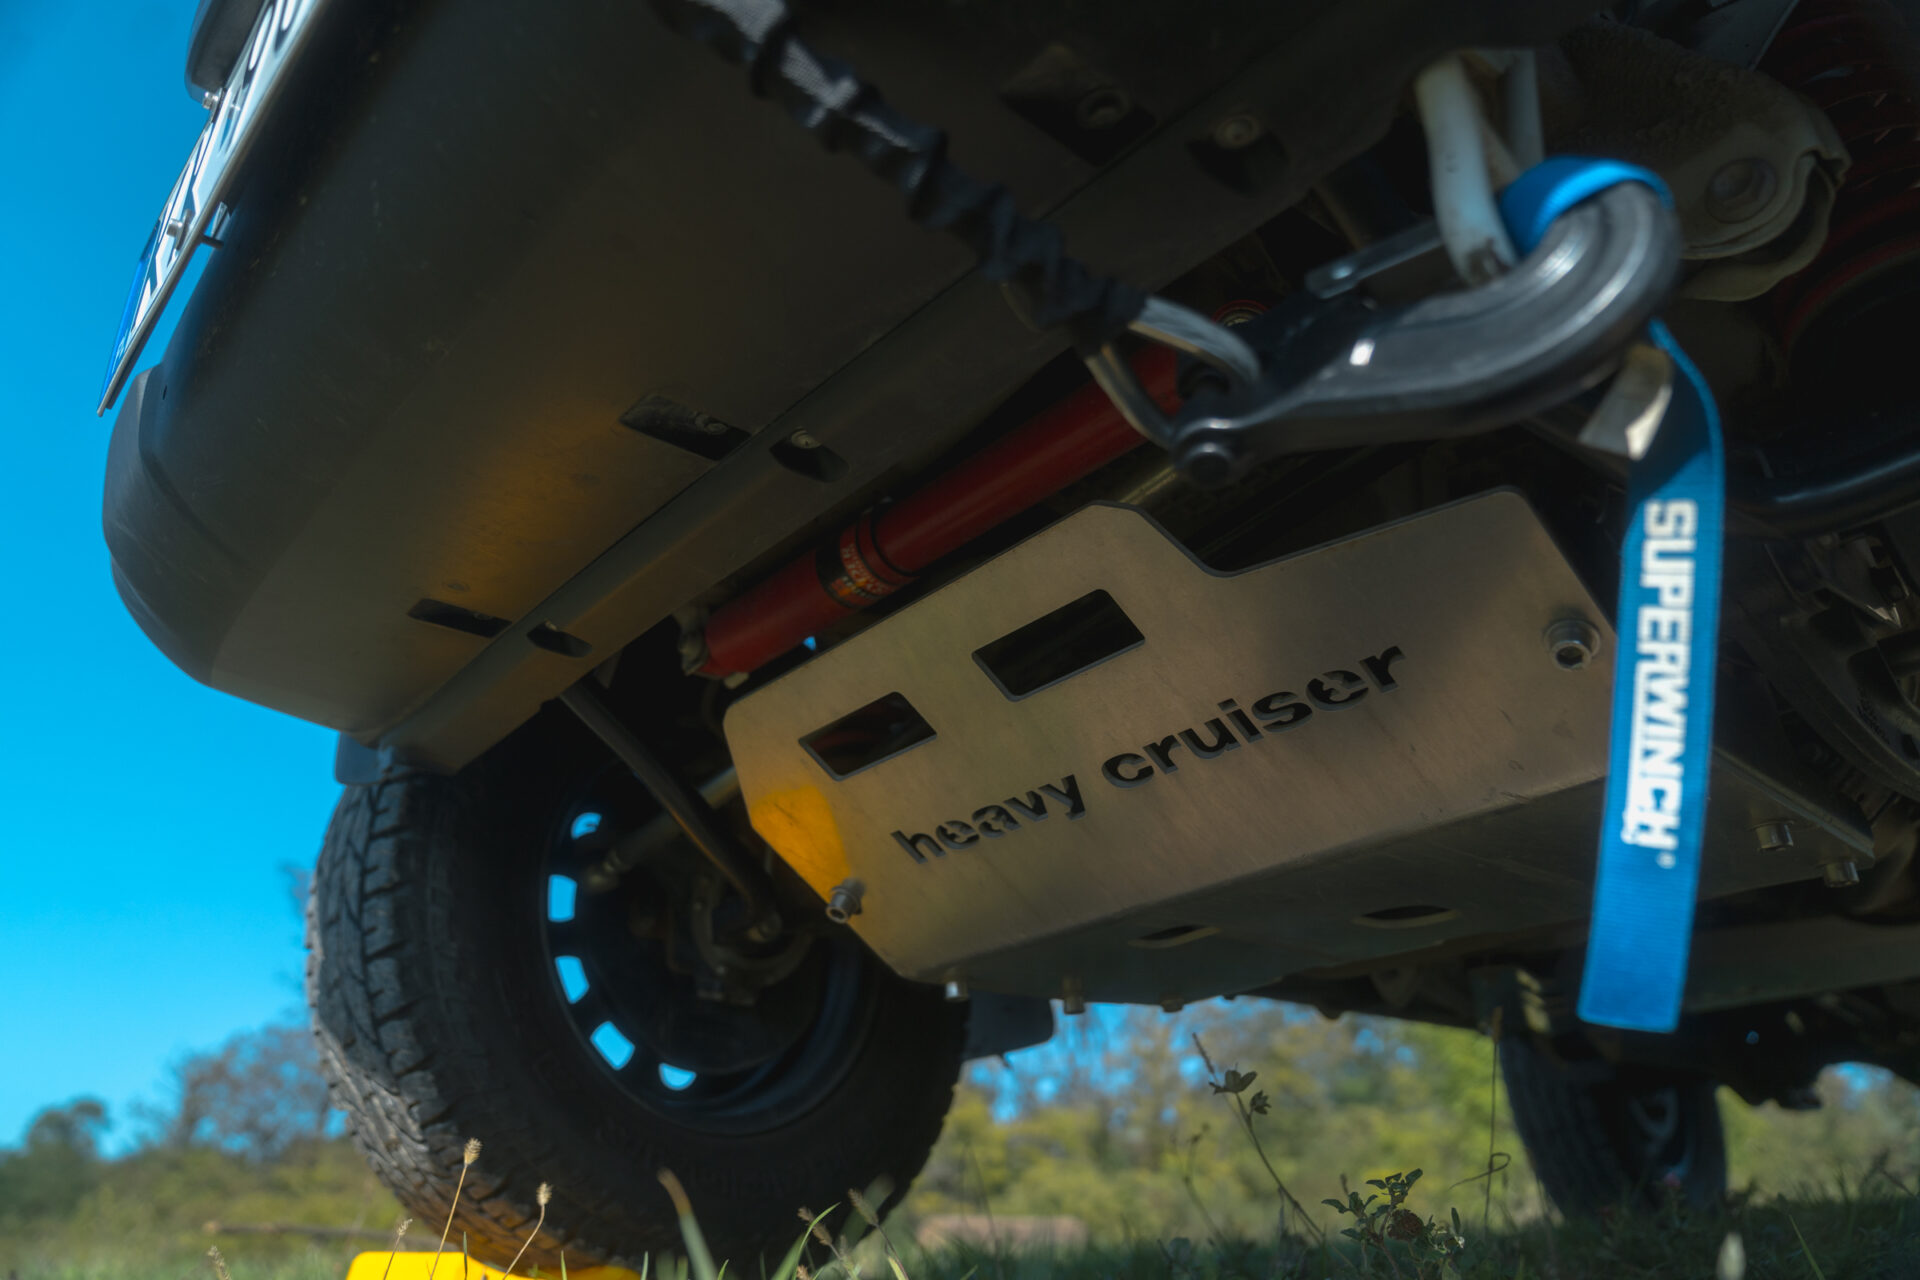
This is the most important cover that protects both the engine and the front axle from hitting terrain obstacles. Especially important when overcoming deep obstacles, where contact with the ground is frequent. Crossing rivers without an engine cover is asking for trouble.
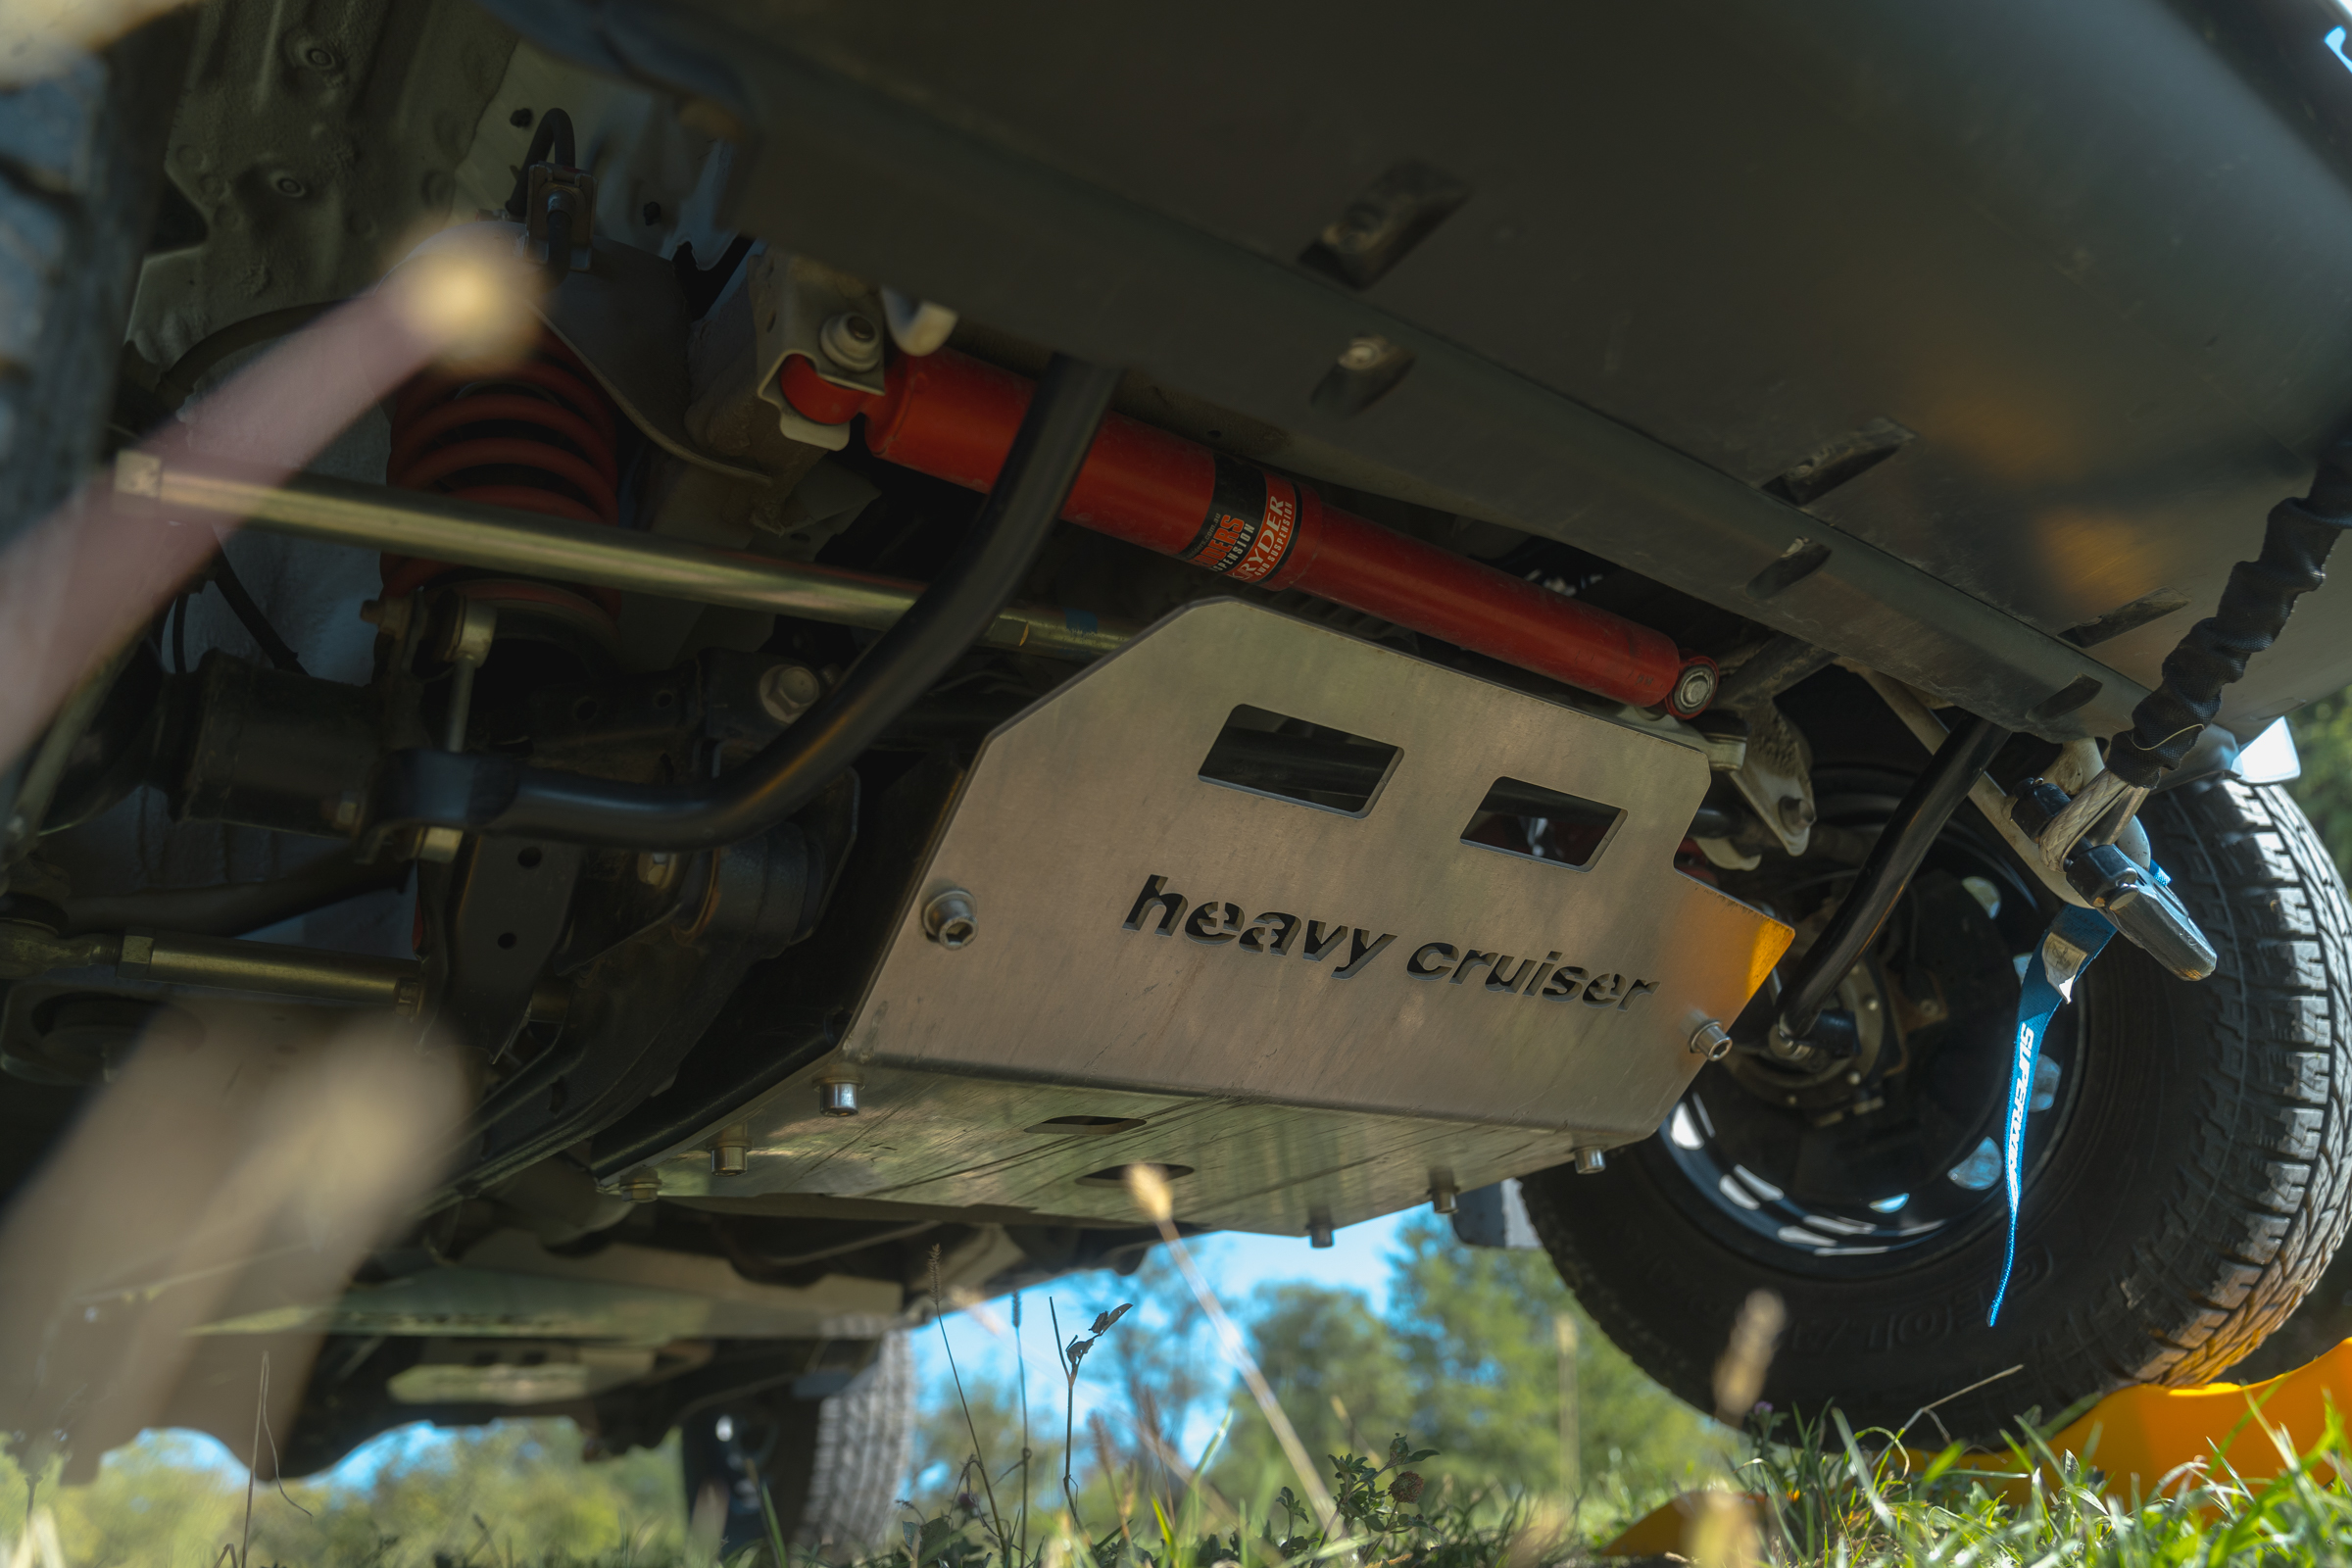
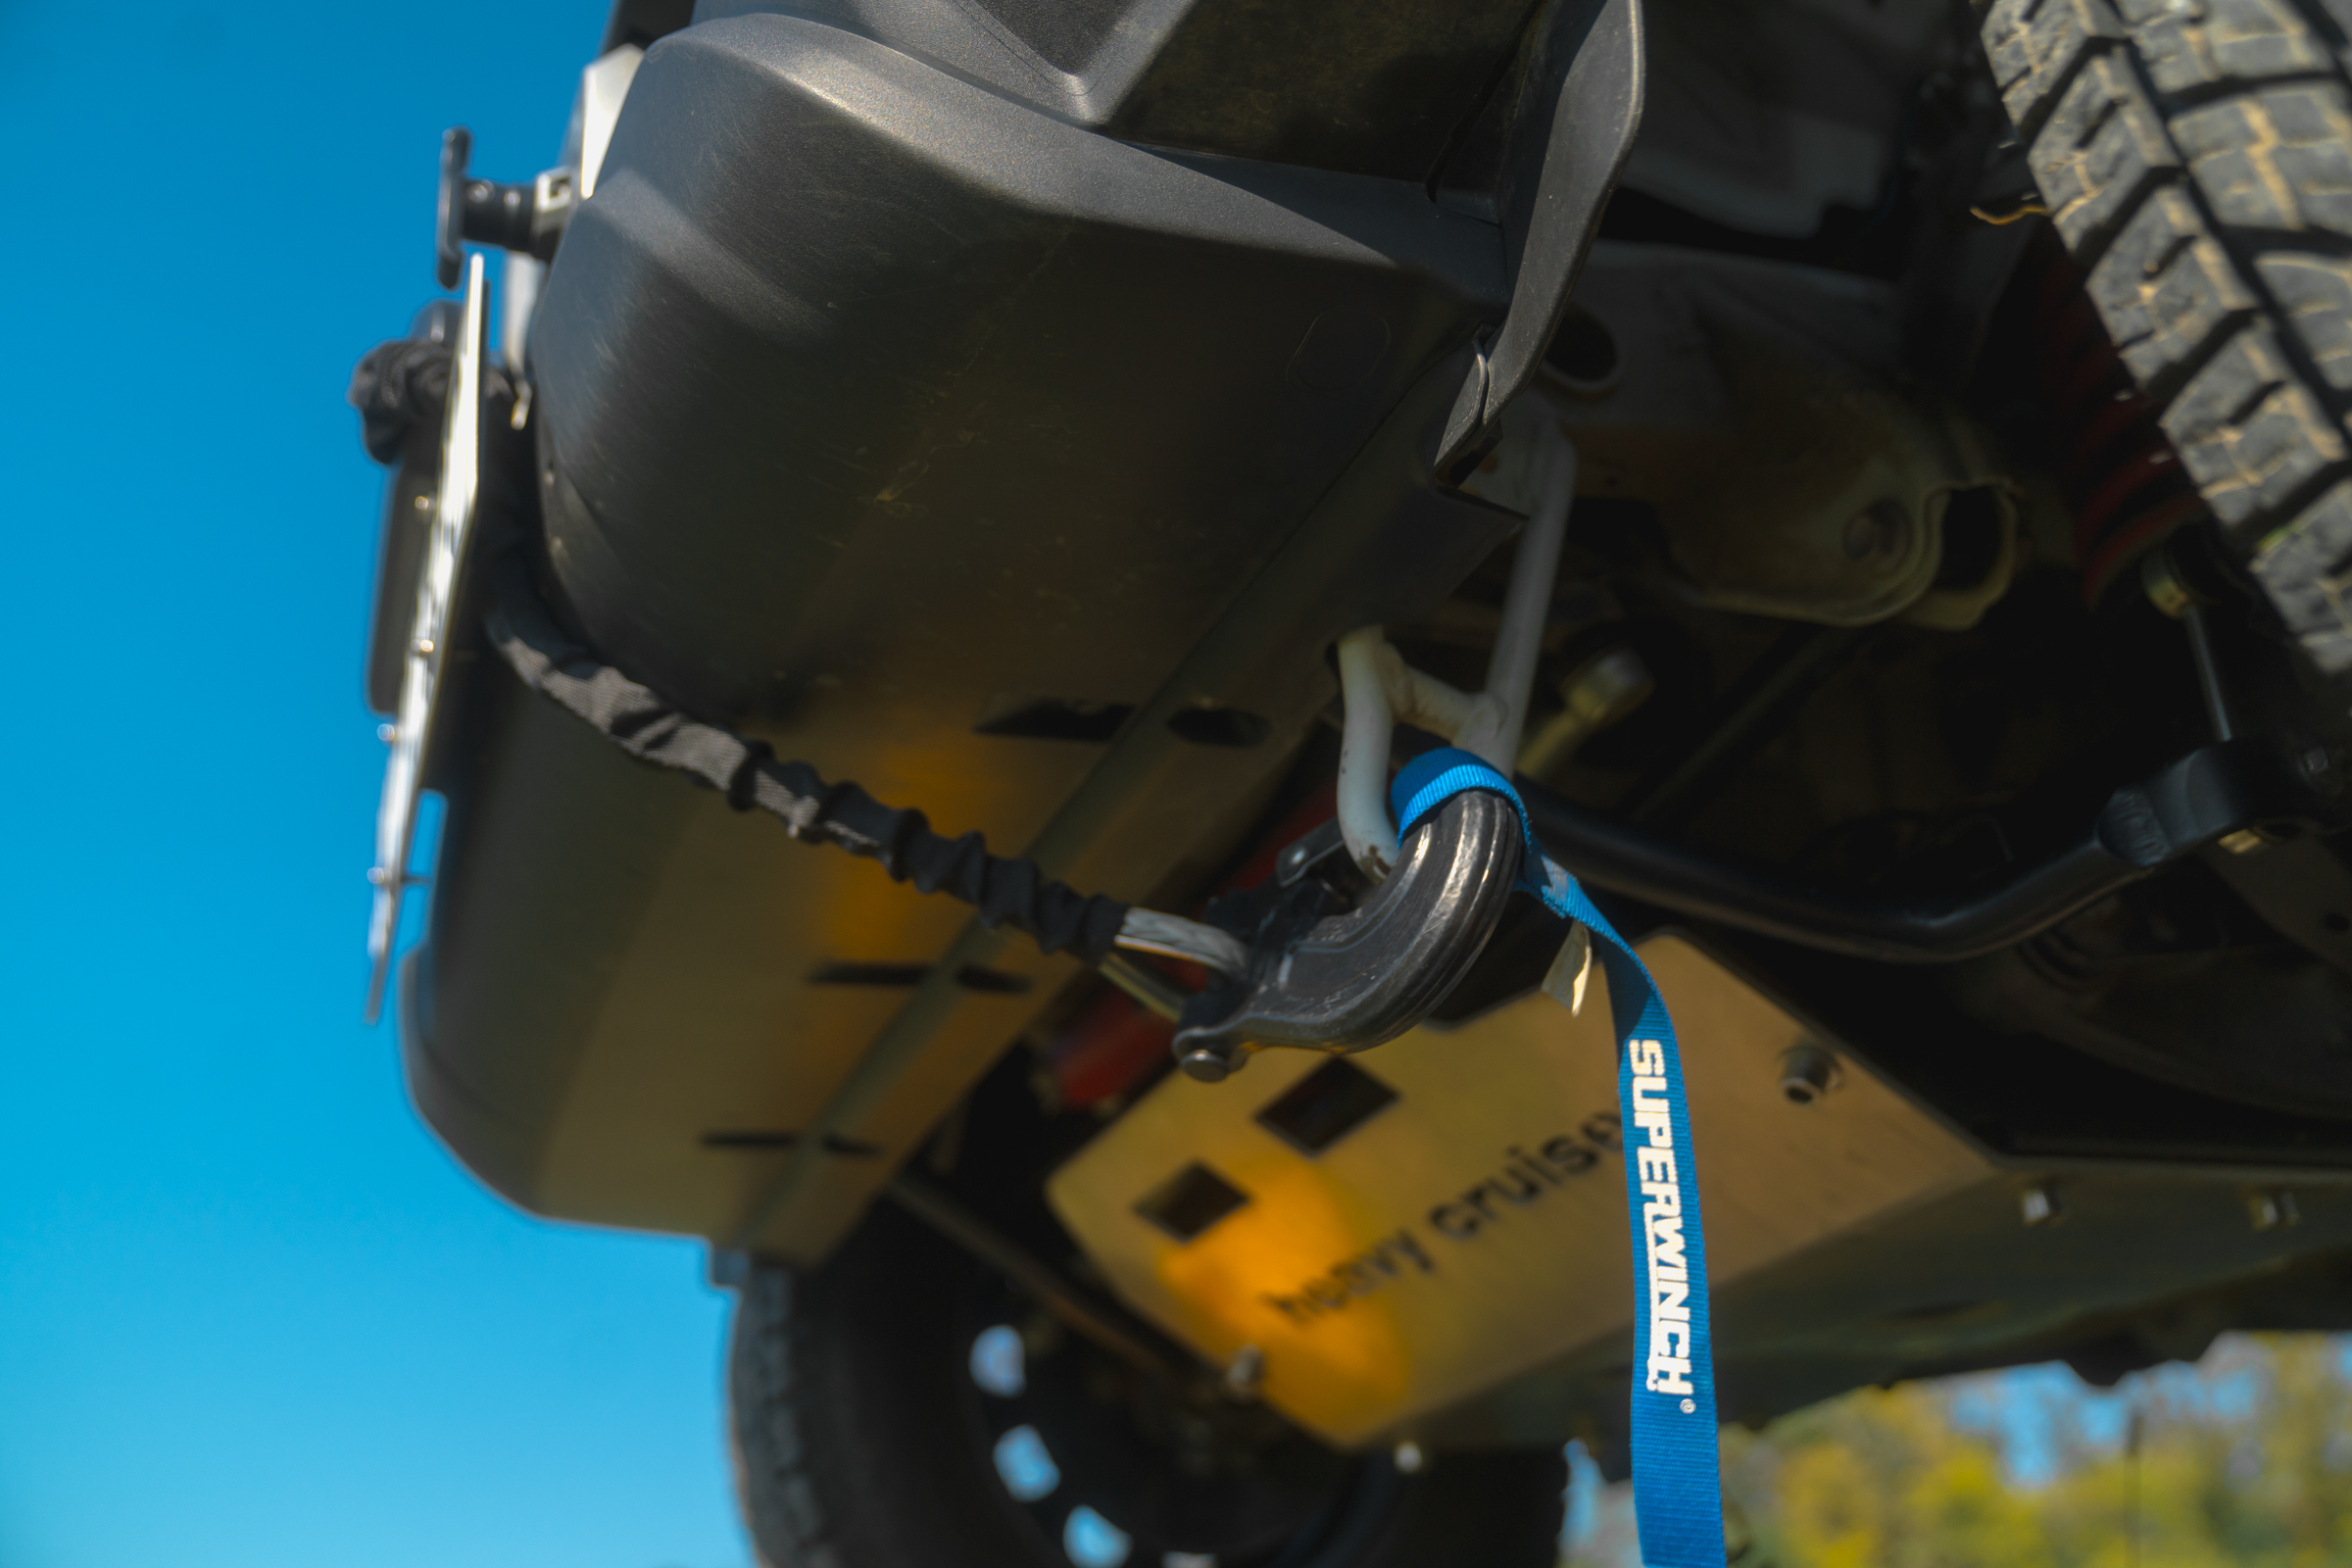
The 6mm thick aluminum plate from Heavy Cruiser does not require drilling, but fitting it and installing it (especially without a workshop with a pit) is a real pain. Unfortunately, such large elements are often not precisely made, and additionally, during transport, small bends can occur, which ultimately translate into laborious installation.
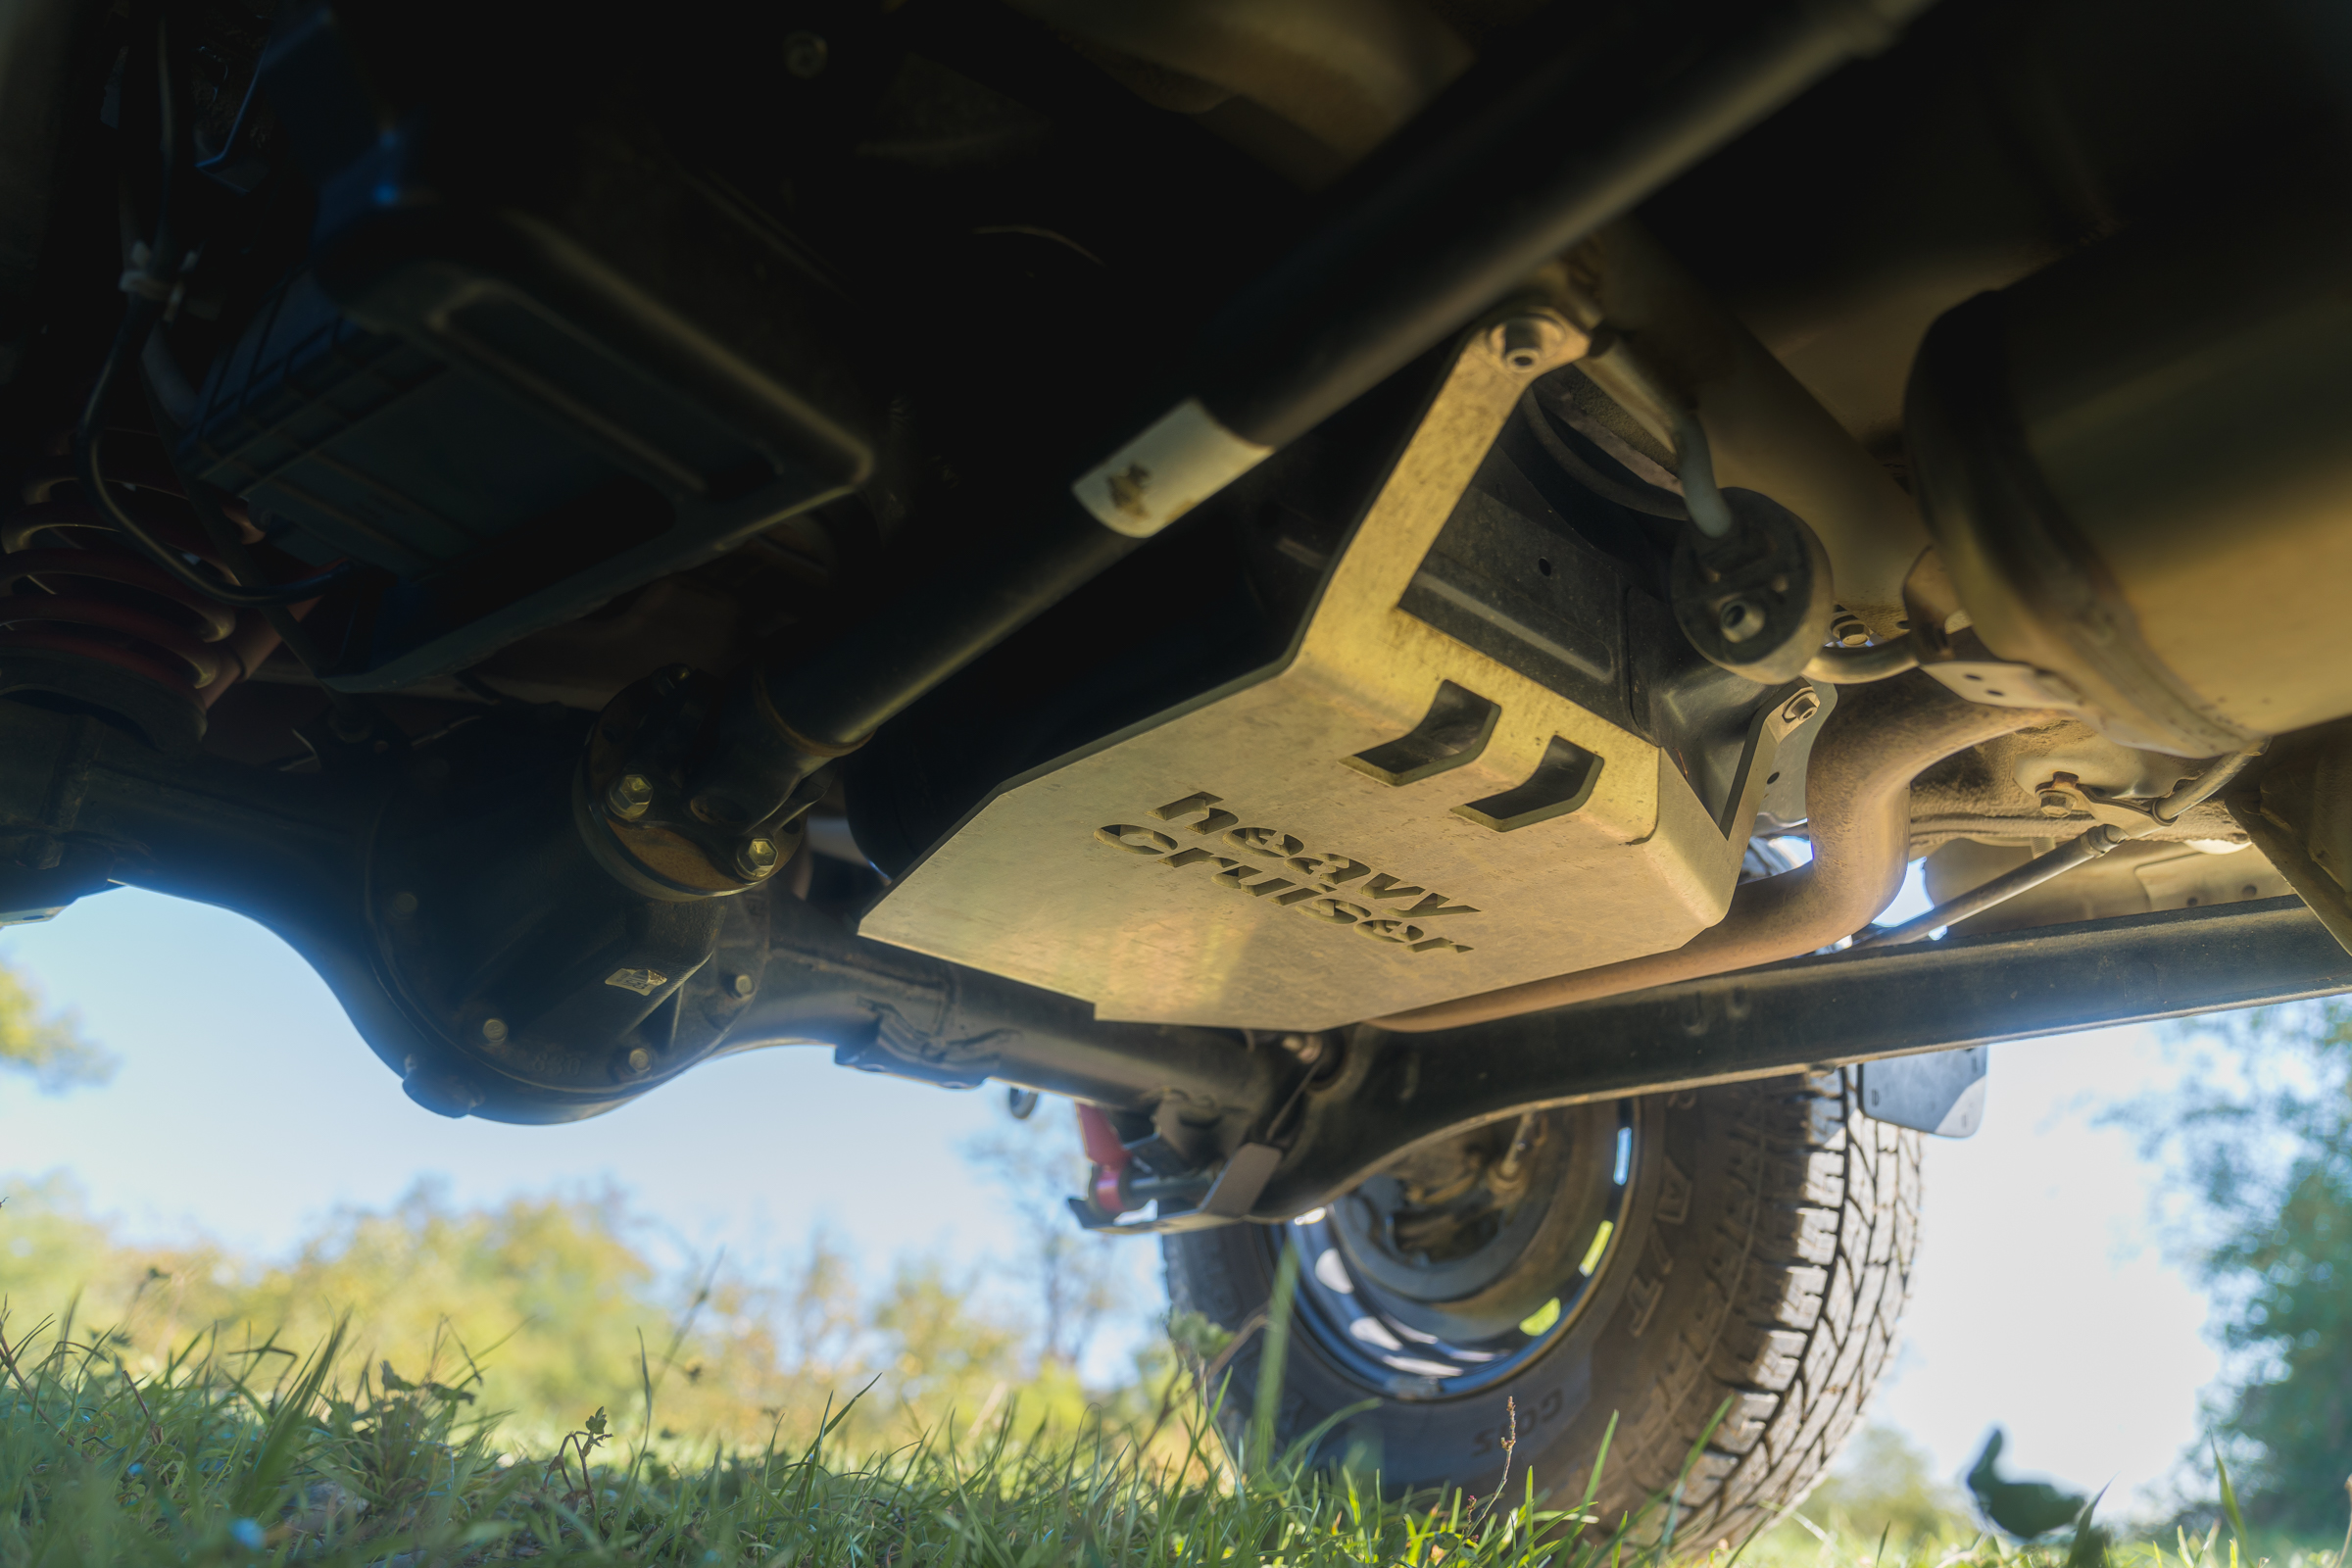
Reducer cover
The Heavy Cruiser transfer case guard protects the drivetrain in difficult terrain.
Fuel tank cover
You wouldn’t want to be stranded in the middle of nowhere without fuel. The Heavy Cruiser fuel tank guard provides protection against punctures or damage, especially on rocky trails.
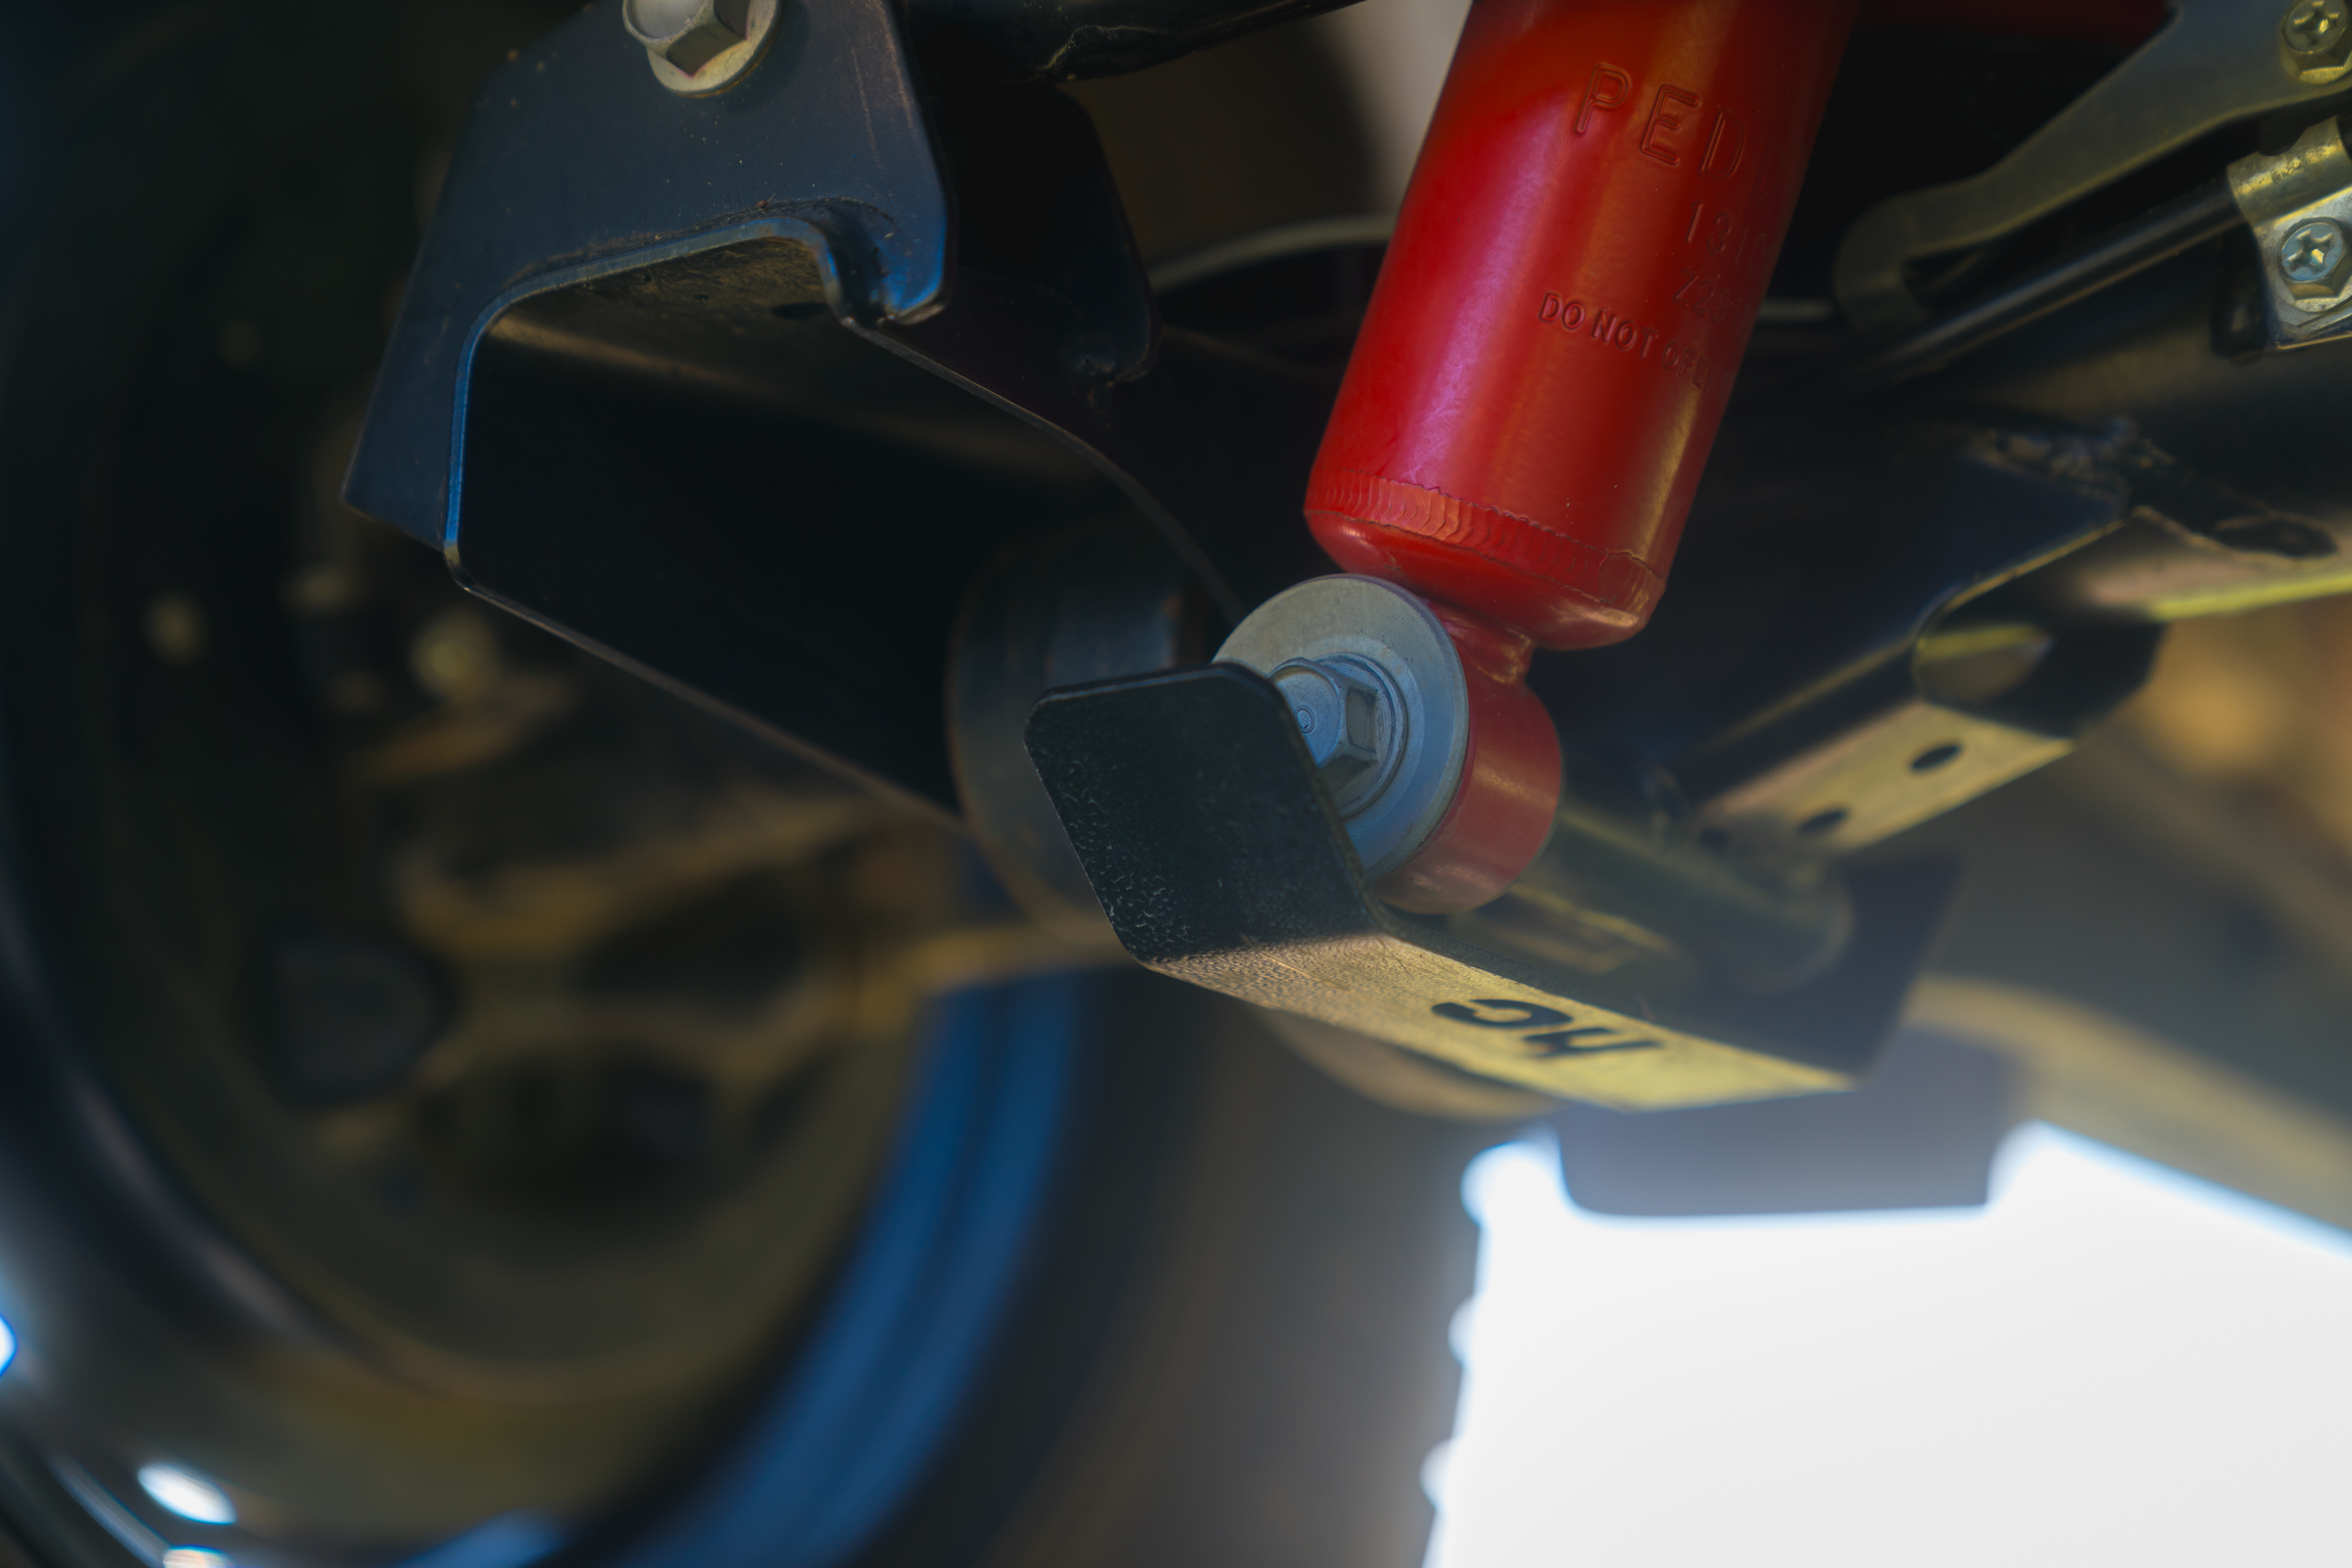
Shock absorber covers – rear
Small but sometimes sufficient shock absorber covers from Heavy Cruiser.
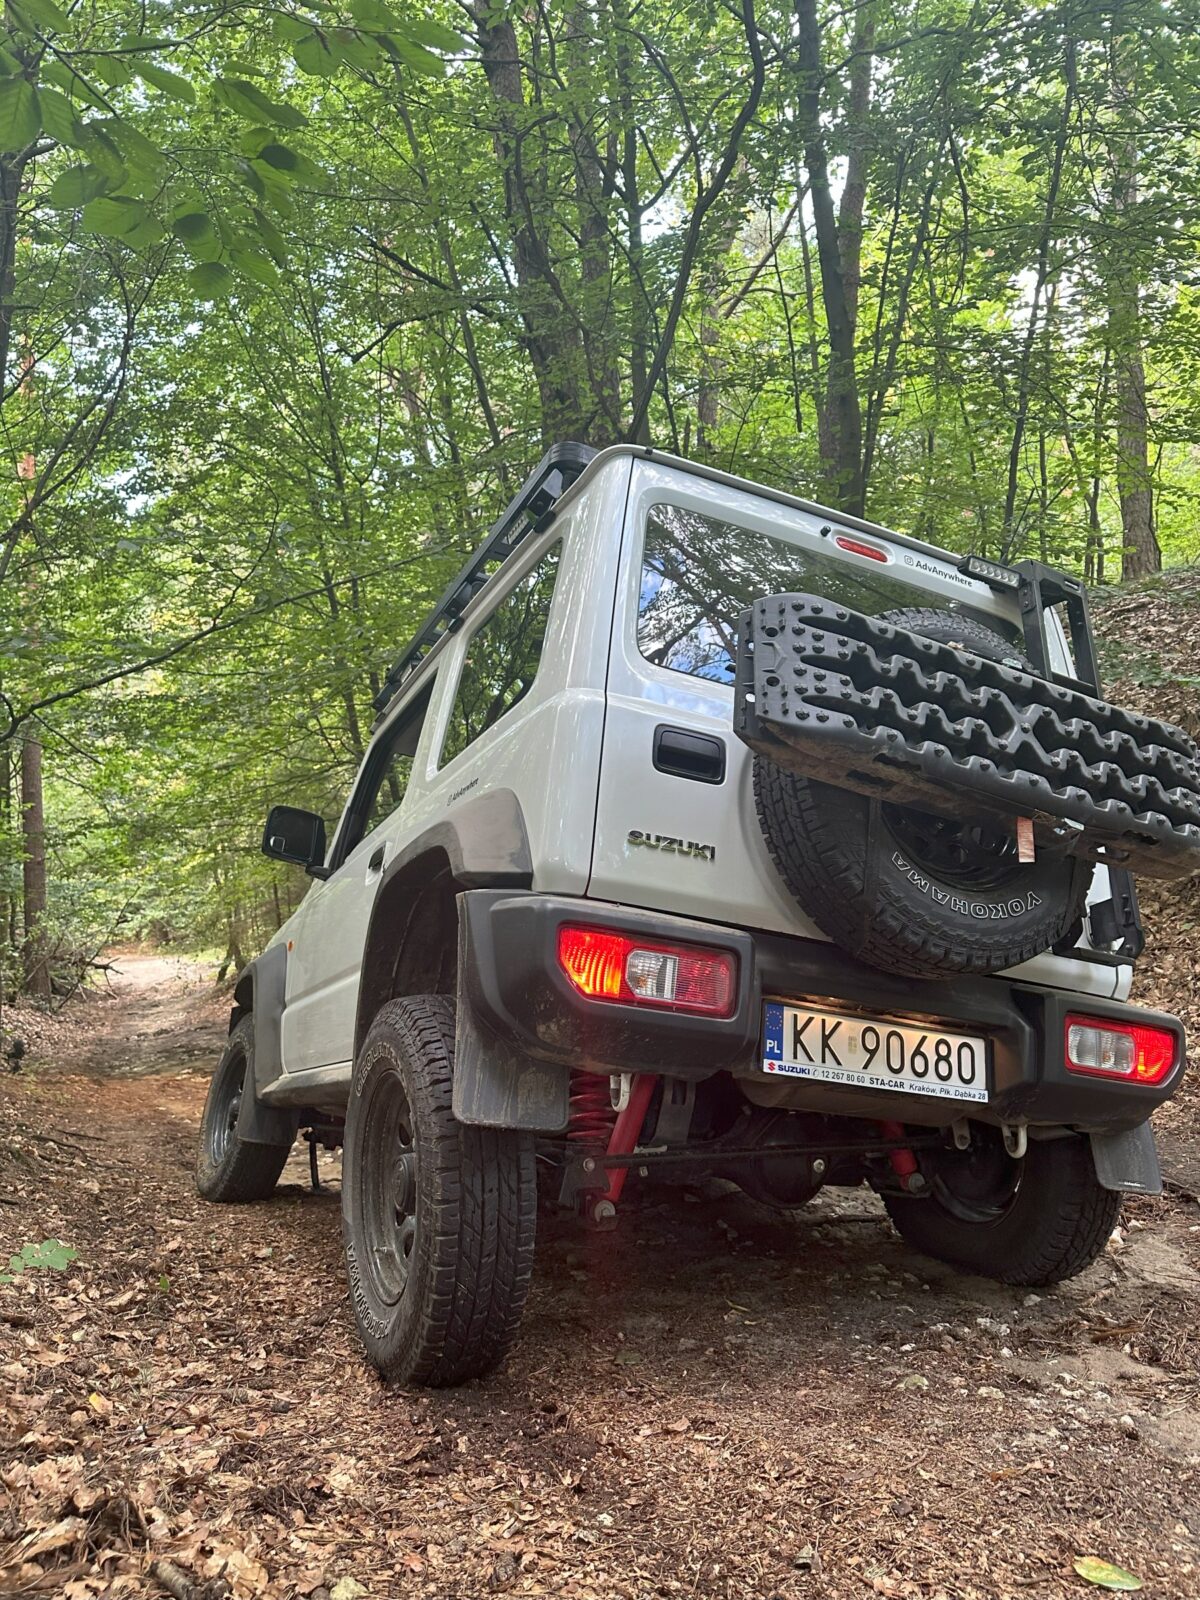
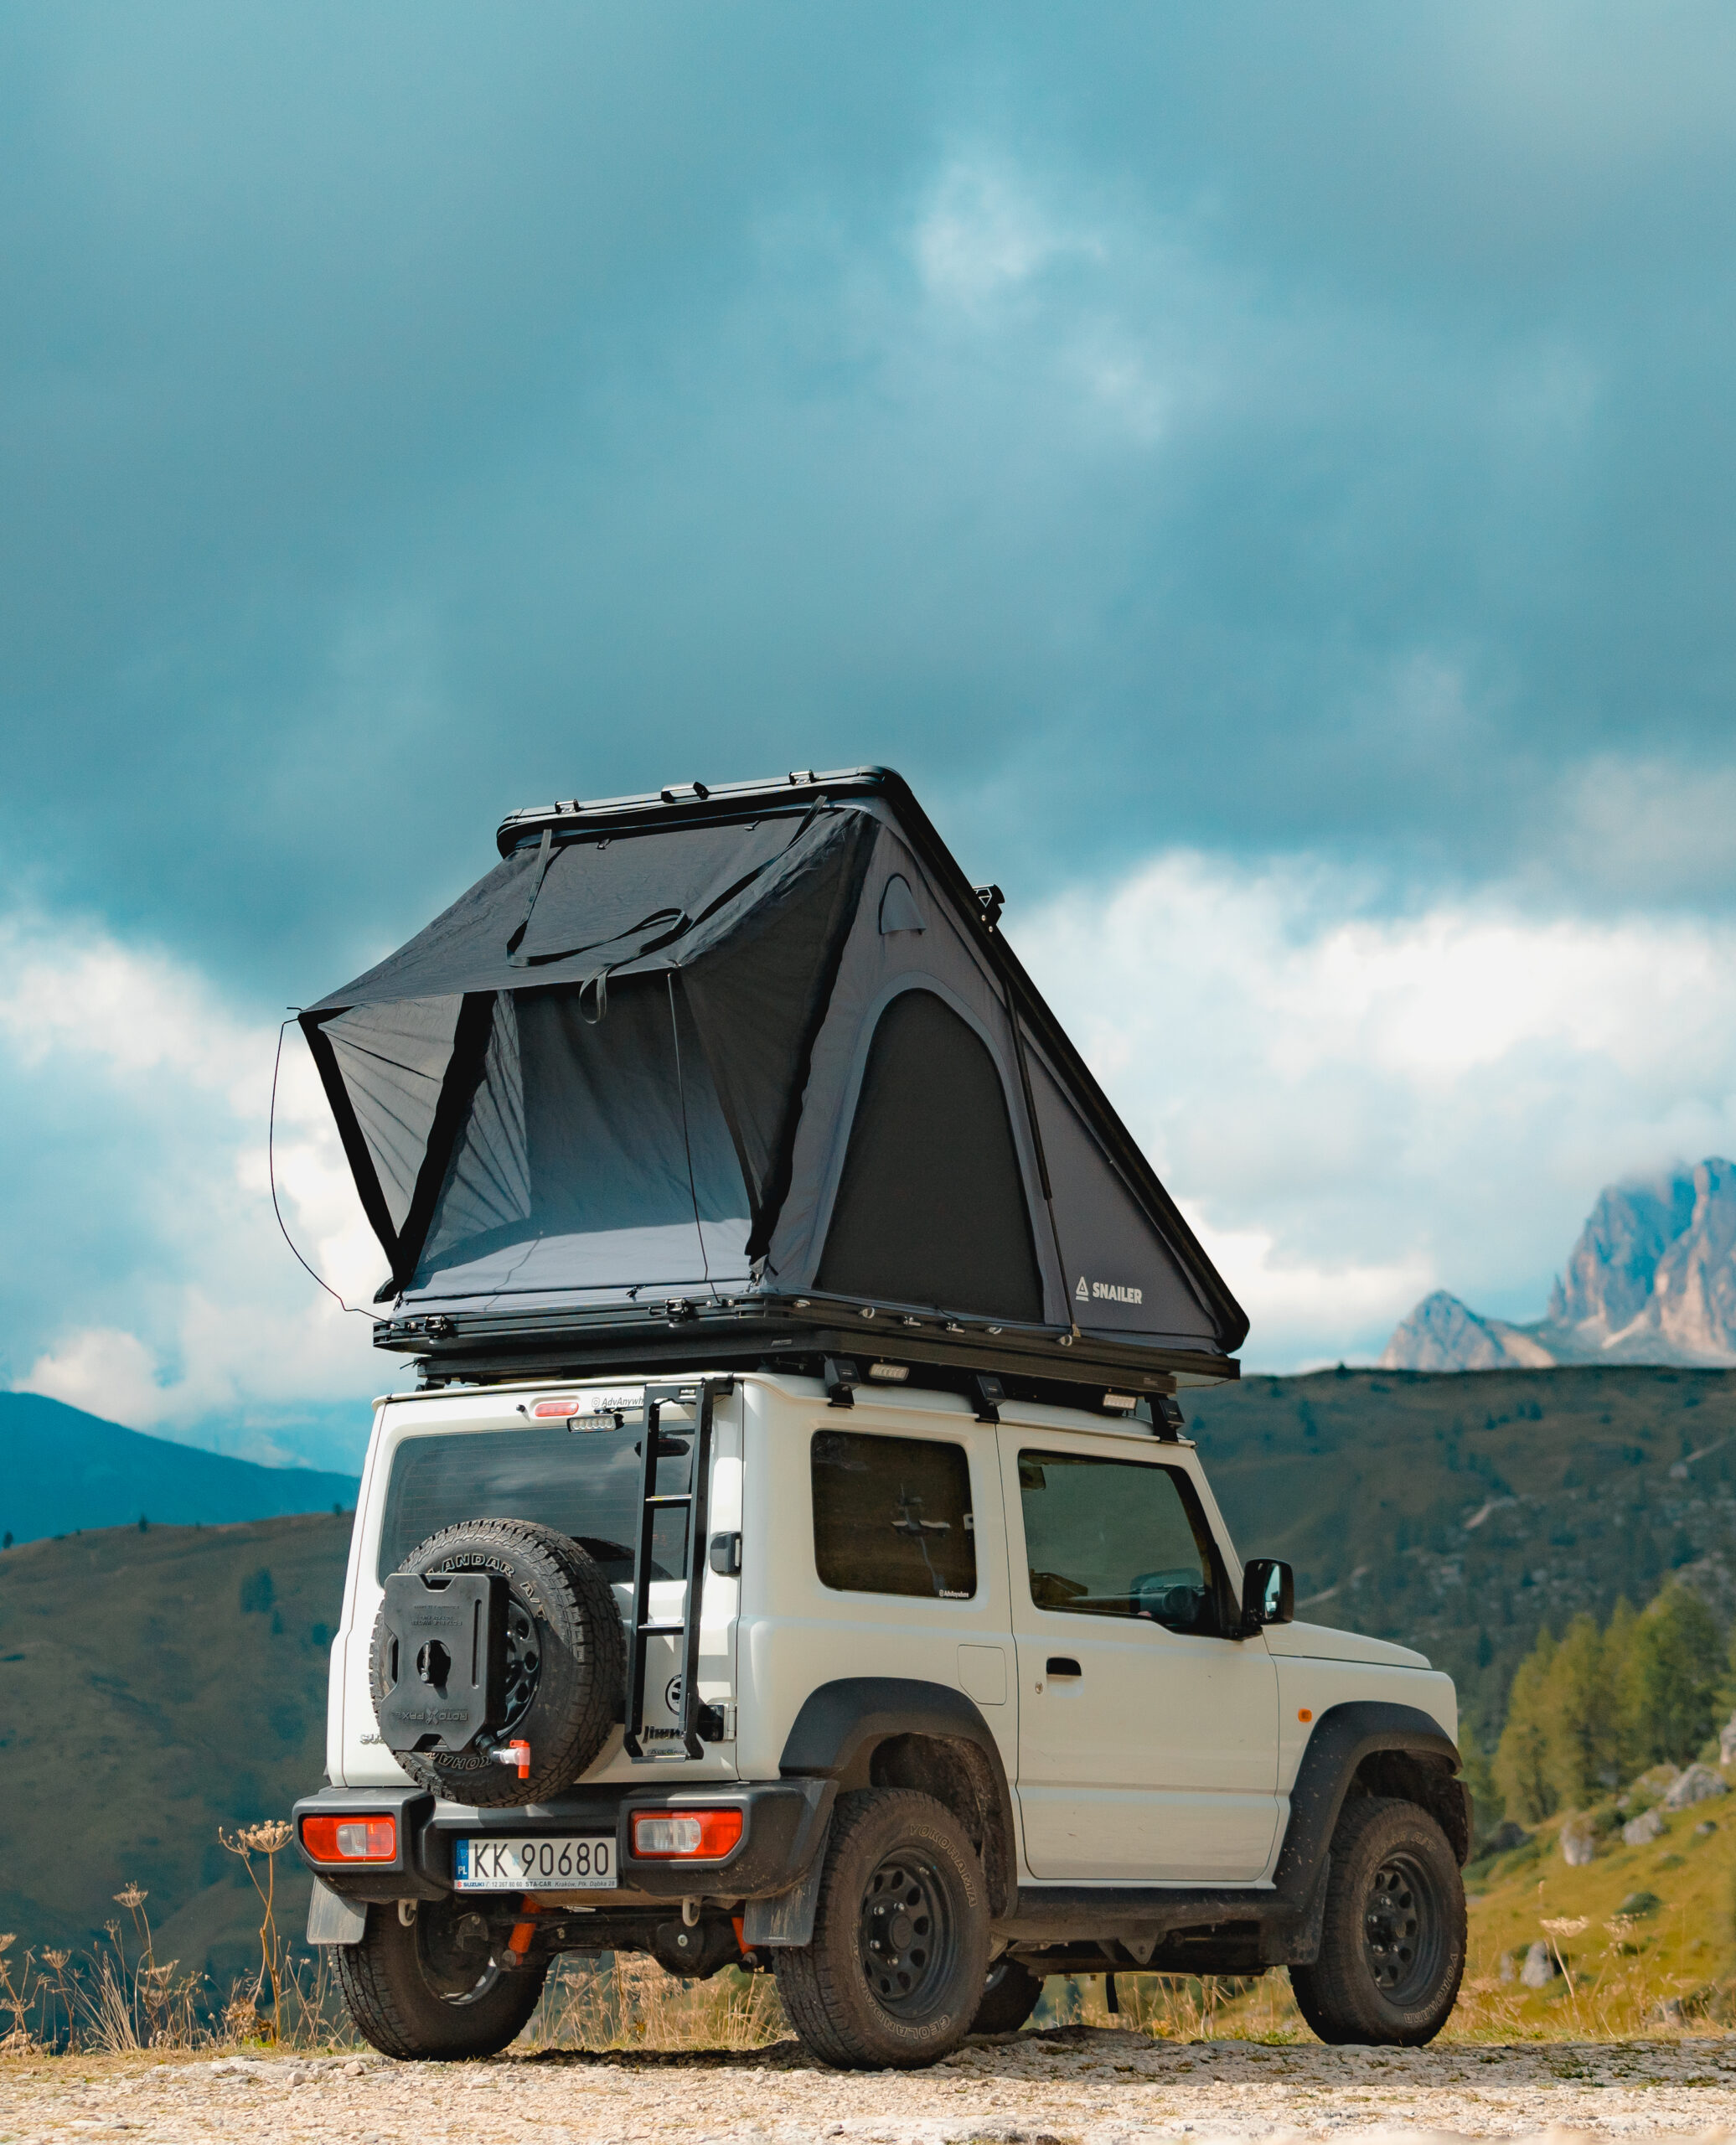
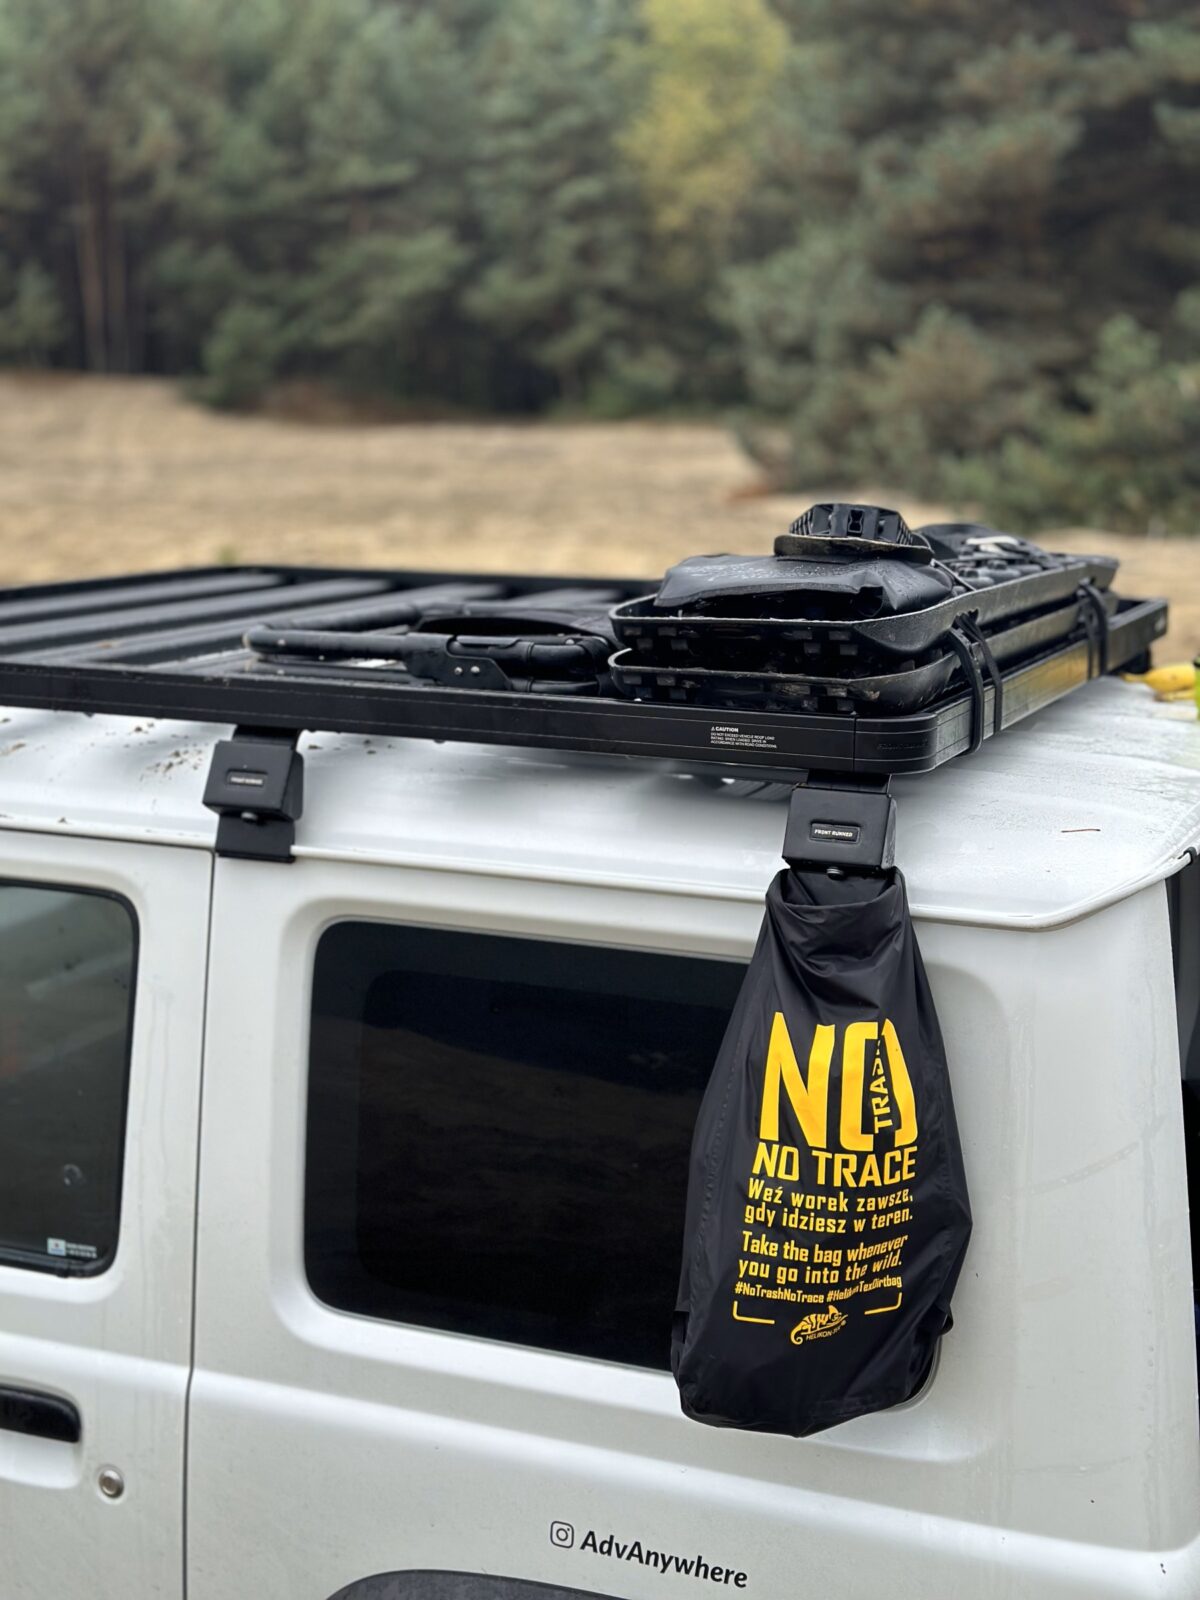
Front Runner ladder
Initially, the ladder was mainly used to get to the roof rack, but after installing the SNAILER roof tent, it is now mainly used to enter the tent. Thanks to it, there is no need to use an additional ladder for the tent.


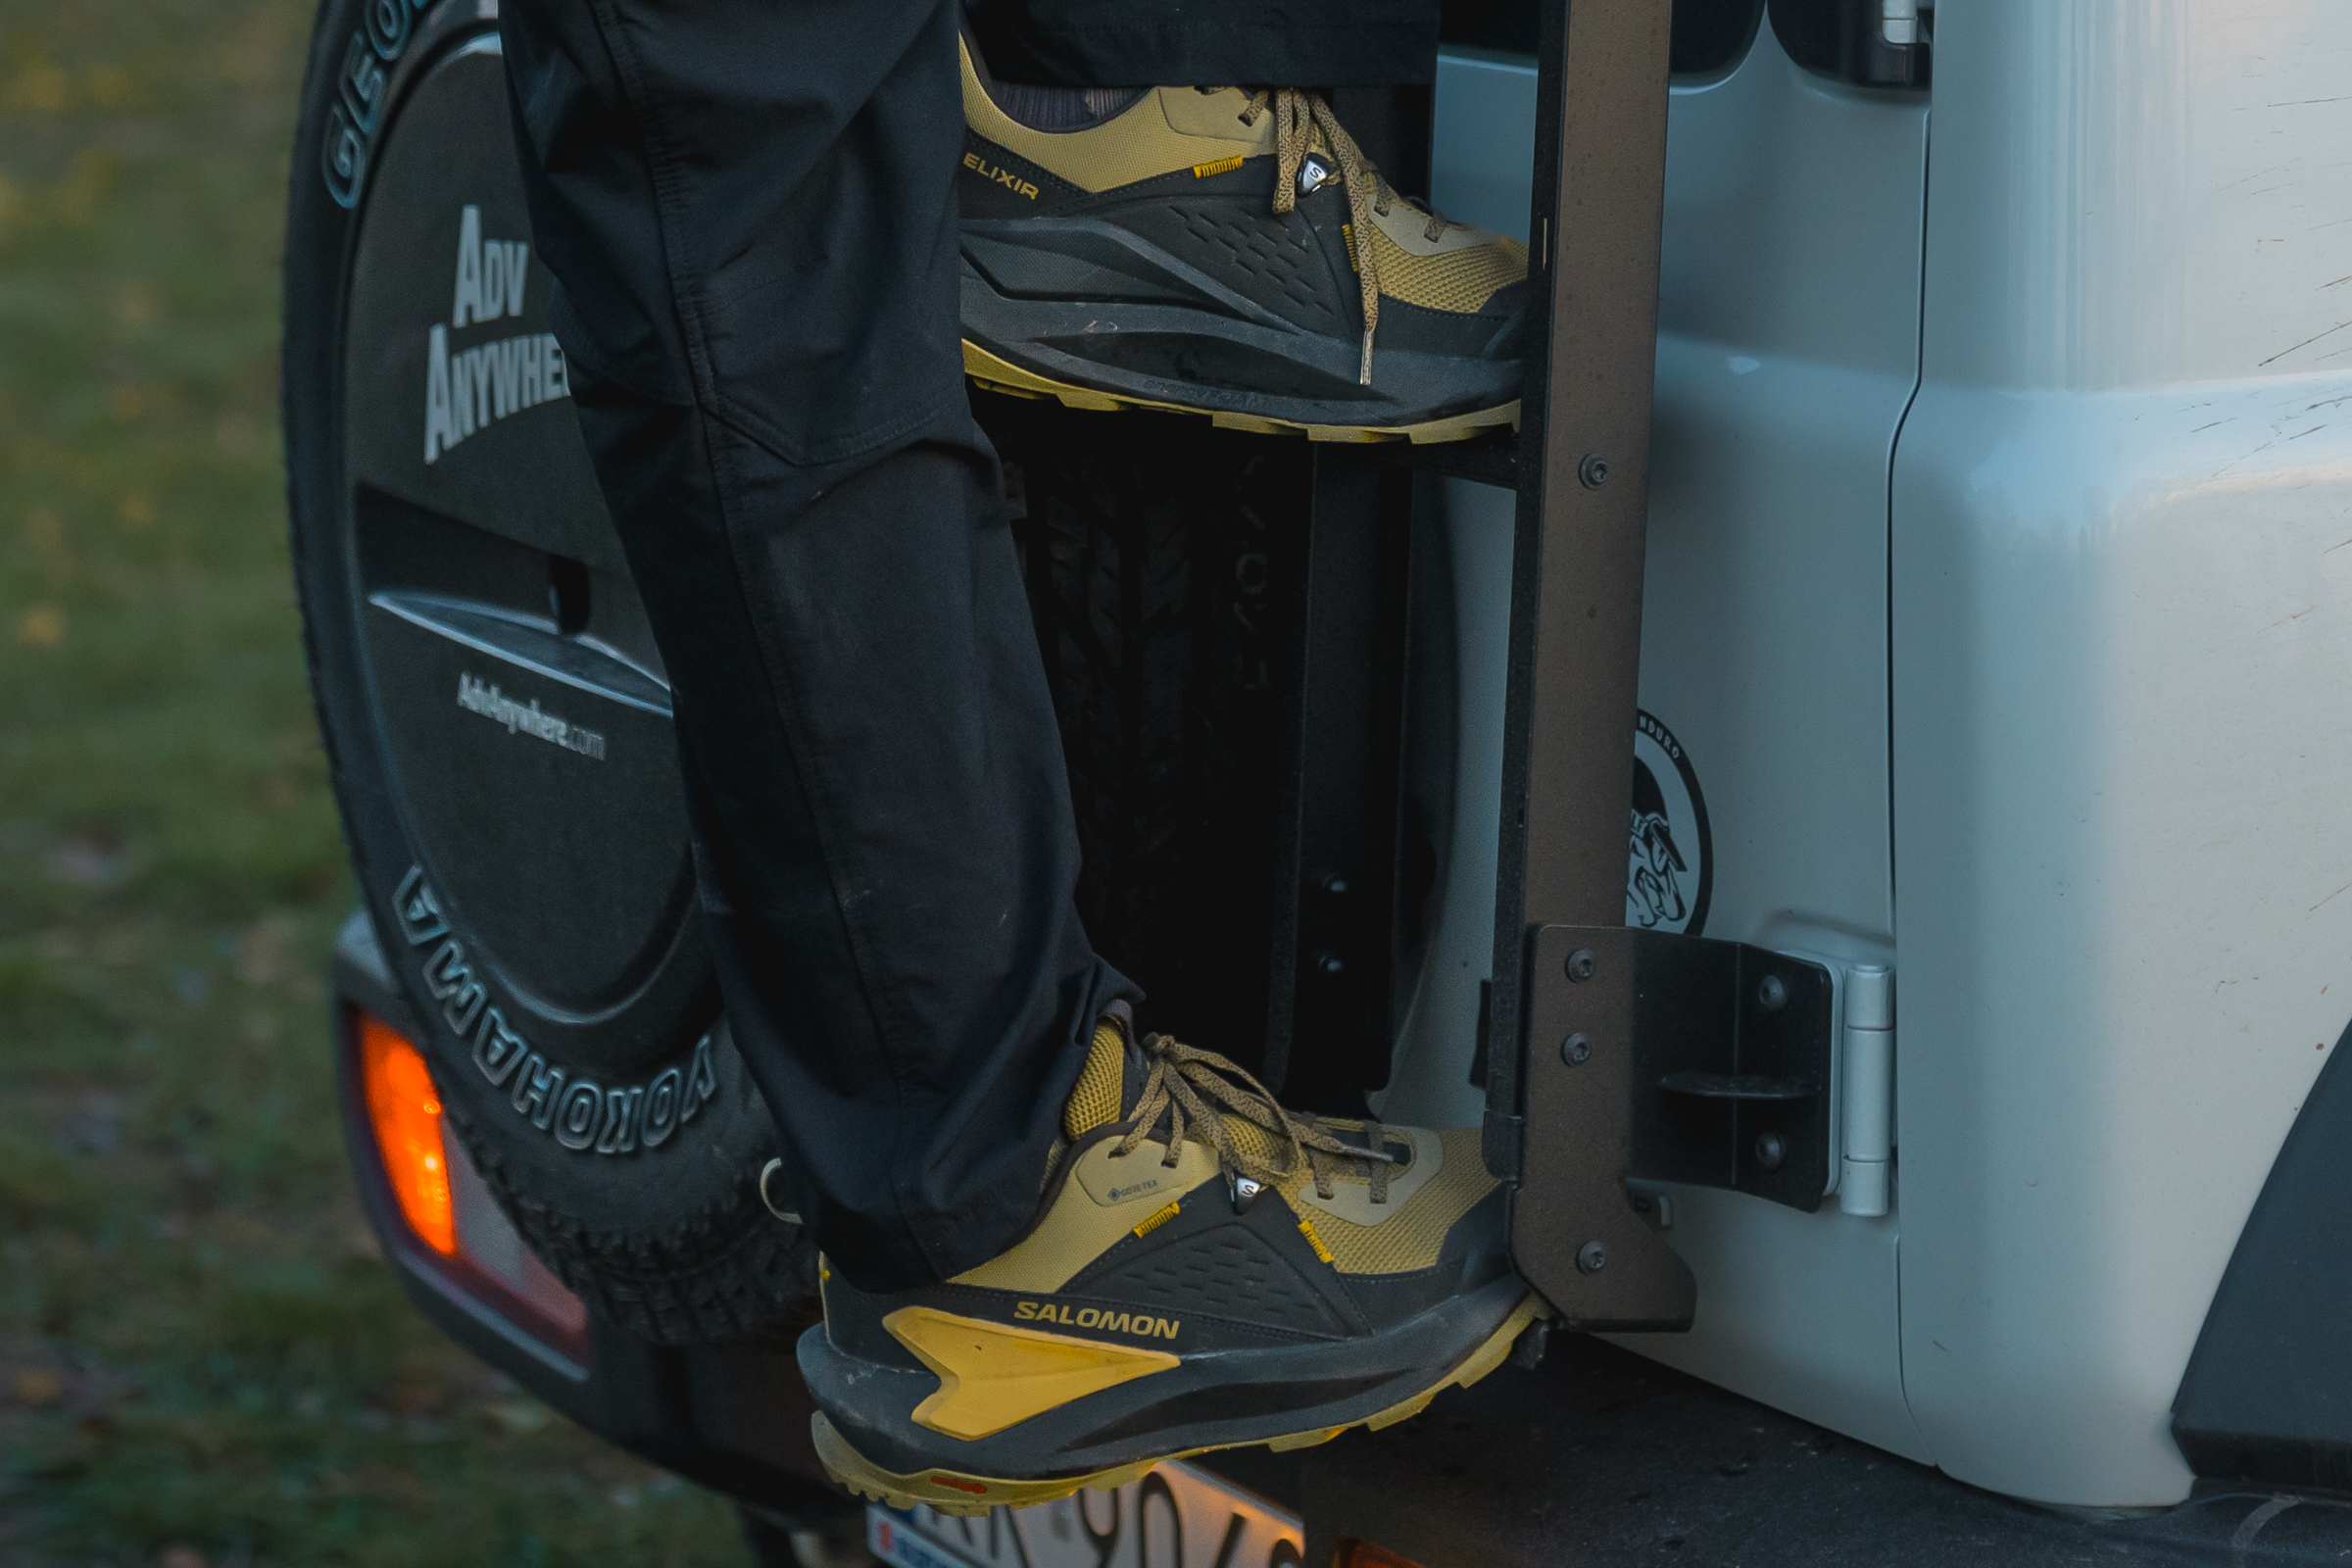
It’s a bit narrow, and climbing it may seem uncomfortable at first, but after a few climbs, you can get used to it. I like to use the spare wheel when climbing onto the roof.
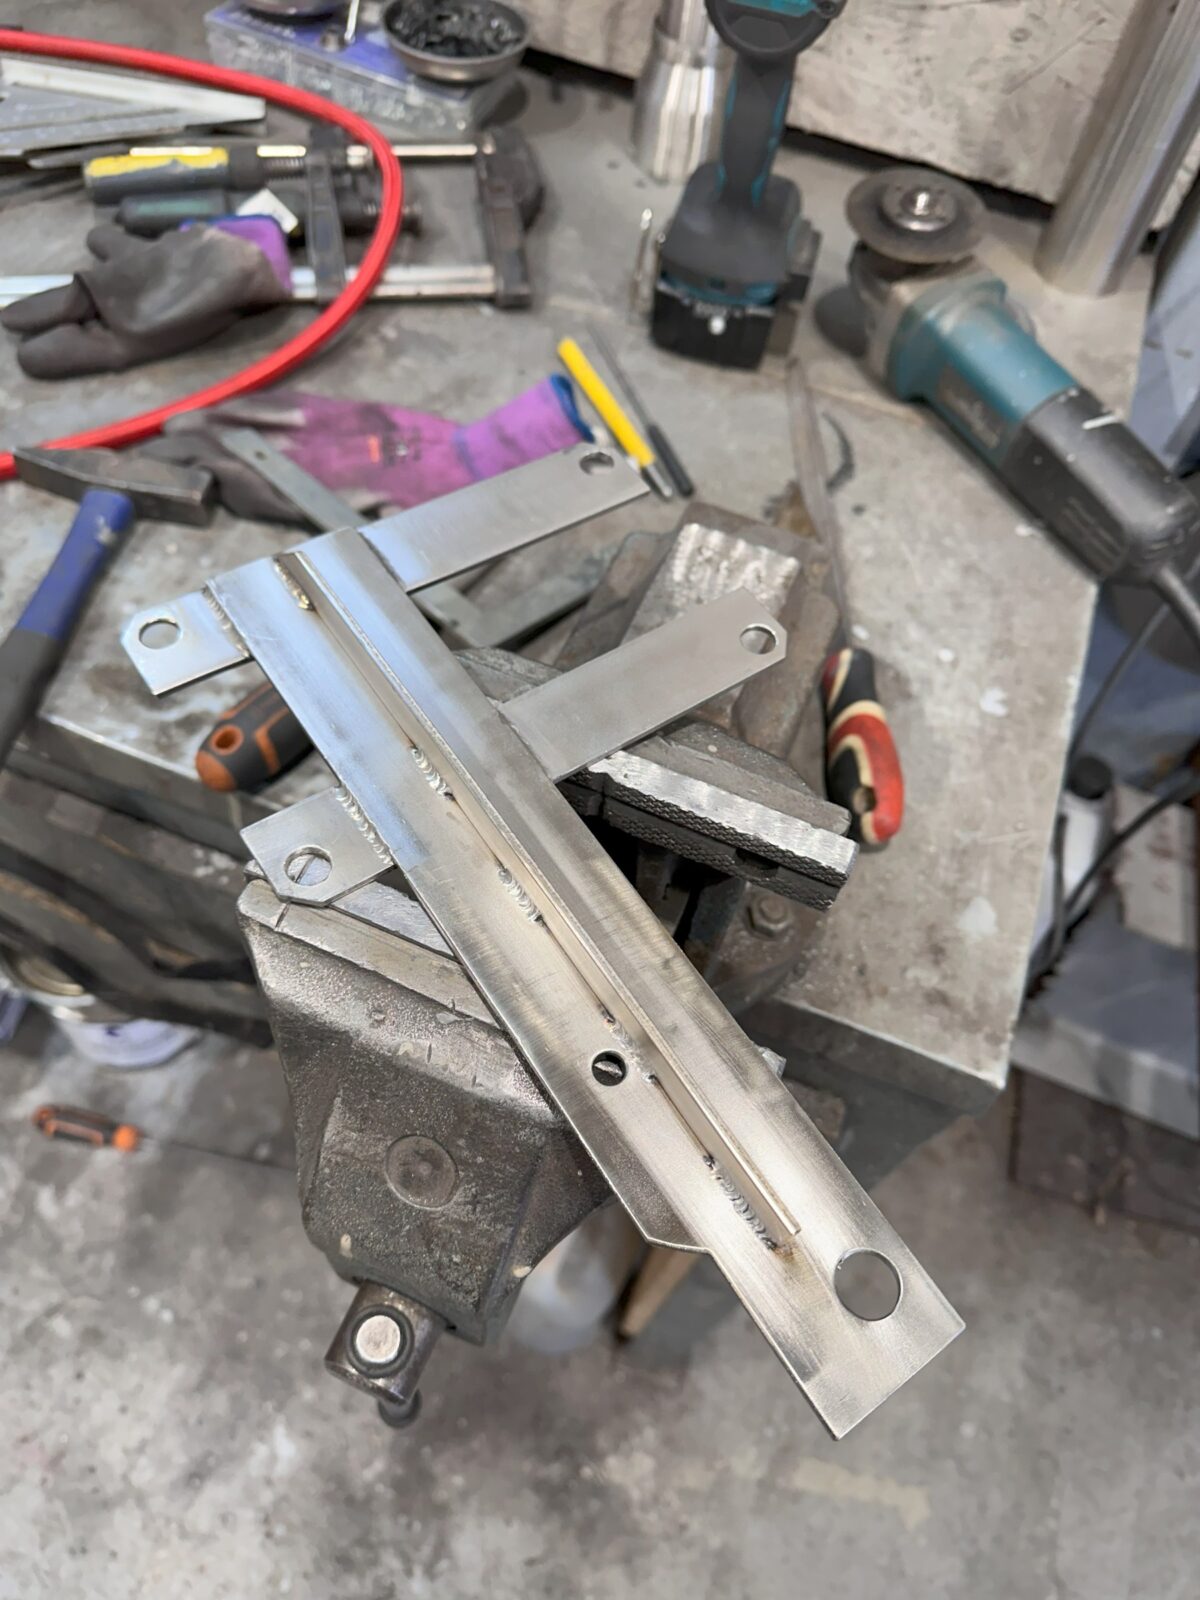
In my case, the ladder was also useful as an element to which Michał and I attached a holder for the rear light.
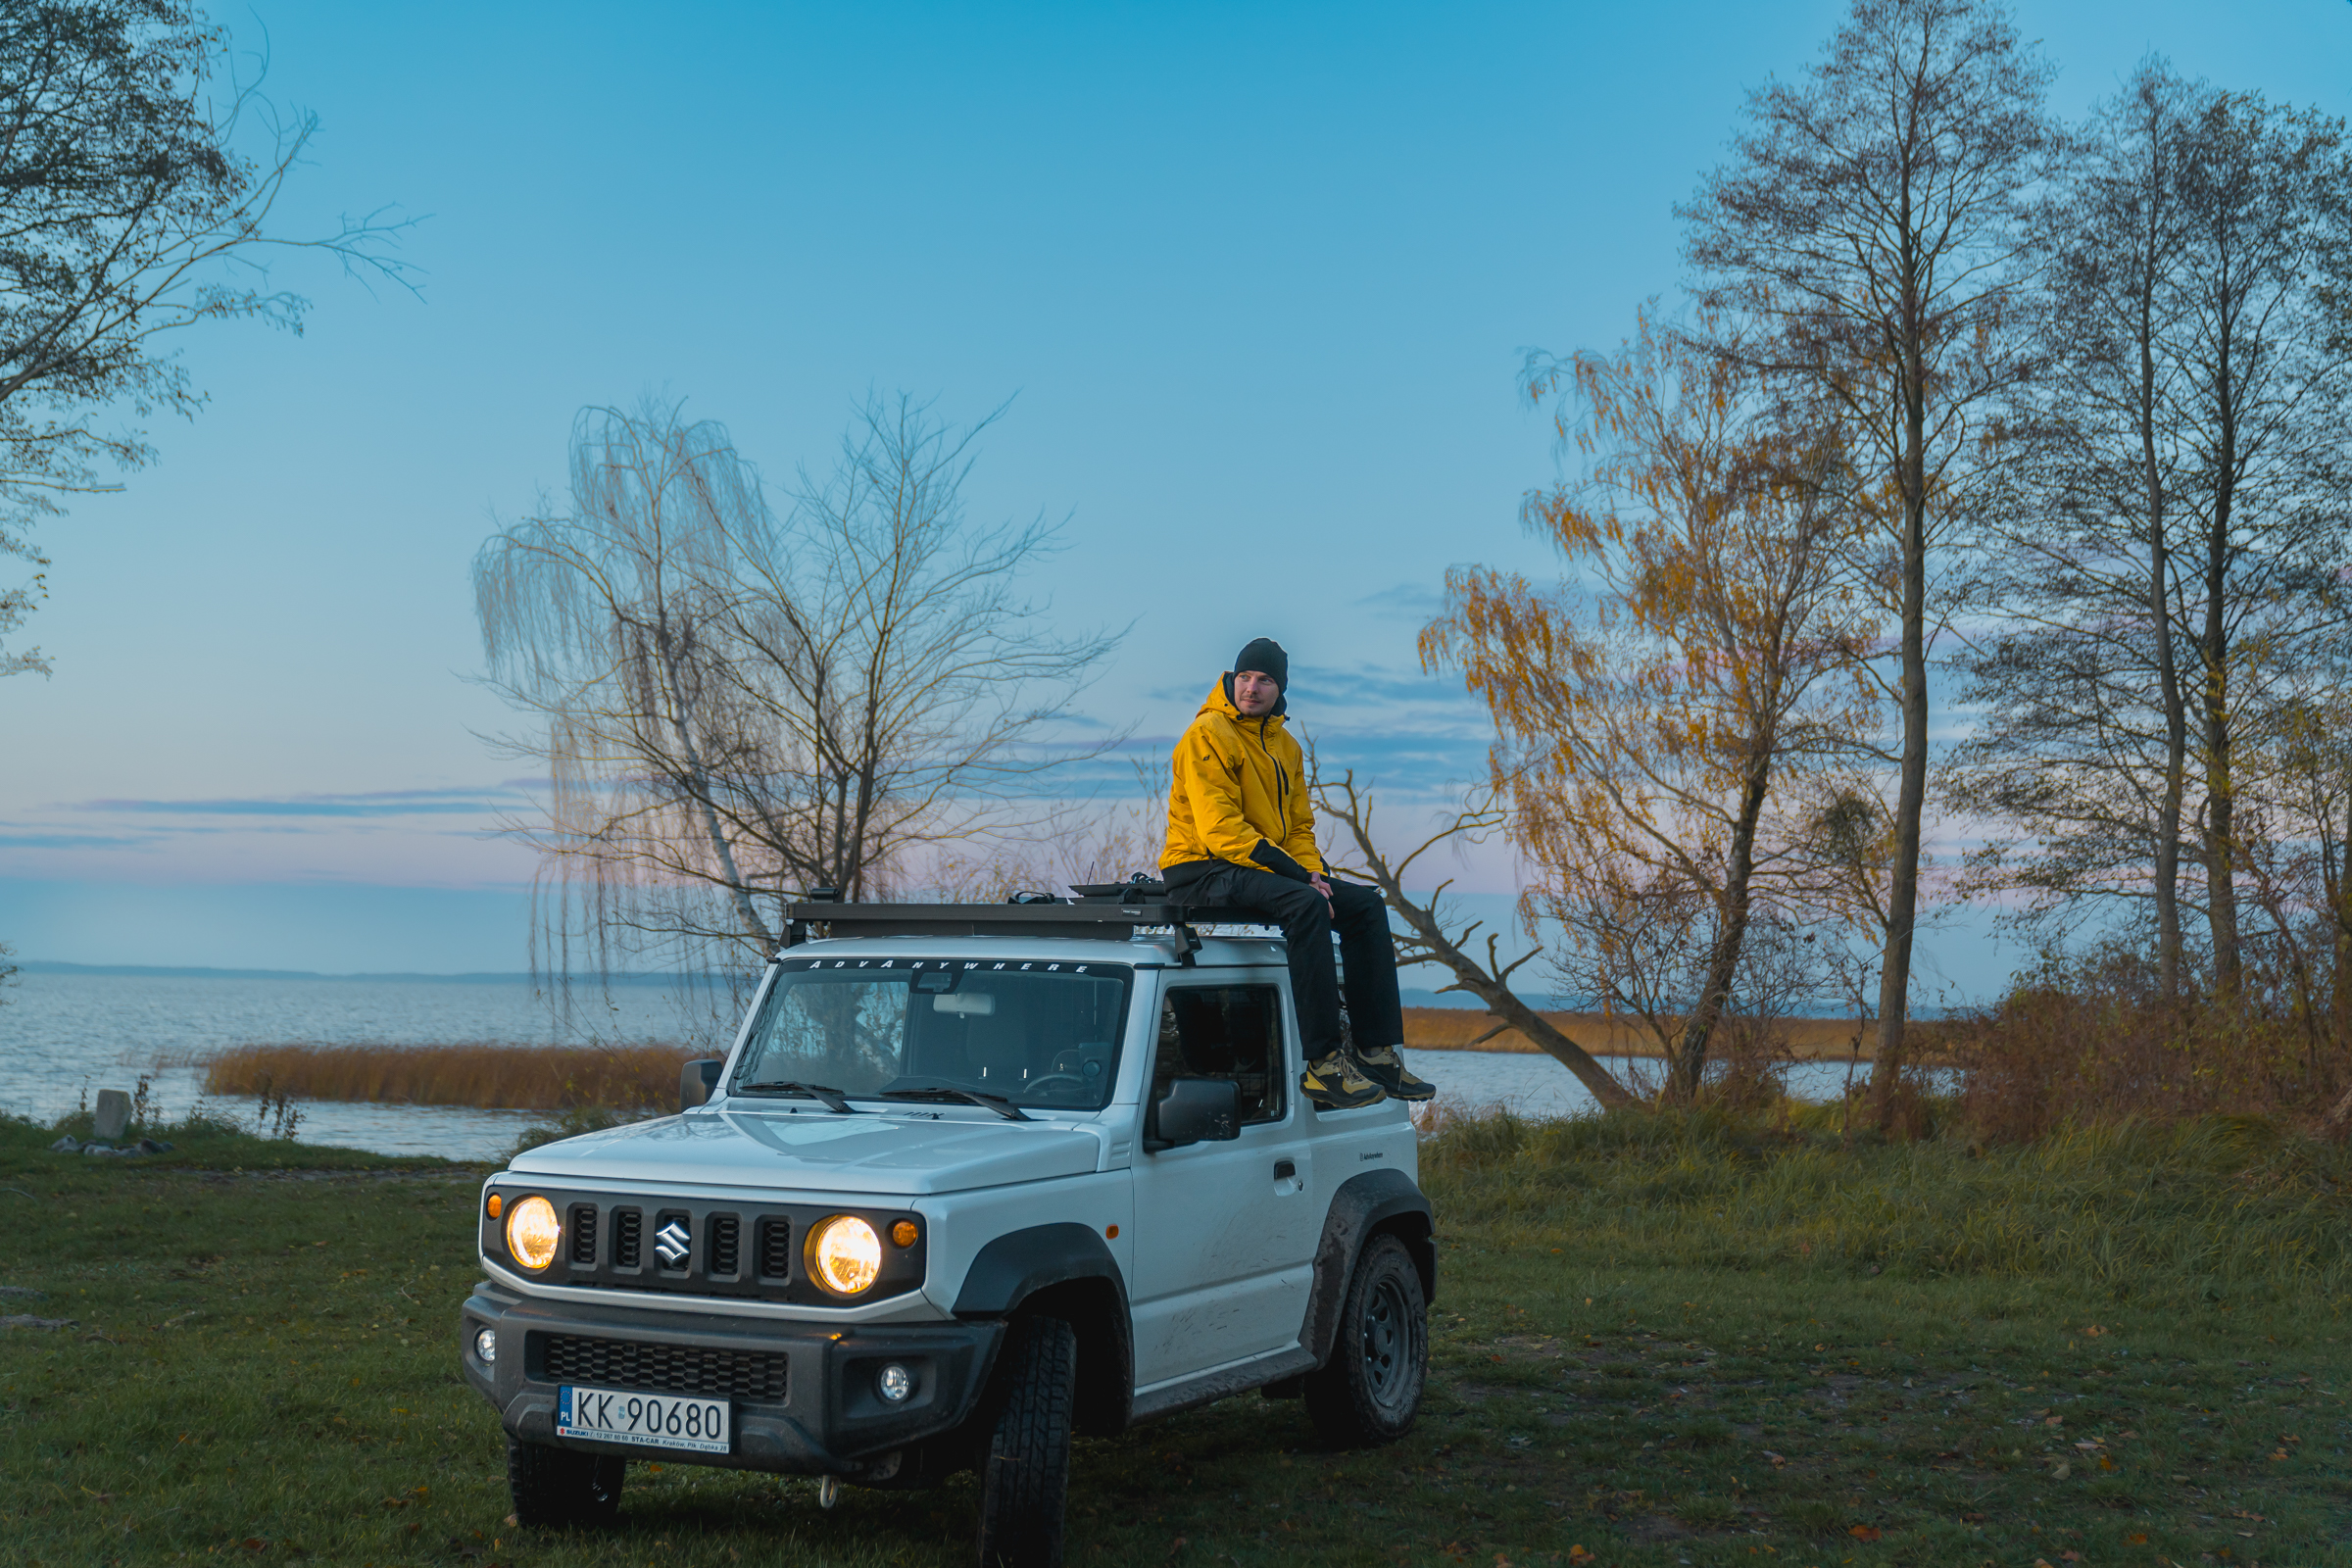
Front Runner Roof Rack
The Front Runner aluminum modular roof rack seems to me to be one of the best available on the market. It’s not the cheapest, but it’s well-made and well-thought-out.
The aerodynamic profile with an additional deflector reduces air resistance and reduces noise and fuel consumption.
The rails with beams and frames provide truly enormous possibilities for mounting various elements. Michał and I installed the entire lighting system without any problems, elegantly and professionally.
The Font Runner rack offers a huge variety of additional mounts, e.g. for a bicycle. You can also easily mount boxes on it.
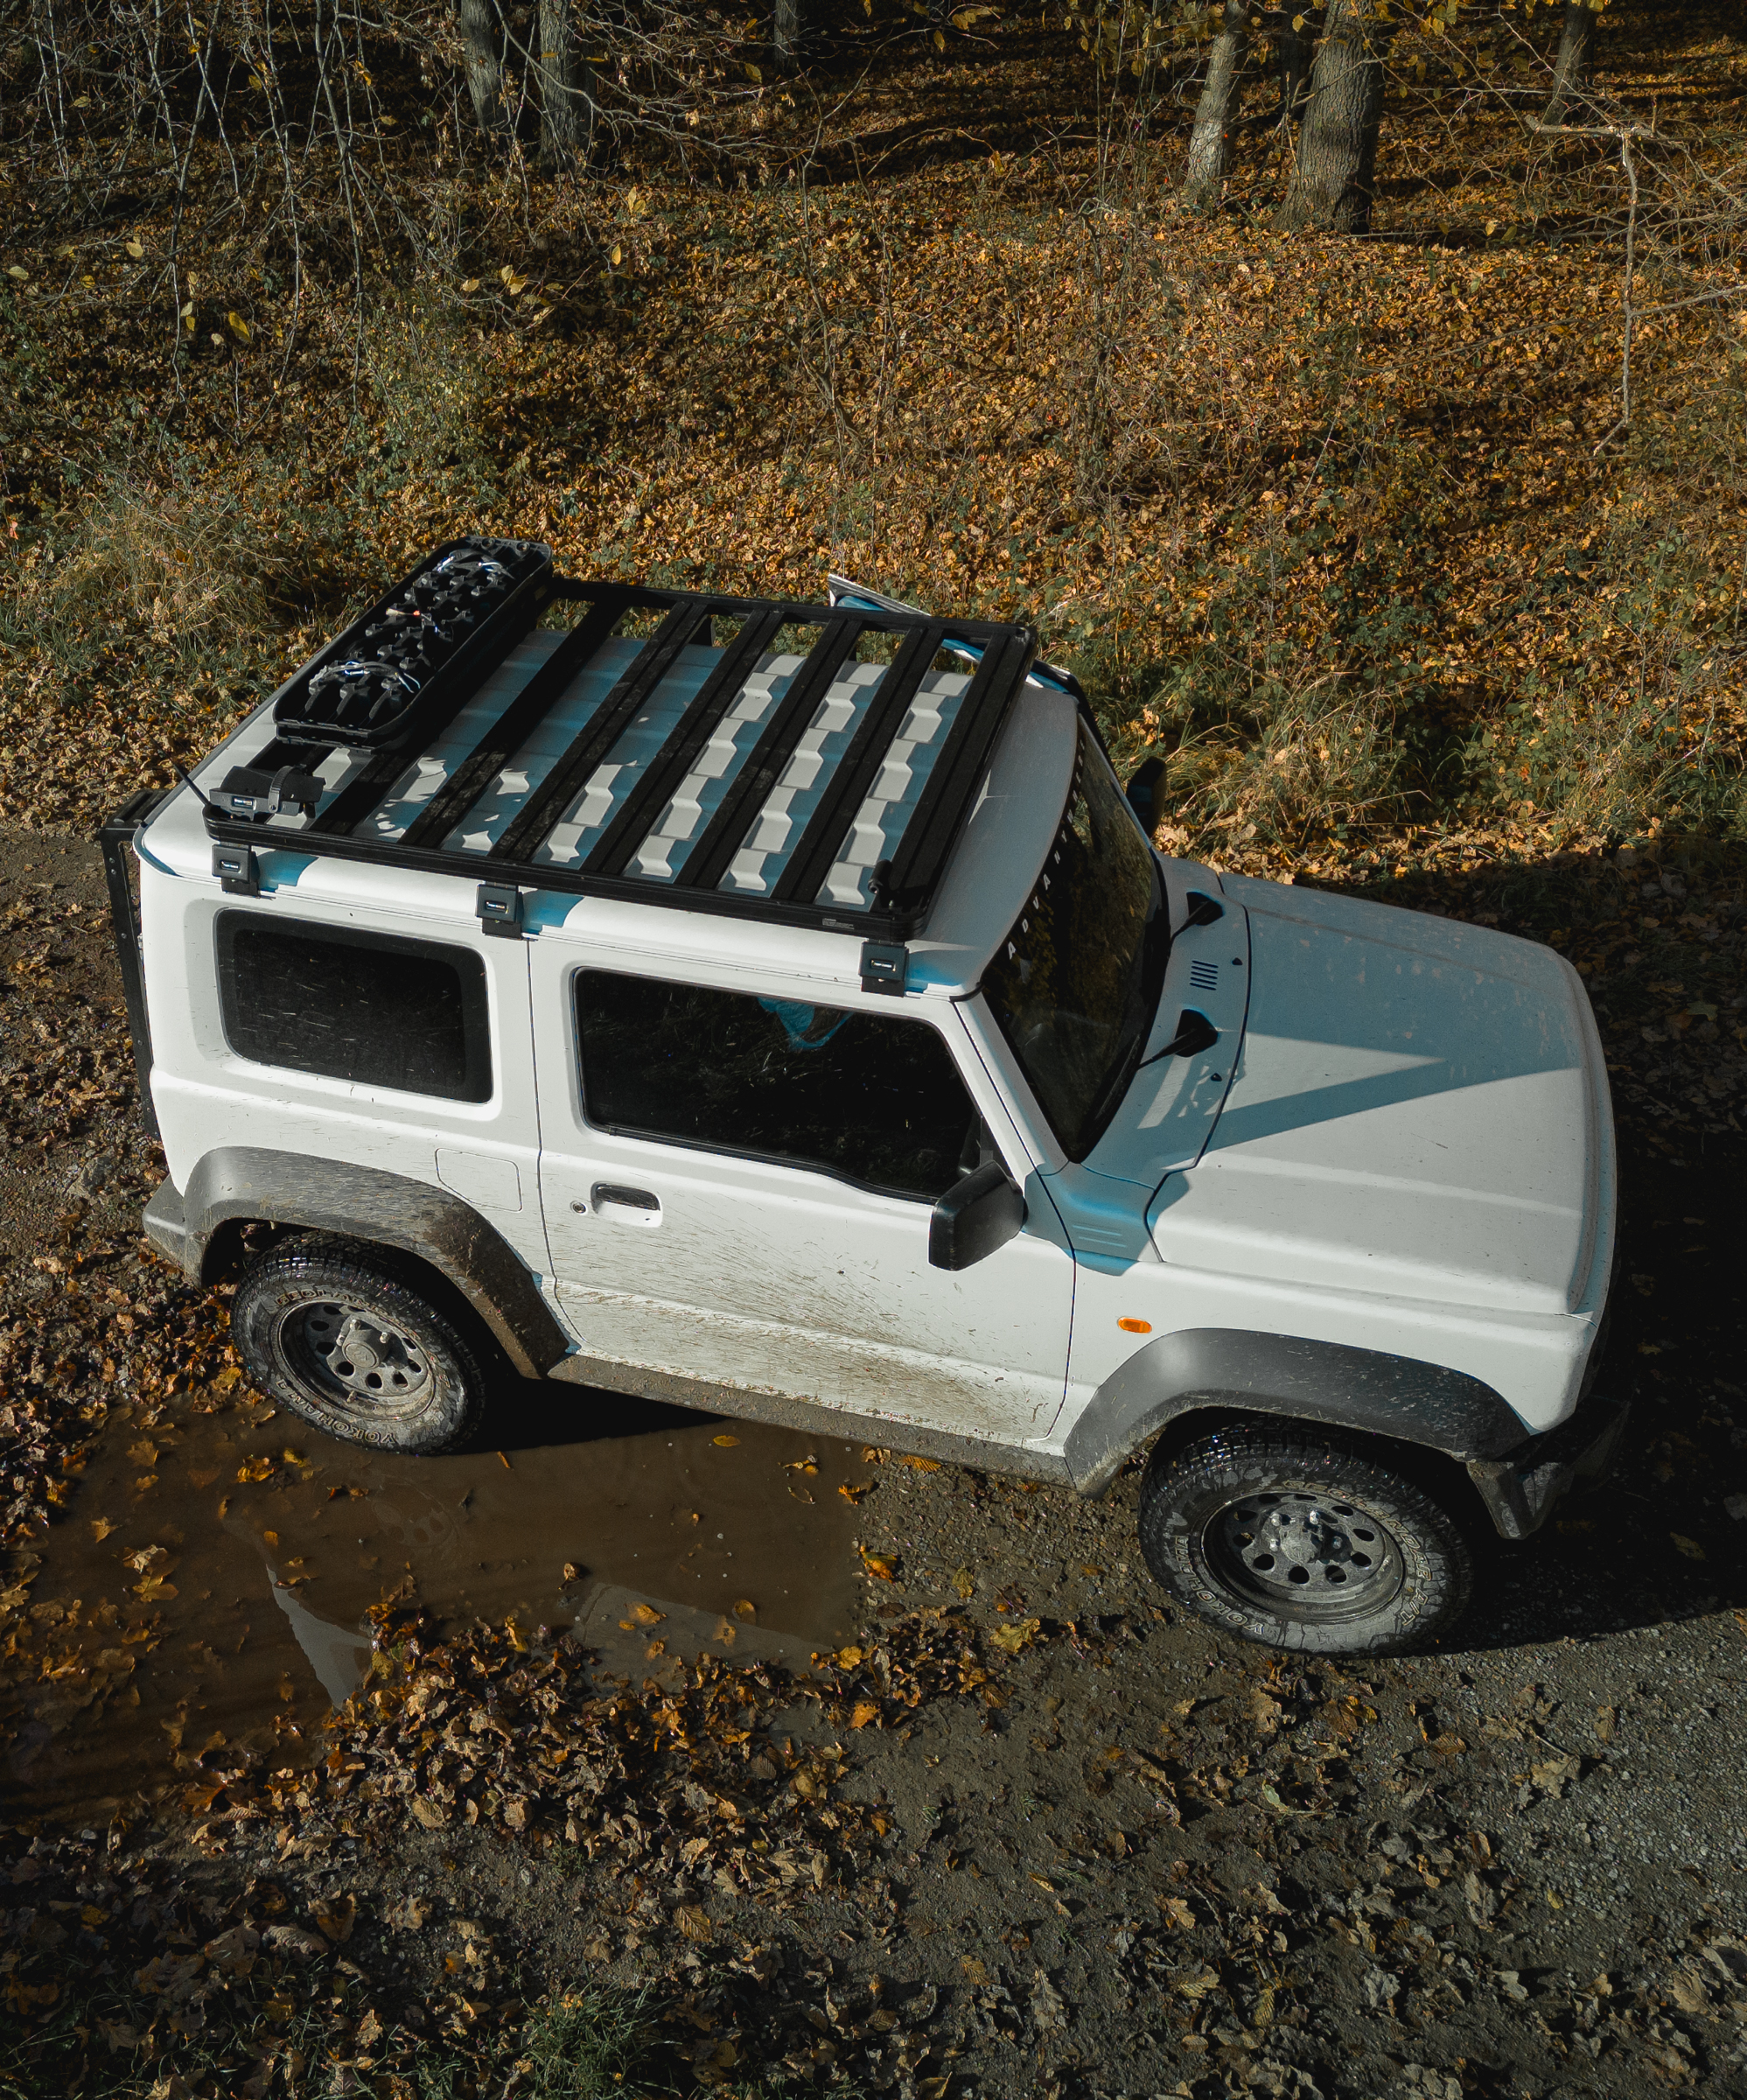
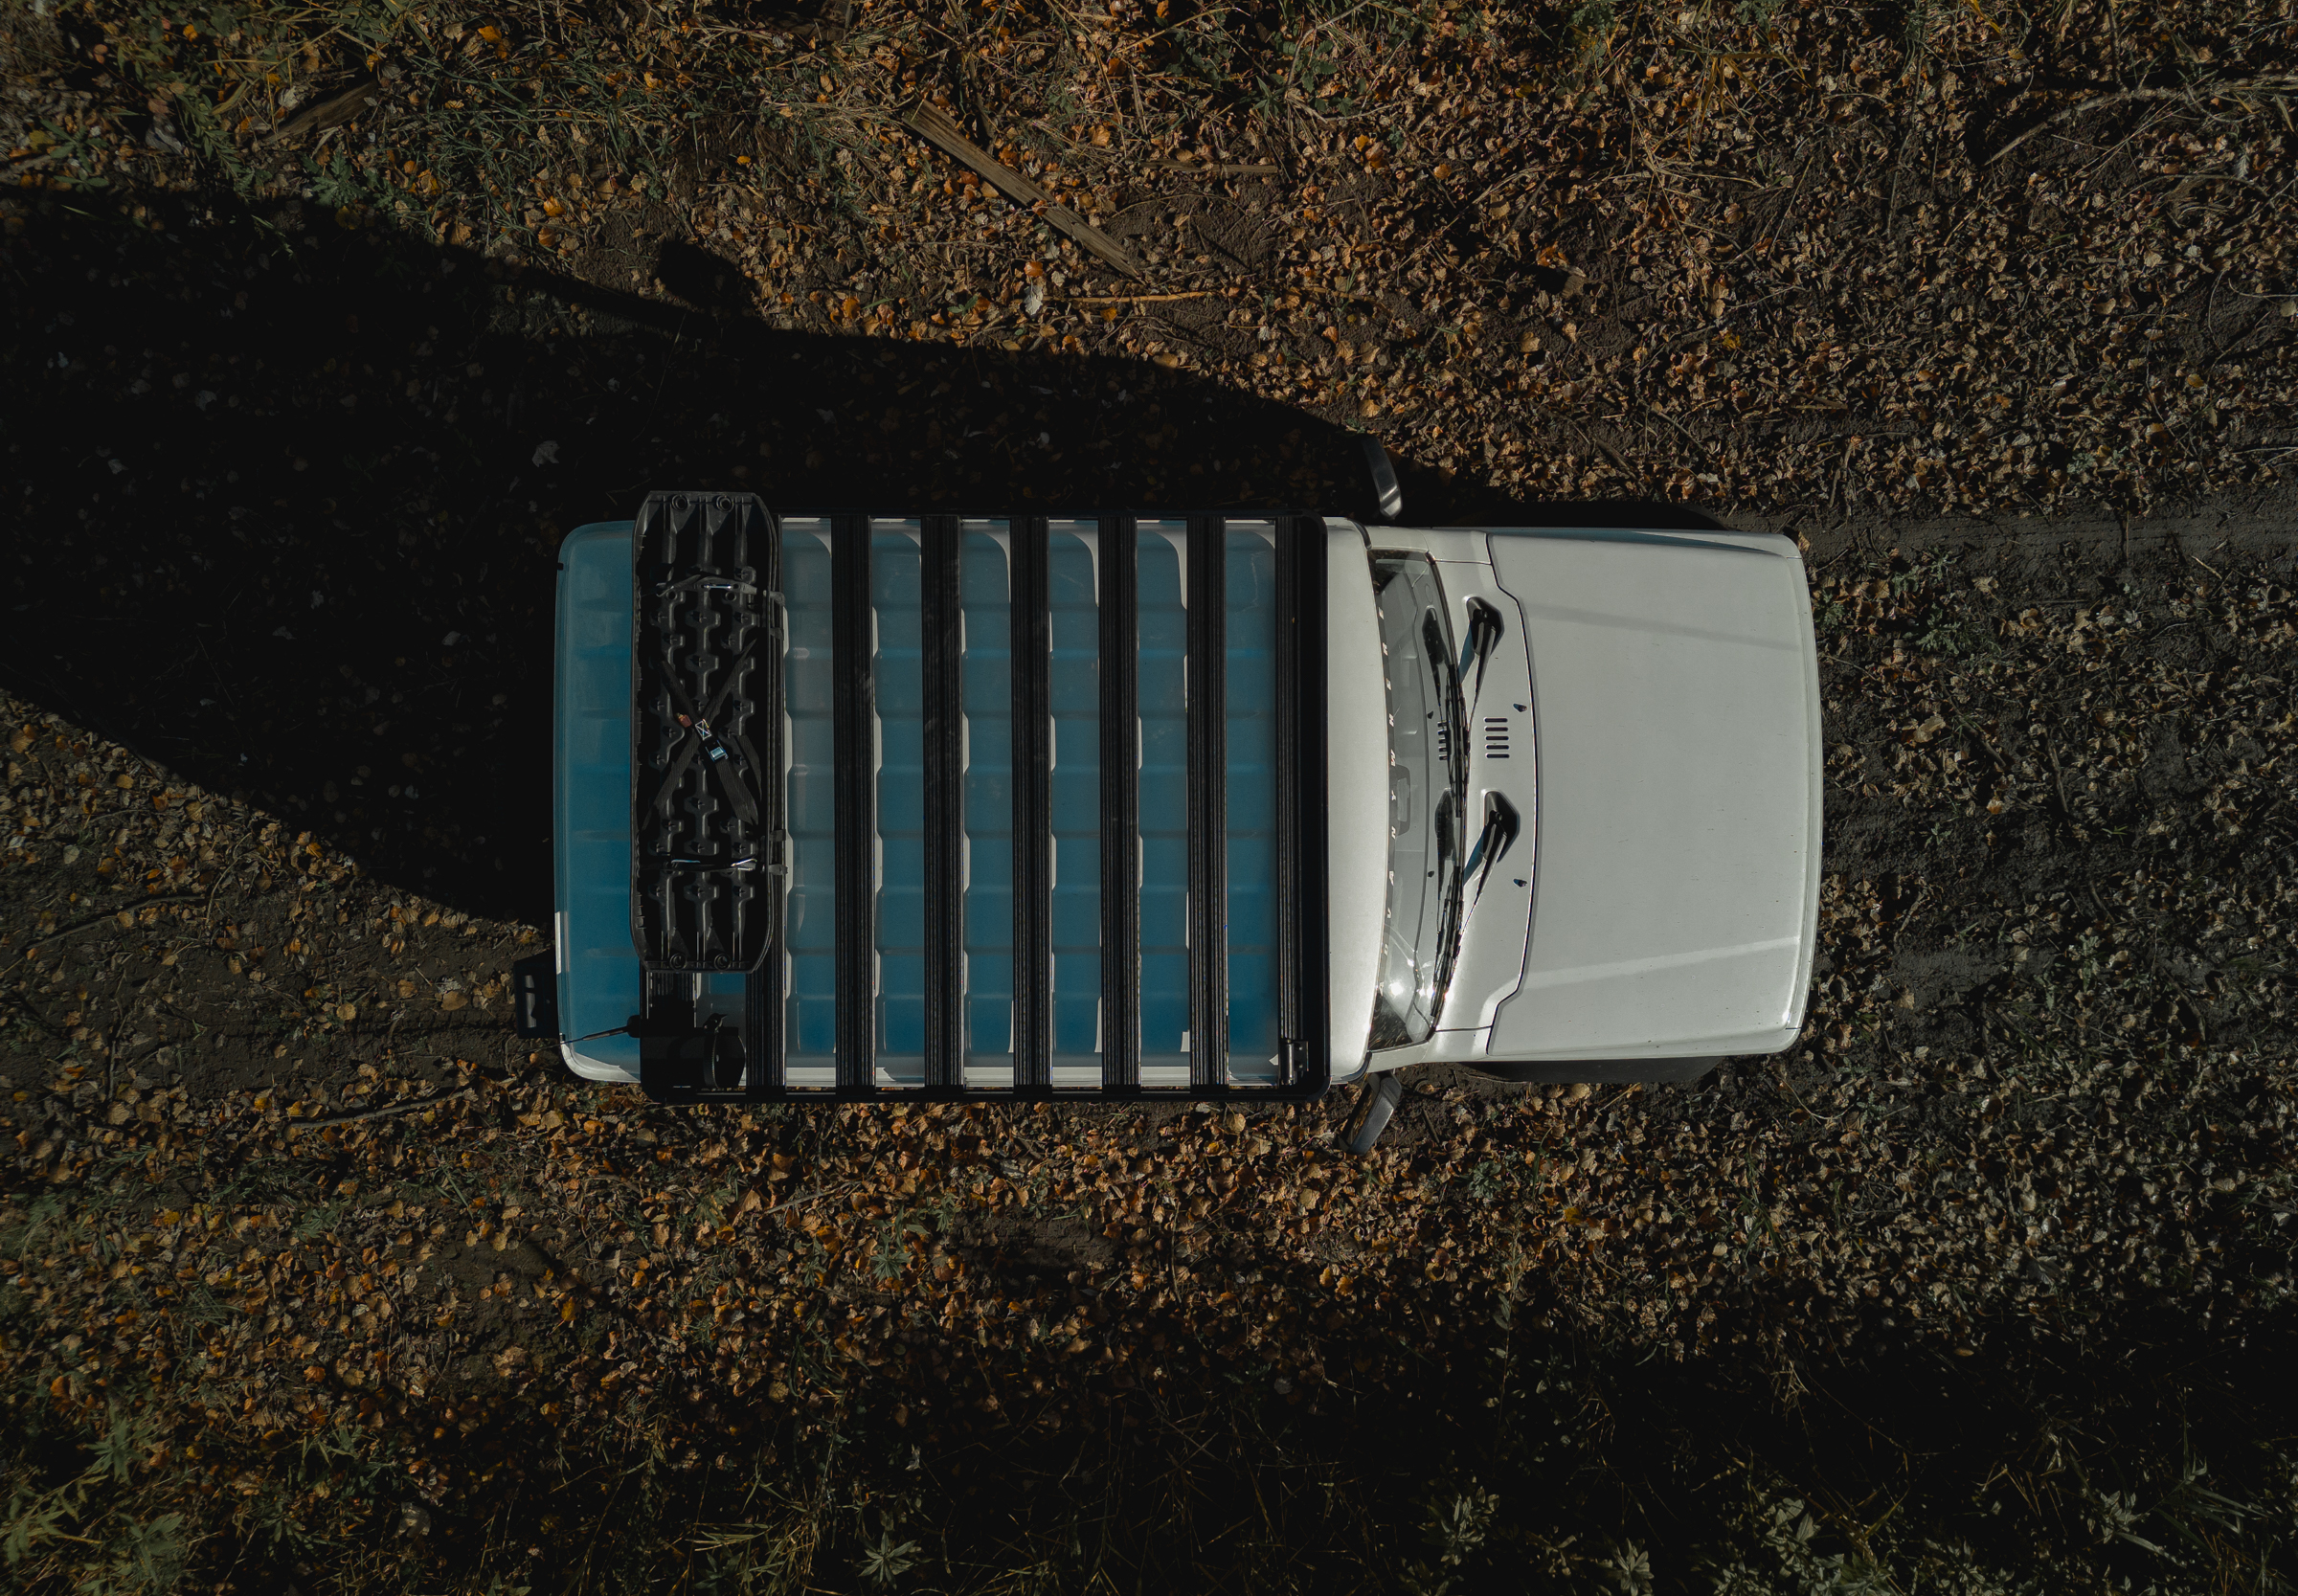
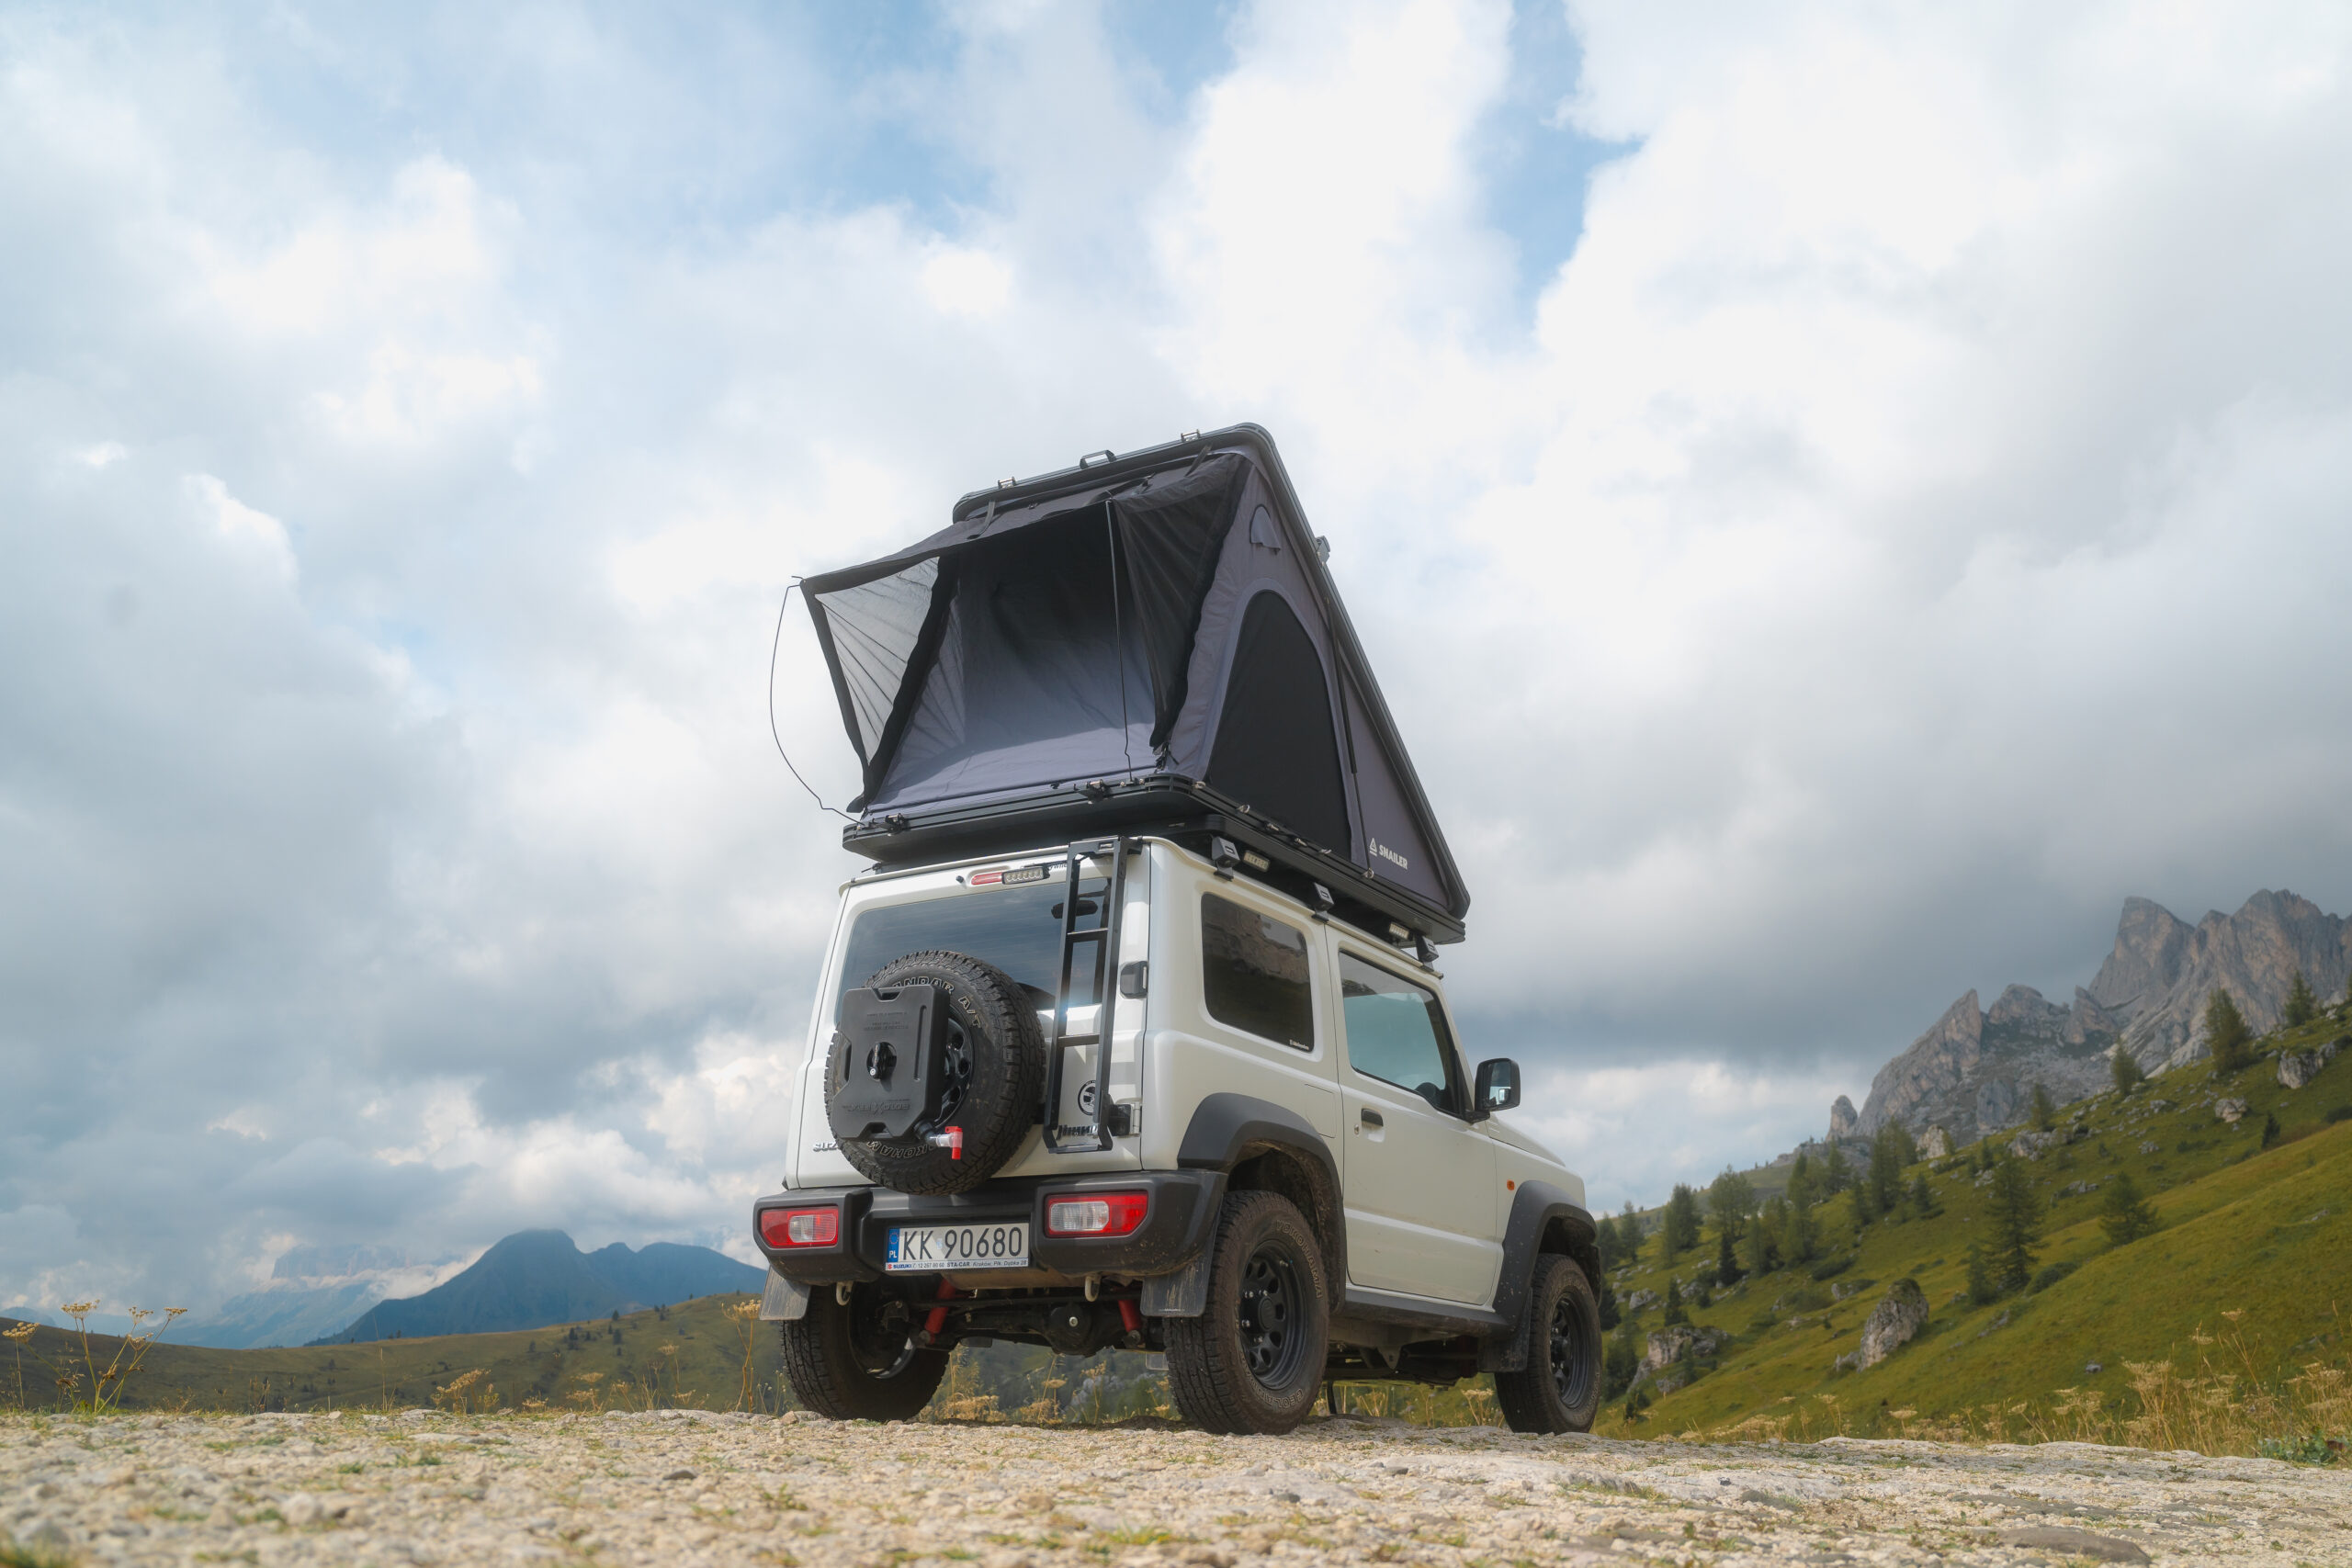
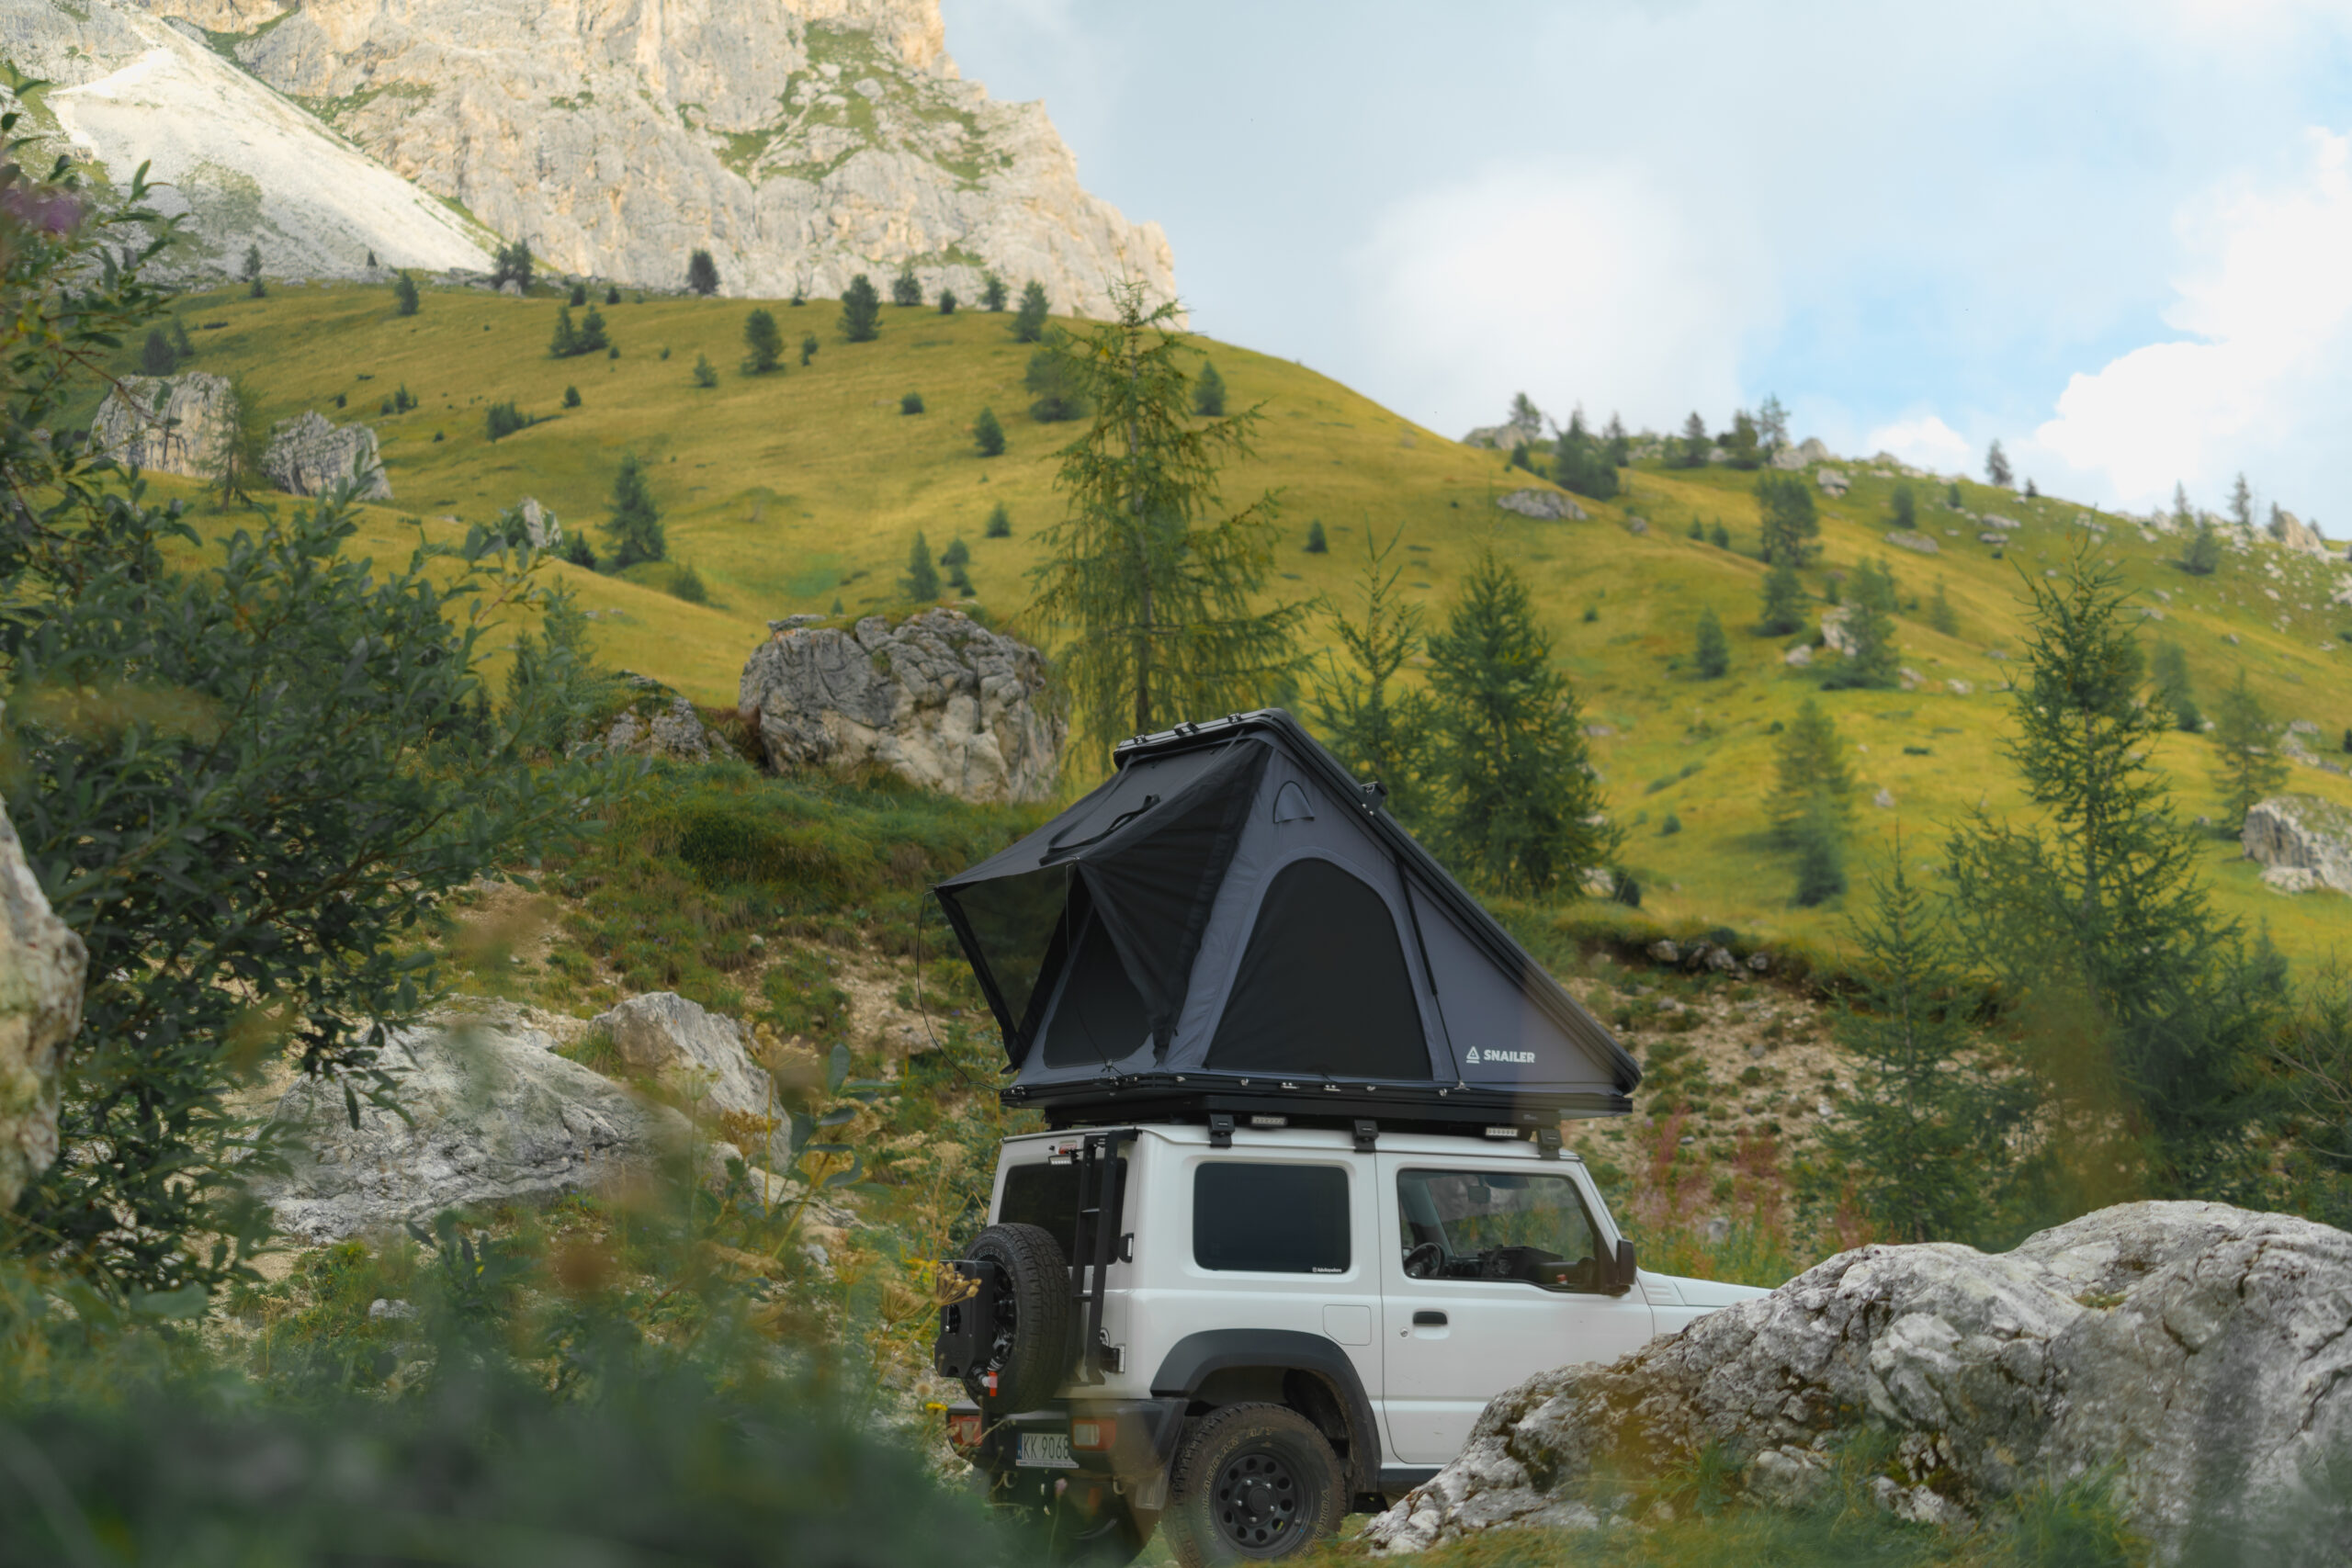
Currently, I have a SNAILER tent mounted on the trunk, which fits perfectly into the line of the trunk and the vehicle.
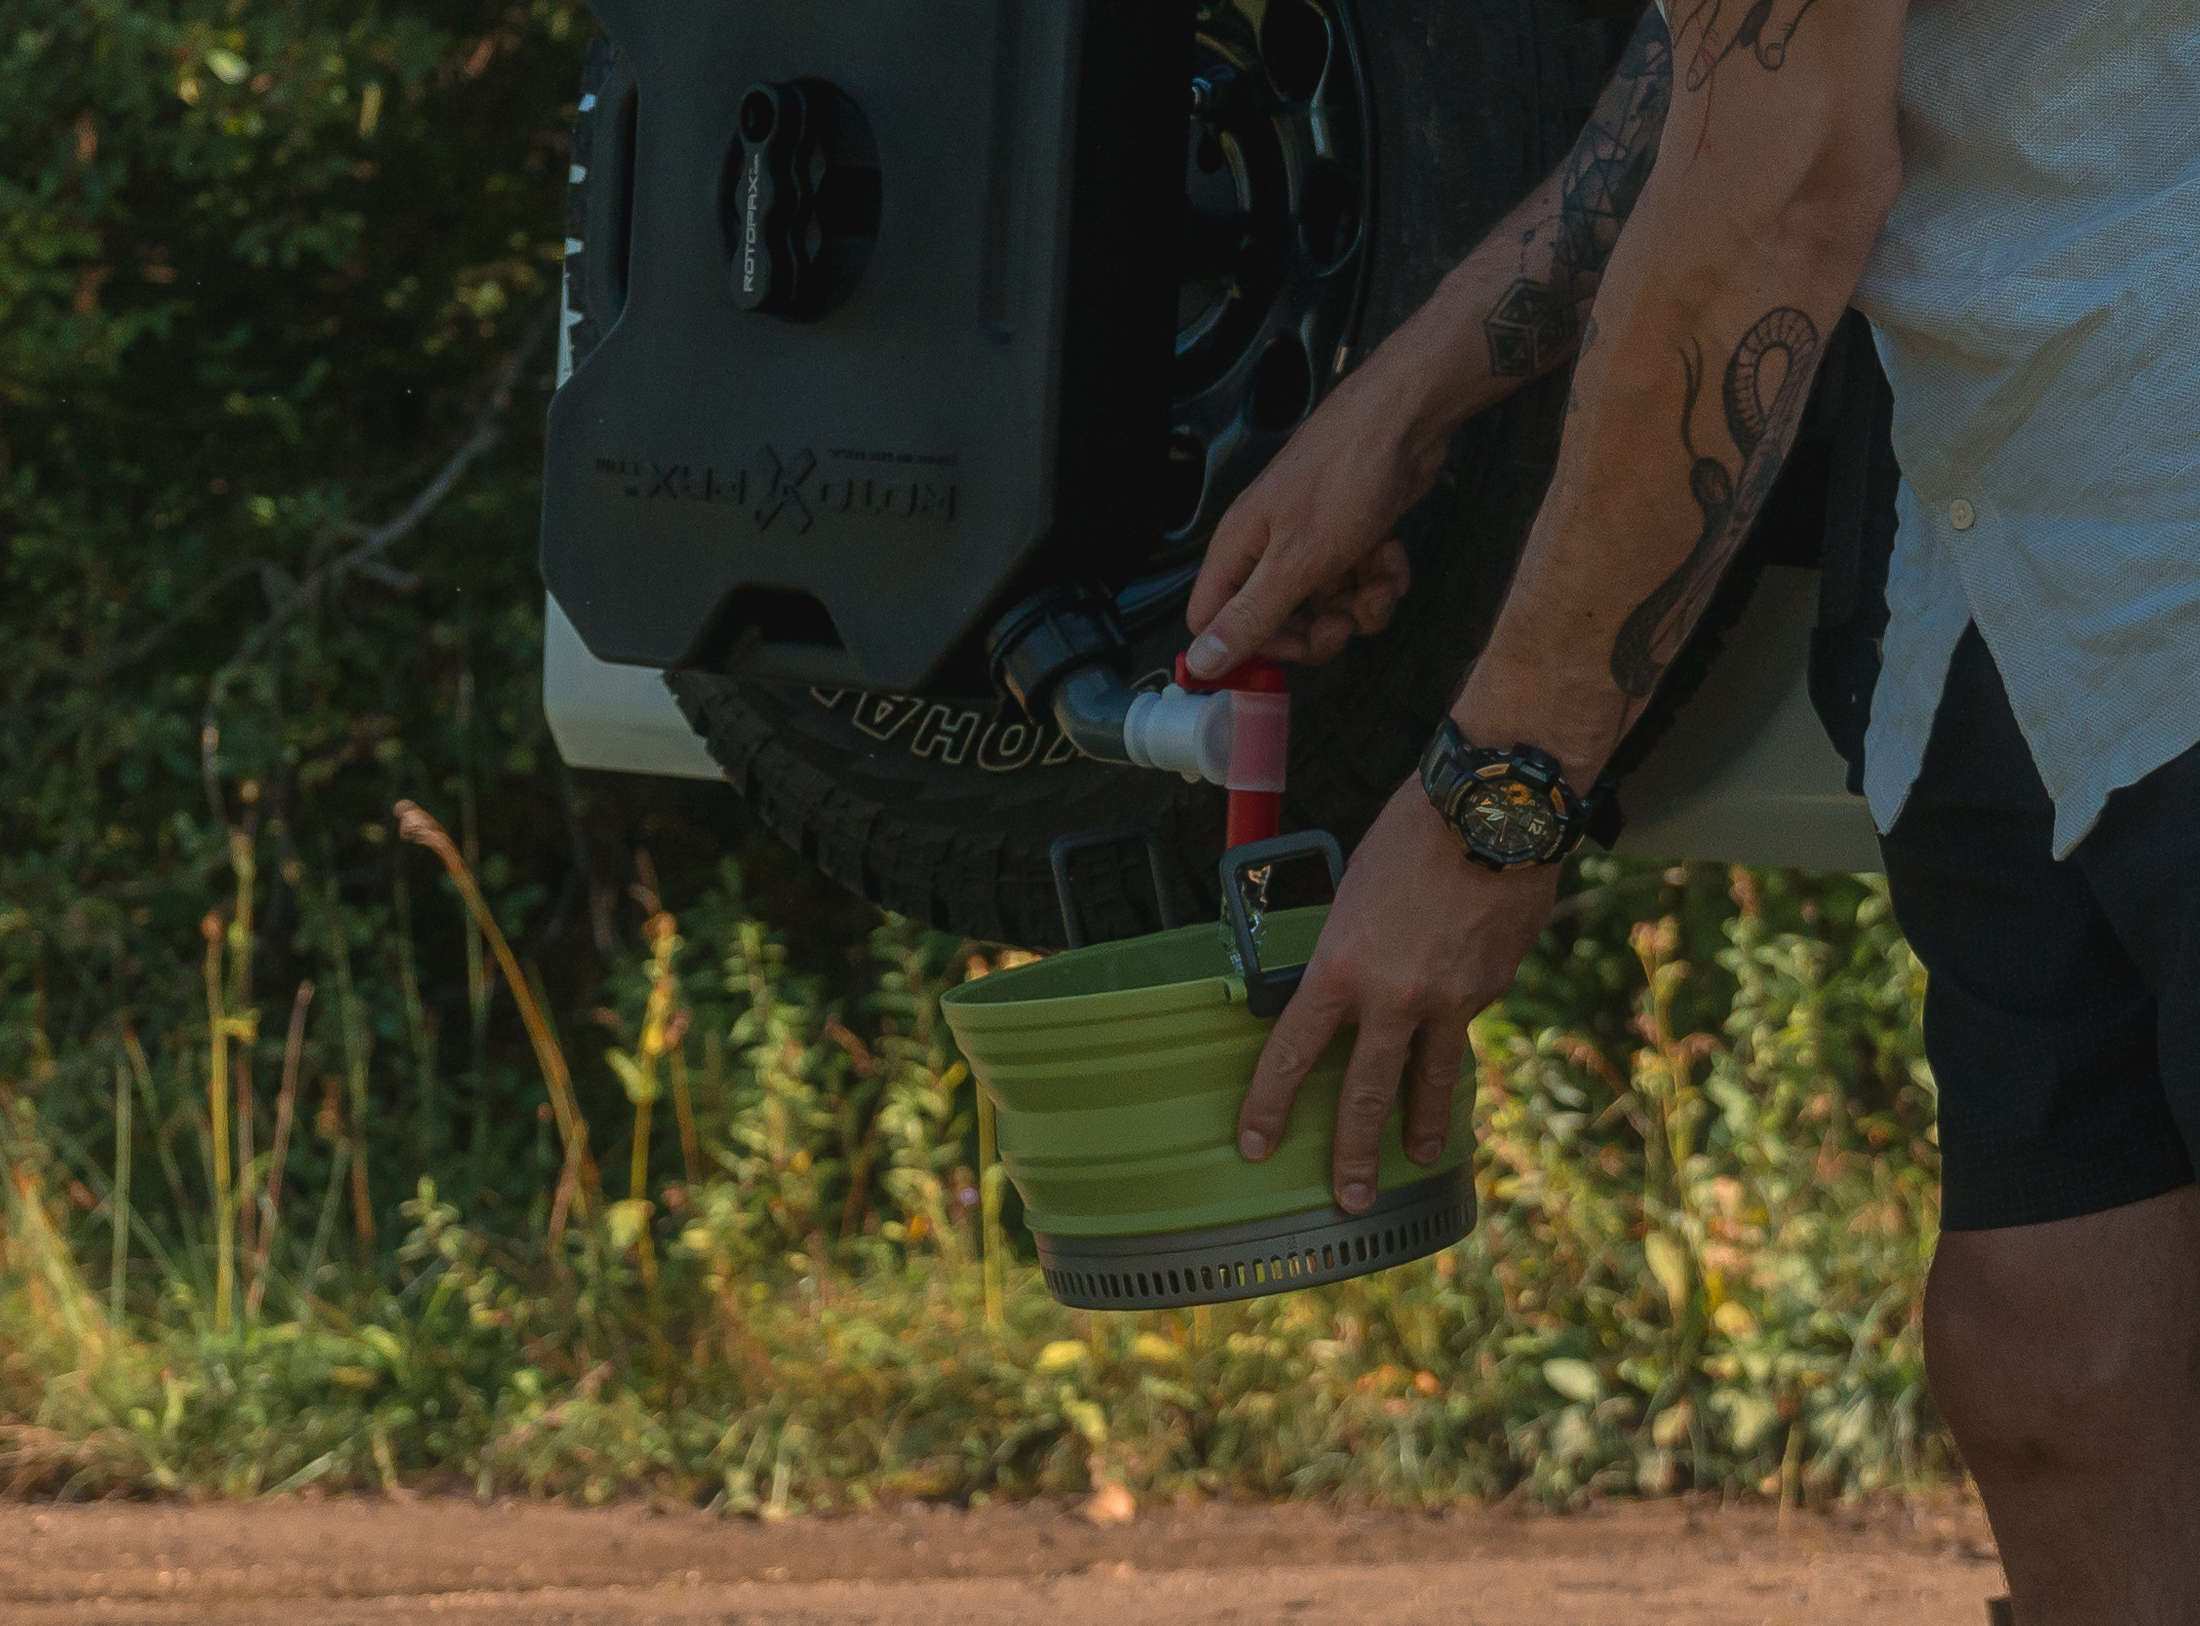
Rotopax mount on spare wheel
I used the Rotopax spare tire mount for my Jeep Wrangler. After widening one hole, everything fits like it should. The mount is adjustable in length (to fit a variety of tire widths) from 4 to 7 inches (10 to 17.78 cm) and has “beans” in 2 of the 3 mounting holes.

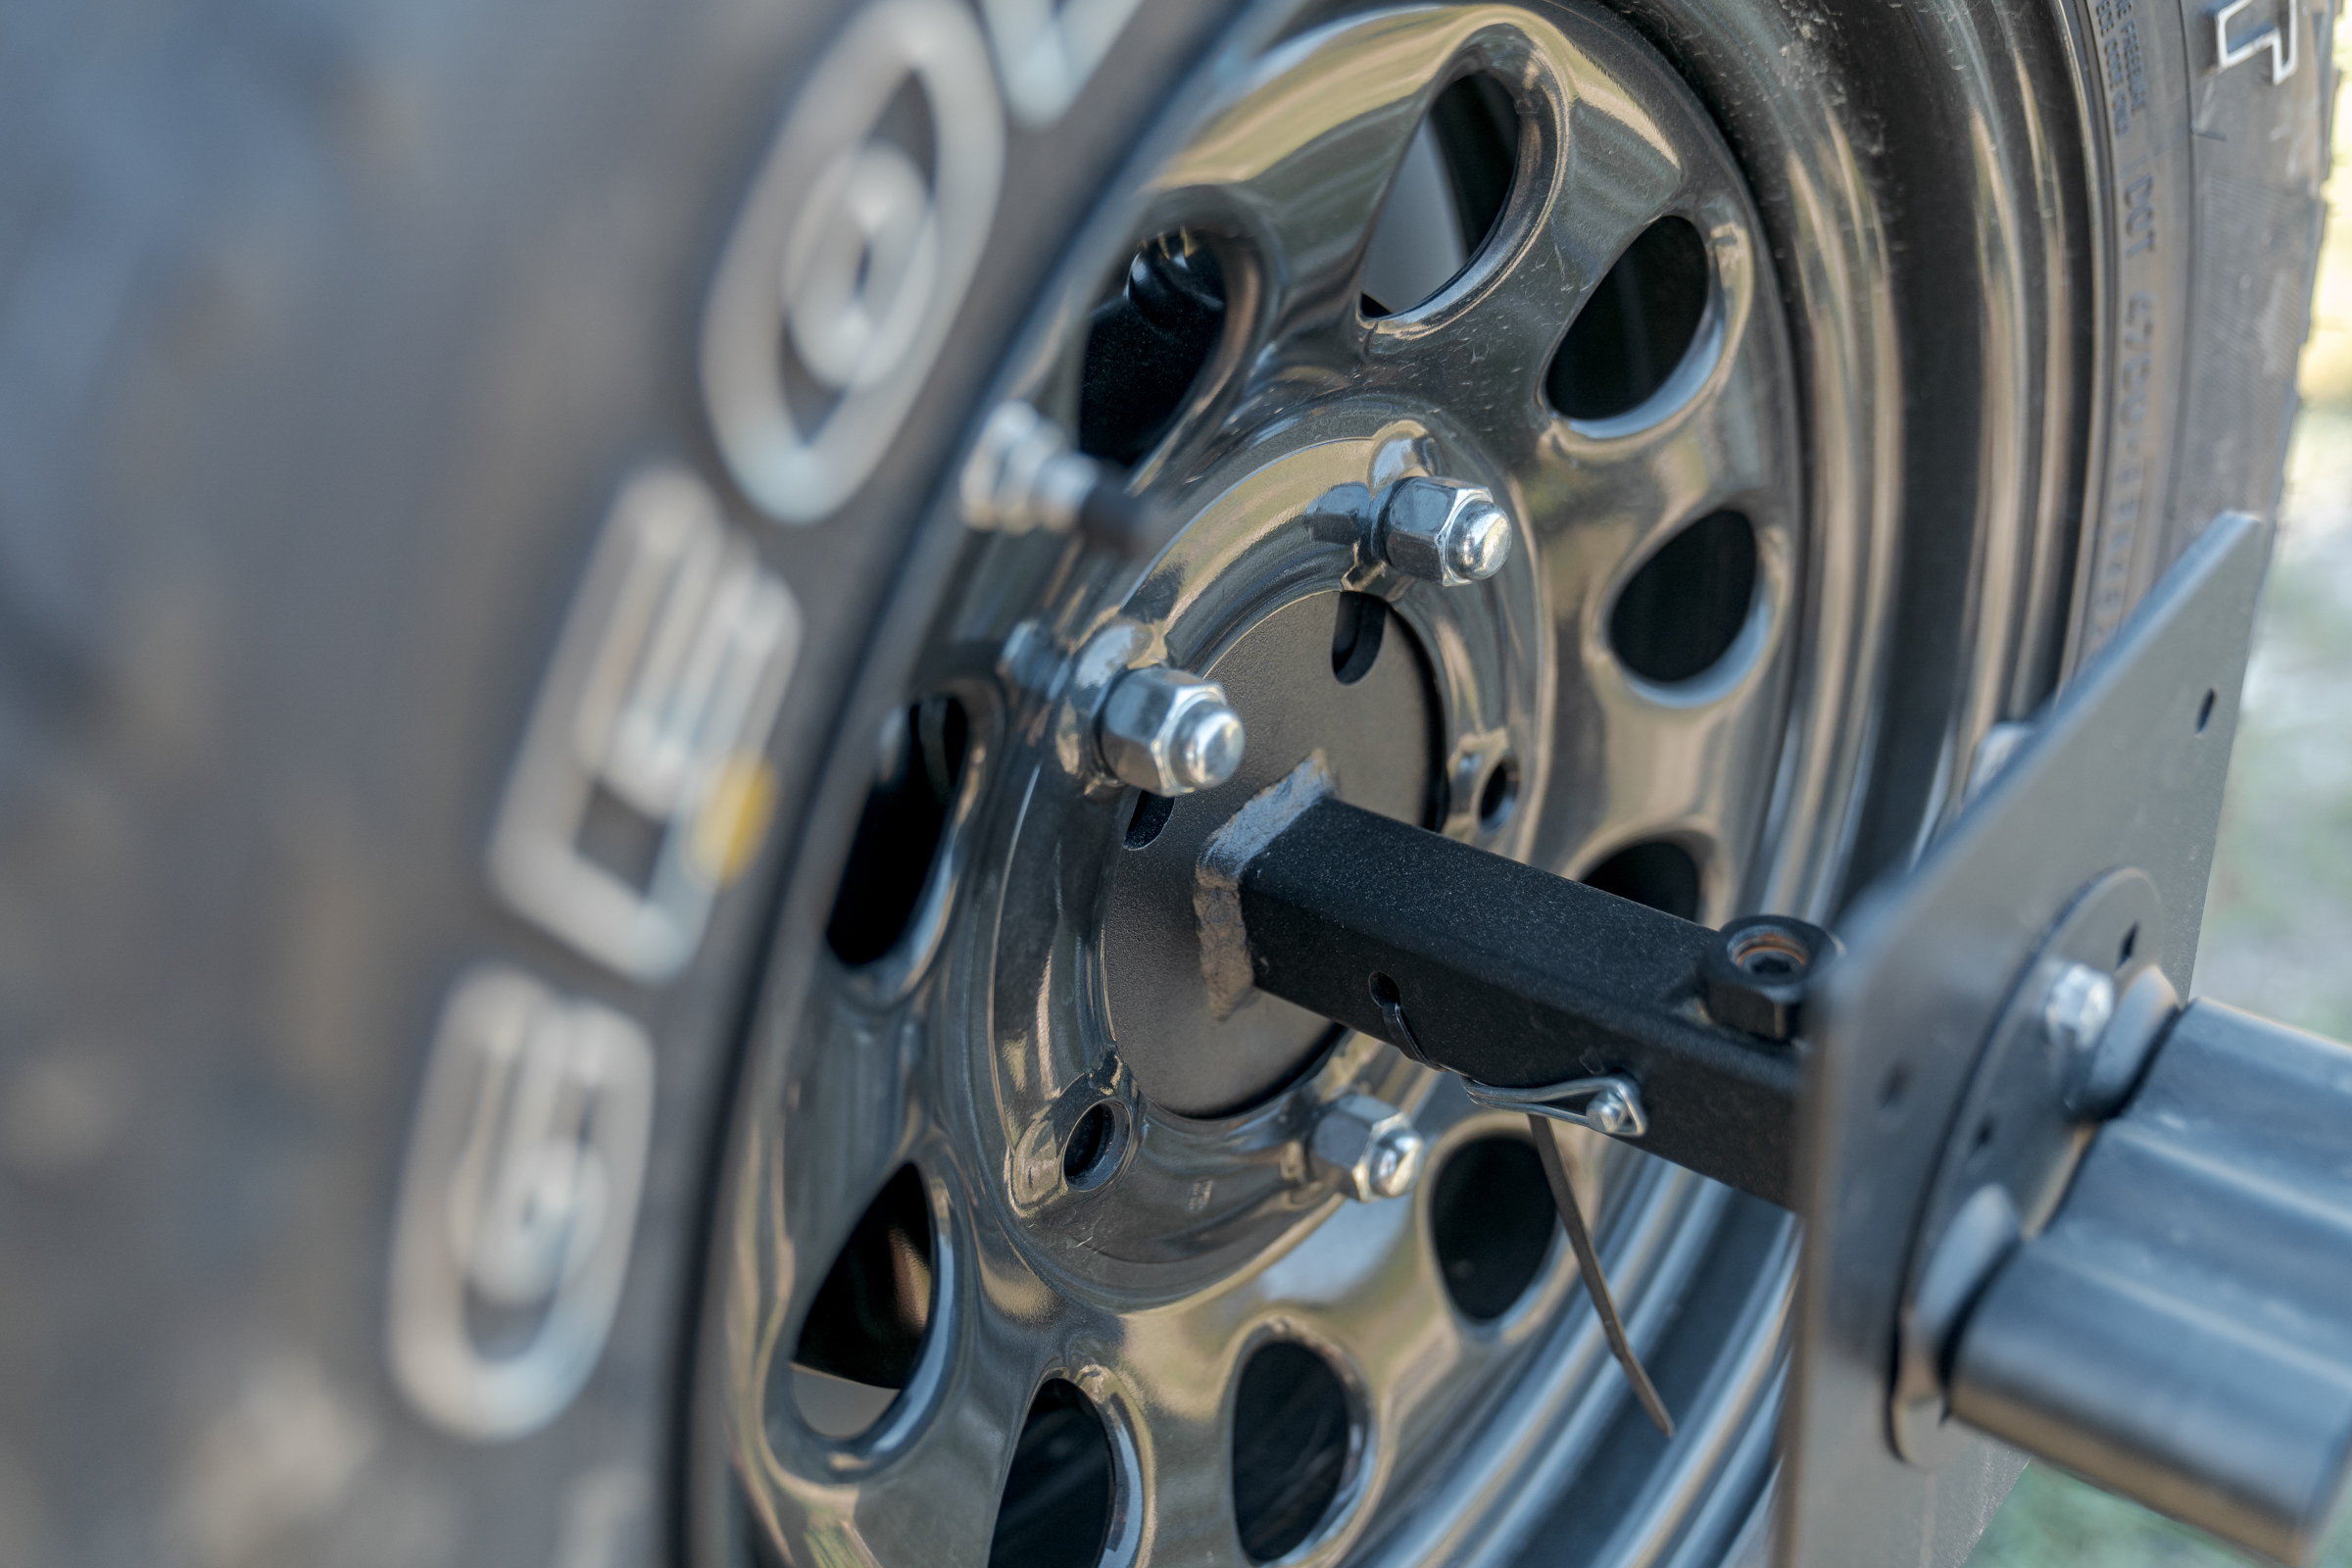
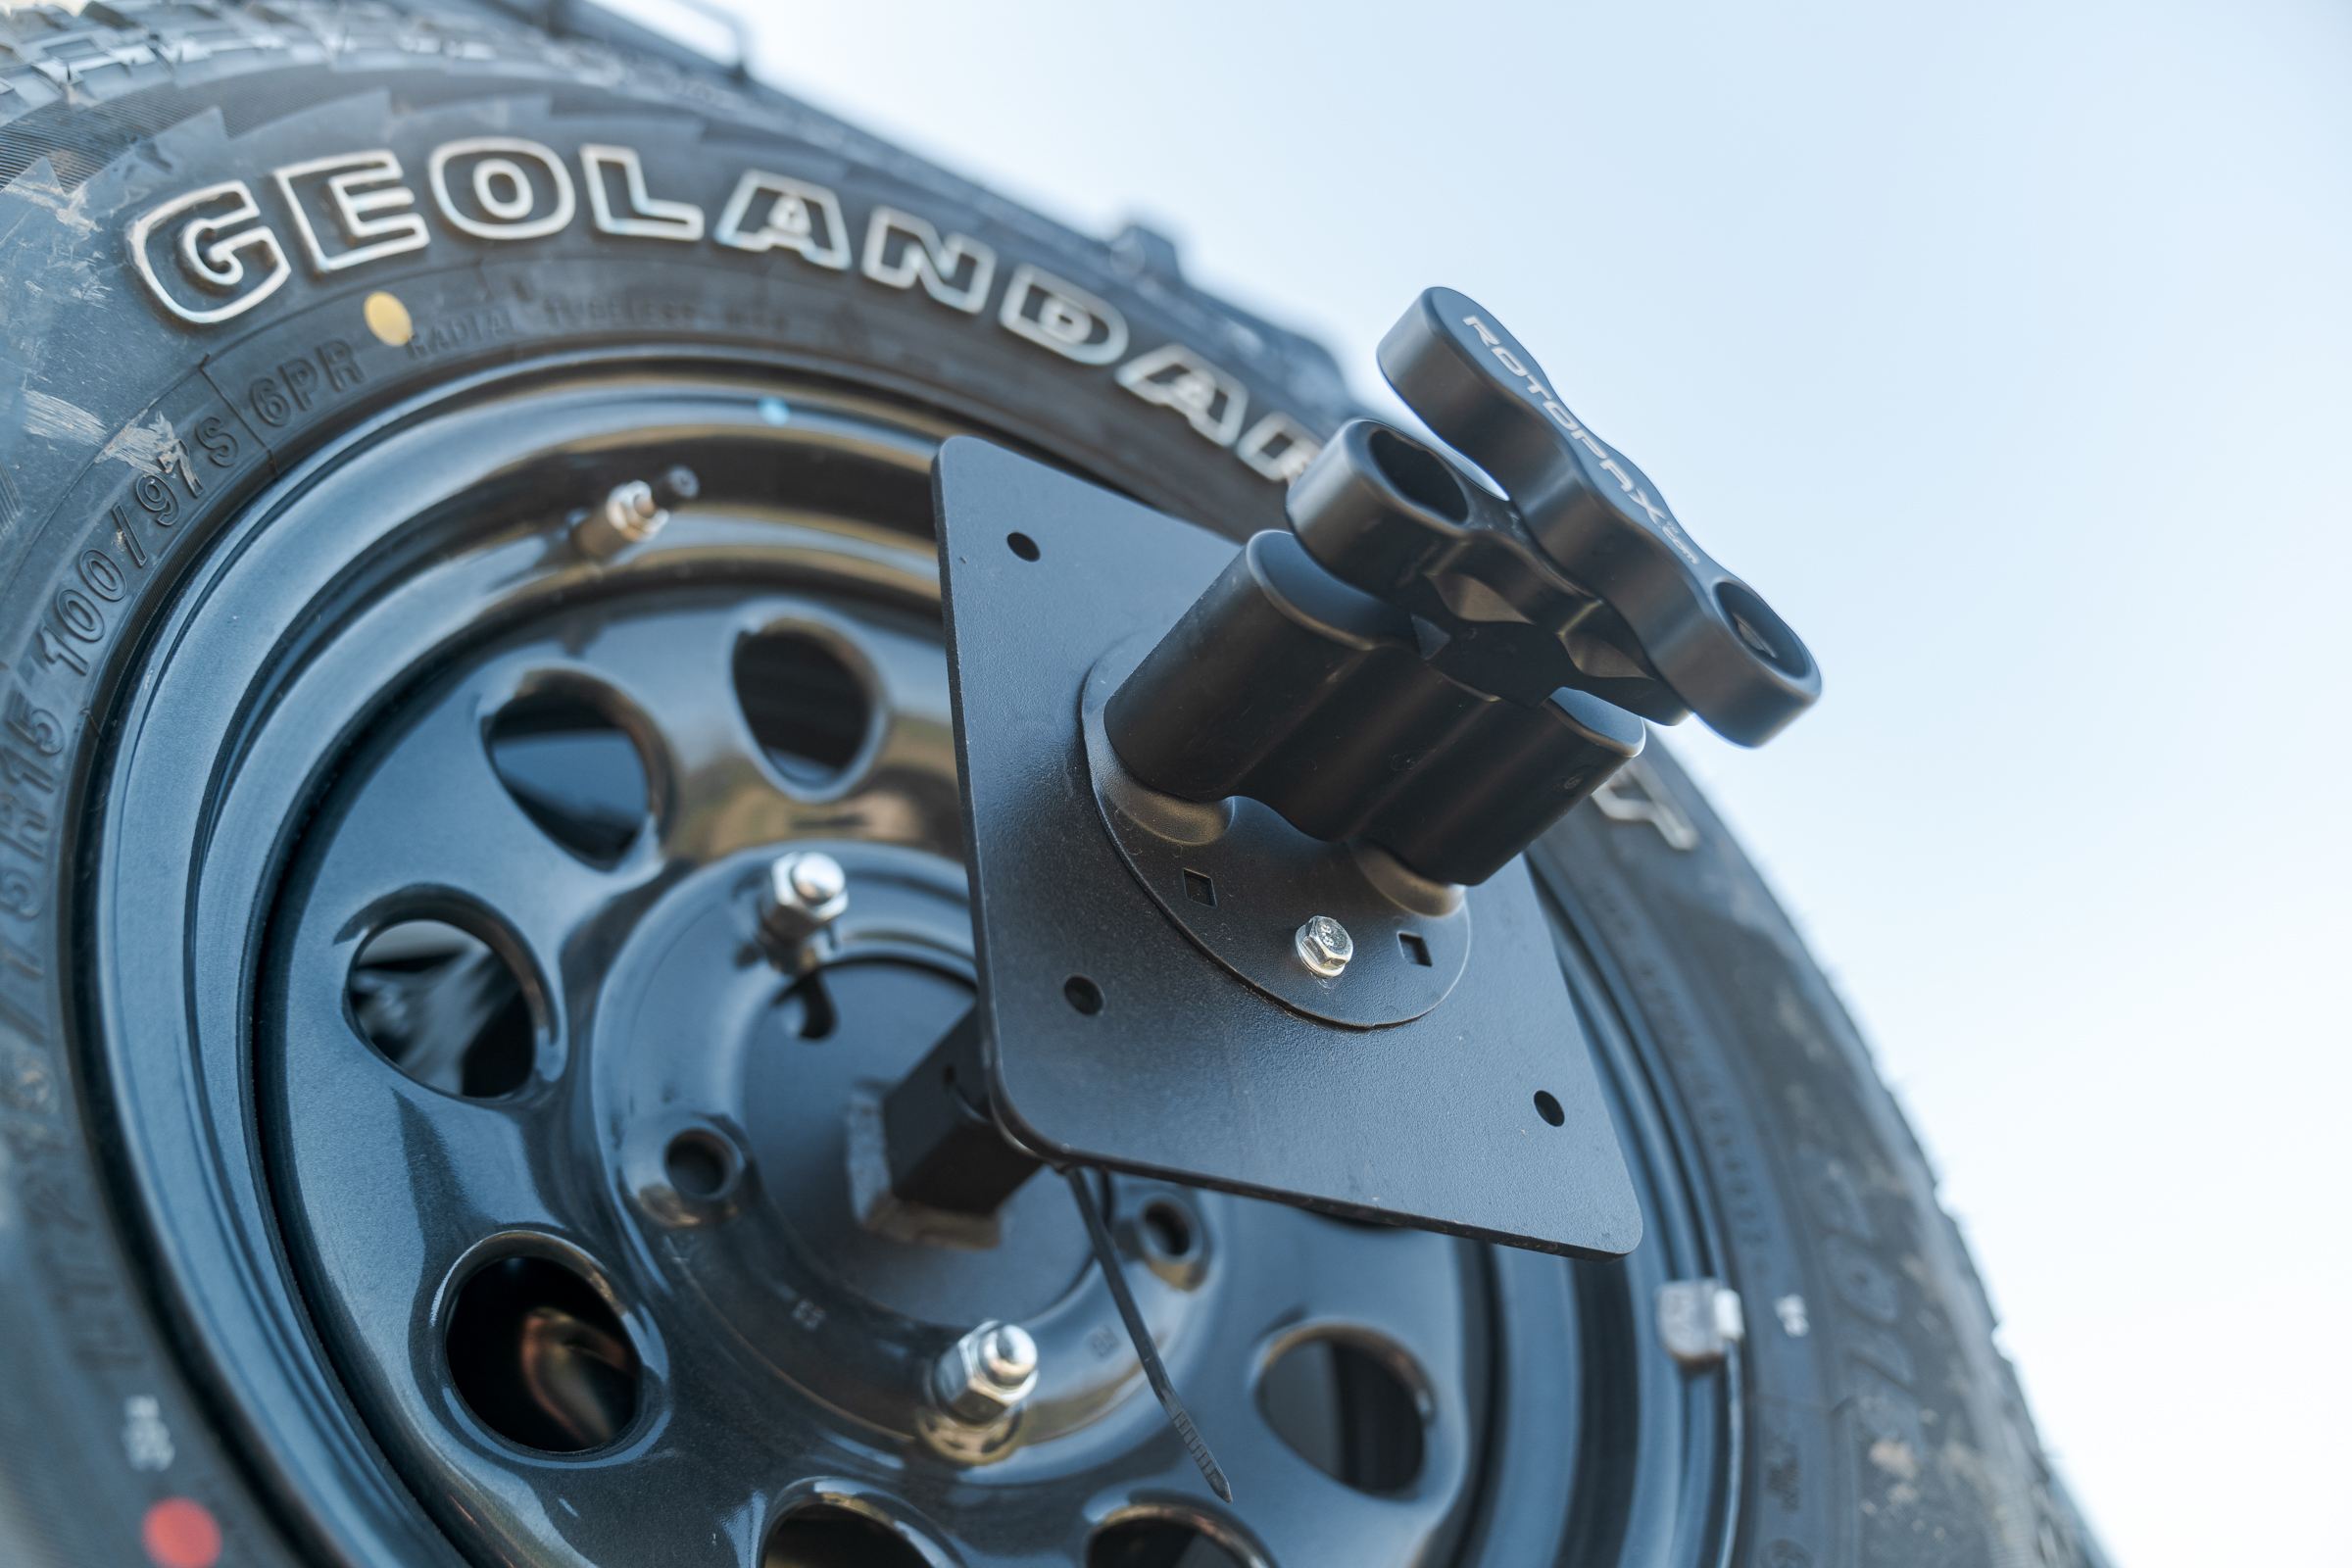
Link to mount: Rotopax spare tire mount – Jeep Wrangler
SNAILER rooftop hardshell tent
The SNAILER tent is now permanently installed on my Suzuki Jimny. Full review available in a separate post:
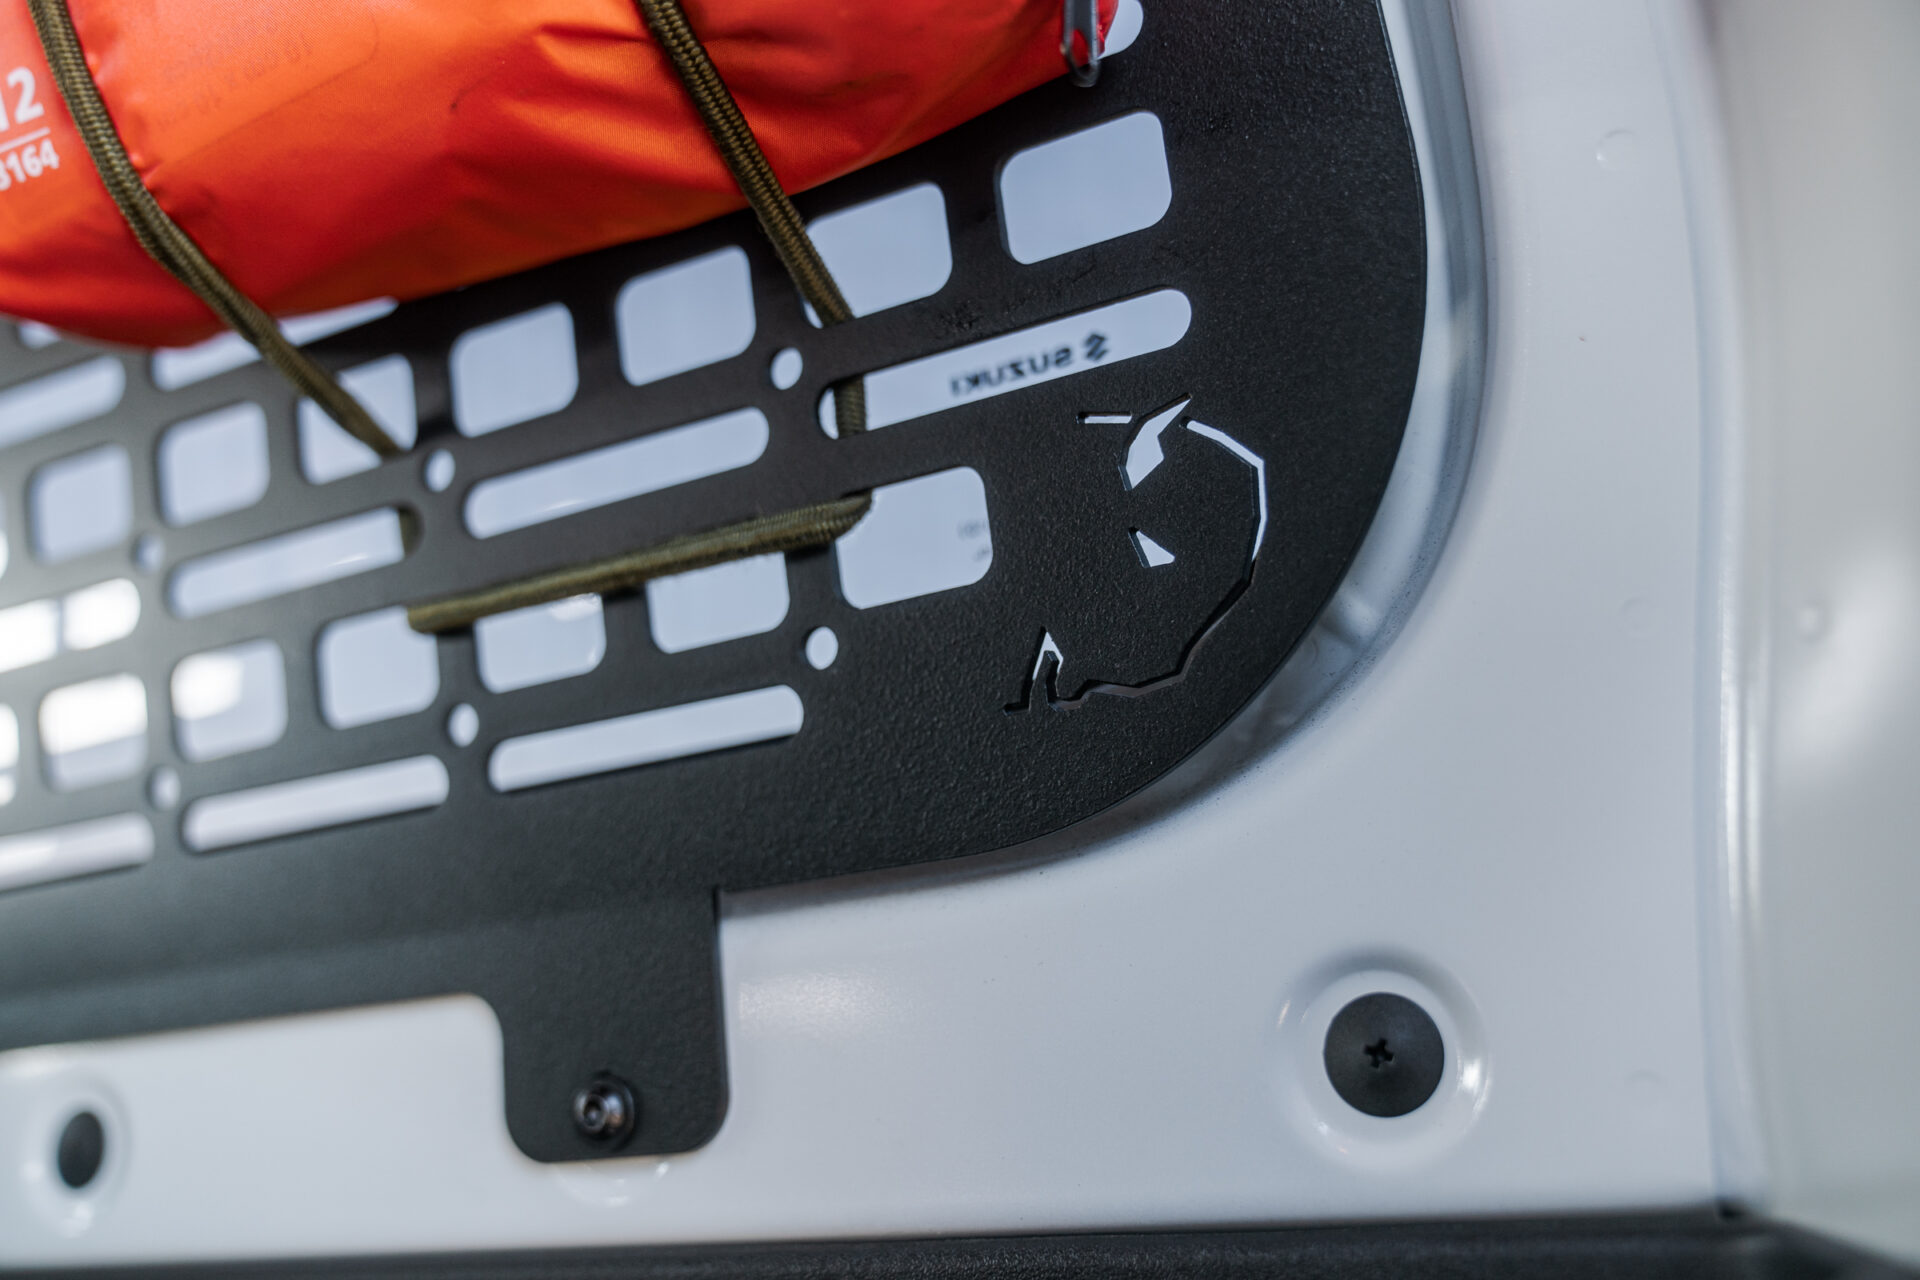
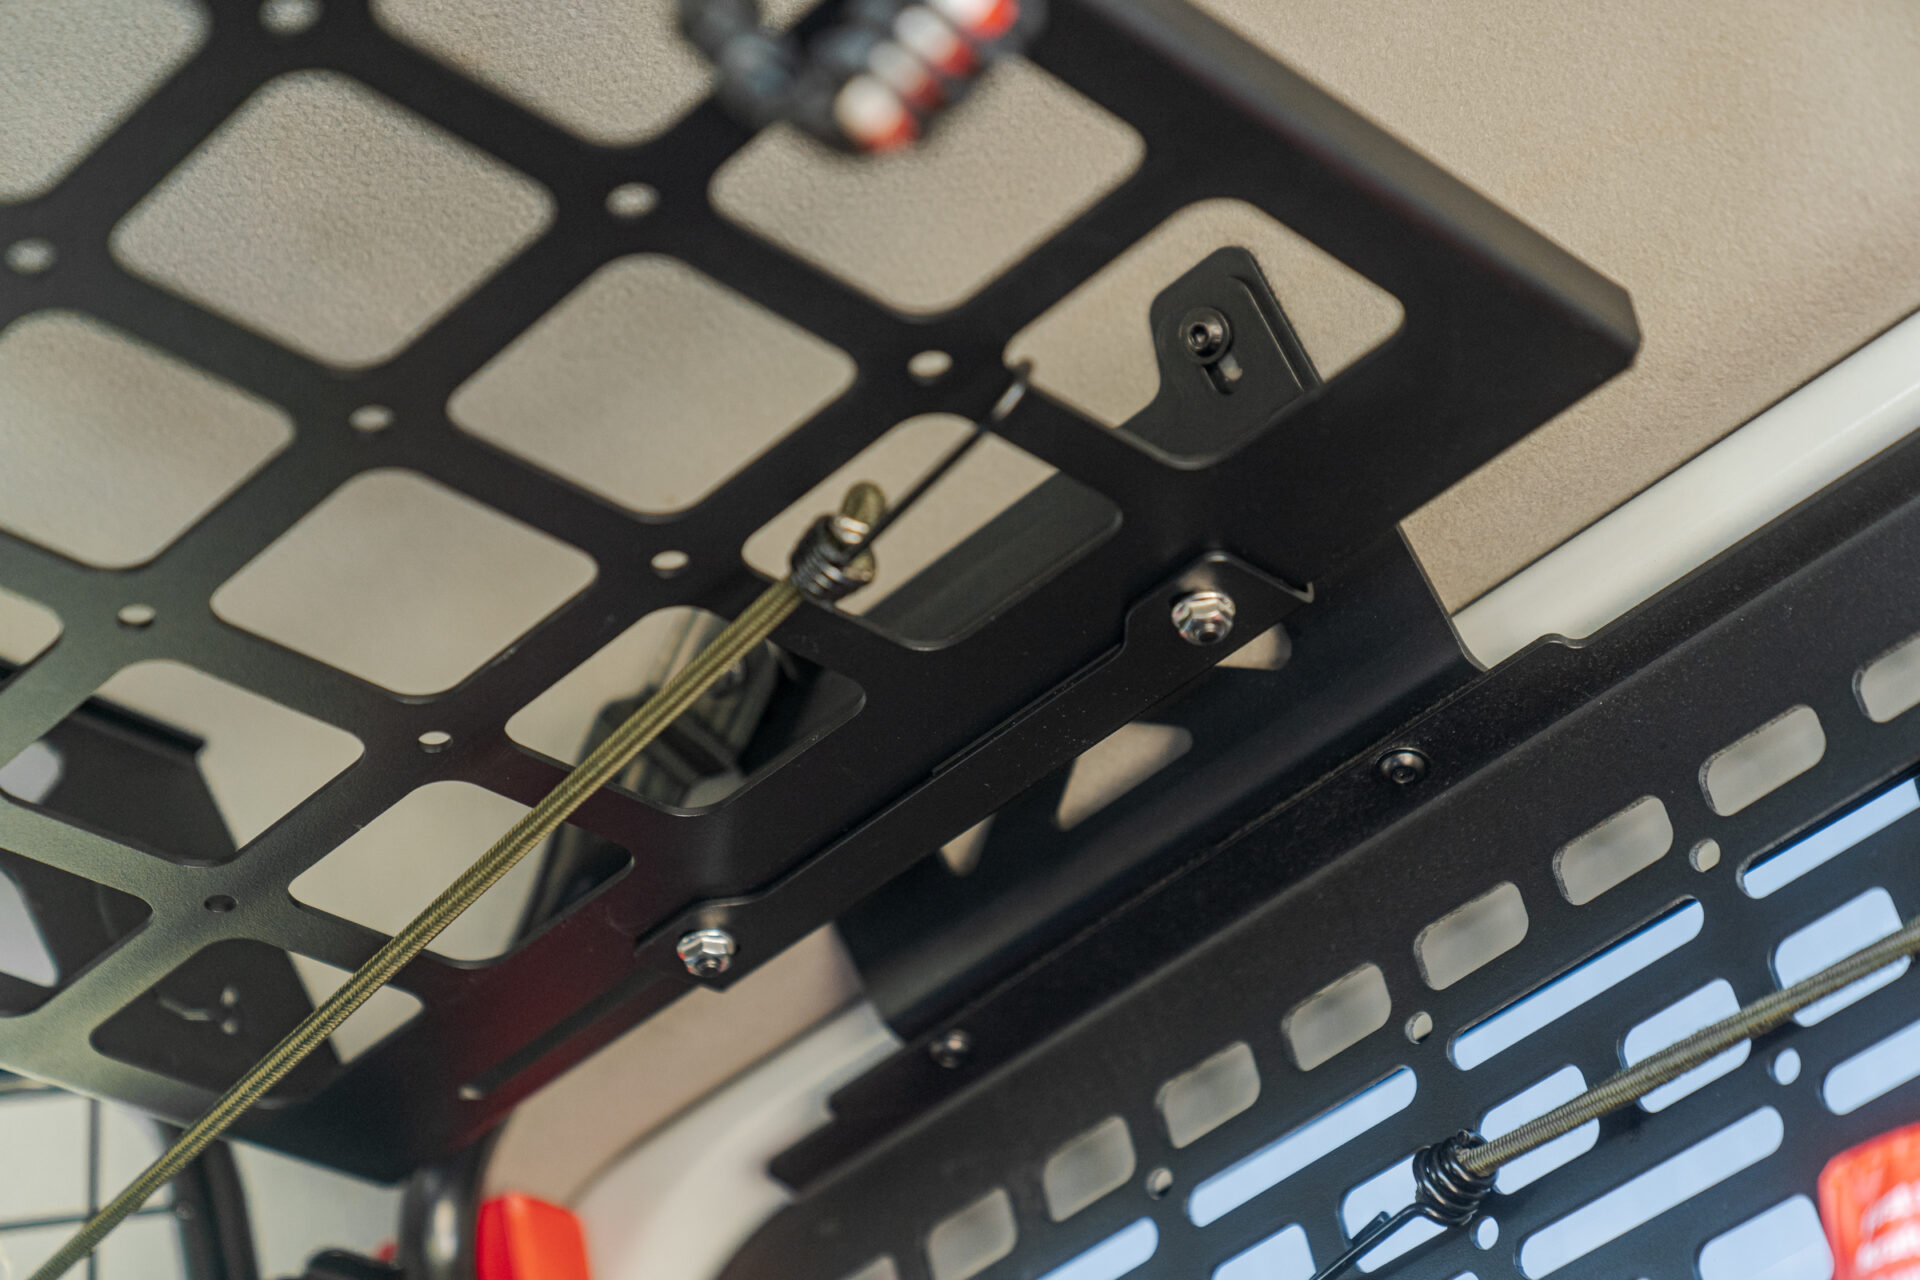
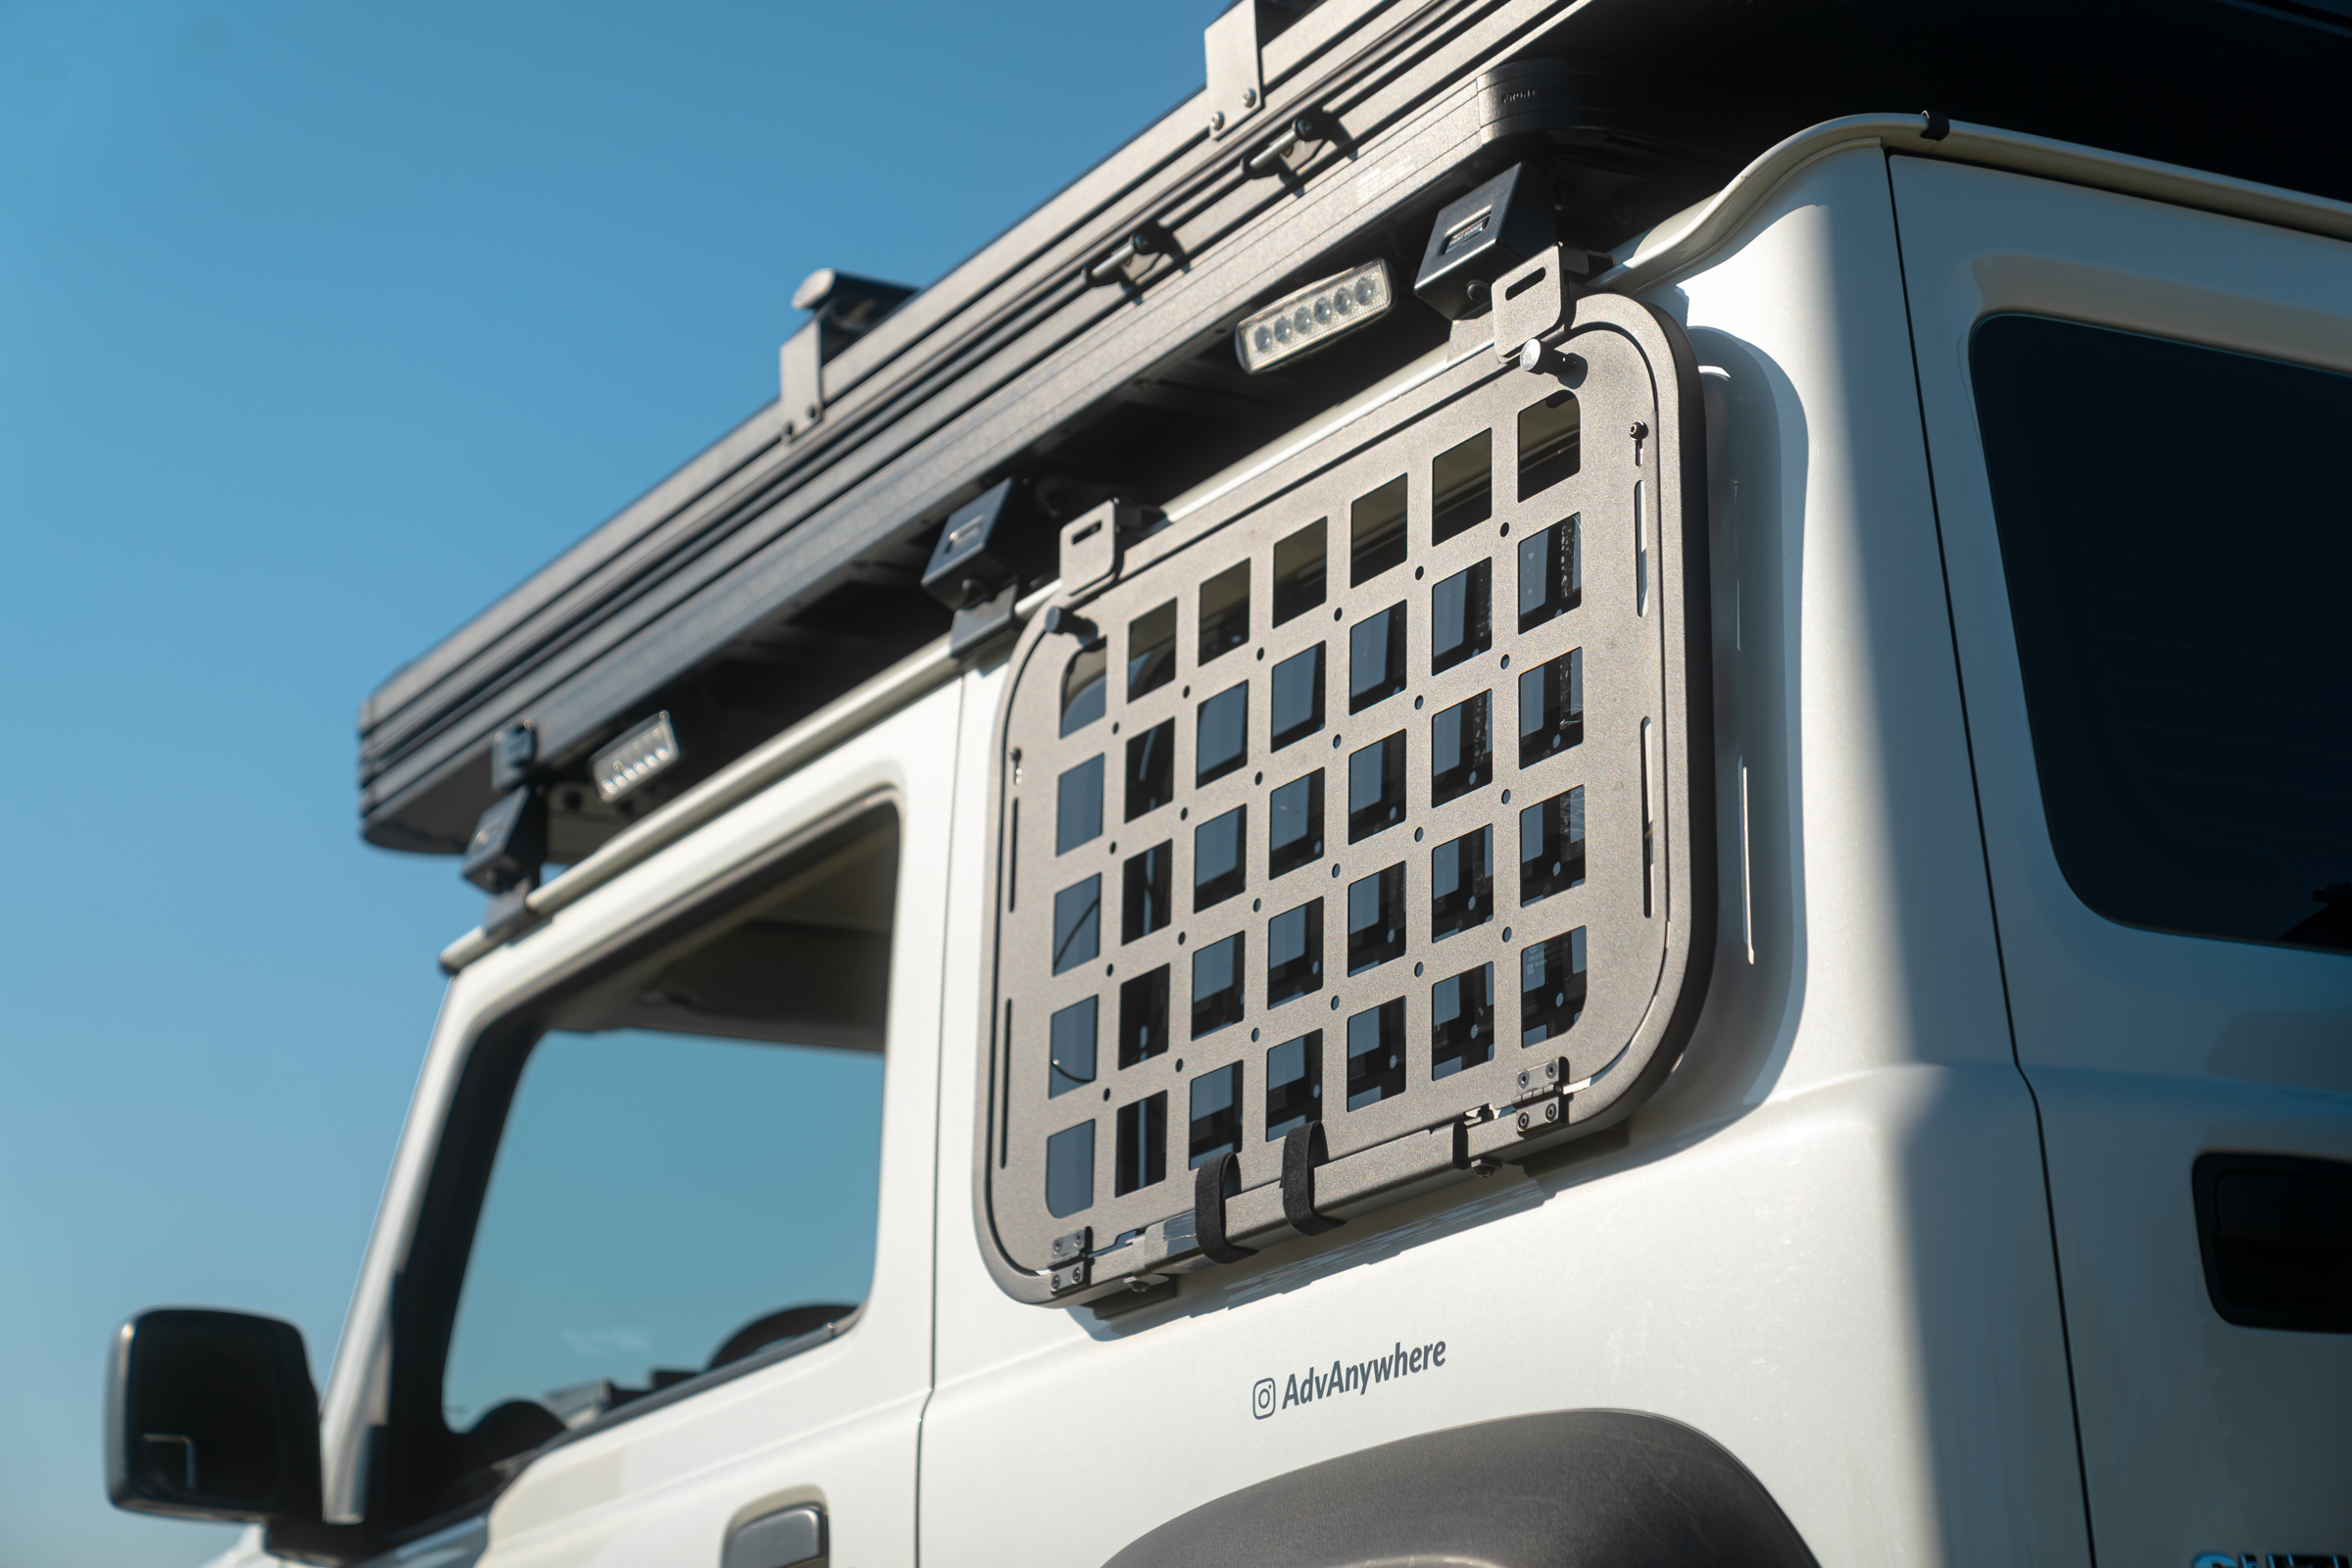
Bison Gear molle panels
Together with my Suzuki Jimny, I went to Bison Gear headquarters, where a 3D scan of the car interior was made. Then the Bison Gear team designed the panels – the first products in their offer for the Suzuki Jimny JB74. Soon after, I received the finished elements, which fit perfectly.

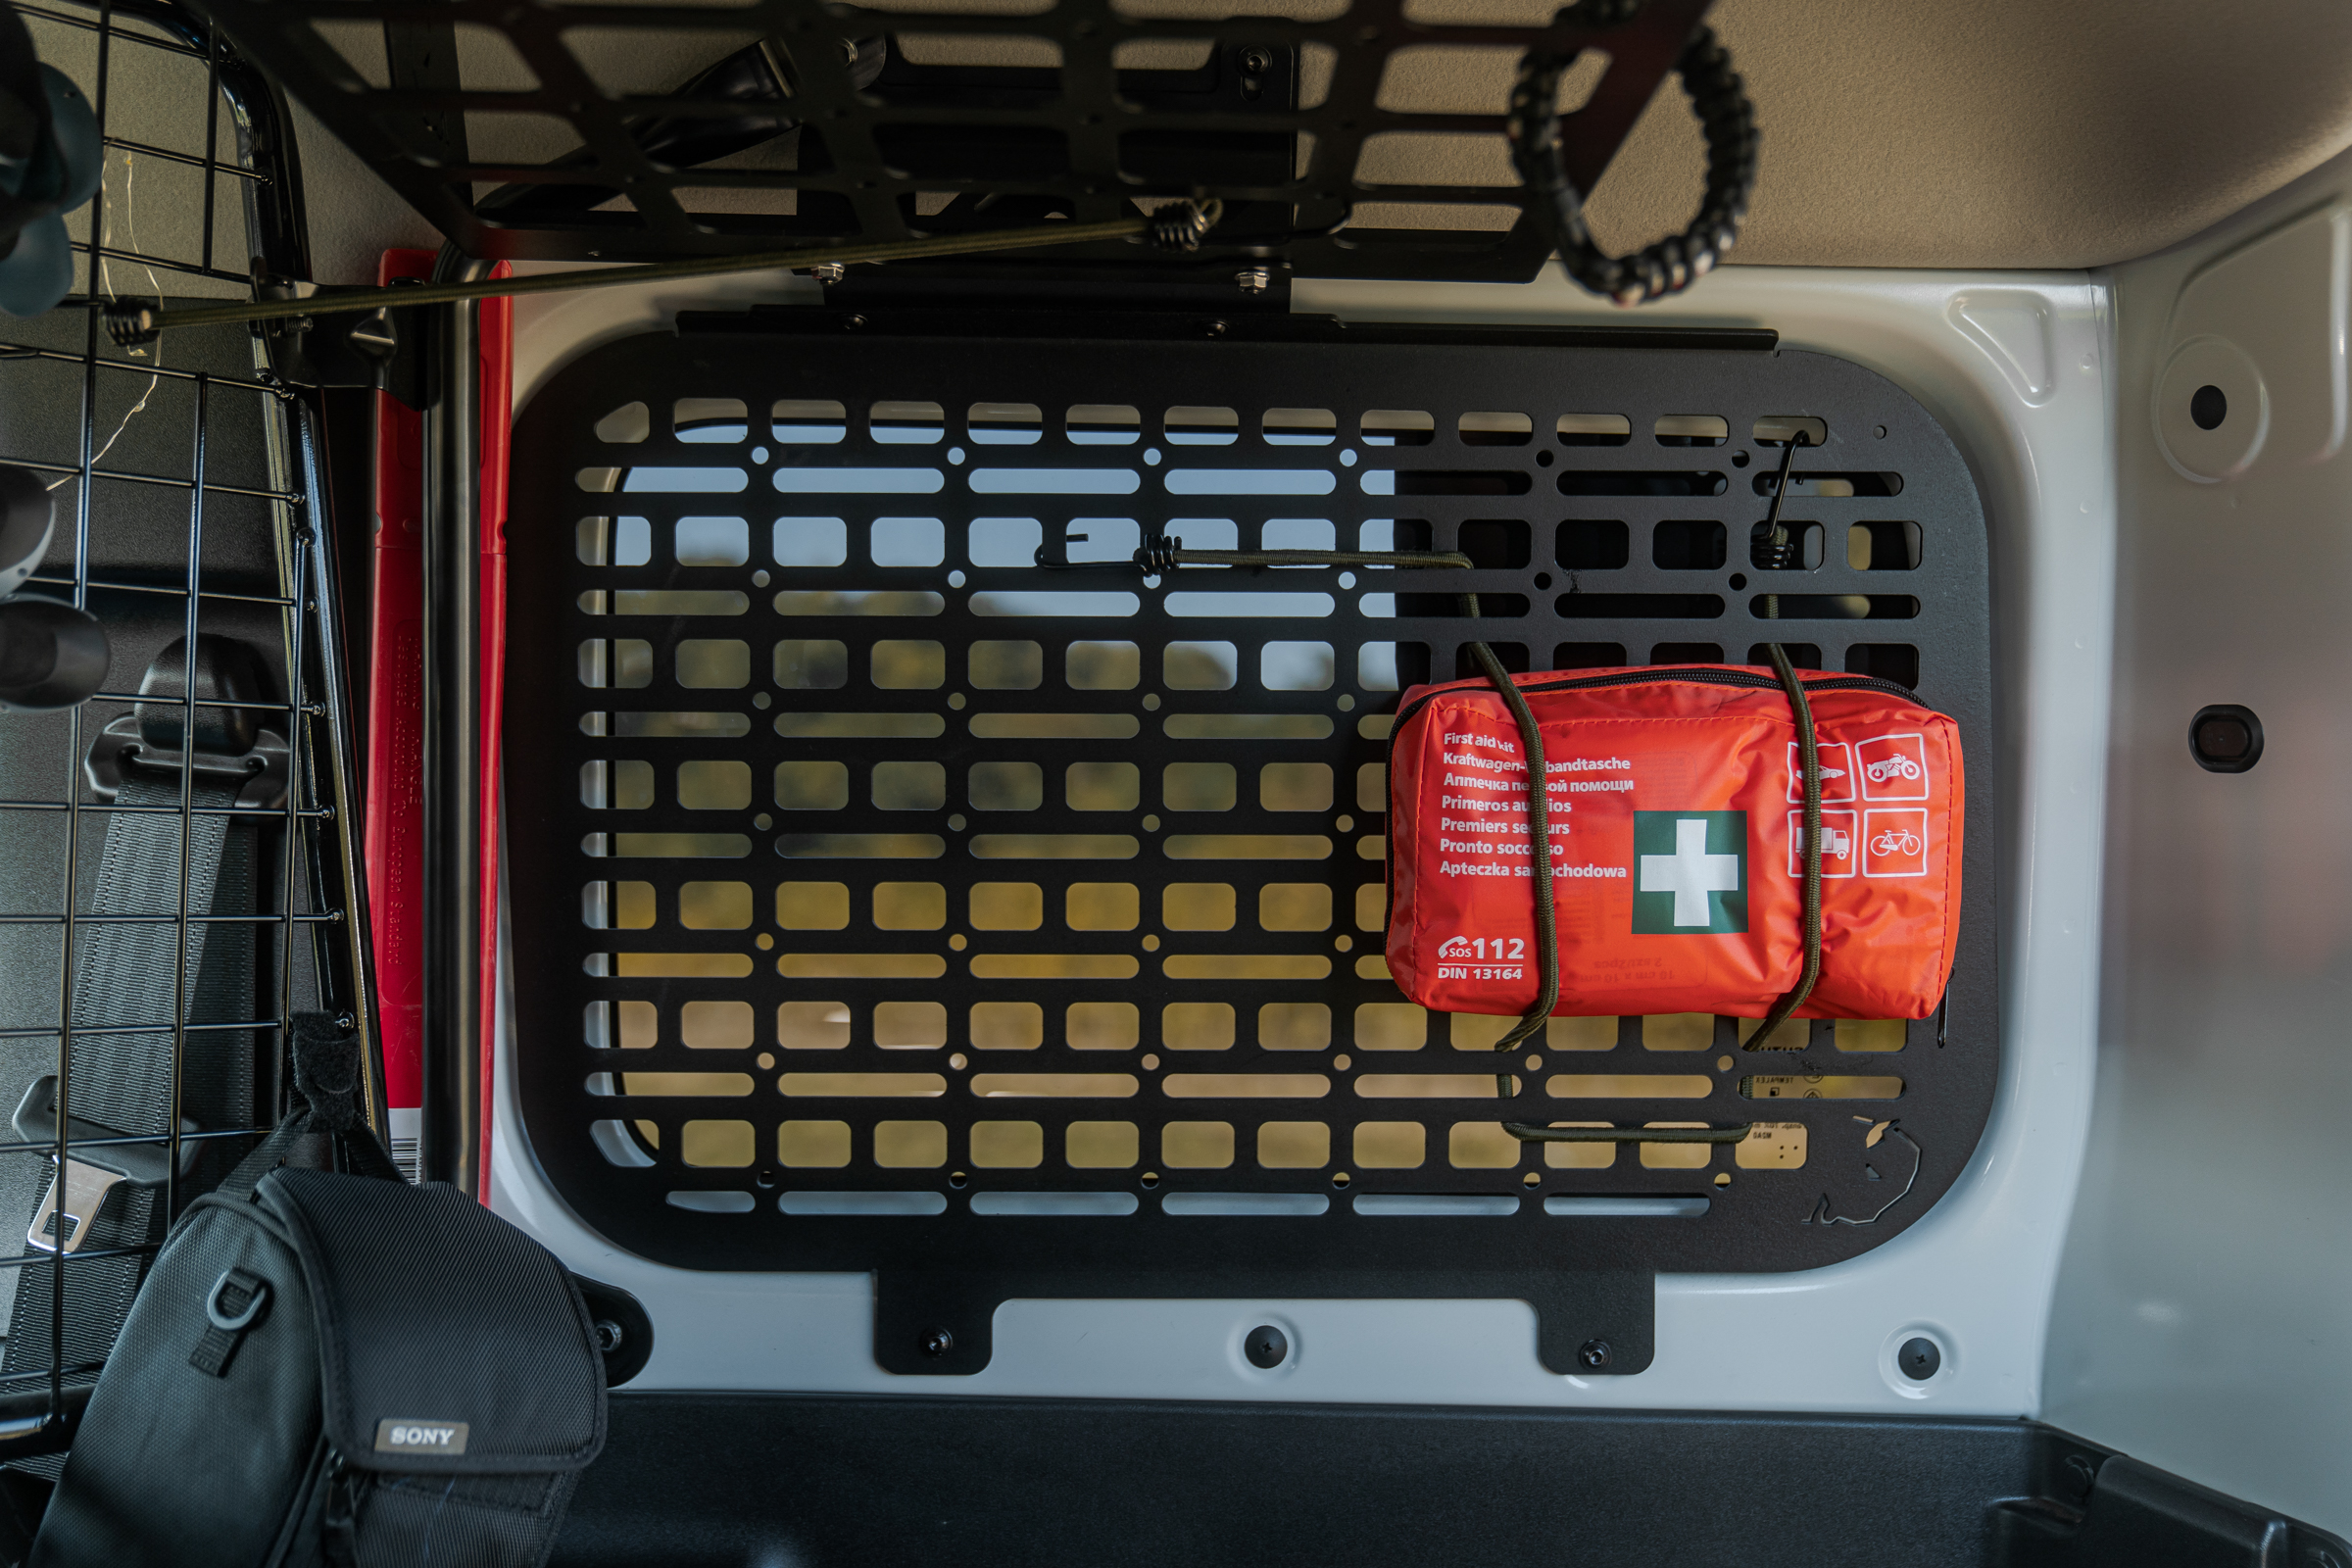
Bison Gear’s powder-coated Molle panels provide unlimited cargo capacity. In a vehicle as small as the Jimny, every inch of space counts.
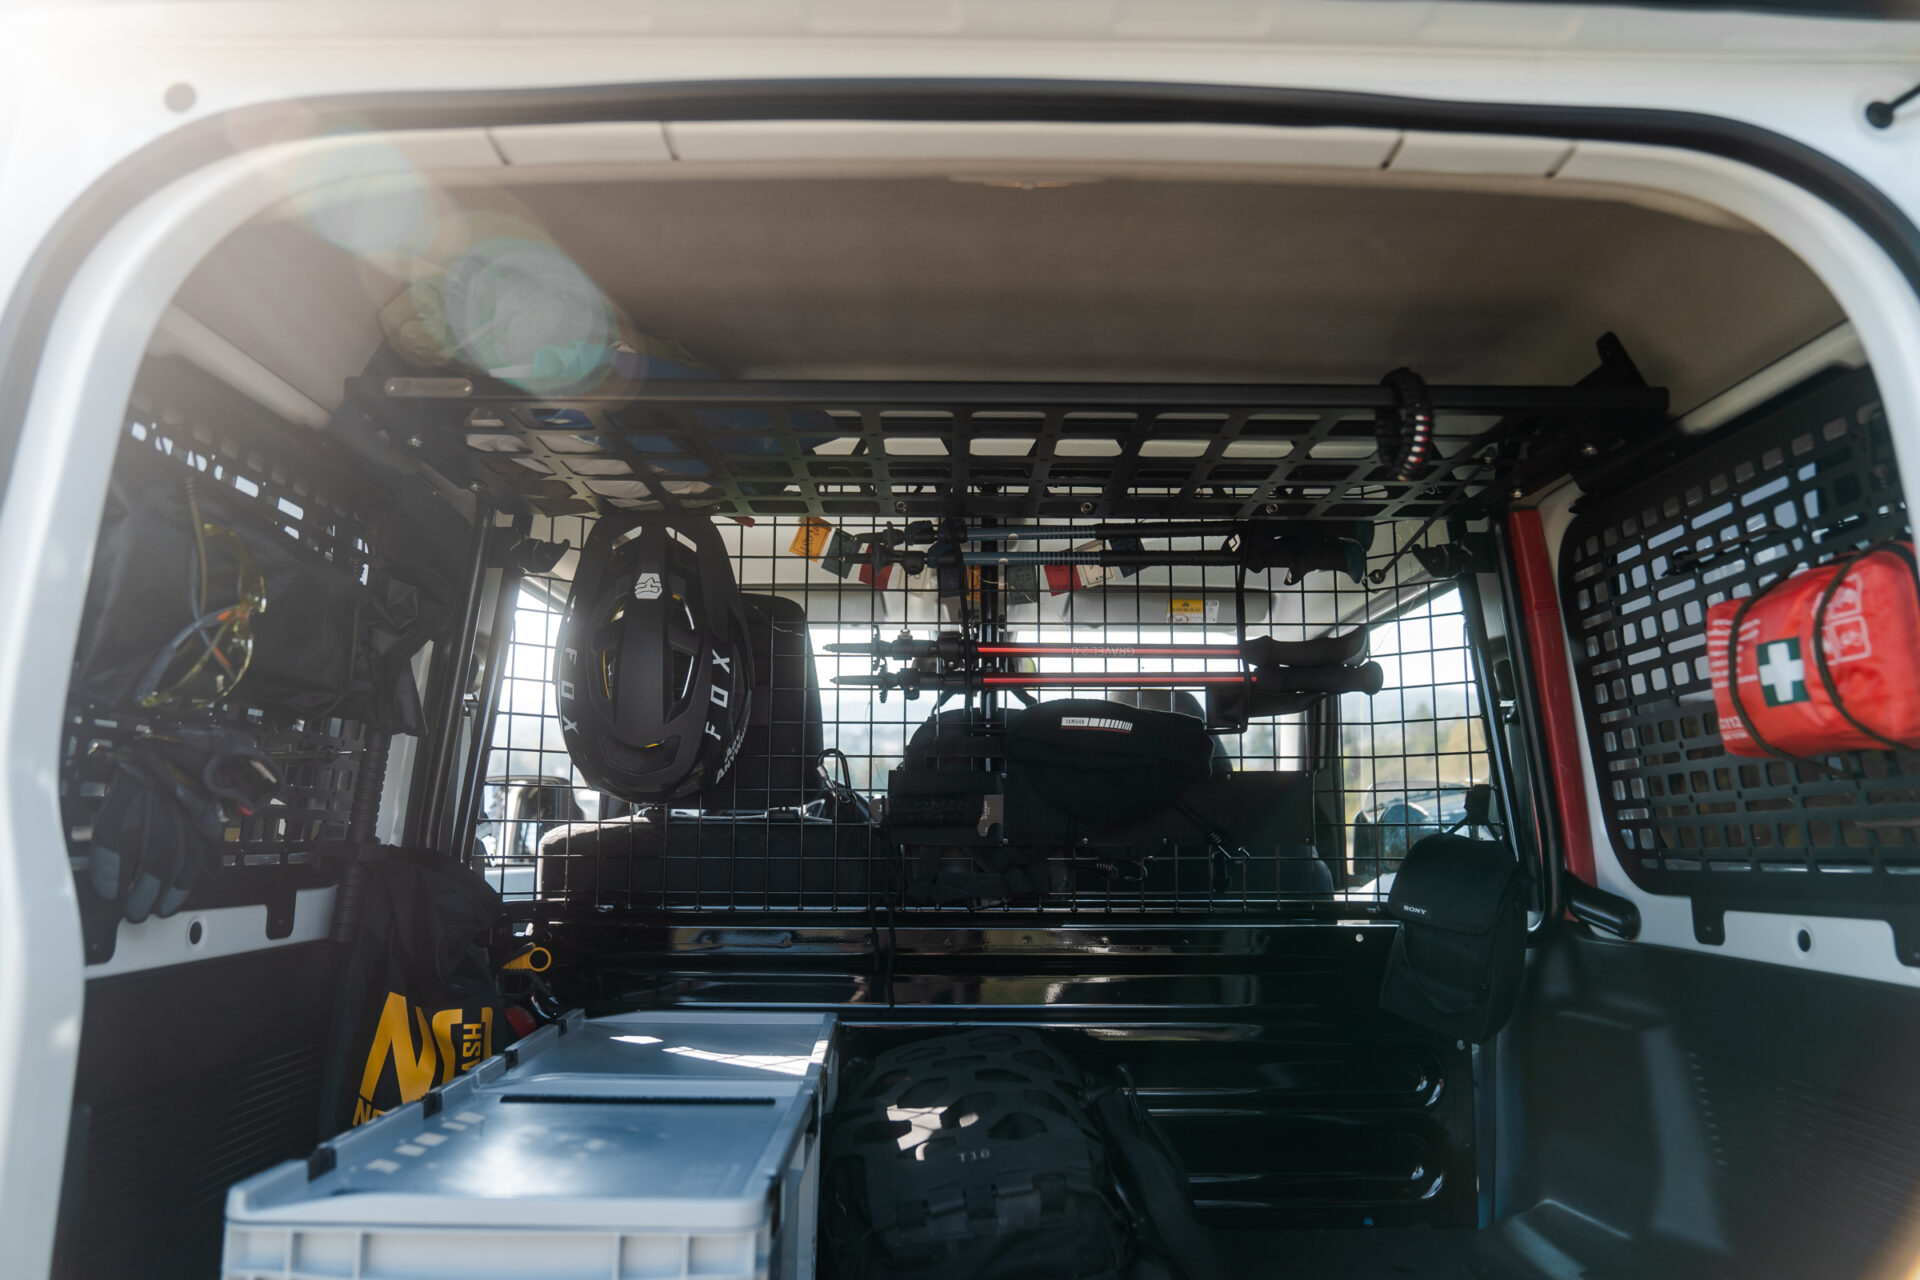
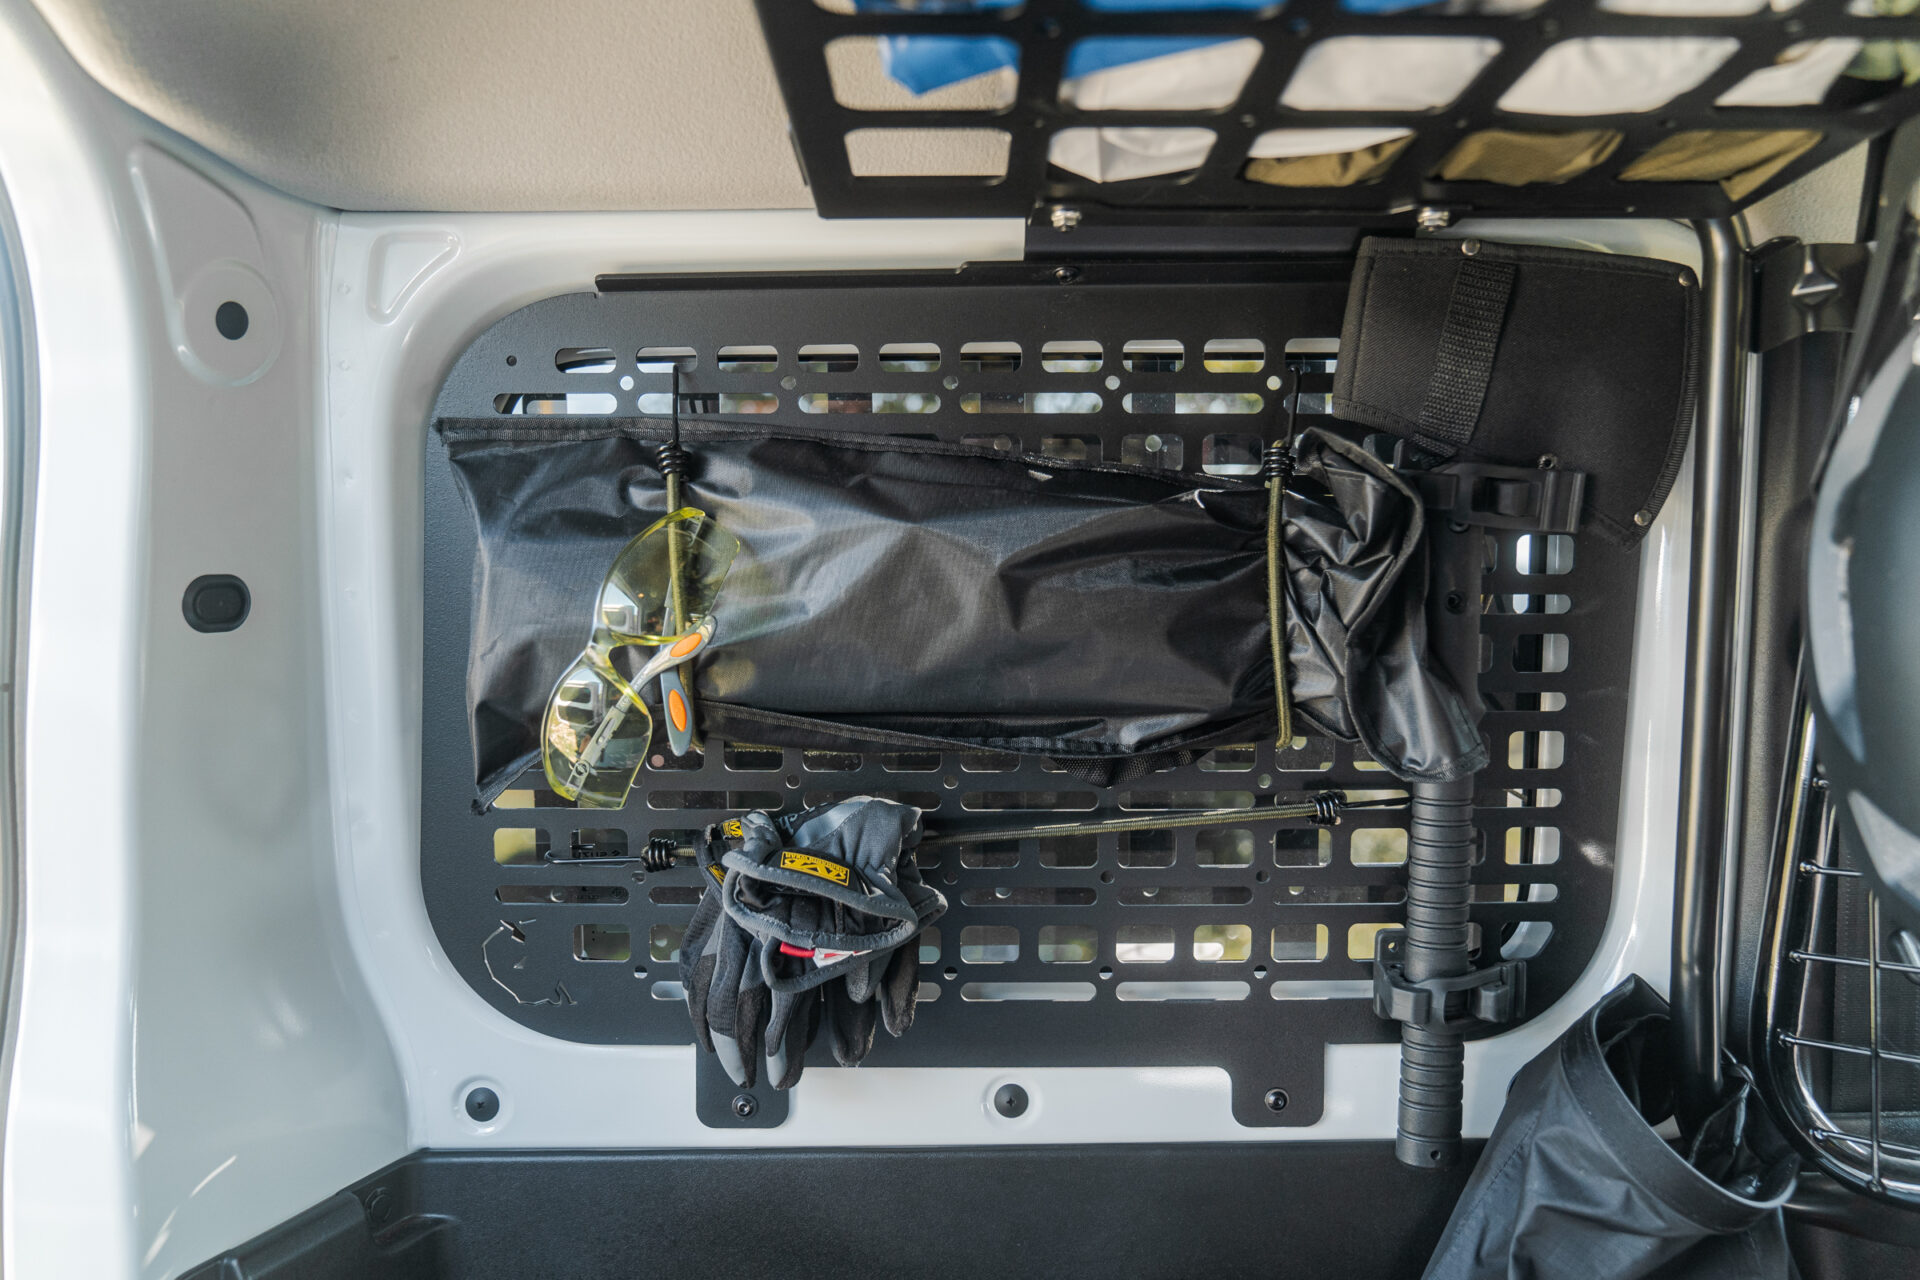

Bison Gear panels do not require drilling and anyone can easily install them in just a few minutes.
Product link: MOLLE panels for Suzuki Jimny IV (JB74, 2018+)
Bison Gear Jimny shelf
Another product created by Bison Gear is an expedition shelf, on which not only can you put a lot of luggage – it offers great possibilities for hanging various types of items.
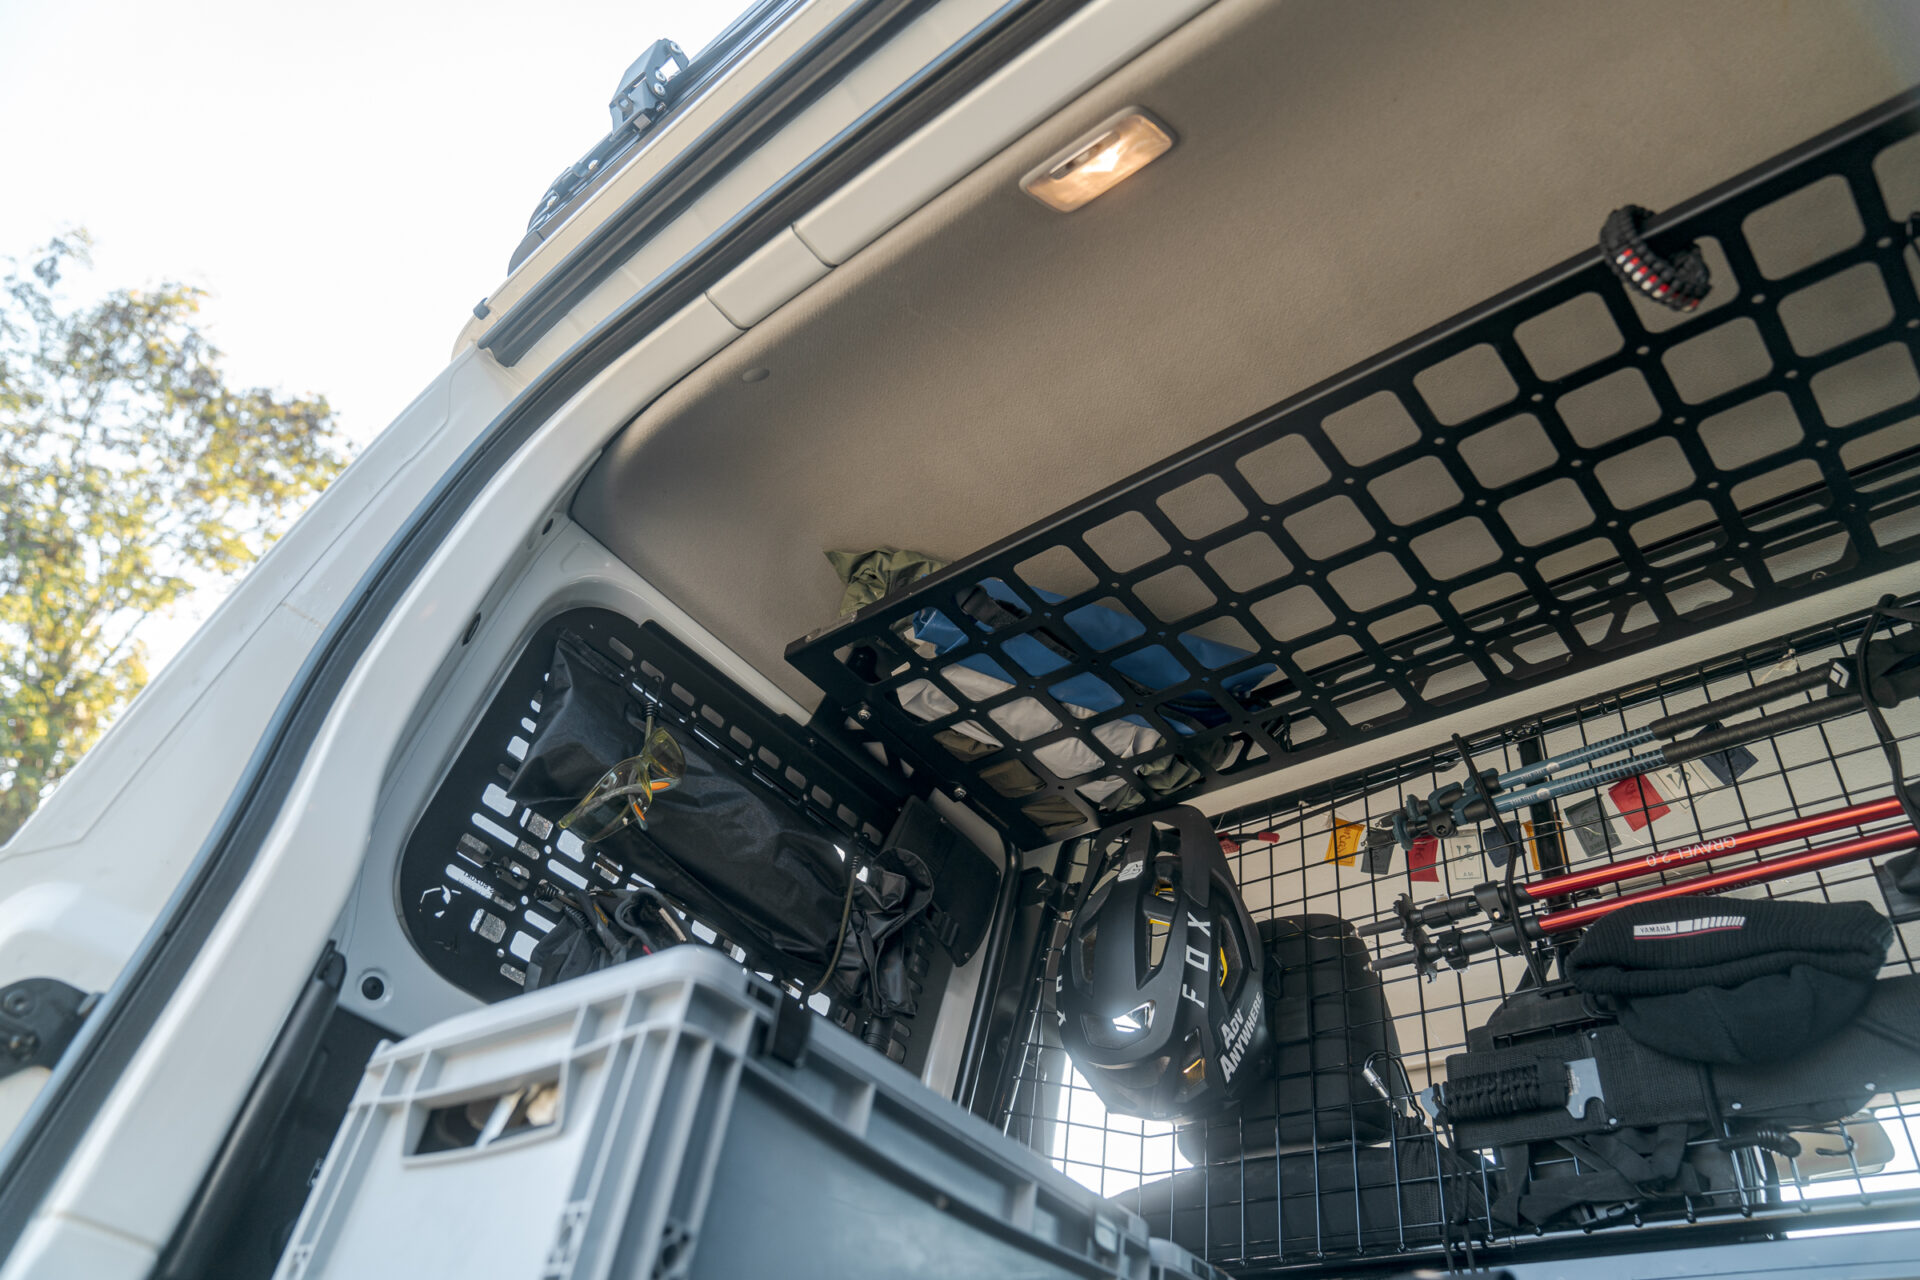

Product link: Roof shelf for Suzuki Jimny IV (JB74, 2018+)
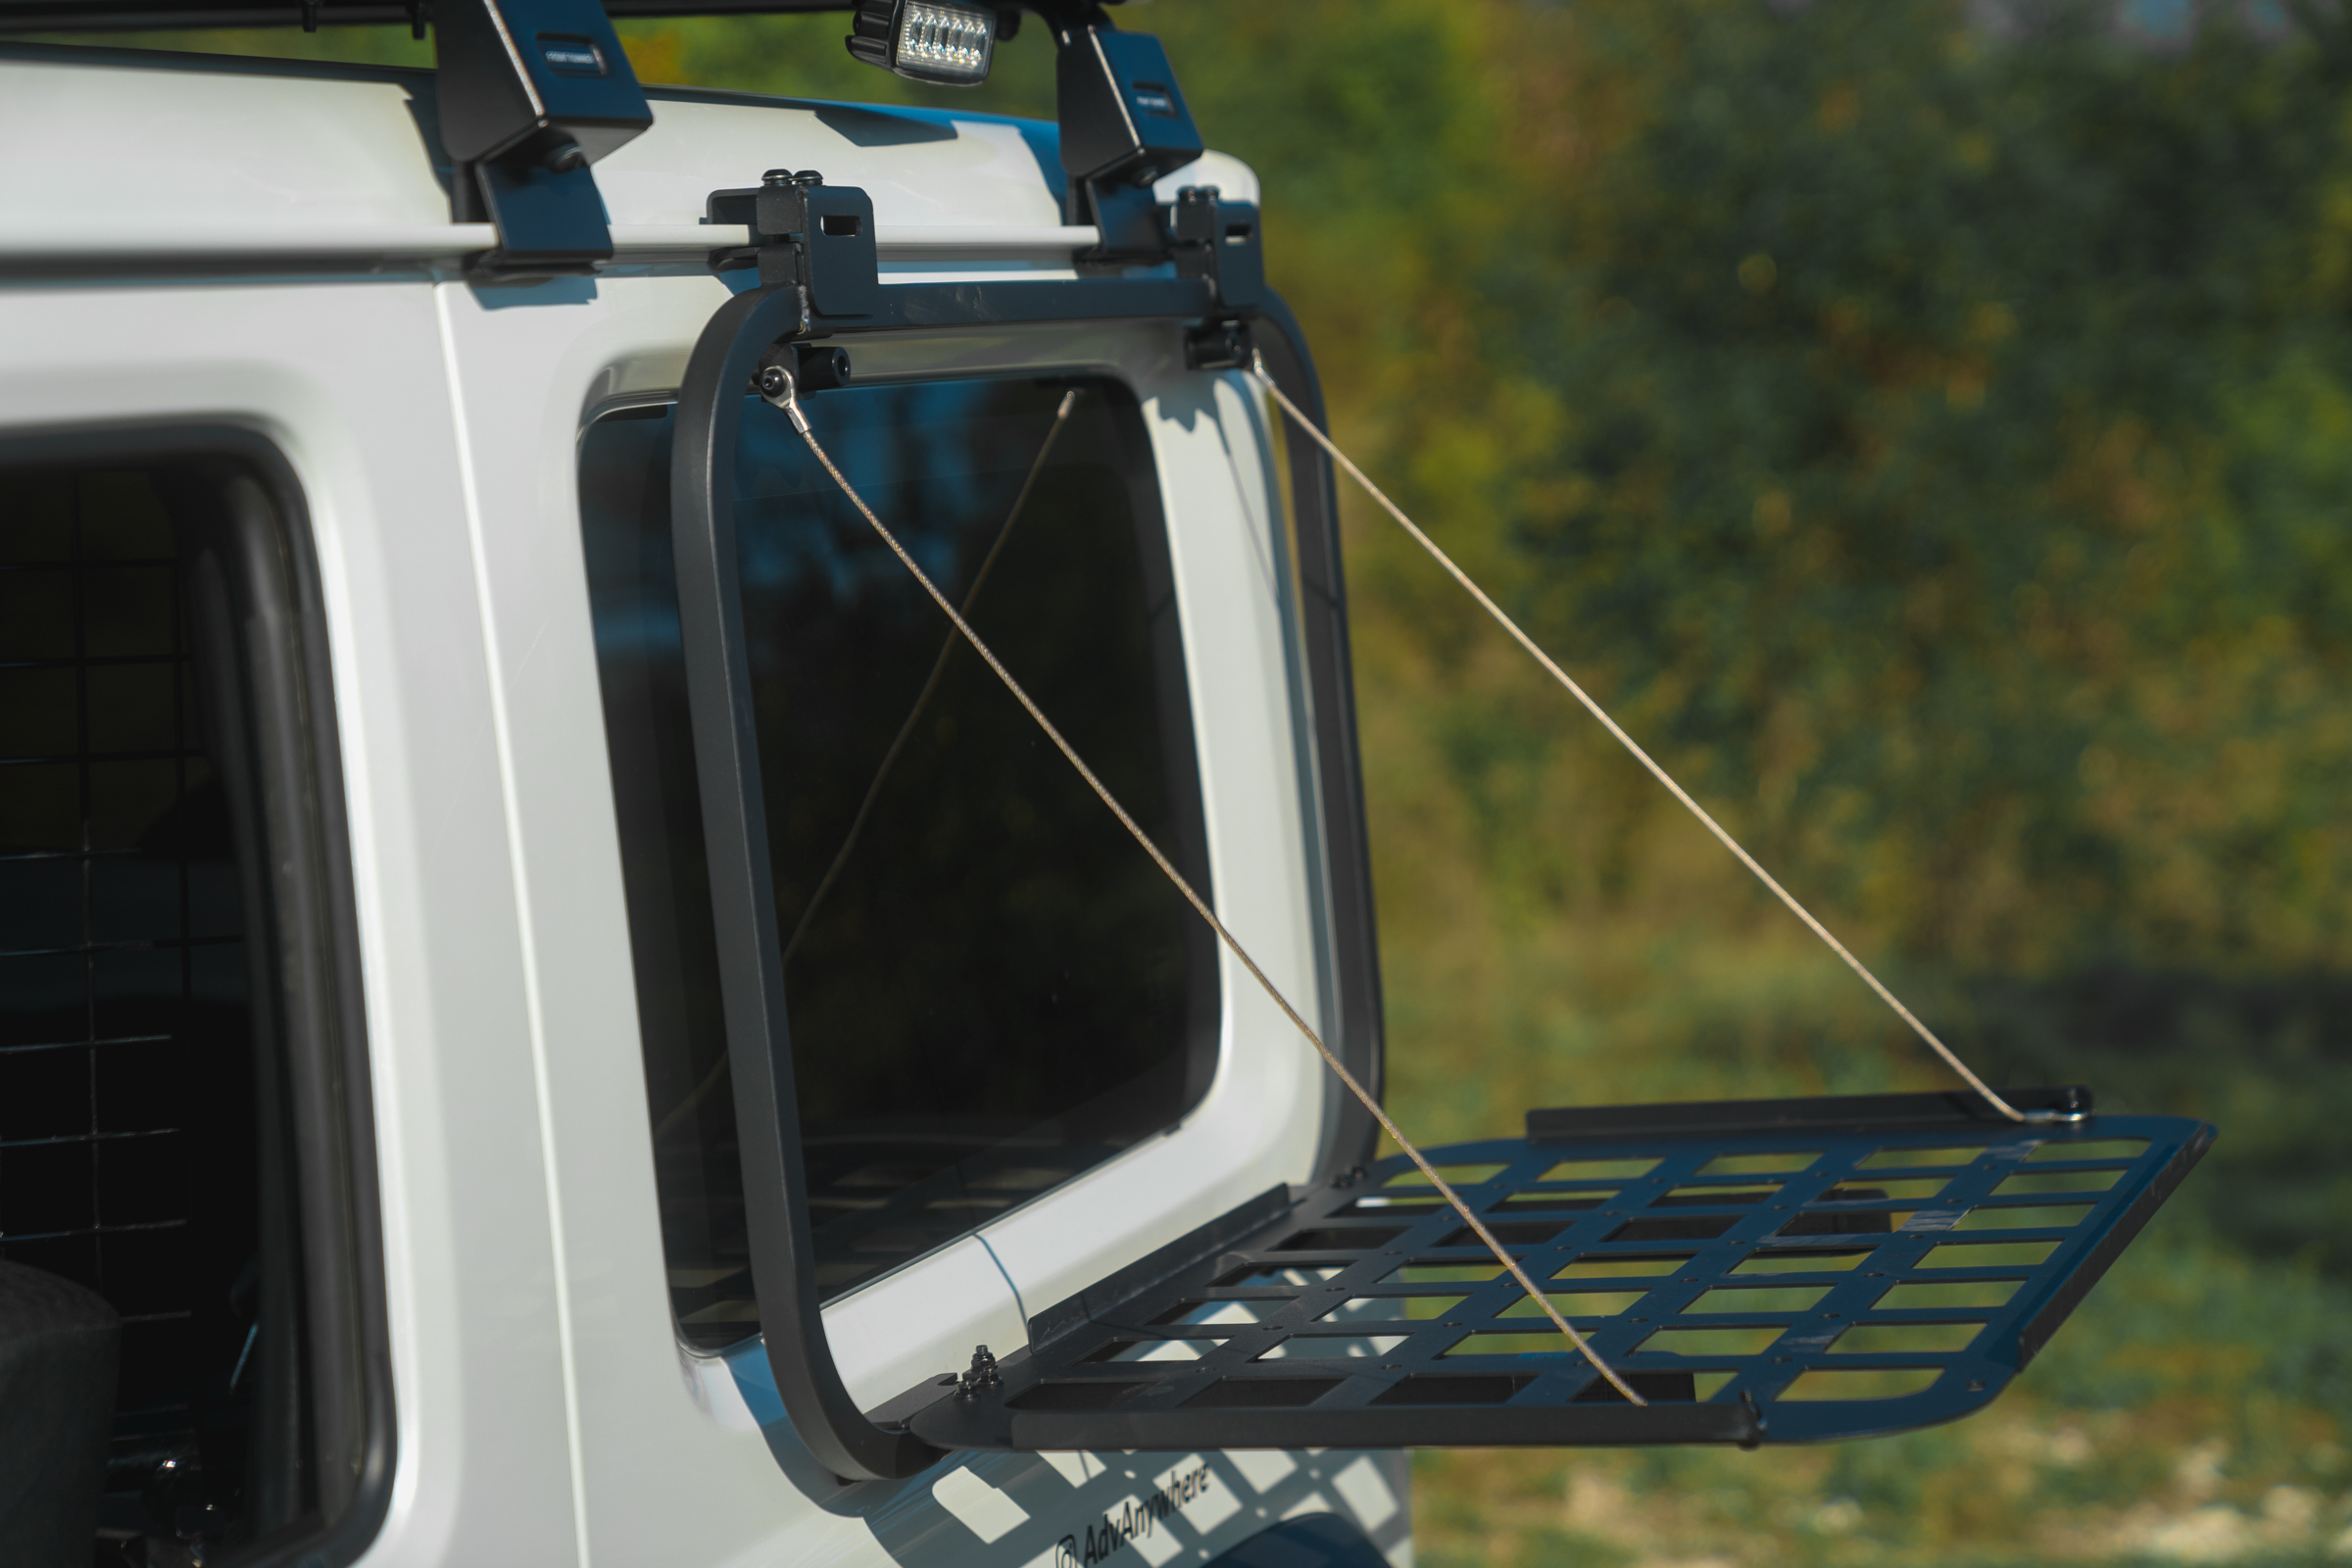
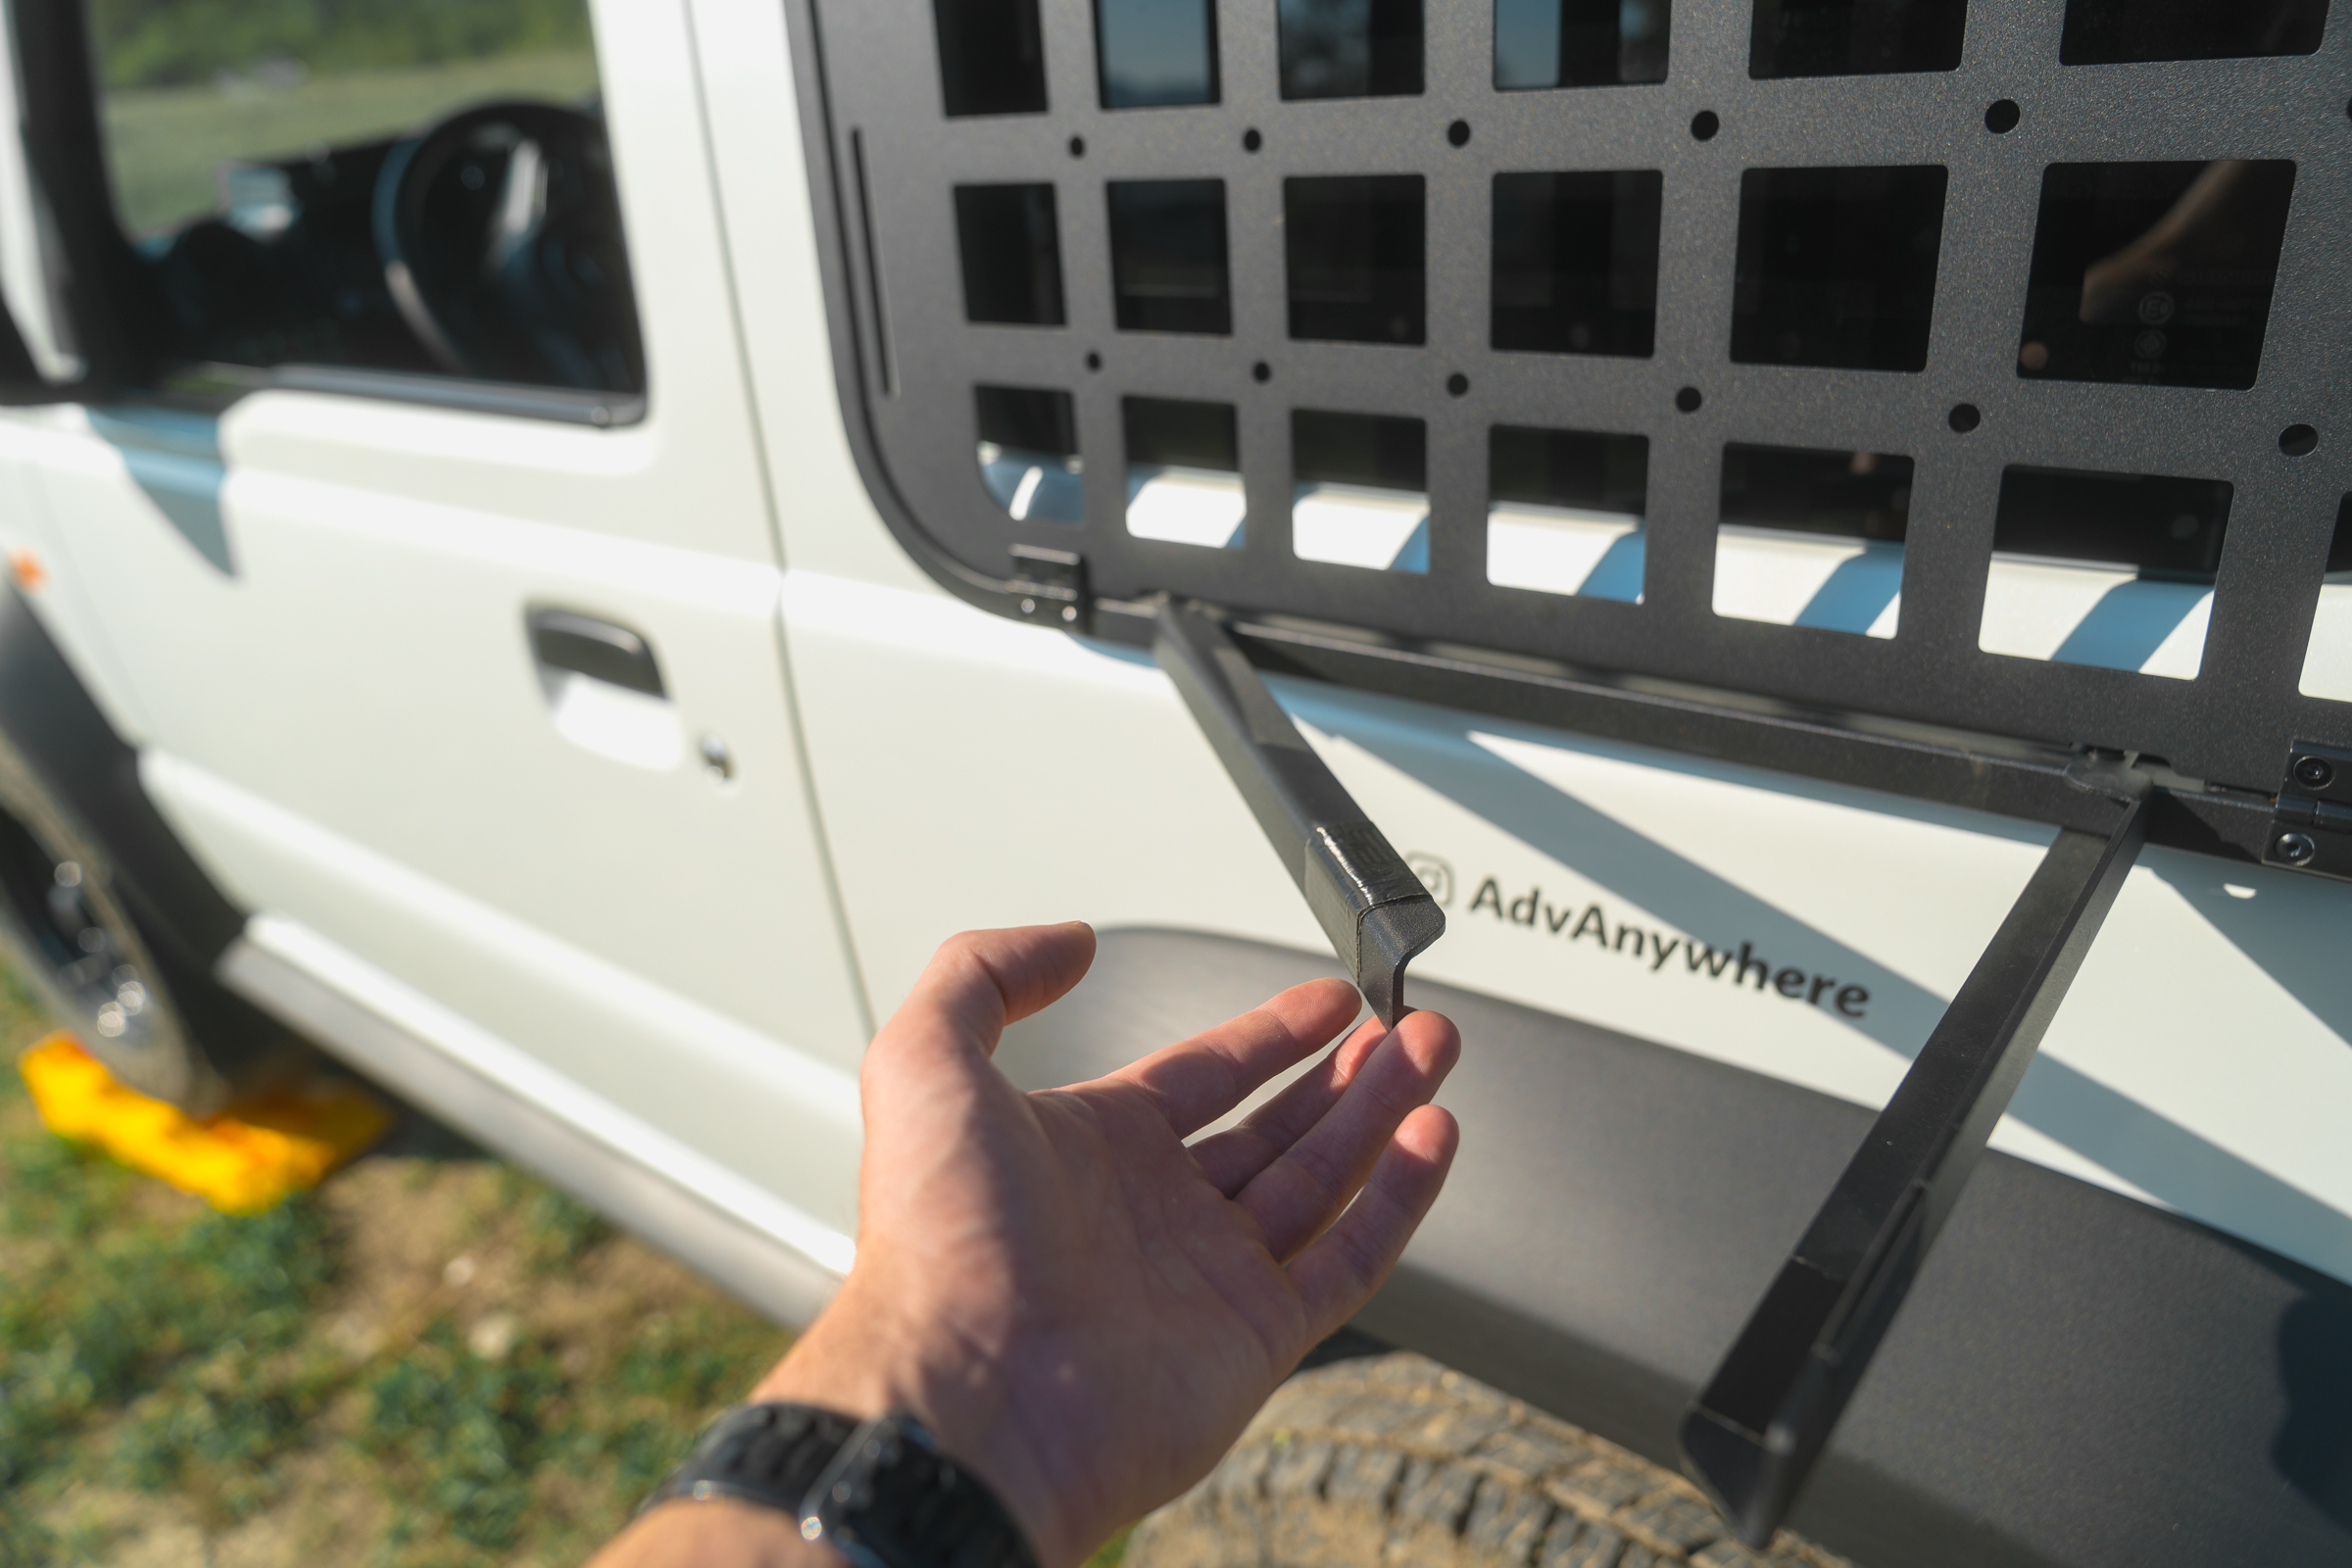
Side fold-out panel
This time, the Chinese one is almost 3x cheaper than the alternatives. I was a bit worried about the quality, but I have nothing to complain about. However, you can complain about a lot of things that you want to have on hand during the trip.
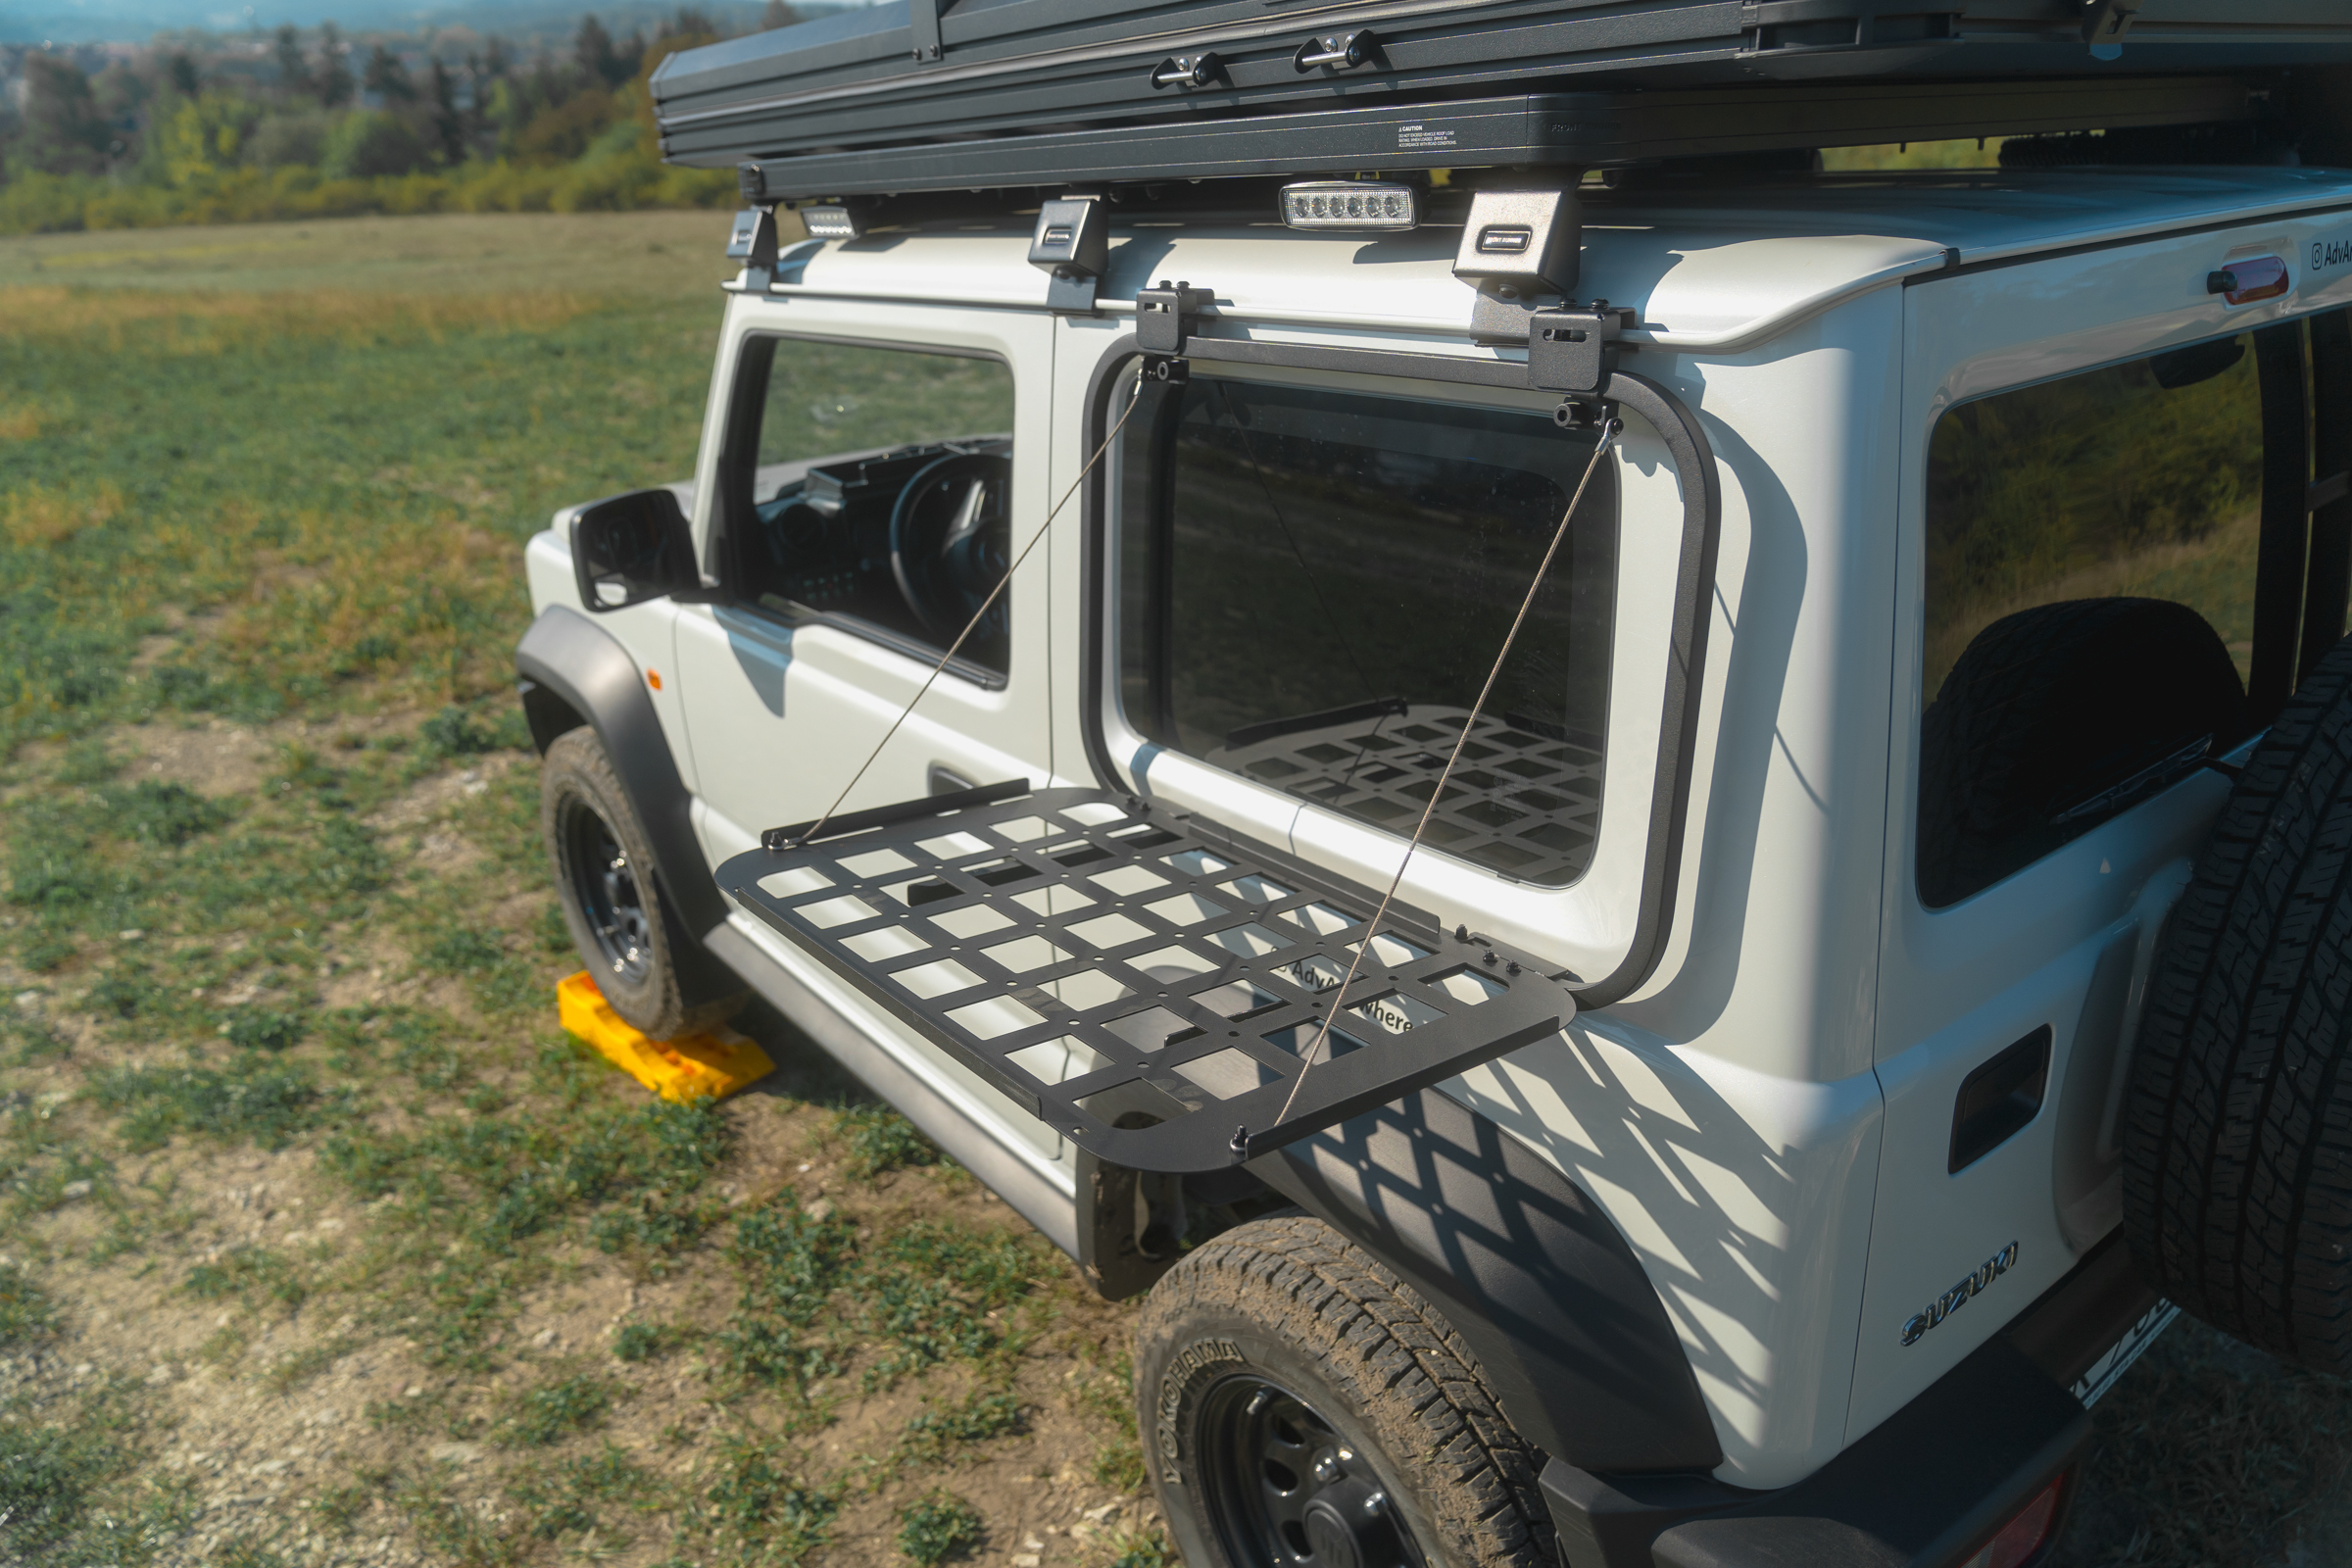
I use the table mainly for making coffee and as a workspace when camping. In the future, I’ll probably mask half of the grate to have a uniform surface for smaller items. There are two extendable brackets at the bottom, for which I also need to think of better attachments than a piece of Velcro.


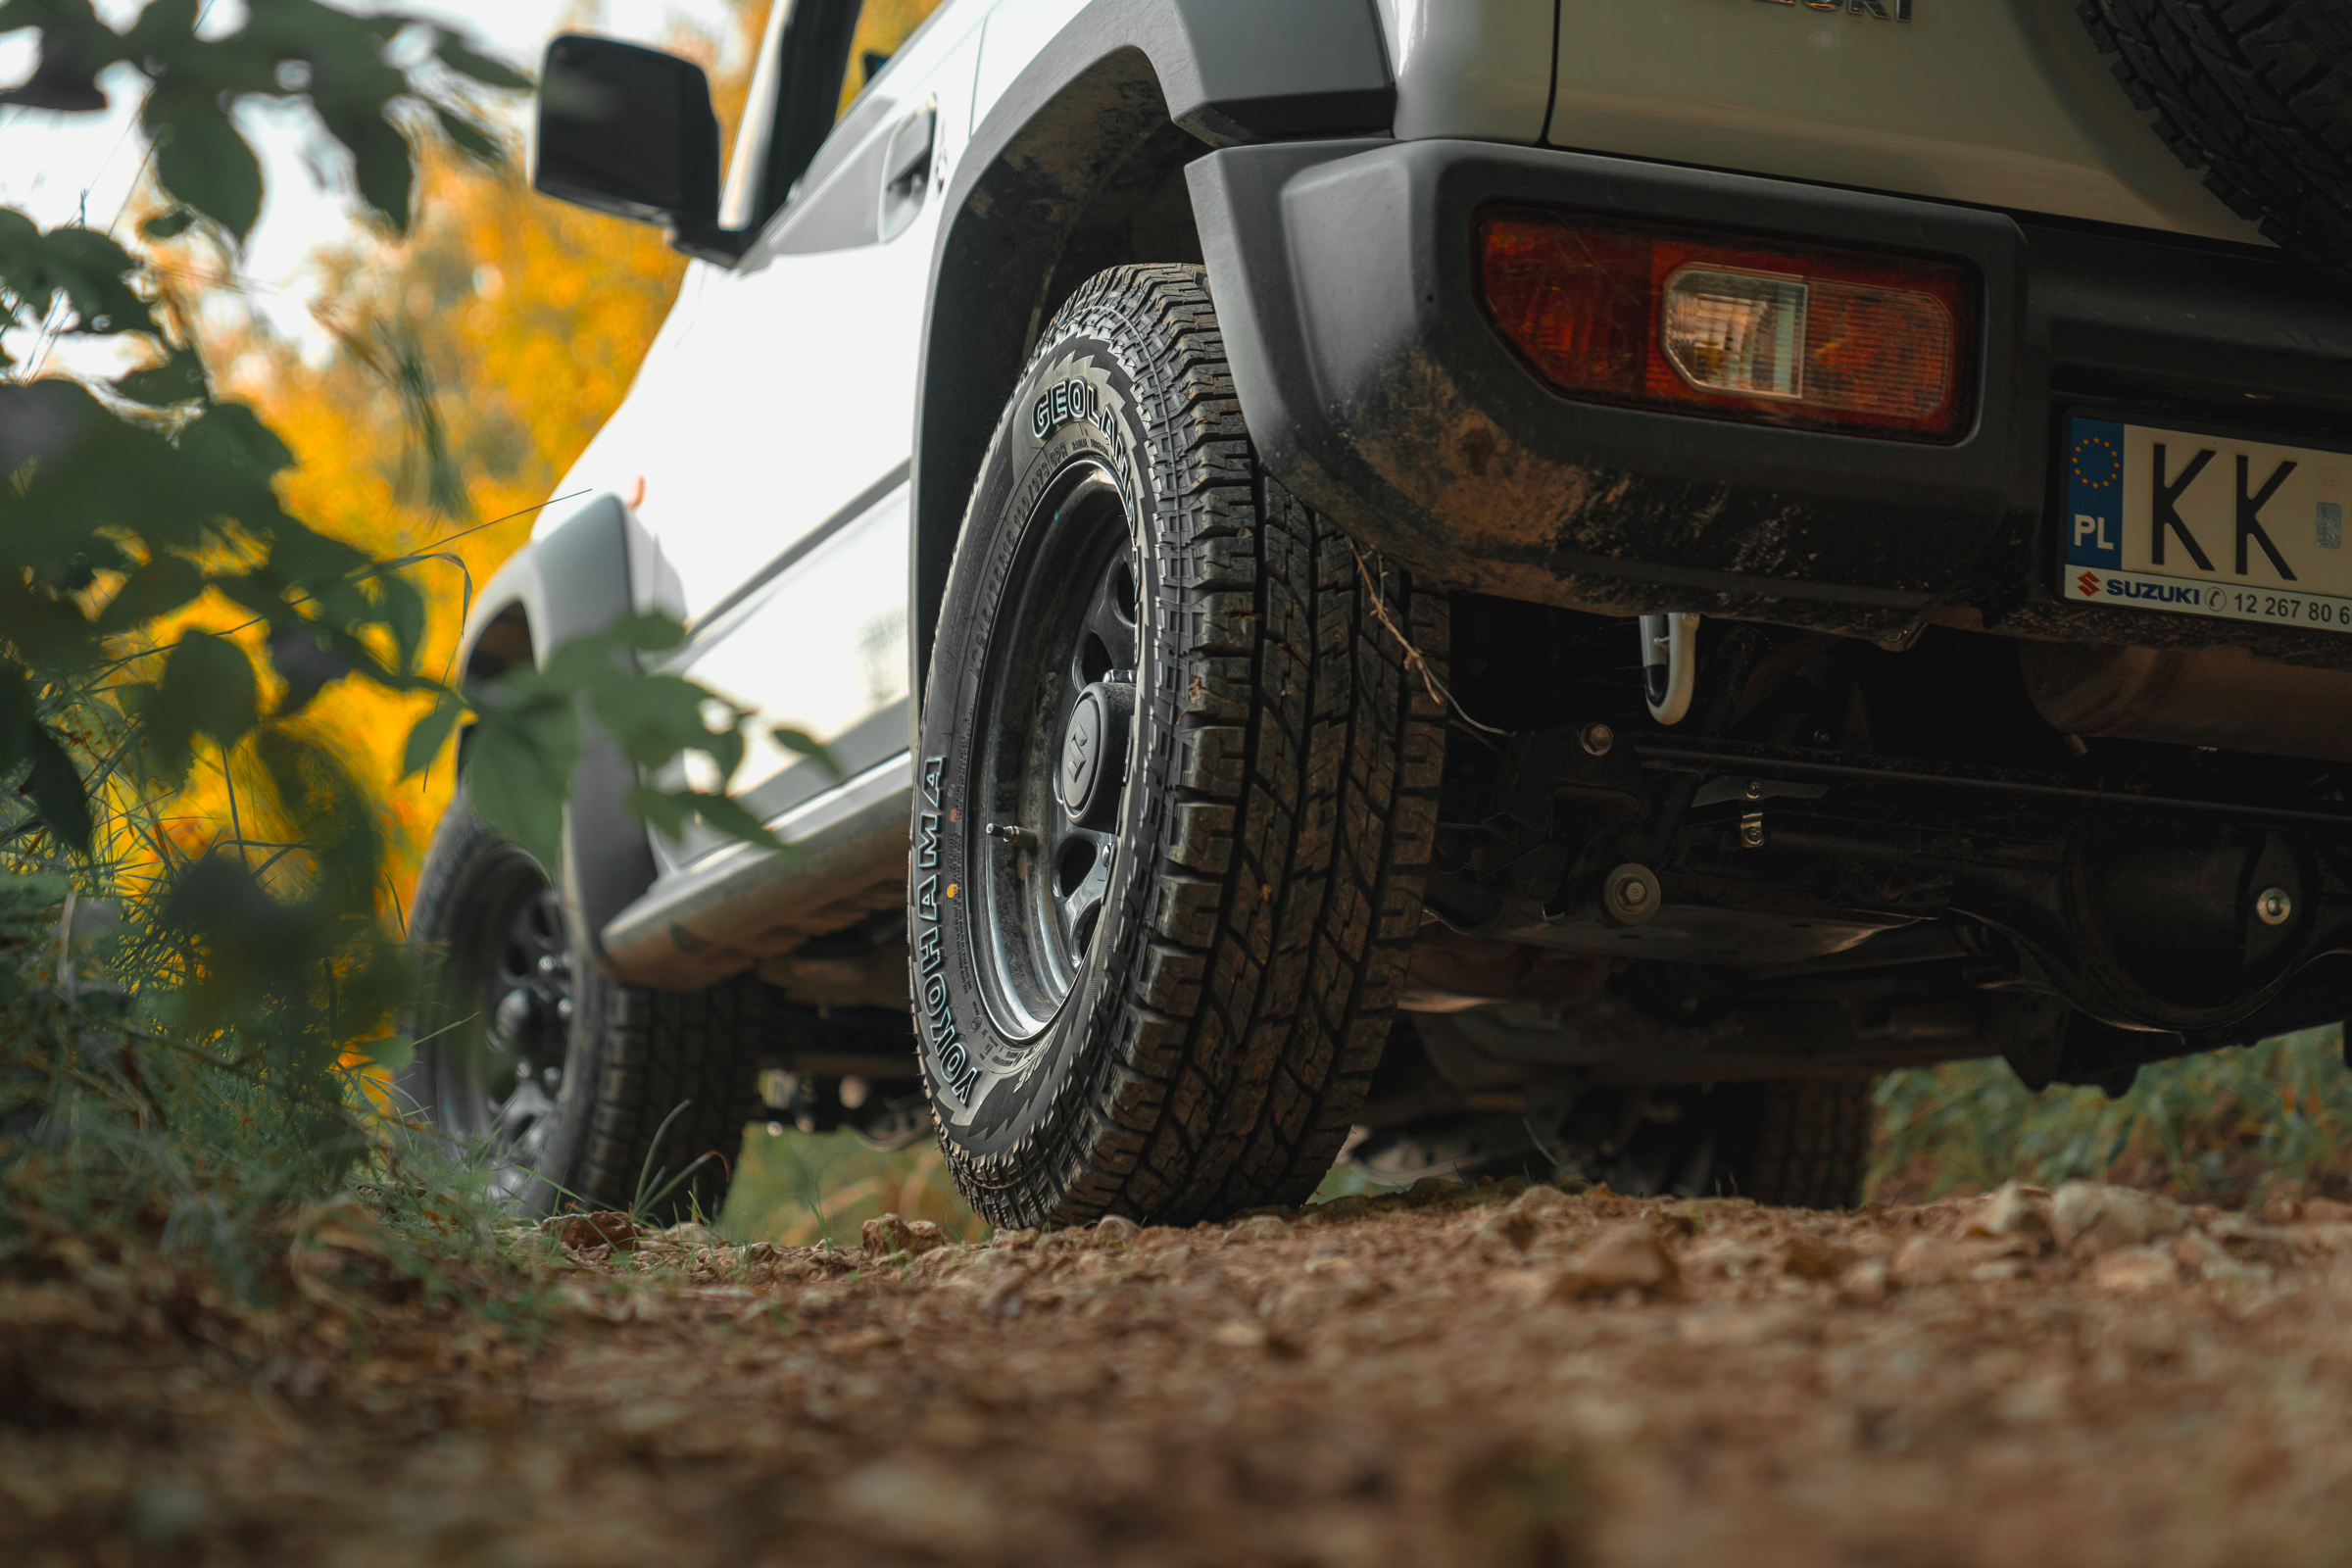
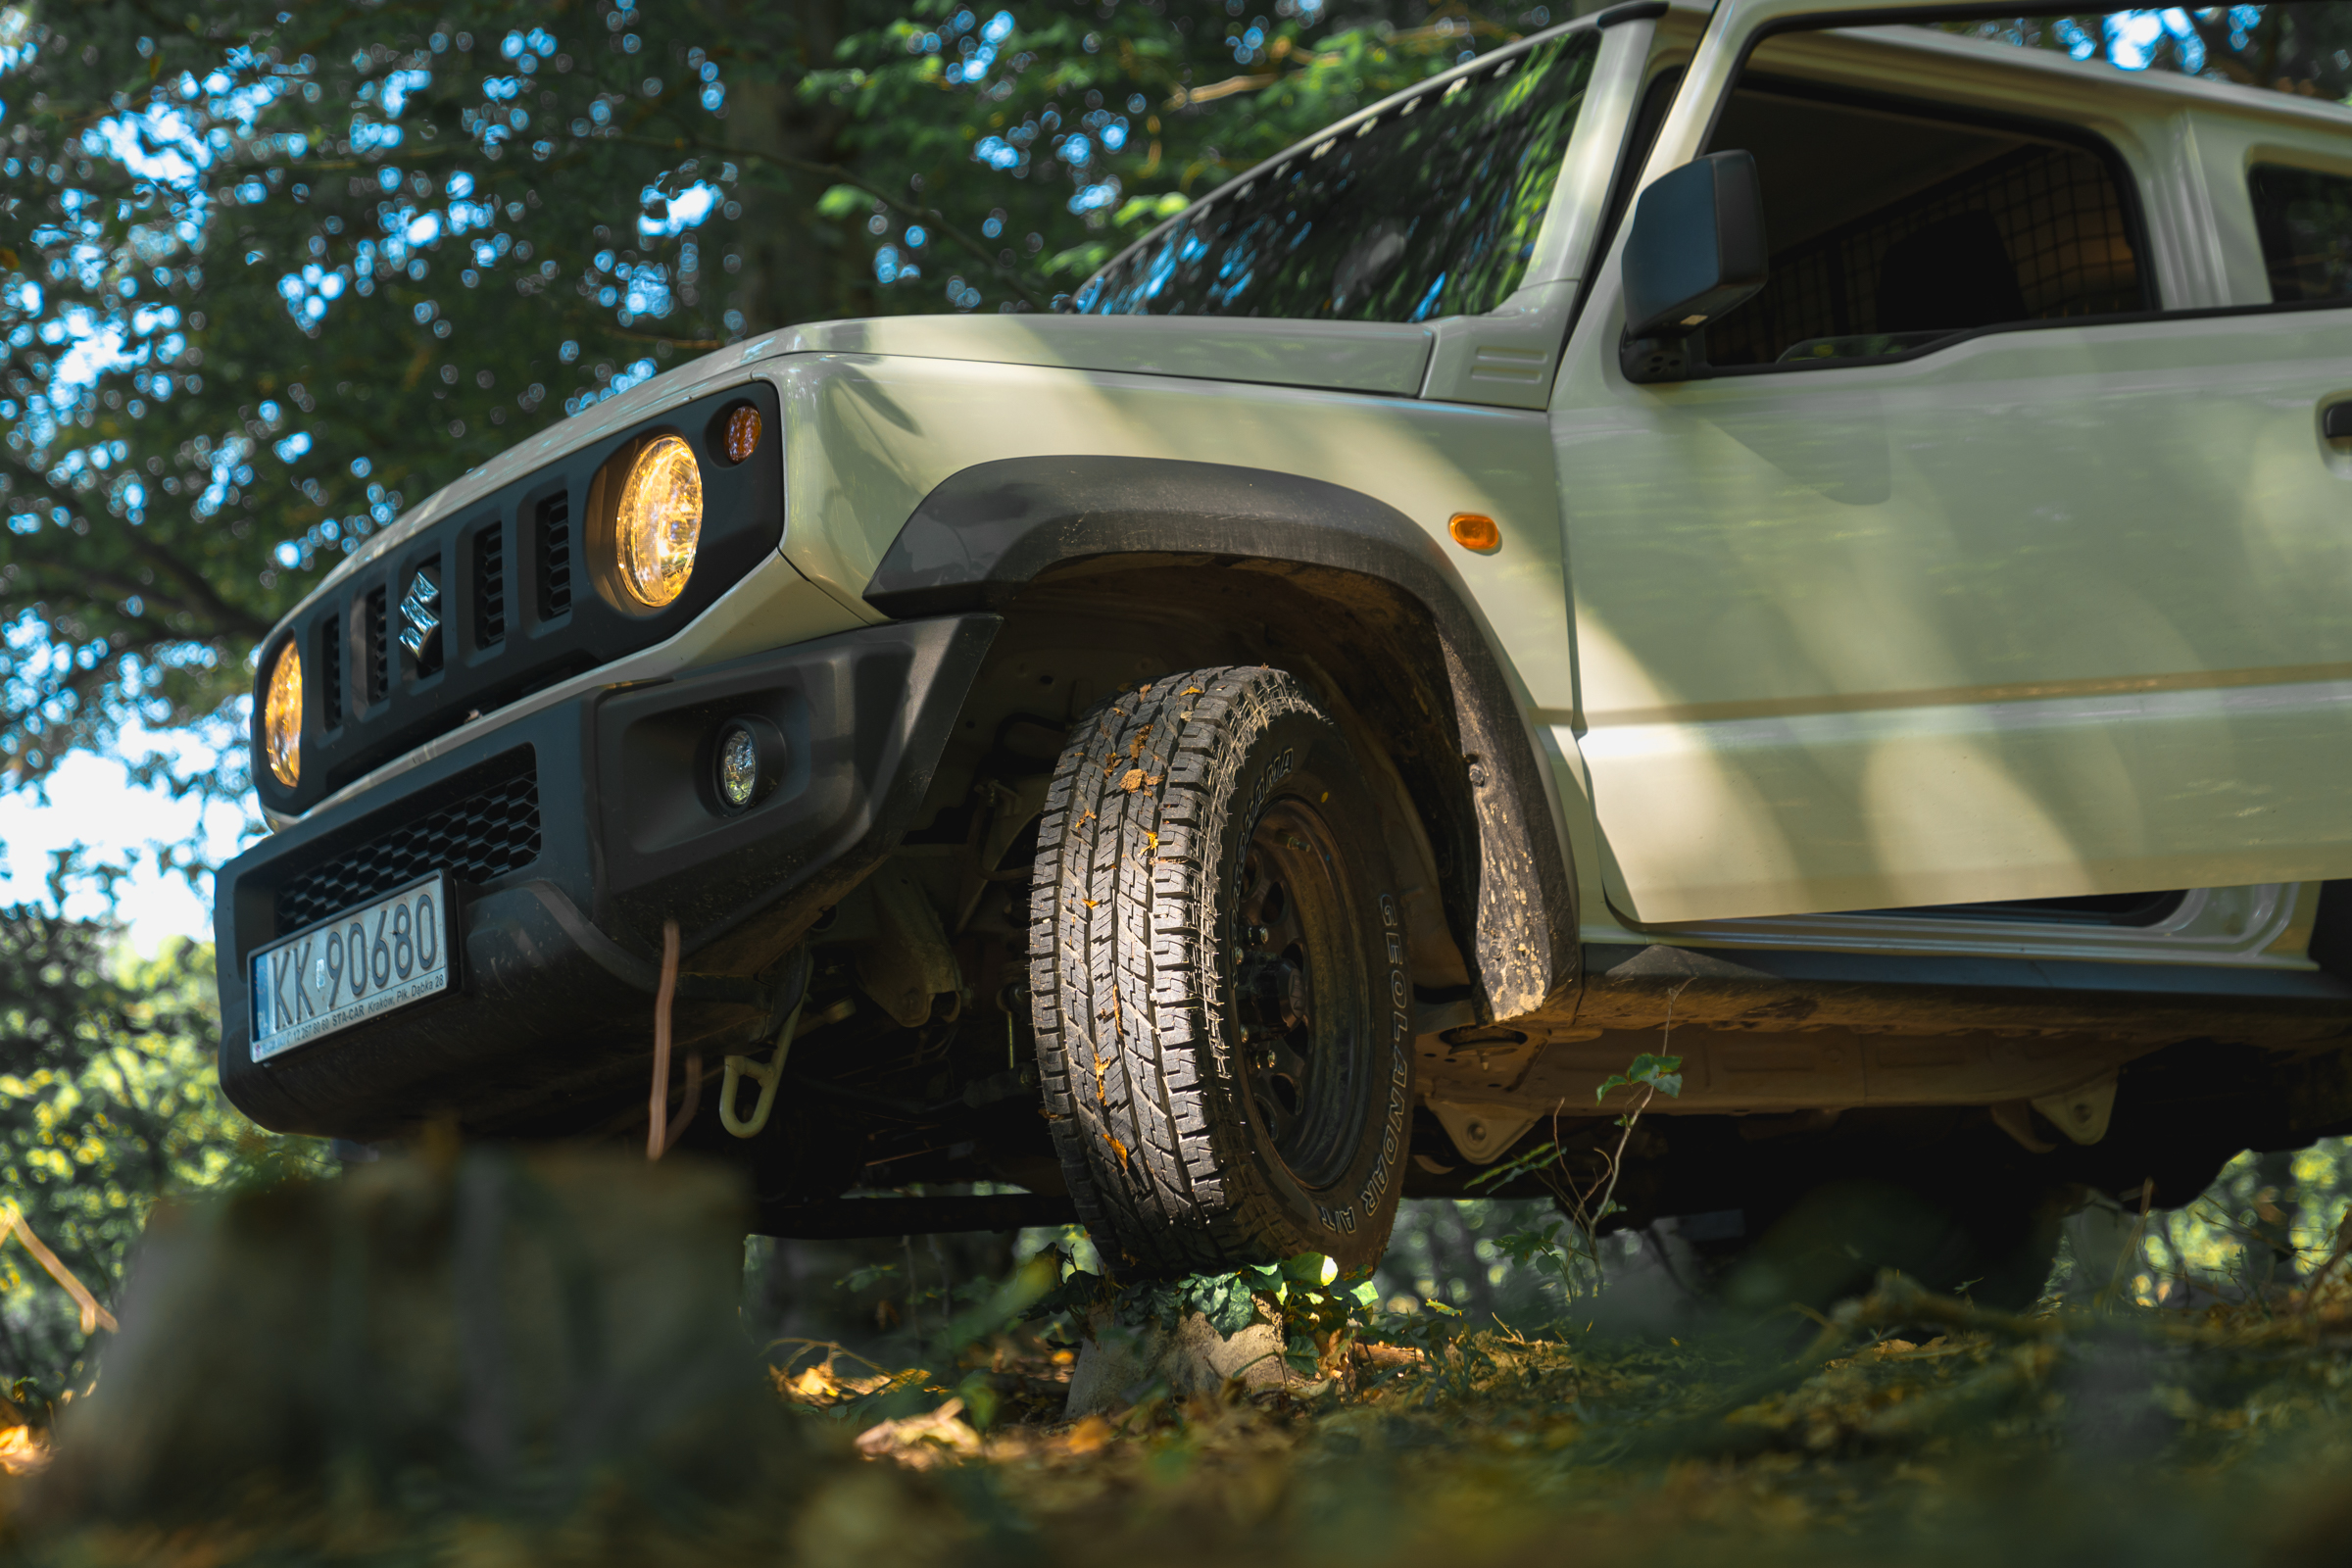
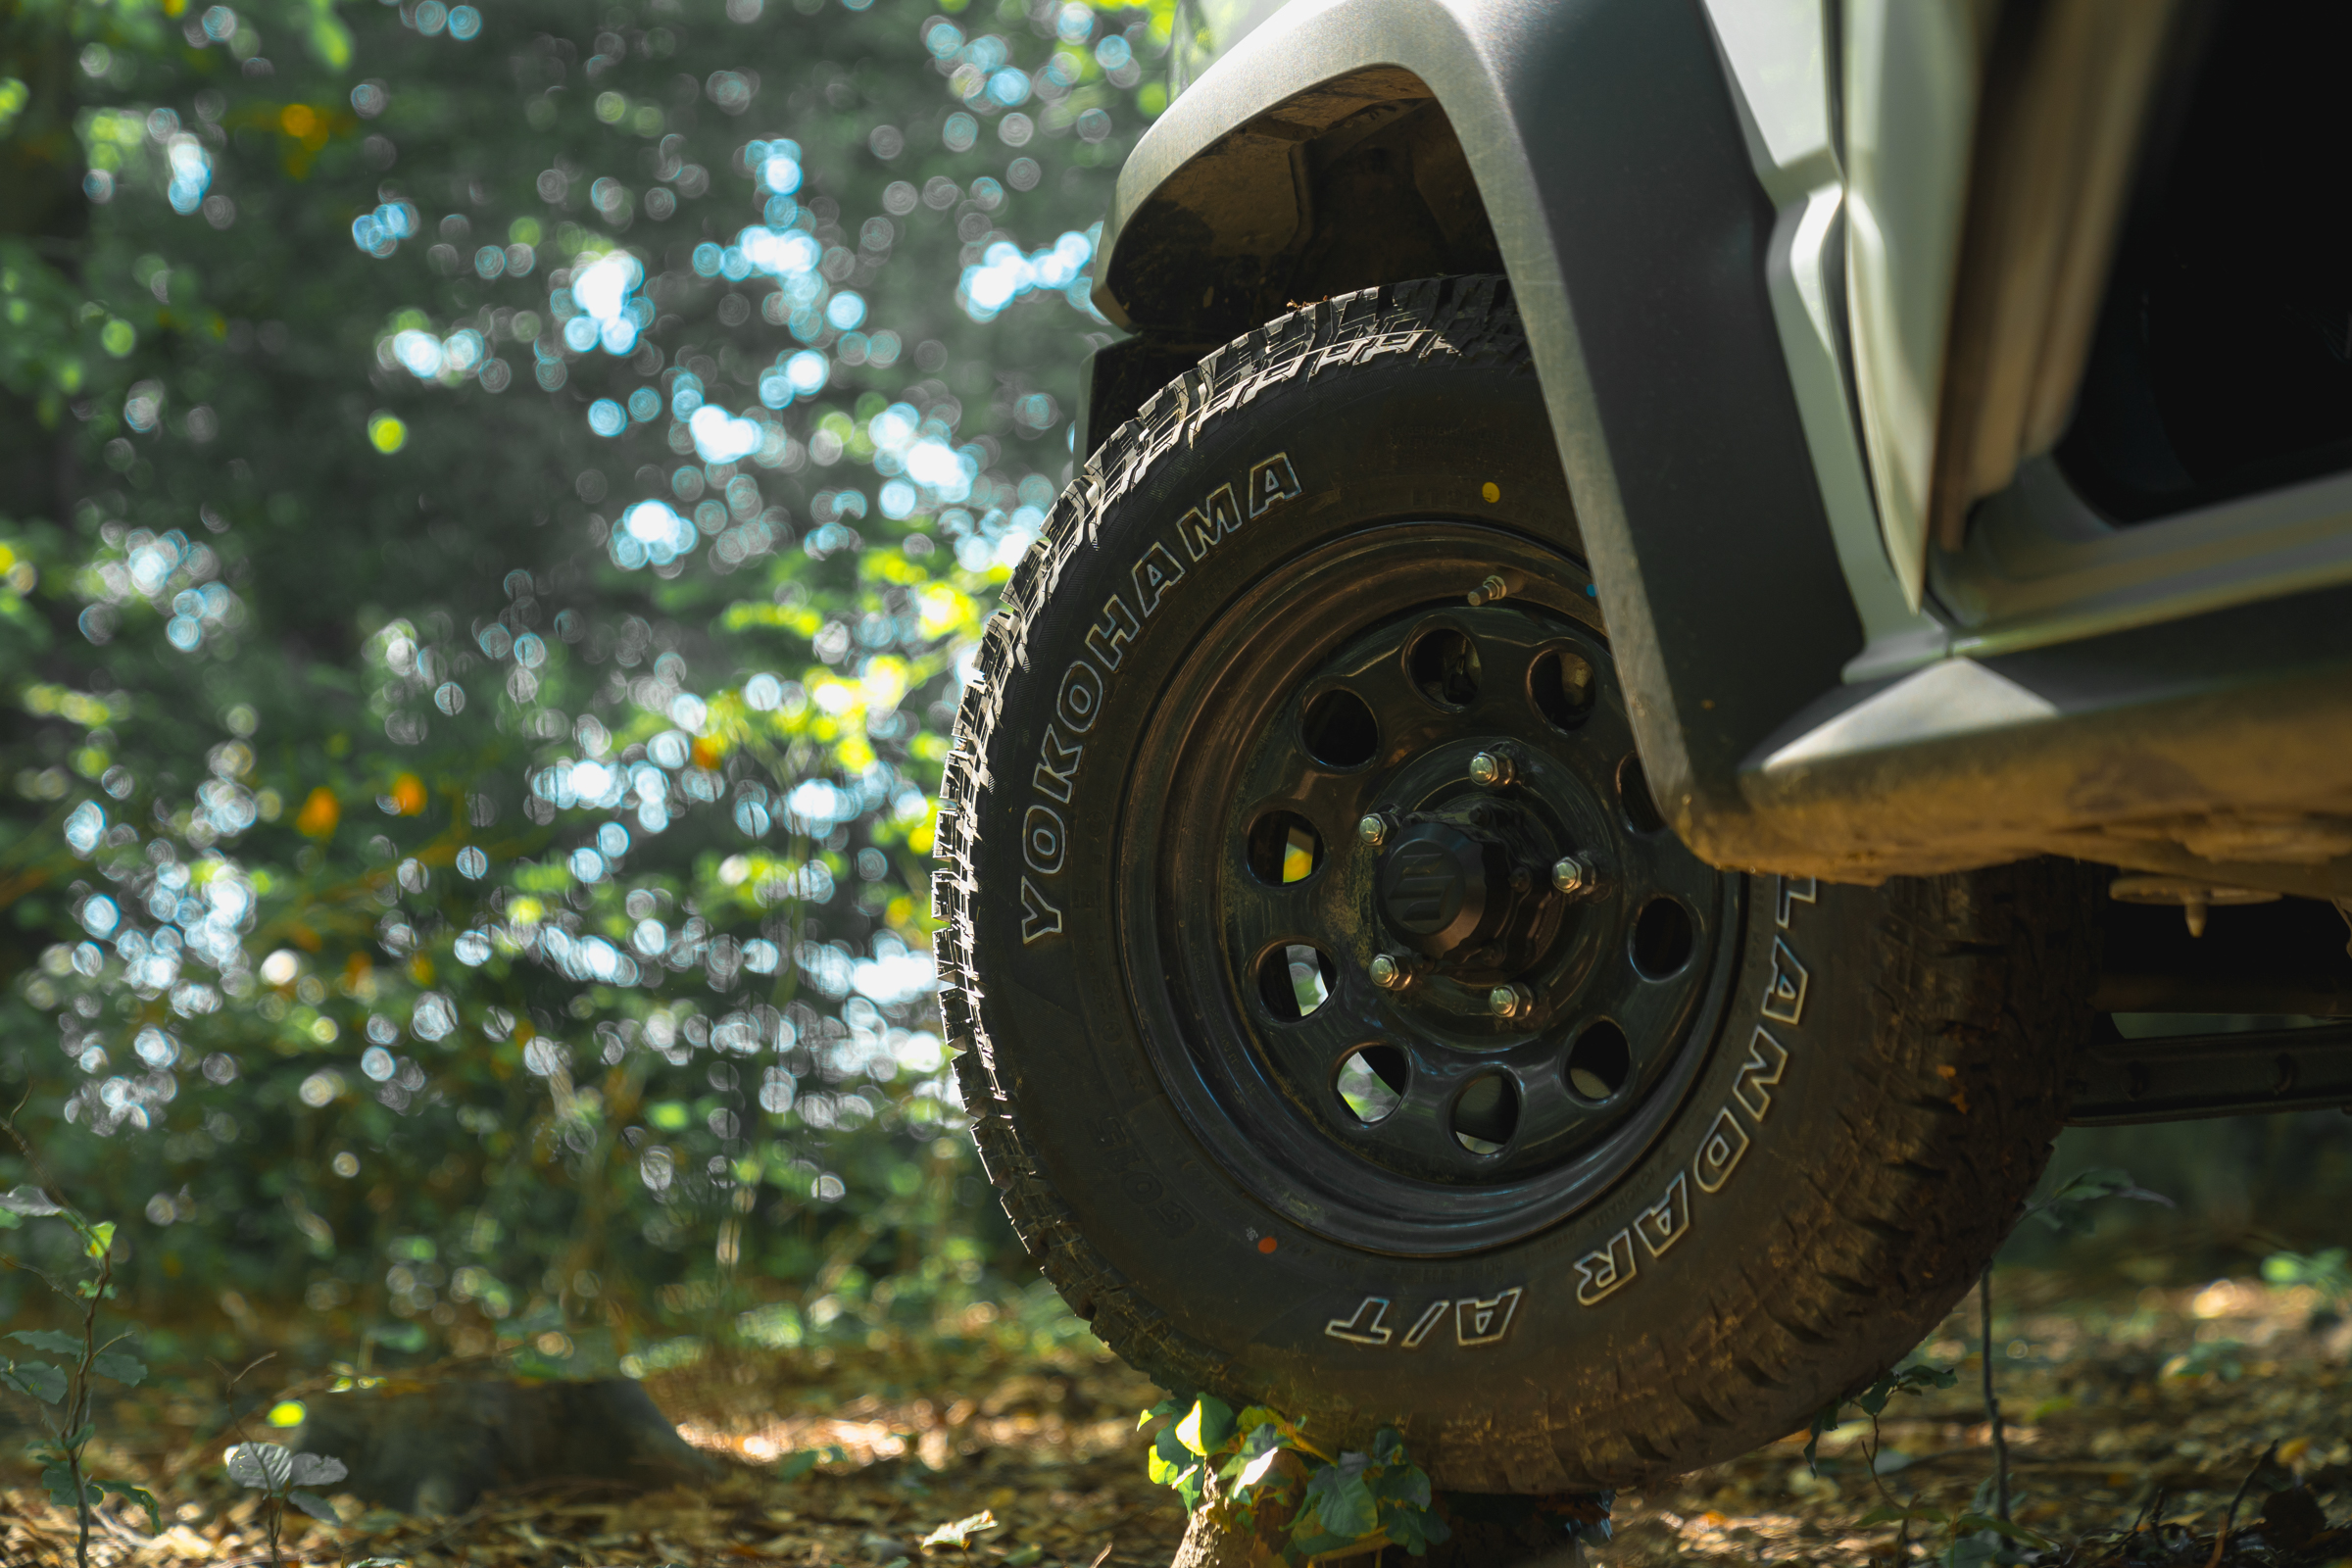
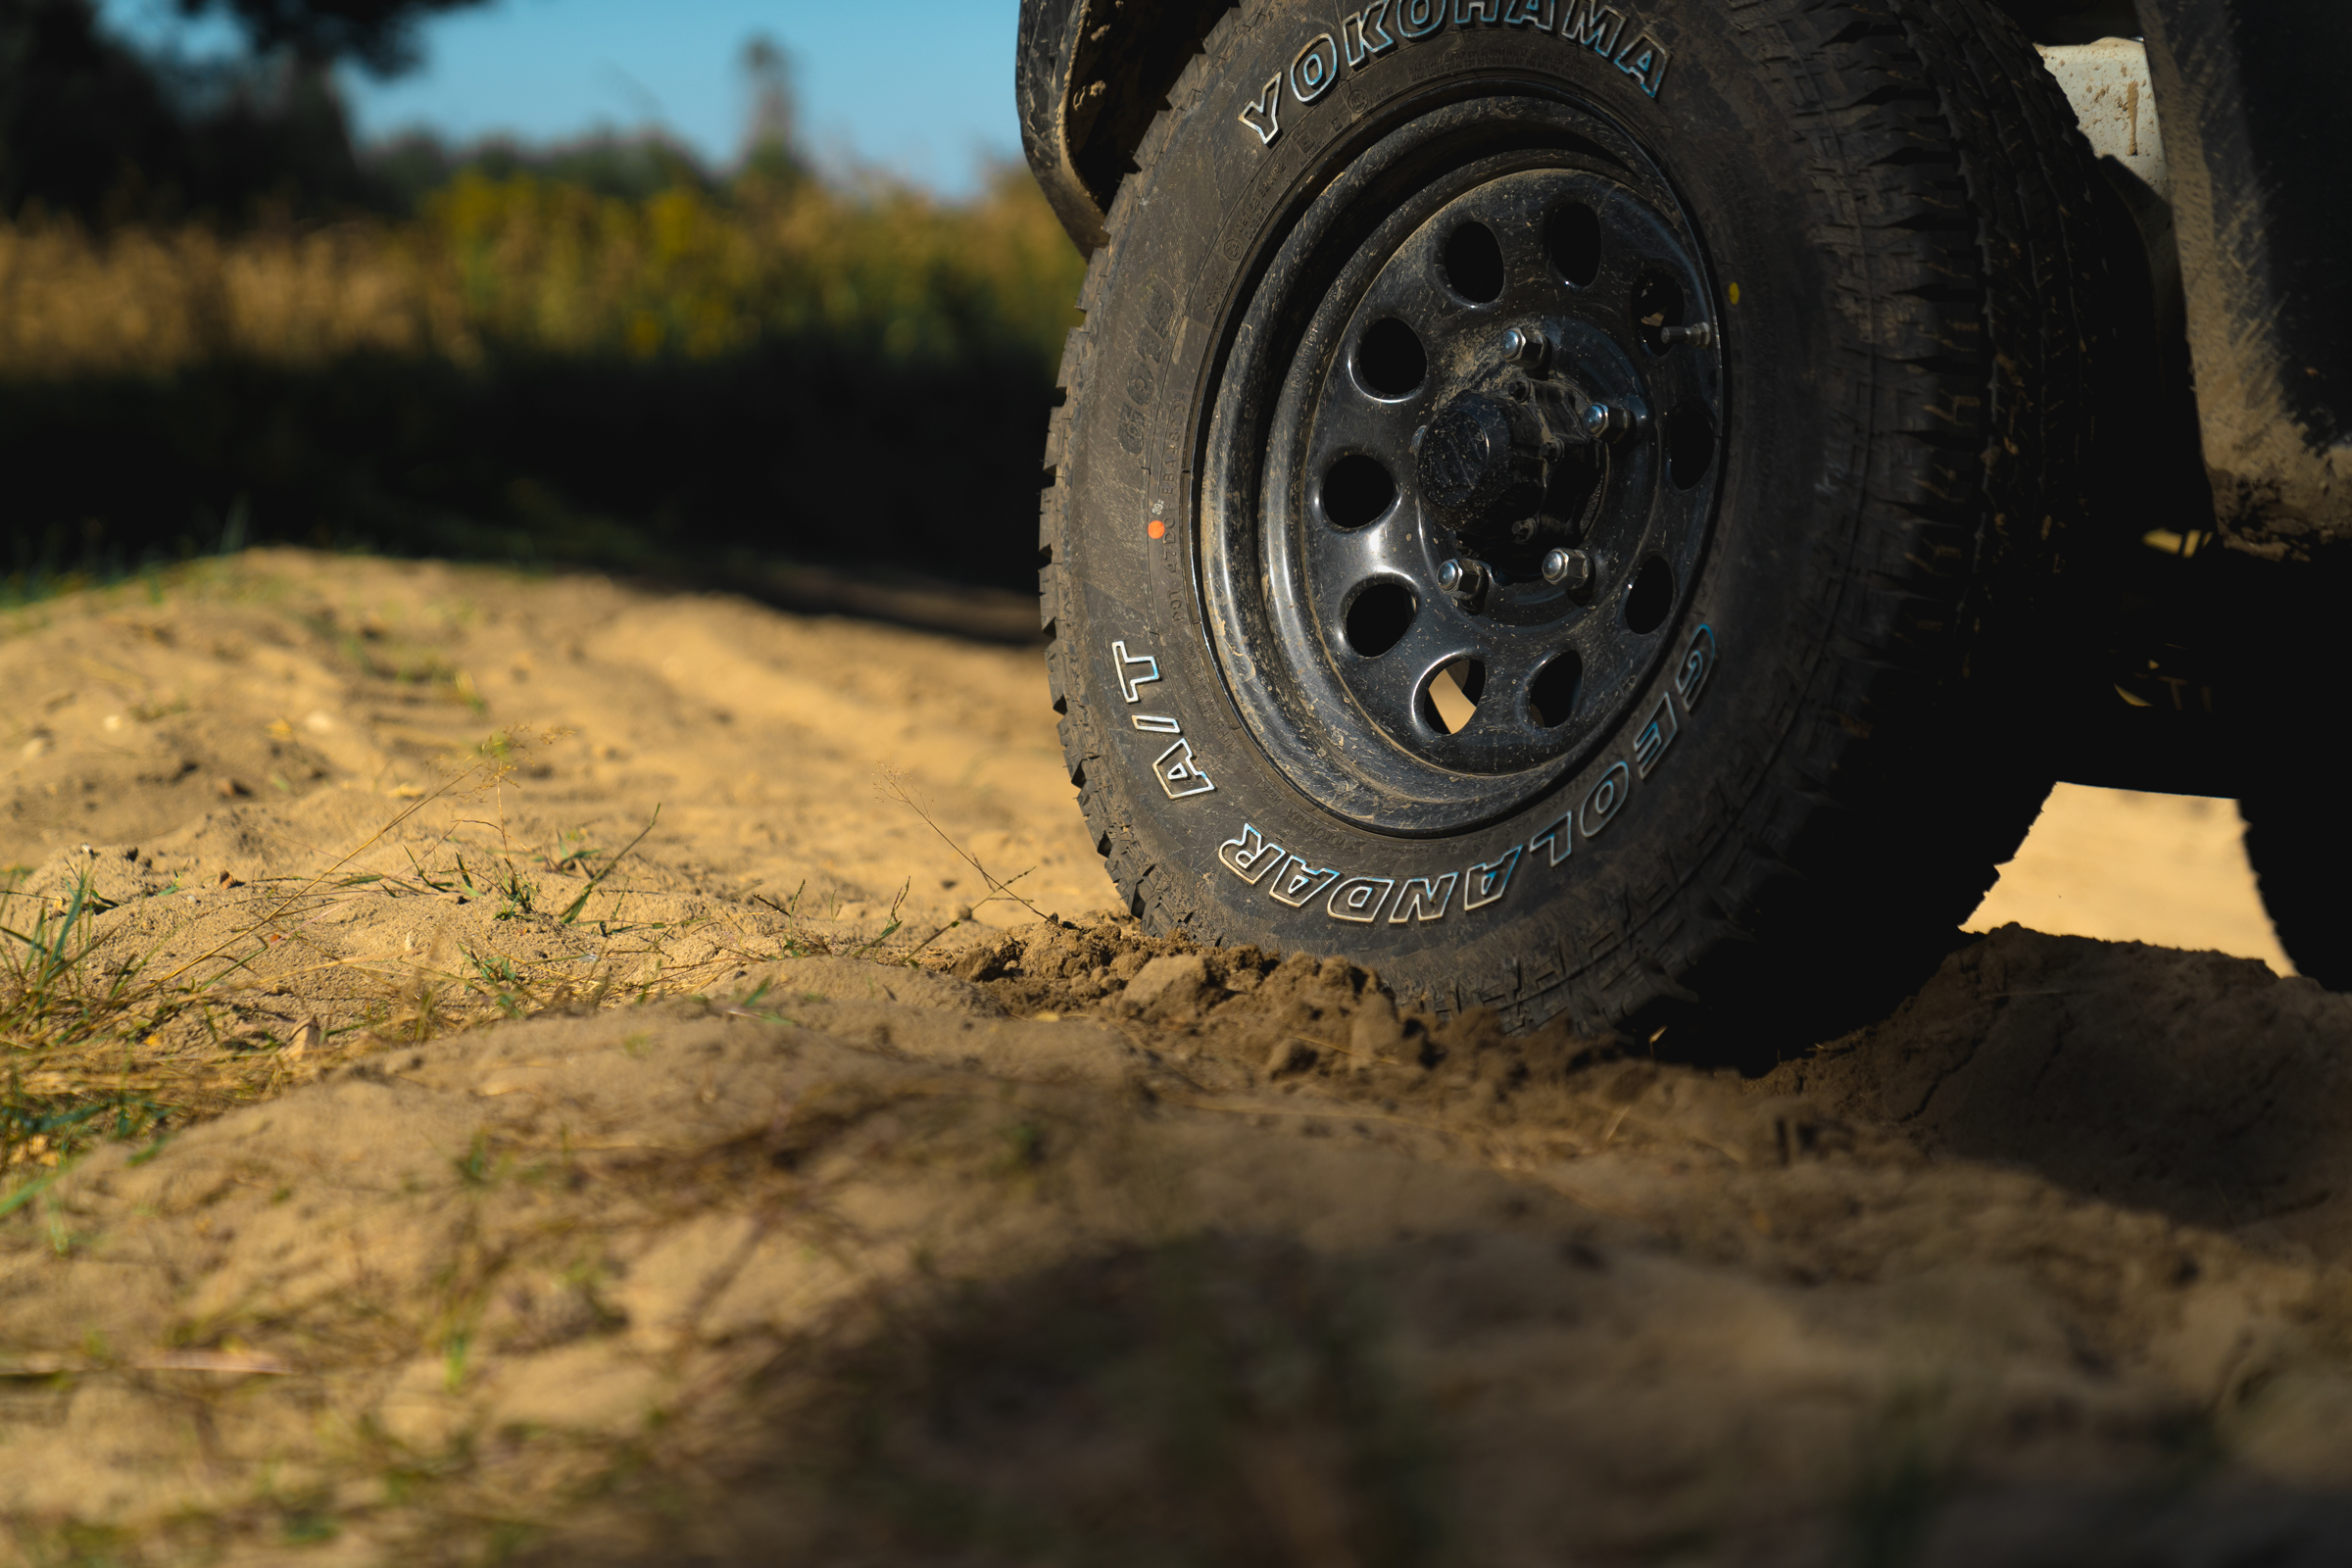
Yokohama Geolandar A/T G015 215/75 R15 100 S
The Yokohama Geolandar A/T G015 in size 215/75 R15 100 S are all-terrain (A/T) tires that perform well both on and off-road. This model is a popular choice among off-road enthusiasts thanks to its durability and versatility. The tires have a load index of 100 (up to 800 kg per tire) and a speed index of S (maximum speed up to 180 km/h).
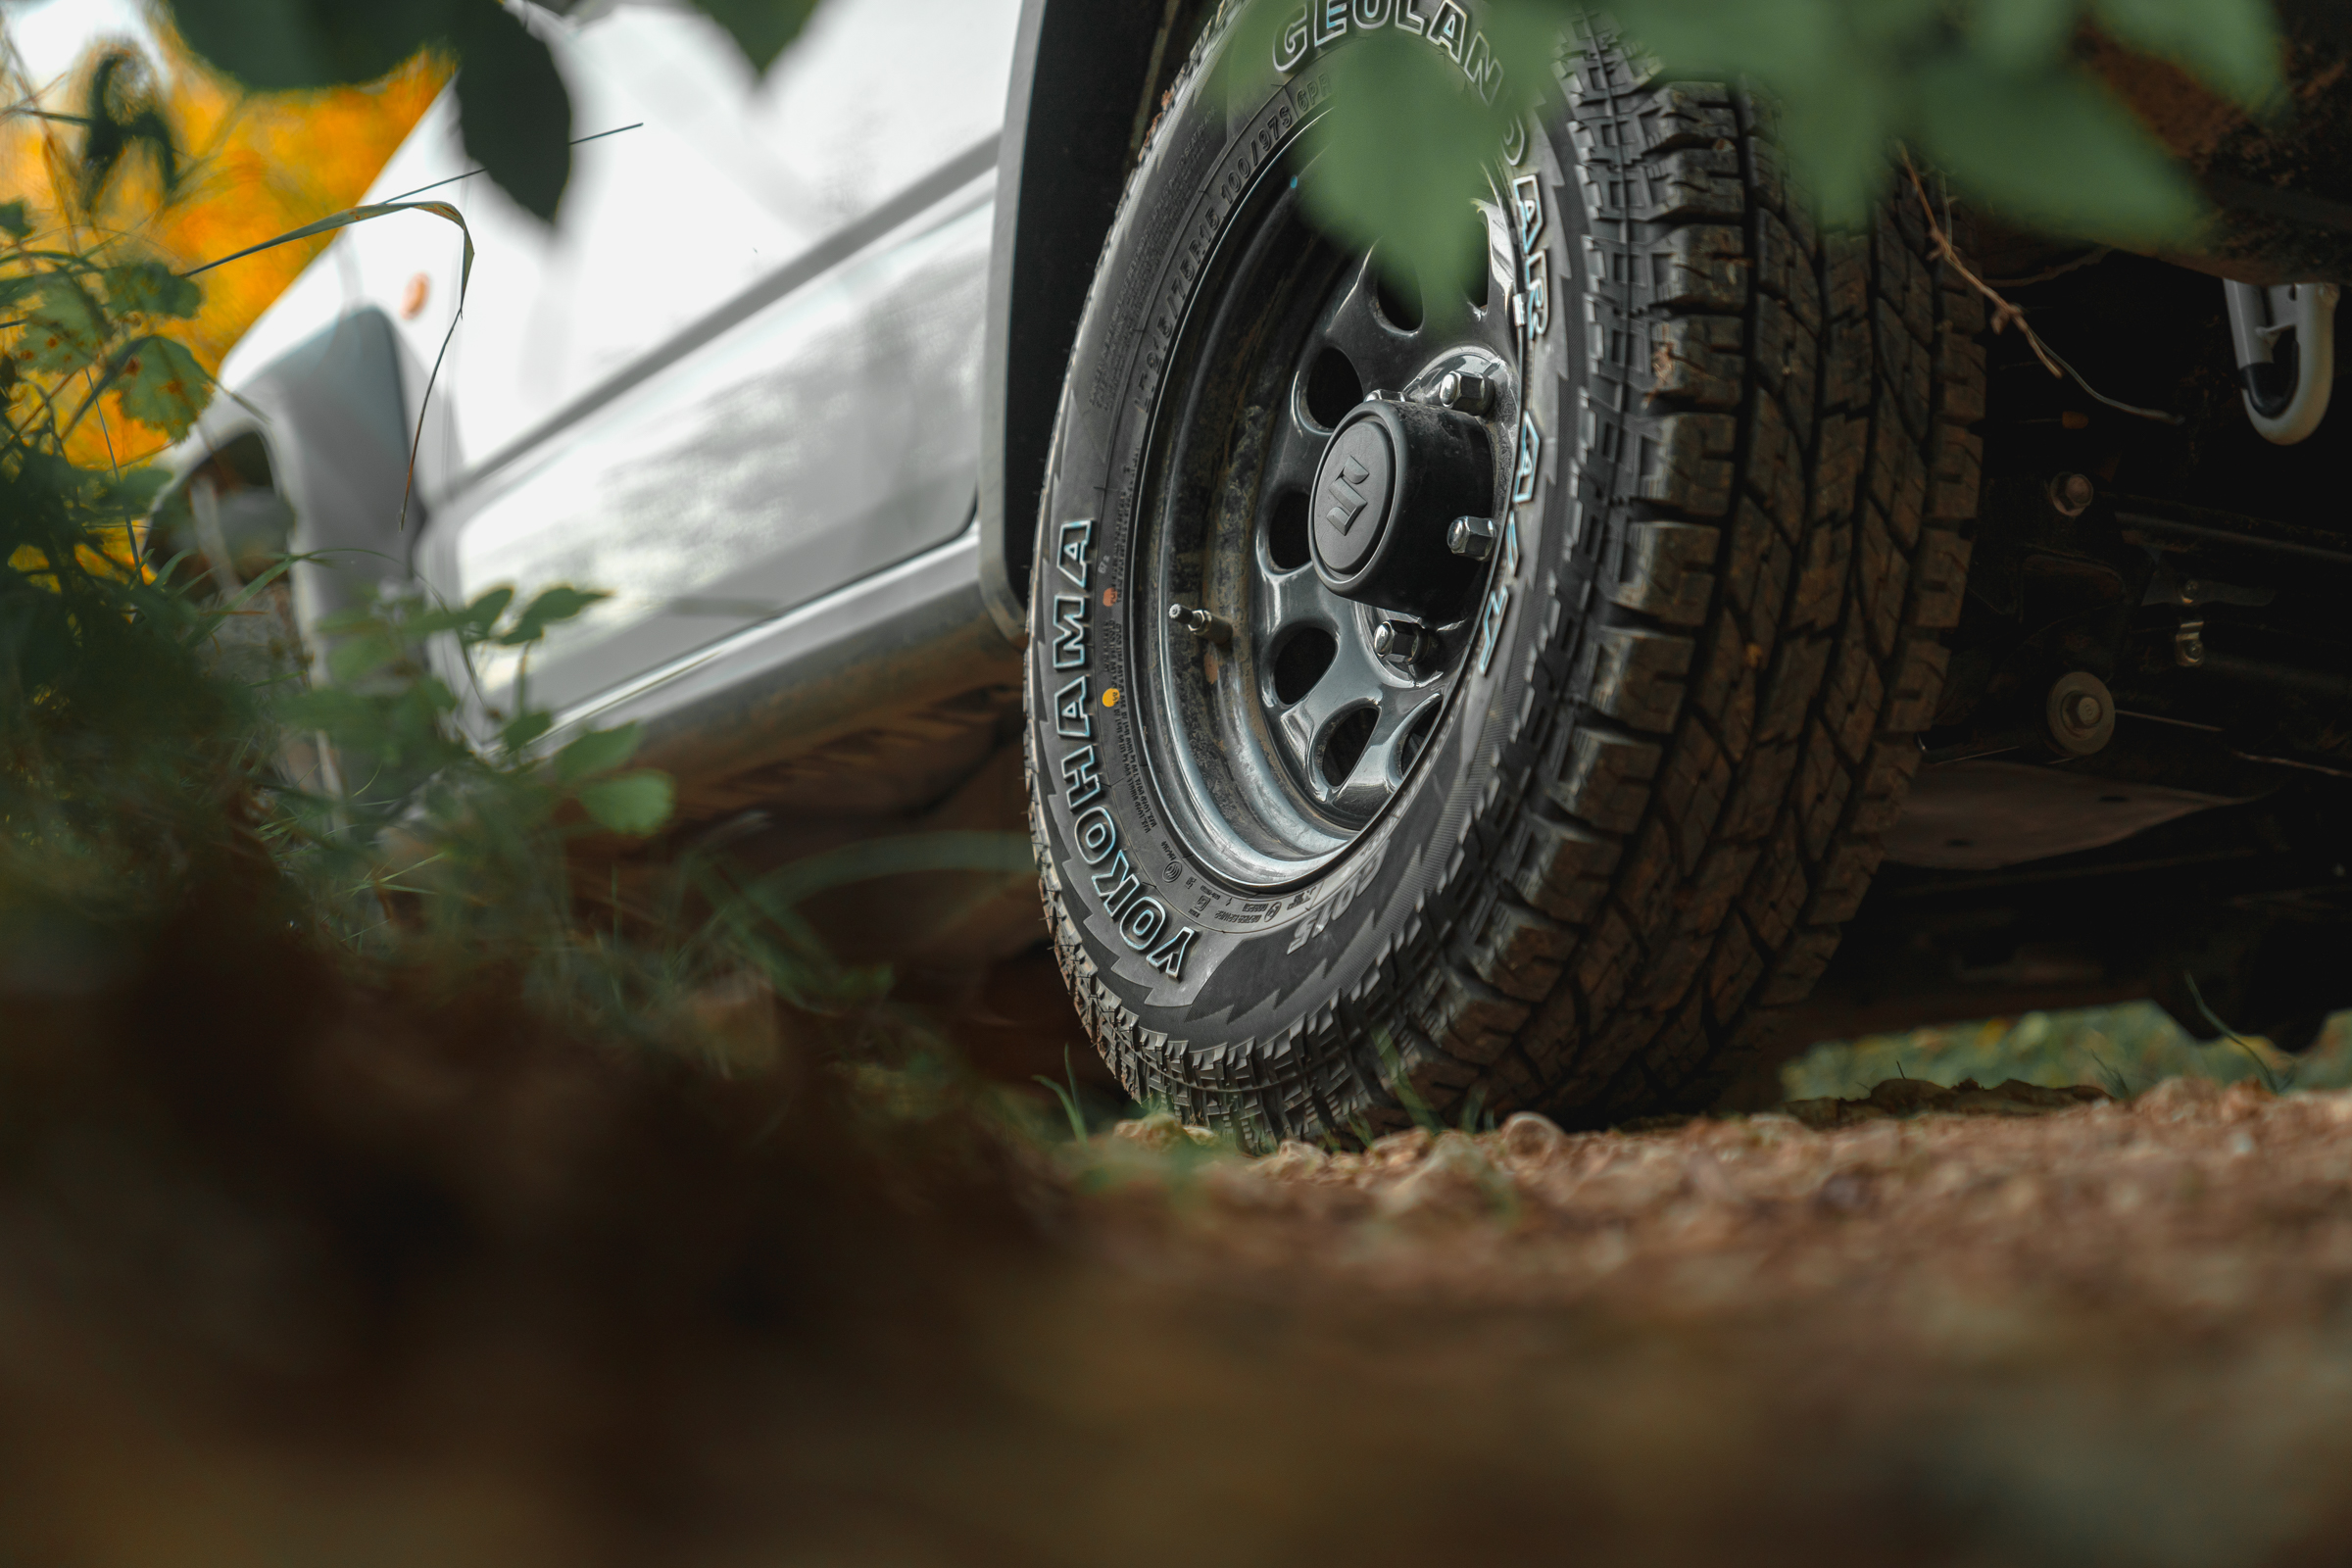
I decided to buy all-season tires because, in Poland’s unpredictable weather conditions, this is the best option in my opinion. Tires mounted, the subject is over until they wear out. Traction on snow and icy roads is very good. Geolandar AT tires have the 3PMSF (Three-Peak Mountain Snowflake) certification. This is the only indicator of a winter tire that confirms its properties on snow. They are verified in demanding tests.

ATs work best in the rain, which is quite important in the case of rear-wheel drive and such a short car as the Jimny.
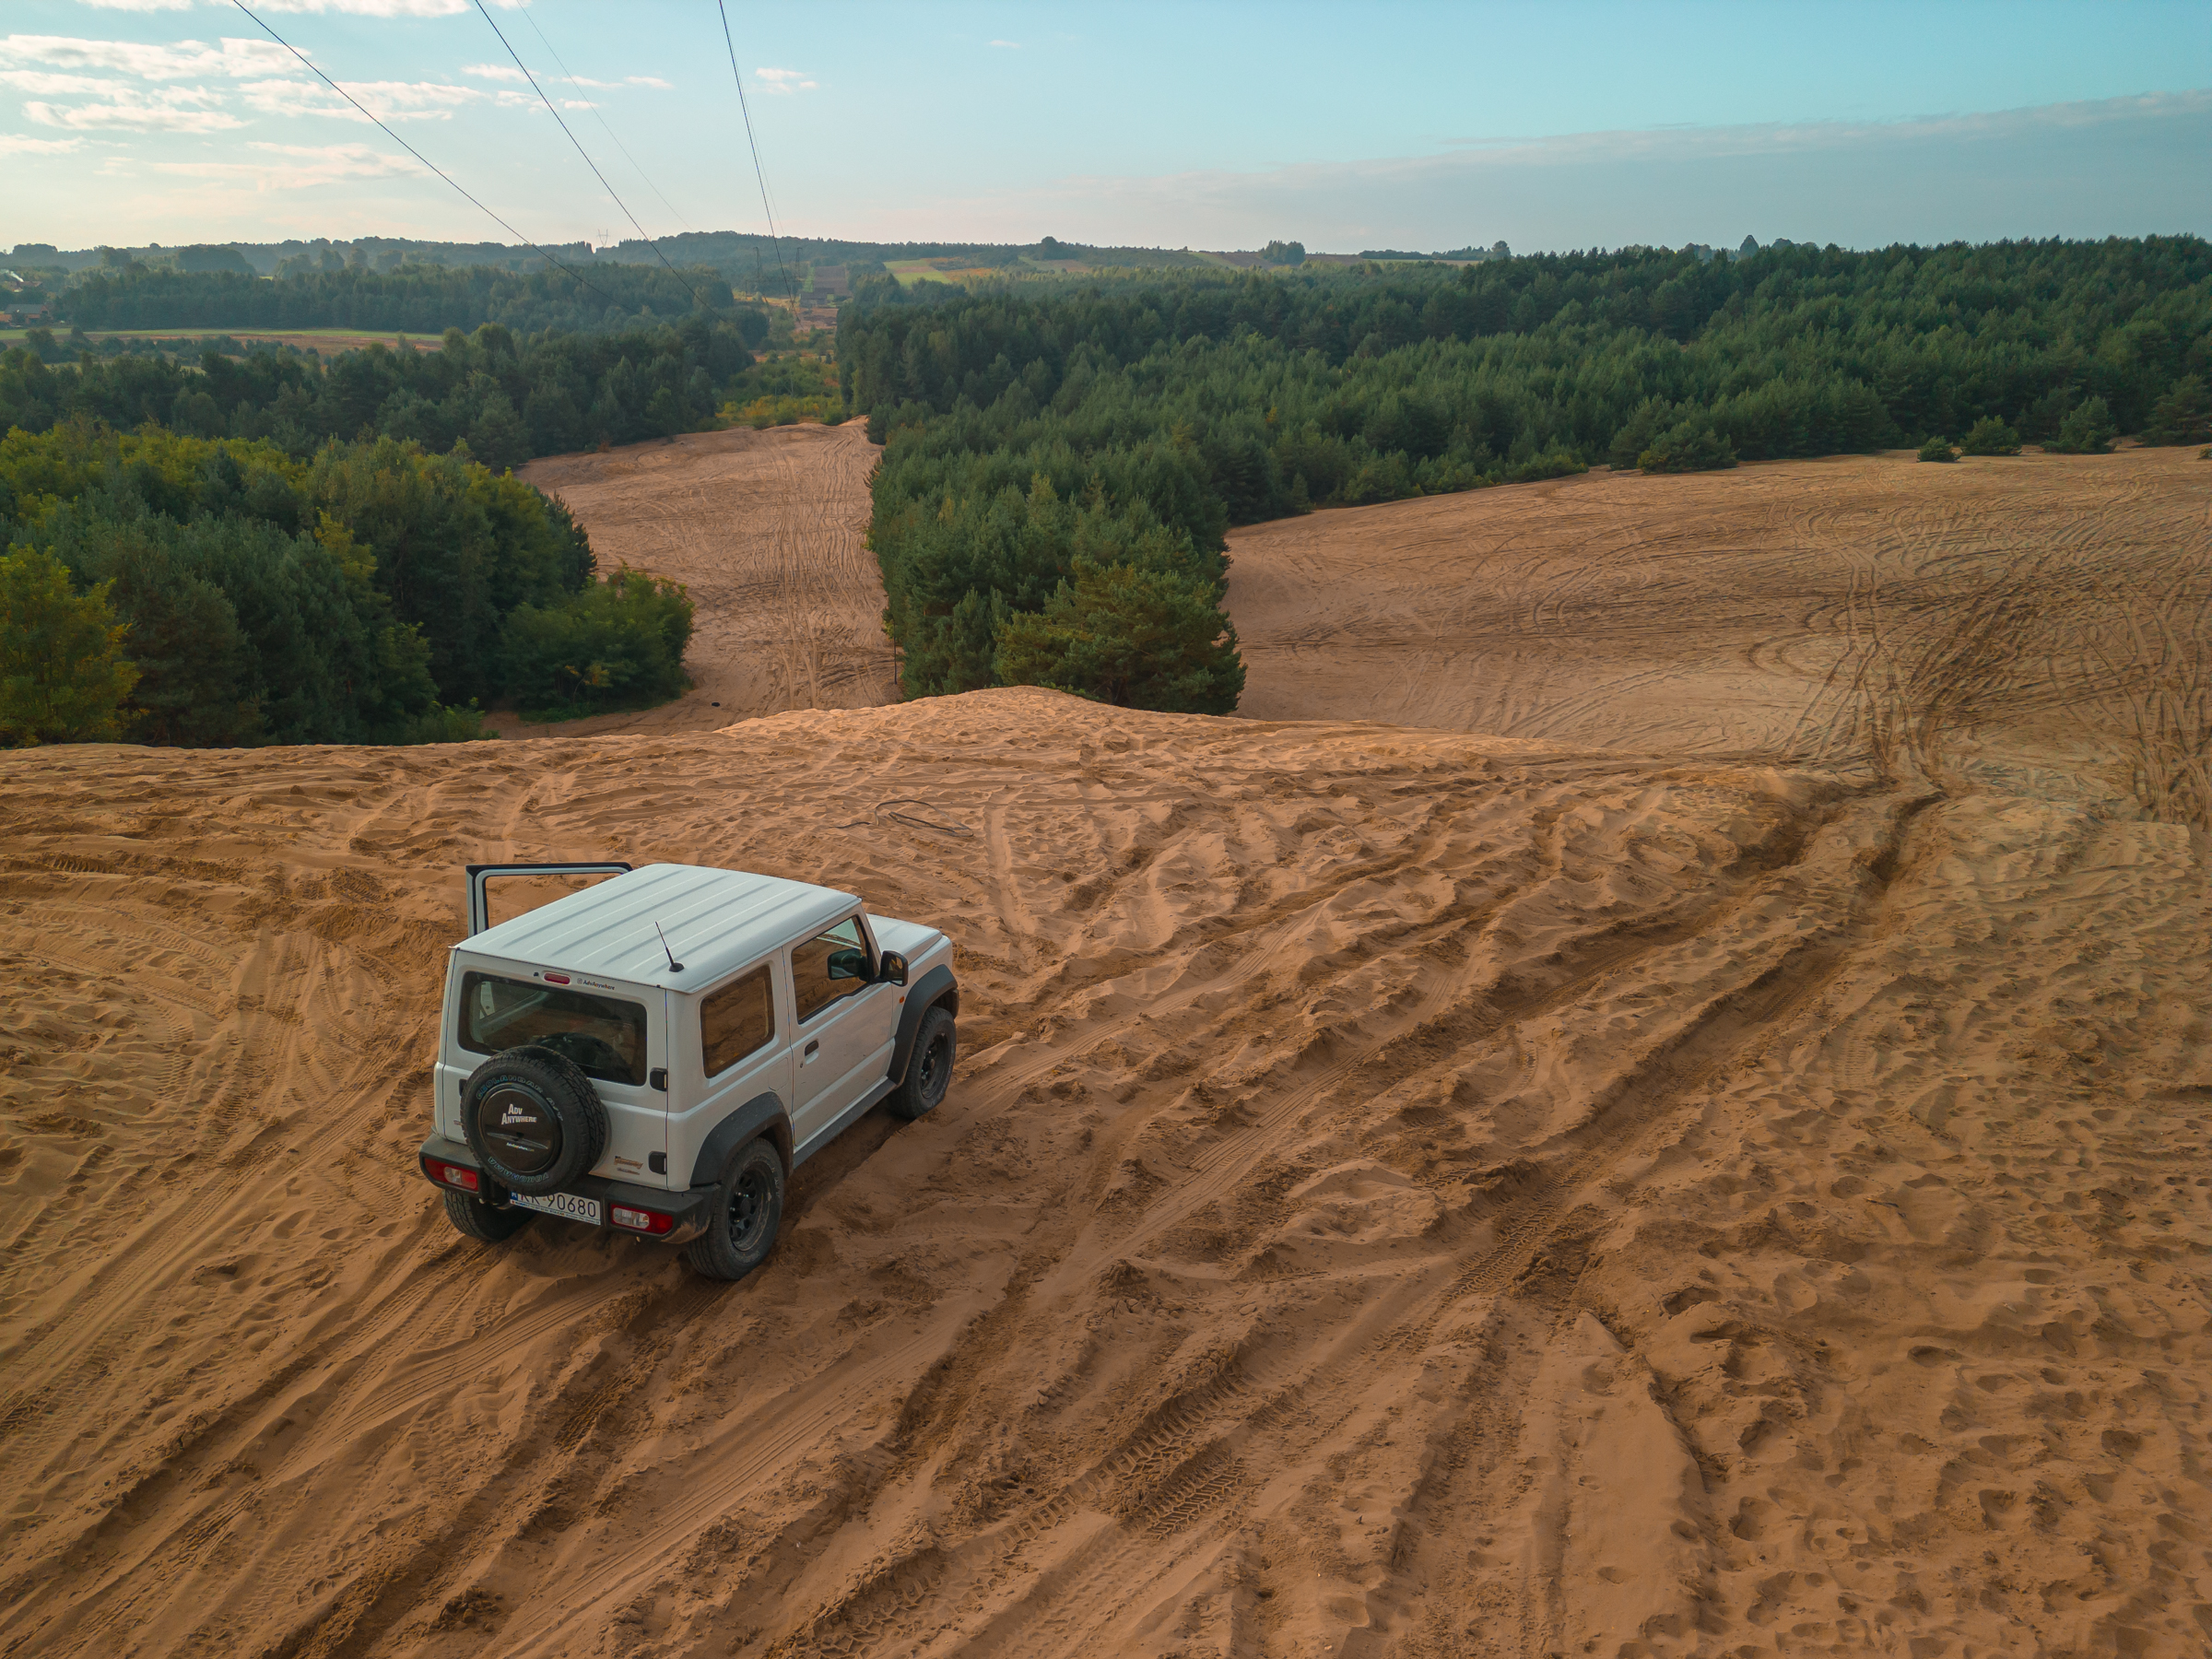
What’s worth adding, they glide through the desert like Dakar vehicles! Yokohama Enduro Compound technology provides better resistance to cuts and punctures, which is crucial when riding on rocky trails.
The only downside is riding in the mud. Here, unfortunately, the MT is unmatched.
Other
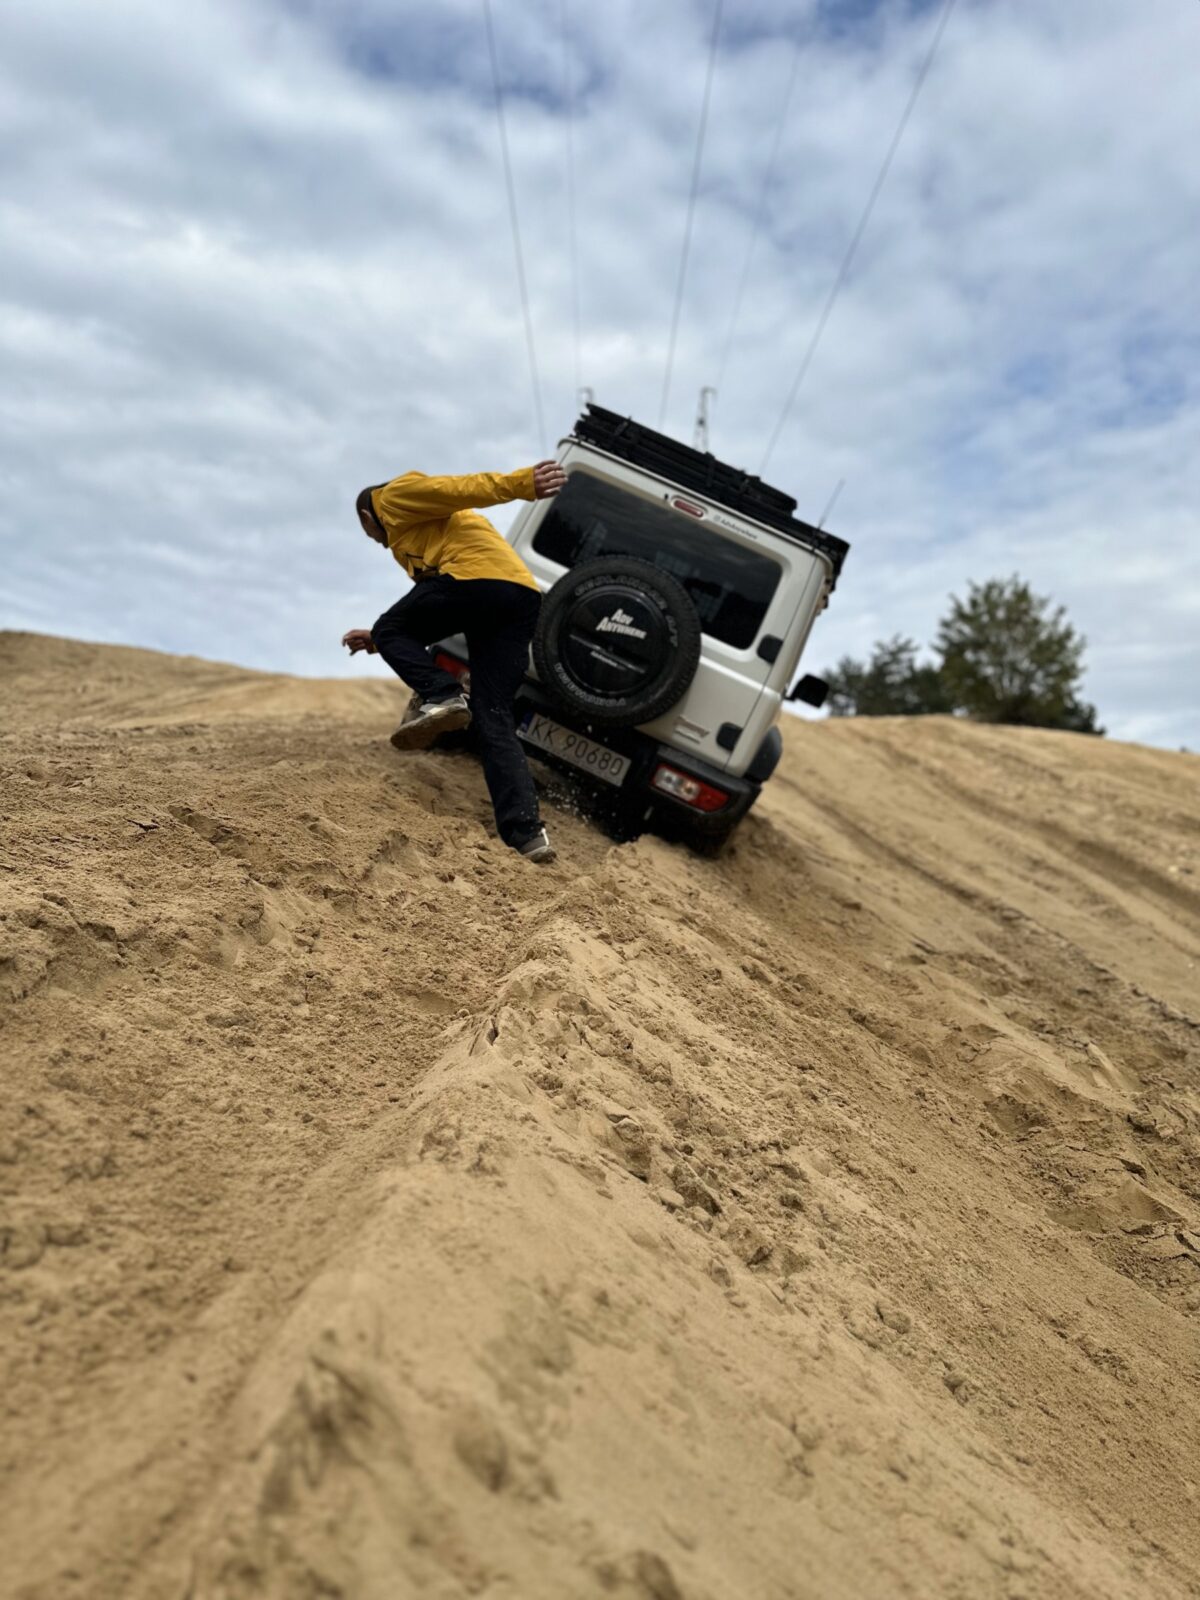
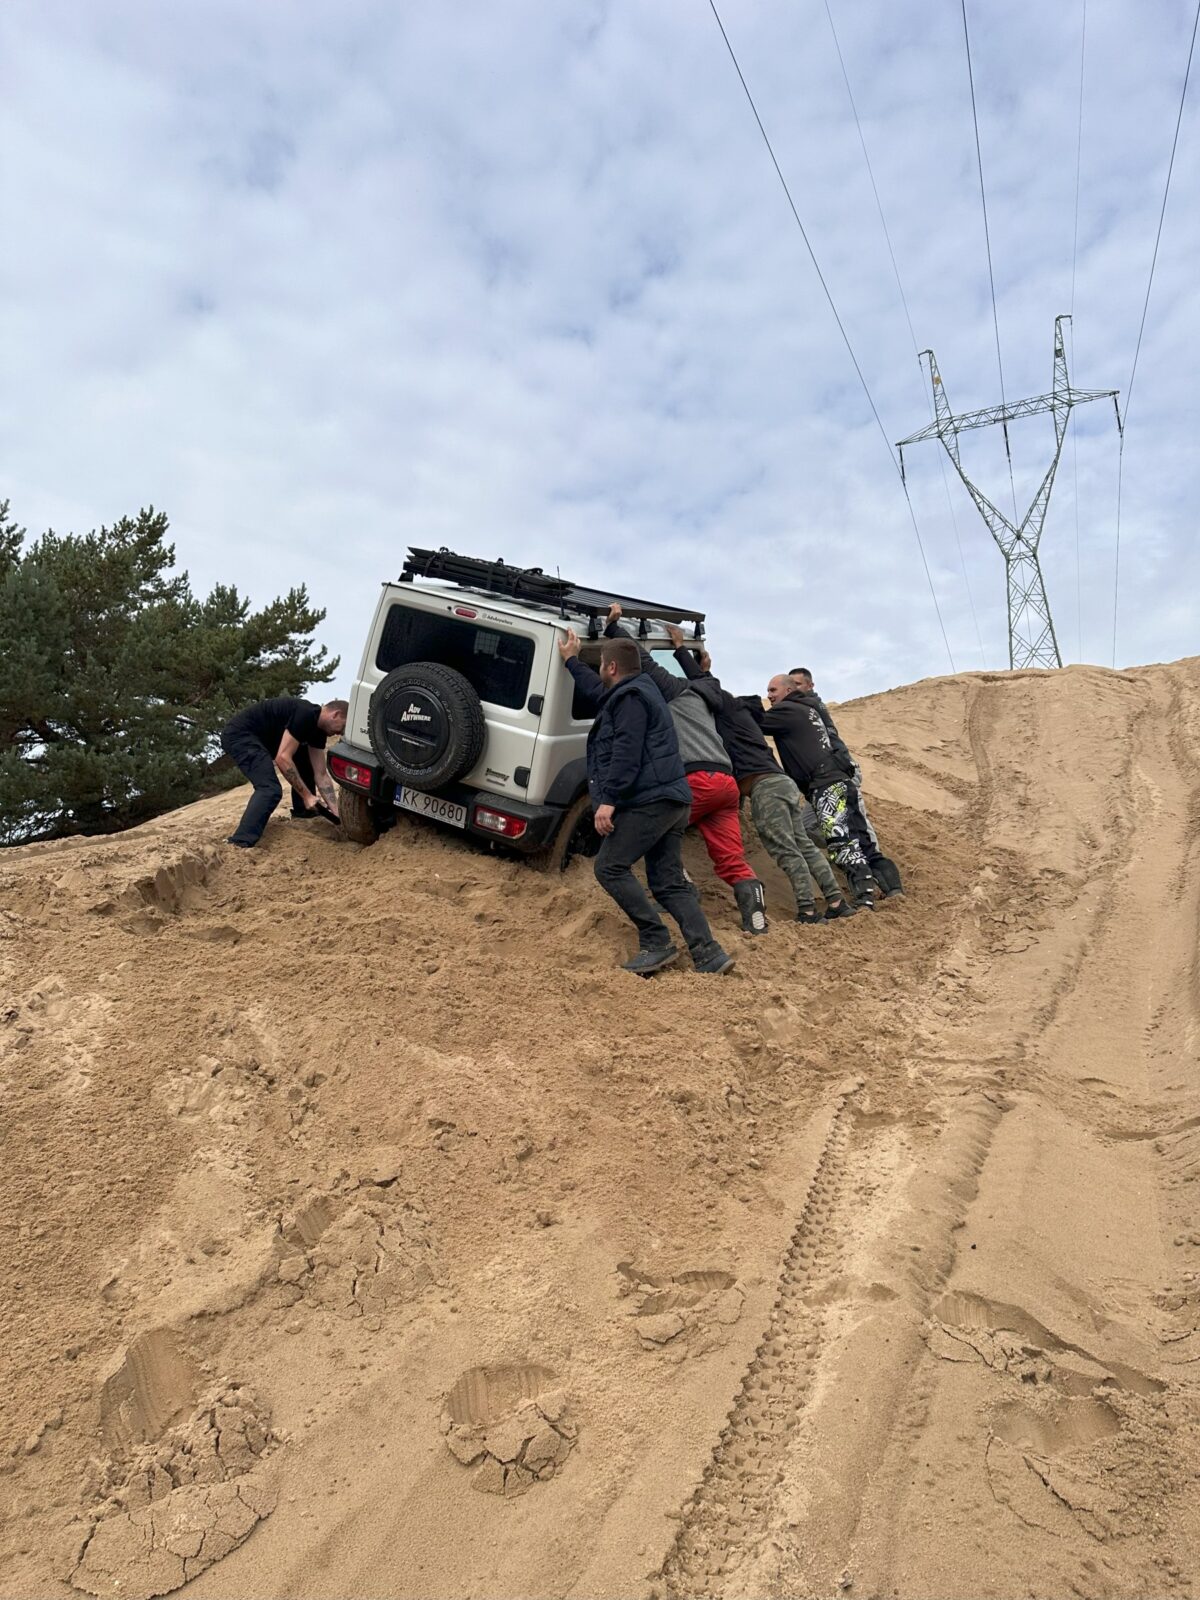
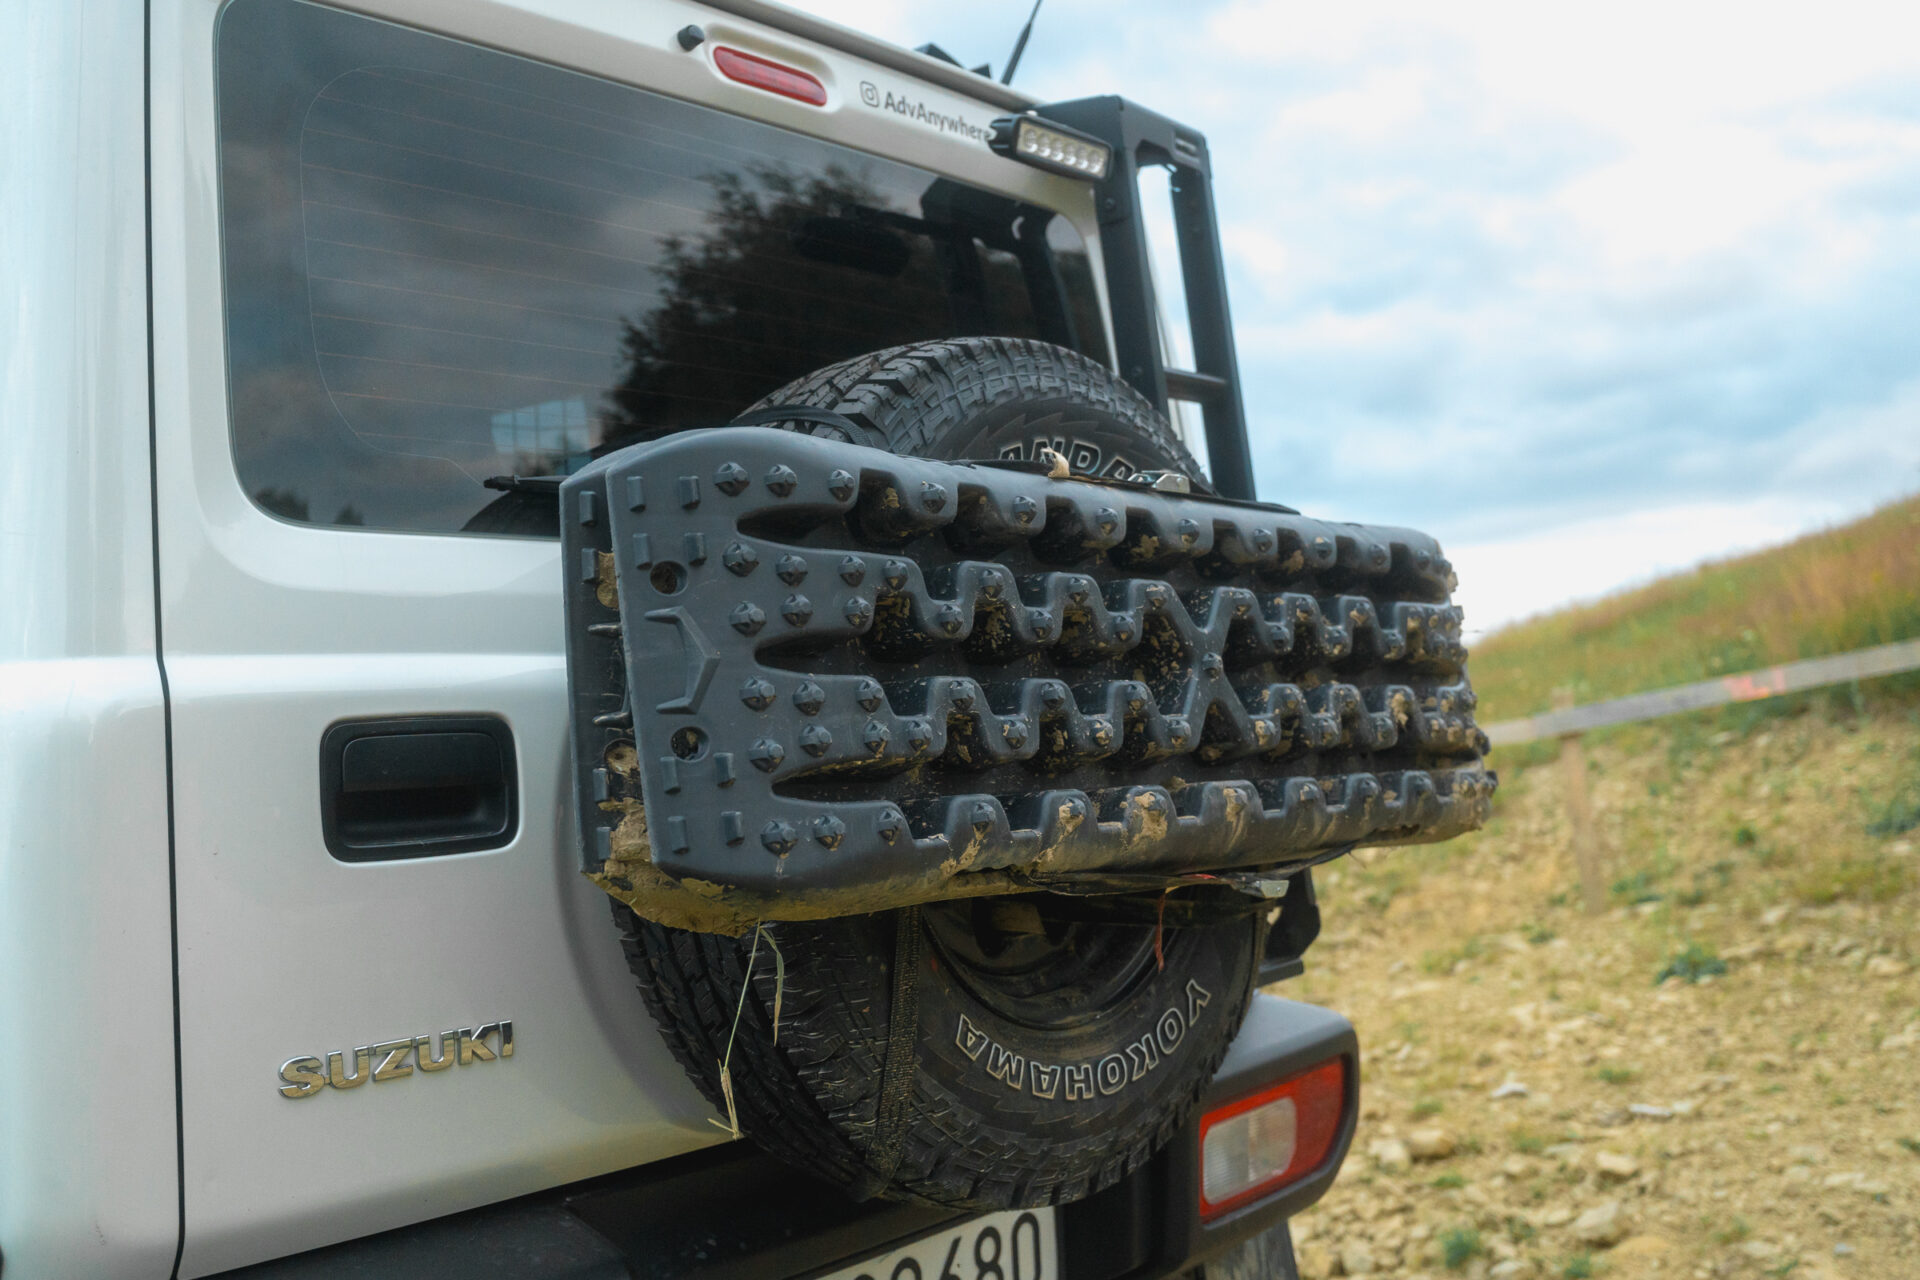
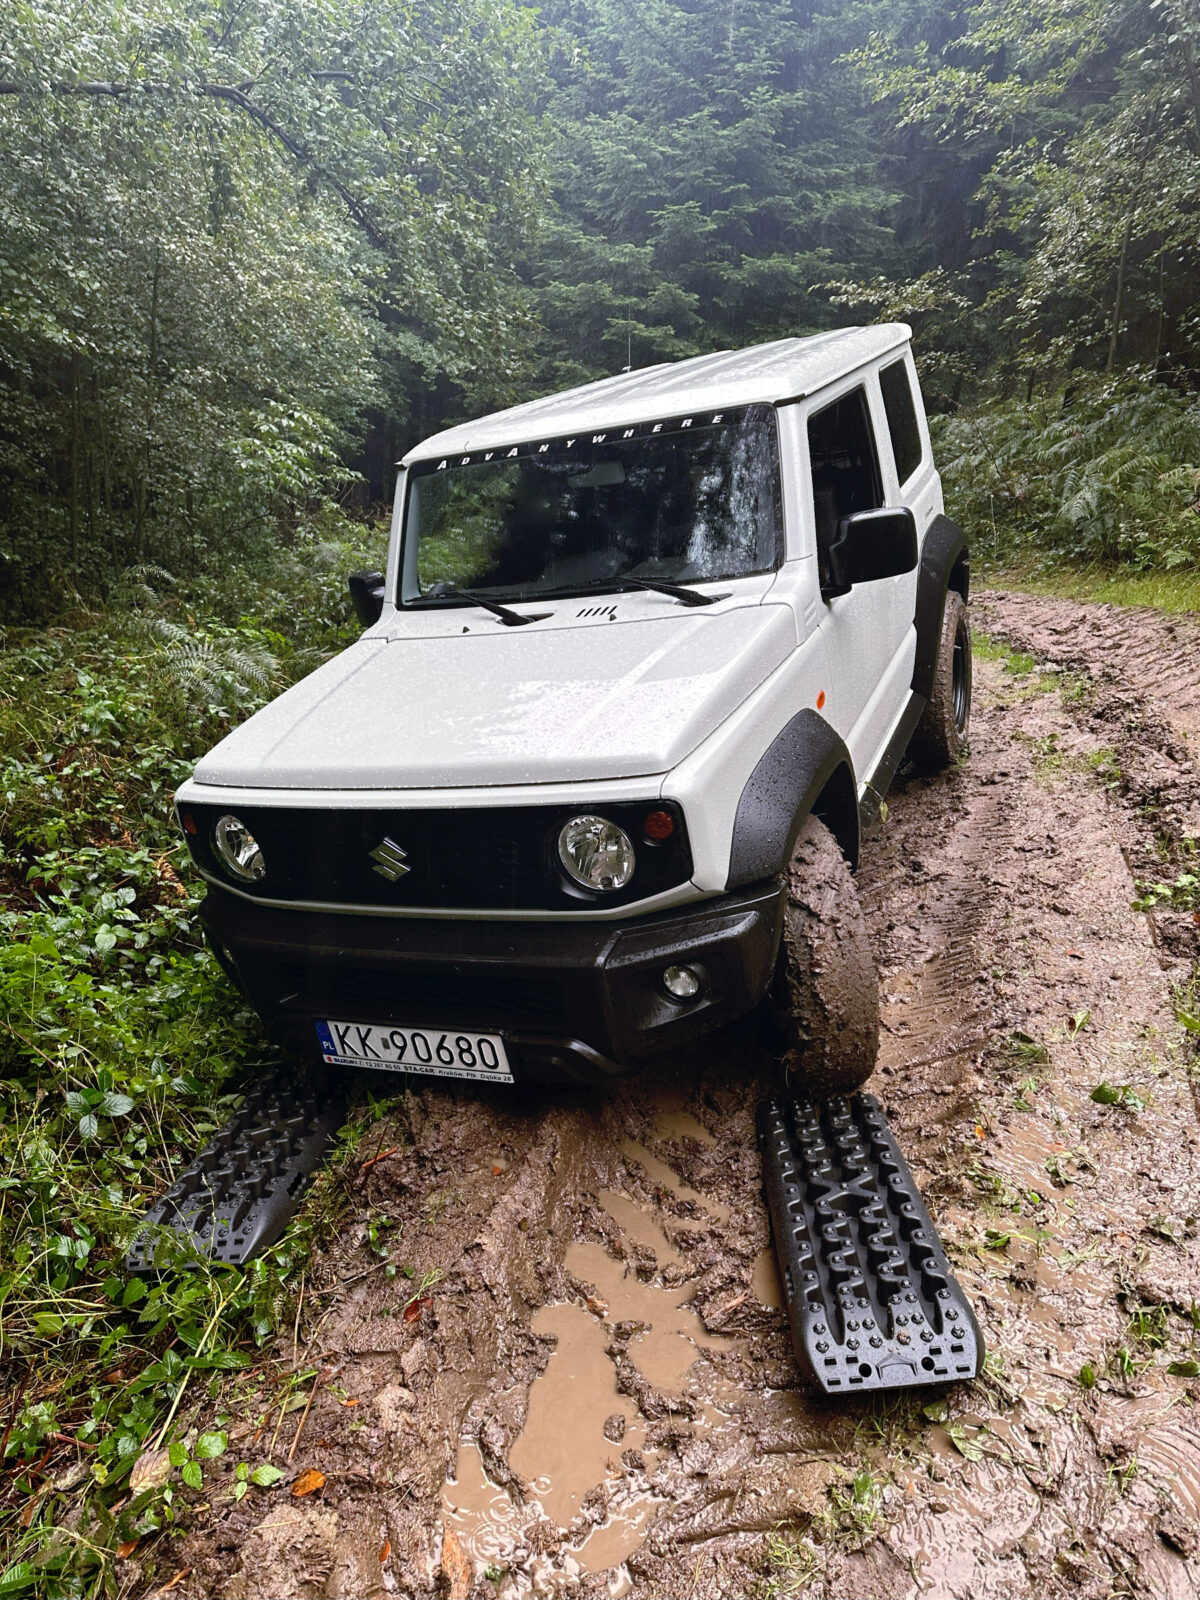
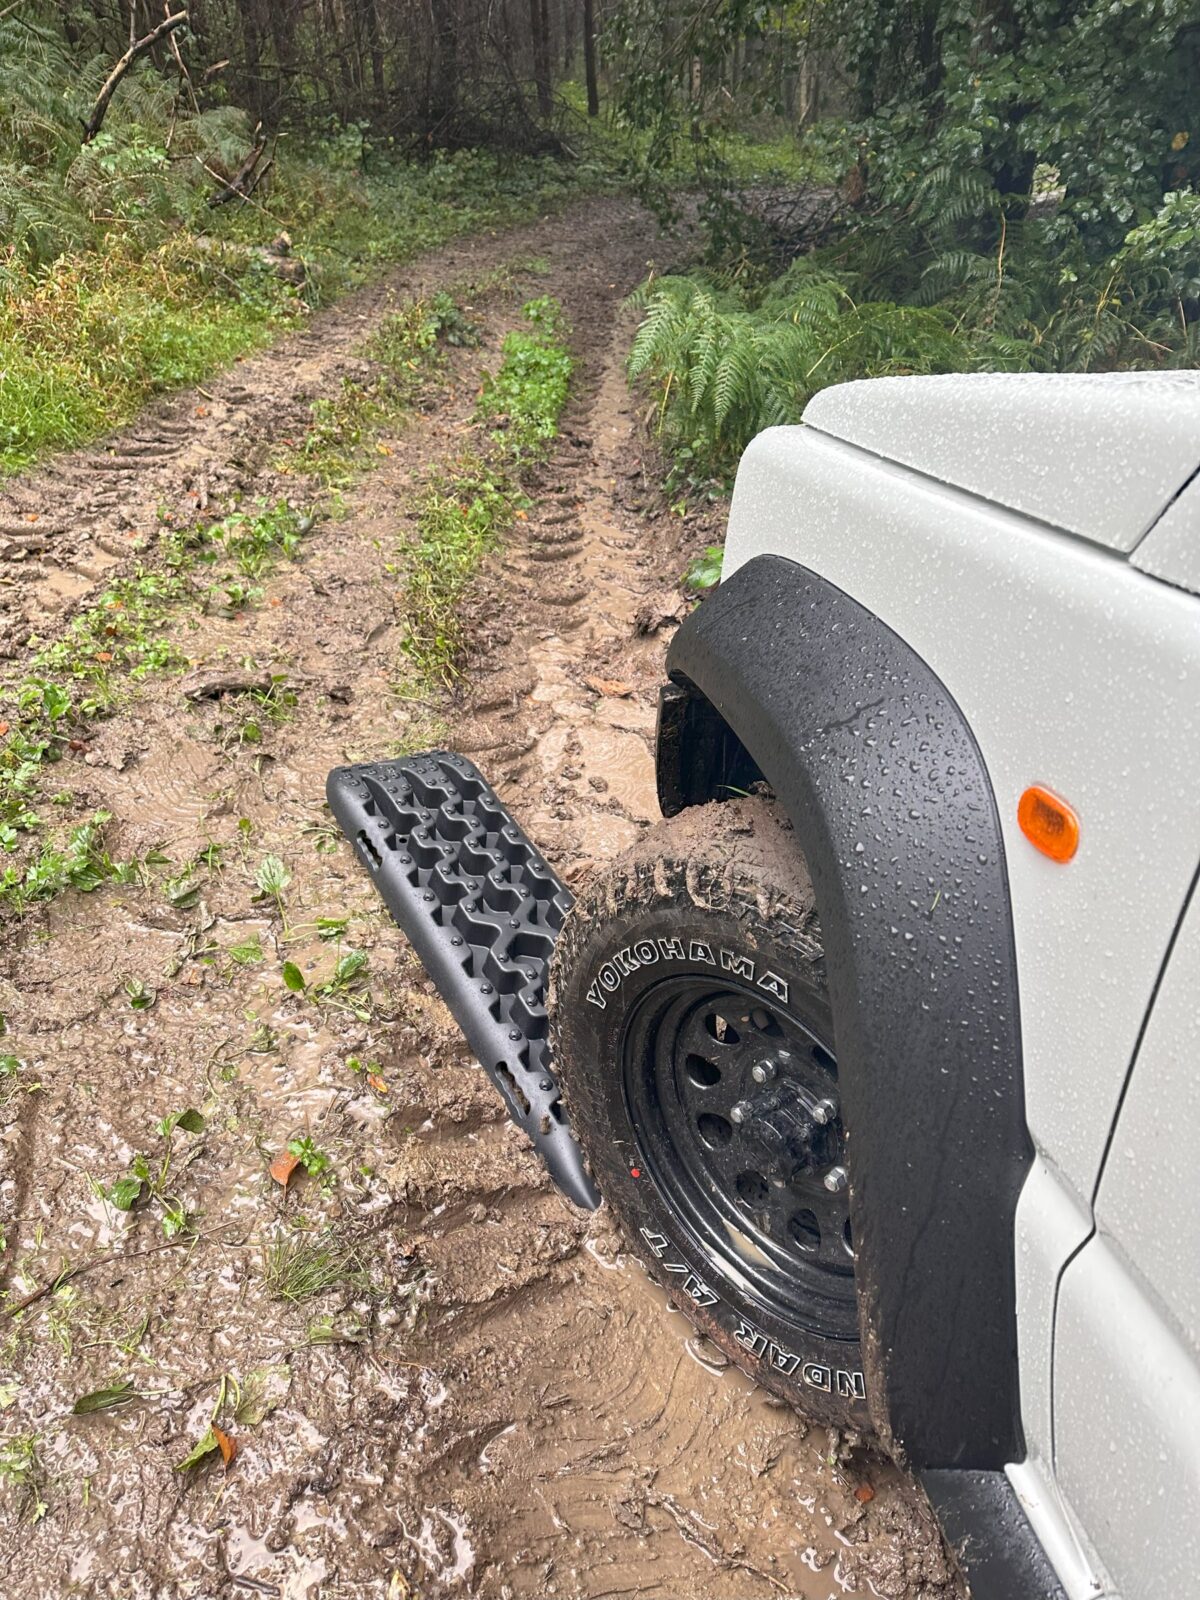
Recovery ramps
The traps are light, don’t take up much space, and if you get stuck in mud or sand, you just throw them under the wheels and keep riding! At least in theory. Although they have saved my skin on the trail more than once. In combination with a winch, such traps can do a lot.
AUER boxes
During a visit to Bison Gear headquarters, Paweł recommended inexpensive, good-quality plastic crates from AUER.
The ones that worked best for me were the crates with open handles and latches. I also attached Velcro tape to them. This way, even when riding off-road, the crates stick to the base of the trunk. Connected one on top of the other, they also hold solidly. You can ride off-road without worrying about the contents spilling all over the trunk.

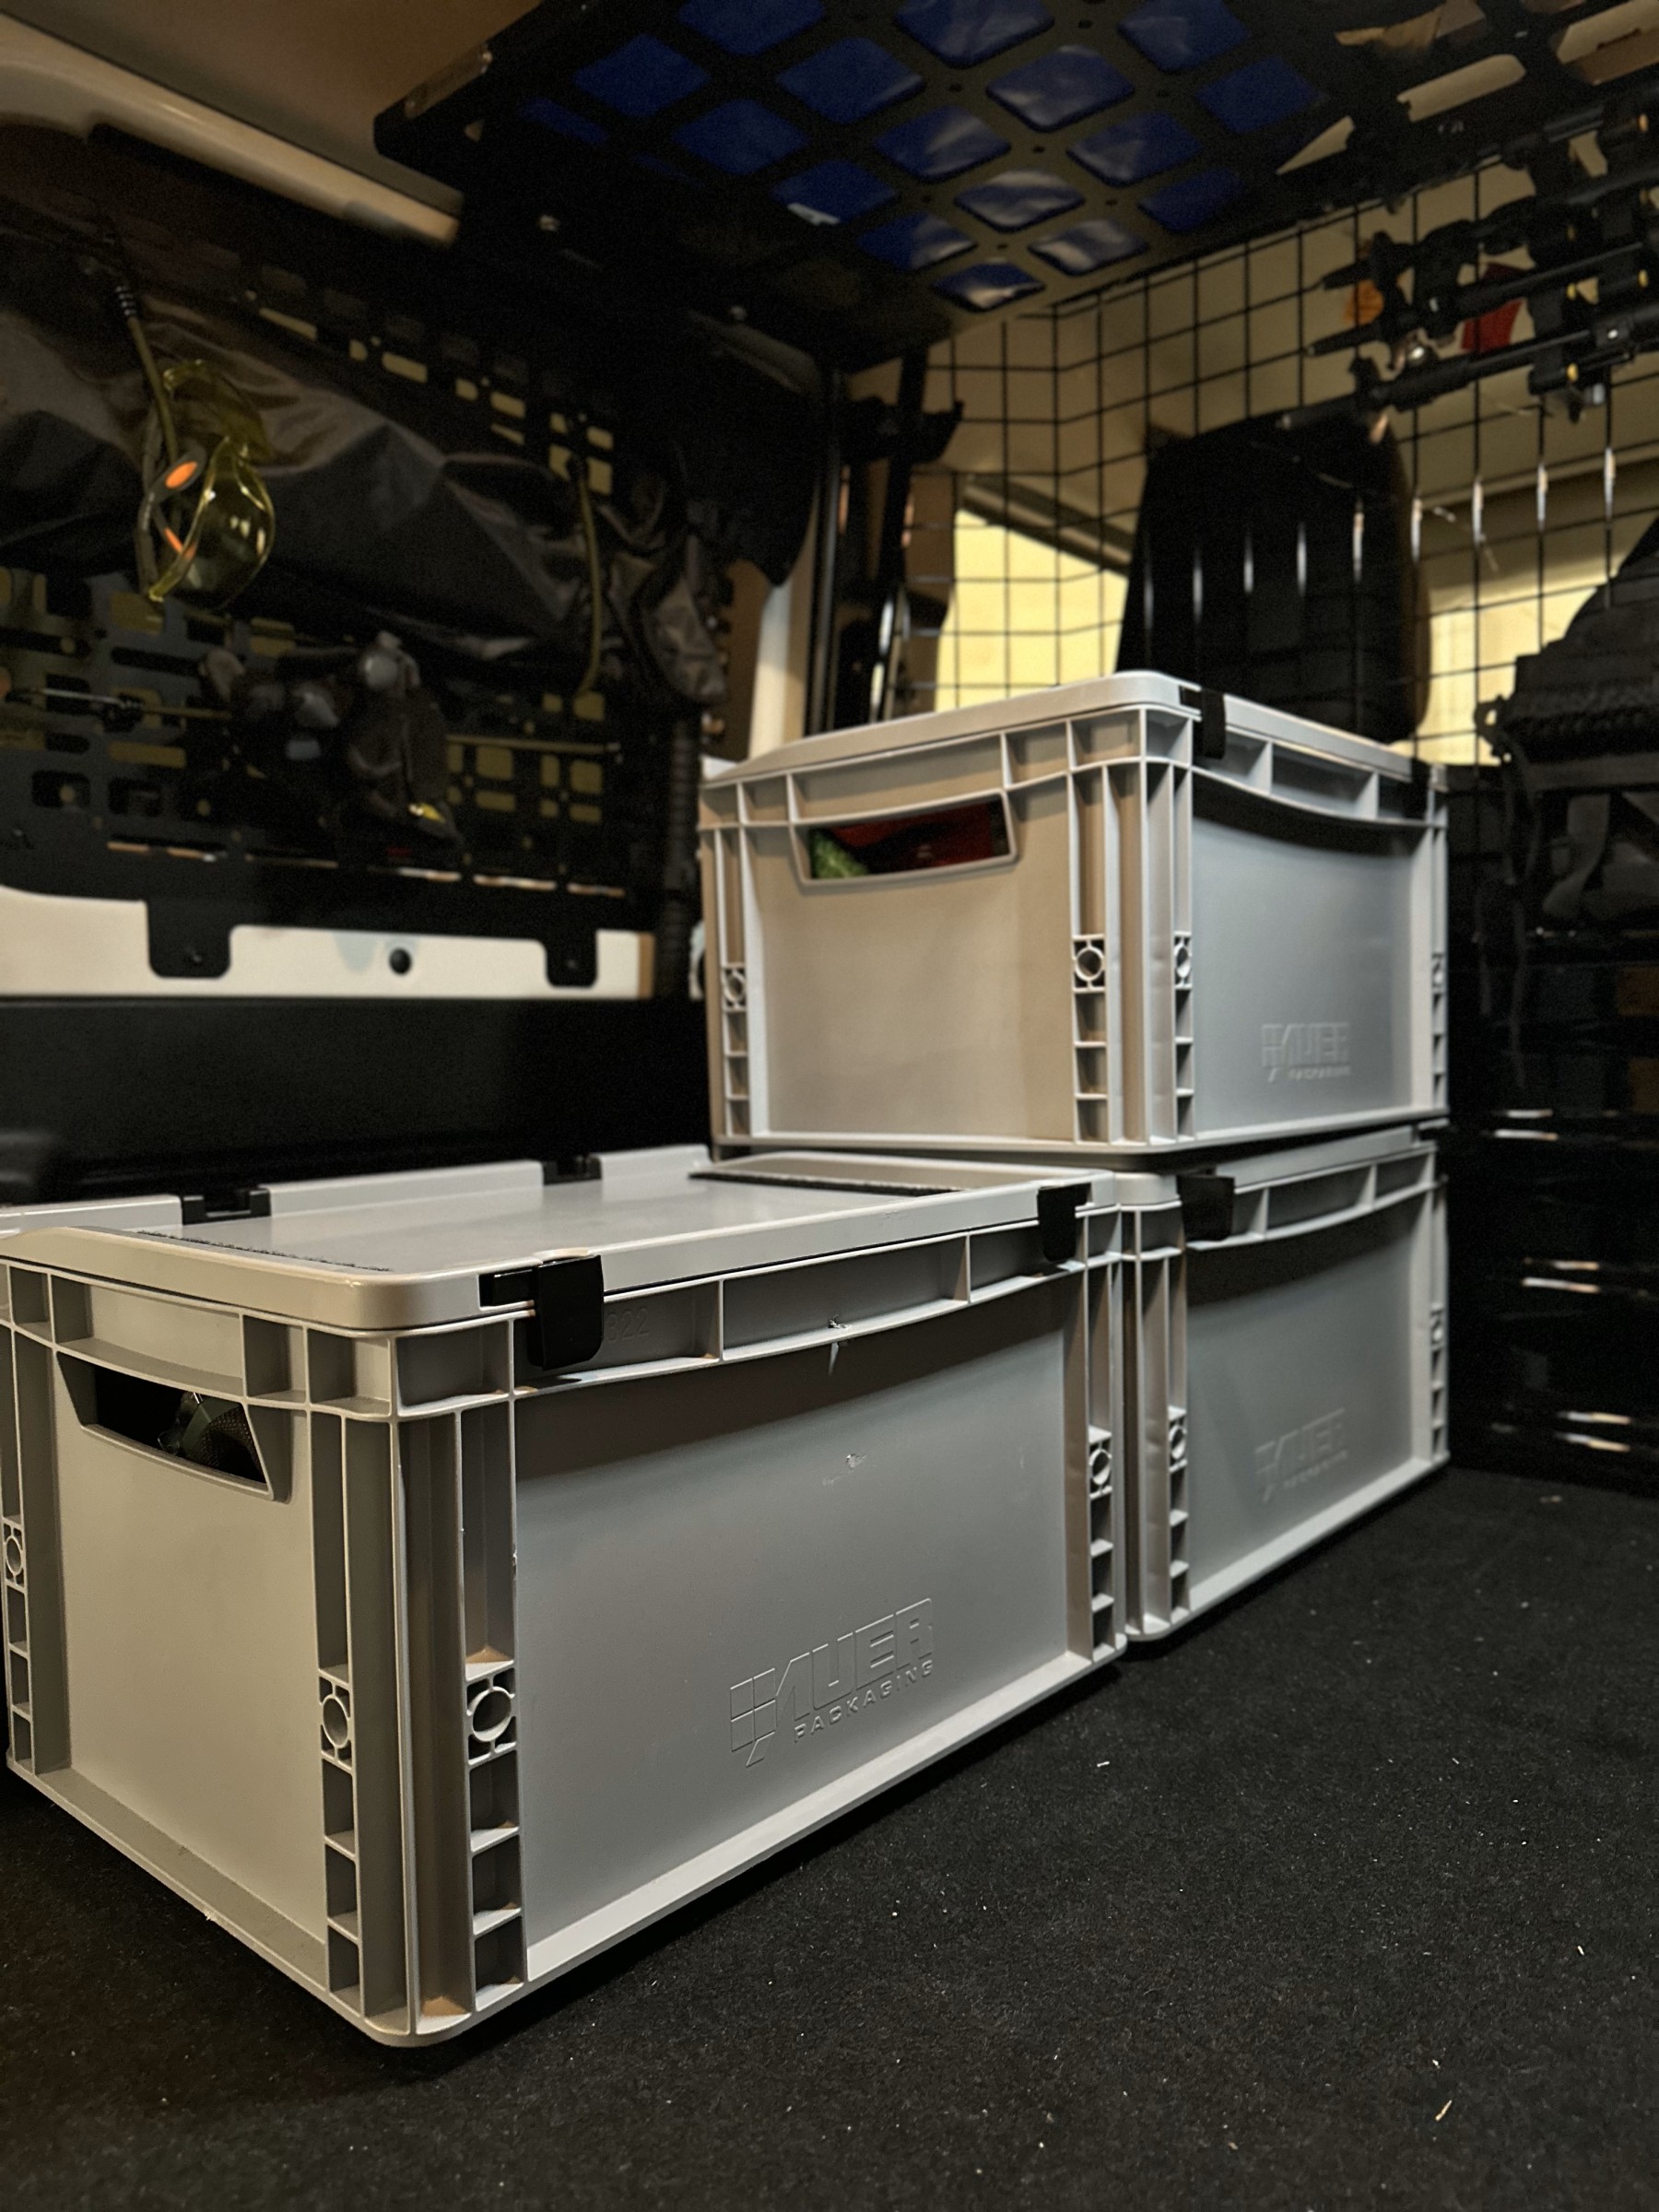
Depending on my needs, I use several sizes interchangeably, which I set up freely depending on my needs. For example, I keep a supply of food in one, various tools in another, and yet another serves as a rescue box.
The boxes I use: Skrzynki EURO
Tinted windows
Simple thing. Better aesthetics from the outside and some privacy in the trunk. 3 windows in the back have been tinted.
What’s next?
This is not the end of the expansion of my JB74, next will probably be:
- Snorkel
- A bigger lift and bigger wheels?
- CB radio
- Awning
- A water tank and shower
- A heating system for the tent?
- Solar panels?
- A reversing camera and a video recorder
So I invite you to update in some time. If you have any more interesting suggestions – share them in the comment below.
 Facebook
 Instagram
 Youtube