
Setting up a motorcycle sag is an important step in ensuring that your bike performs at its best and feels comfortable to ride. It involves adjusting the suspension to match your weight and riding style, as well as adjusting the geometry to suit your needs.
You can set up the motorcycle sag with spring preload, but if you’re riding with a pillion and/or luggage, you might need to invest in stiffer springs, just as I did on my XT660ZA.


Target Sag
The first thing to know is your target sag, which is a measure of how much the suspension of a motorcycle compresses under the weight of the rider.
Every motorcycle is different, so you want to know what the desired sag is for your bike. 30% sag is considered ideal for most adventure riders. and bikes. However, it’s important to experiment and find the sag percentage that works best for you and your motorcycle.
Here’s a step-by-step guide on how to set up sag on your motorcycle:
How to Set Up Sag on Your Motorcycle
If you know your total suspension travel (check it in motorcycle specifications) you can calculate sag easily.
- Measure the static sag: Measure the distance from the rear wheel axle to a fixed point on the frame.
The distance must be measured vertically – this is very important!
The suspension must be extended to the max, so you have to put your motorcycle on the center stand or ask somebody to pull the motorcycle on the side stand until the rear wheel comes off the ground. - Measure the rider sag: Next, you need to determine how much the suspension compresses under your weight. Sit on the bike in your normal riding position (with all your gear).
Have someone measure the distance from the reference point to the fixed point again.
The assisting person must keep the motorcycle upright so that the rider can put their feet on the footrests. - Calculate the sag:
- Subtract the rider sag from the static sag. This is your sag
- Multiply the total suspension travel by 30 and divide by 100. This is your target sag.
- Adjust the spring preload to match the sag to the target sag
In this way, you adjust sag in a way that the weight of the driver deflects the shock absorber by 30%, so when entering an obstacle, the shock absorber retains 70% of its travel for compression. When you hit a hole in the road, the shock absorber has 30% of its total travel to expand and push the wheel into the hole without losing traction.
My example:
525mm – 475mm = 50mm
(200mm [Tenere total suspension travel] * 30 ) / 100 = 60mm
My sag is 50mm, but it should be 60mm. I have to reduce spring preload.
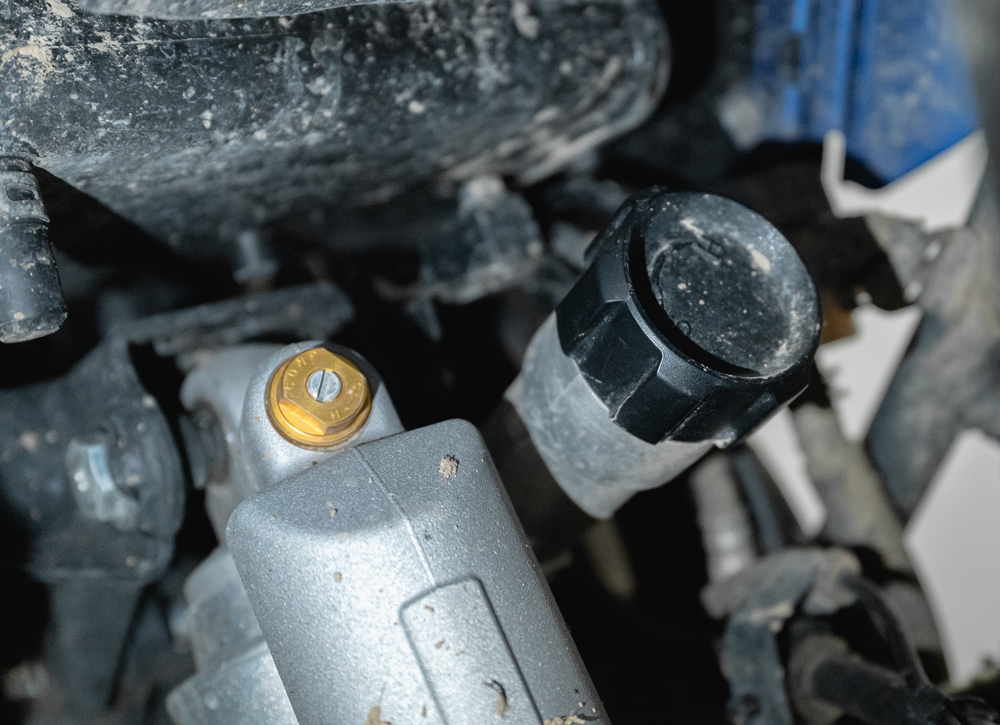
- Adjust the suspension: If the sag is too high or too low, you’ll have to adjust the suspension to get the target sag. To do this, you’ll need to adjust the preload on the spring.
Turn the adjuster to increase preload (usually clockwise) to reduce sag.
or decrease preload (usually counterclockwise) to increase sag.


| Problem | Needed action | Direction (usually) |
| Too much sag (bike sits too low) | Increase preload (tighten spring) | Clockwise |
| Too little sag (bike sits too high) | Decrease preload (loosen spring) | Counterclockwise |
Test ride and fine-tune: After you’ve made all of the necessary adjustments, take the bike out for a test ride to see how it feels. If it still doesn’t feel quite right, you may need to fine-tune the suspension and geometry to get it just right.
This method is the easiest and good enough for most riders. If you are an adventure rider, you don’t need to use very precise measurements because your weight changes during the day. This method is simple and effective, and you can do it anytime. There are some more complex methods to adjust your sa,g but it’s important only in very challenging extreme sports.
Final Thoughts
By following these steps, you can set up the sag on your motorcycle to ensure that it performs at its best and feels comfortable to ride. Remember to always be careful when adjusting the suspension and geometry of your bike and to seek the assistance of a professional if you are unsure of what to do.
Be Aware of Your Weight
As a motorcycle traveler, it’s important to be aware of your sag at all times, as it can significantly affect performance and comfort. One factor that can impact your sag is the weight of your luggage — when you add or remove items from it, it can affect the weight distribution and change the sag percentage. Therefore, it’s important to regularly check and adjust the sag to ensure that it remains within the recommended range for your weight and riding style. By being aware of it and making the necessary adjustments, you can ensure that your motorcycle is set up optimally for your current luggage load and riding conditions.
Tools for Sag
Some older motorcycles — like my XT660ZA — need special tools for rear spring preload adjustments. Many riders don’t have these for many reasons. I measured and created a template for the Yamaha Tenere XT660ZA, so if you’re riding this bike, feel free to download the template.
After downloading, simply take it to the nearest metal water-cutting point. A 5mm aluminum plate is best to make this key.
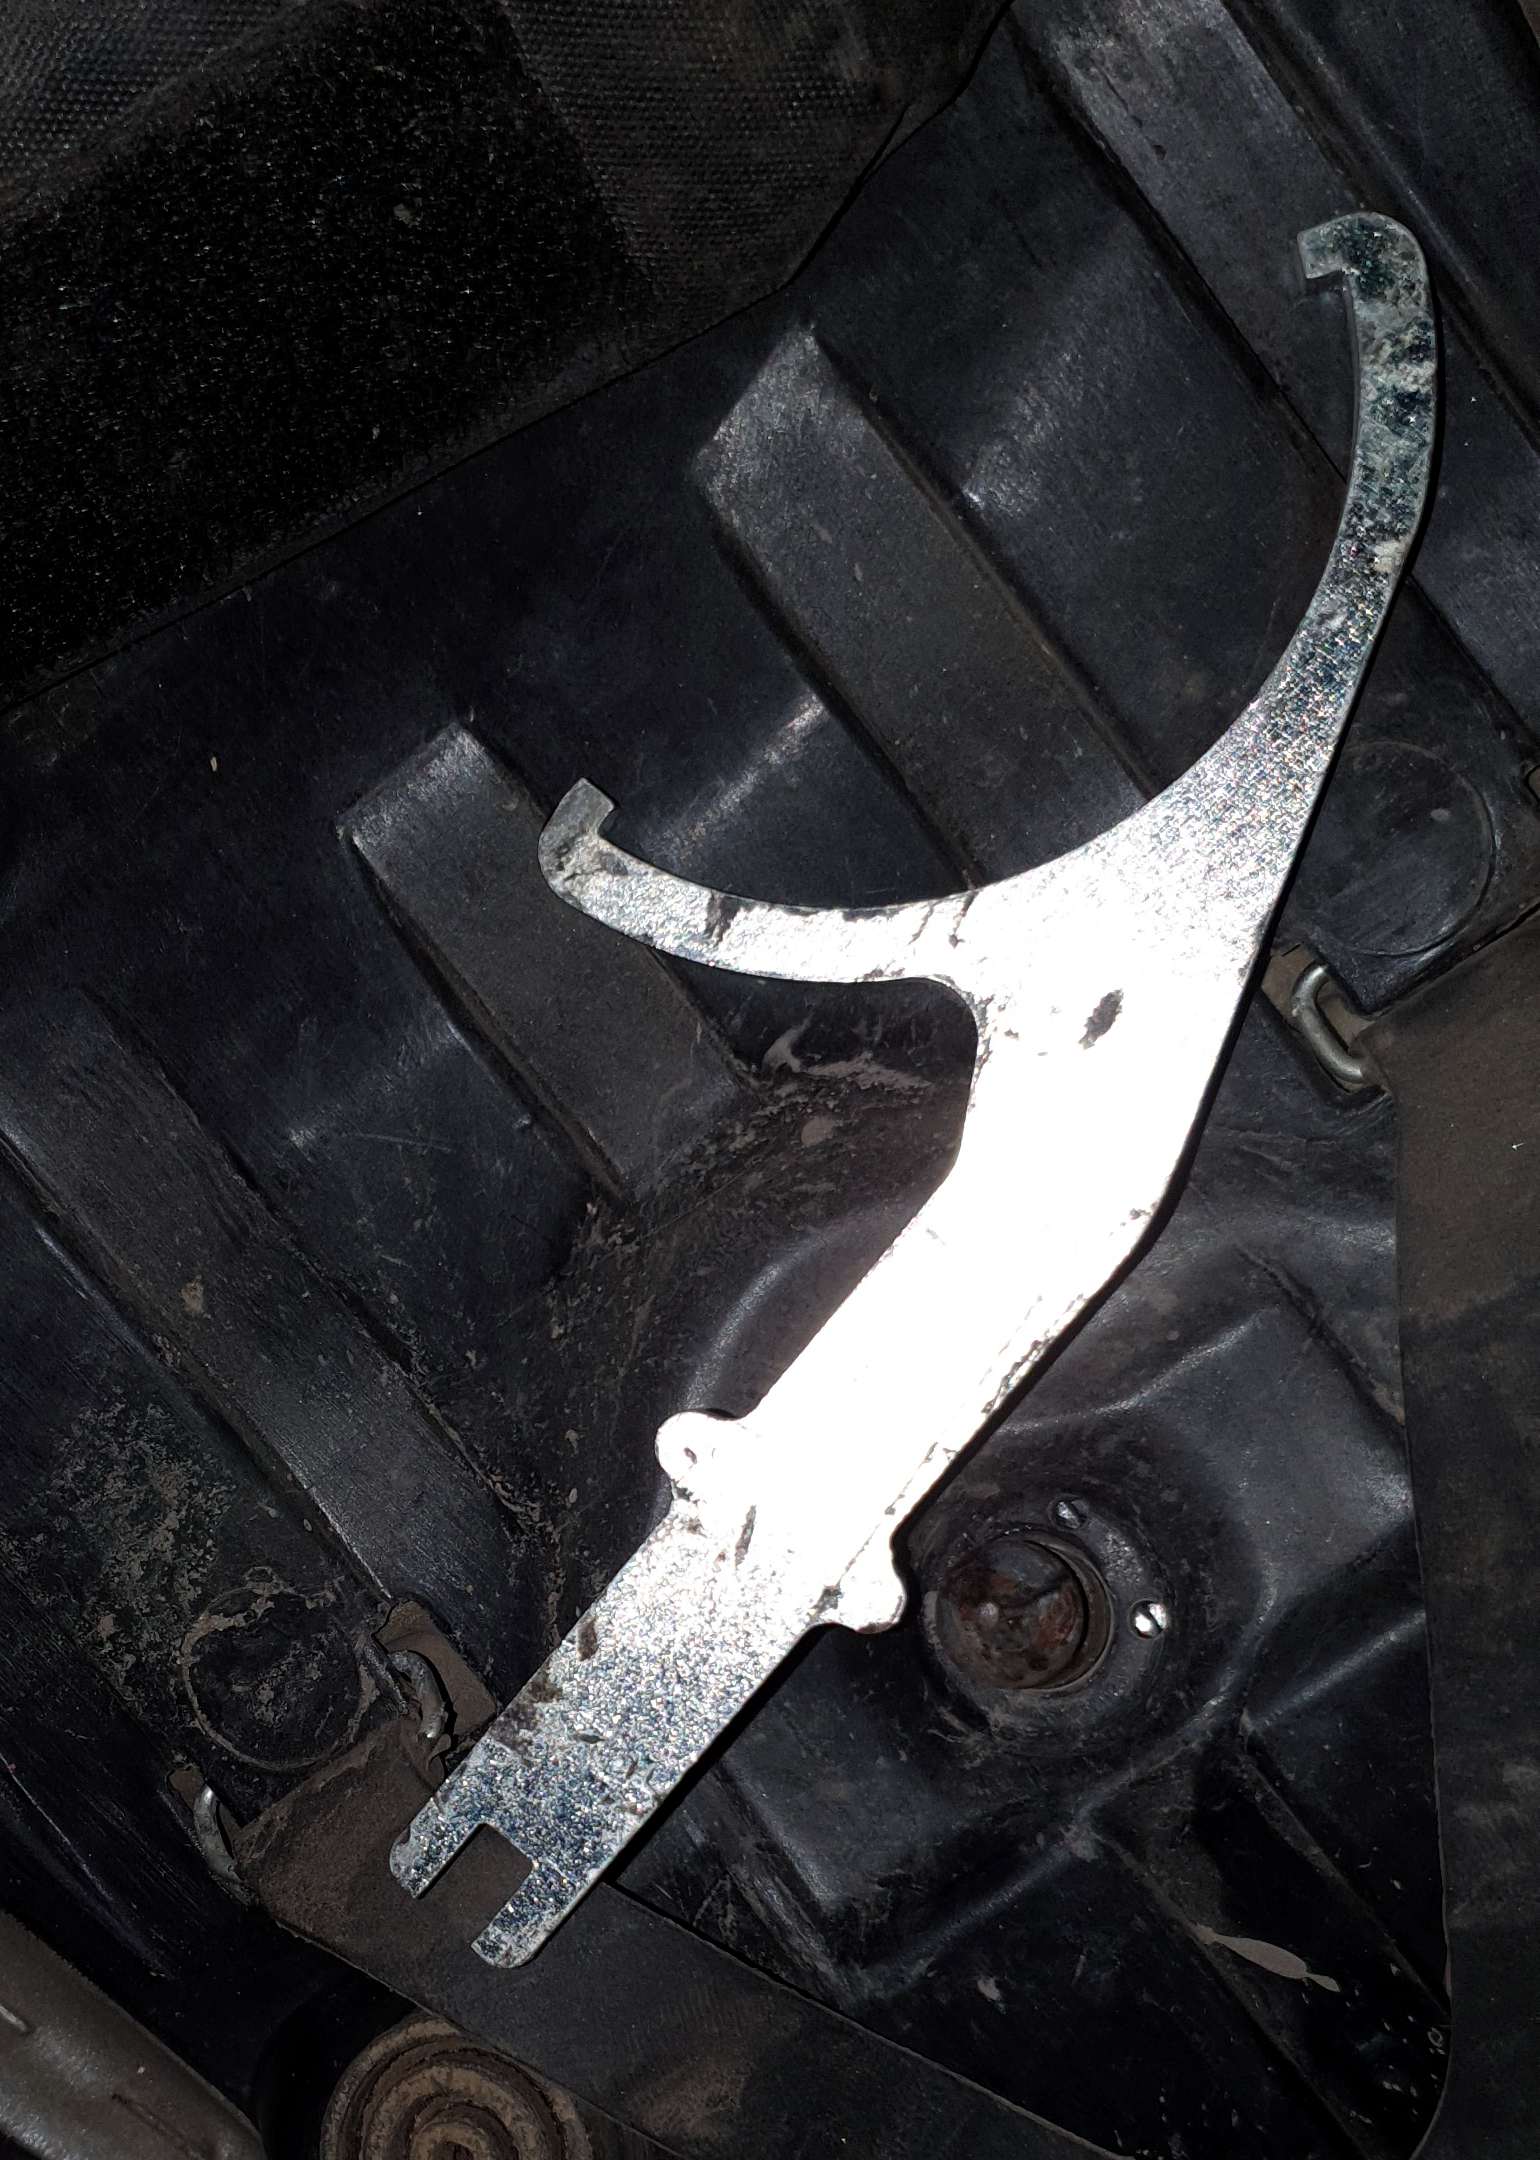


You can of course also cut the key yourself, provided you have the know-how. Just print the template on an A4 sheet. A 5mm stainless steel sheet will be good and cheap enough for this.
New bikes — like my Tenere 700 — don’t need any extra tools for adjusting spring preload which is super comfortable.

 Facebook
 Instagram
 Youtube


Great article! Told me everything I needed to know.
But if I understood it correctly –
And I might not have –
And please forgive me if I did not understand correctly –
I think there might be a typo:
In your example you said you had 50 mm of sag and needed 60 mm of sag.
So you needed more. Then you said you needed to harden up the springs. I think that was supposed to be soften up the springs. For more rider sag.
Then, in instruction #4, you said, if sag is too high, DECREASE preload, by rotating clockwise.
If I understood correctly, that should be, if sag is too high, INCREASE preload, by rotating clockwise.
Then, also in instruction #4, you said, if sag is too low, INCREASE payload by rotating counterclockwise.
I think that should have been, if sag is too low, DECREASE the preload by rotating counterclockwise.
All of that of course is if I understood correctly
Please accept my apologies if I did not. I will study more.
Hi Scott,
thank you for pointing this. You’re completely right – it means you understand the topic well!
I fixed the typo! Thank you, safe ride!