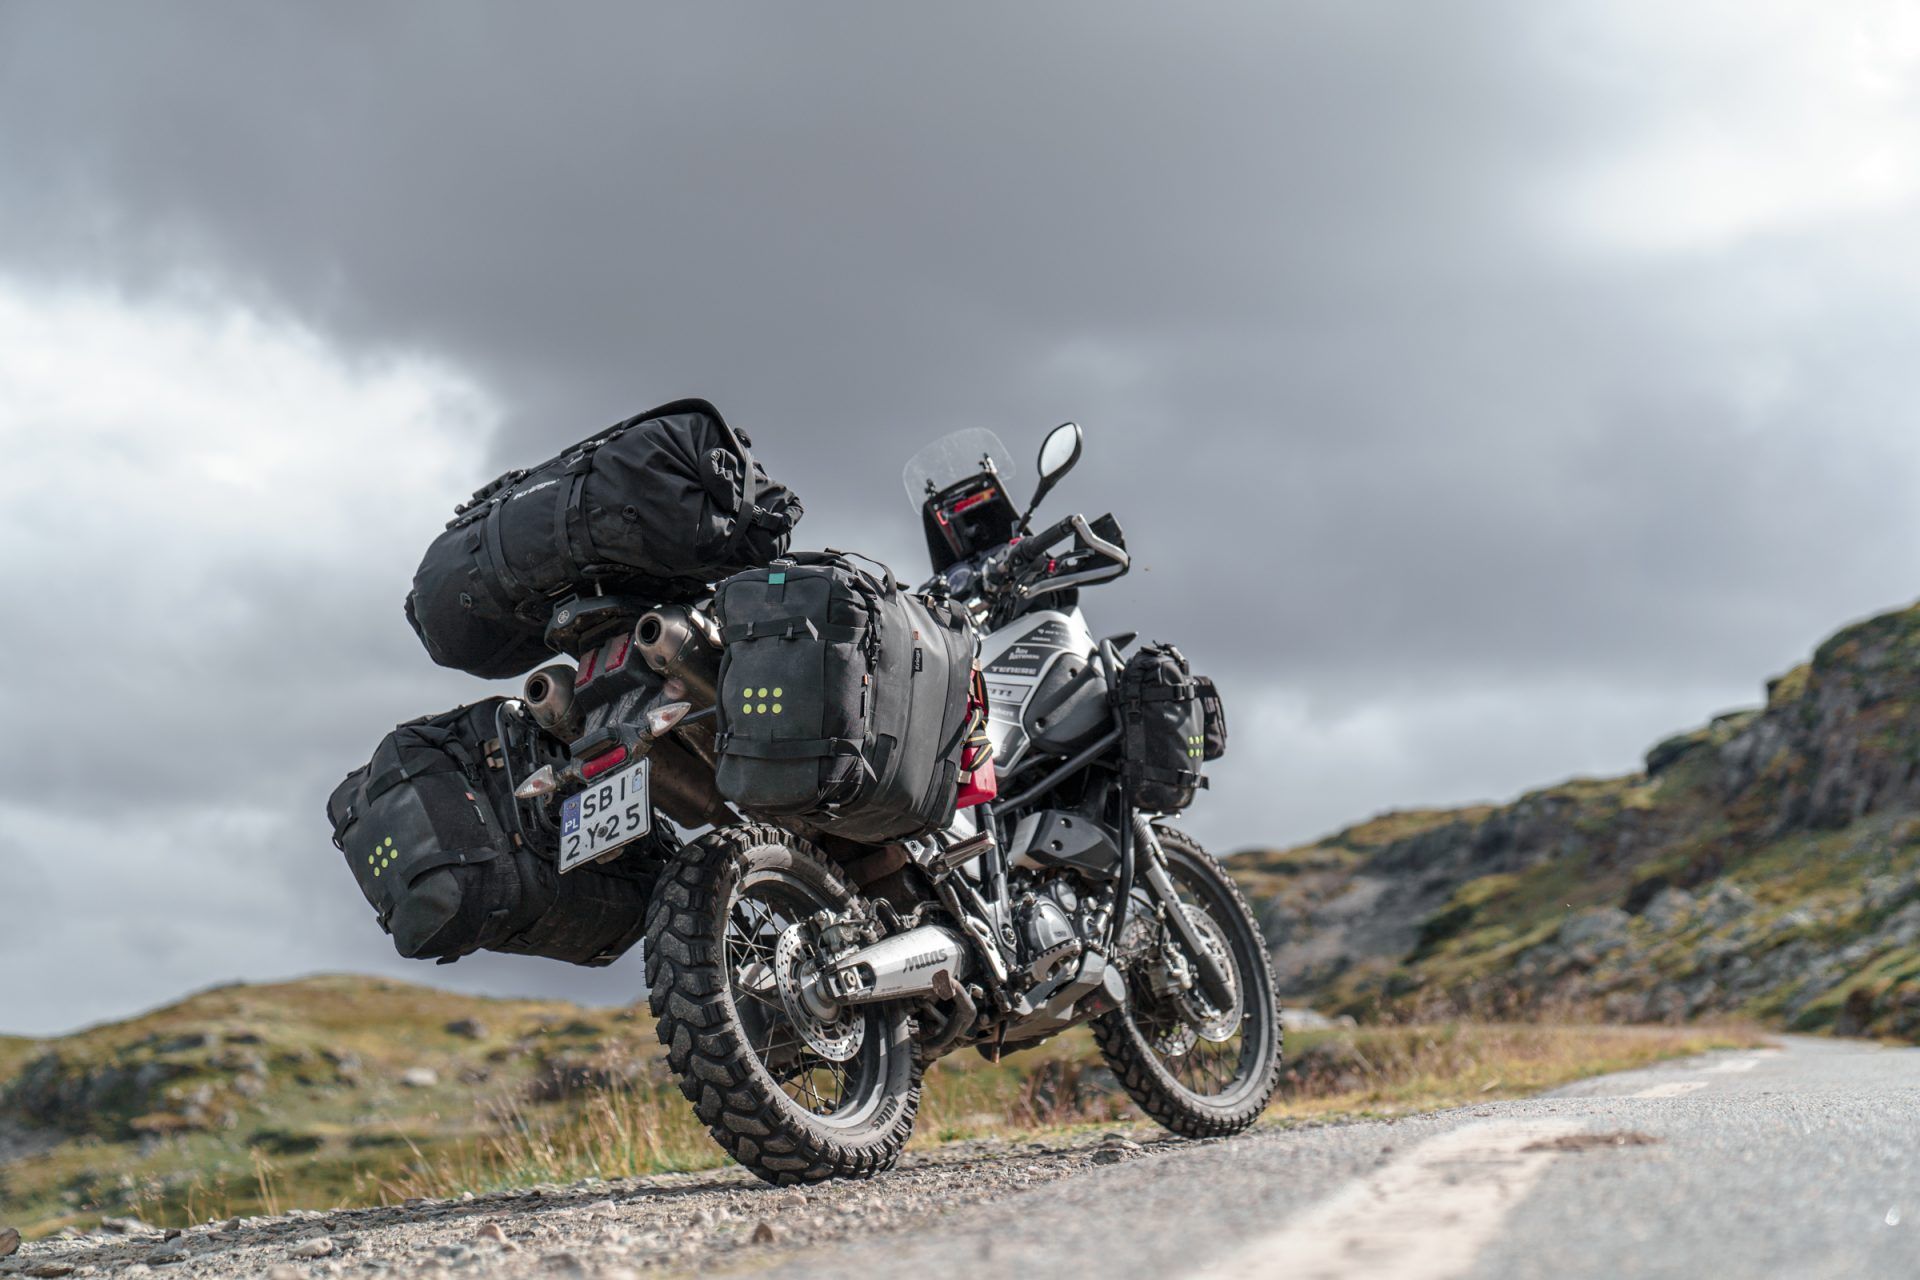
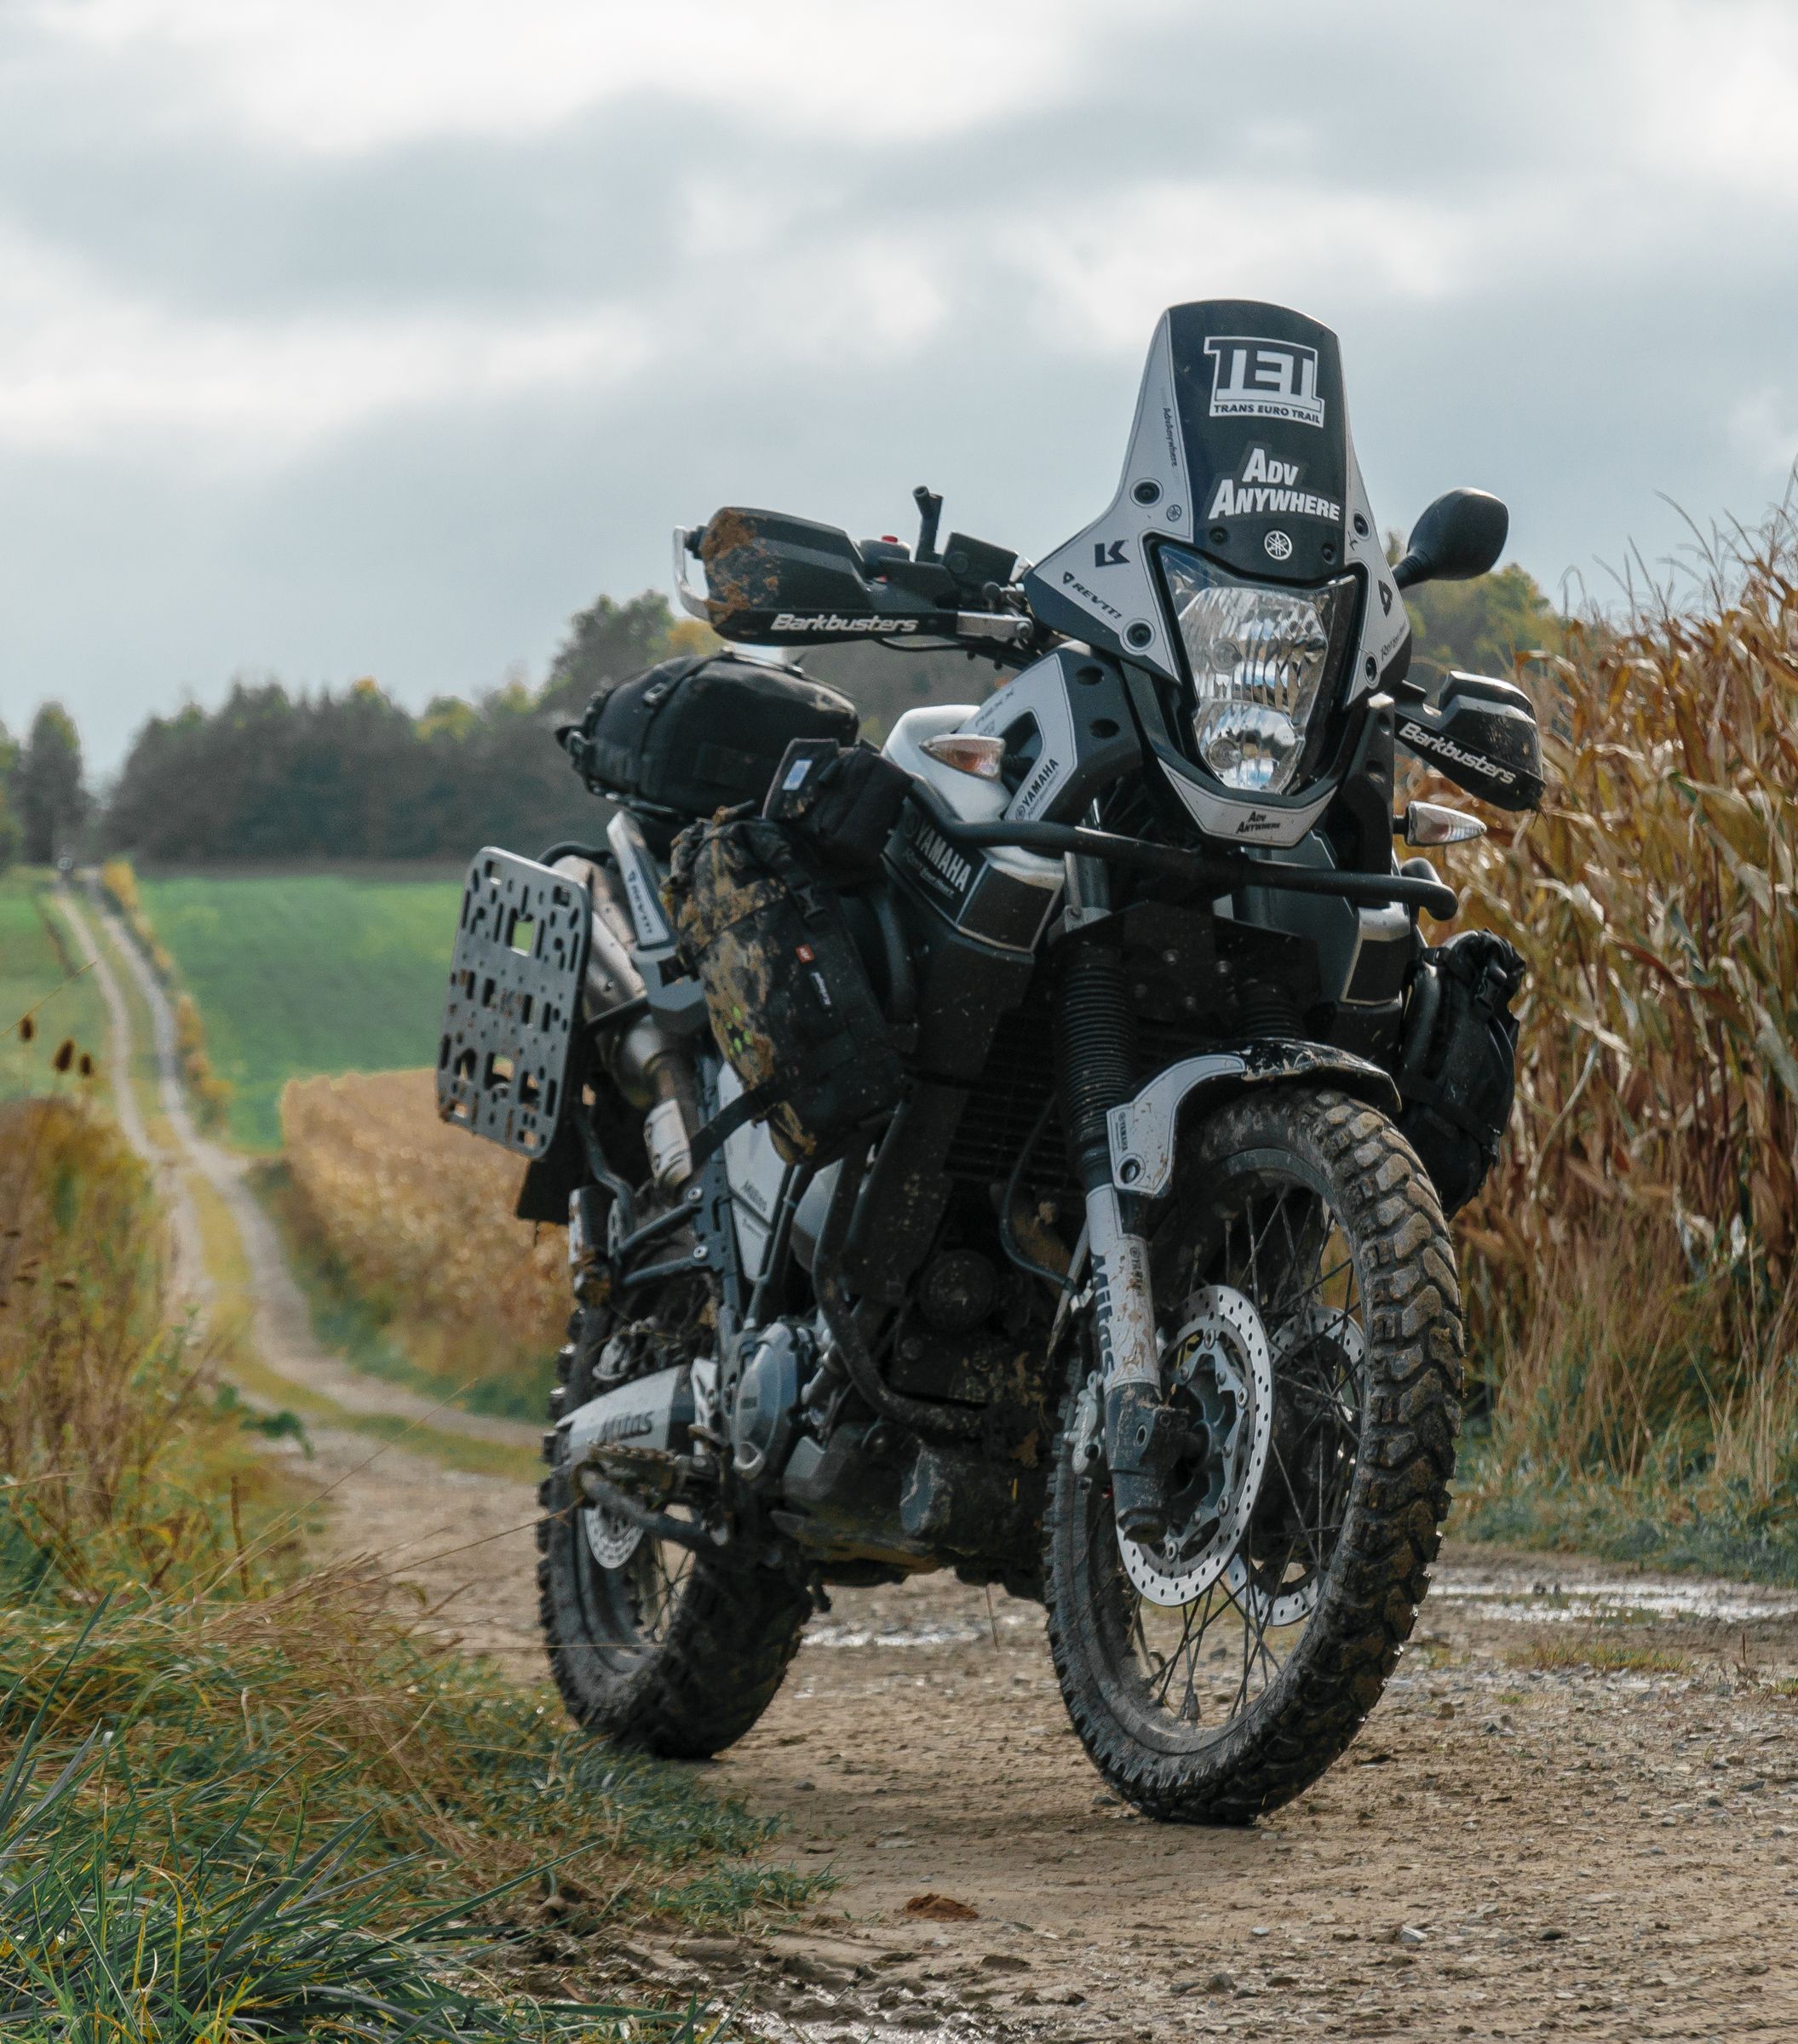
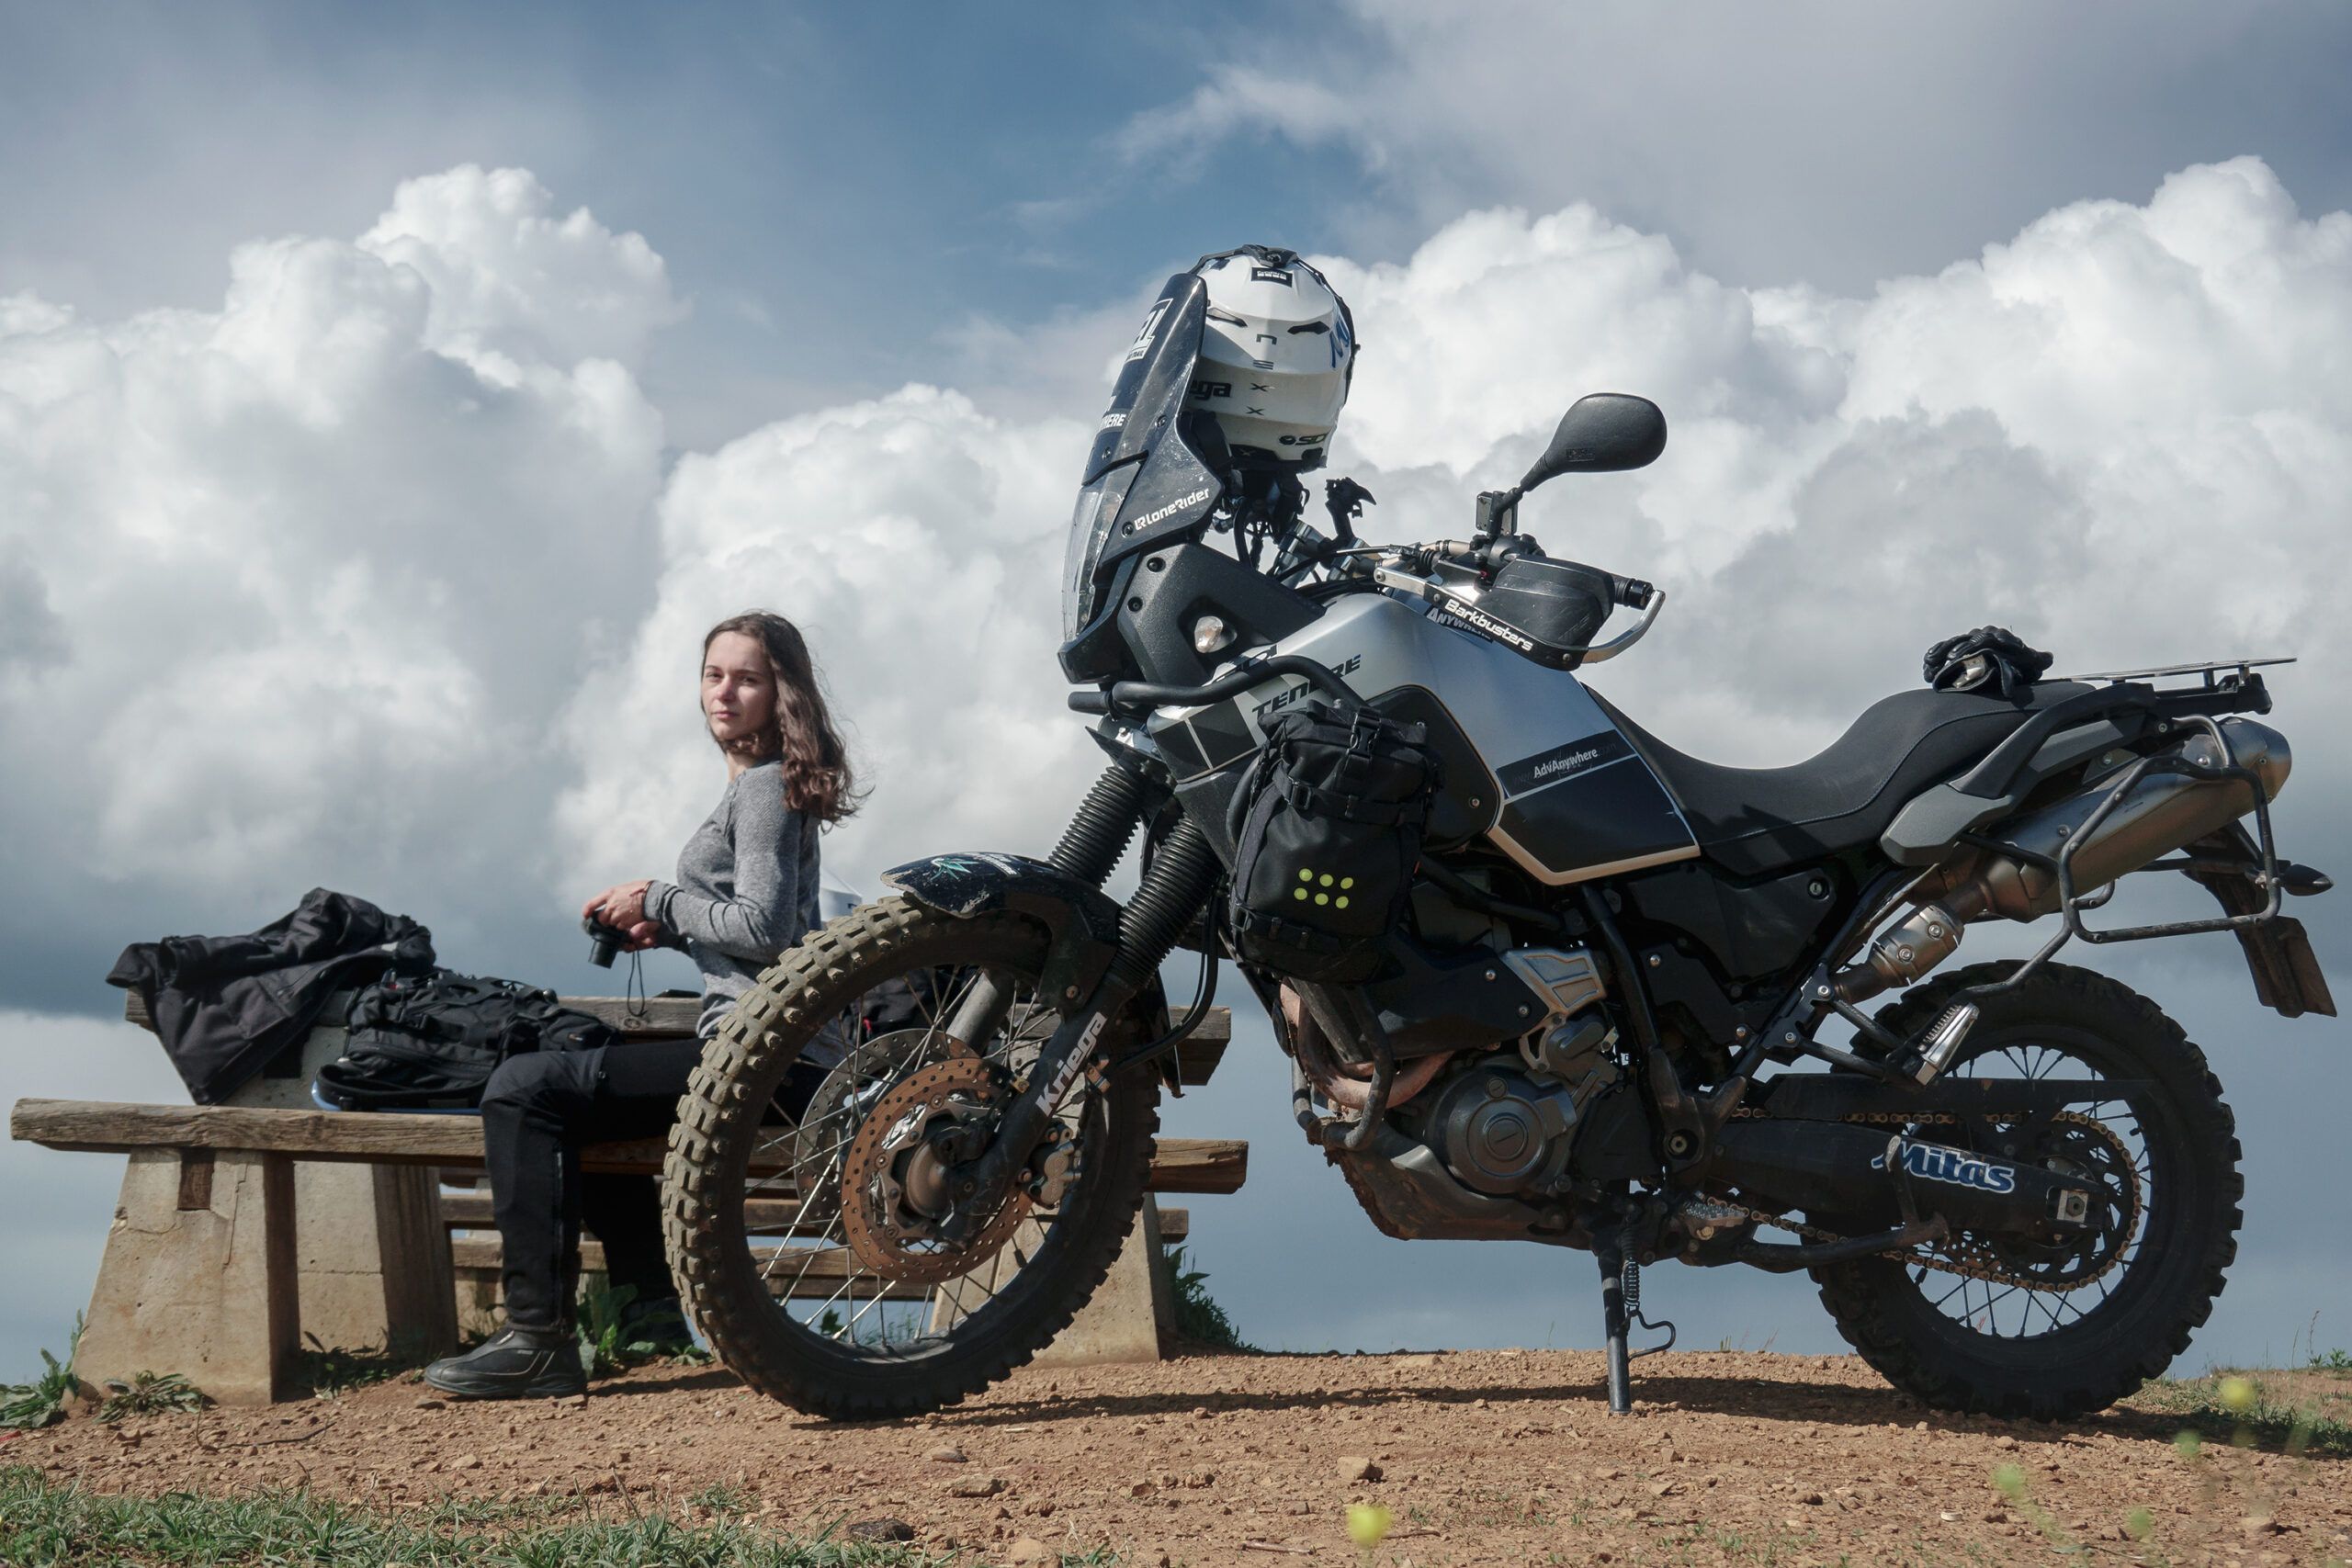
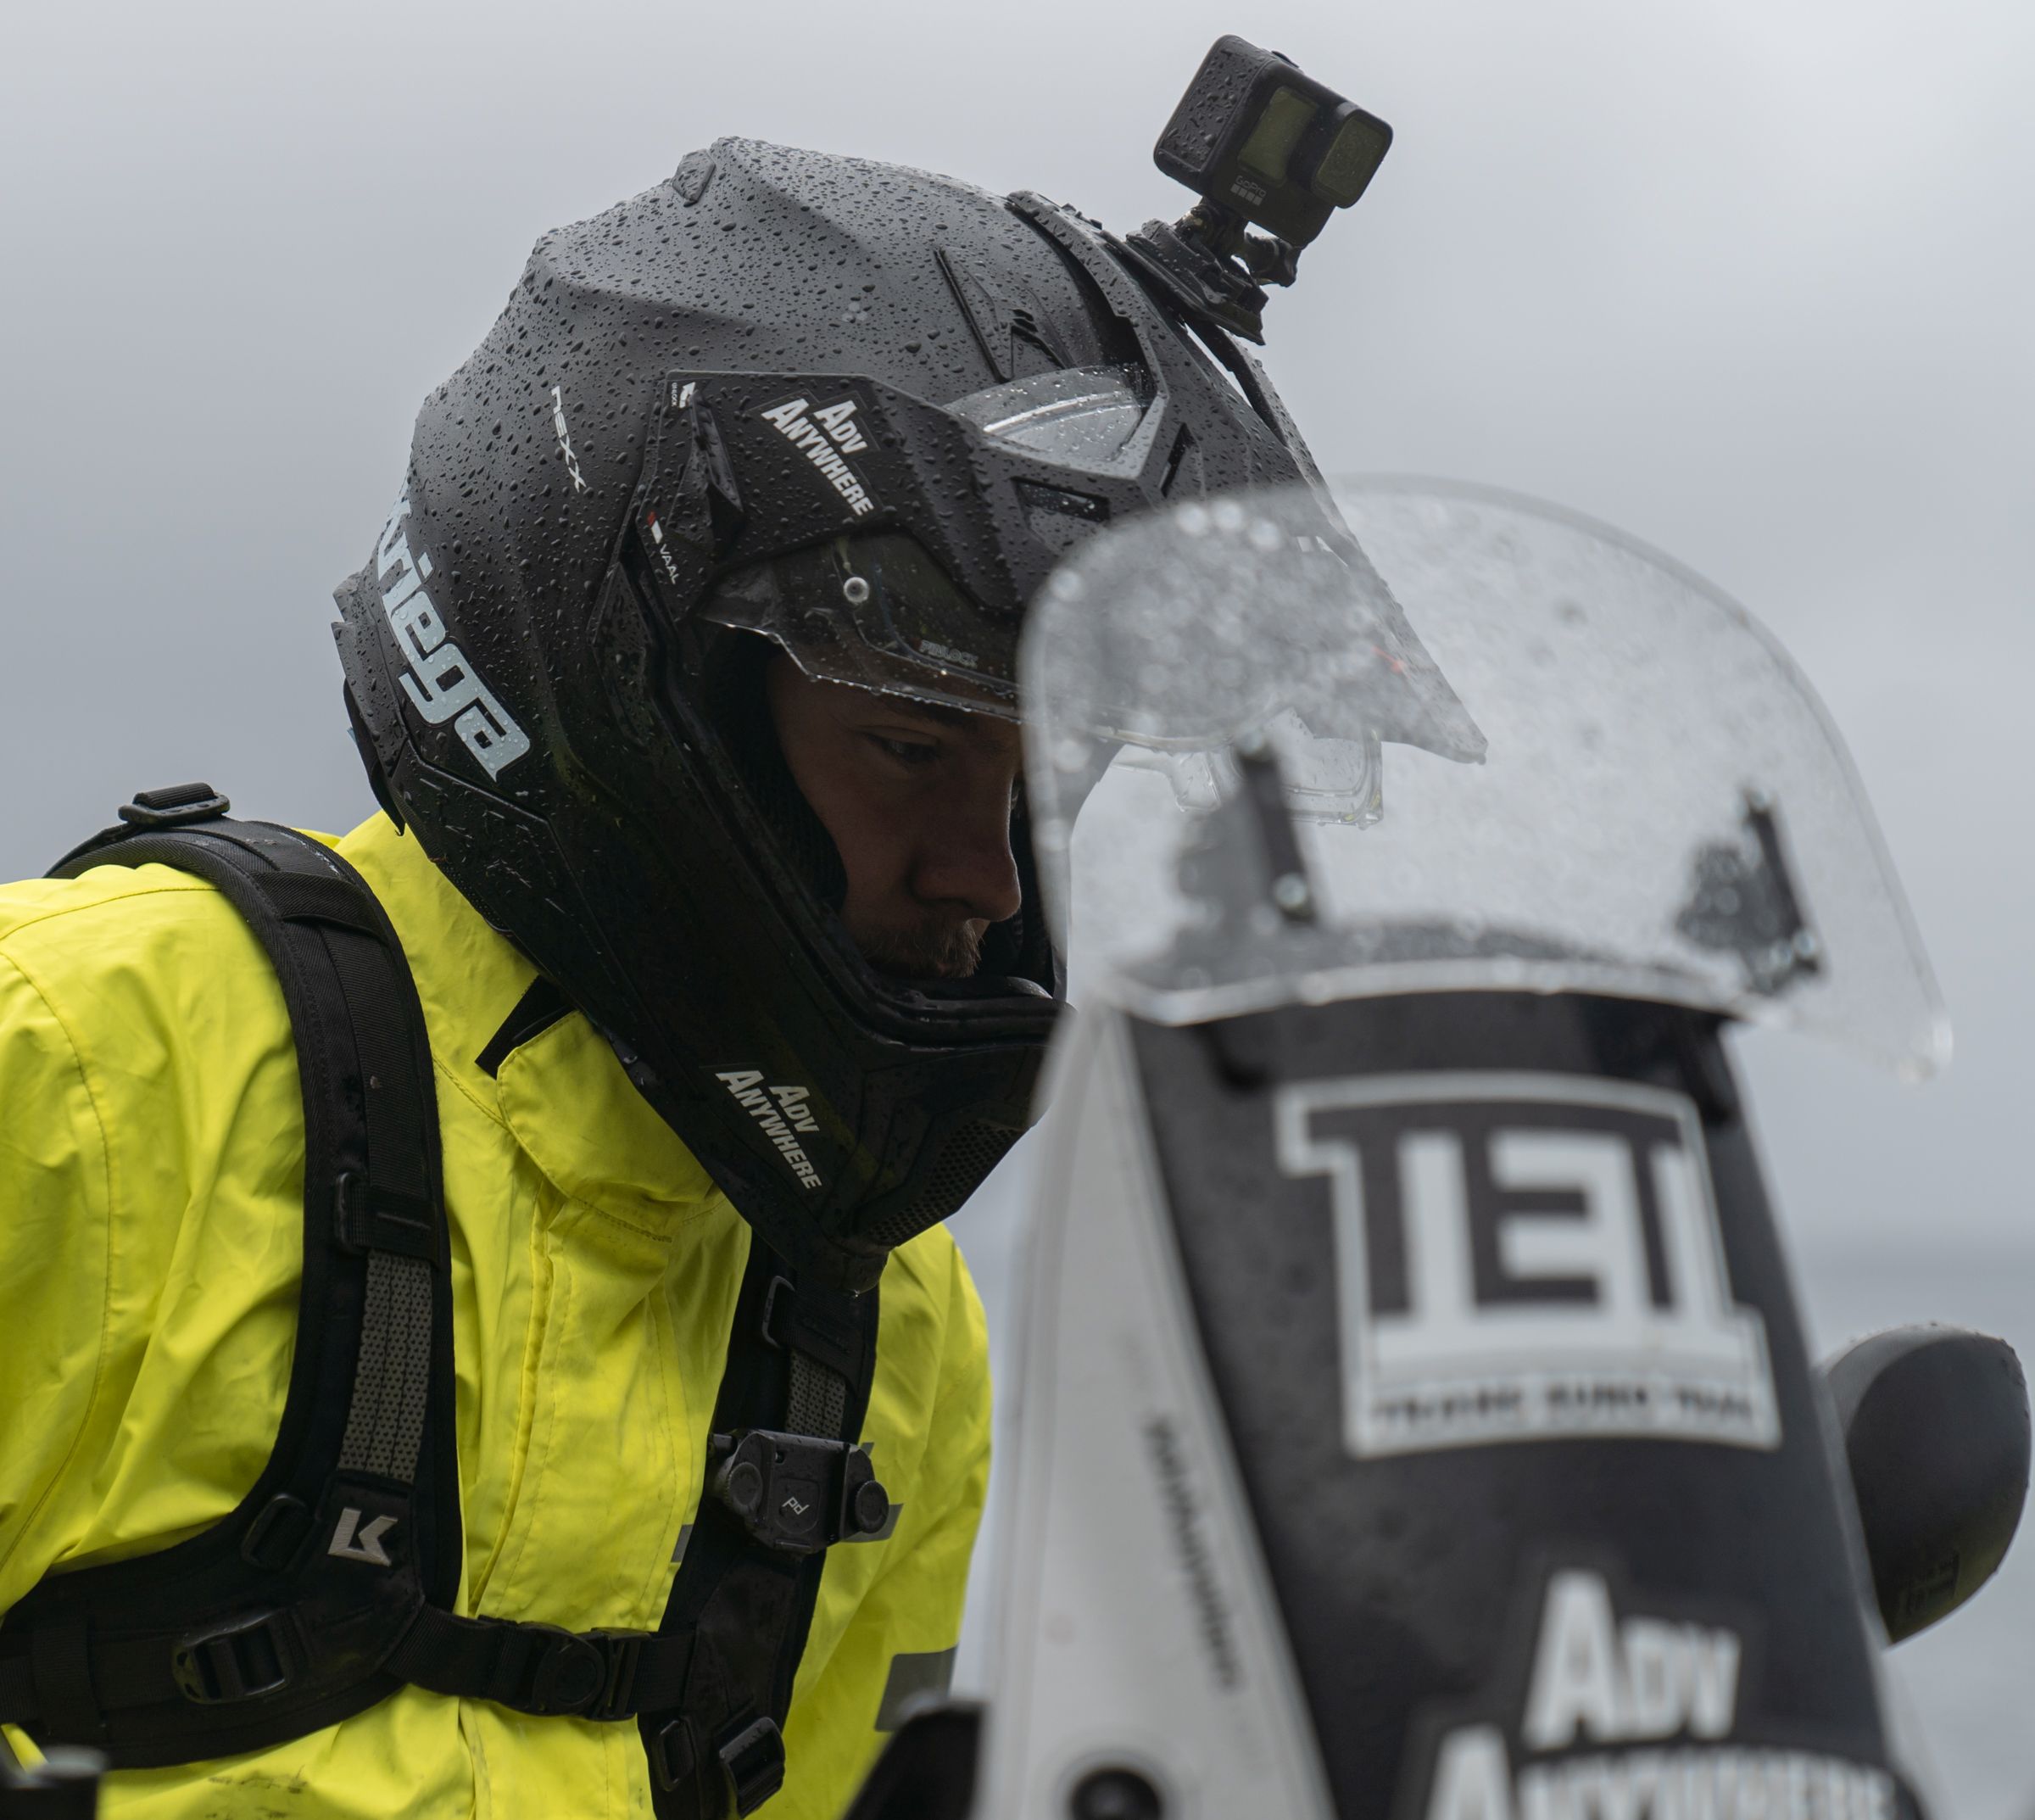
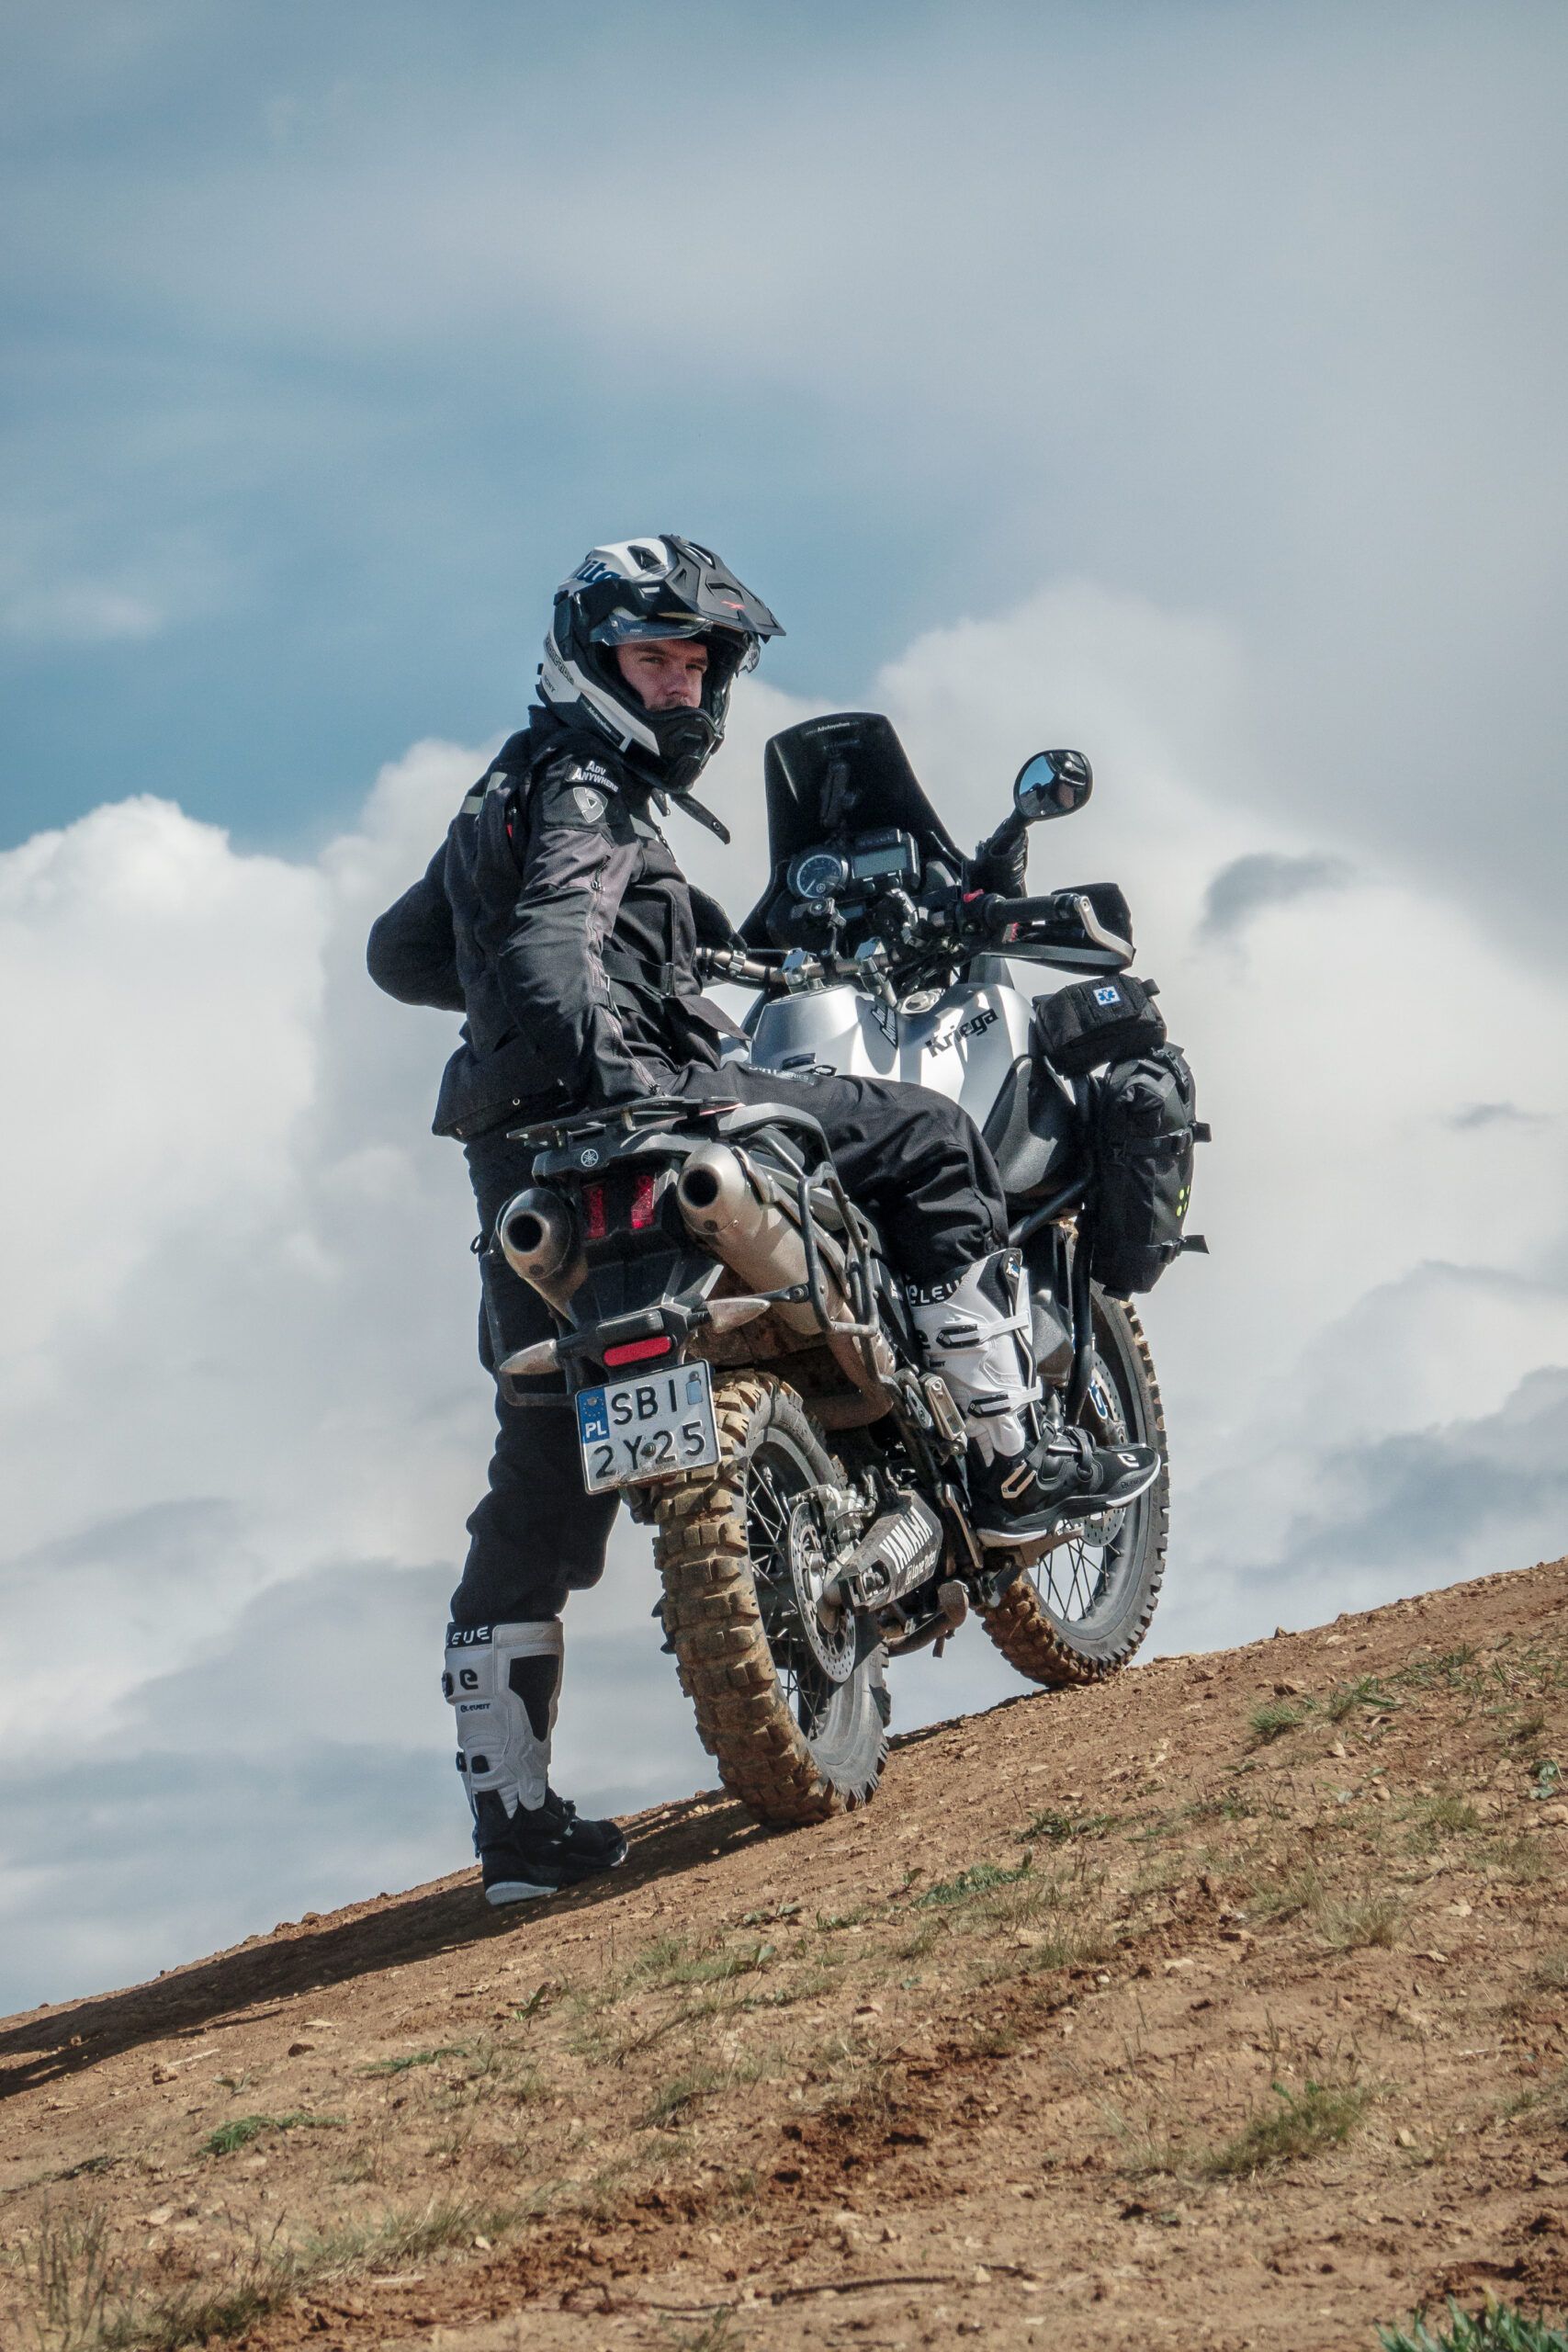
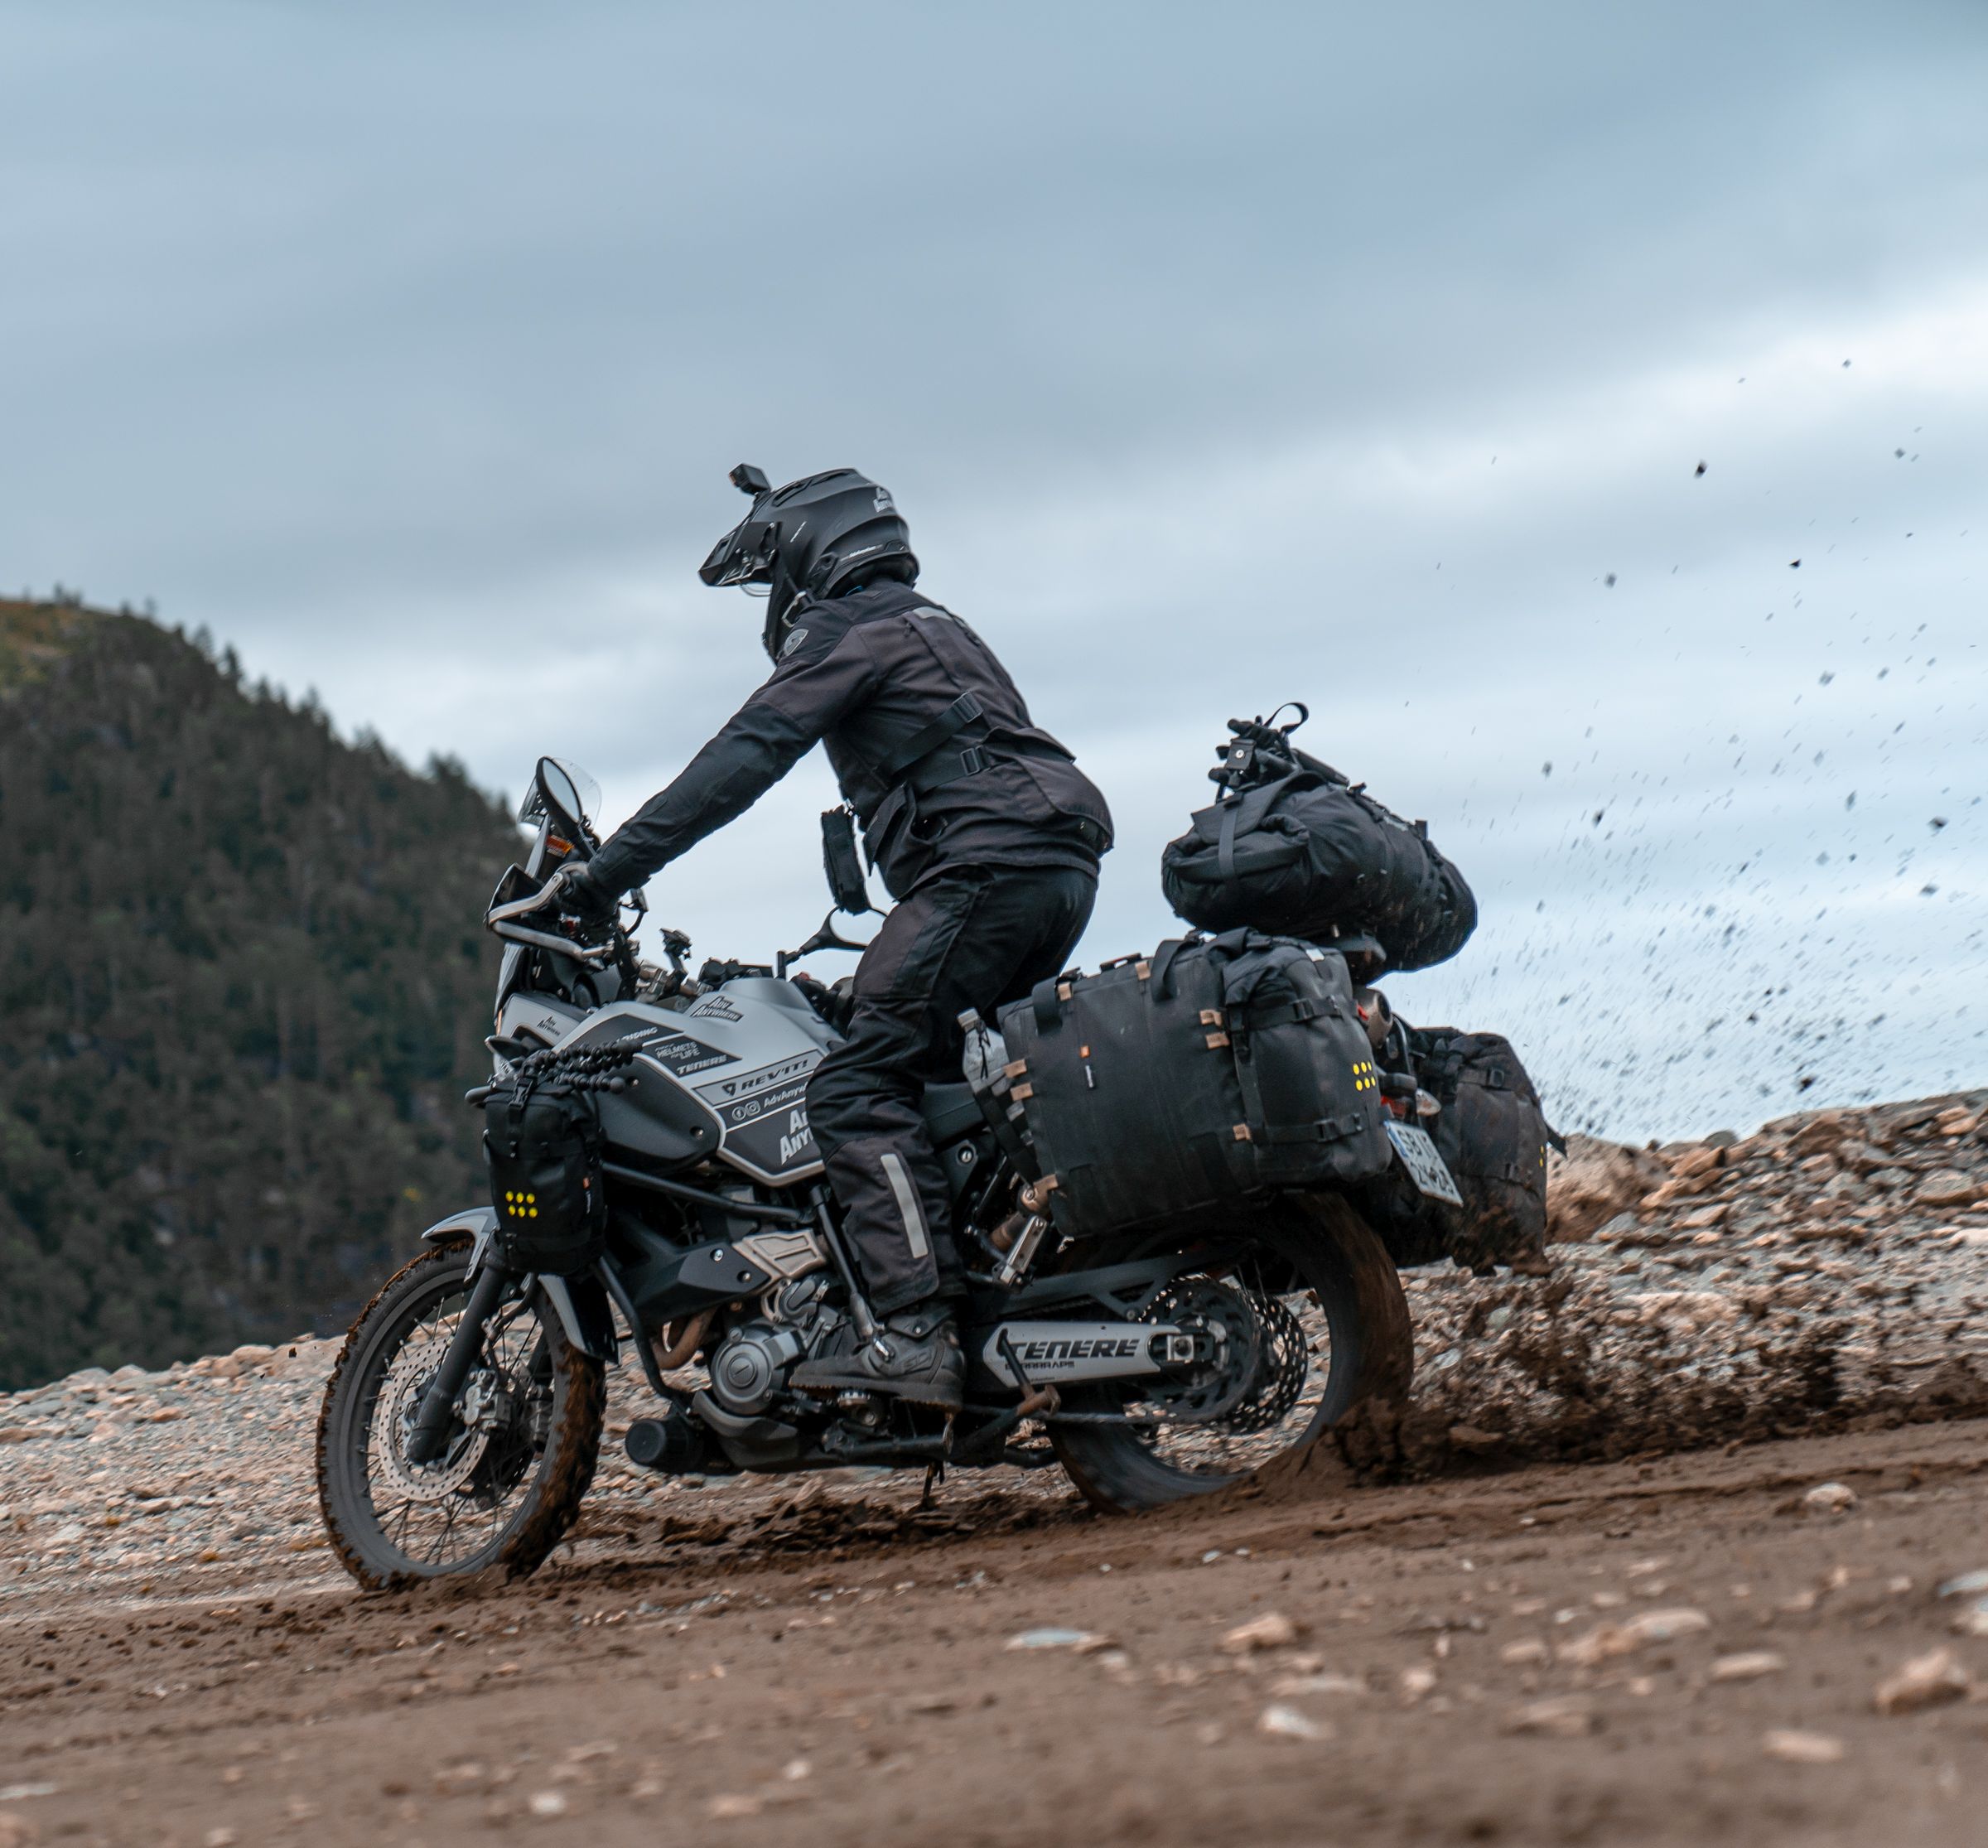
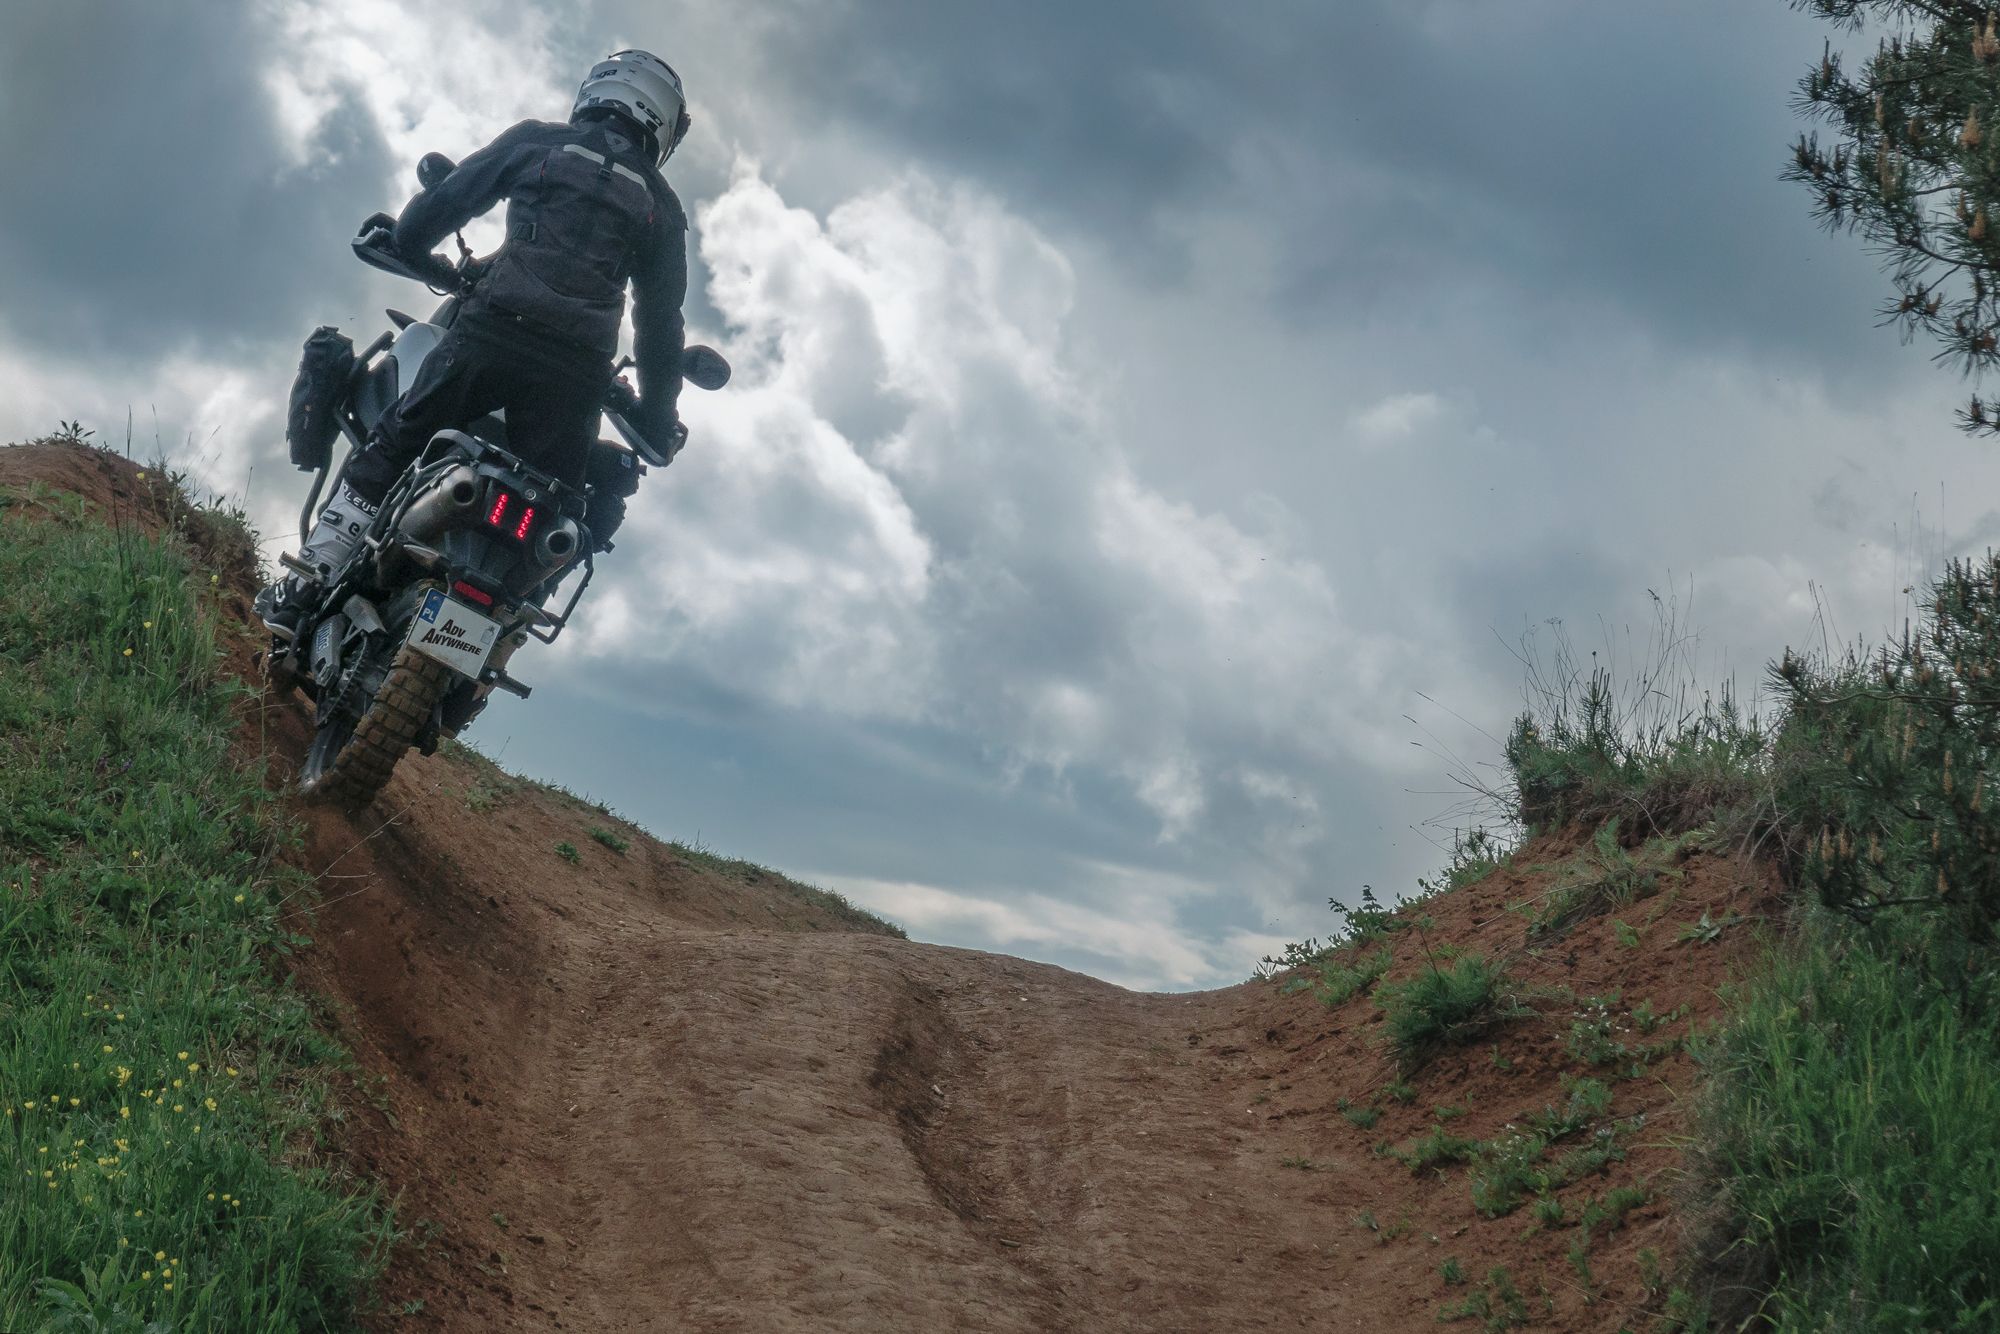
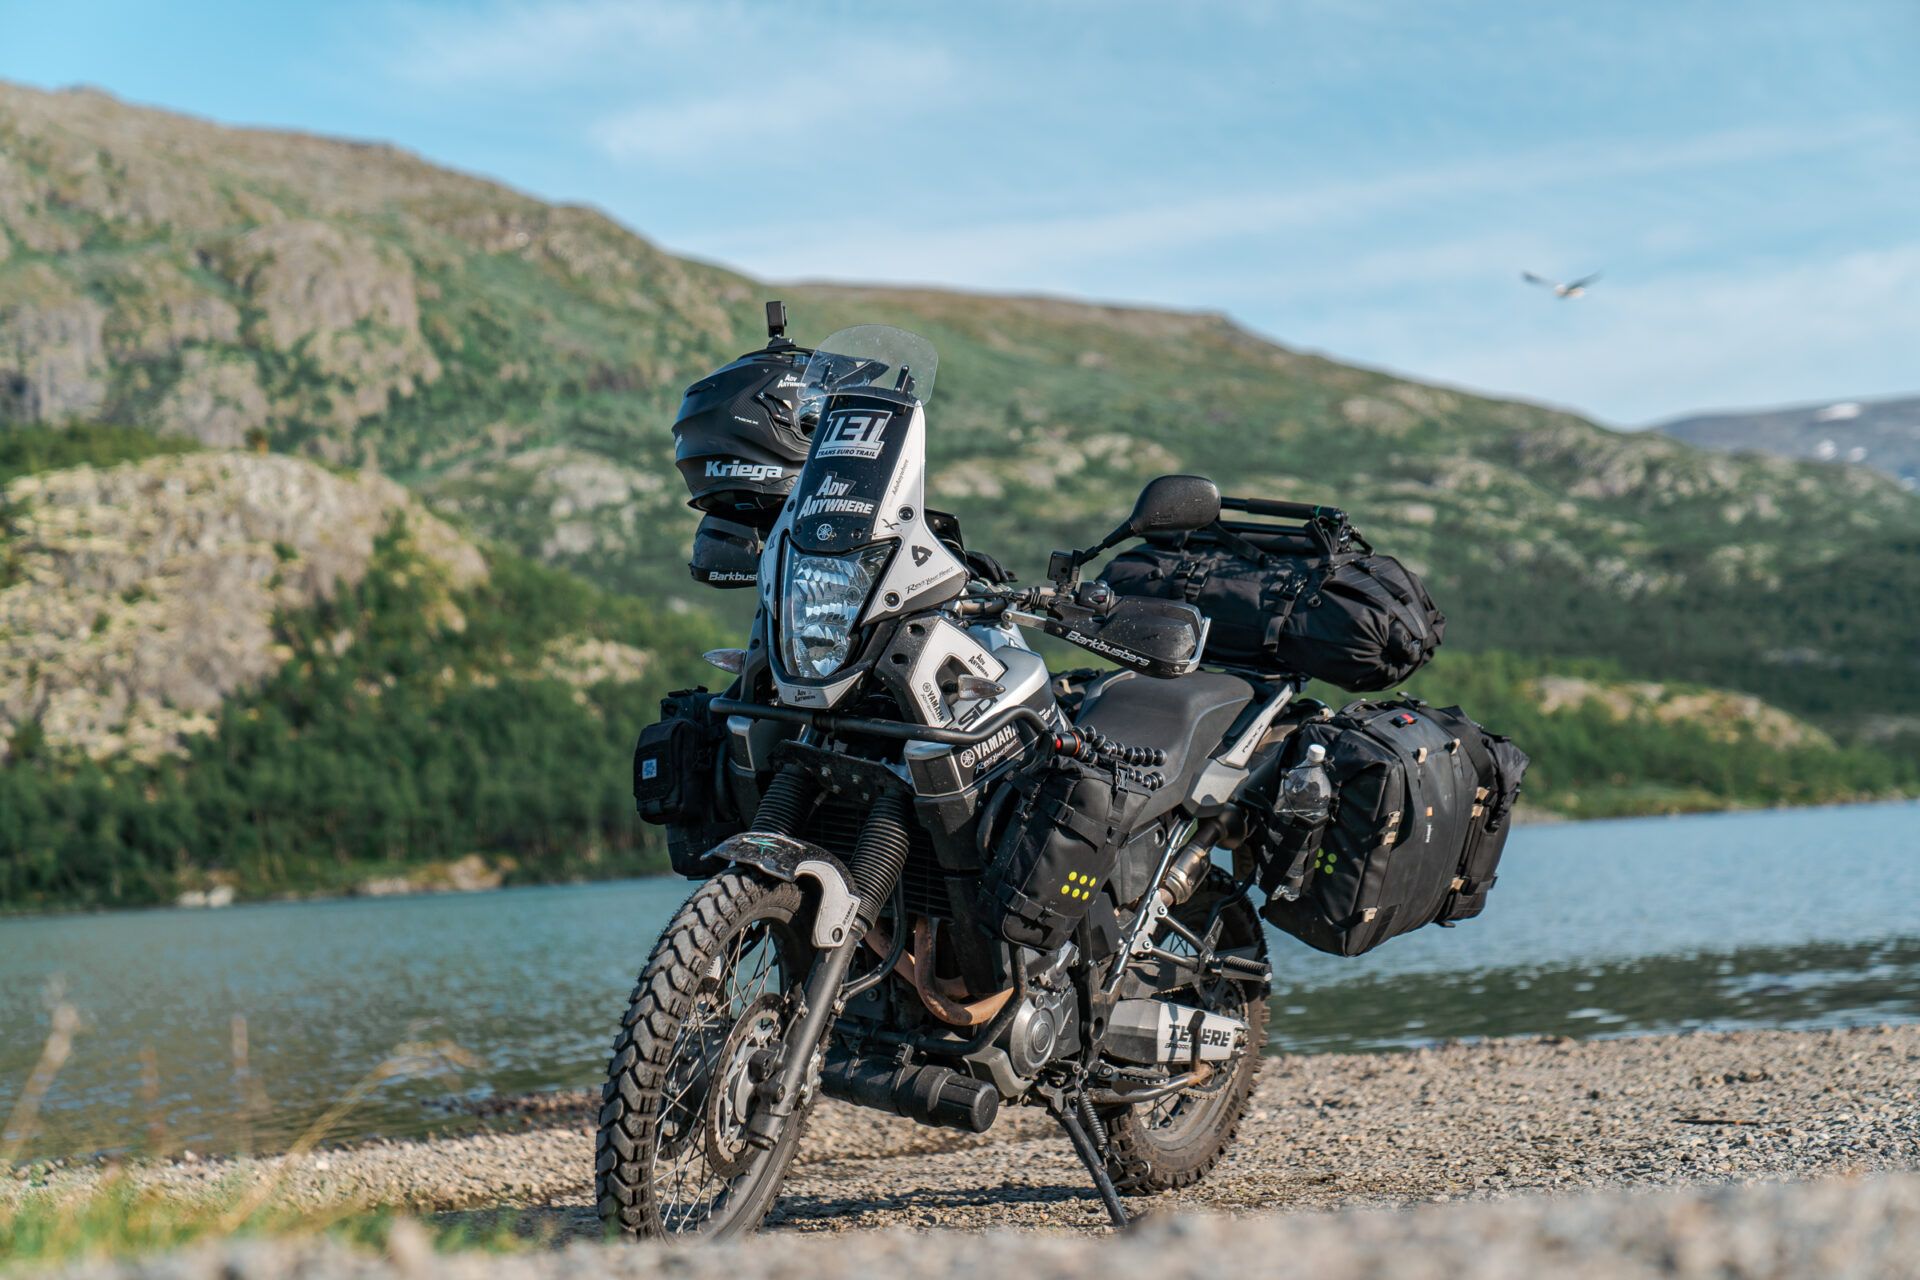
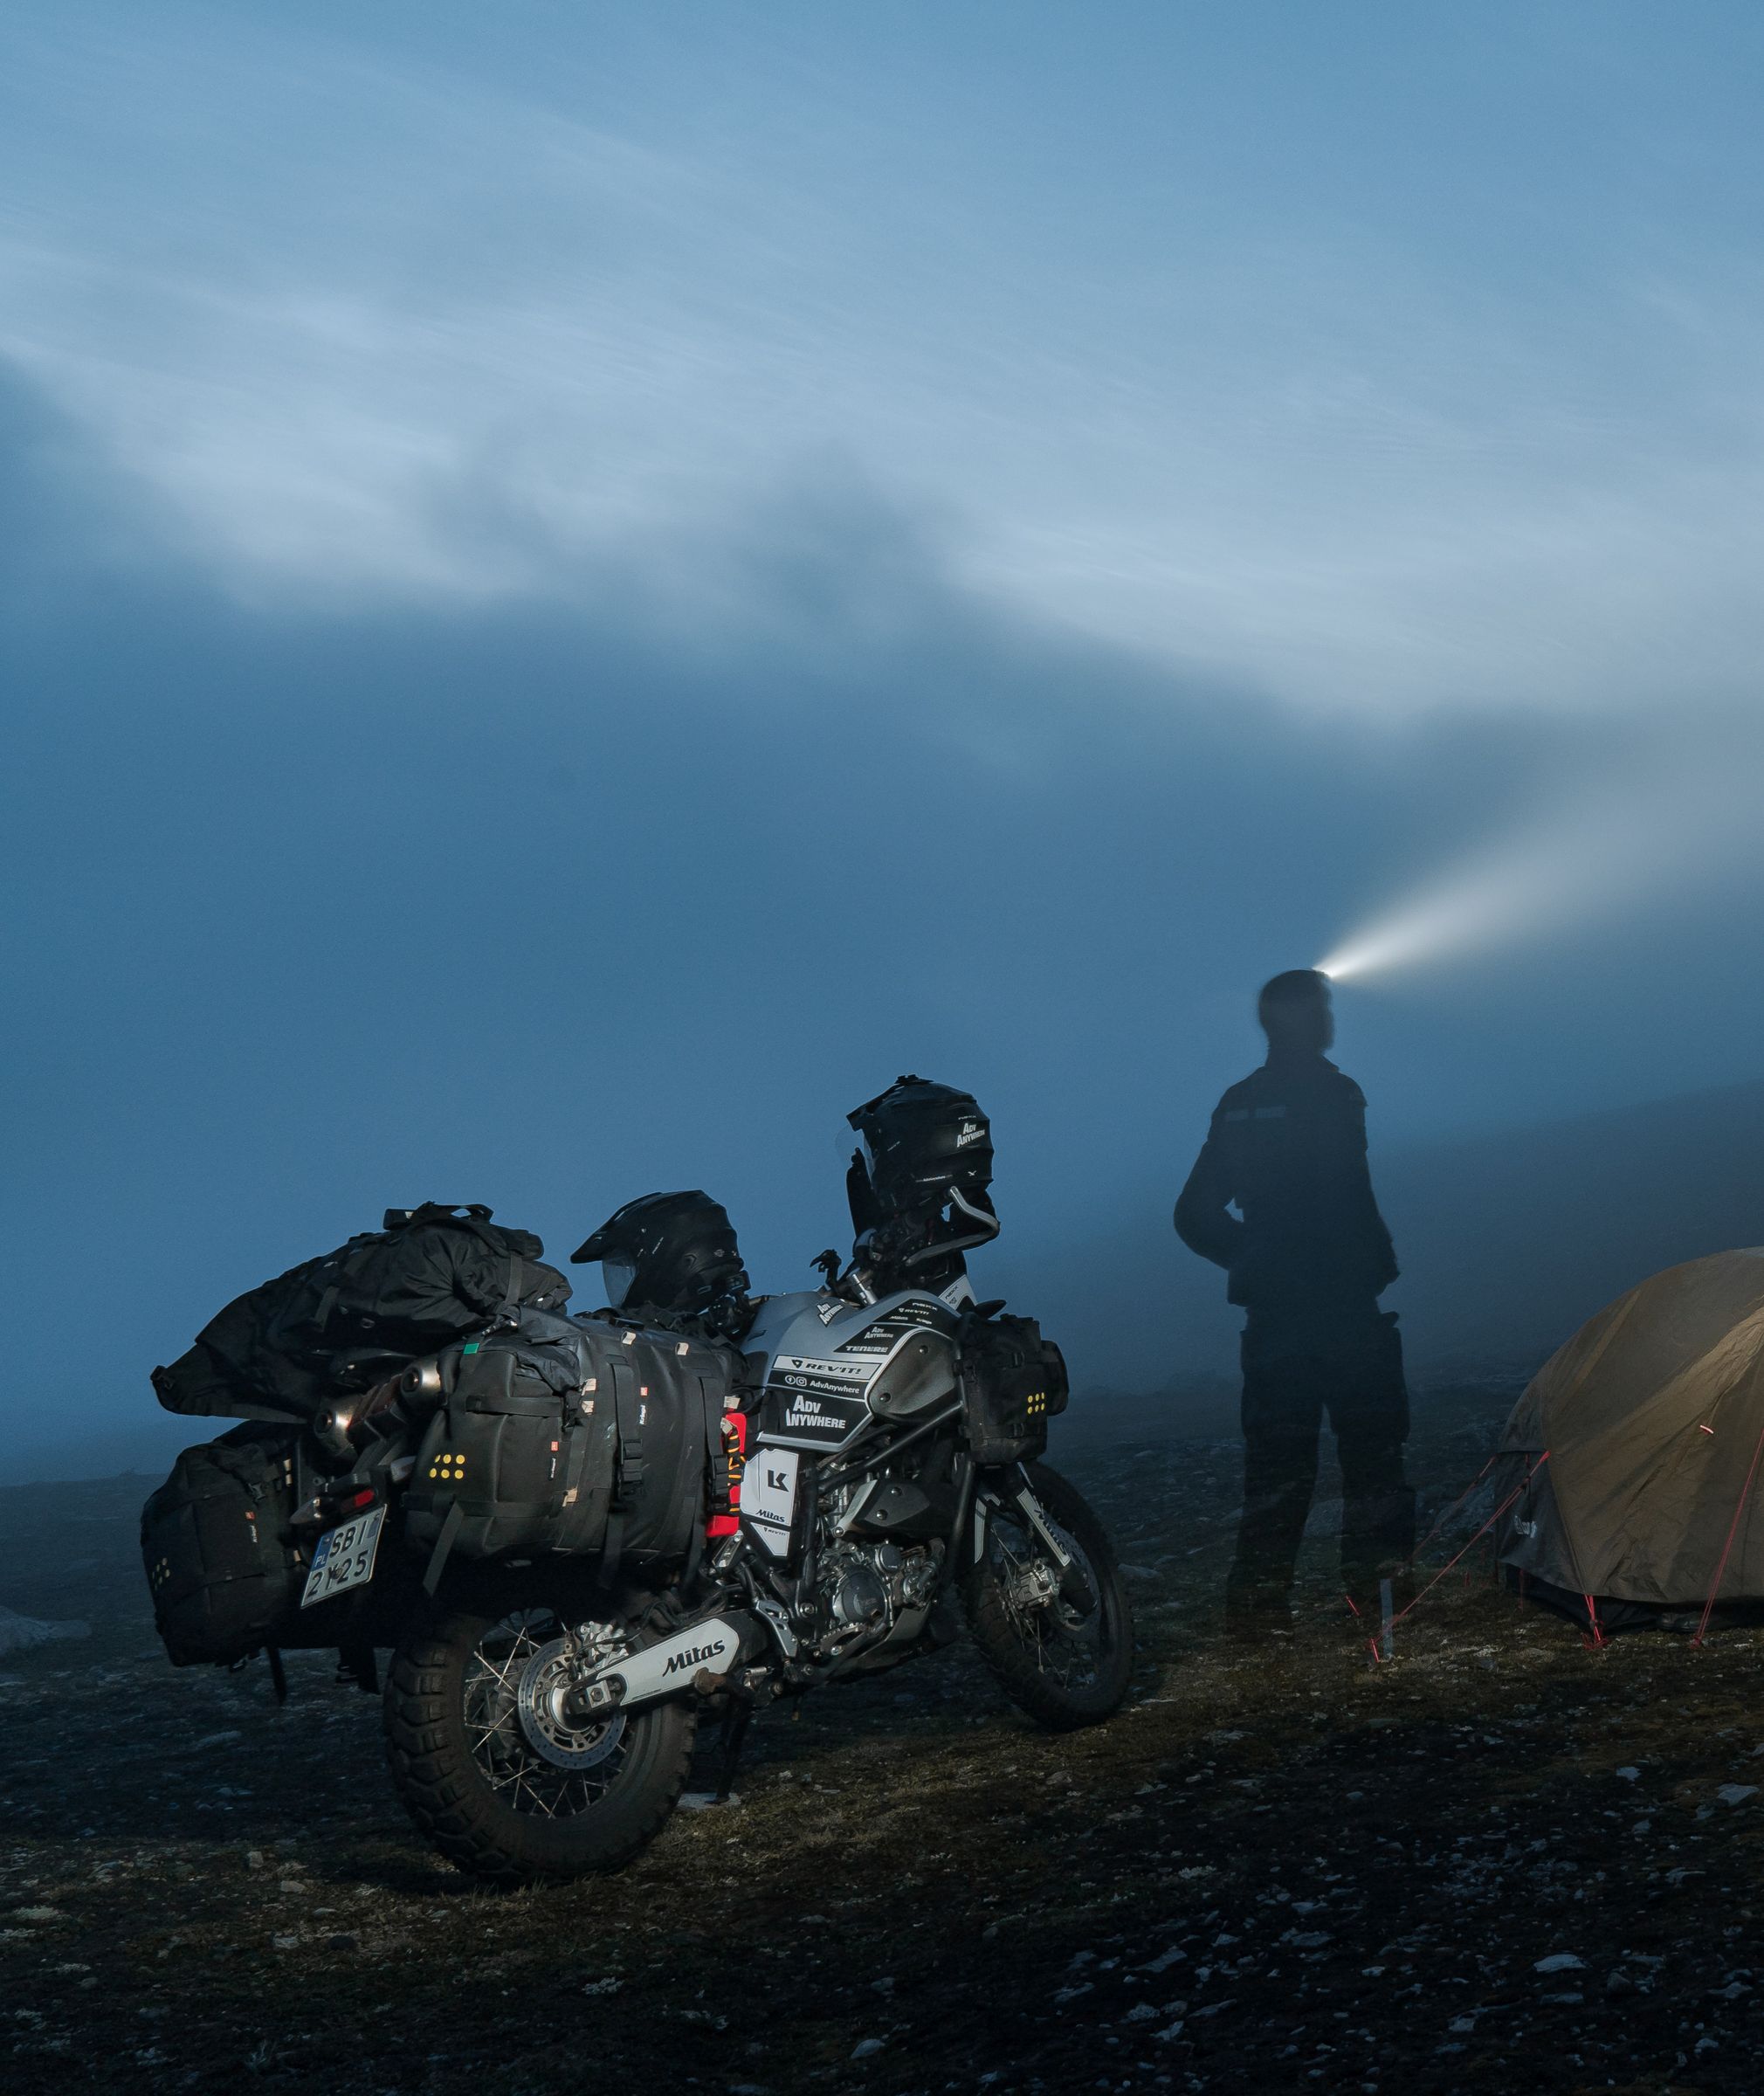
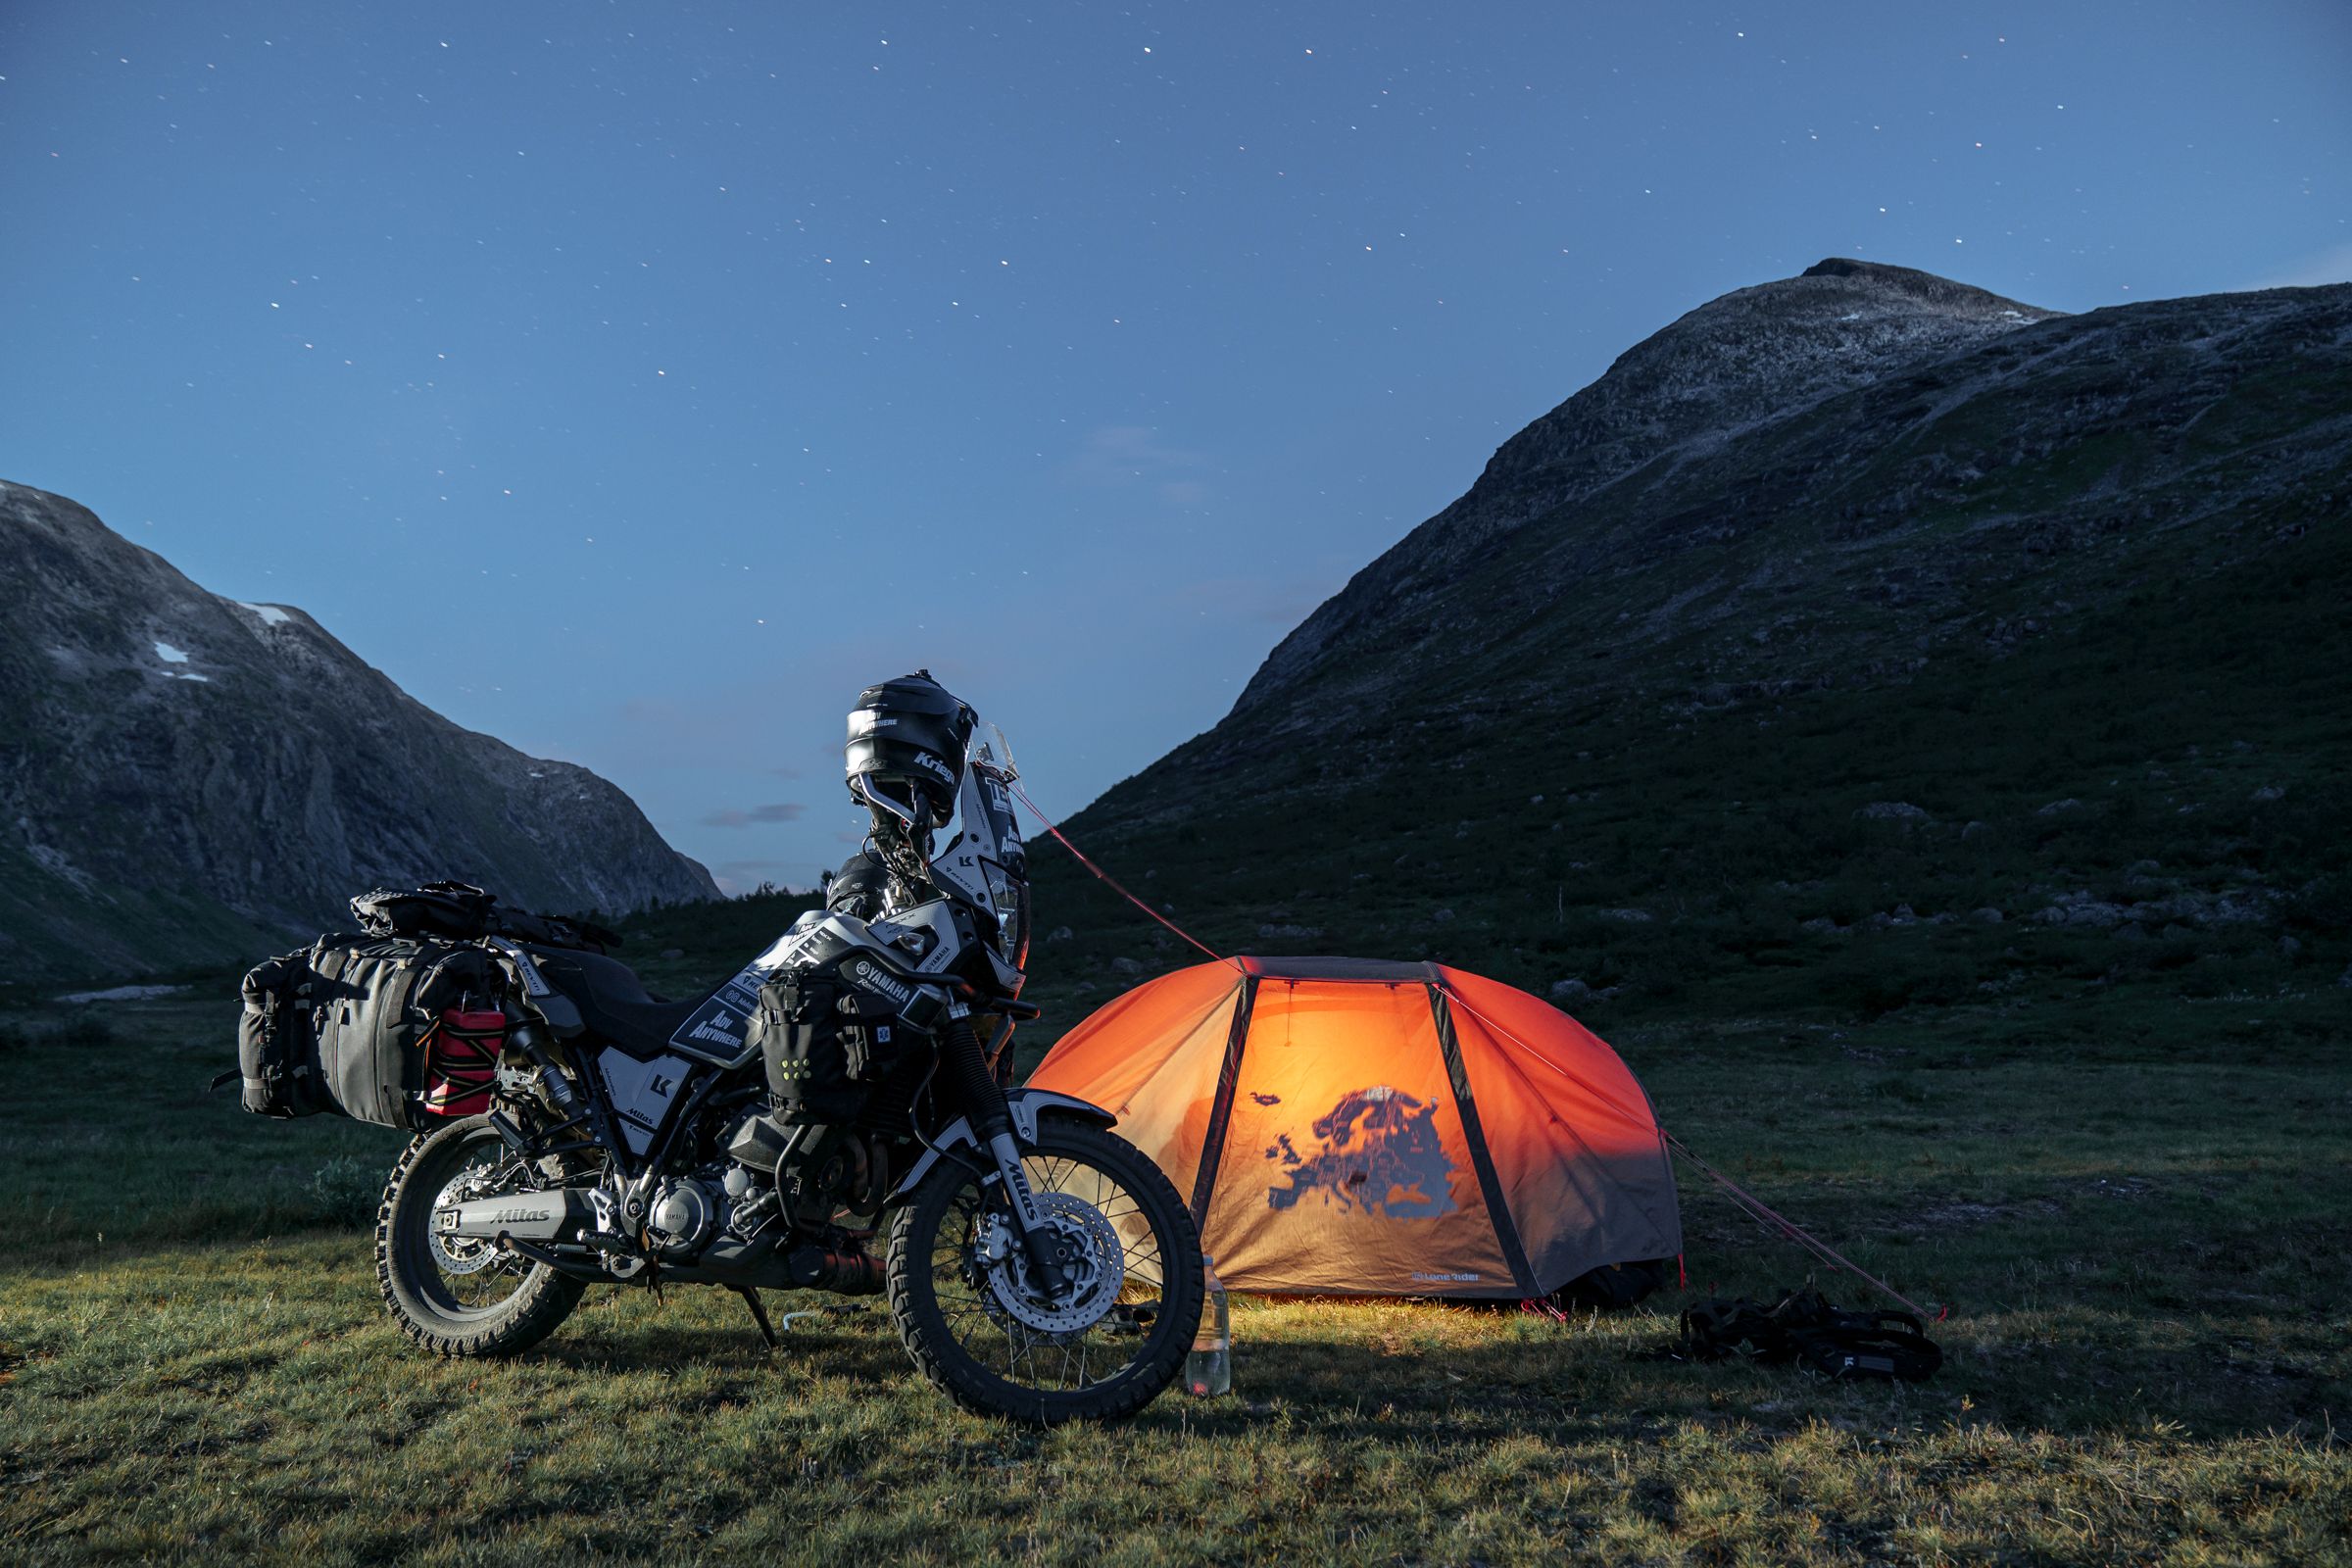
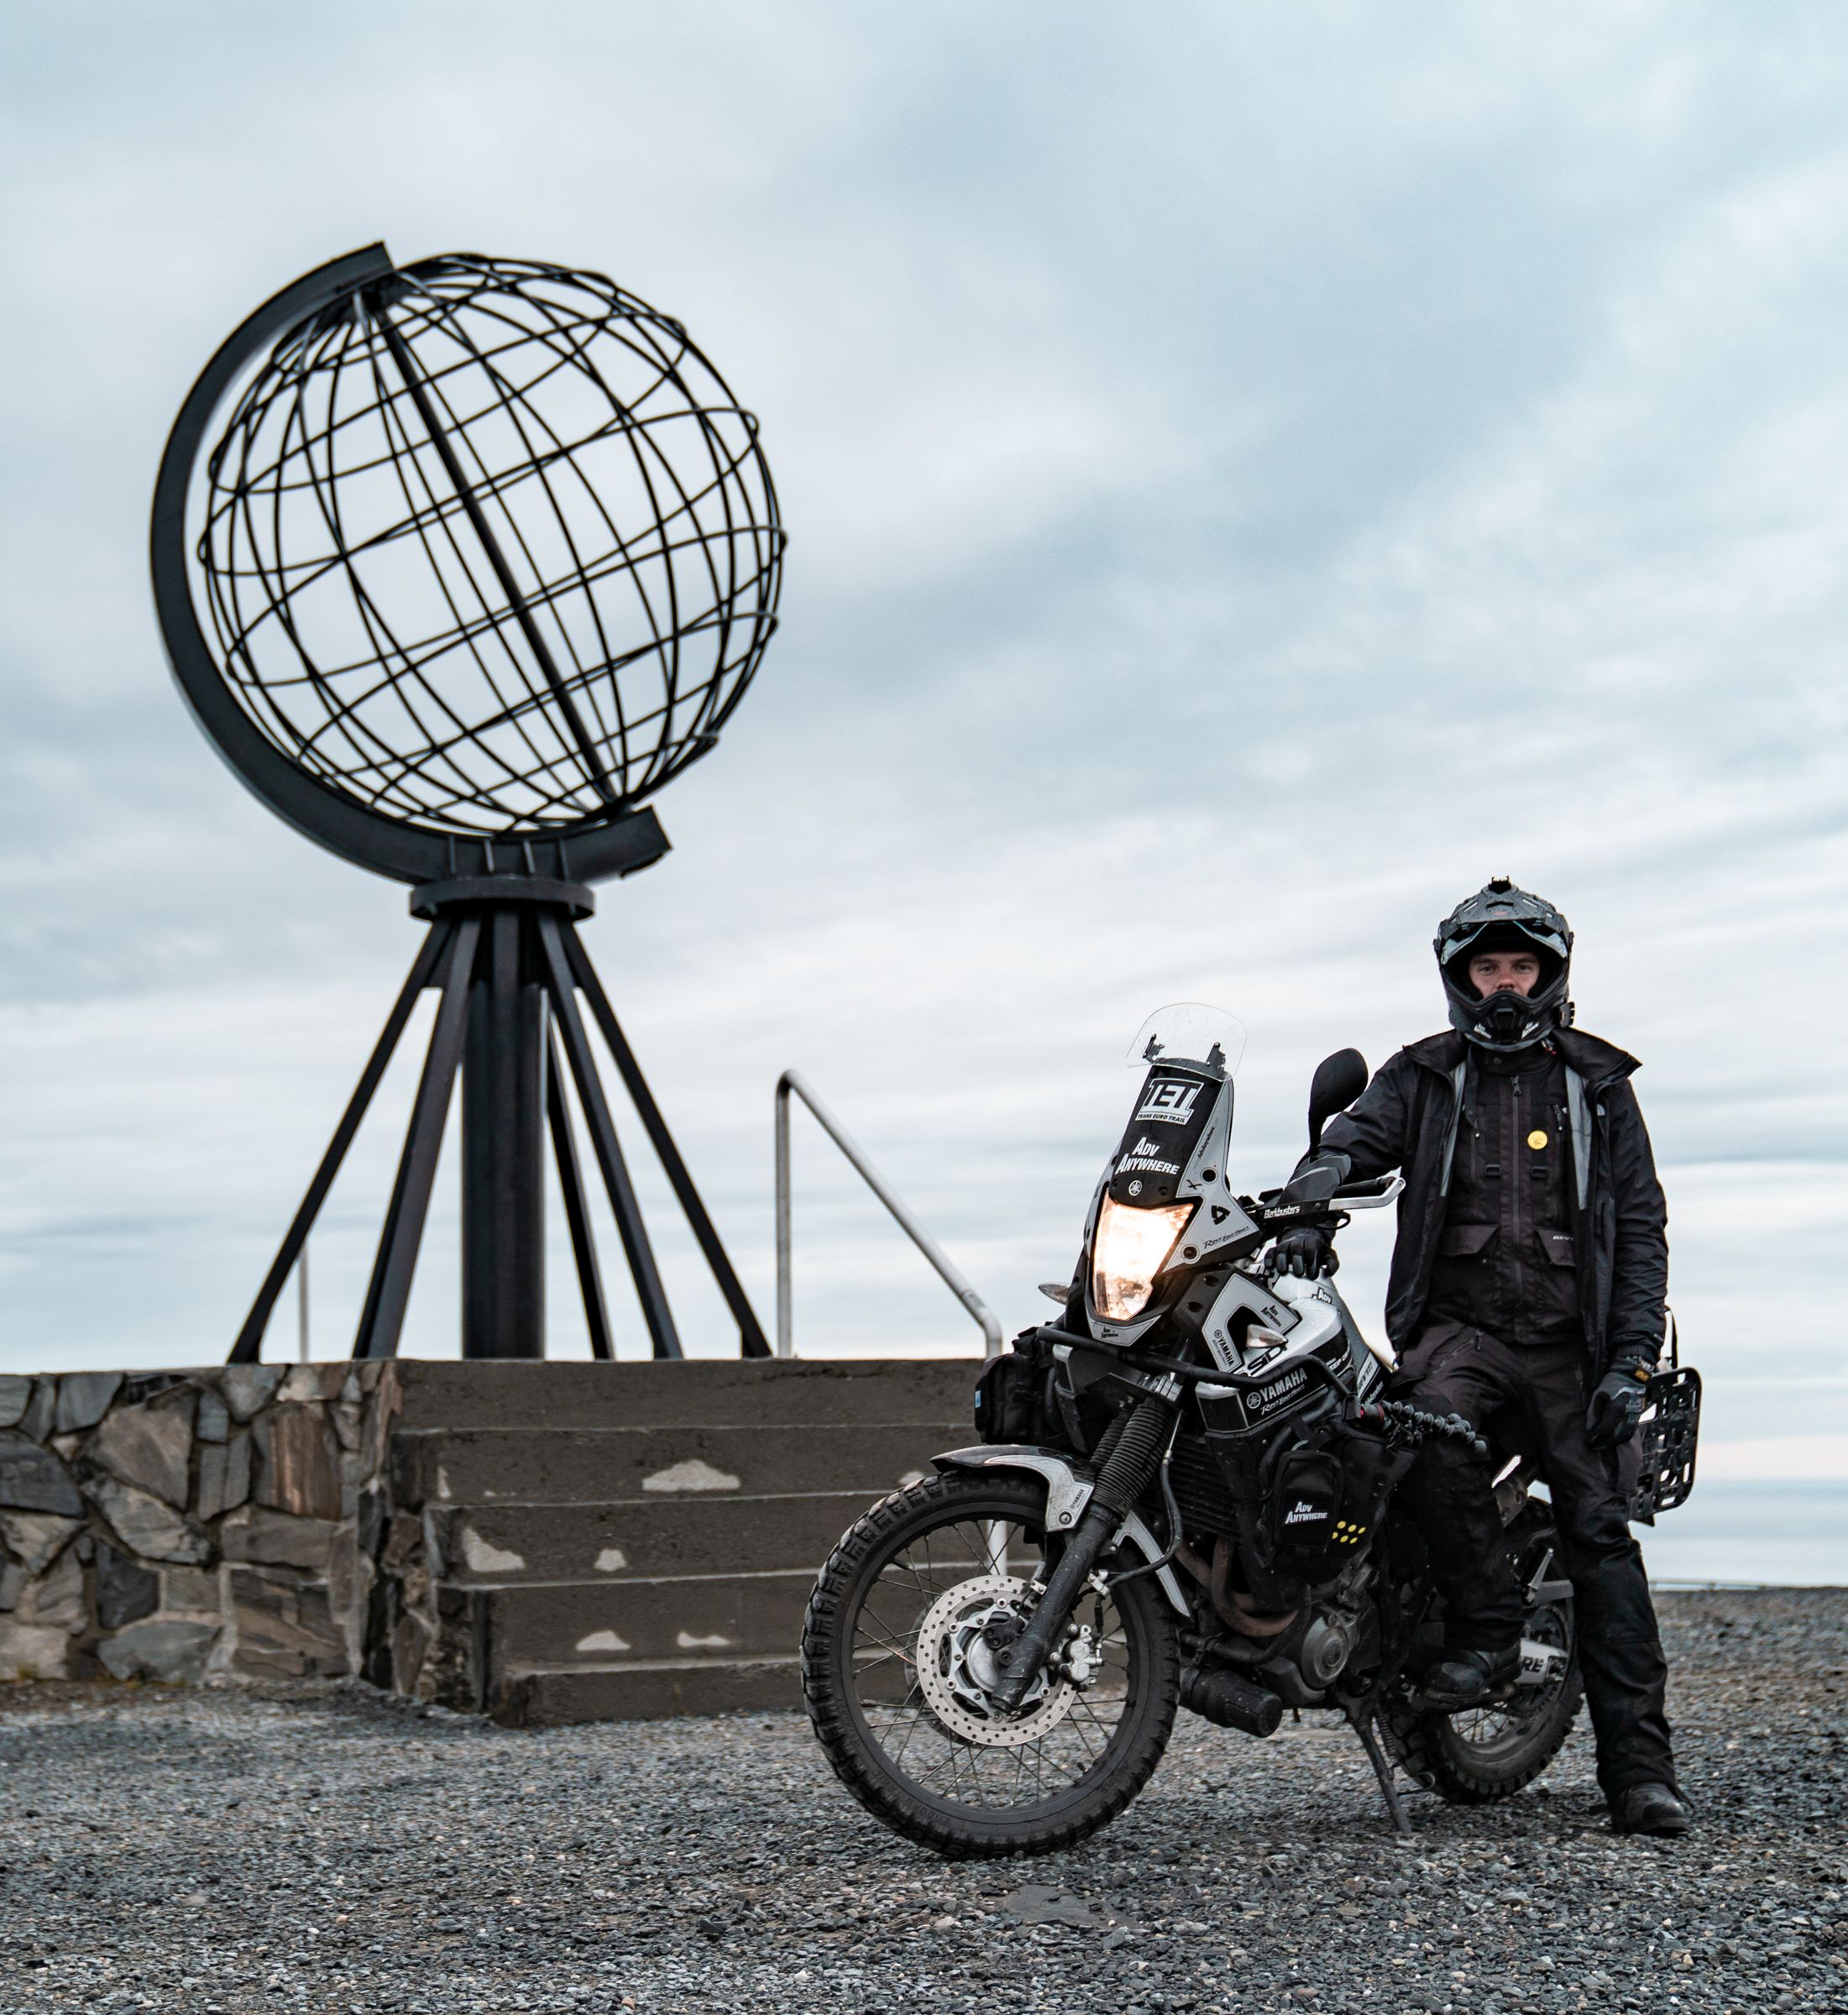
Three years and over 60,000 kilometers on the roads and through the wilderness of Europe in a wide variety of conditions. During this time, my Yamaha Tenere XT660Z has been equipped with many accessories and modifications. Today I believe that it is complete and has everything I need to travel.
Table of Contents
Accessories
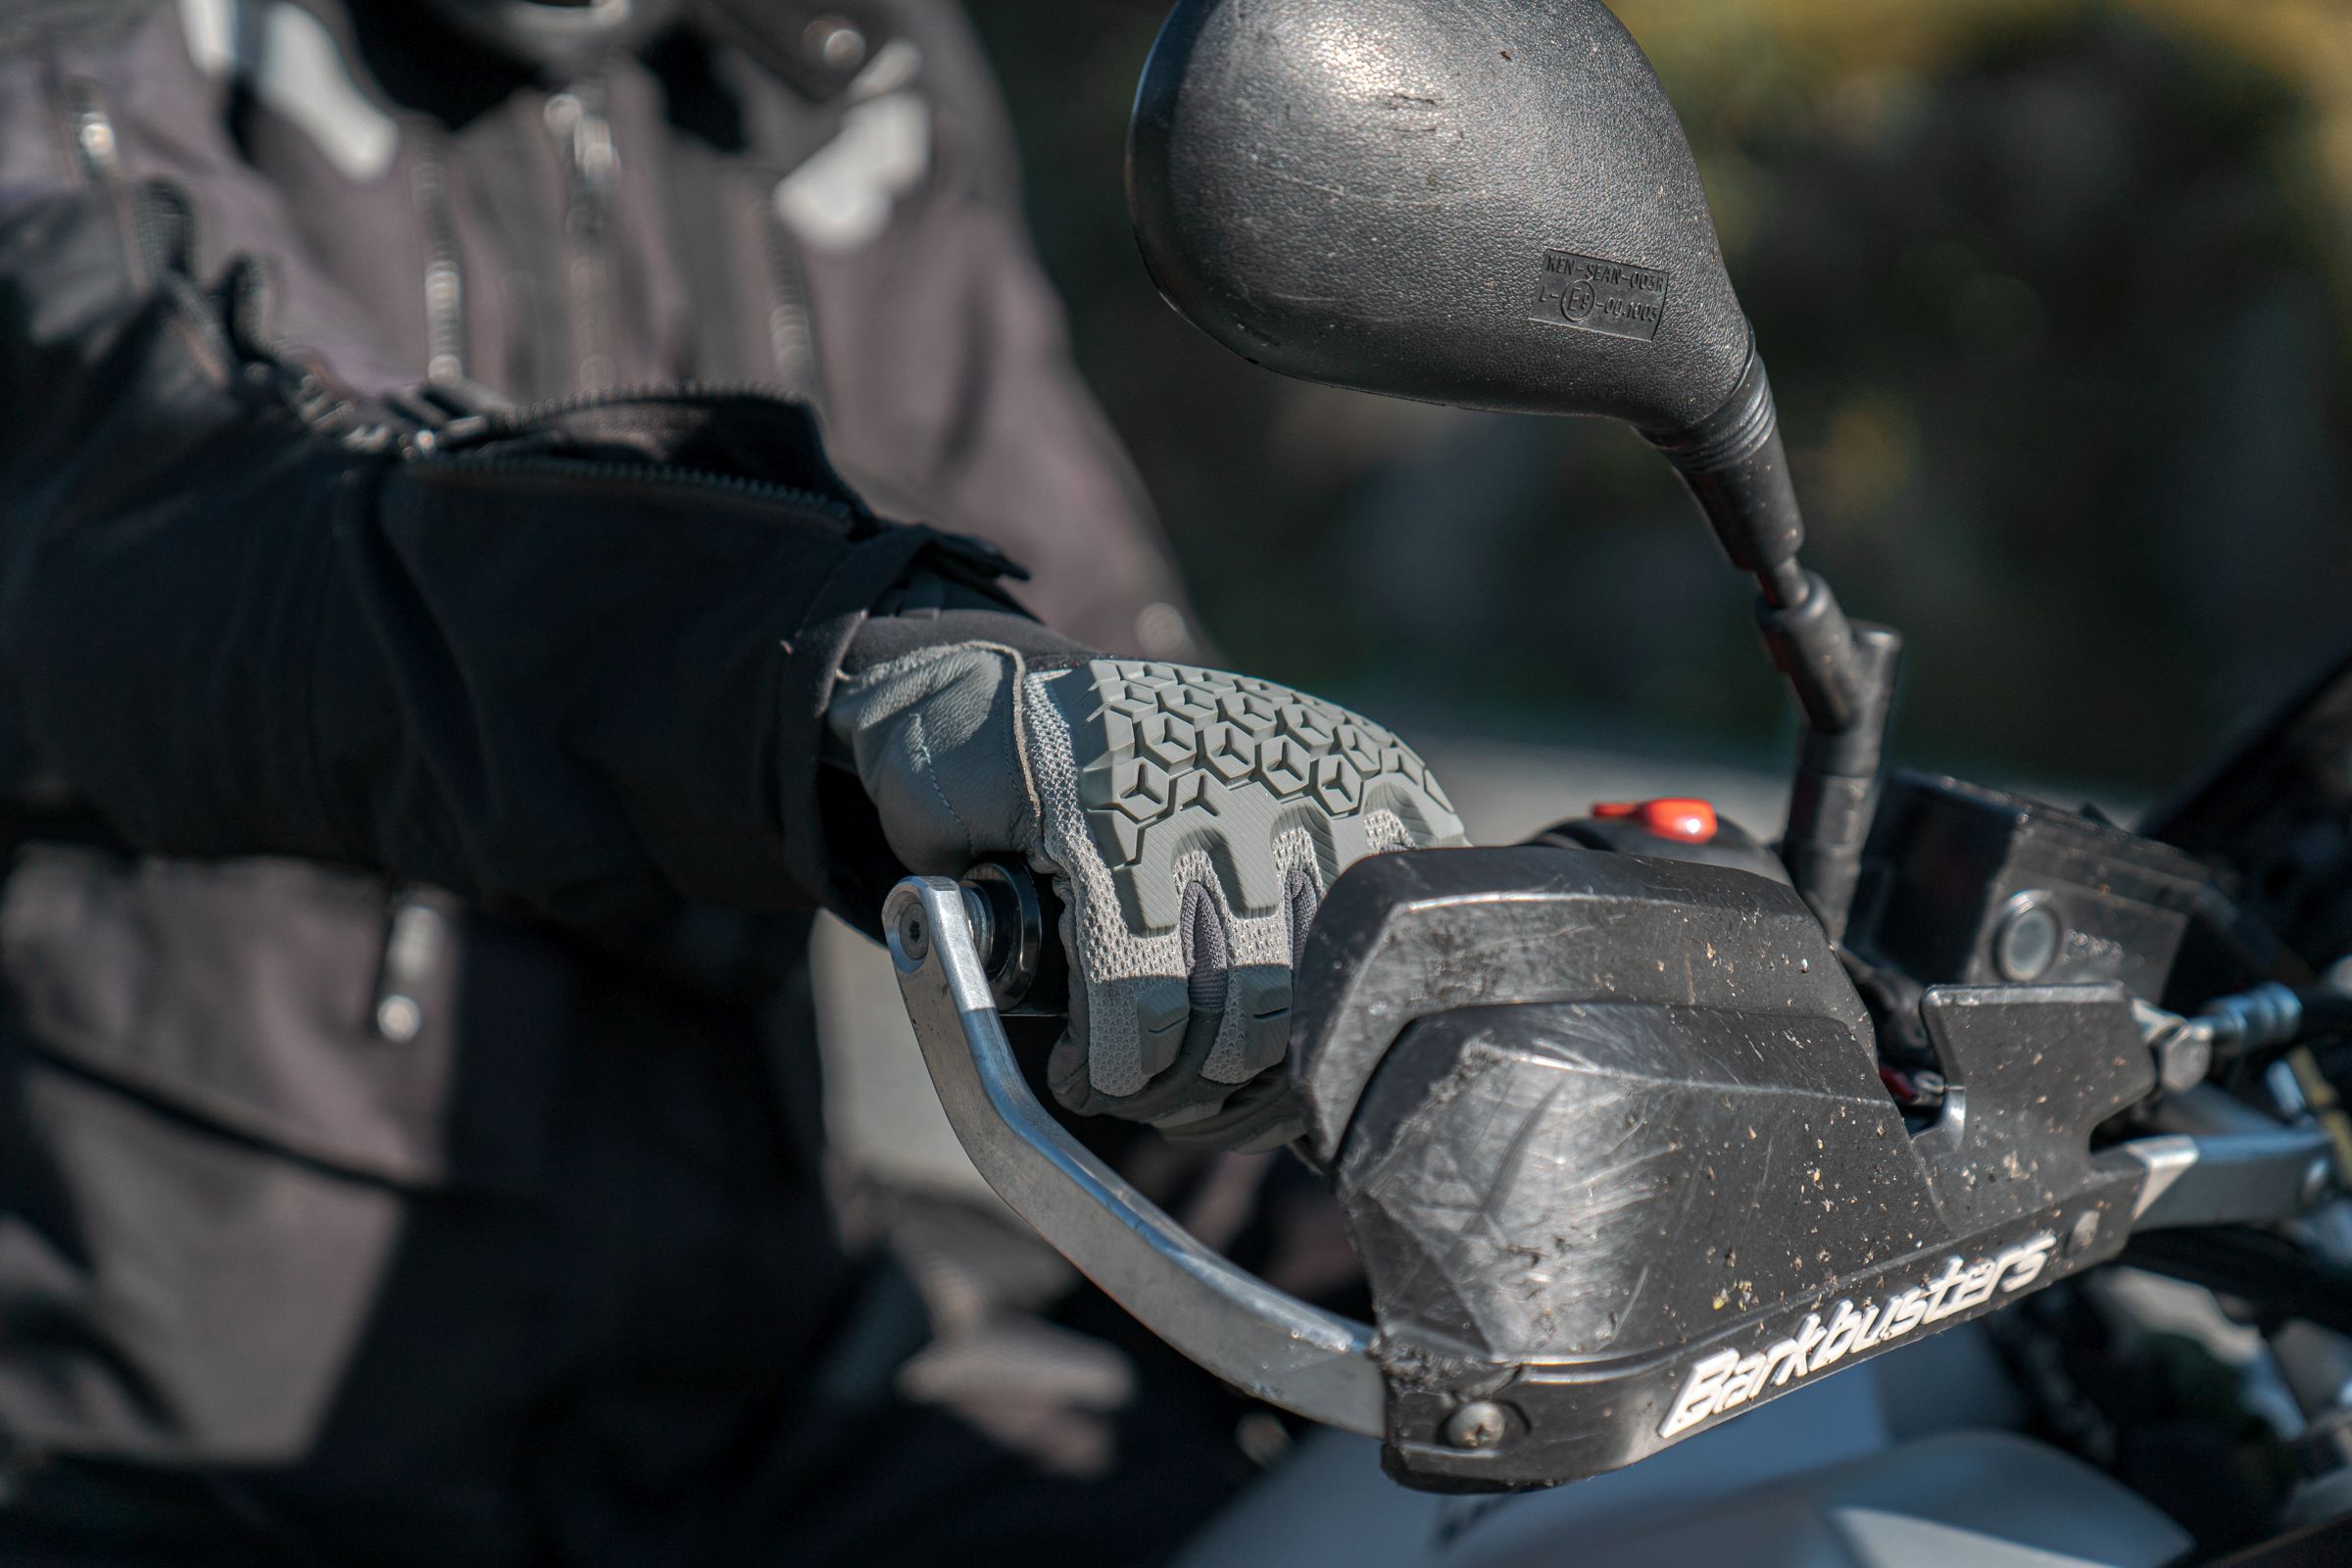
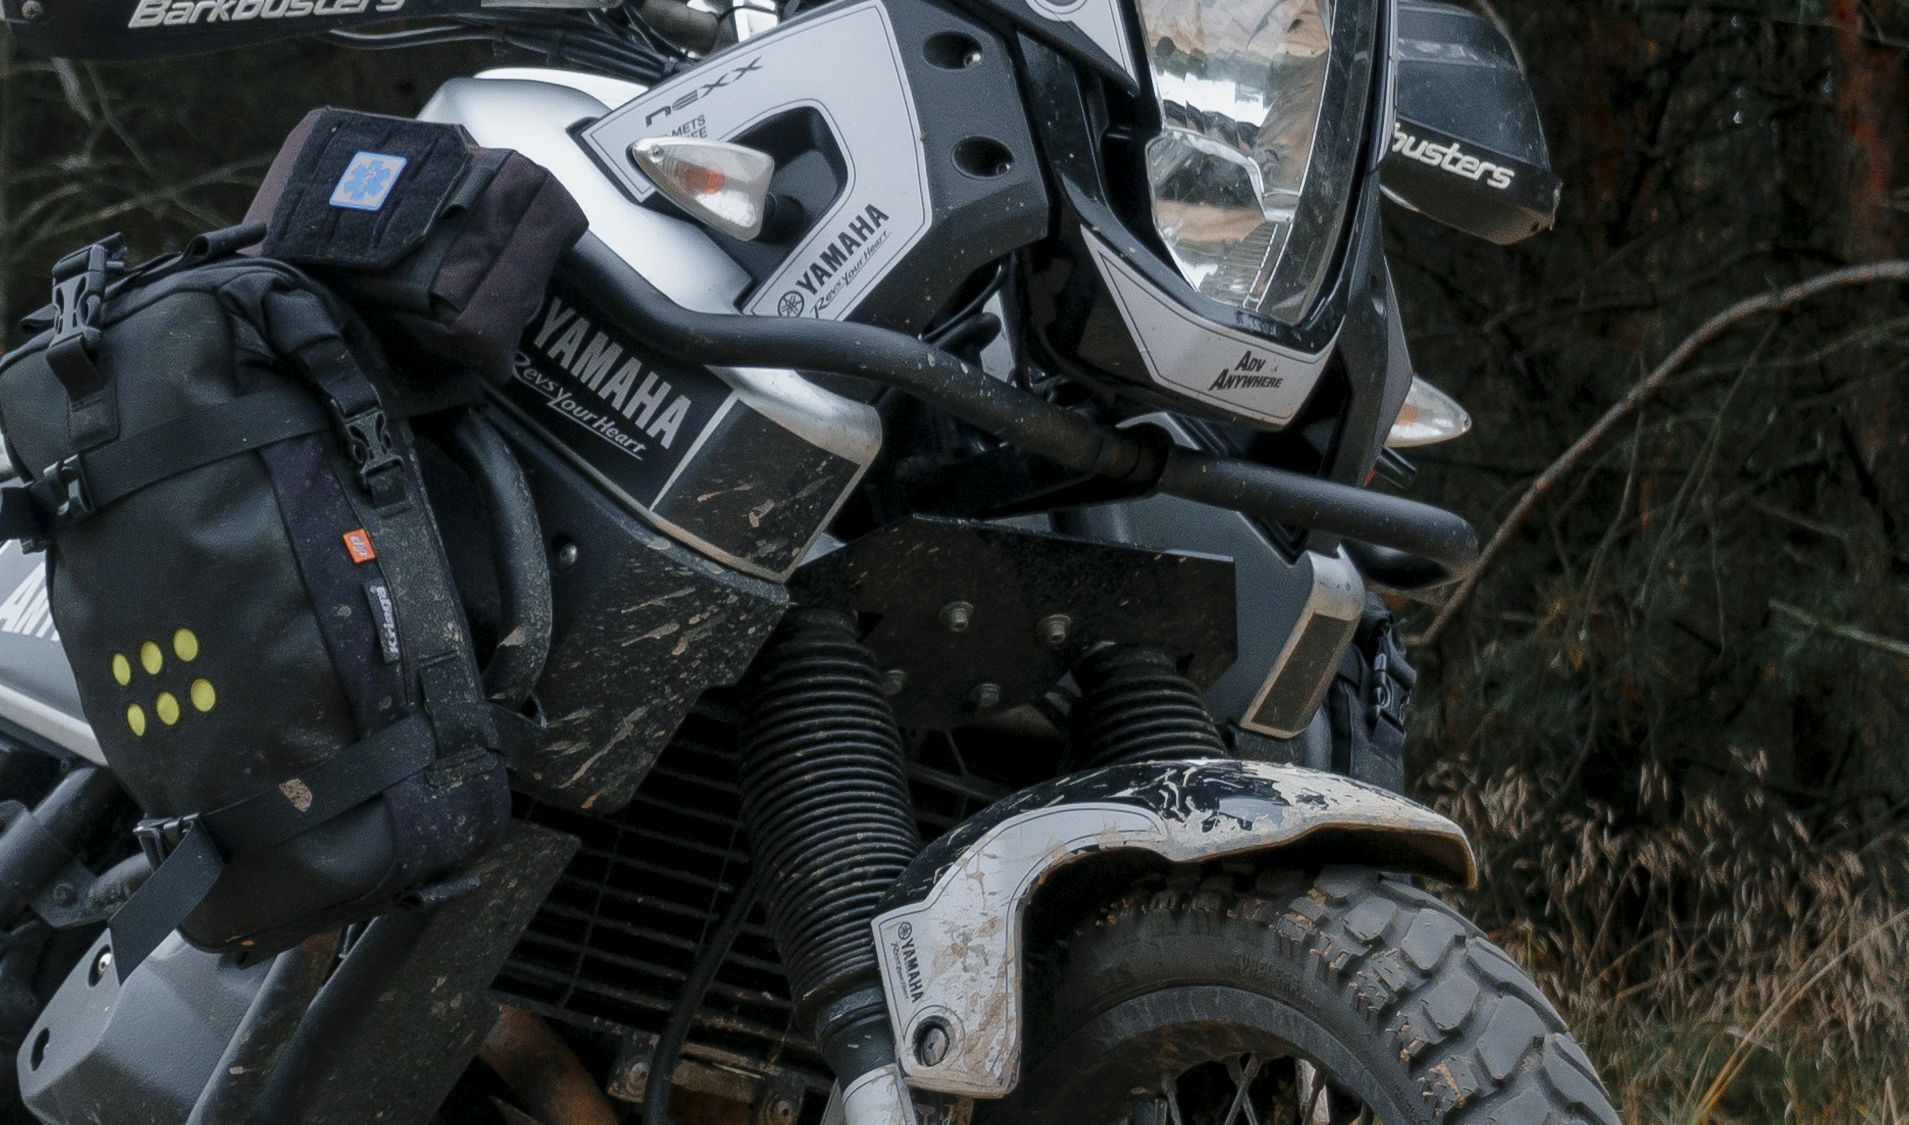
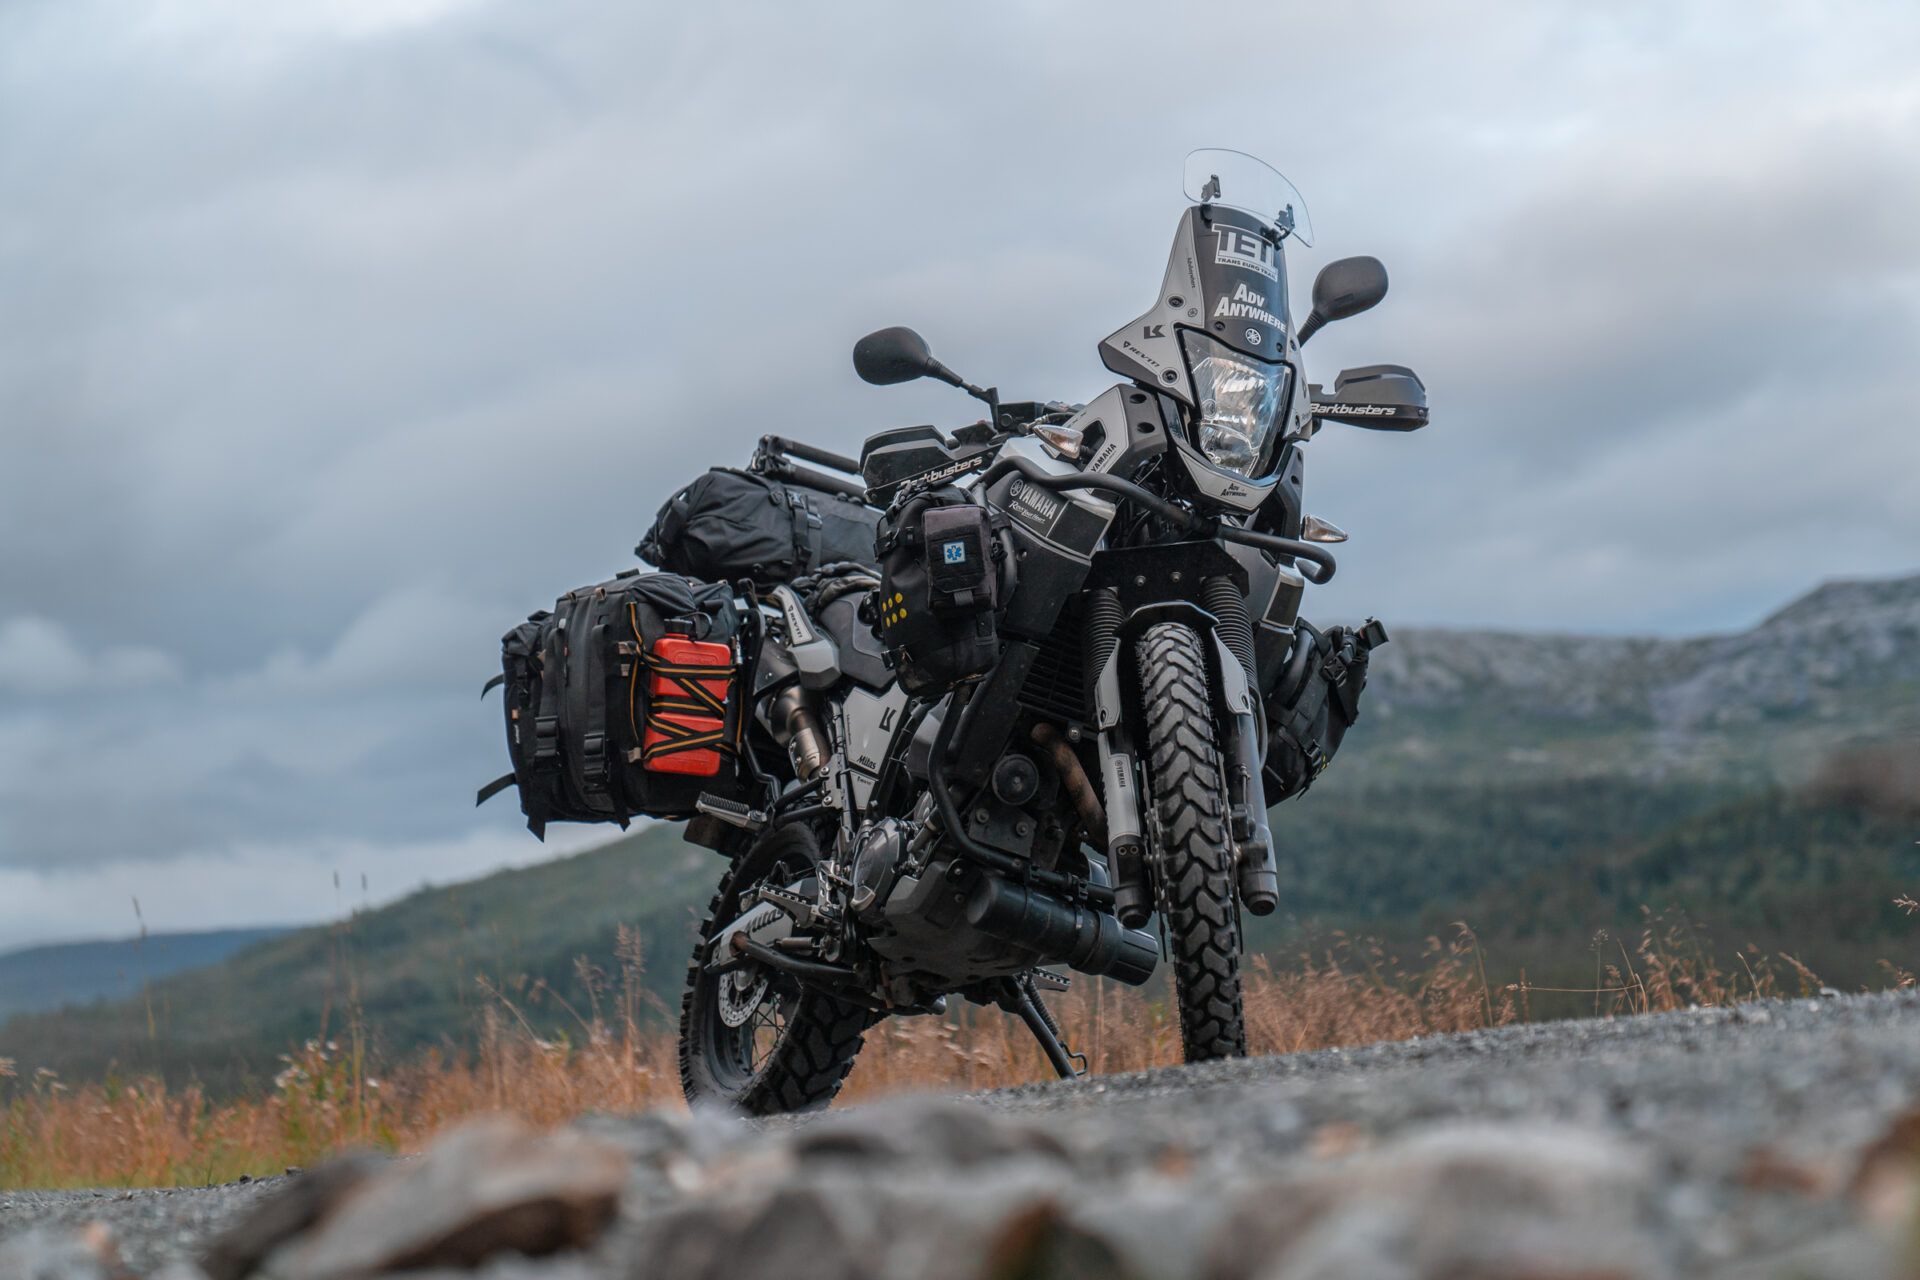
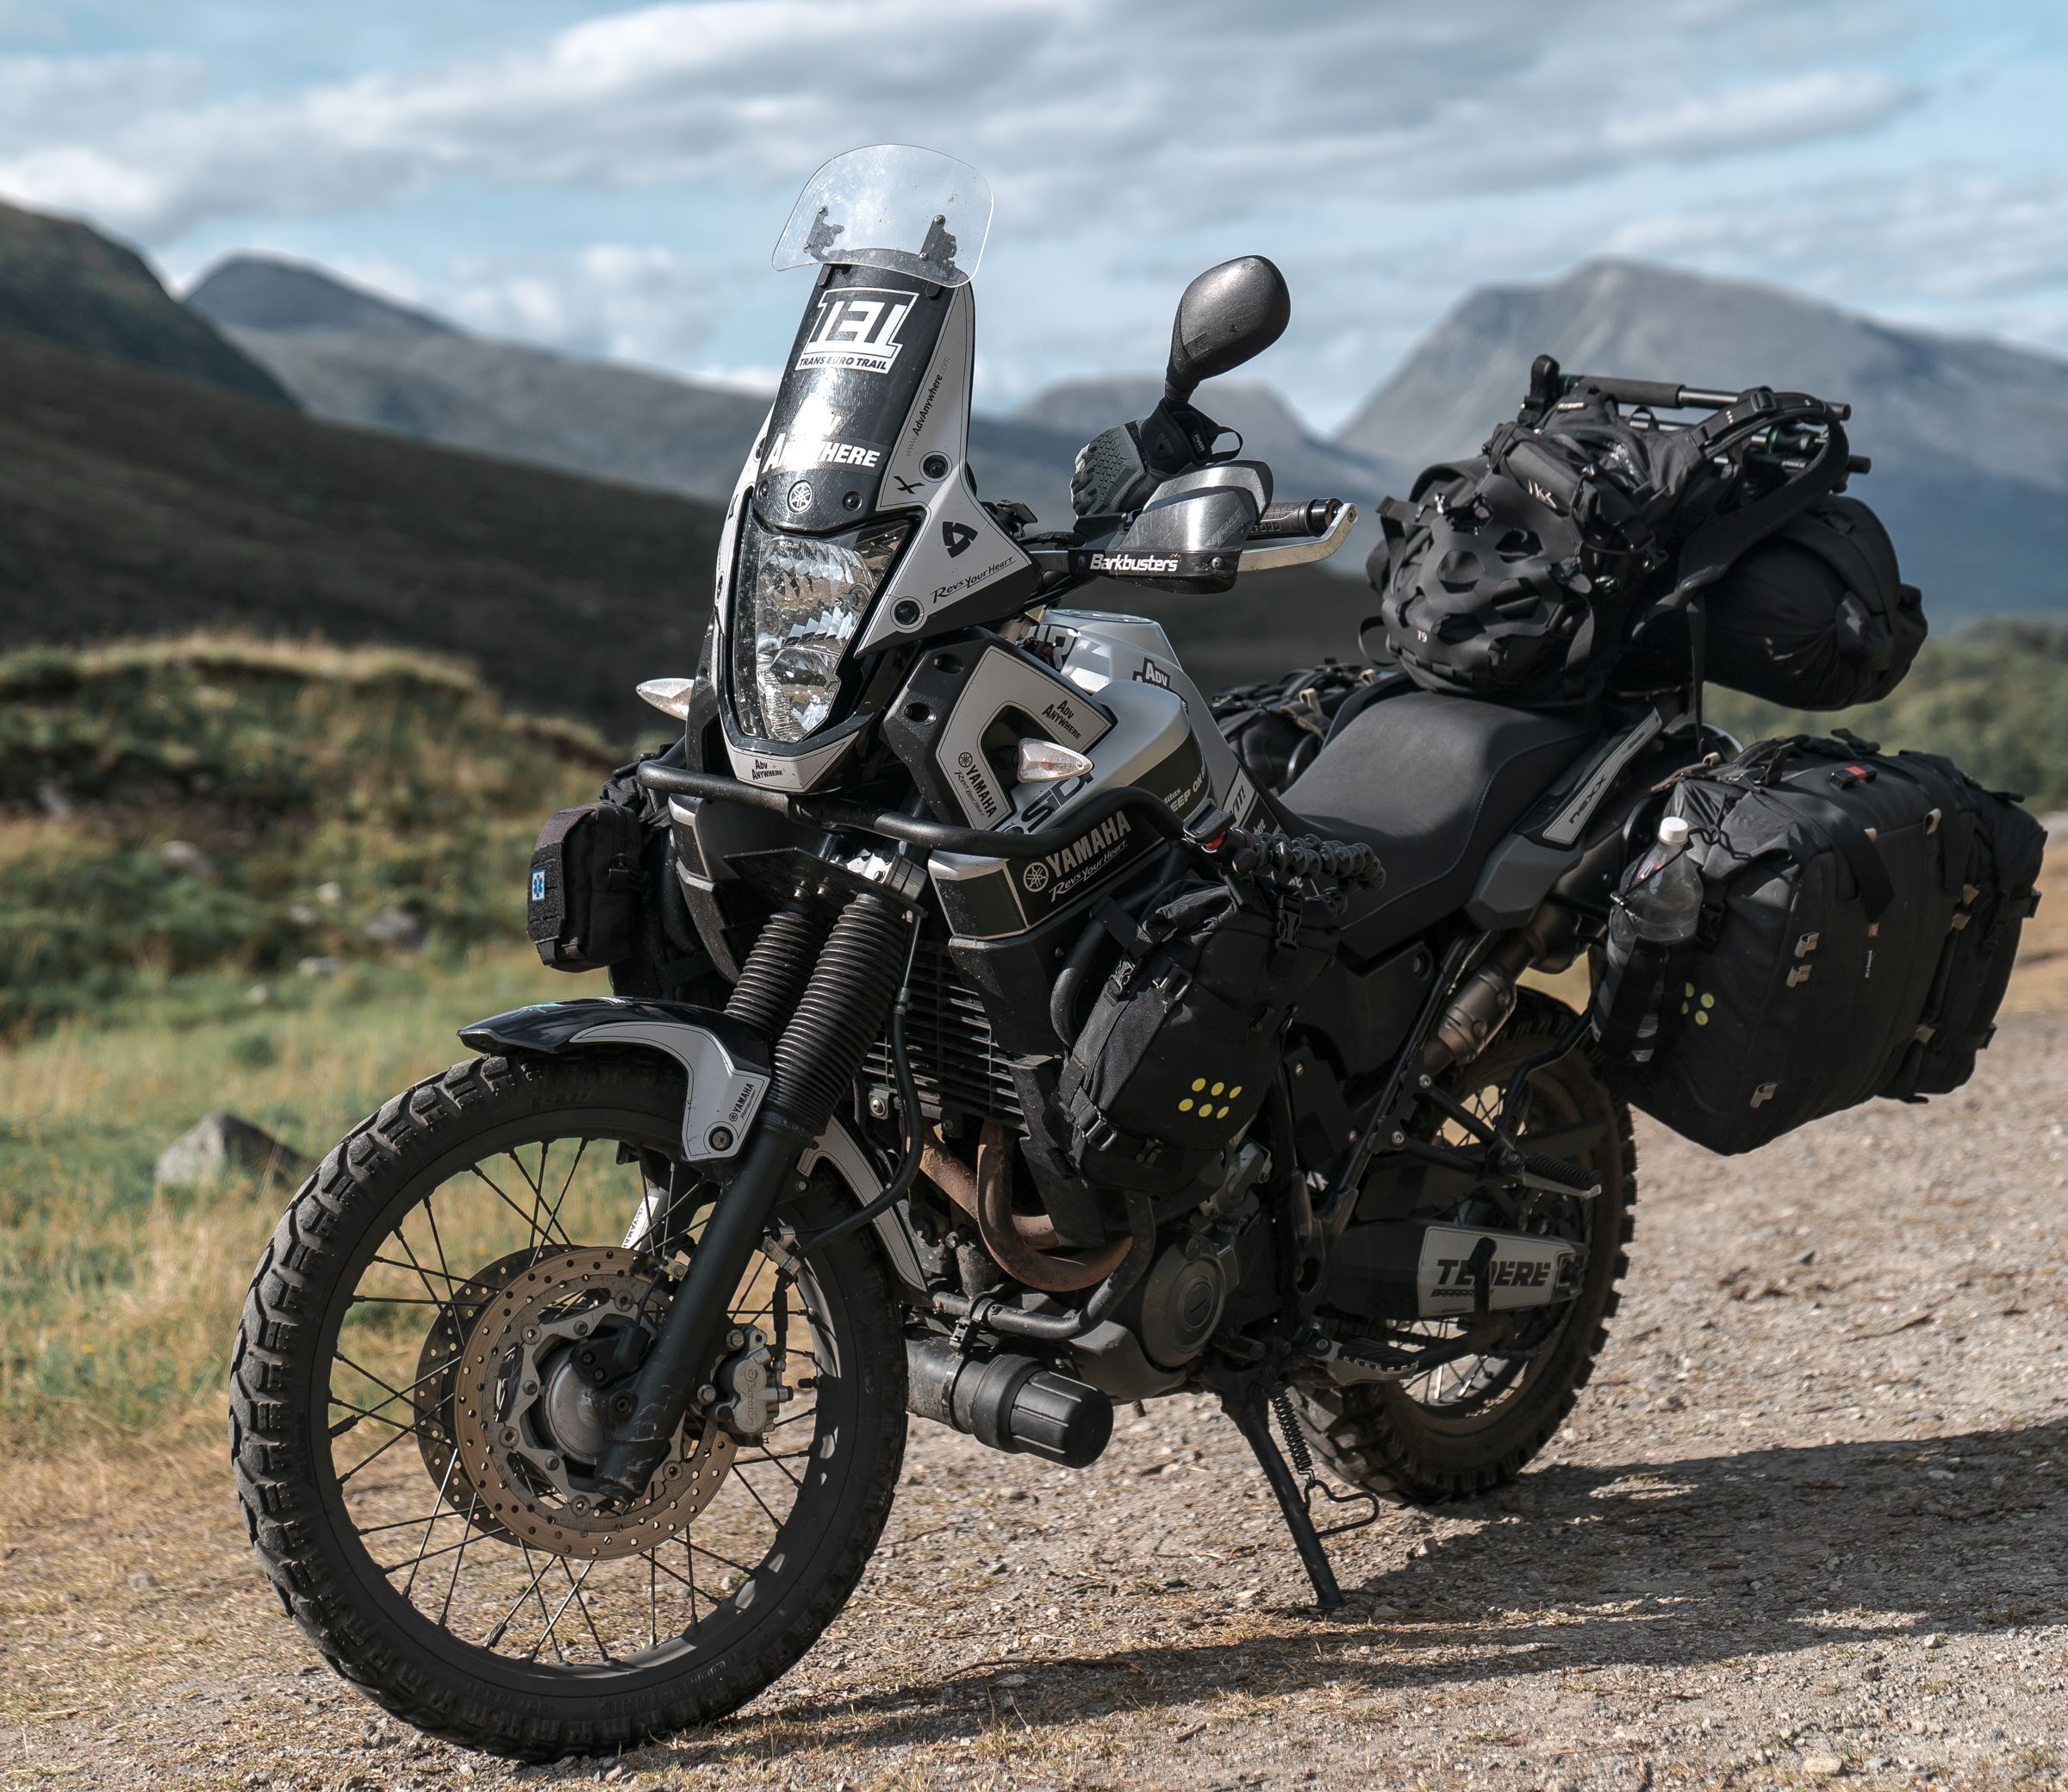
Barkbusters Handbars
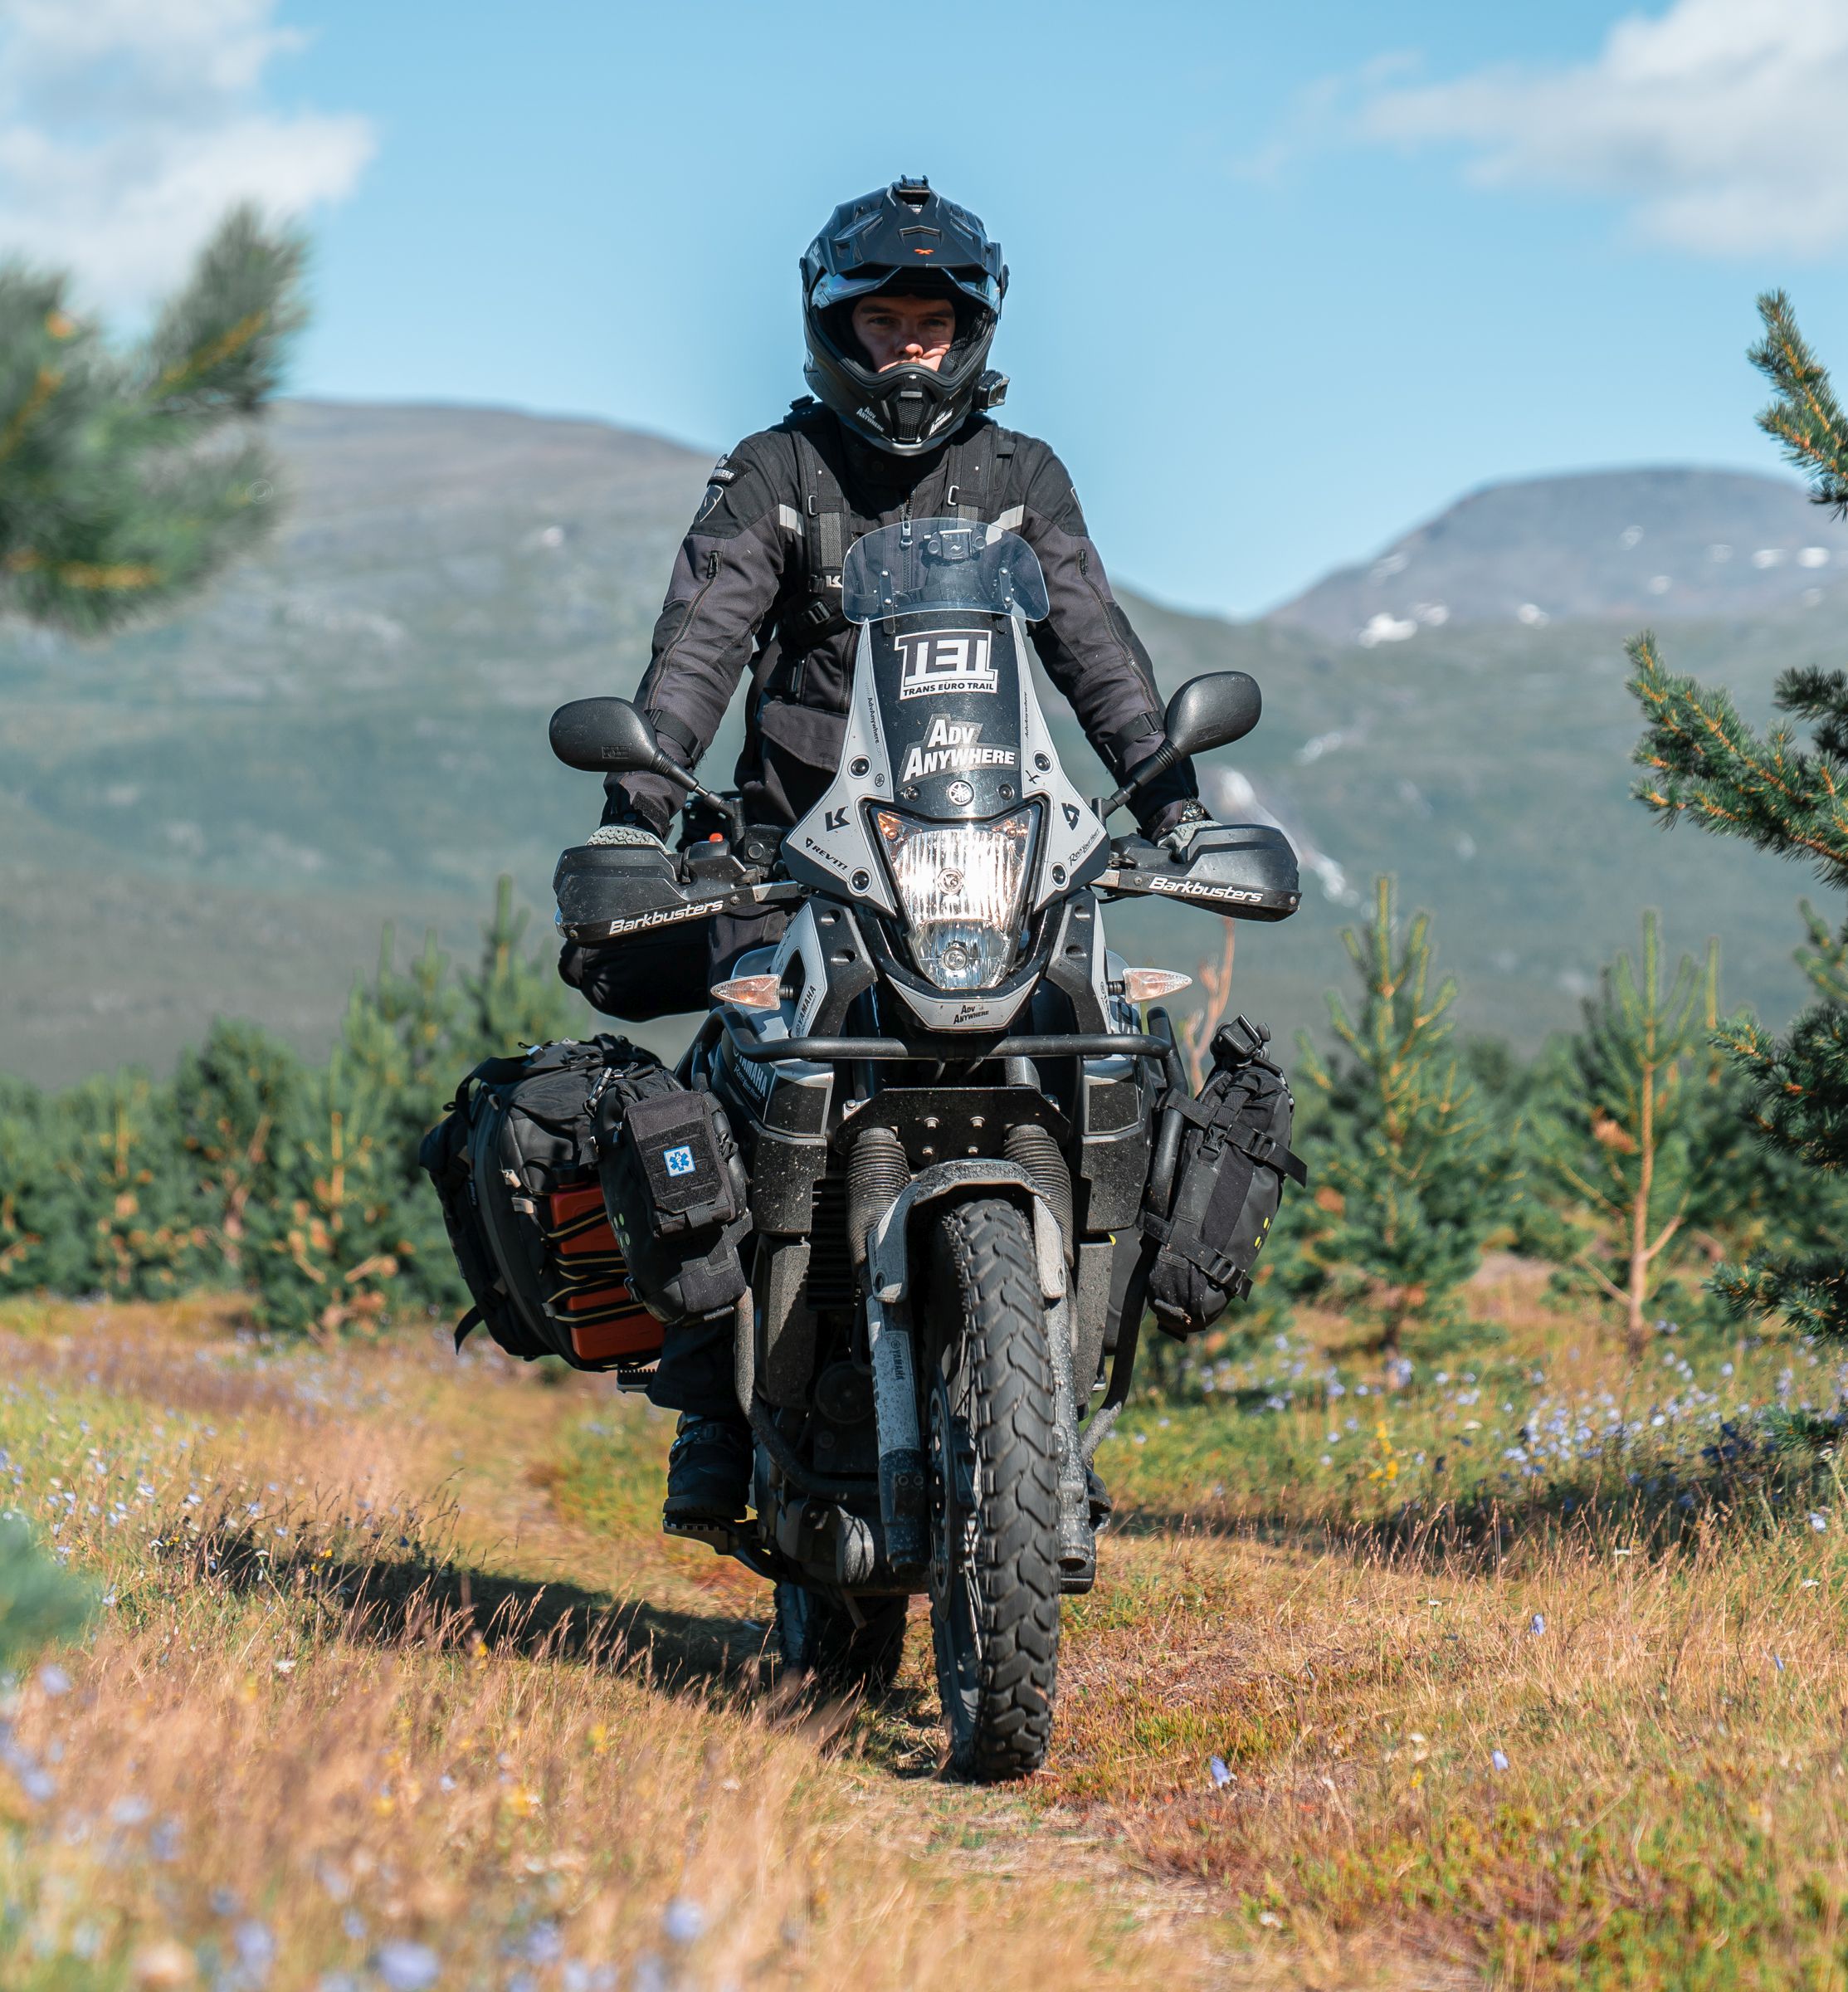
The first (and probably the most important) accessory I’d like to describe is handbars. In ADV motorcycles, their main use is to protect the handles against breaking, not to protect the hands from the wind, as many wrongly think.
In my case, the Barkbusters handbars turned out to be the best solution mounting-wise. The advantage of this model over others is its very durable aluminum construction. It’s absolutely the most important protective element of a motorcycle. Without them, even innocent motorcycle dropping could end up with a broken clutch lever or, even worse, the brake lever. Such a failure cannot be afforded during off-road journeys.
Barkbusters have served me for 60,000km and they have fulfilled their task countless times. Plastic casings also perfectly protect the hands from branches while squeezing through the thicket.
https://barkbusters.net/what-fits-my/yamaha/xt660/vps/two-point-mount/
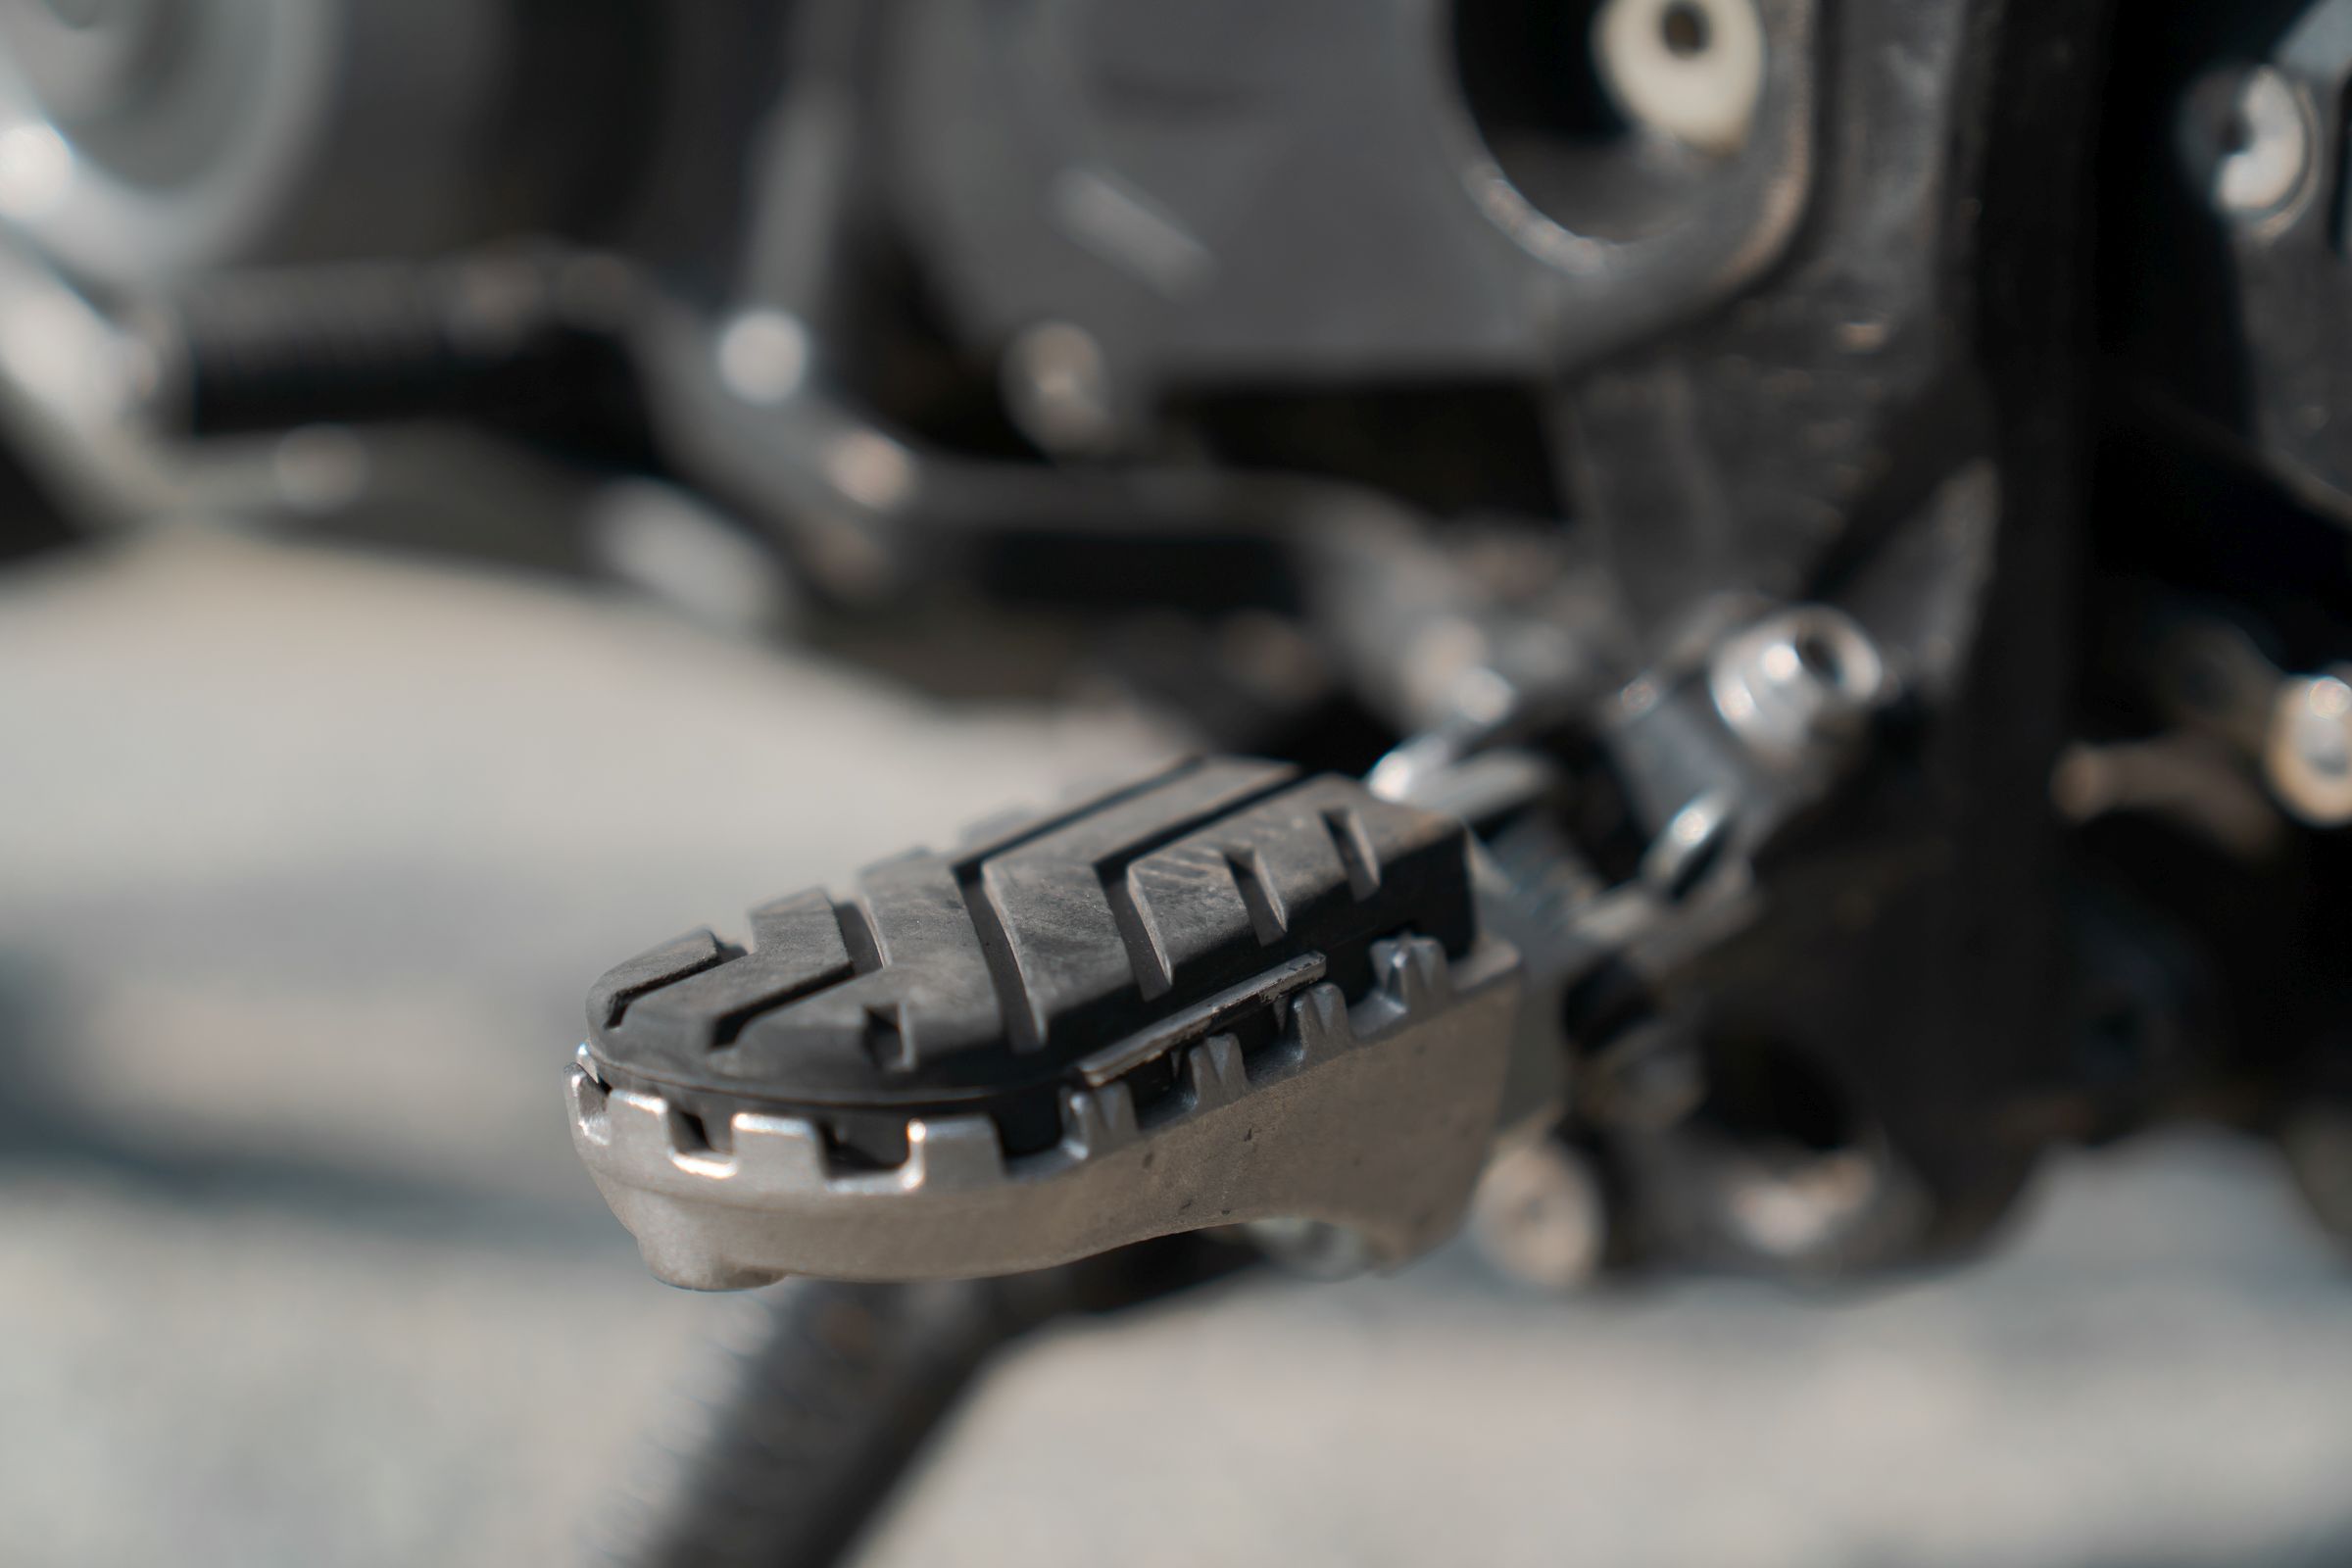
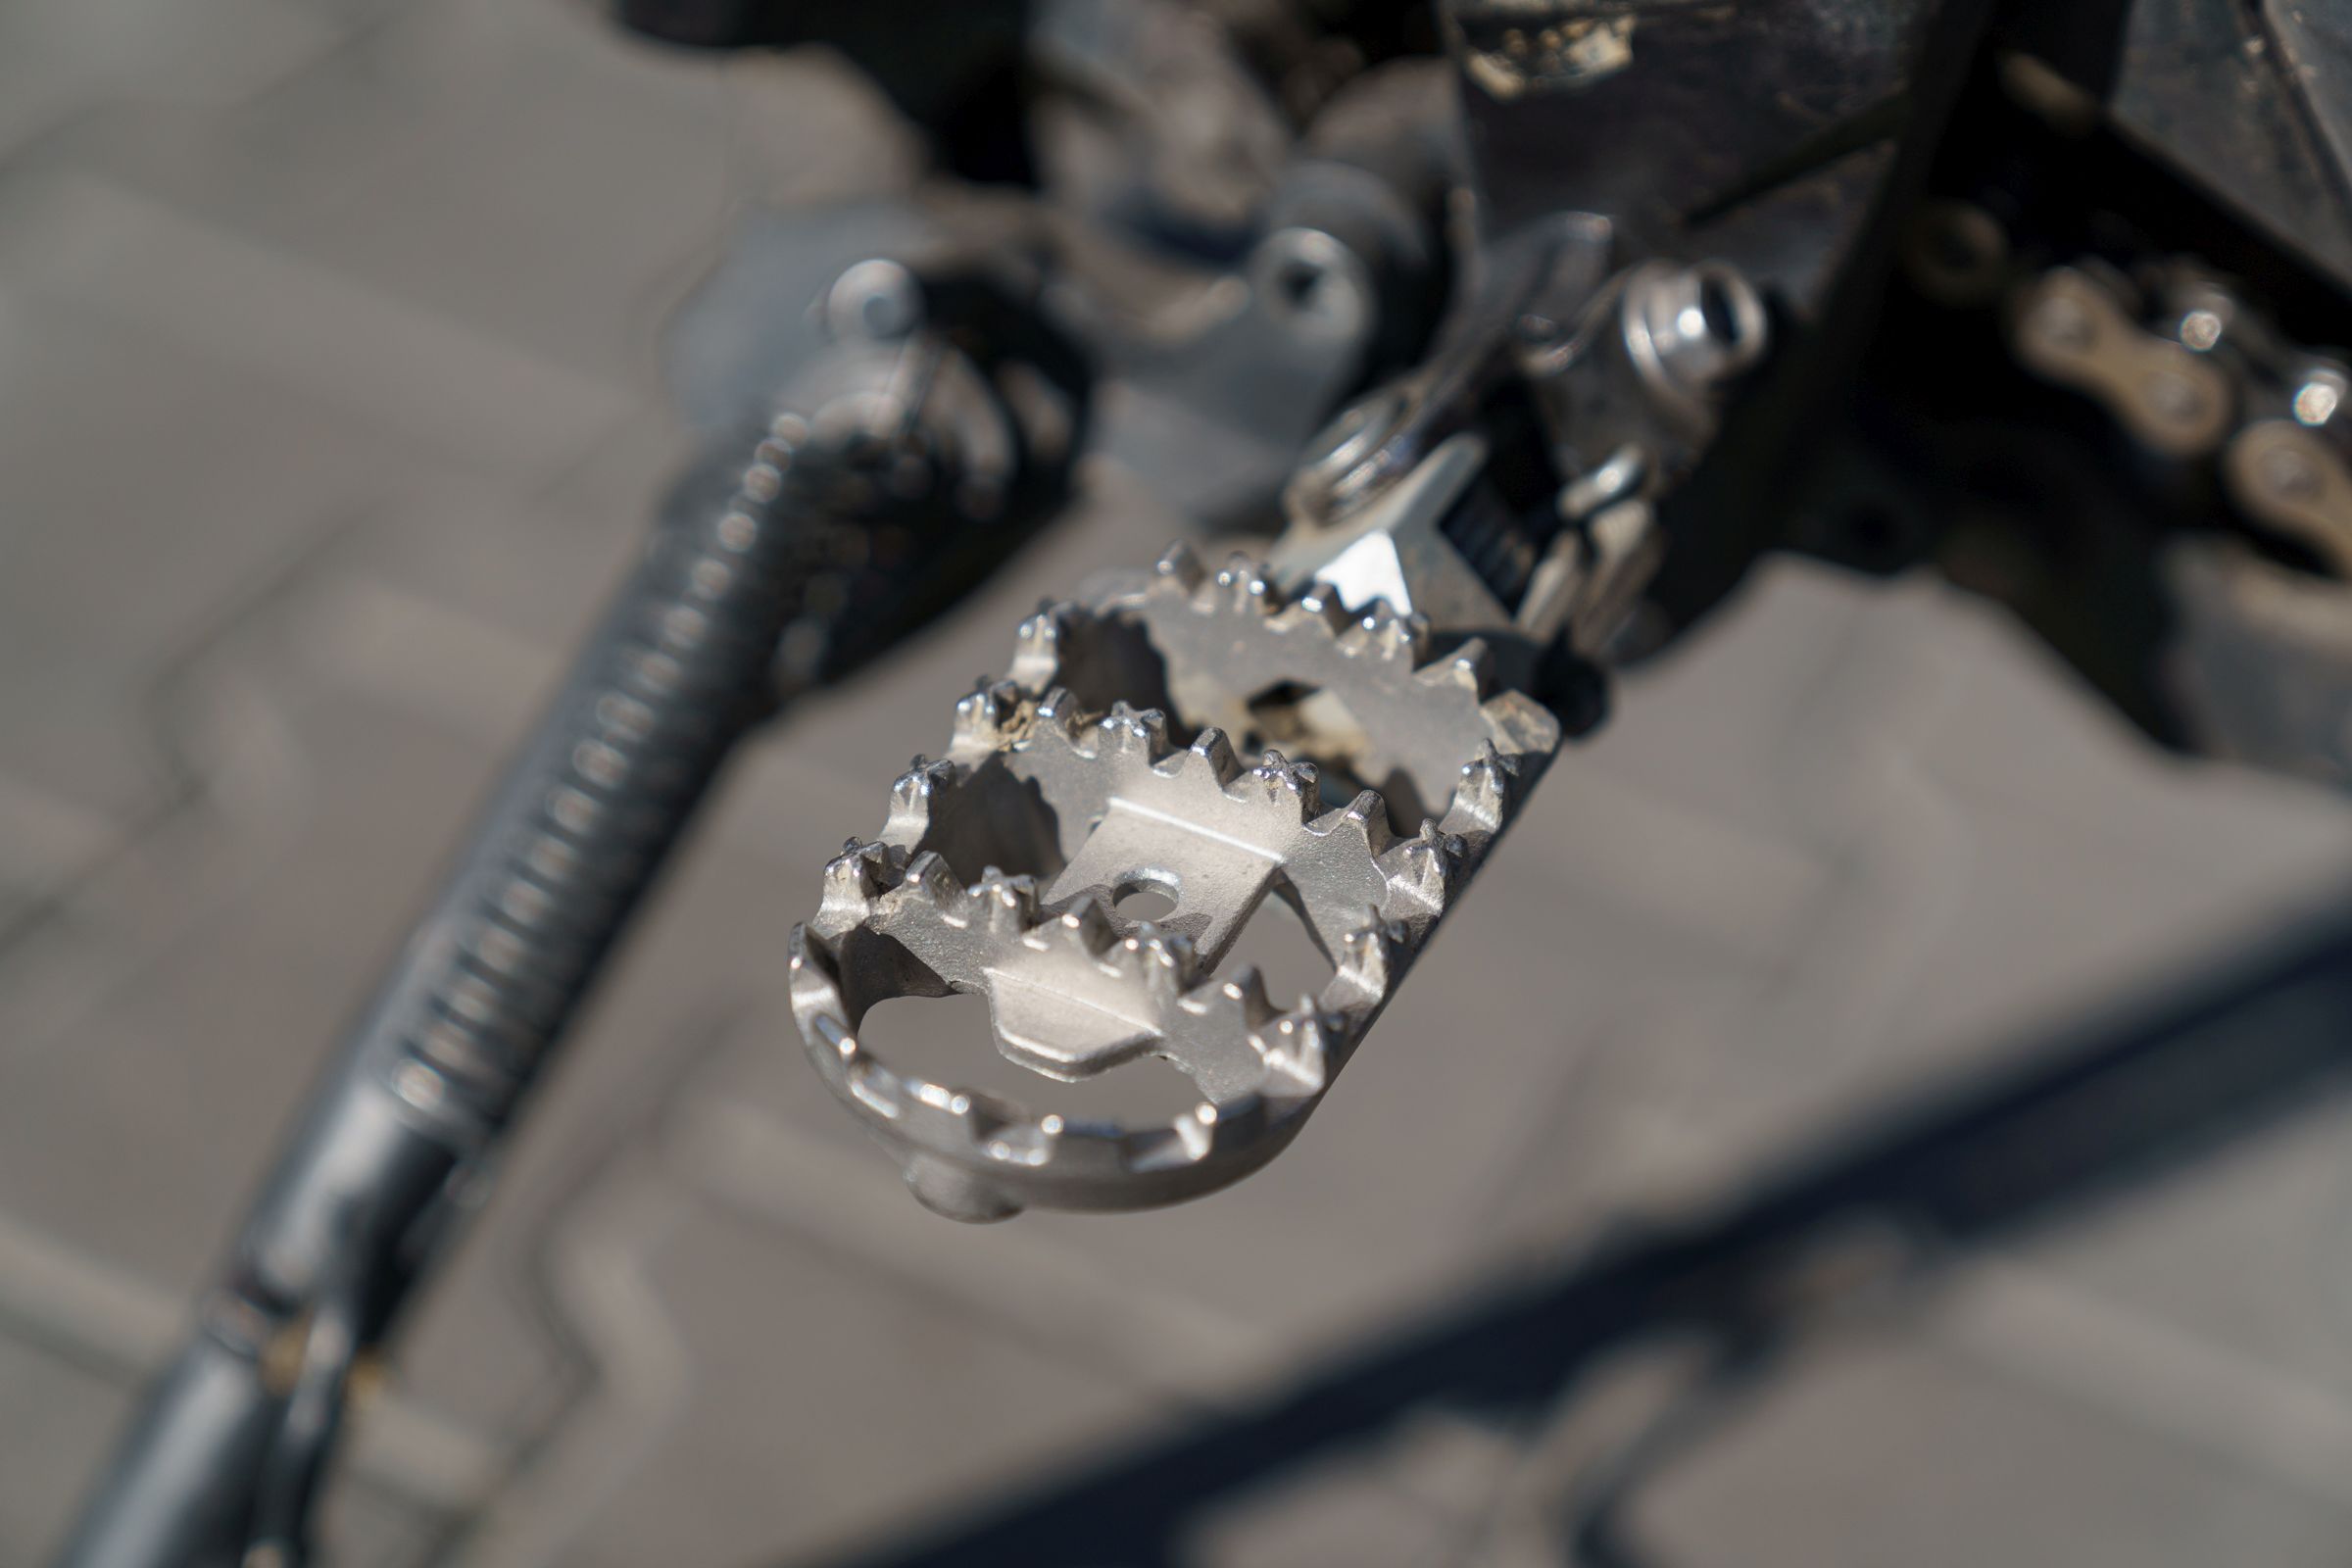
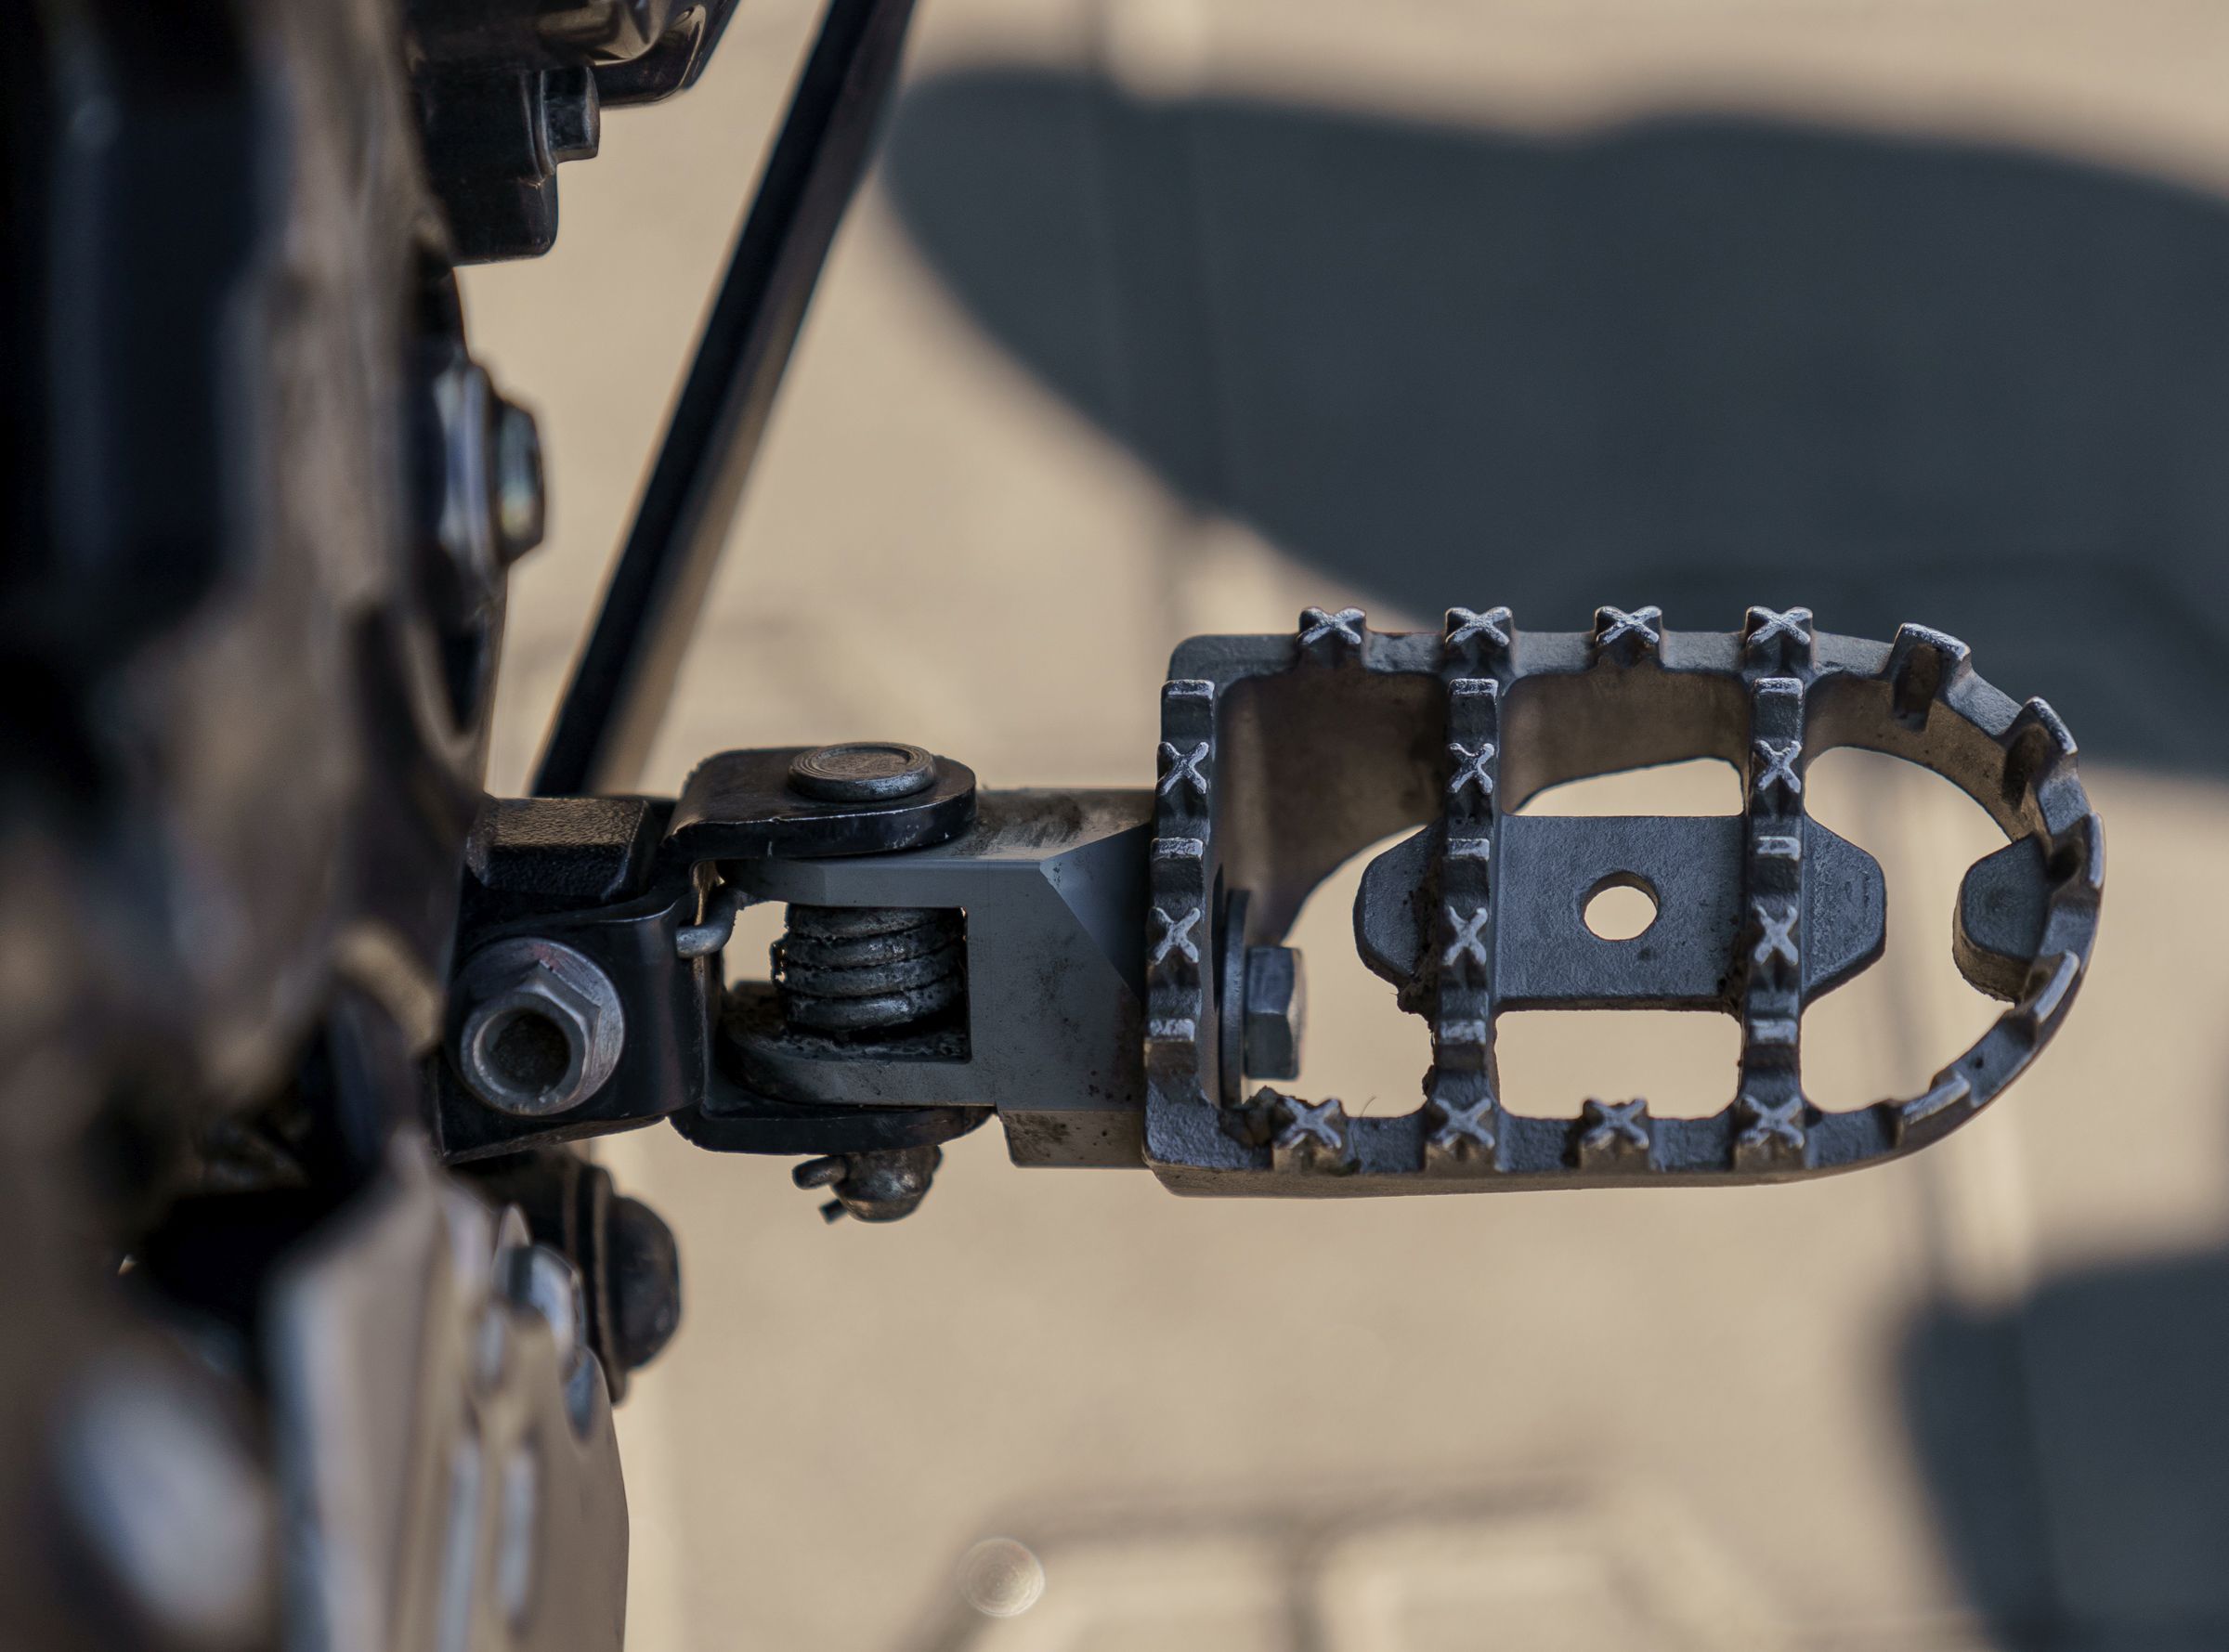
SW-Motech Footrest Kit
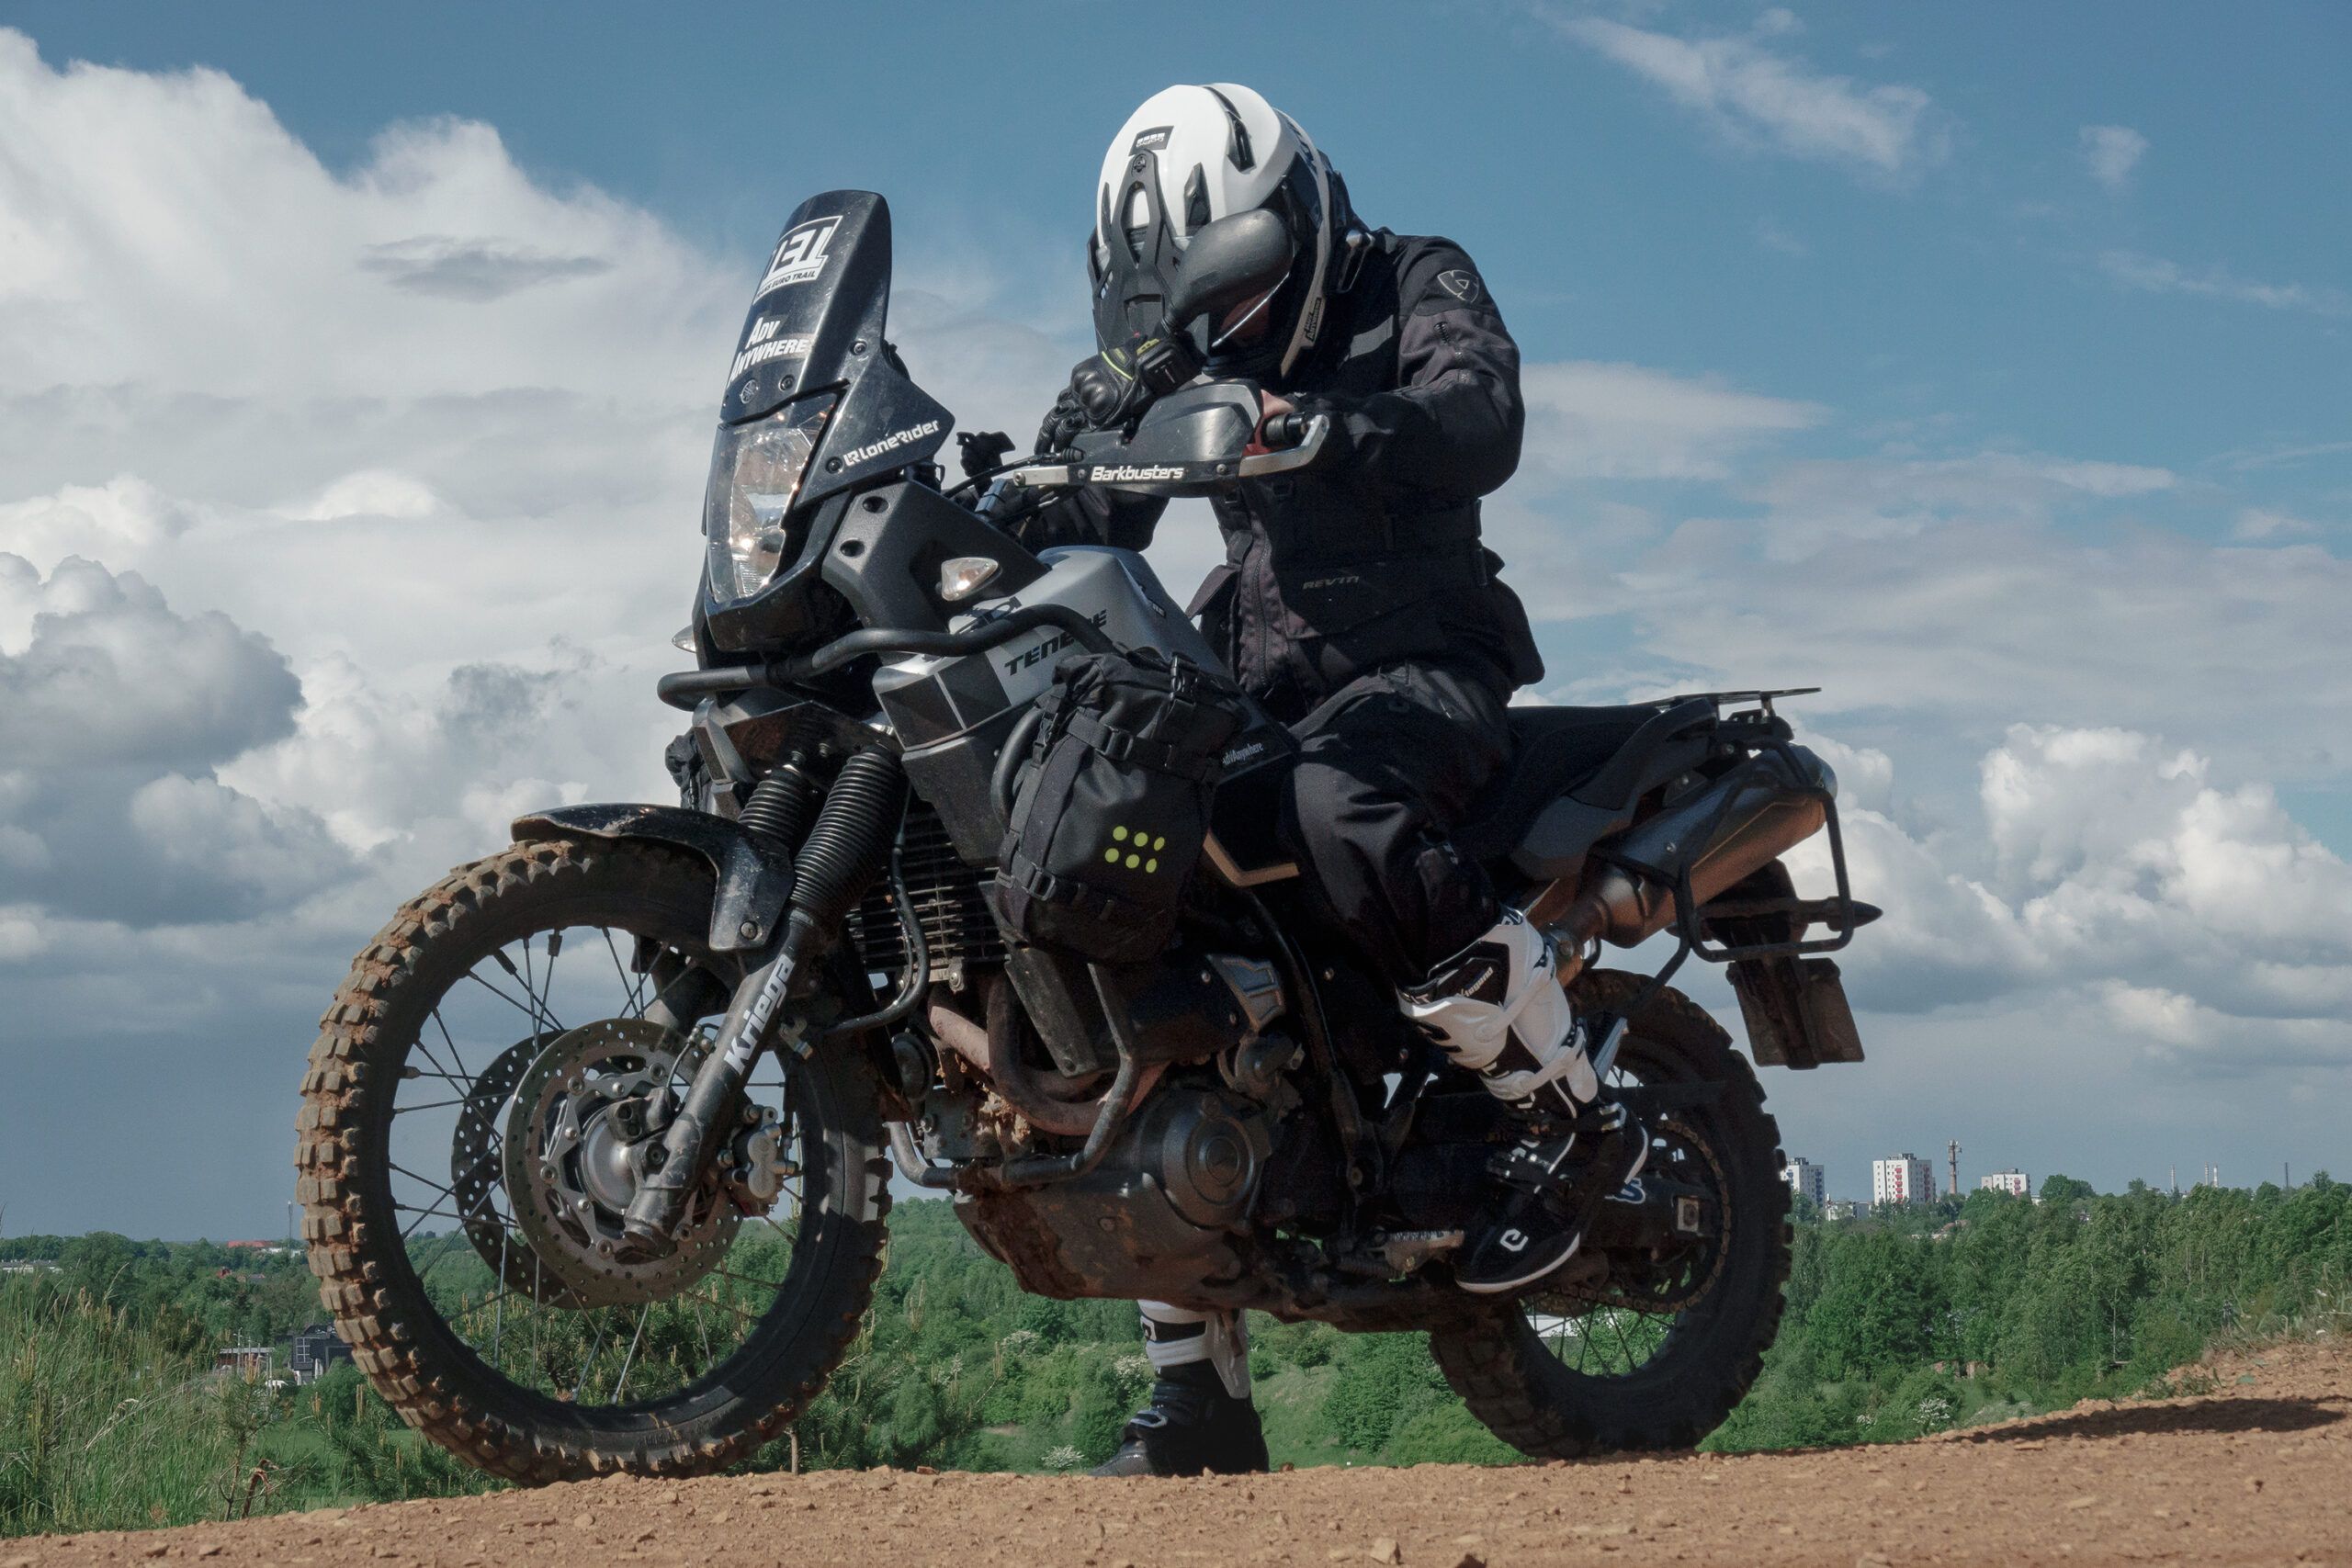
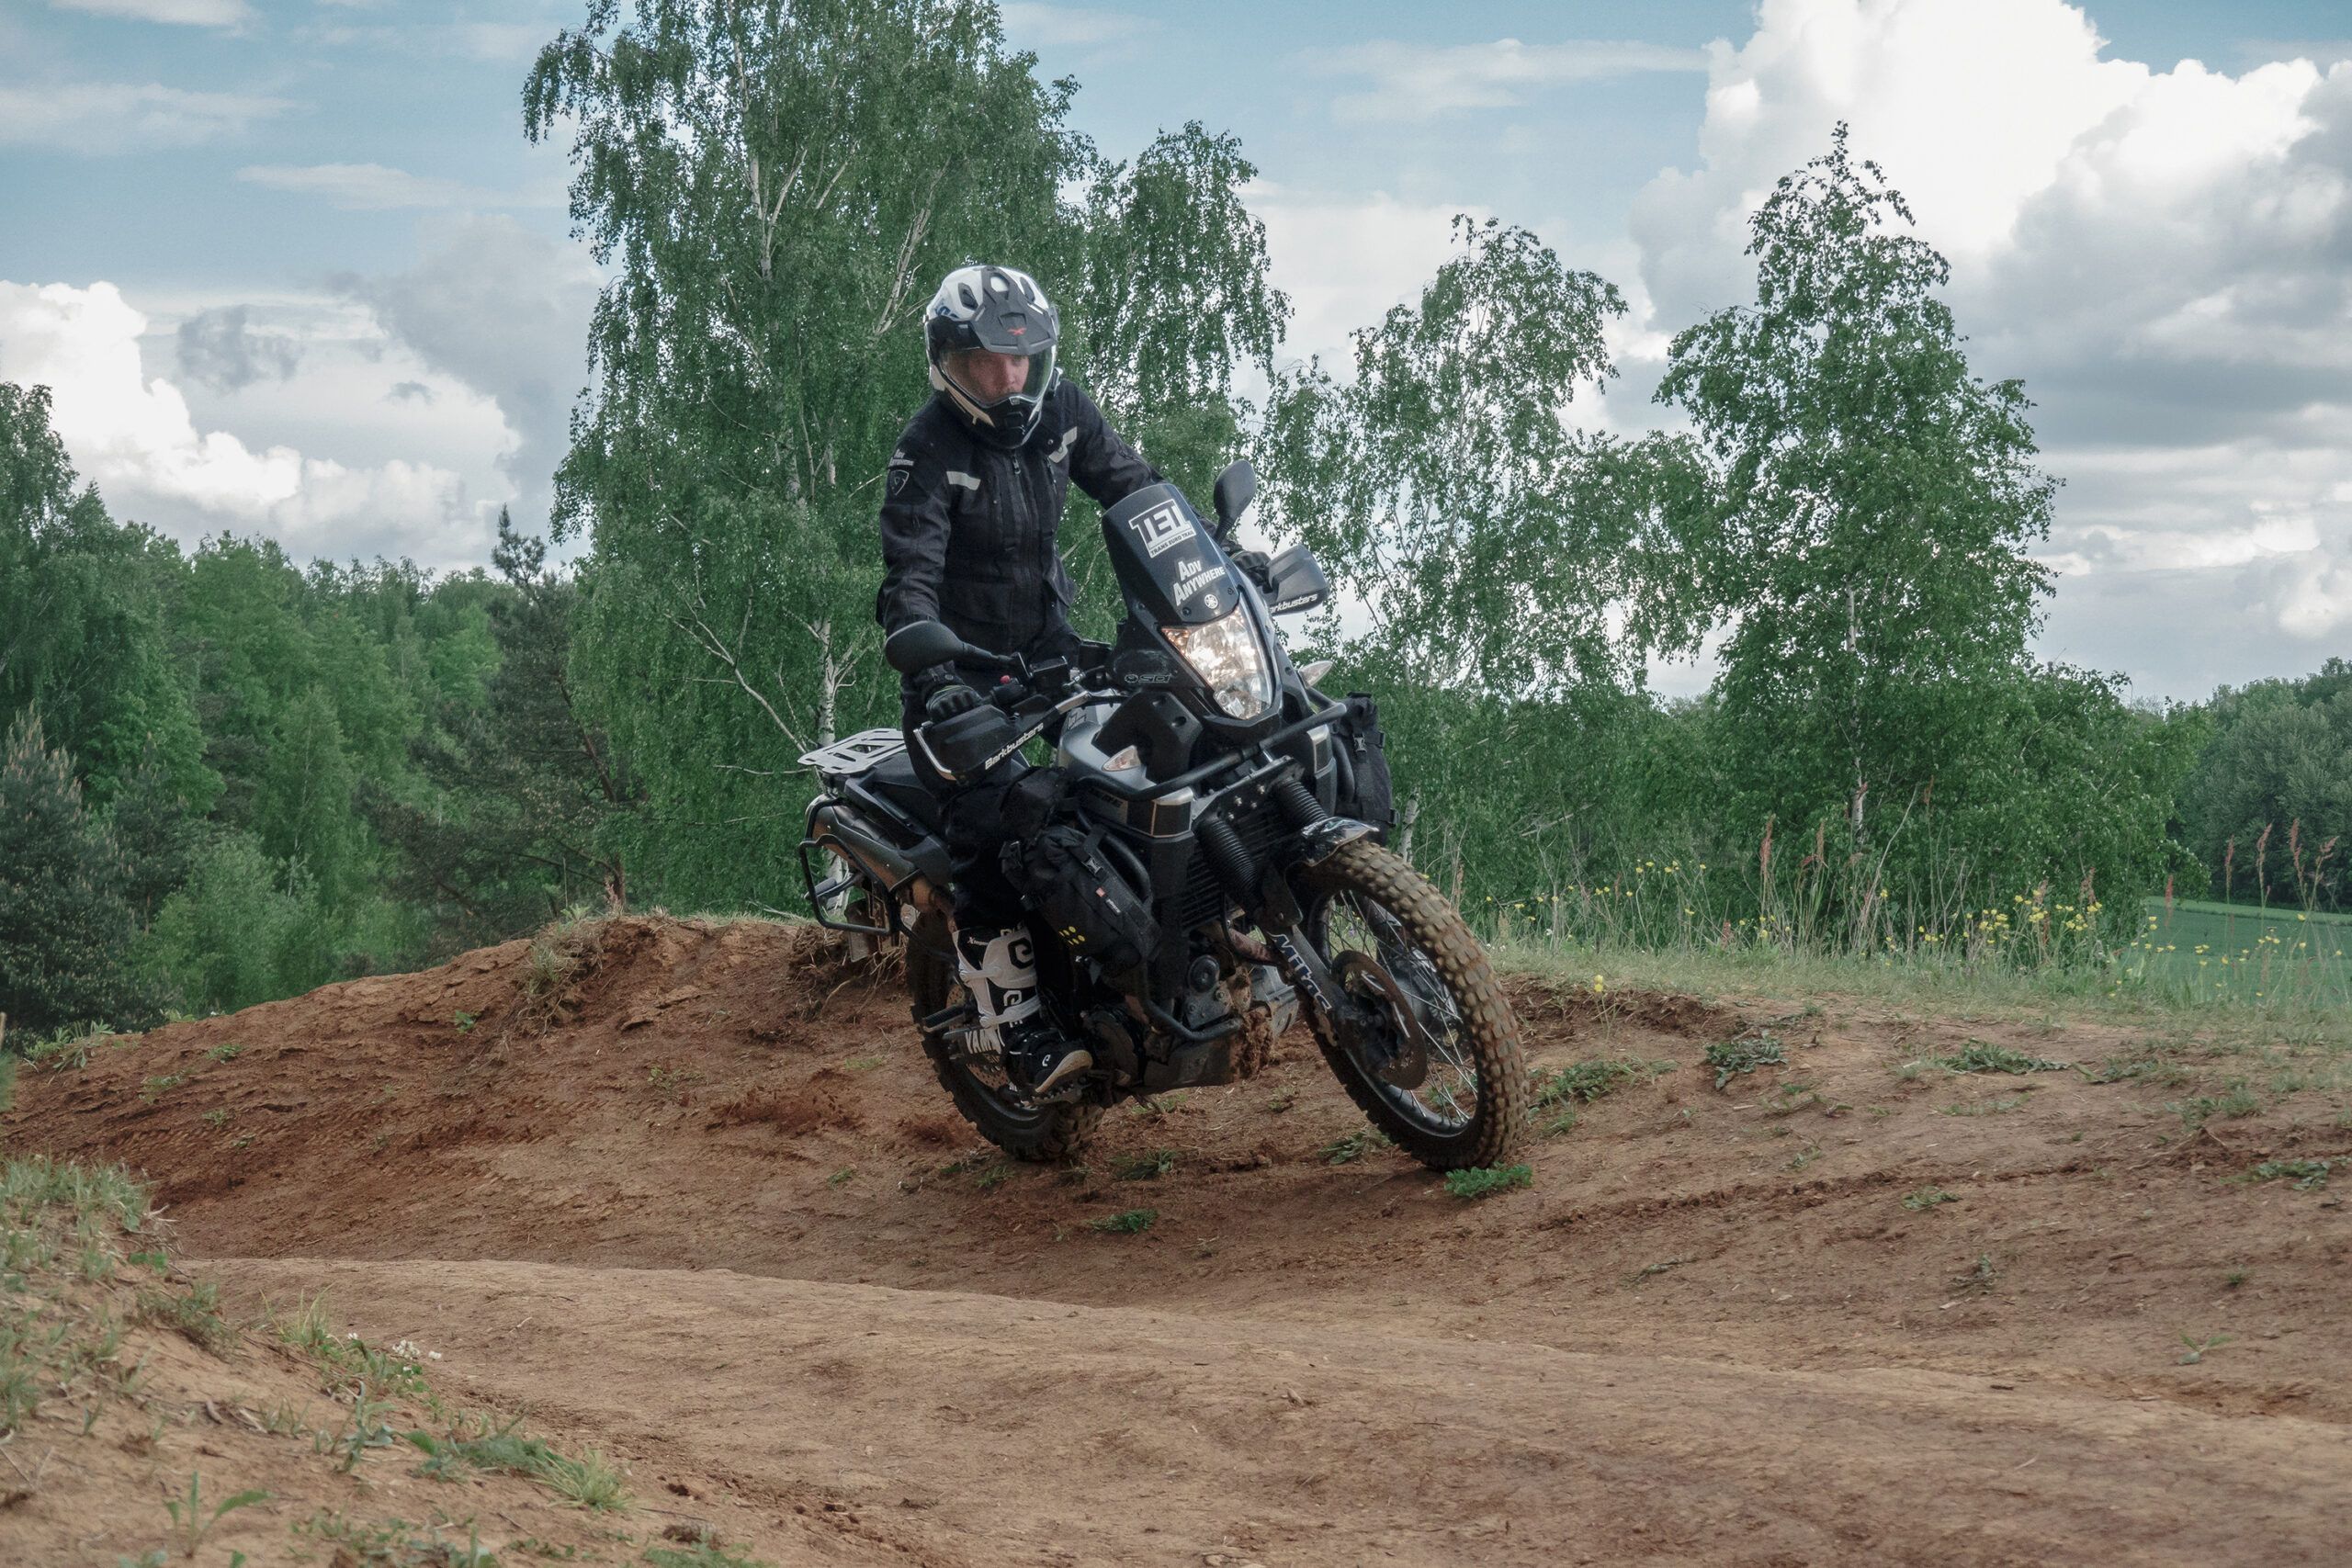
Footrests are one of the elements in which I have invested far too late. The much larger footrest area allows better control of the motorcycle when off-roading. Balancing the motorcycle while standing is mainly done by transferring the weight to the footrest. On this depends whether we skid in the turn or get a better grip. Longer footrests = longer leverage and thus precise control.
SW-Motech offers adventure footrests with an optional rubber pad to reduce the vibration of the motorcycle transmitted to the legs. I usually drive without these covers to be ready to go off-road. I used them once during a five-week trip around Scandinavia, where most of the time we were riding on asphalt.
https://sw-motech.com/en/products/ergonomics/footrests/4052572039236.htm
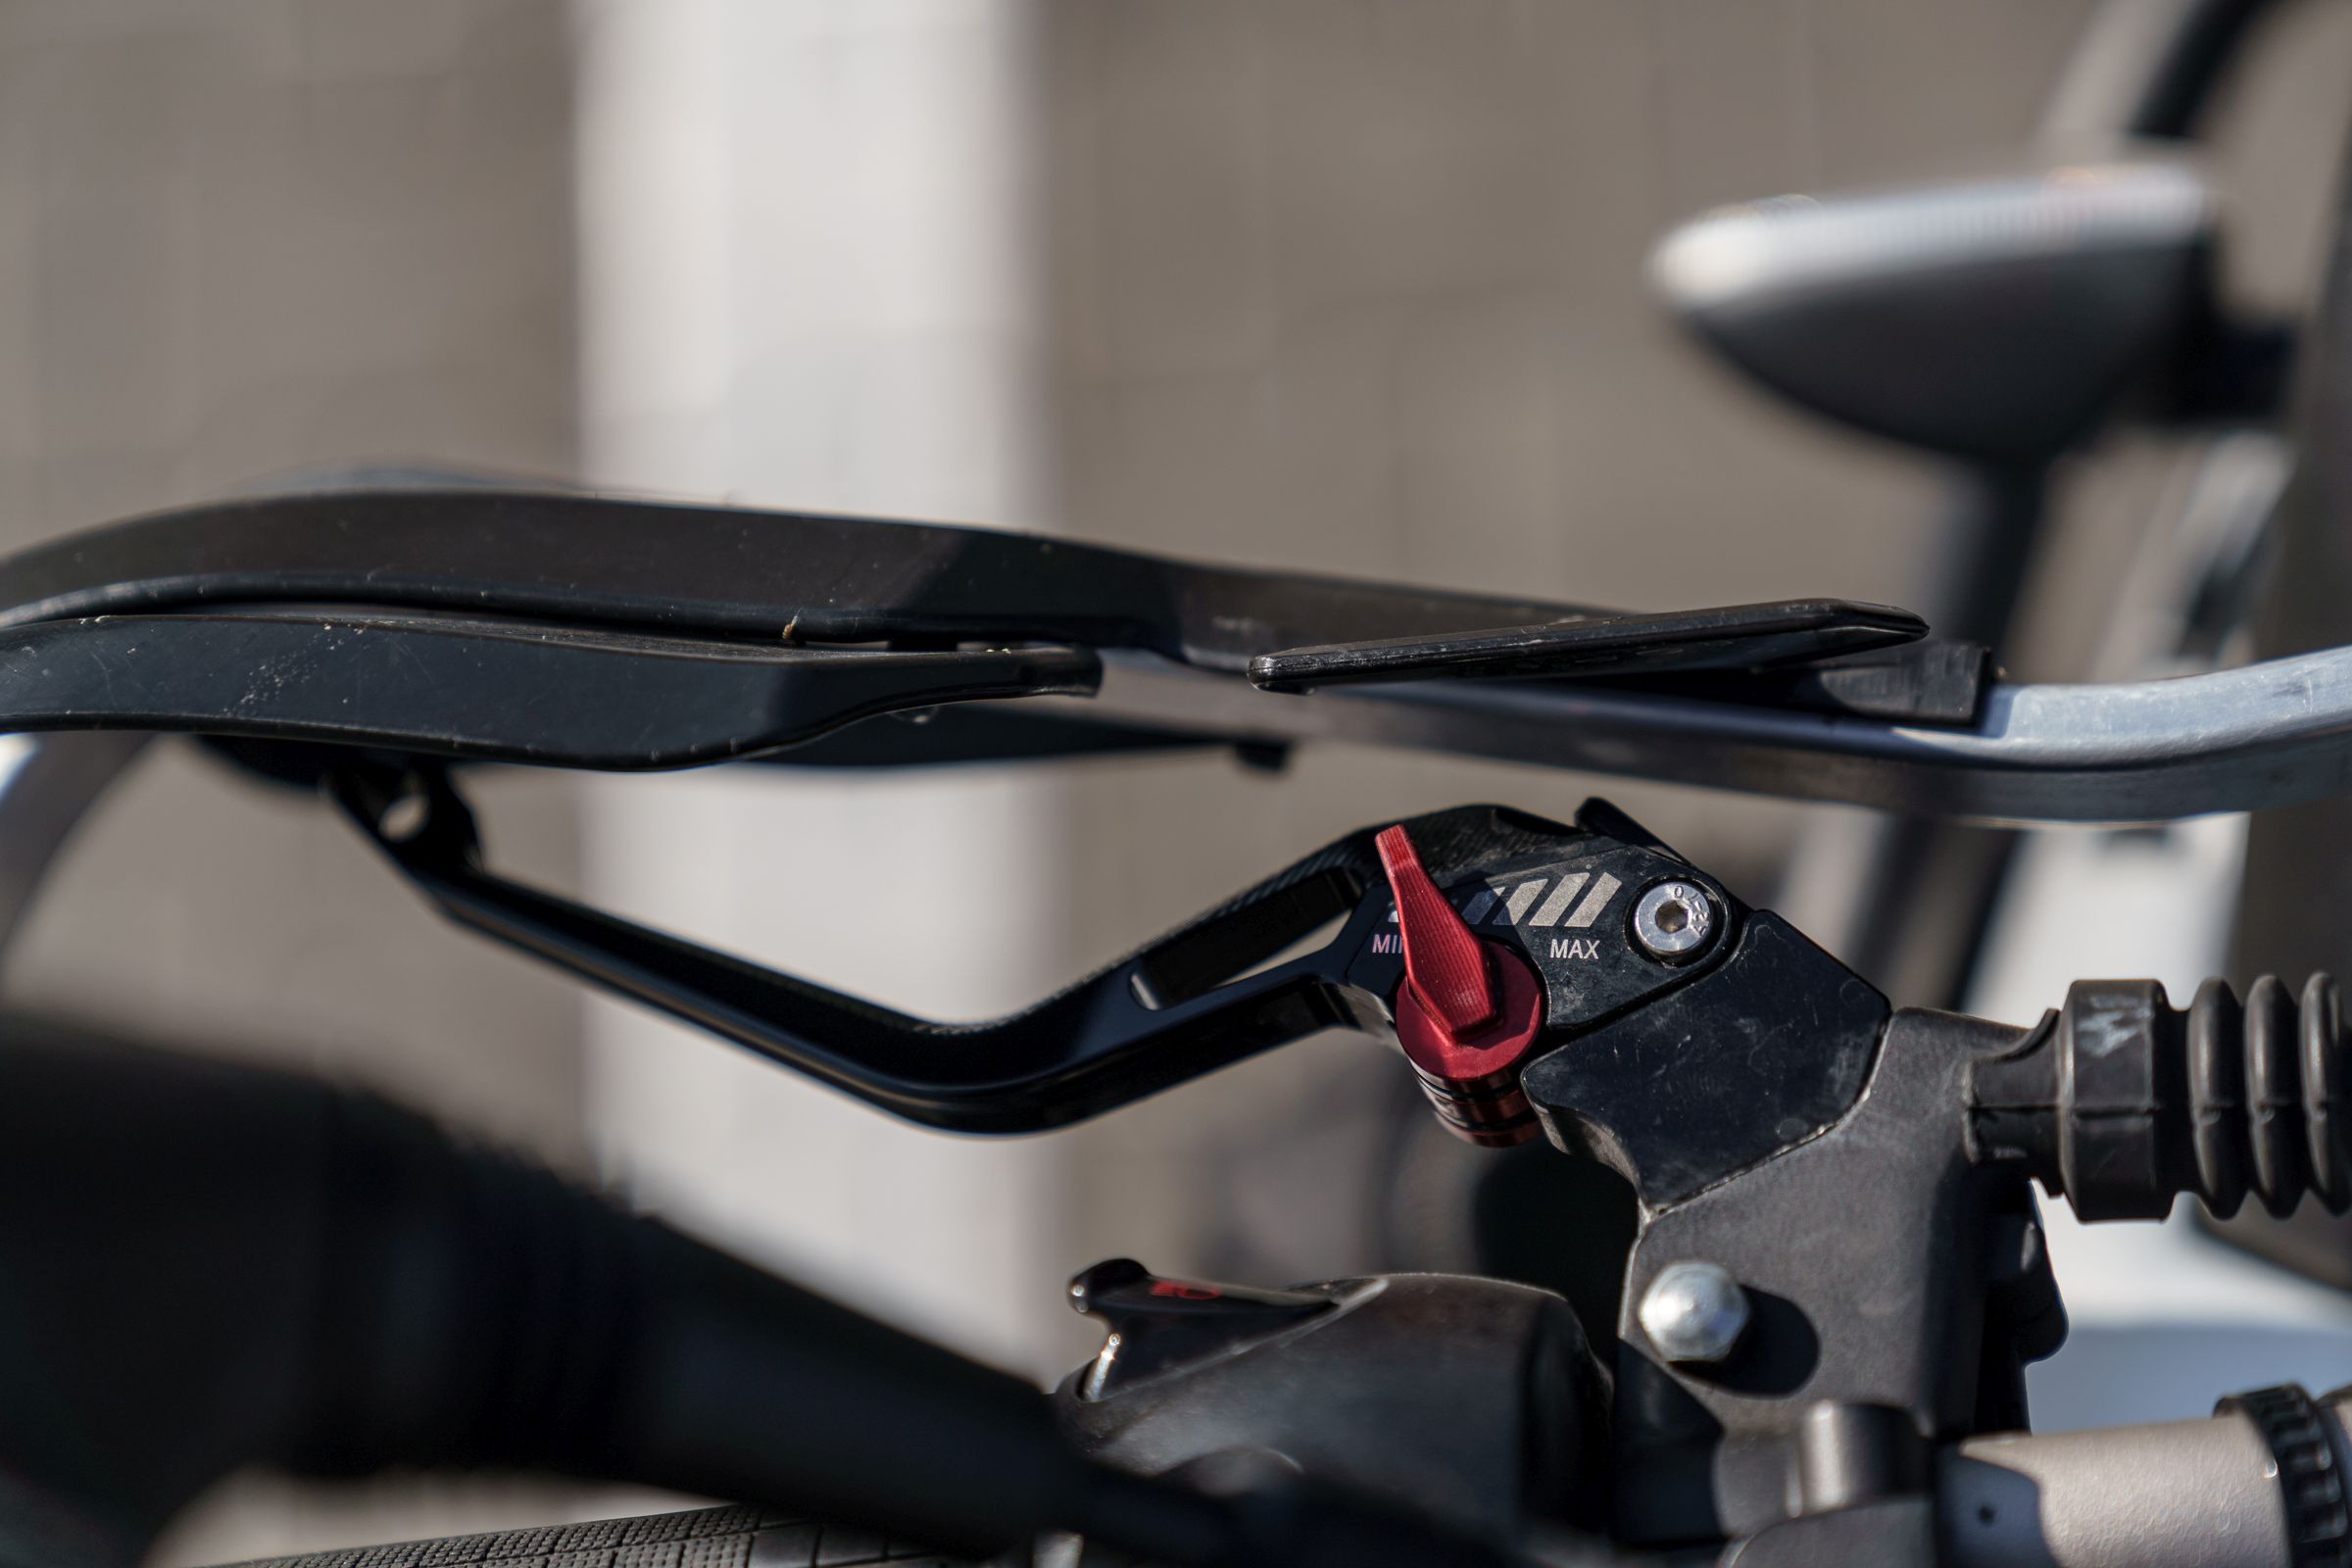
Adjustable Aluminium Brake and Clutch Levers
I owe better precision and feel of the lever to the accessory handles profile. They also allow you to adjust the range of the handles to your preferences. Personally, I recommend a long lever for the clutch and a short one for the brake. Anodized, reinforced aluminum will retain its color and properties for many years of use.
I found such accessory levers at a very good price on Allegro – a Polish marketplace site. They are also available on eBay.

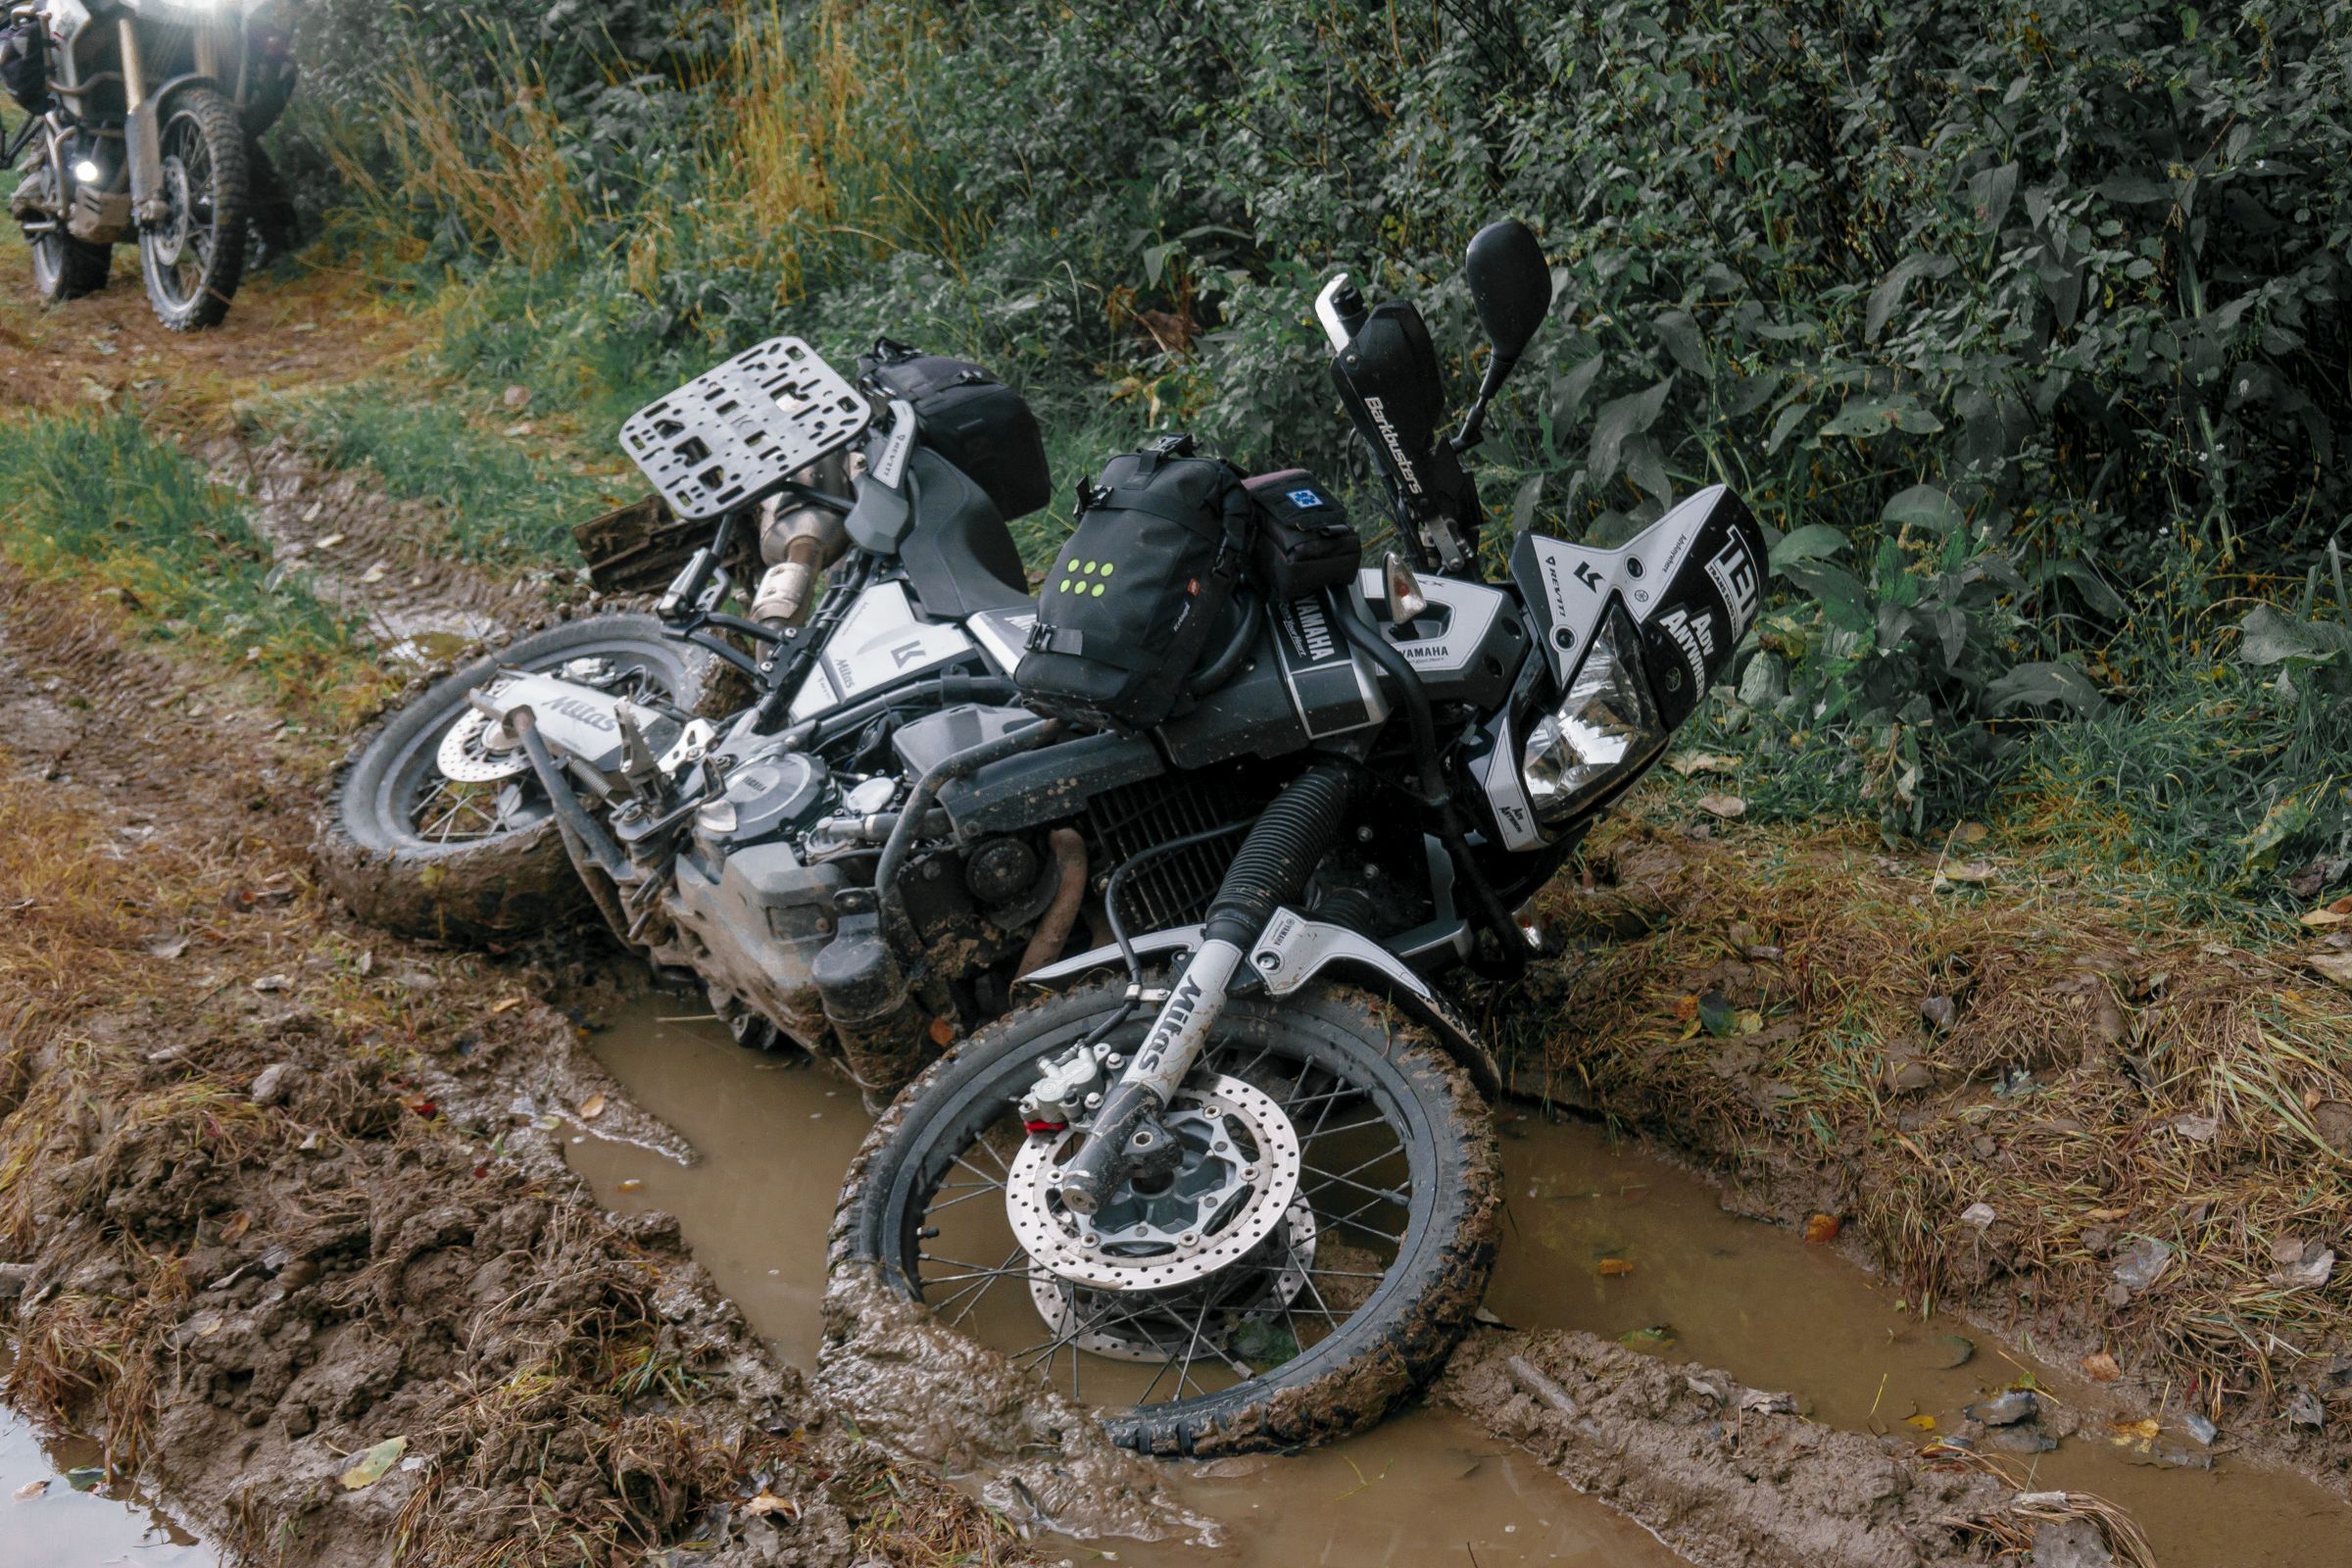
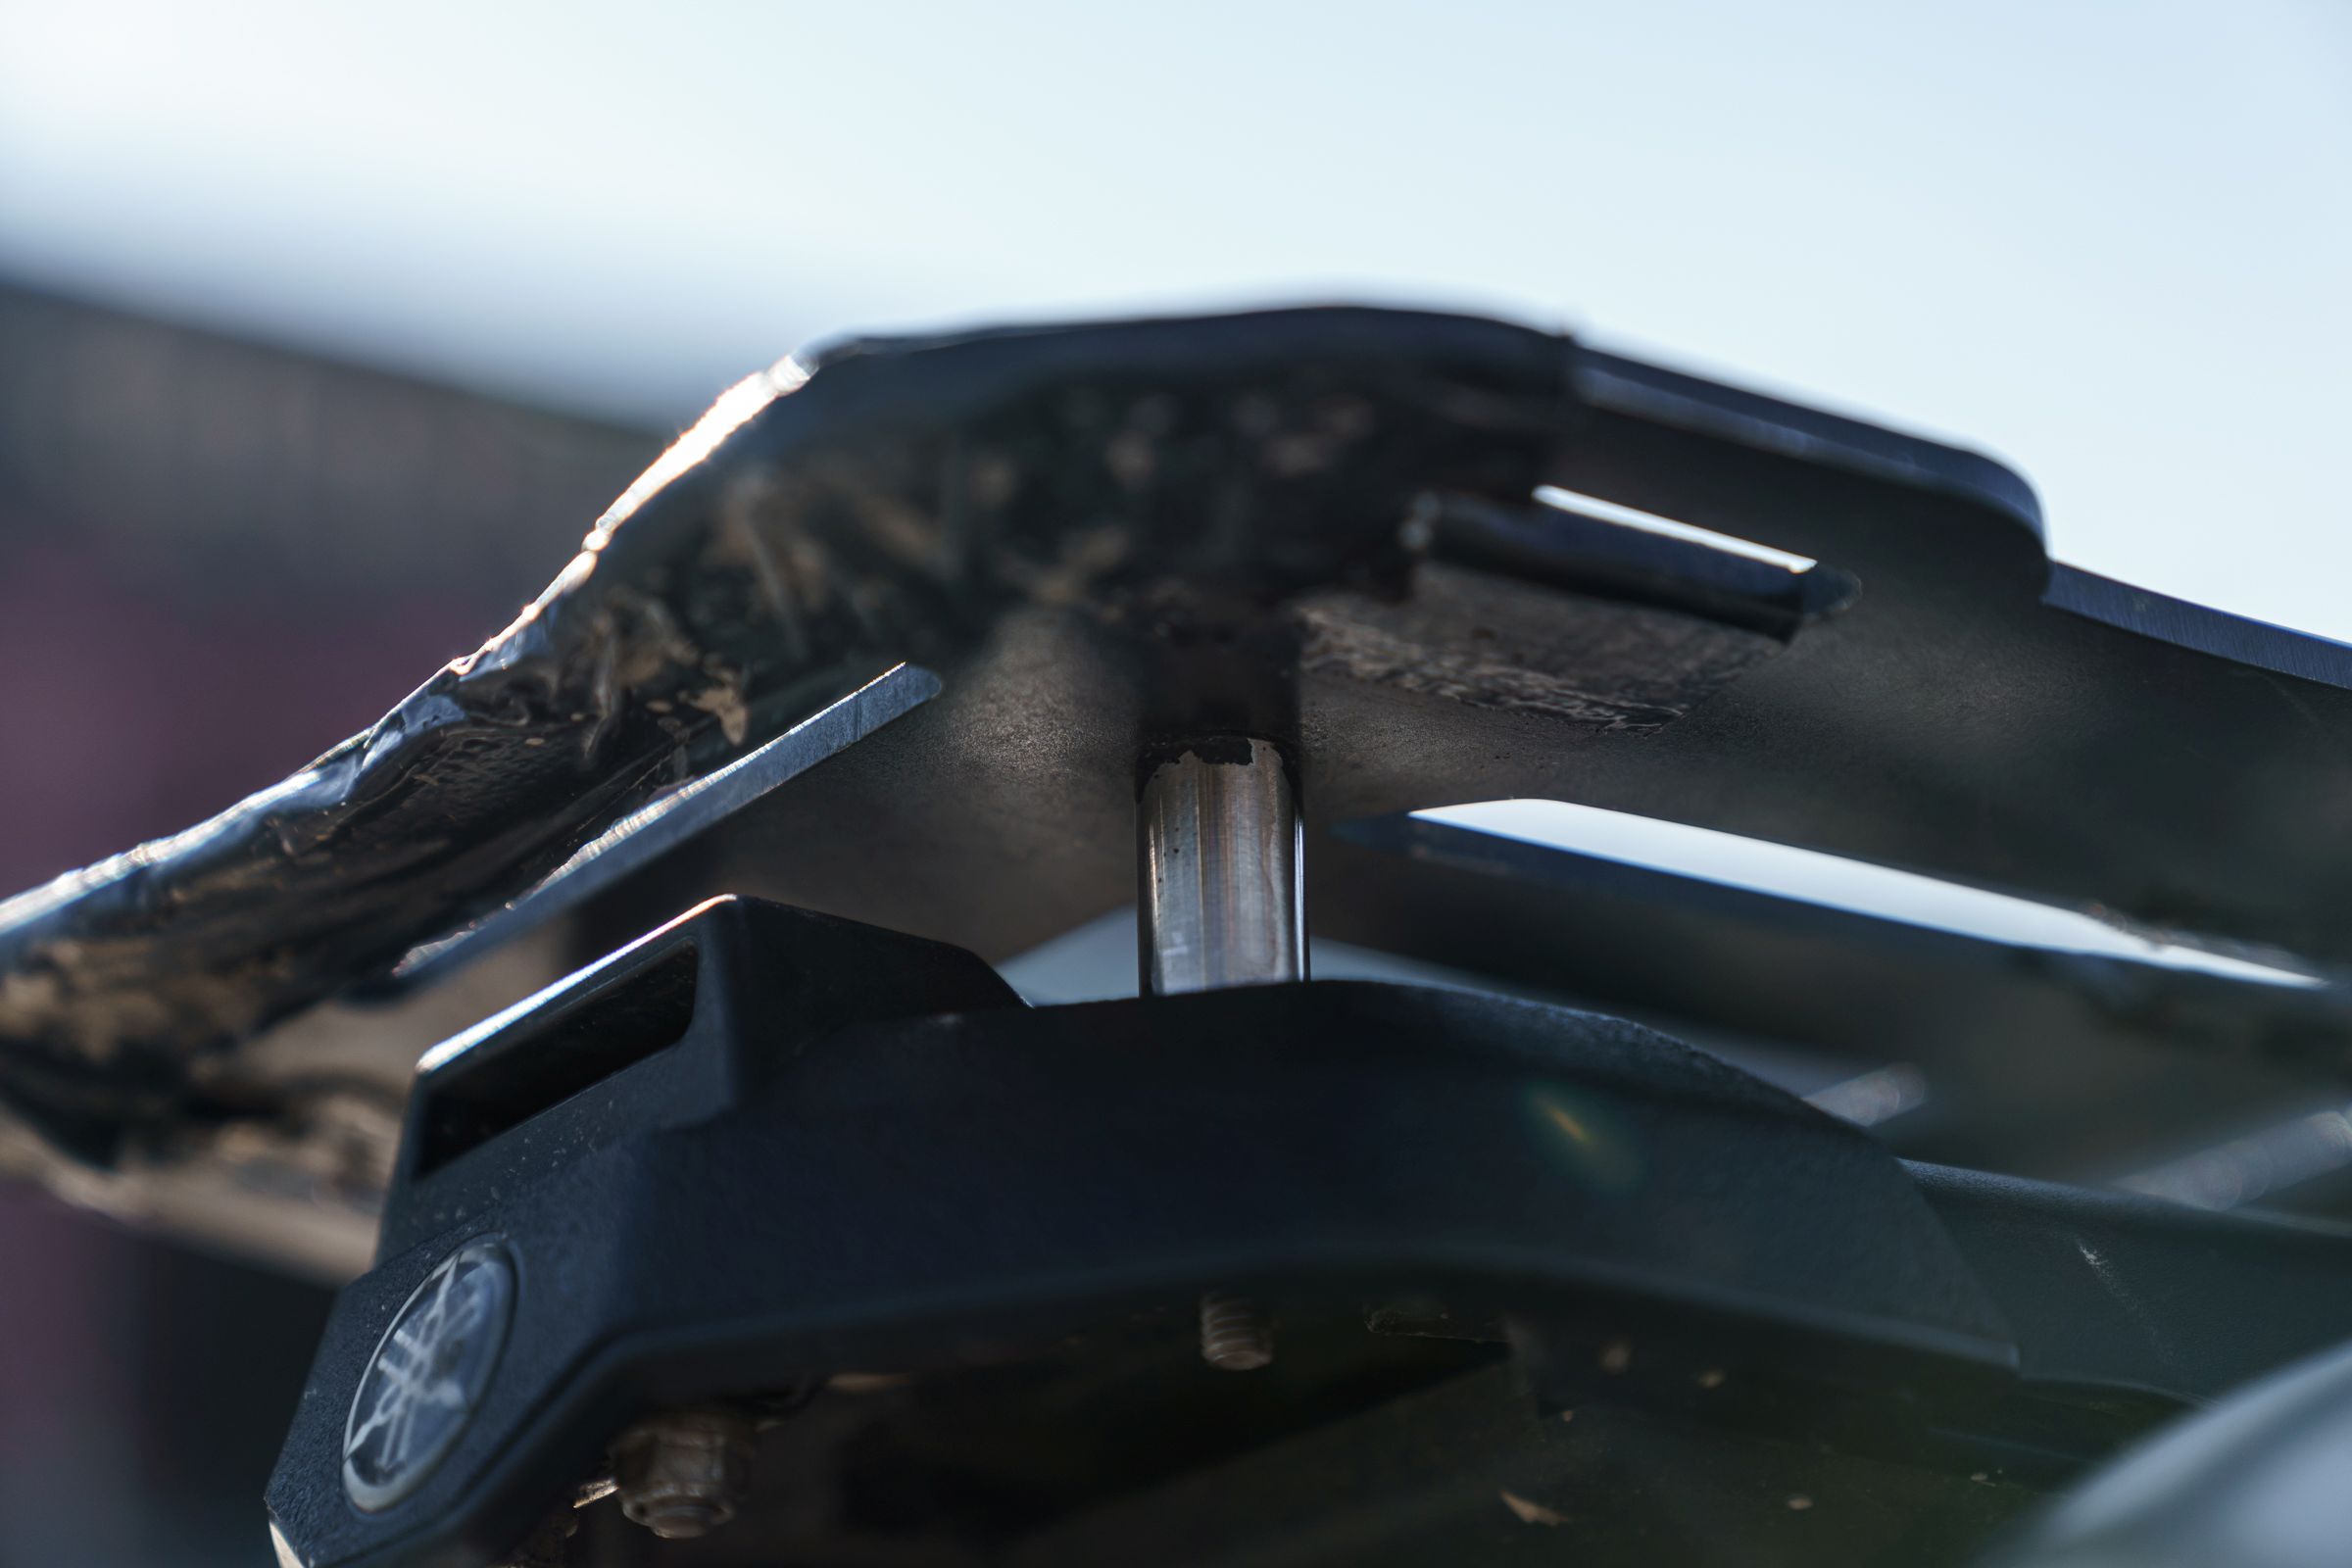
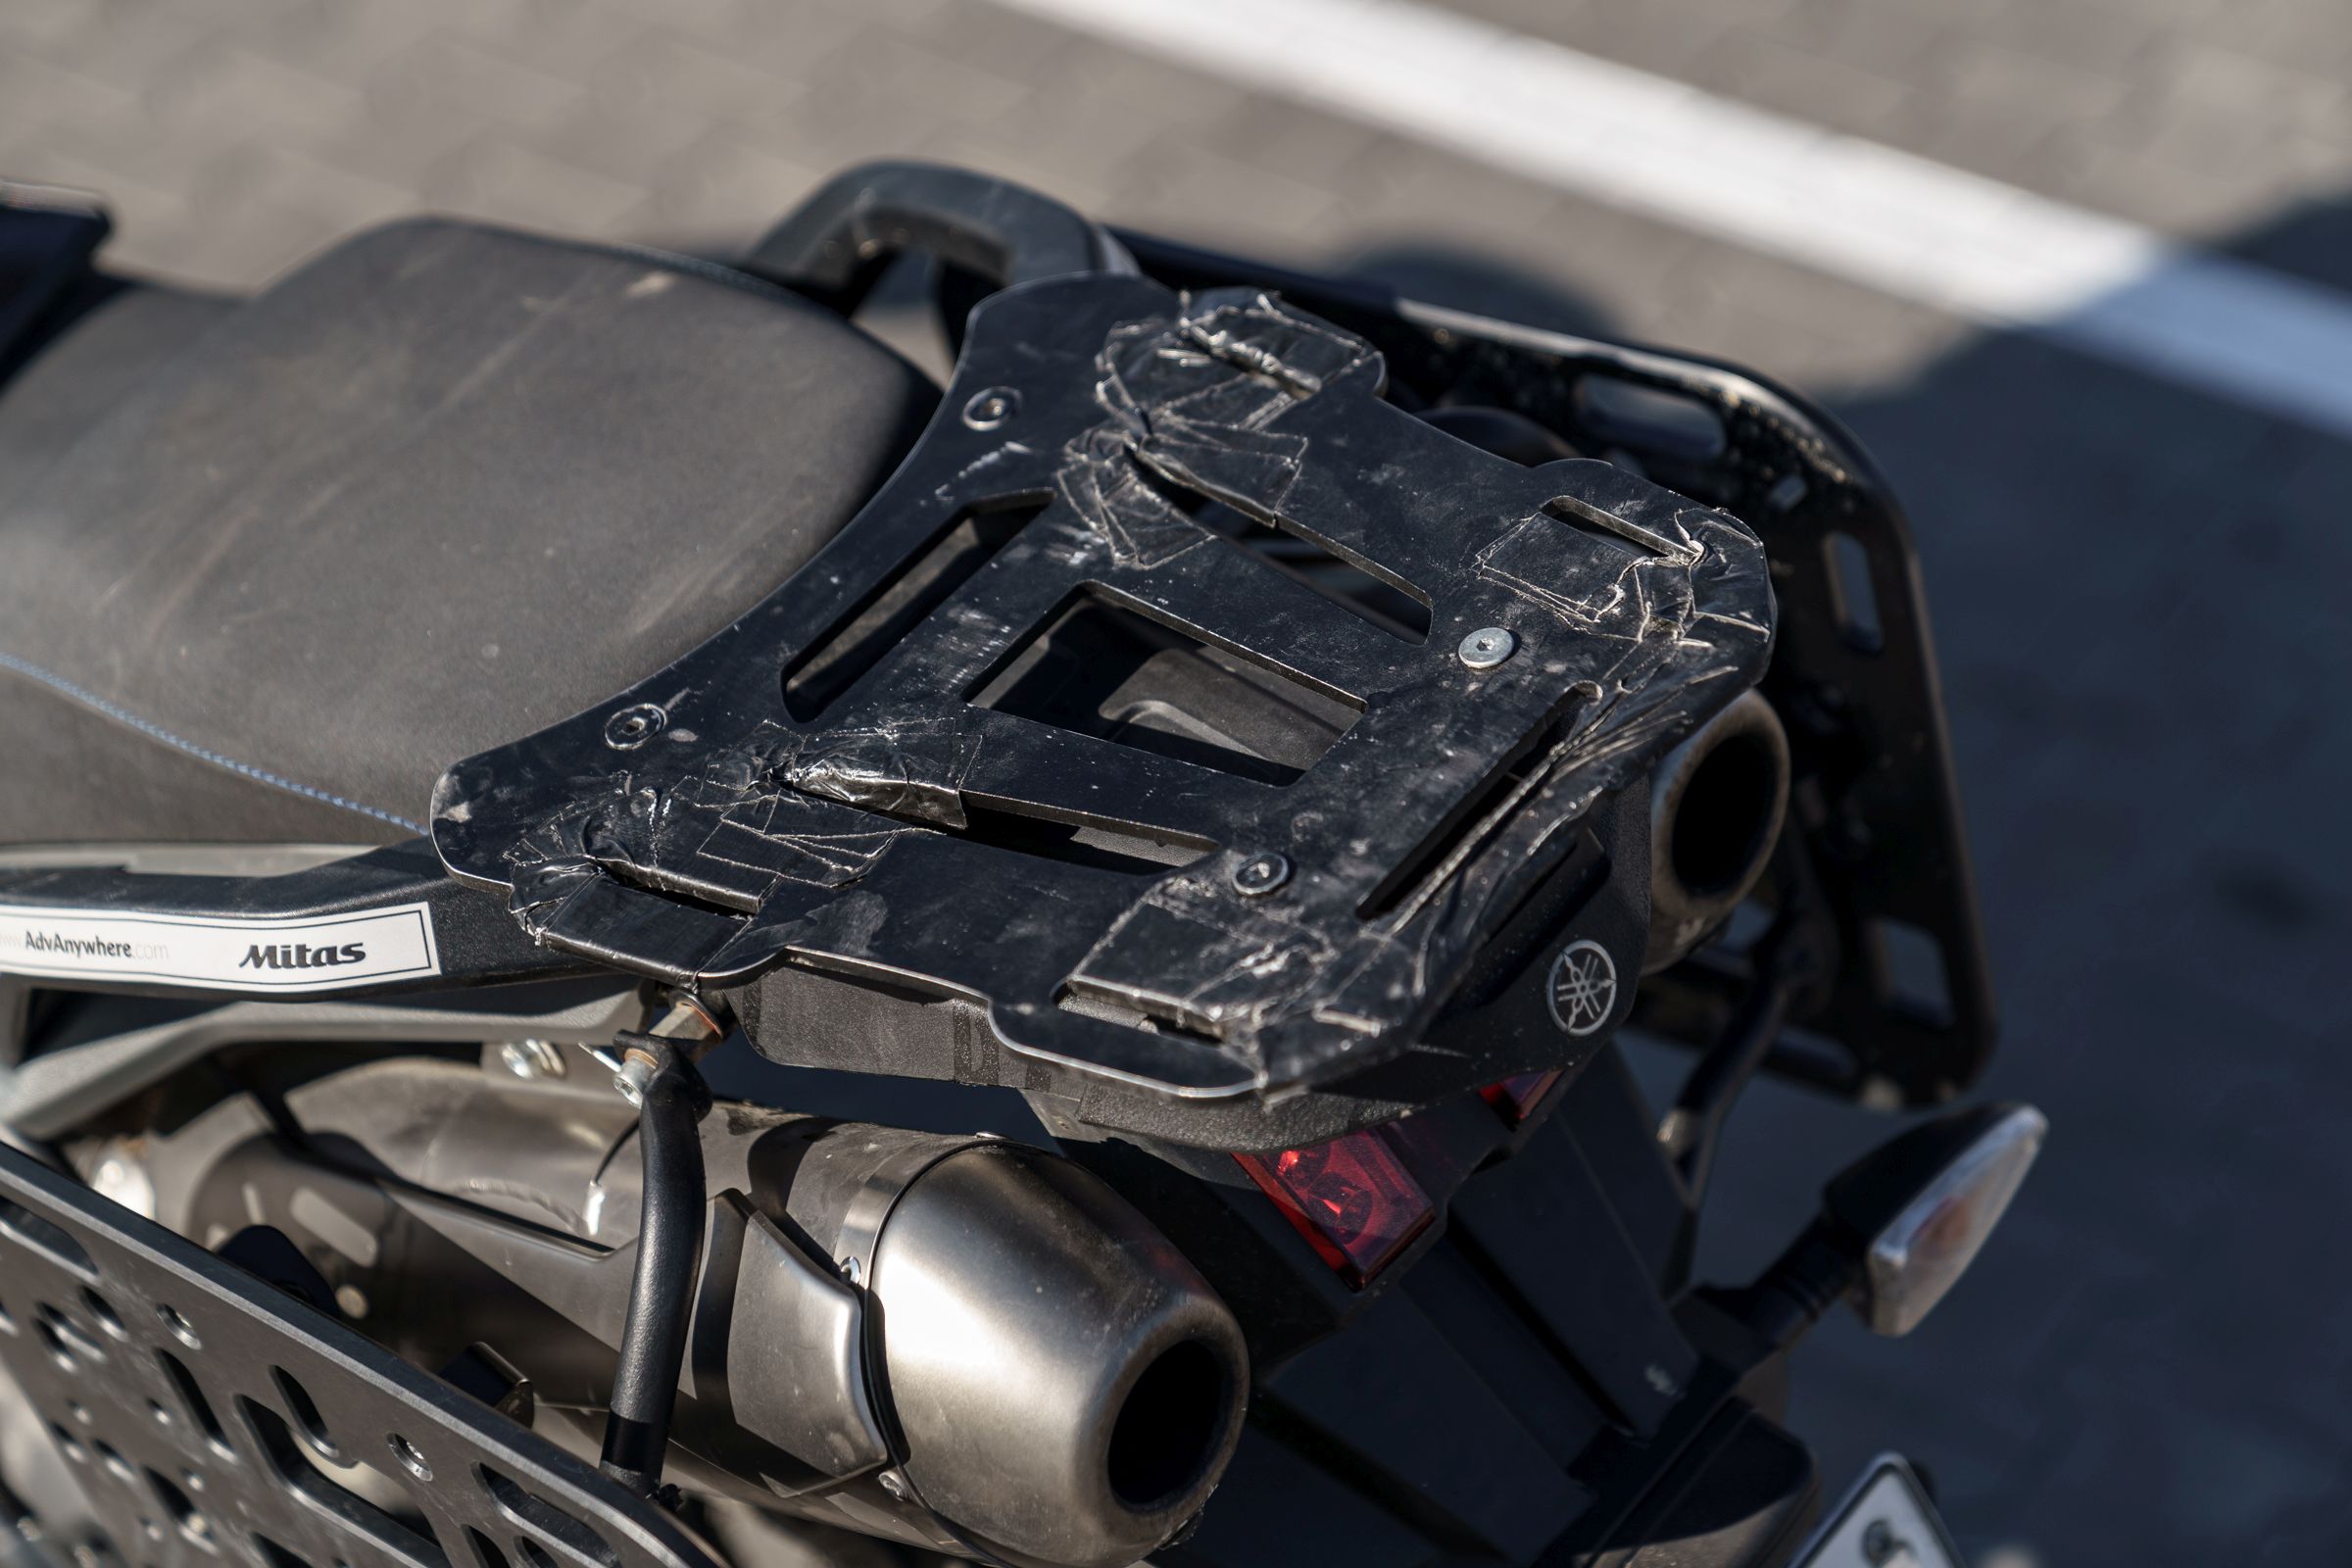
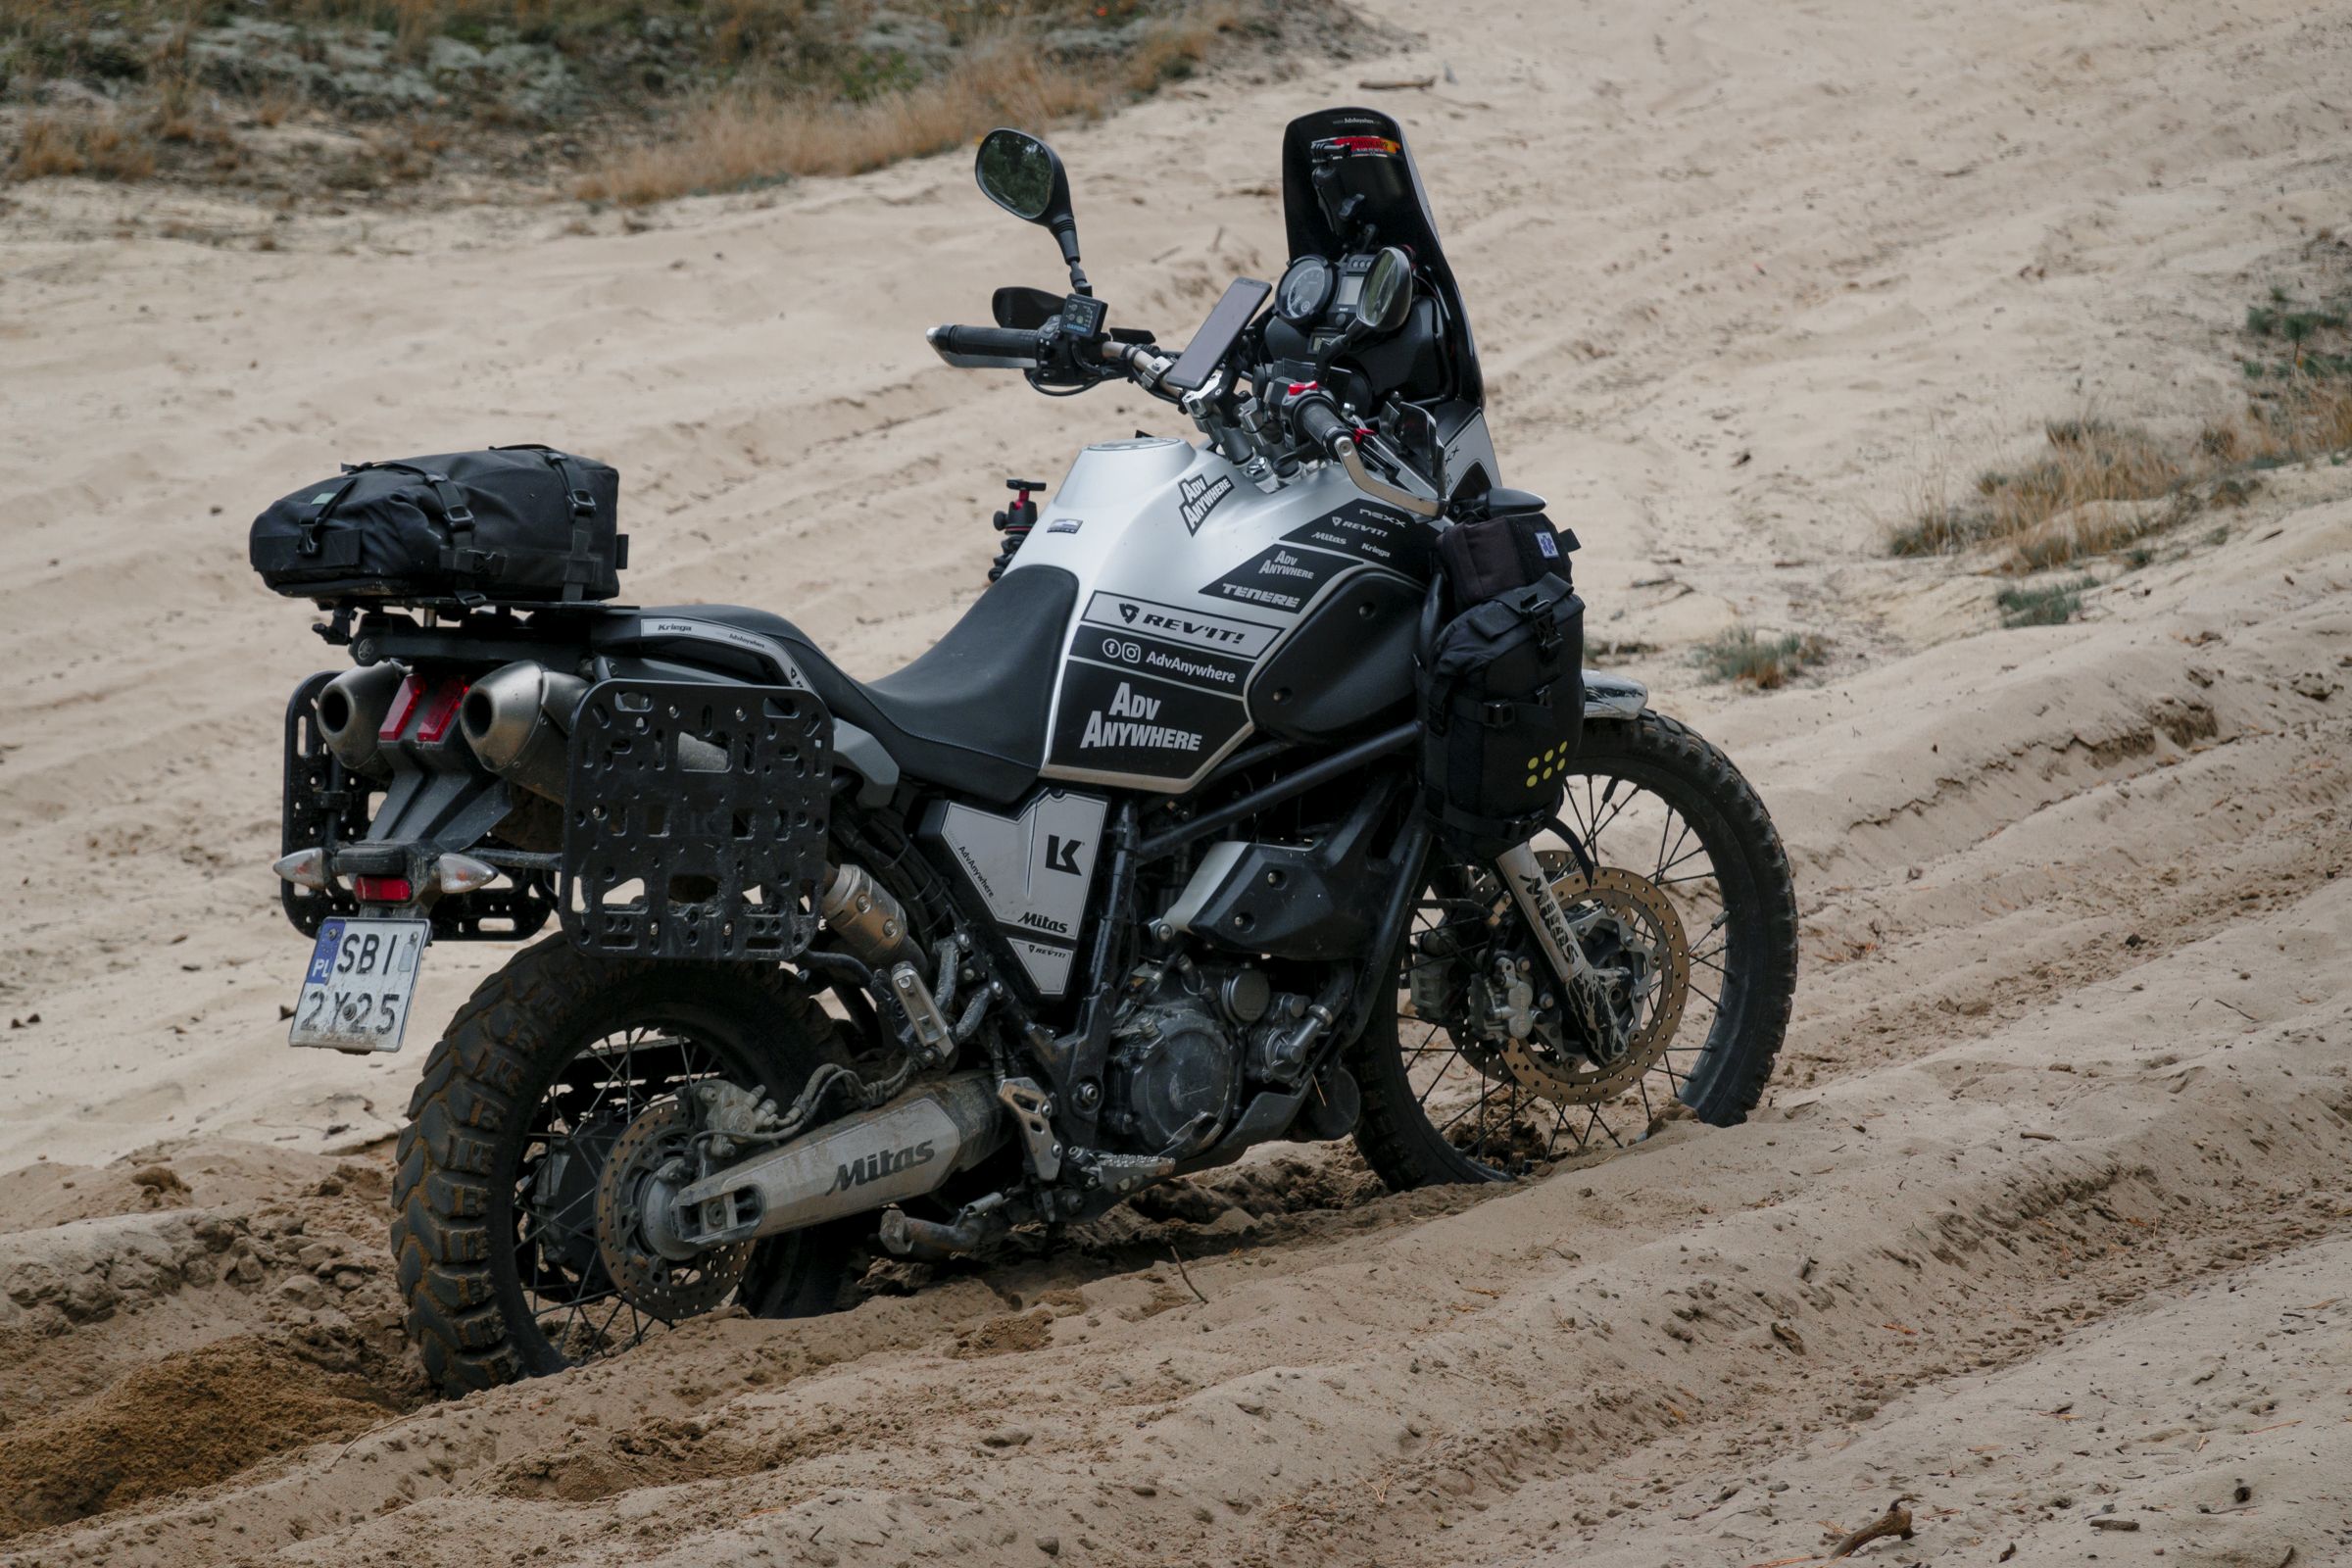
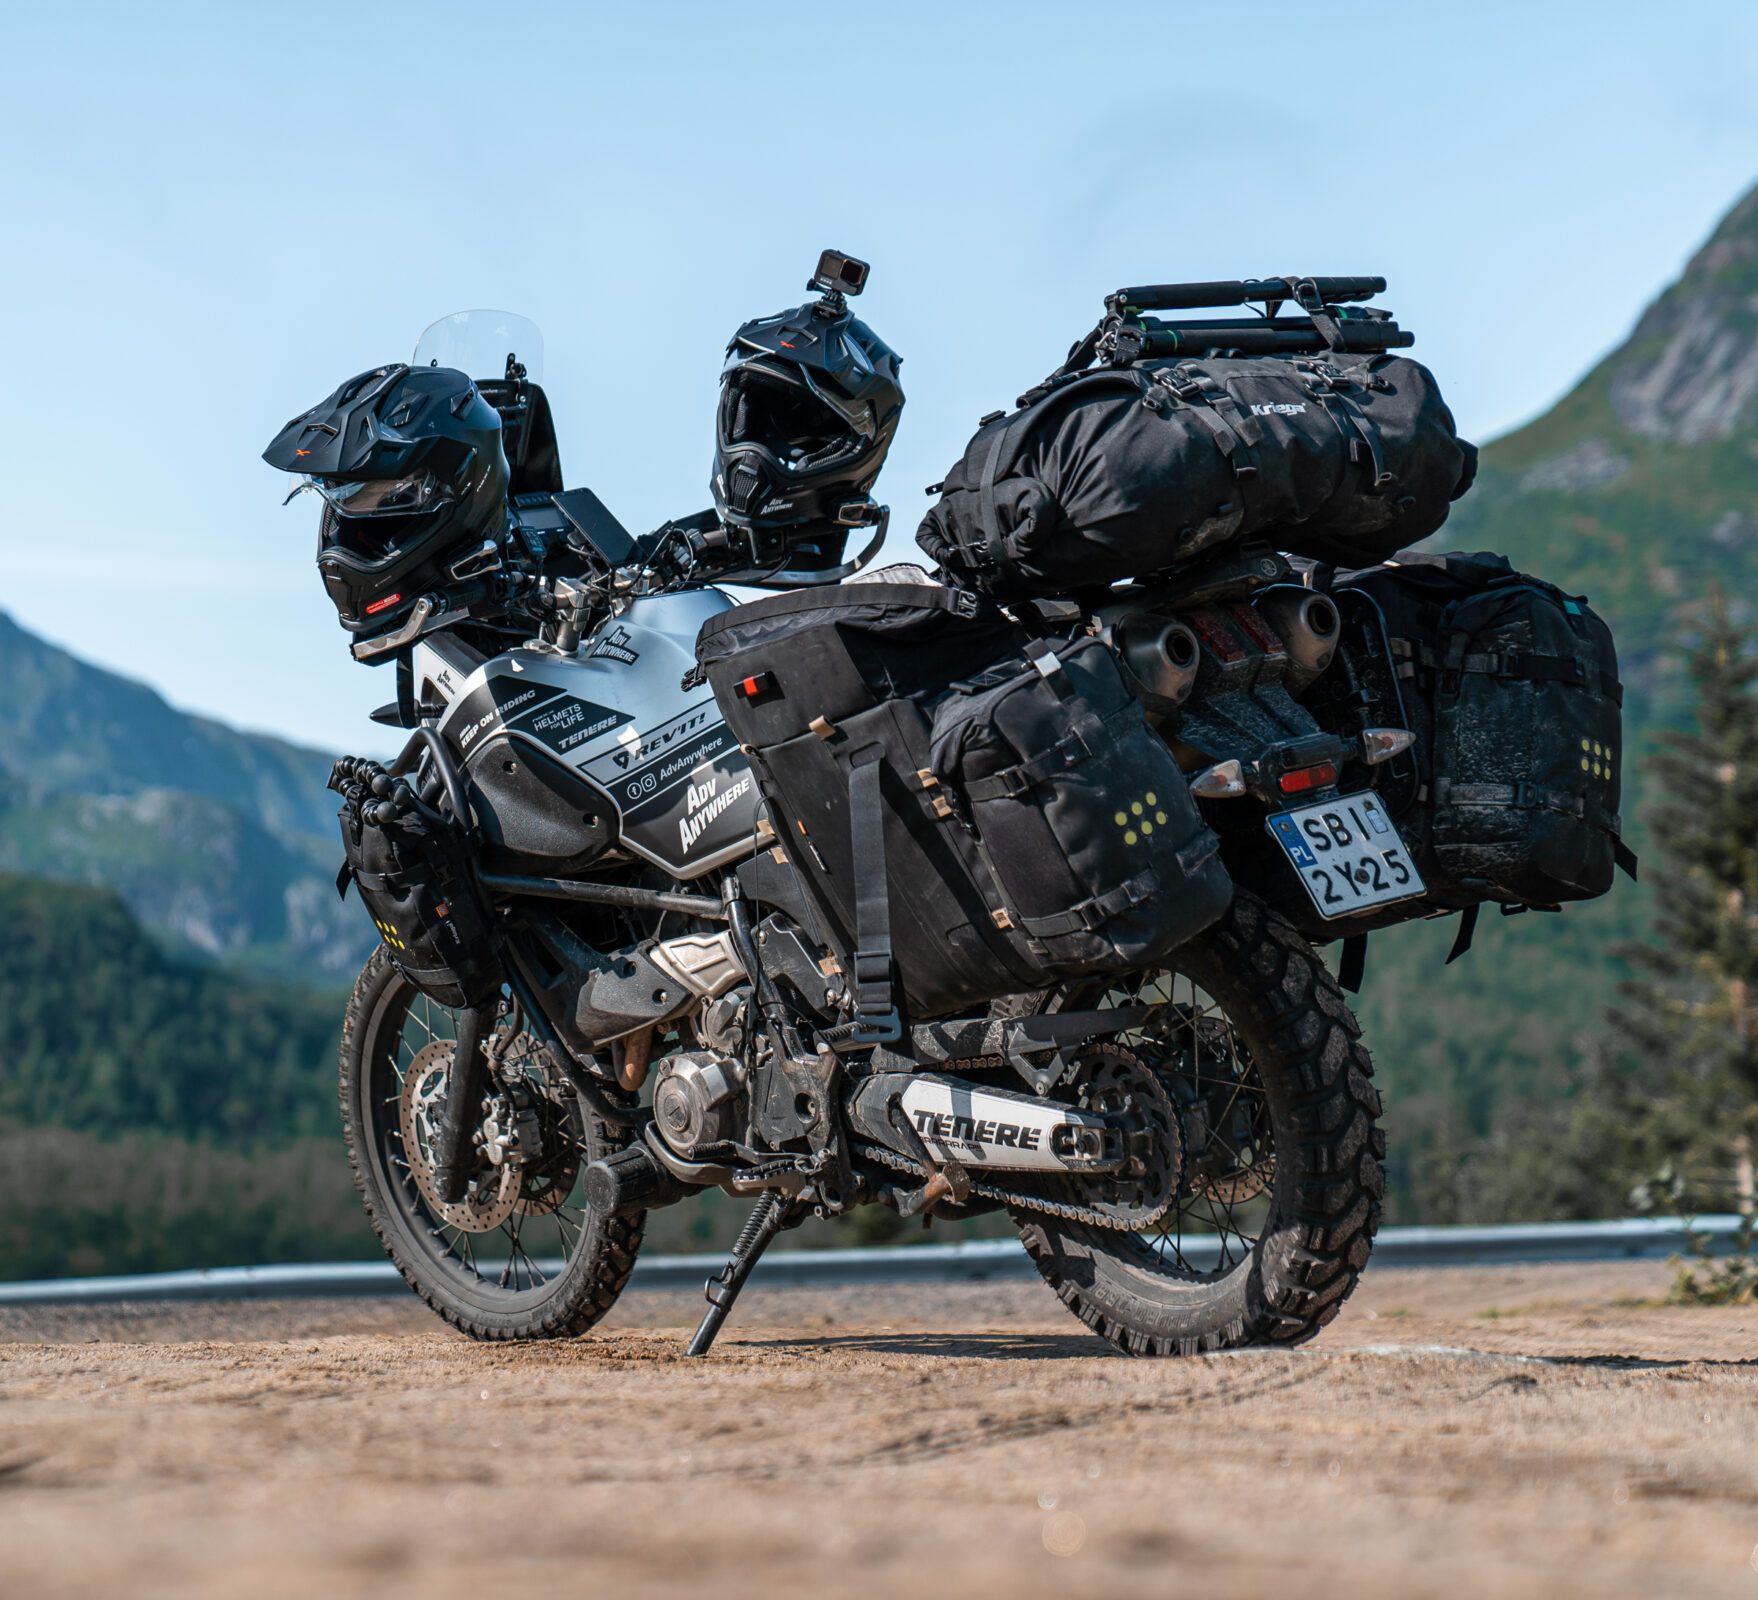
Rear Rack (DIY)
The rear rack is a must-have item to take full advantage of your motorcycle’s luggage capacity. Many racks available on the market are, to my surprise, very expensive and adapted to specific cases.
Personally, I didn’t care about the compatibility with the case as I prefer soft luggage. Therefore, I decided to design my own plate and cut it into the aluminum sheet, greatly reducing the cost of this upgrade. Today, I am making the project available for free, so that everyone can benefit from it:
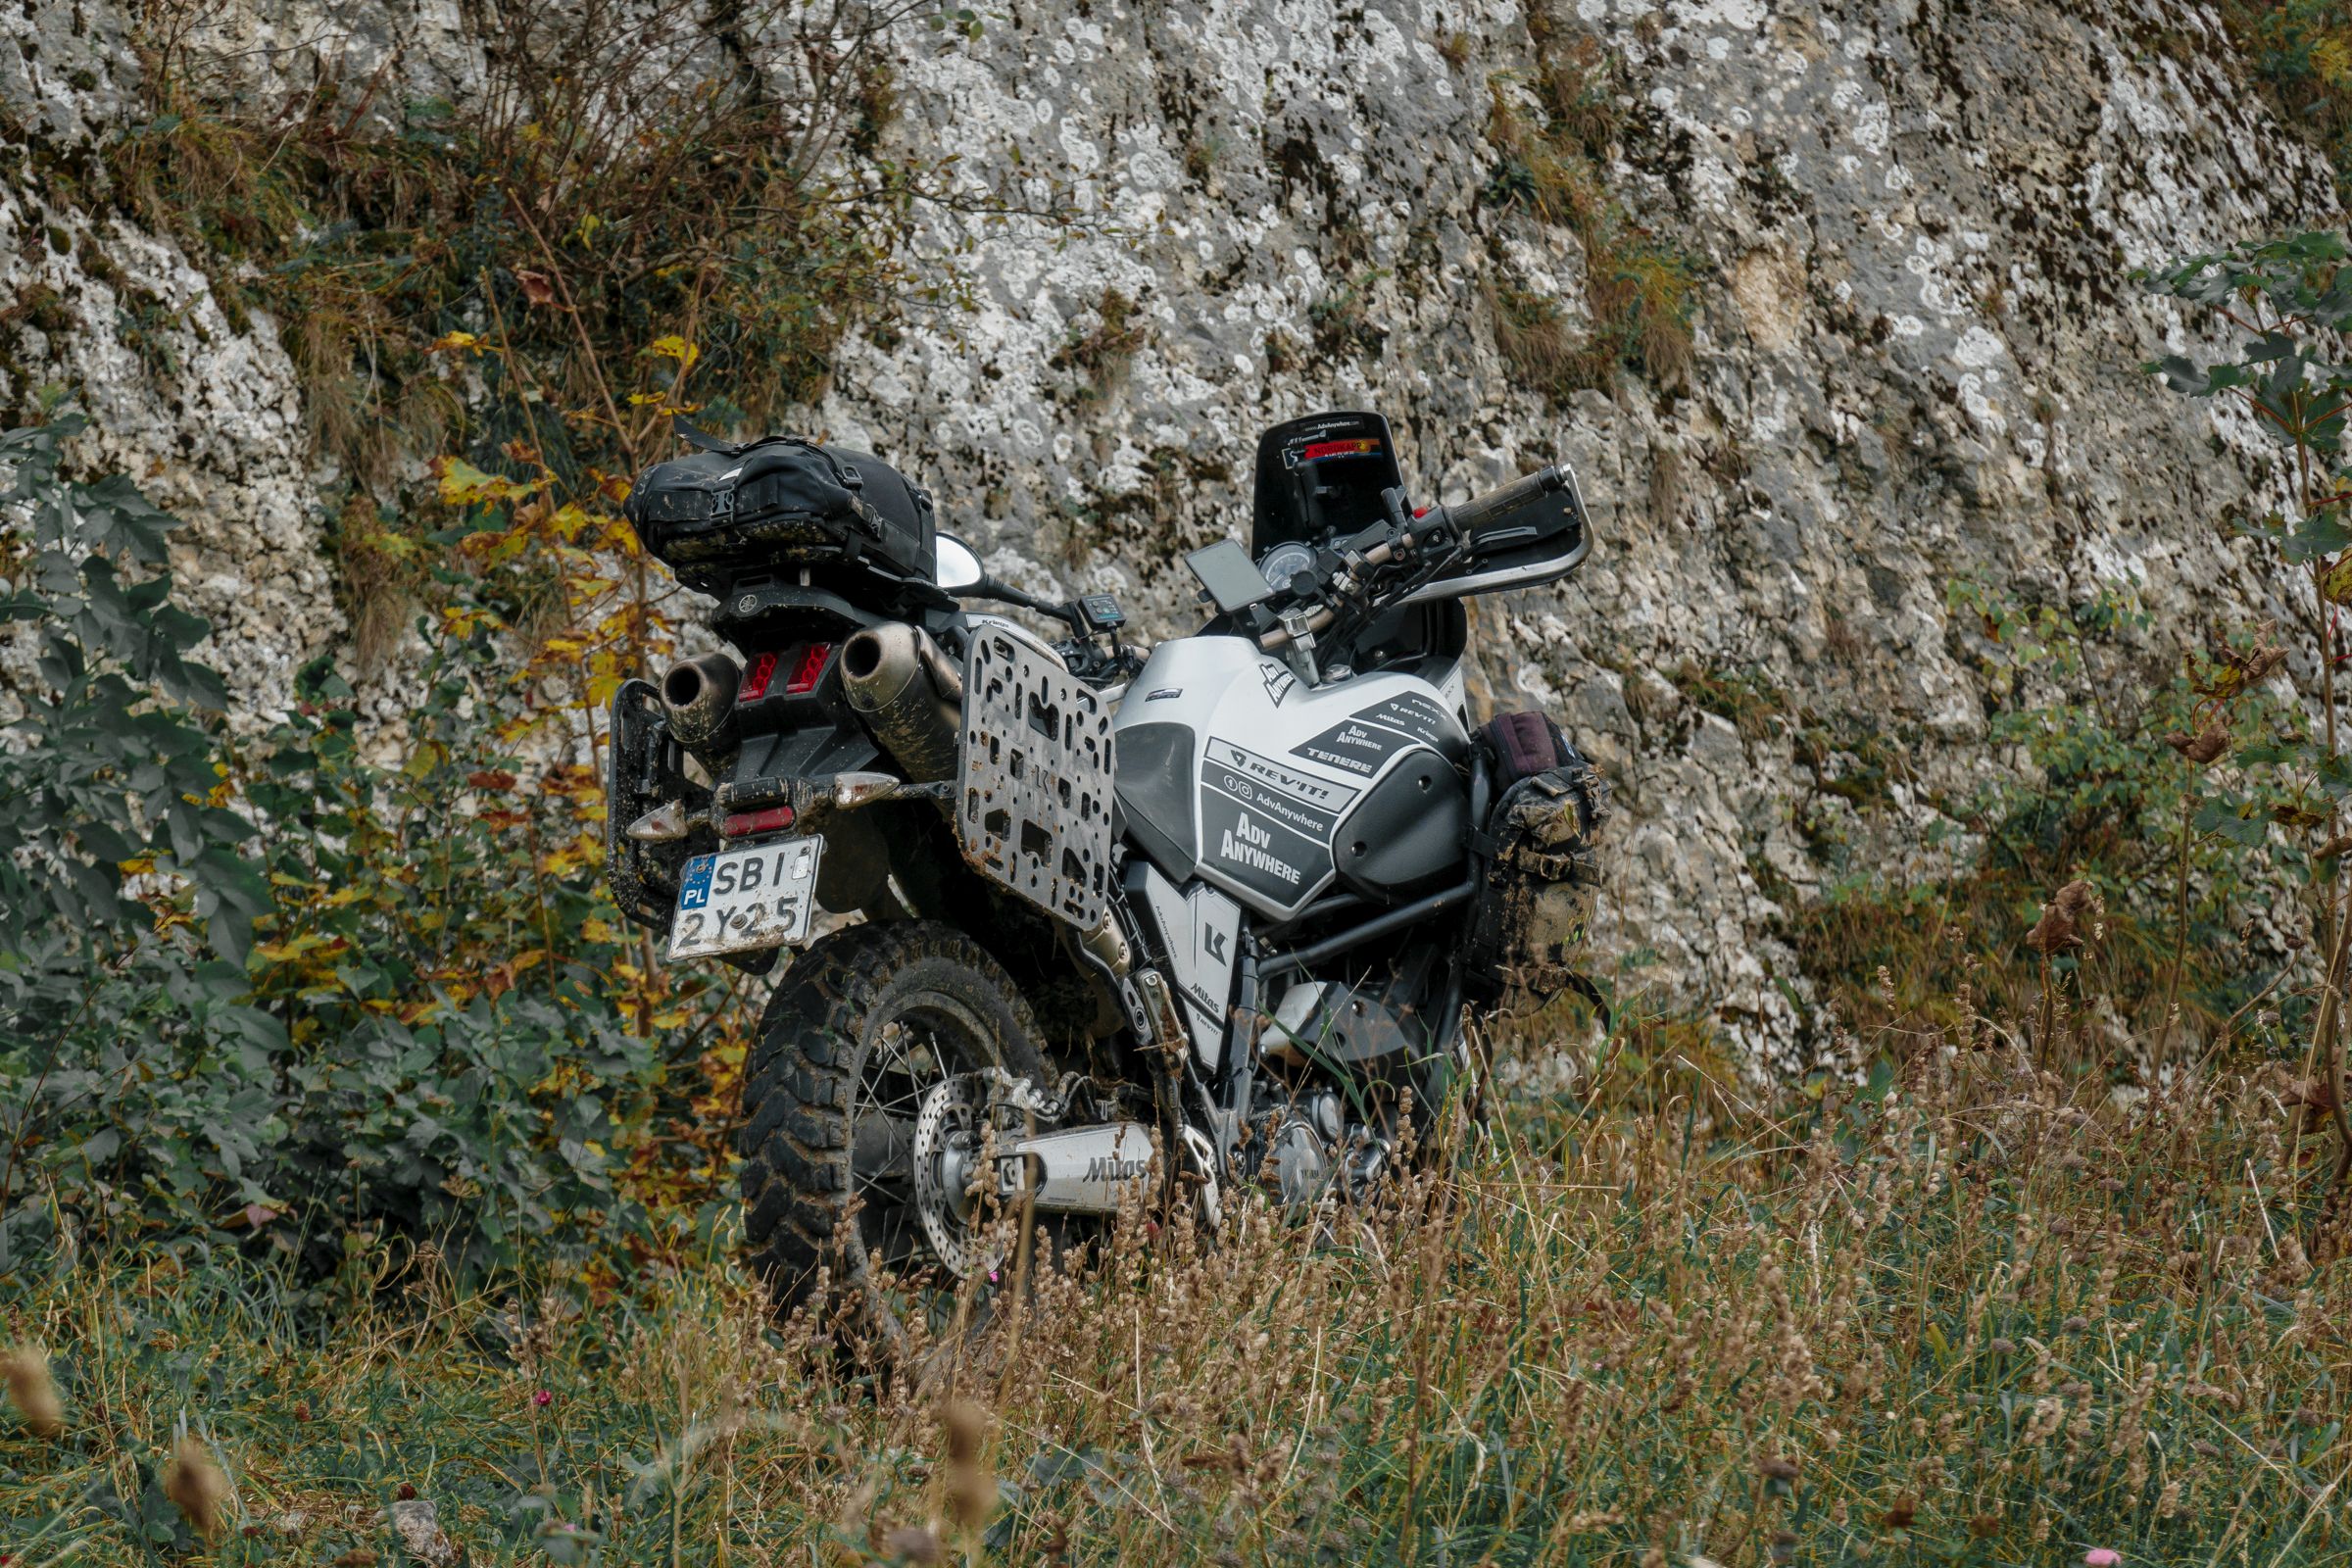
Kappa Crash Bars
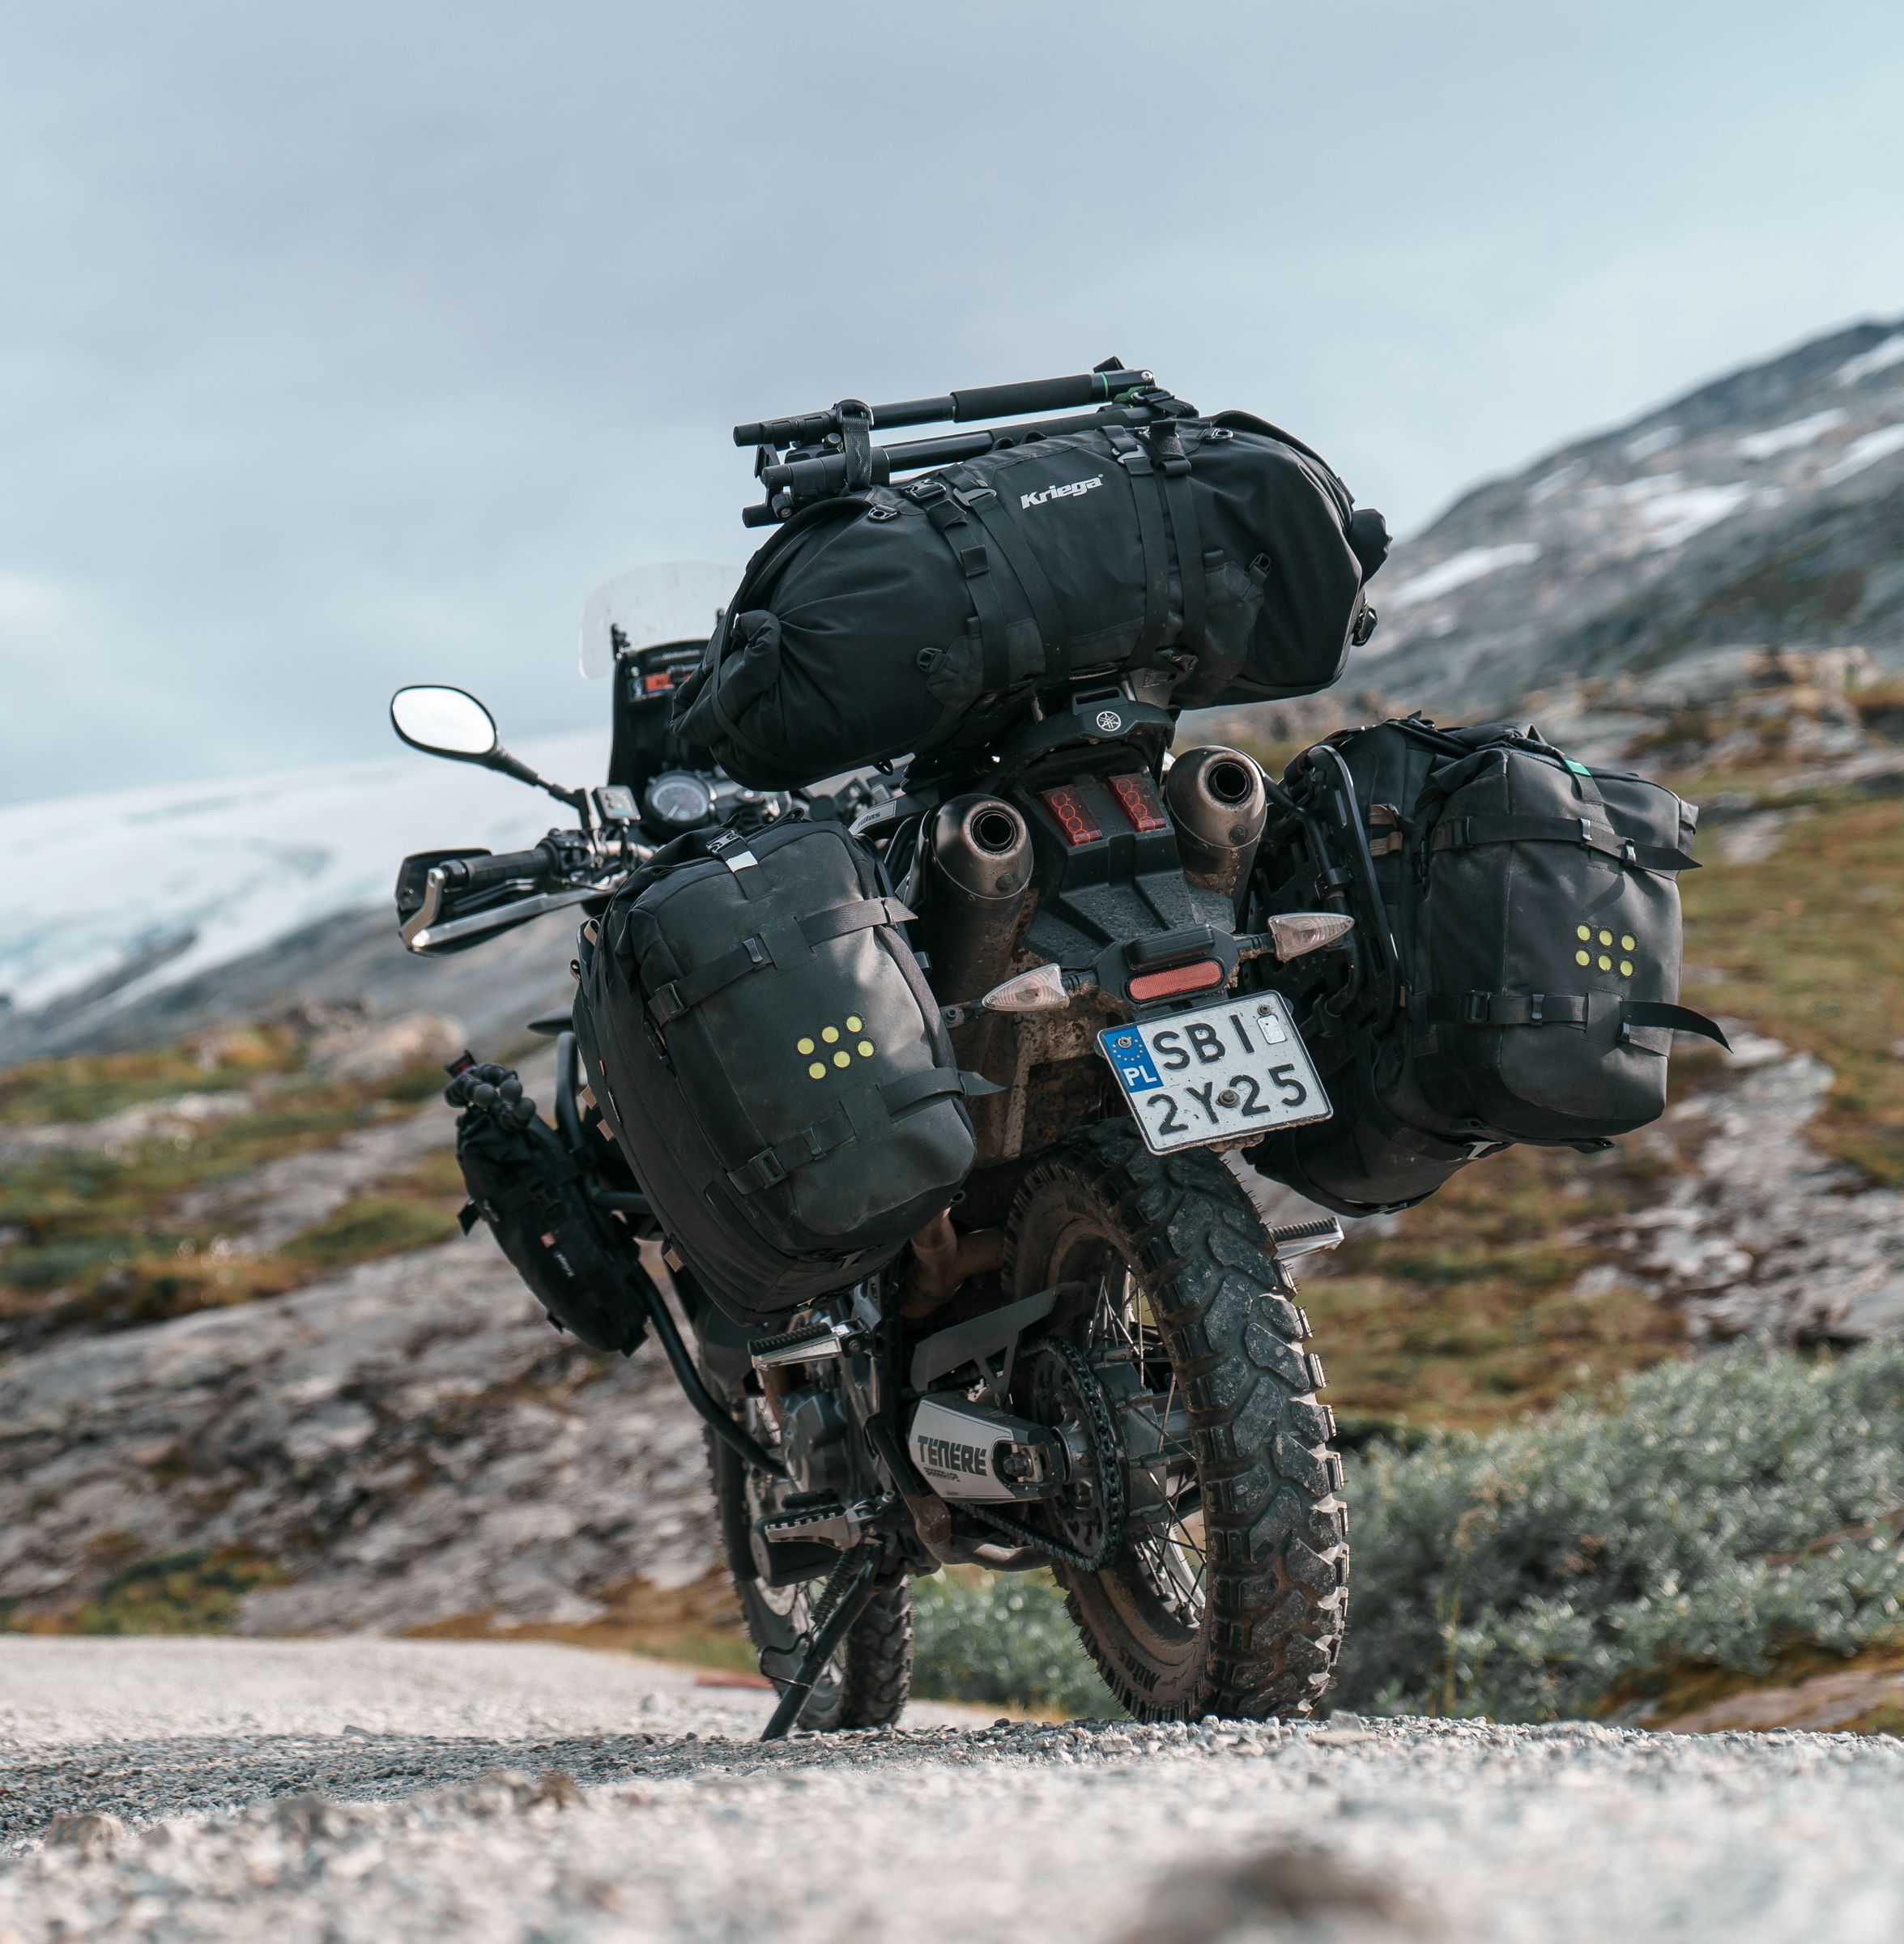
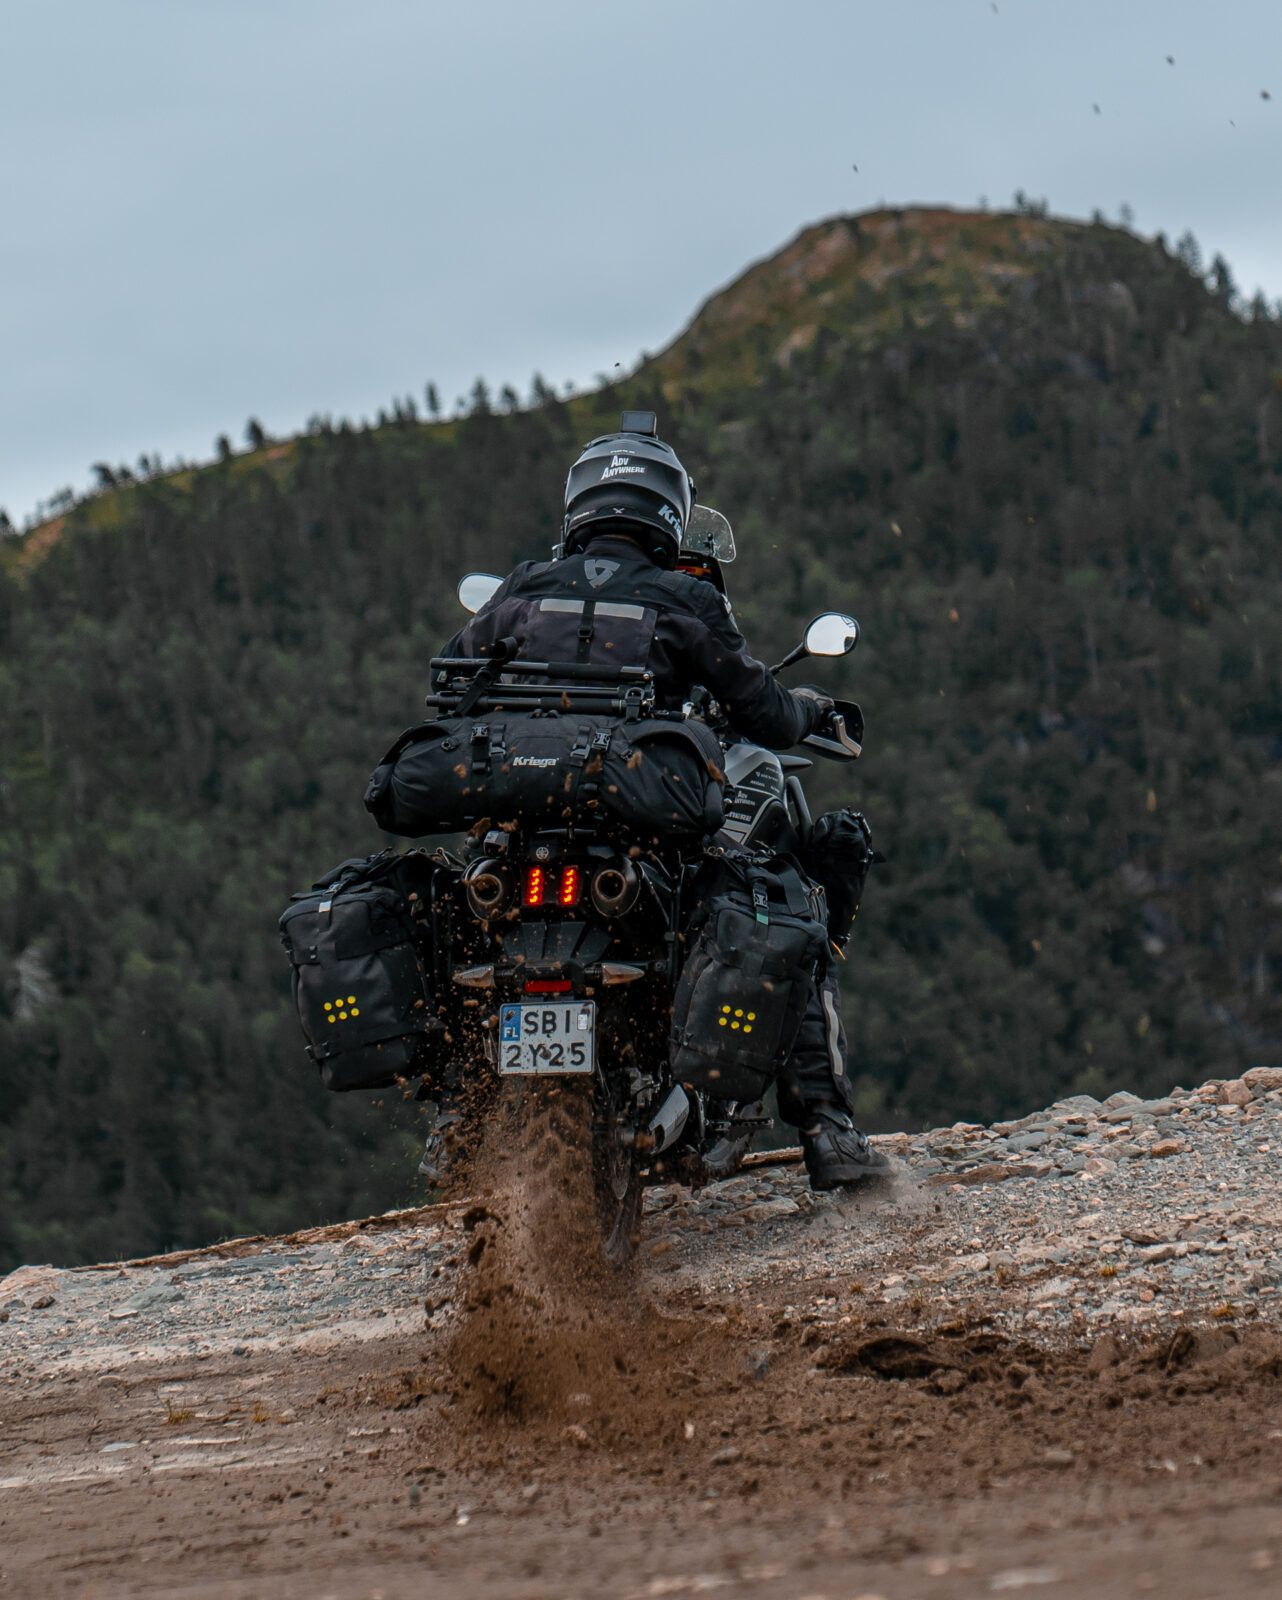
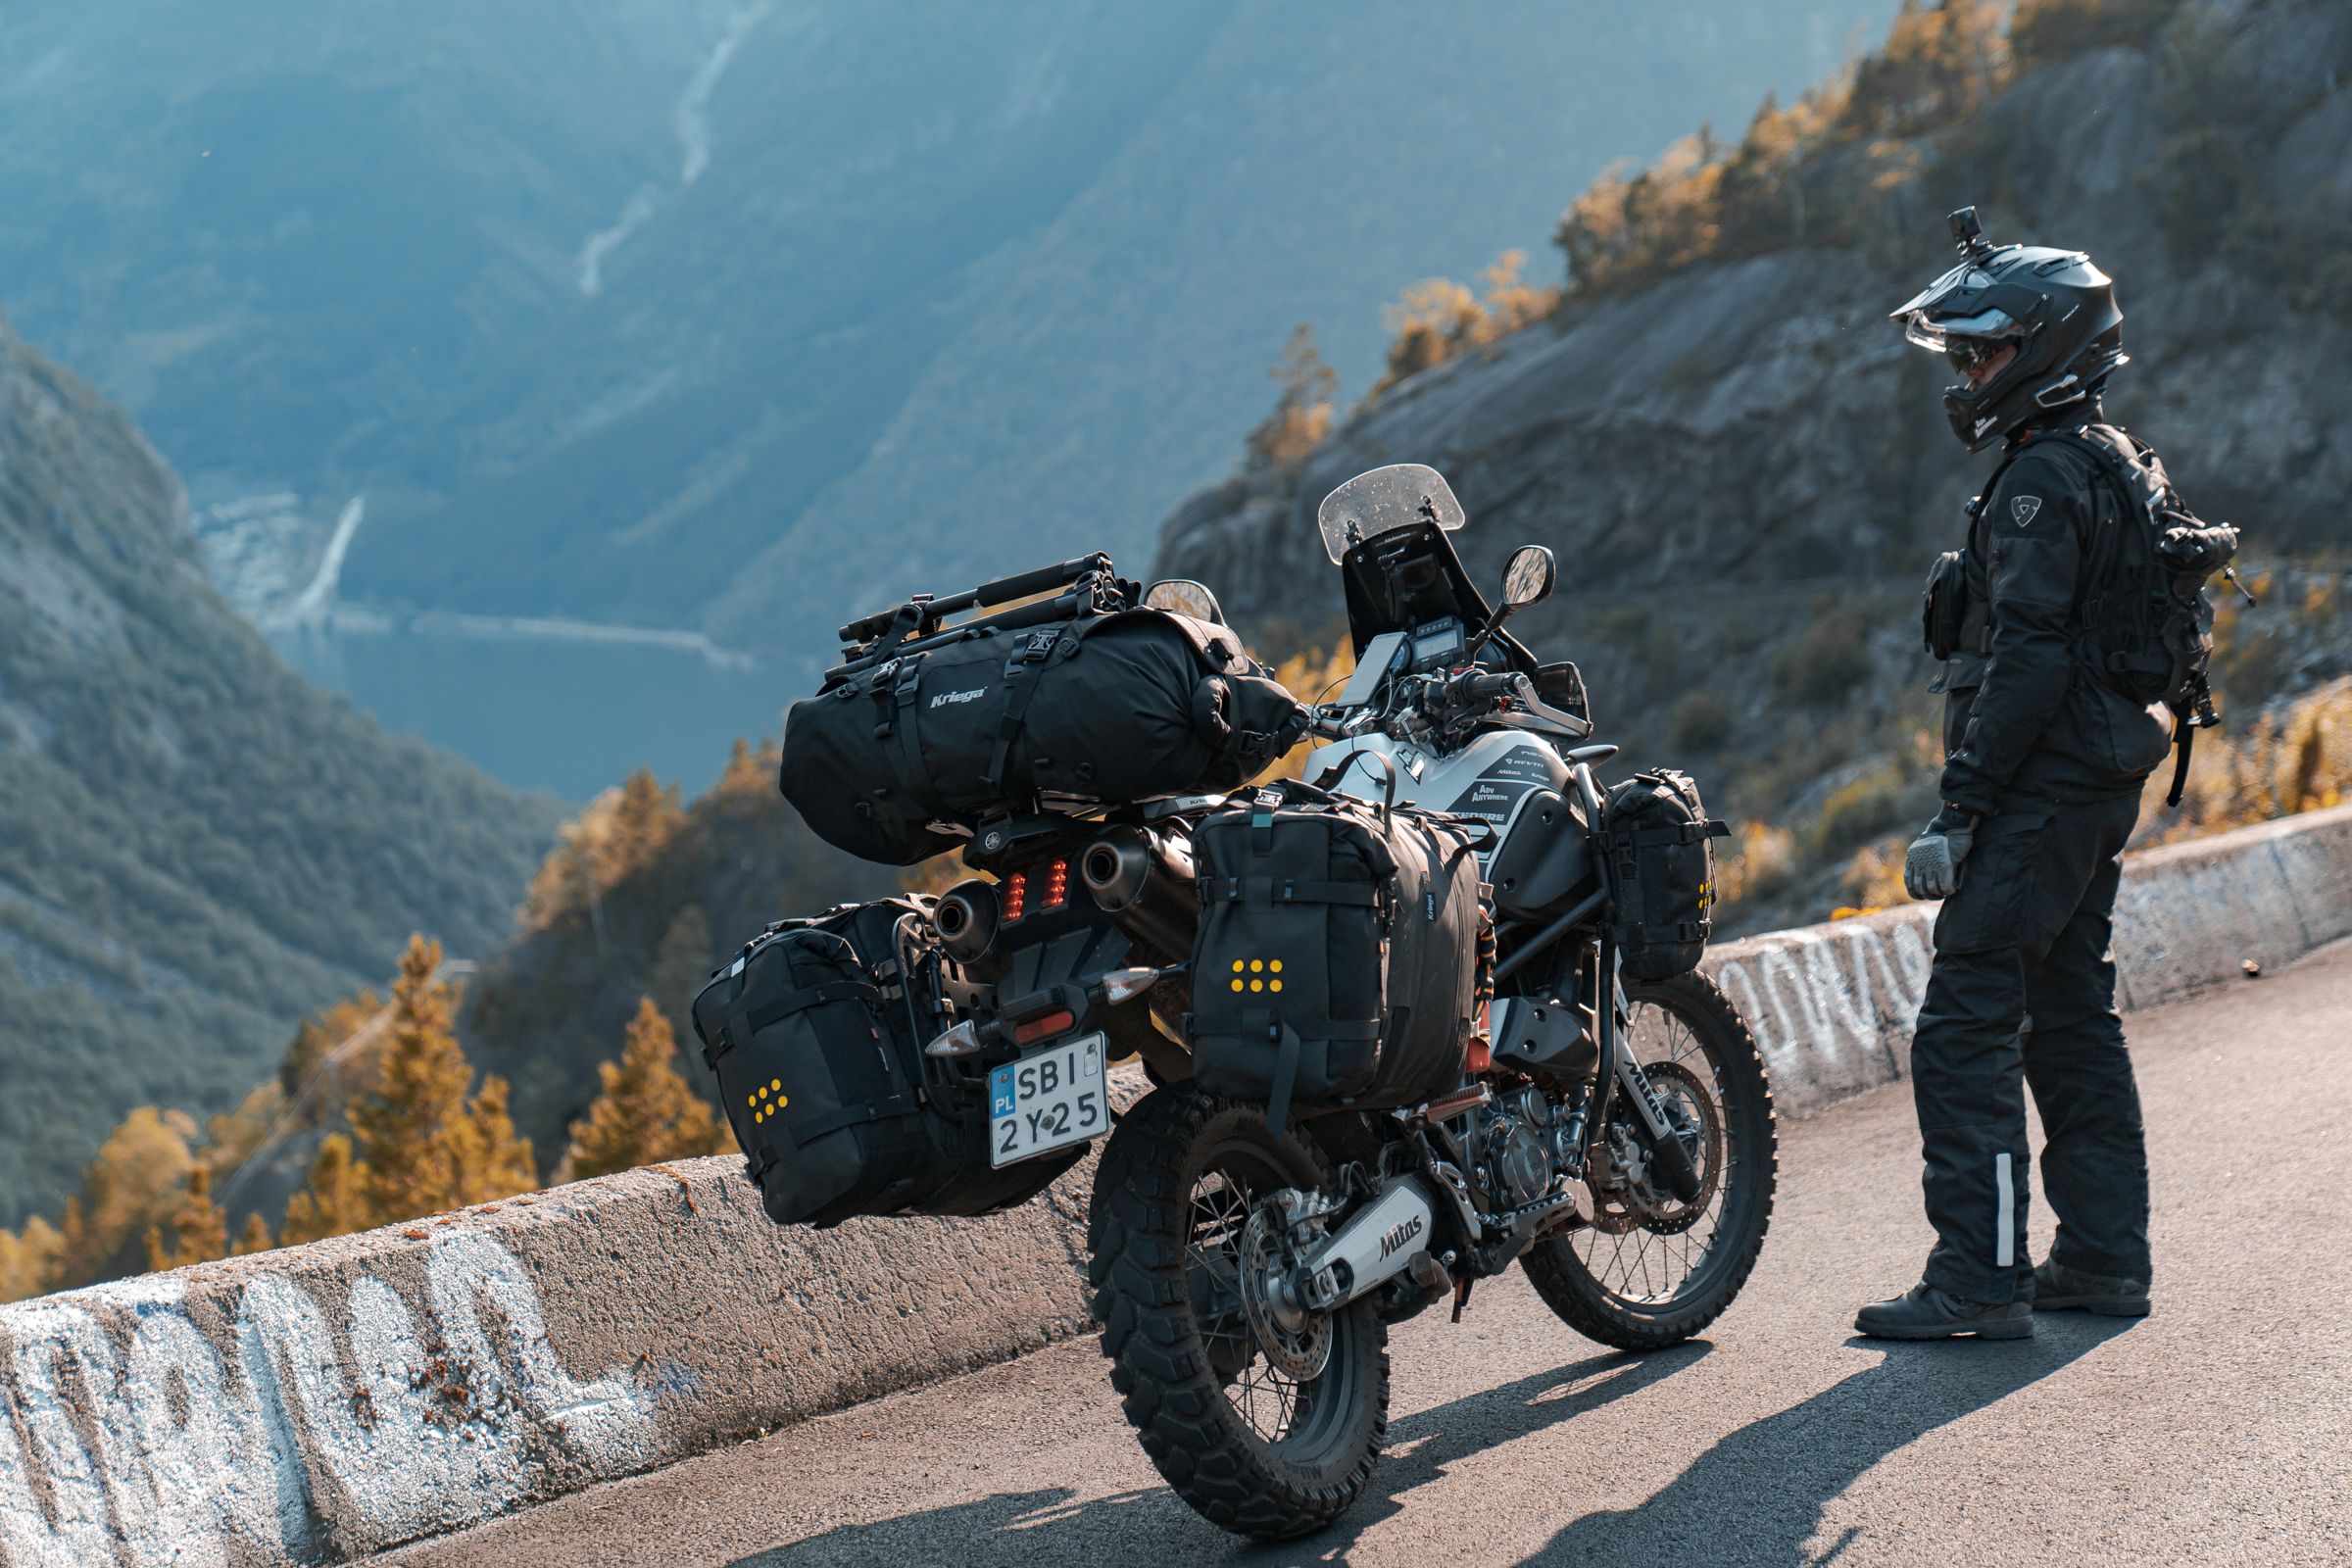
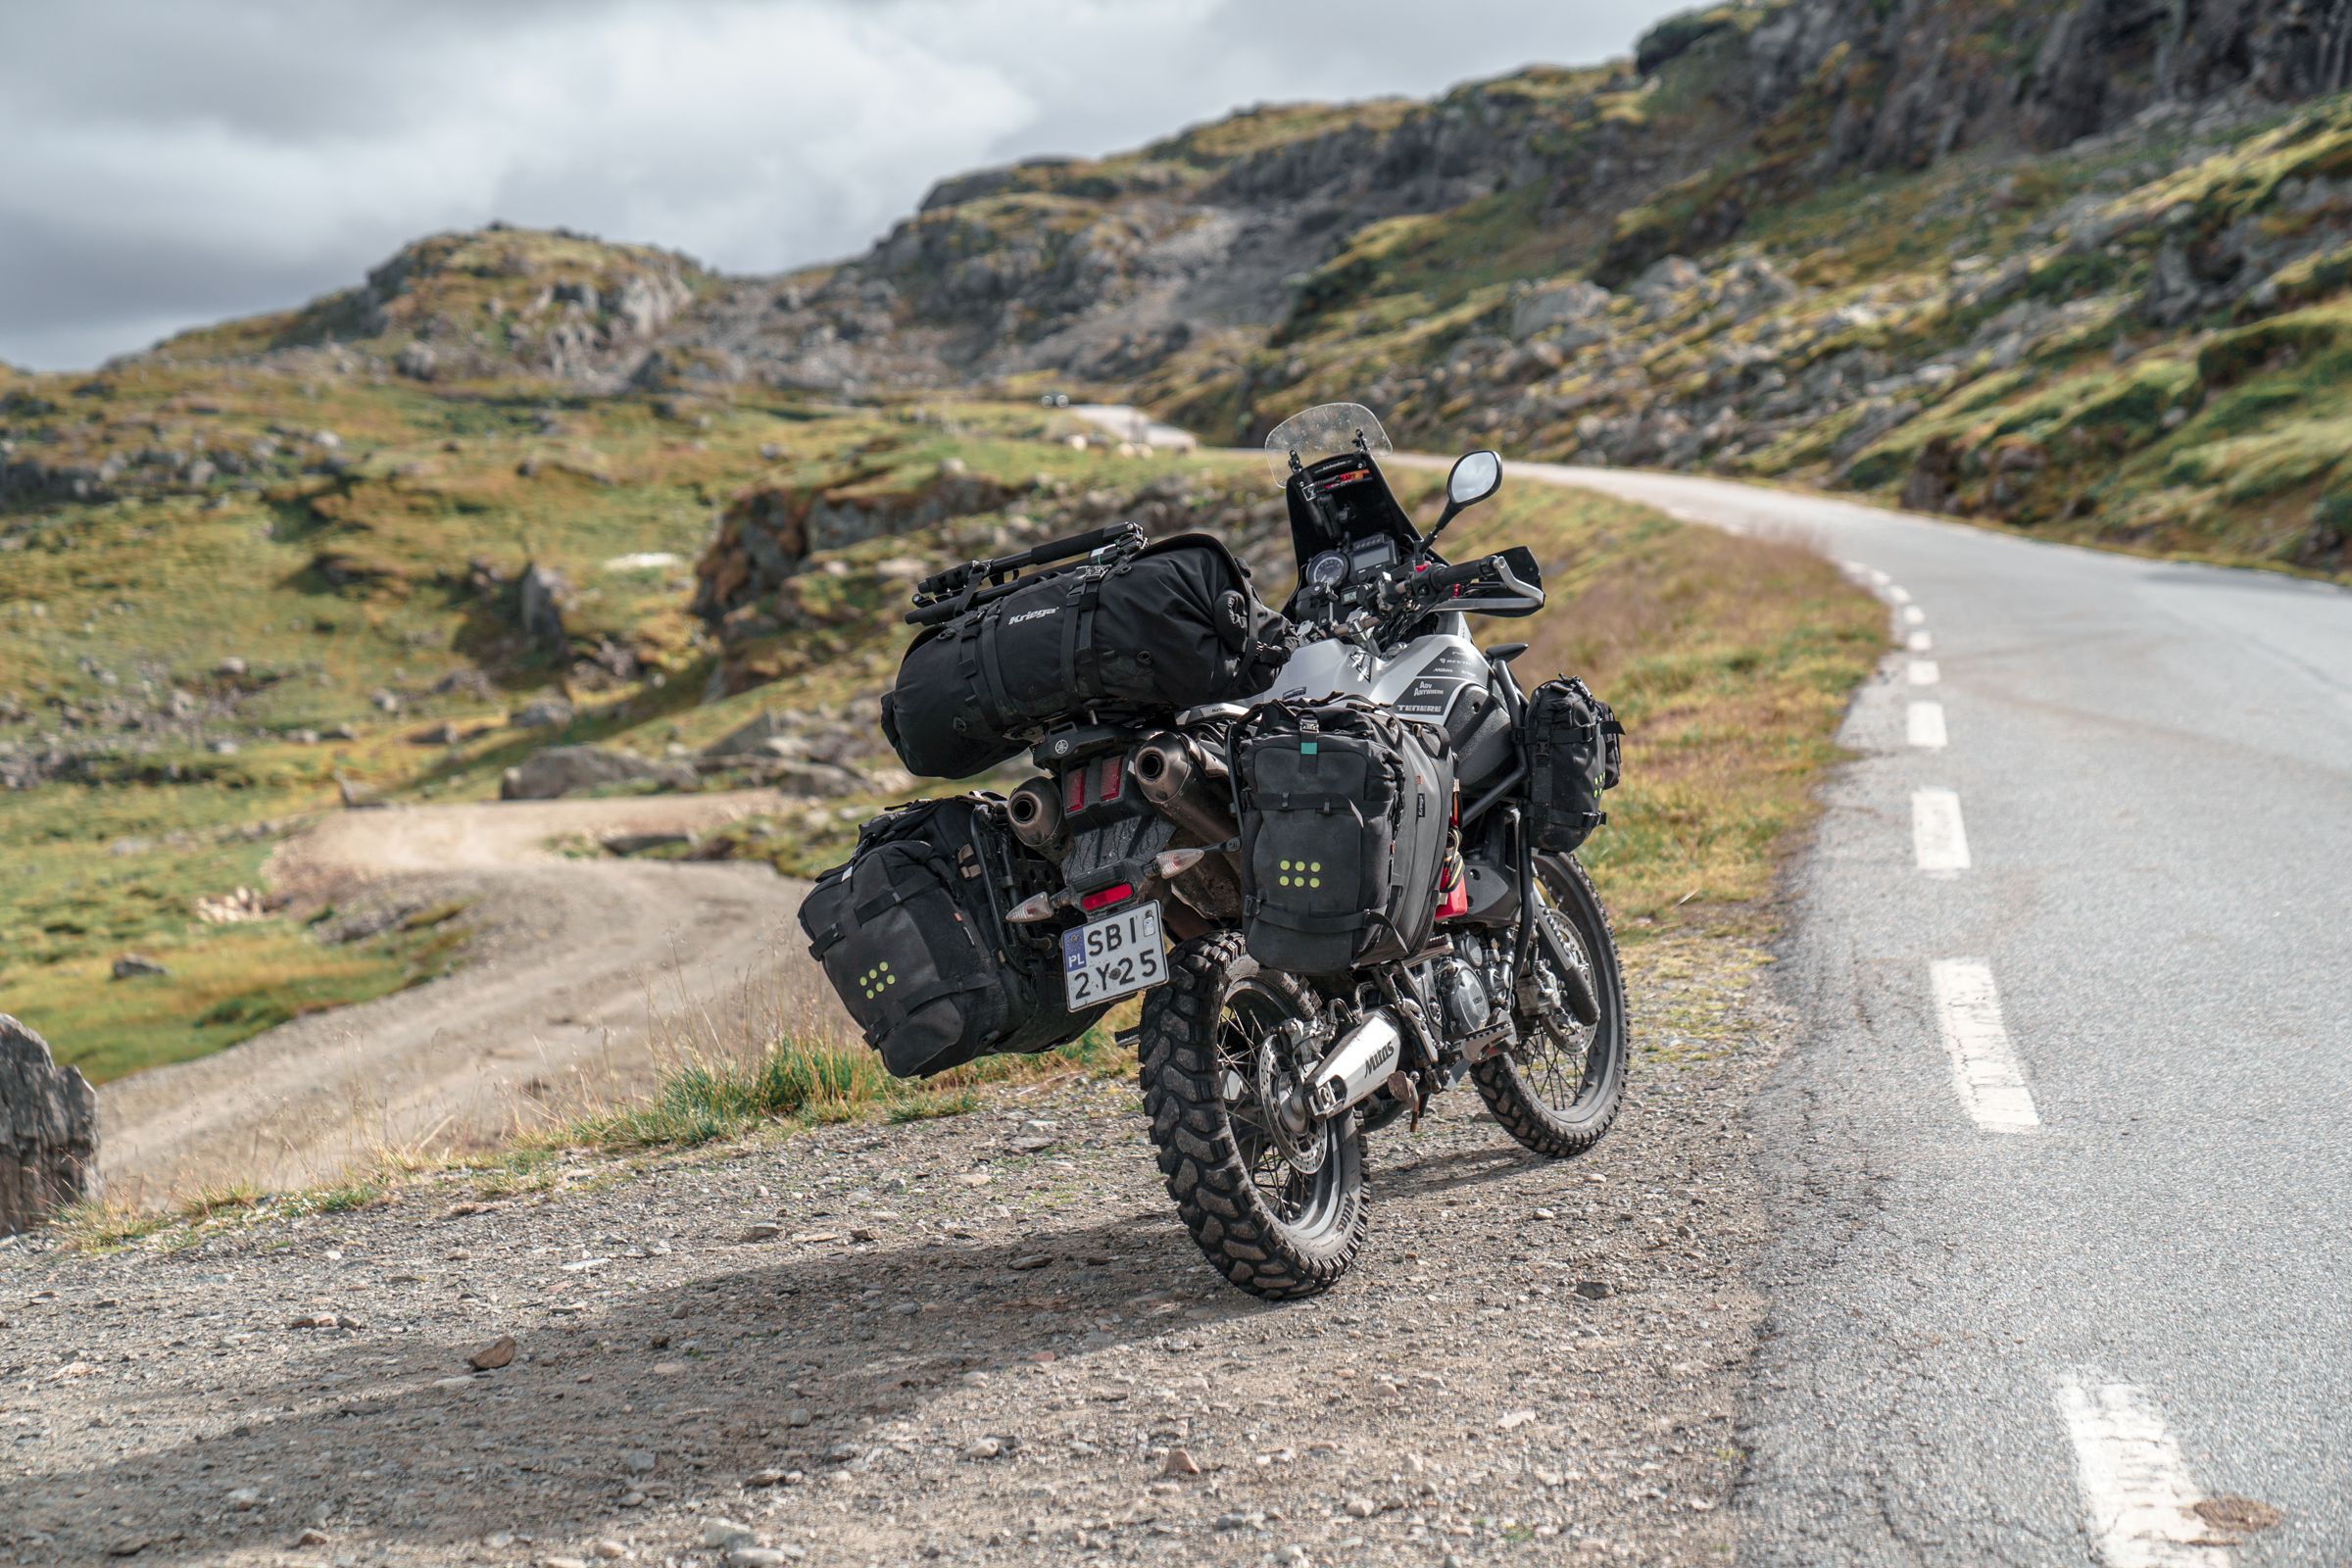
The purpose of crash bars is known to everyone – they are to protect a motorcycle against costly damage. However, this is not the only application. Crash bars also serve as a frame for mounting small luggage bags. In this case, Kappa crash bars were the best solution for me.
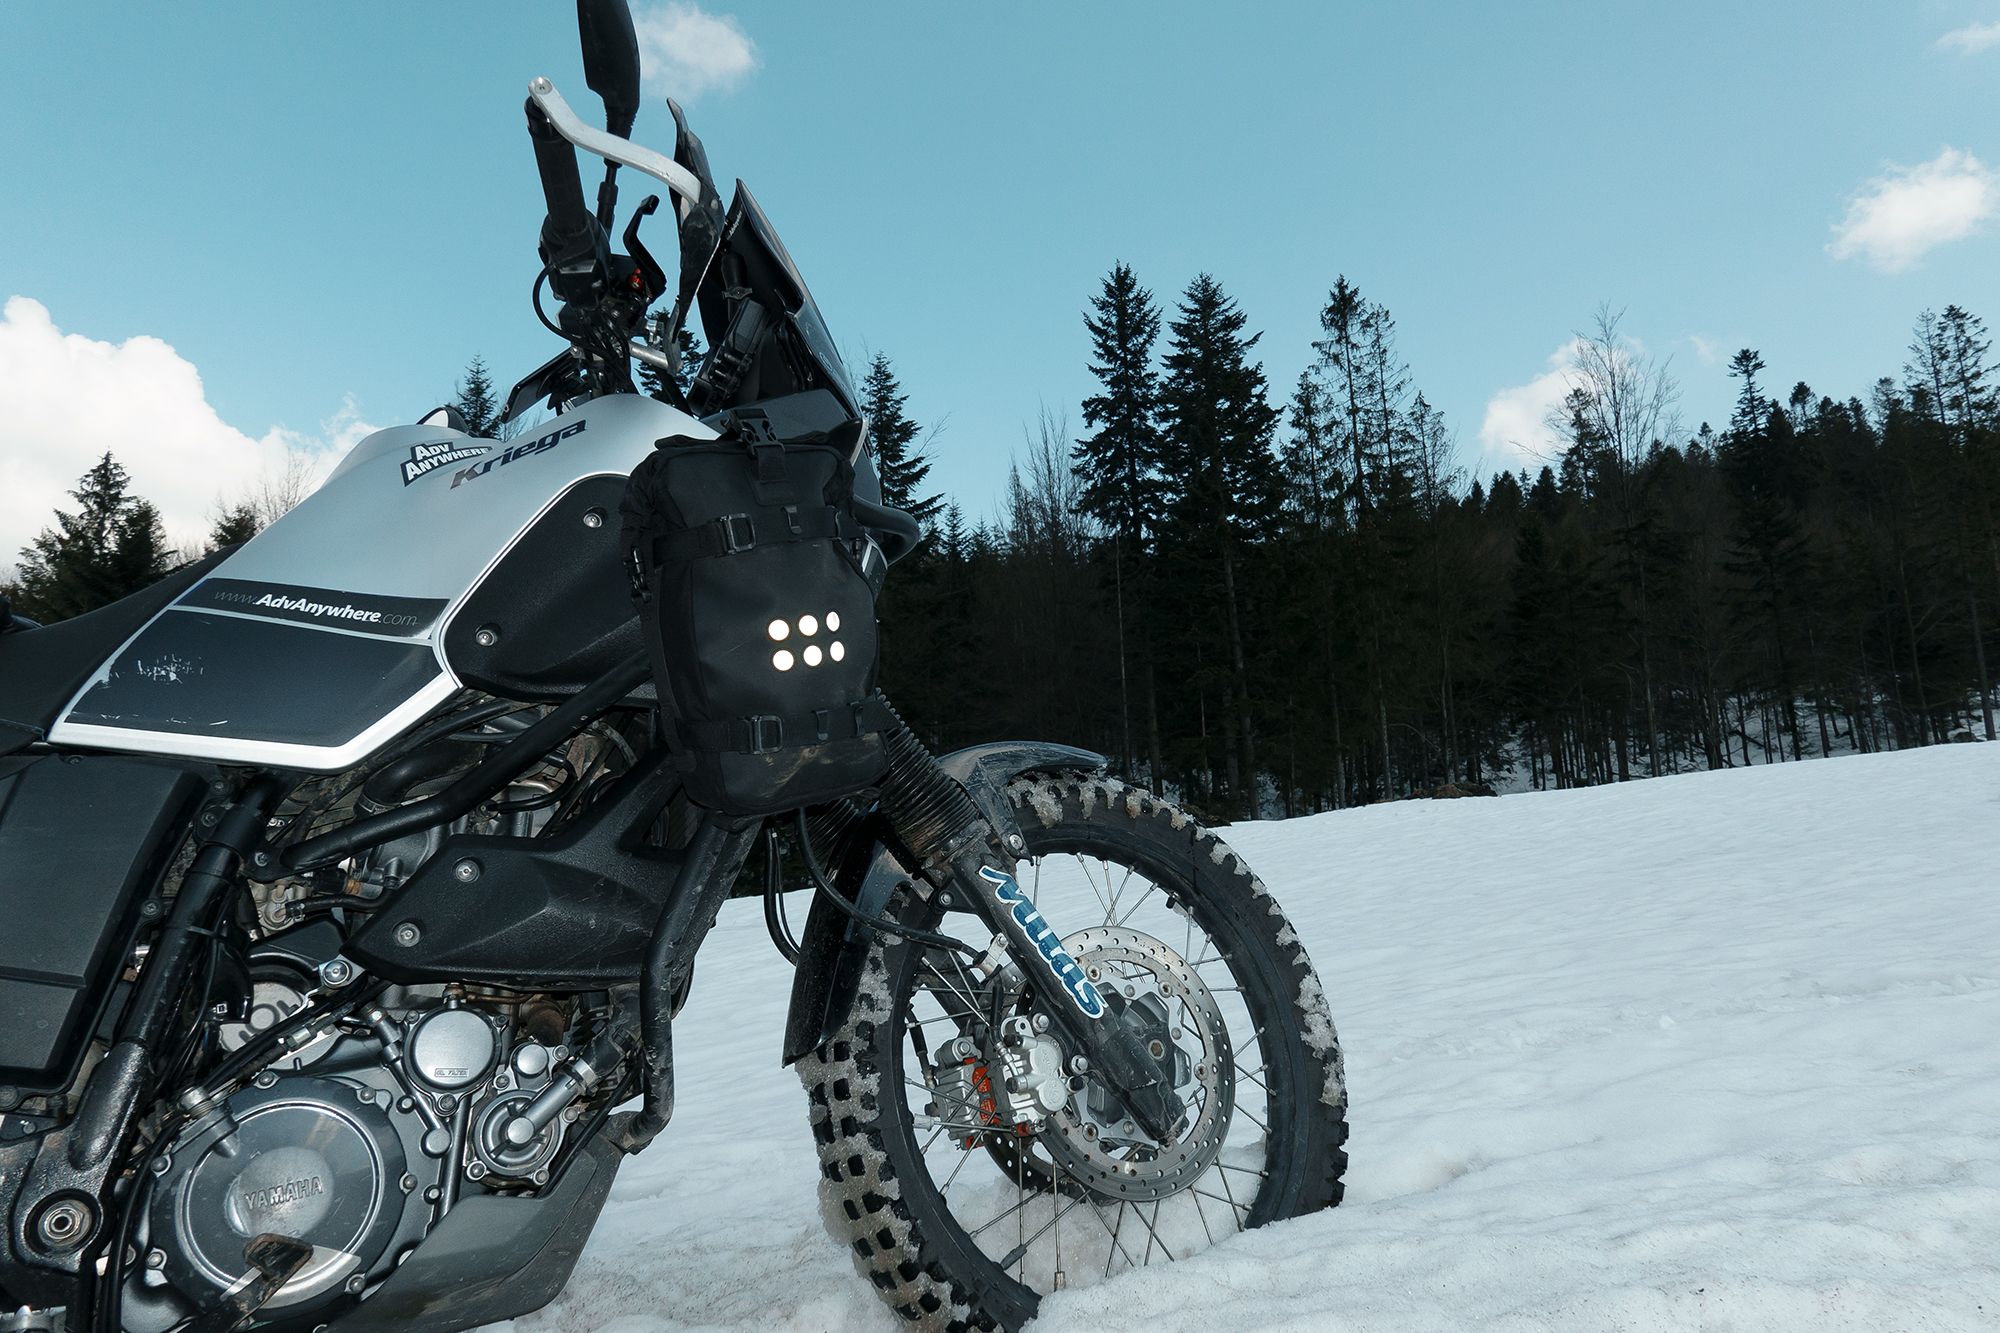
Initially, I had ordinary kidney bags attached to them, but after a few trips, they fell apart completely. Now I use Kriega OS-6 and I must mention that the material from which Kriega products are made is simply out of this world… incredibly durable and fully waterproof.

Hepco&Becker Side Racks
I chose the racks just like the crash bars: based on the universality of the assembly. Straight pipes without any flattening or holes for mounting the panniers were the first parameter that I took into account. The second, equally important, are four mounting points and the rack connection with a tube at the back. This structure is incredibly strong and durable. Without rear linkage, other racks would bend quickly after a few drops of the bike to the ground.
DIY Lower Deflector
Experienced XT660 owners know the problem with the so-called buffeting, i.e. air turbulence around the driver’s helmet. I wrote more about this issue in the post, in which I also provide a template for such a deflector:

Universal Rack for Kriega OS Panniers
Kriega OS-32 panniers can be attached to the motorcycle in two ways: by attaching them directly to the frame or by attaching them to a special universal plate. The second solution means that mounting and dismounting both bags takes less than 60 seconds. It is much more convenient. Also, the fastening is firm and solid. In addition, the plate allows the bags to be fastened with a special belt with a steel rope, so they can be secured against theft.
The racks are modular and allow for quick and easy mounting of all of the Kriega bags and panniers.

Marselus Tool Box Tube
When I go on short off-road routes, I keep my toolbox in a small Kriega OS-6 or OS-12 bag attached to the central rack. For longer trips, I put it on the bottom of one of the Kriega OS-32 side panniers.
For the five-week trip around Norway, which we traveled with Ola, I used a tool tube attached to the front of the crash bar. This solution required welding a mounting element. In addition, I secured the toolbox with two large clamps. The reason was that the luggage was already fully packed.
You have to remember that the toolbox will not work in this place when riding into high ruts.
https://www.marselus.com/en/d/univerzalni-tubus-na-drobnosti-nebo-naradi-velky-1000395/
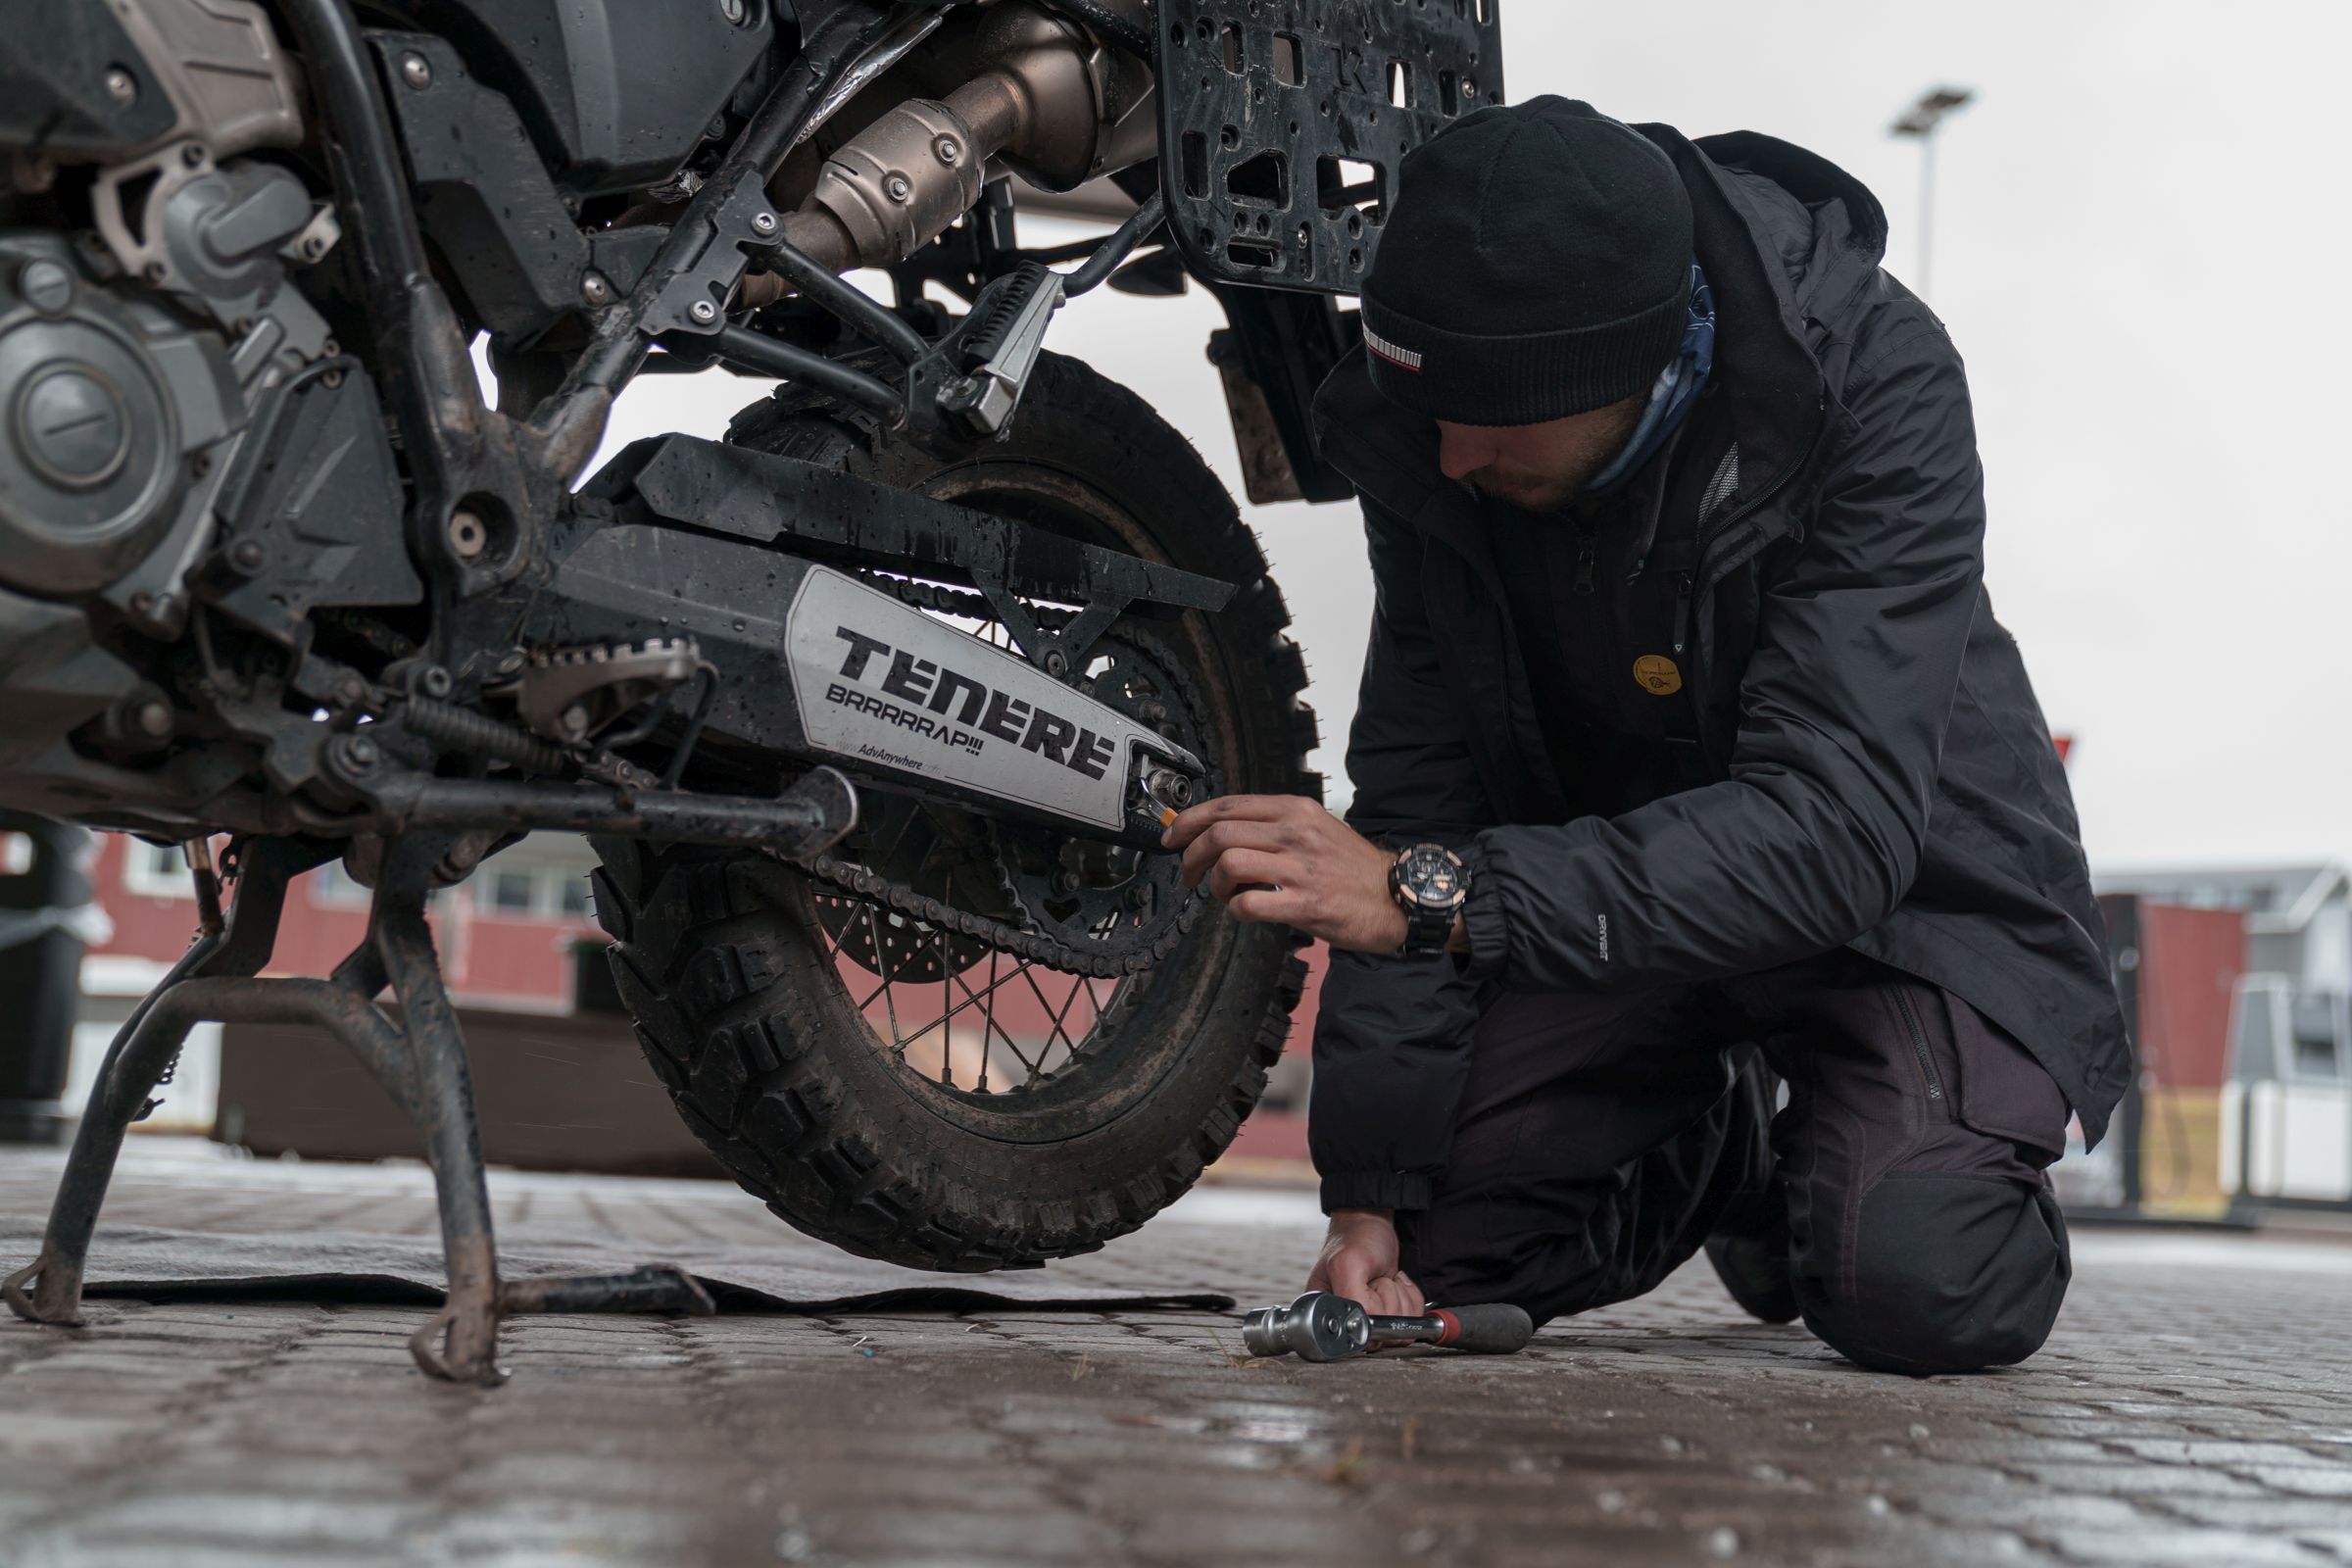
Center Stand
Another essential element of any motorcycle. The center stand facilitates changing the rear tire, lubricating the chain, and changing the chain or brake pads.
The center stand is also life-saving when you have to change the tire in the field. Combined with a side stand, they can create a tire removal tool. Personally, I have not had the opportunity to use it yet. And I hope that I will never have to 😉
I have the one from the link below, but you can find similar ones on many other non-Polish websites.
http://www.darkojak.rkr.pl/Deflektor/stopki%20centralne%20Yamaha%20xt660z.html

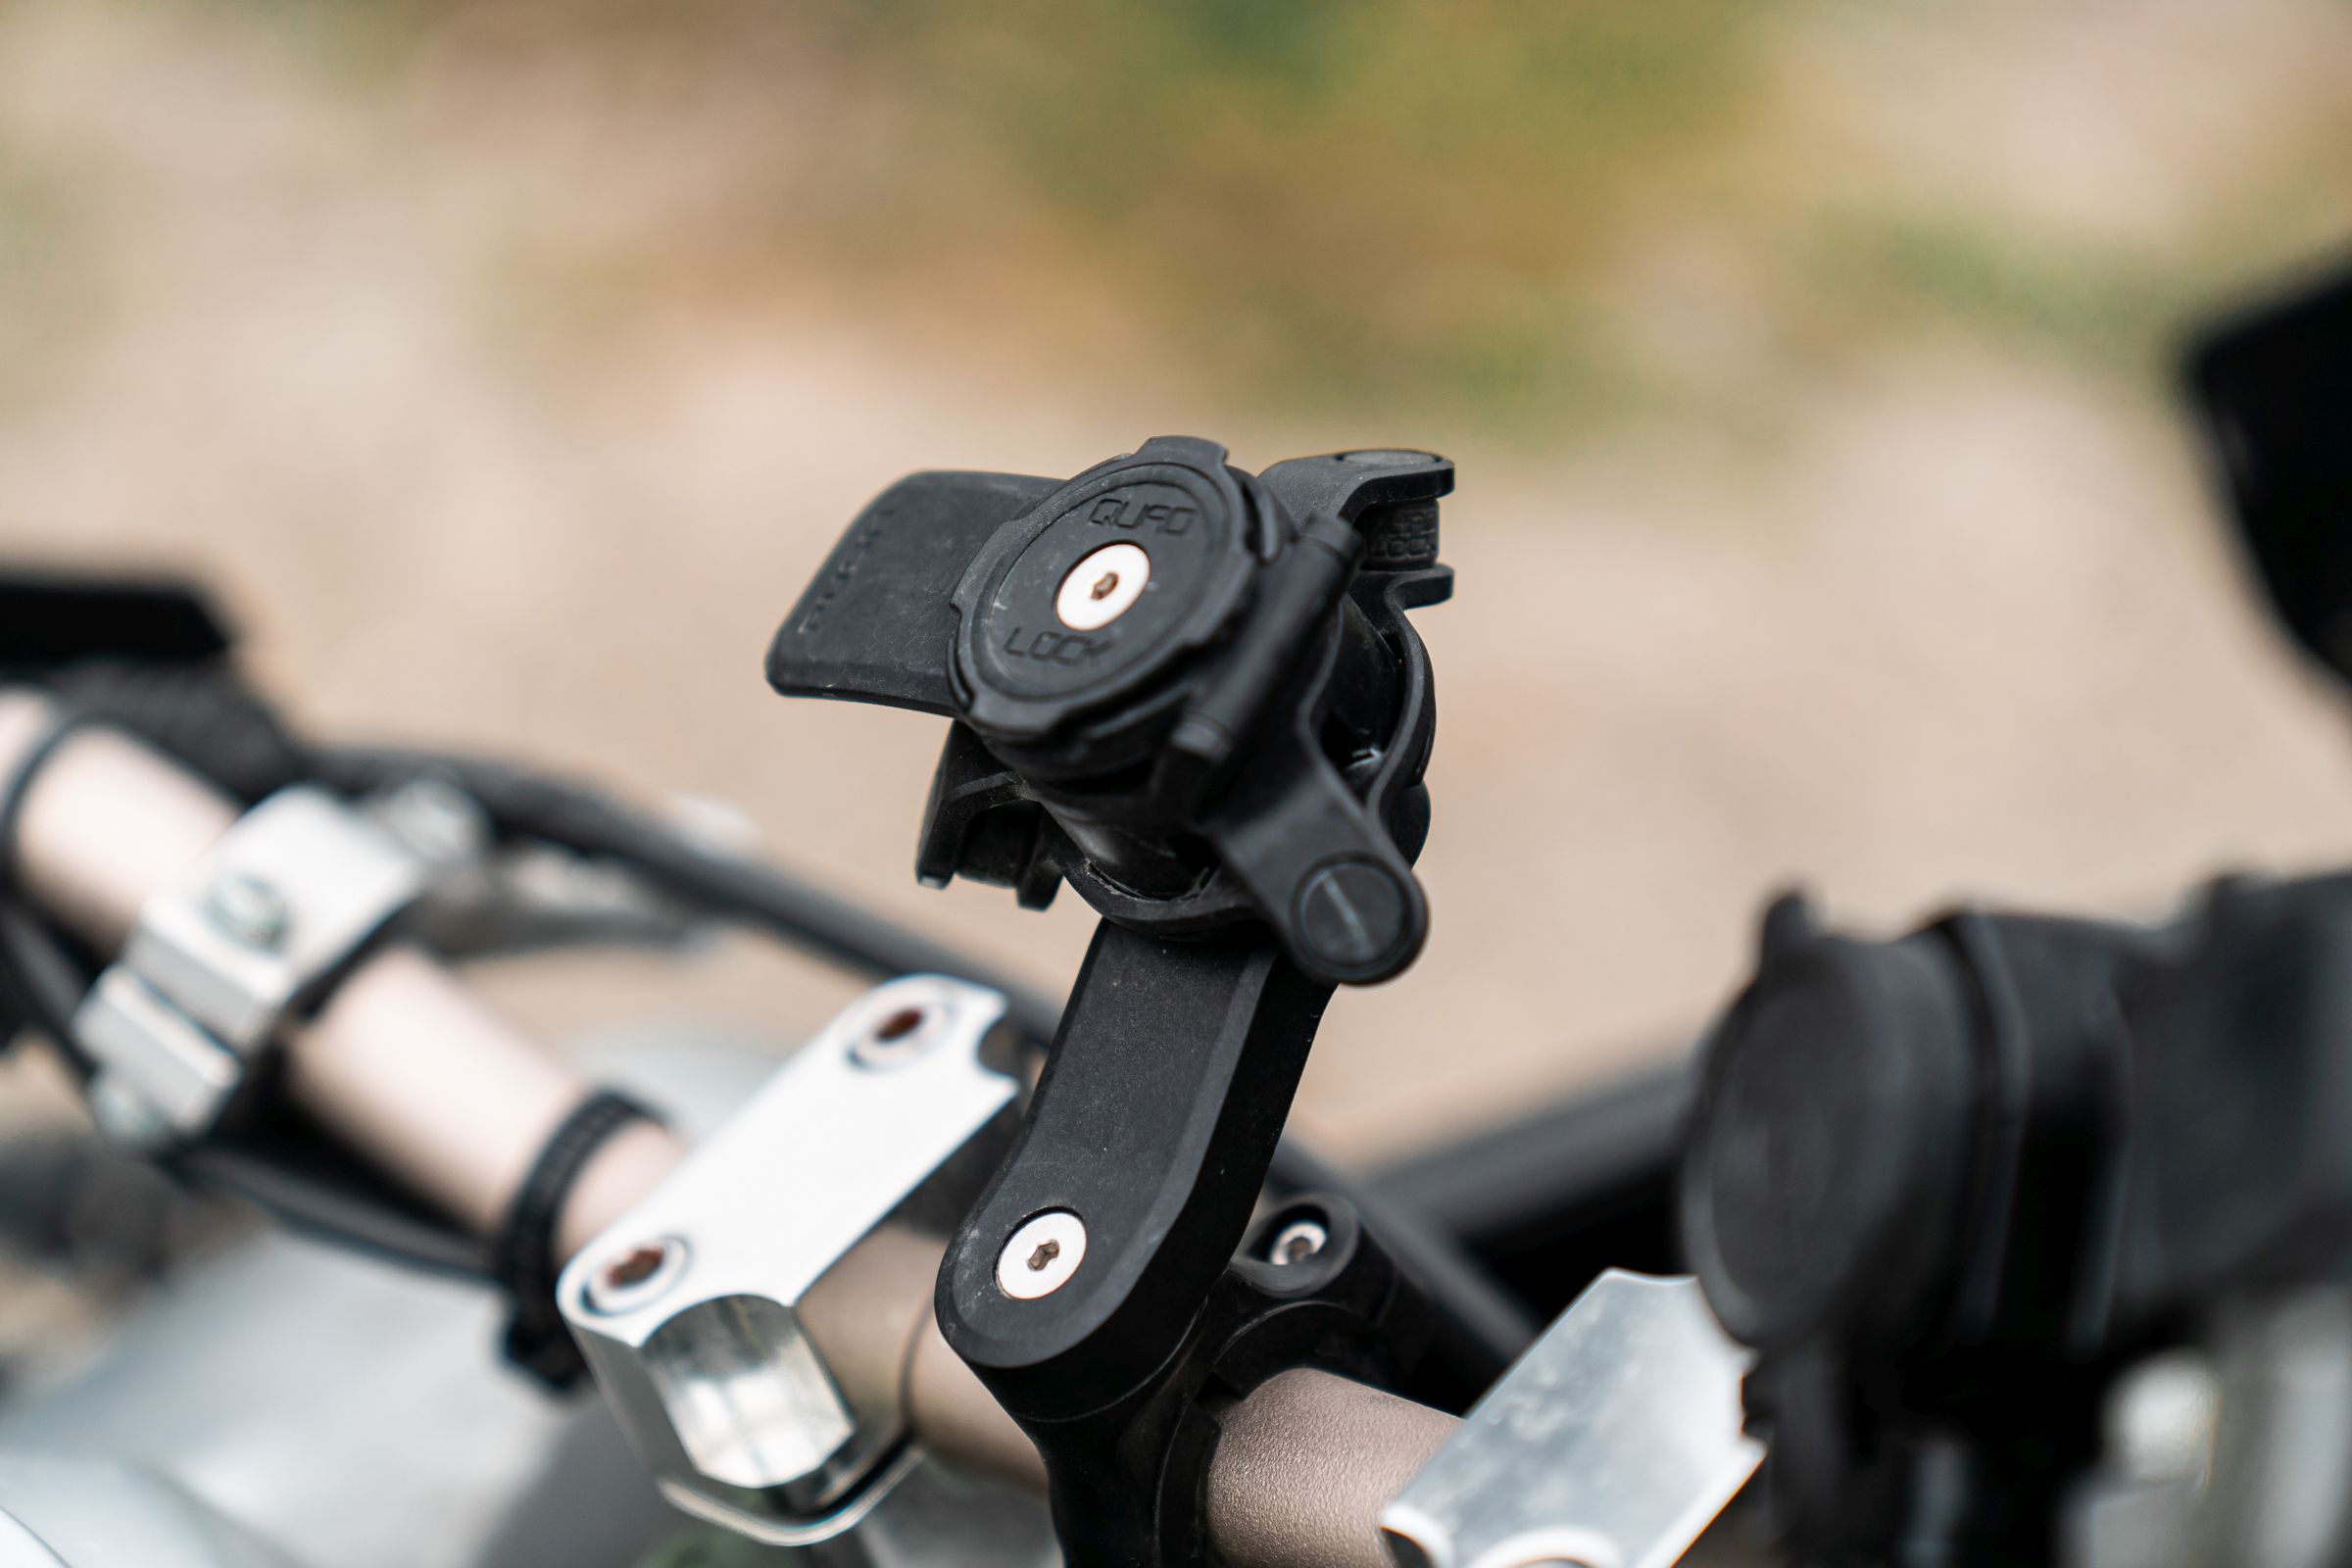
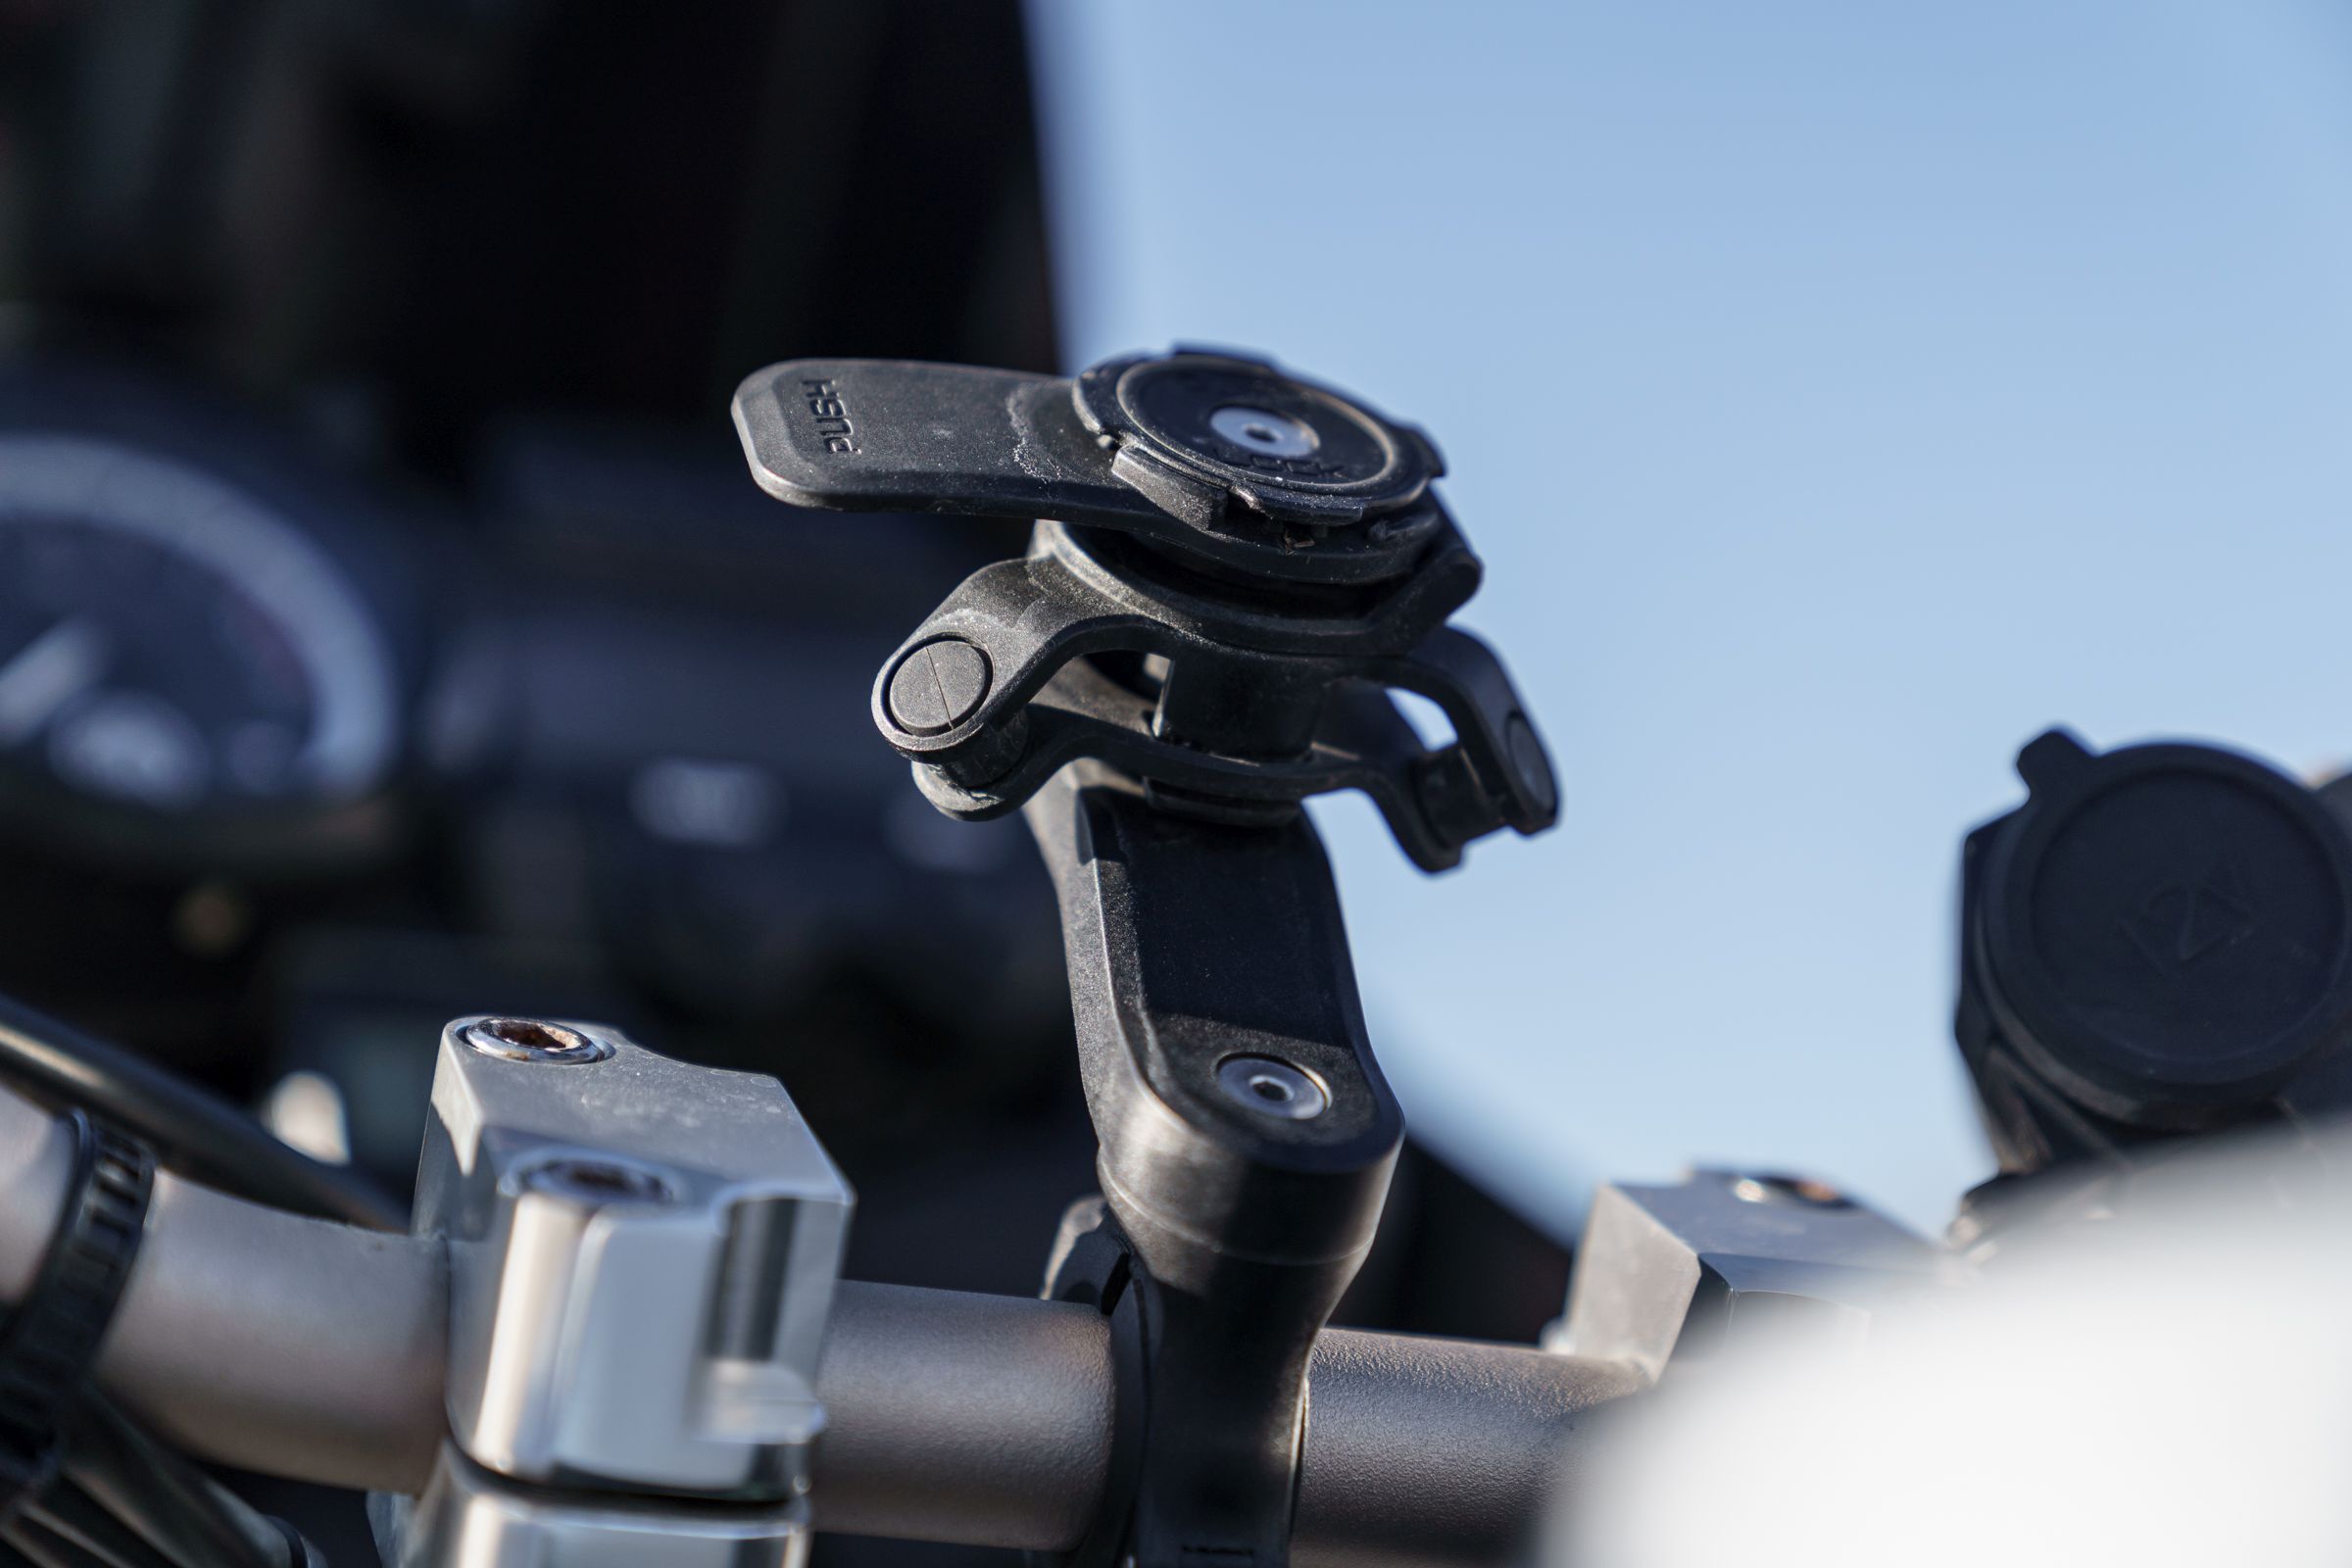
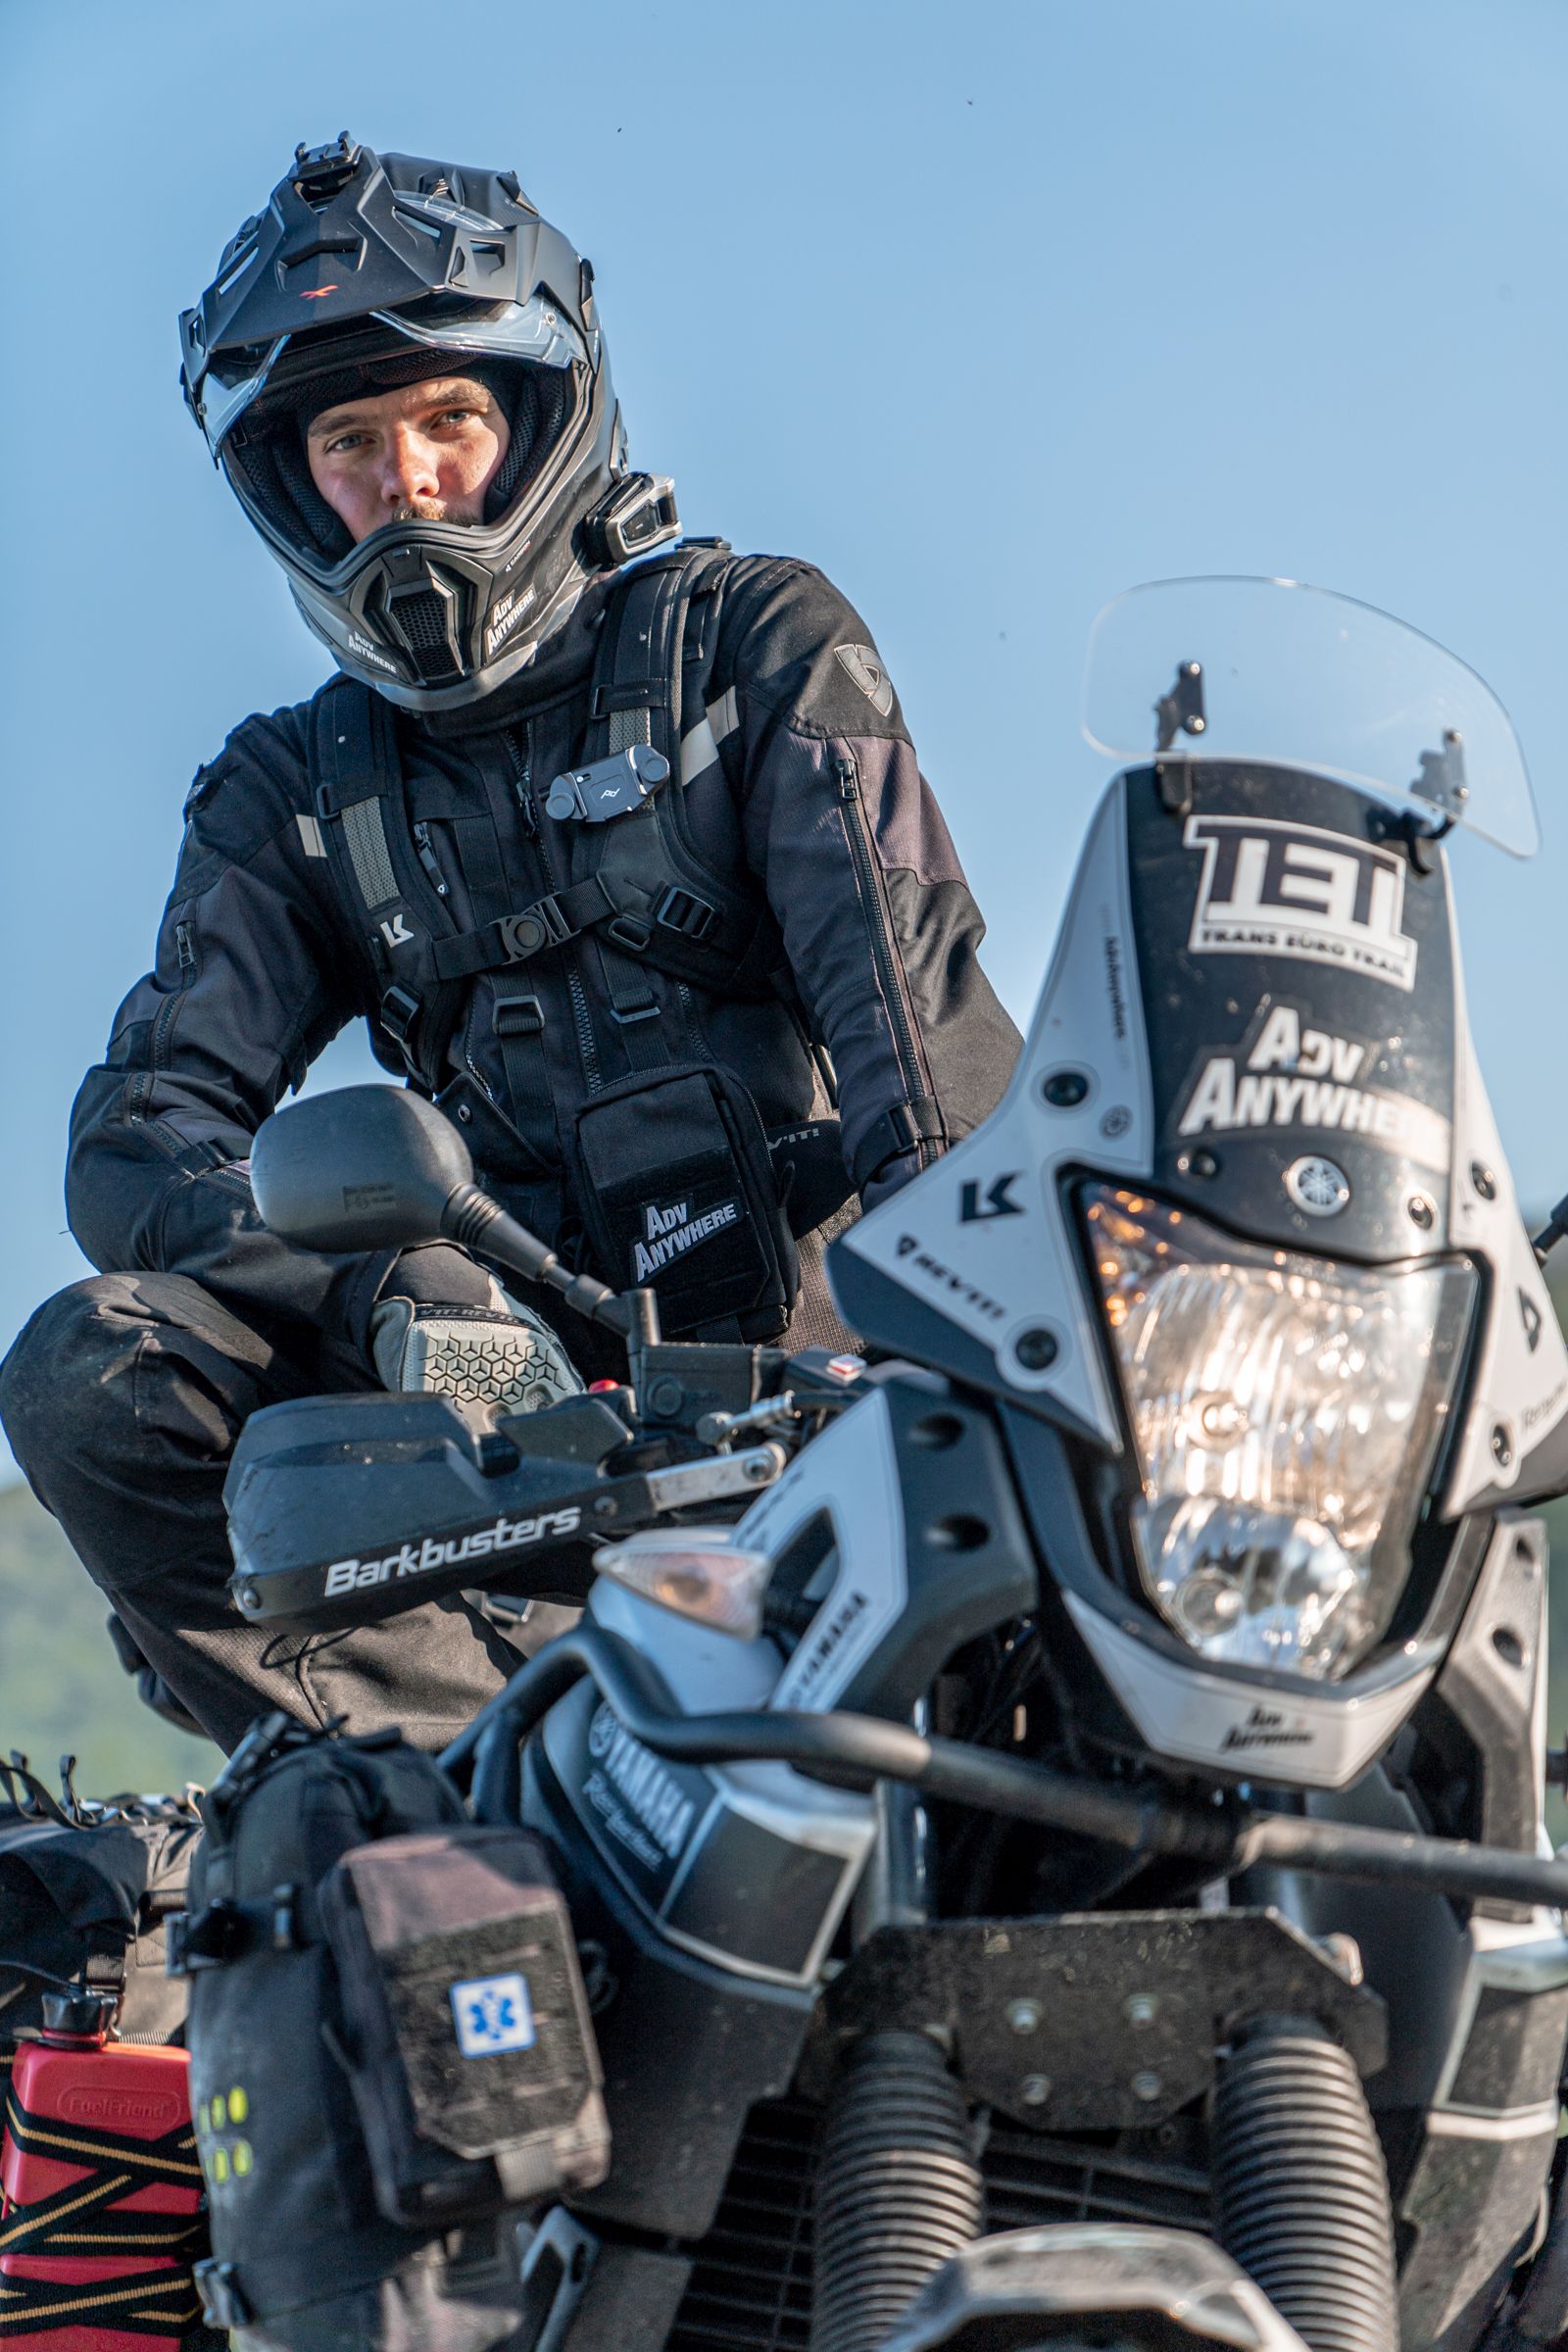
Quadlock Phone Mount
The best motorcycle gift I got from Ola and it’s a Quadlock mount with an anti-vibration module. I have to admit it works as well as they advertise it.
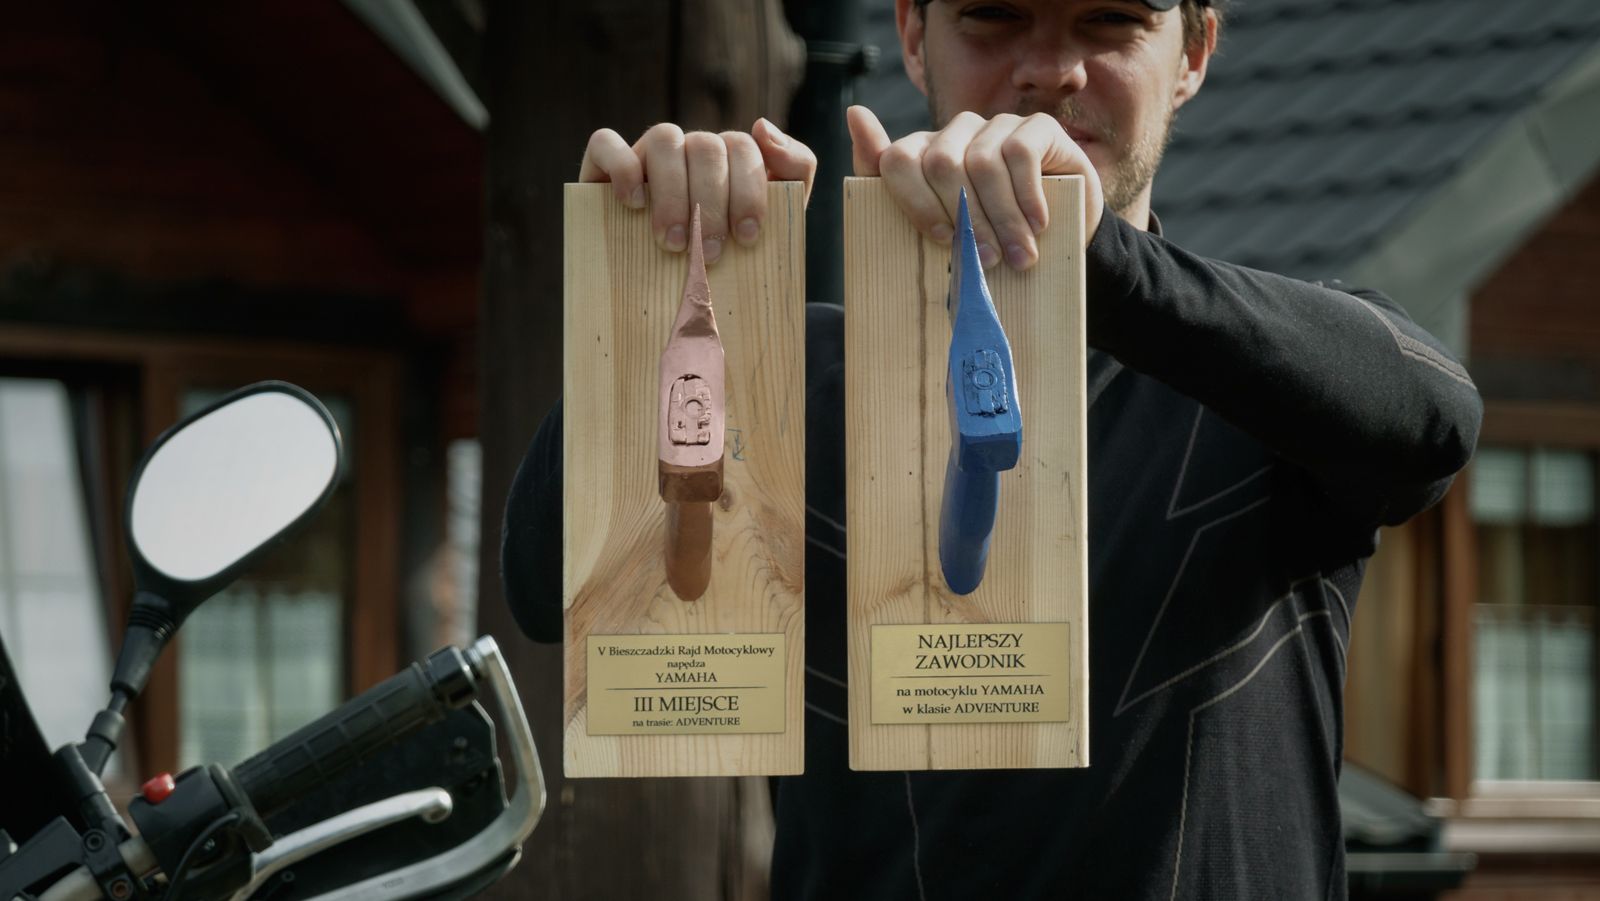
Before, I used a RAM X-Grip for several years, but it eventually broke in the last part of the Yamaha Wilcza Sfora Rally. It was the price of landing twice on the podium. 1st place as the best Yamaha rider and 3rd place in the overall Adventure classification. For a rally debut, I think I did pretty well.
Currently, I only use the RAM mount occasionally to mount the GoPro camera.
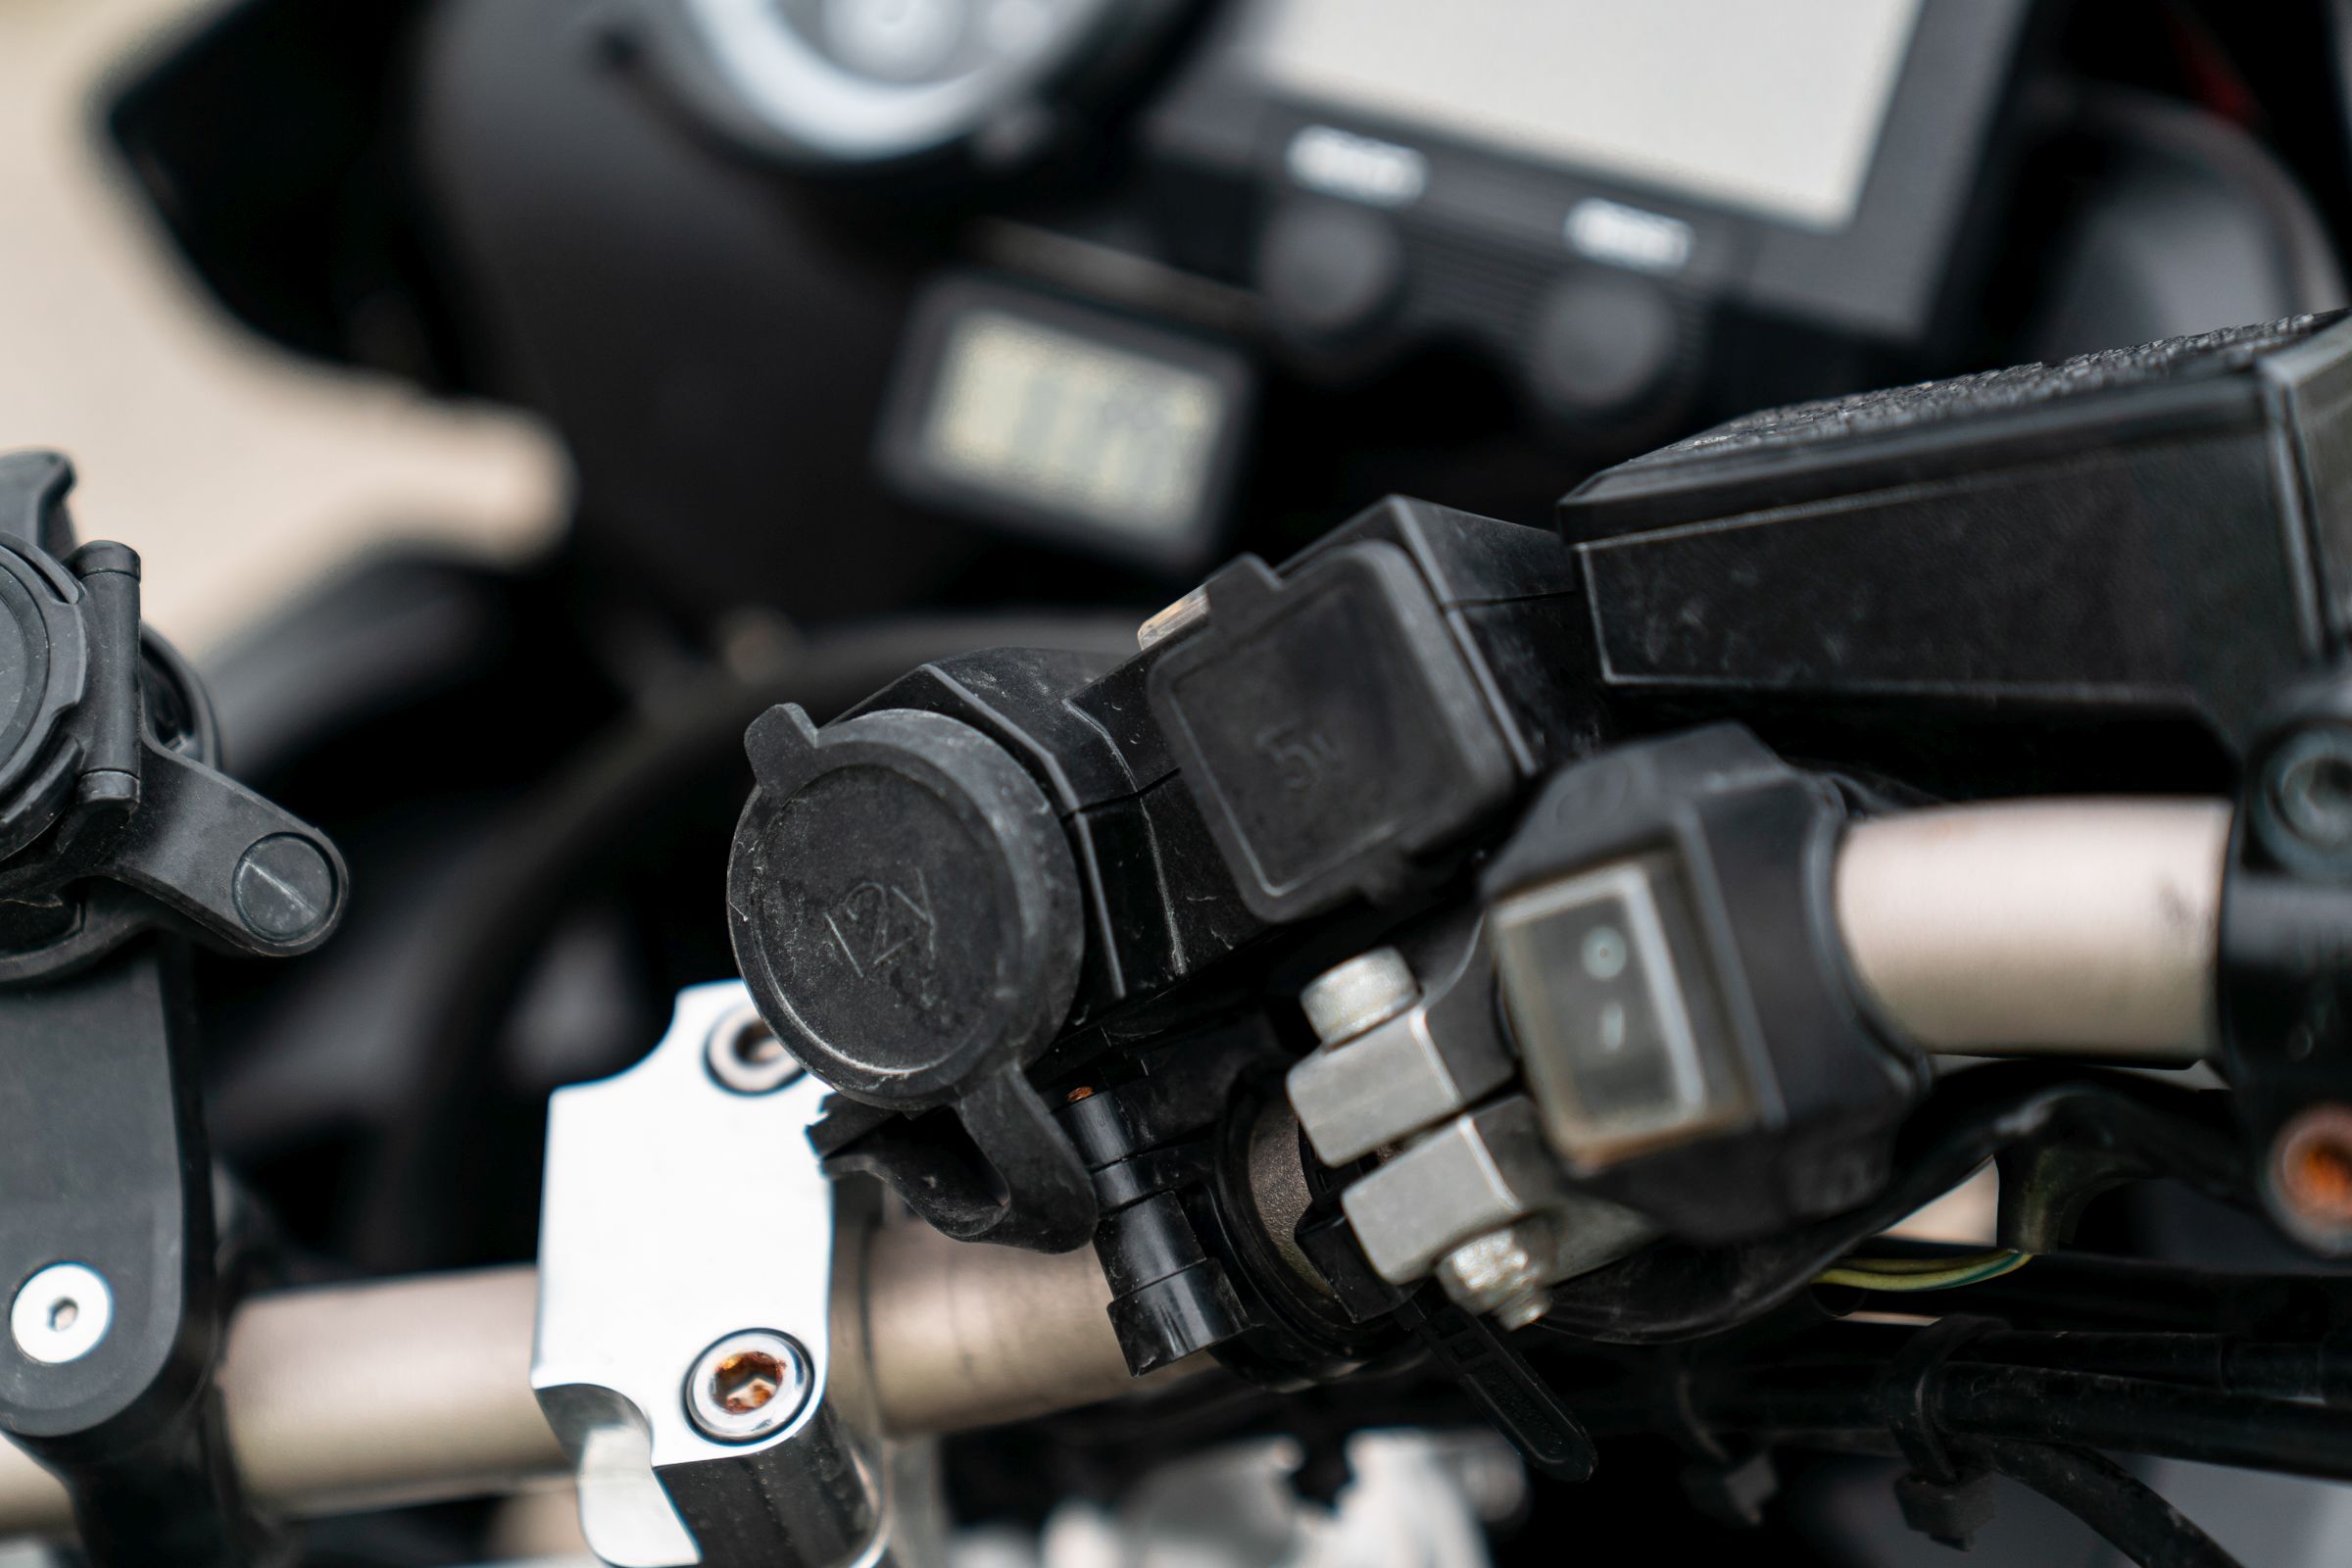
USB Charger
The charger is super useful on both one-day and multi-week trips. Whether it’s a phone, navigation, or camera, charging is essential.
In the front, there is a cheap Chinese charger from which a navigation phone is charged.
In the back, under the seat, there’s a charger with the SAE socket. The cable is pulled to the panniers where I charge power banks during longer trips. This way I’m self-sufficient electrically-wise. With a bit of food, I am able to spend a few days off the trail. And if I have to stay overnight at the campsite, I do not need to pay for electricity.
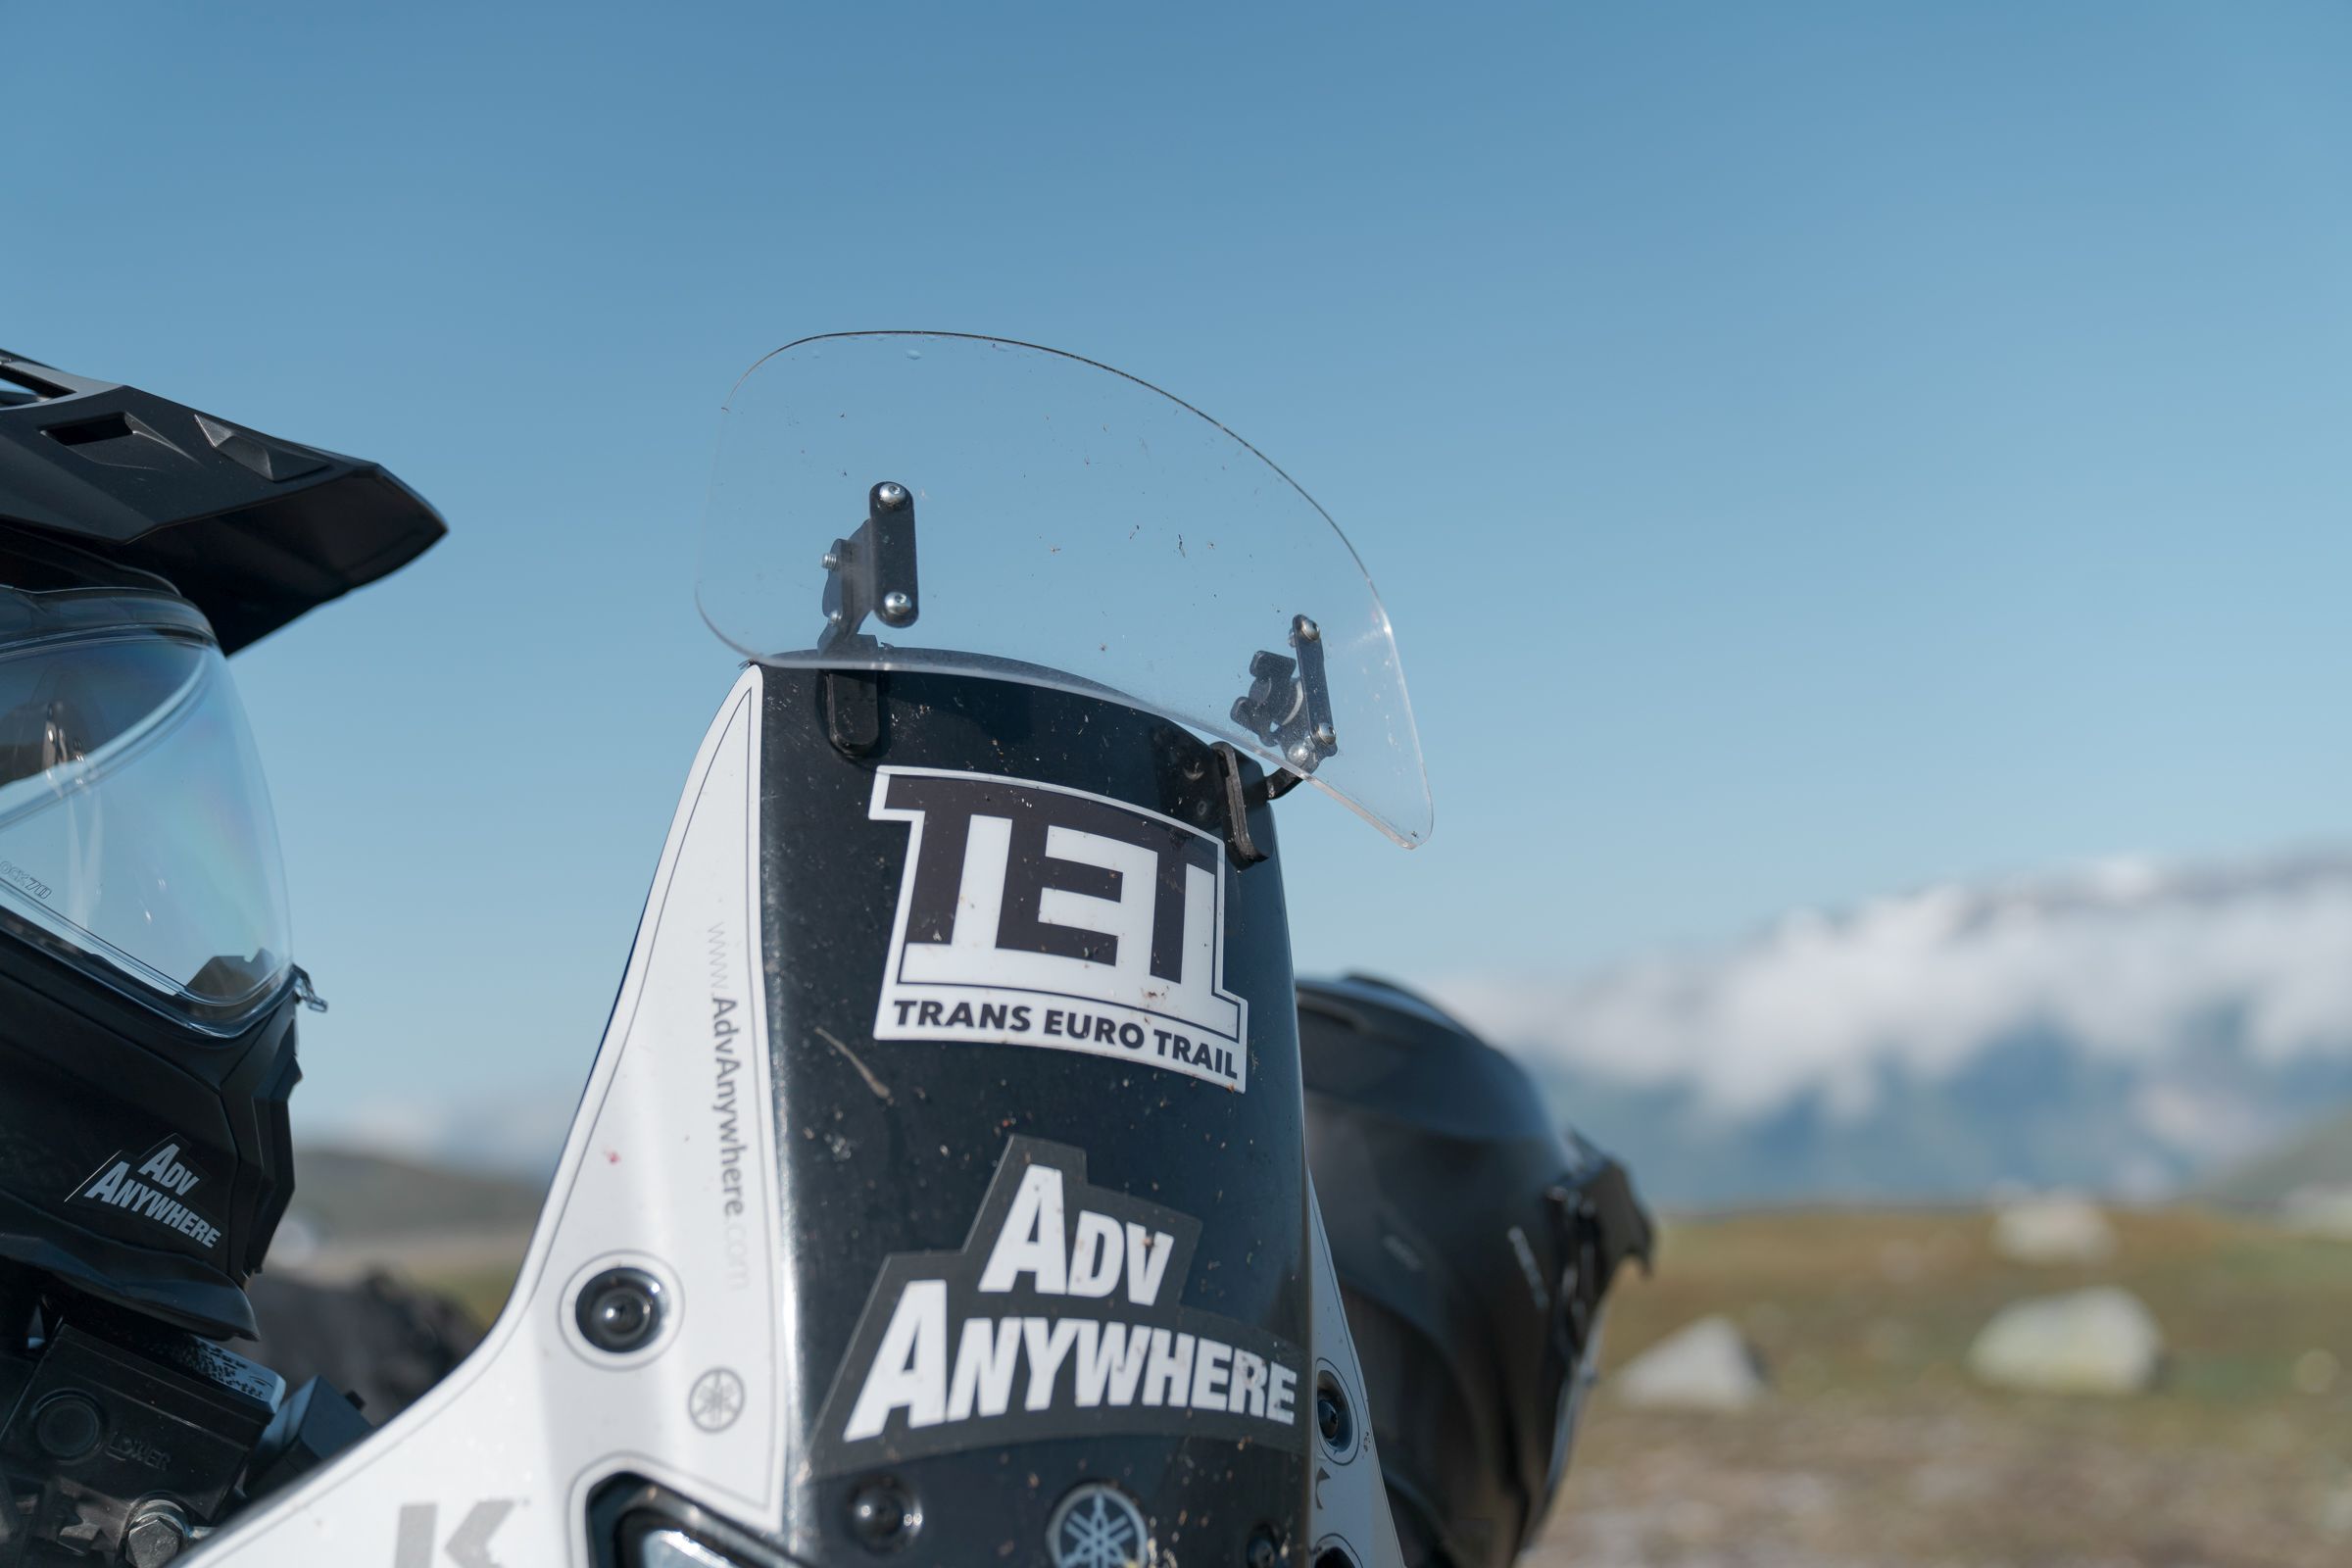
Deflector
I used the deflector only once, during our trip around Scandinavia. We were mainly riding on asphalt, so I decided to put on a deflector to increase comfort.
I must admit that while on a beautiful day it is a nice gadget; when driving in the rain, it, unfortunately, works to a disadvantage. Water droplets adhere to the plexiglass and effectively limit the field of view. Therefore, I would definitely not take it the second time to rainy places. It’s definitely not a good gadget for off-road driving. I’ll probably use it again someday if I plan a longer ride on asphalt.
Modifications
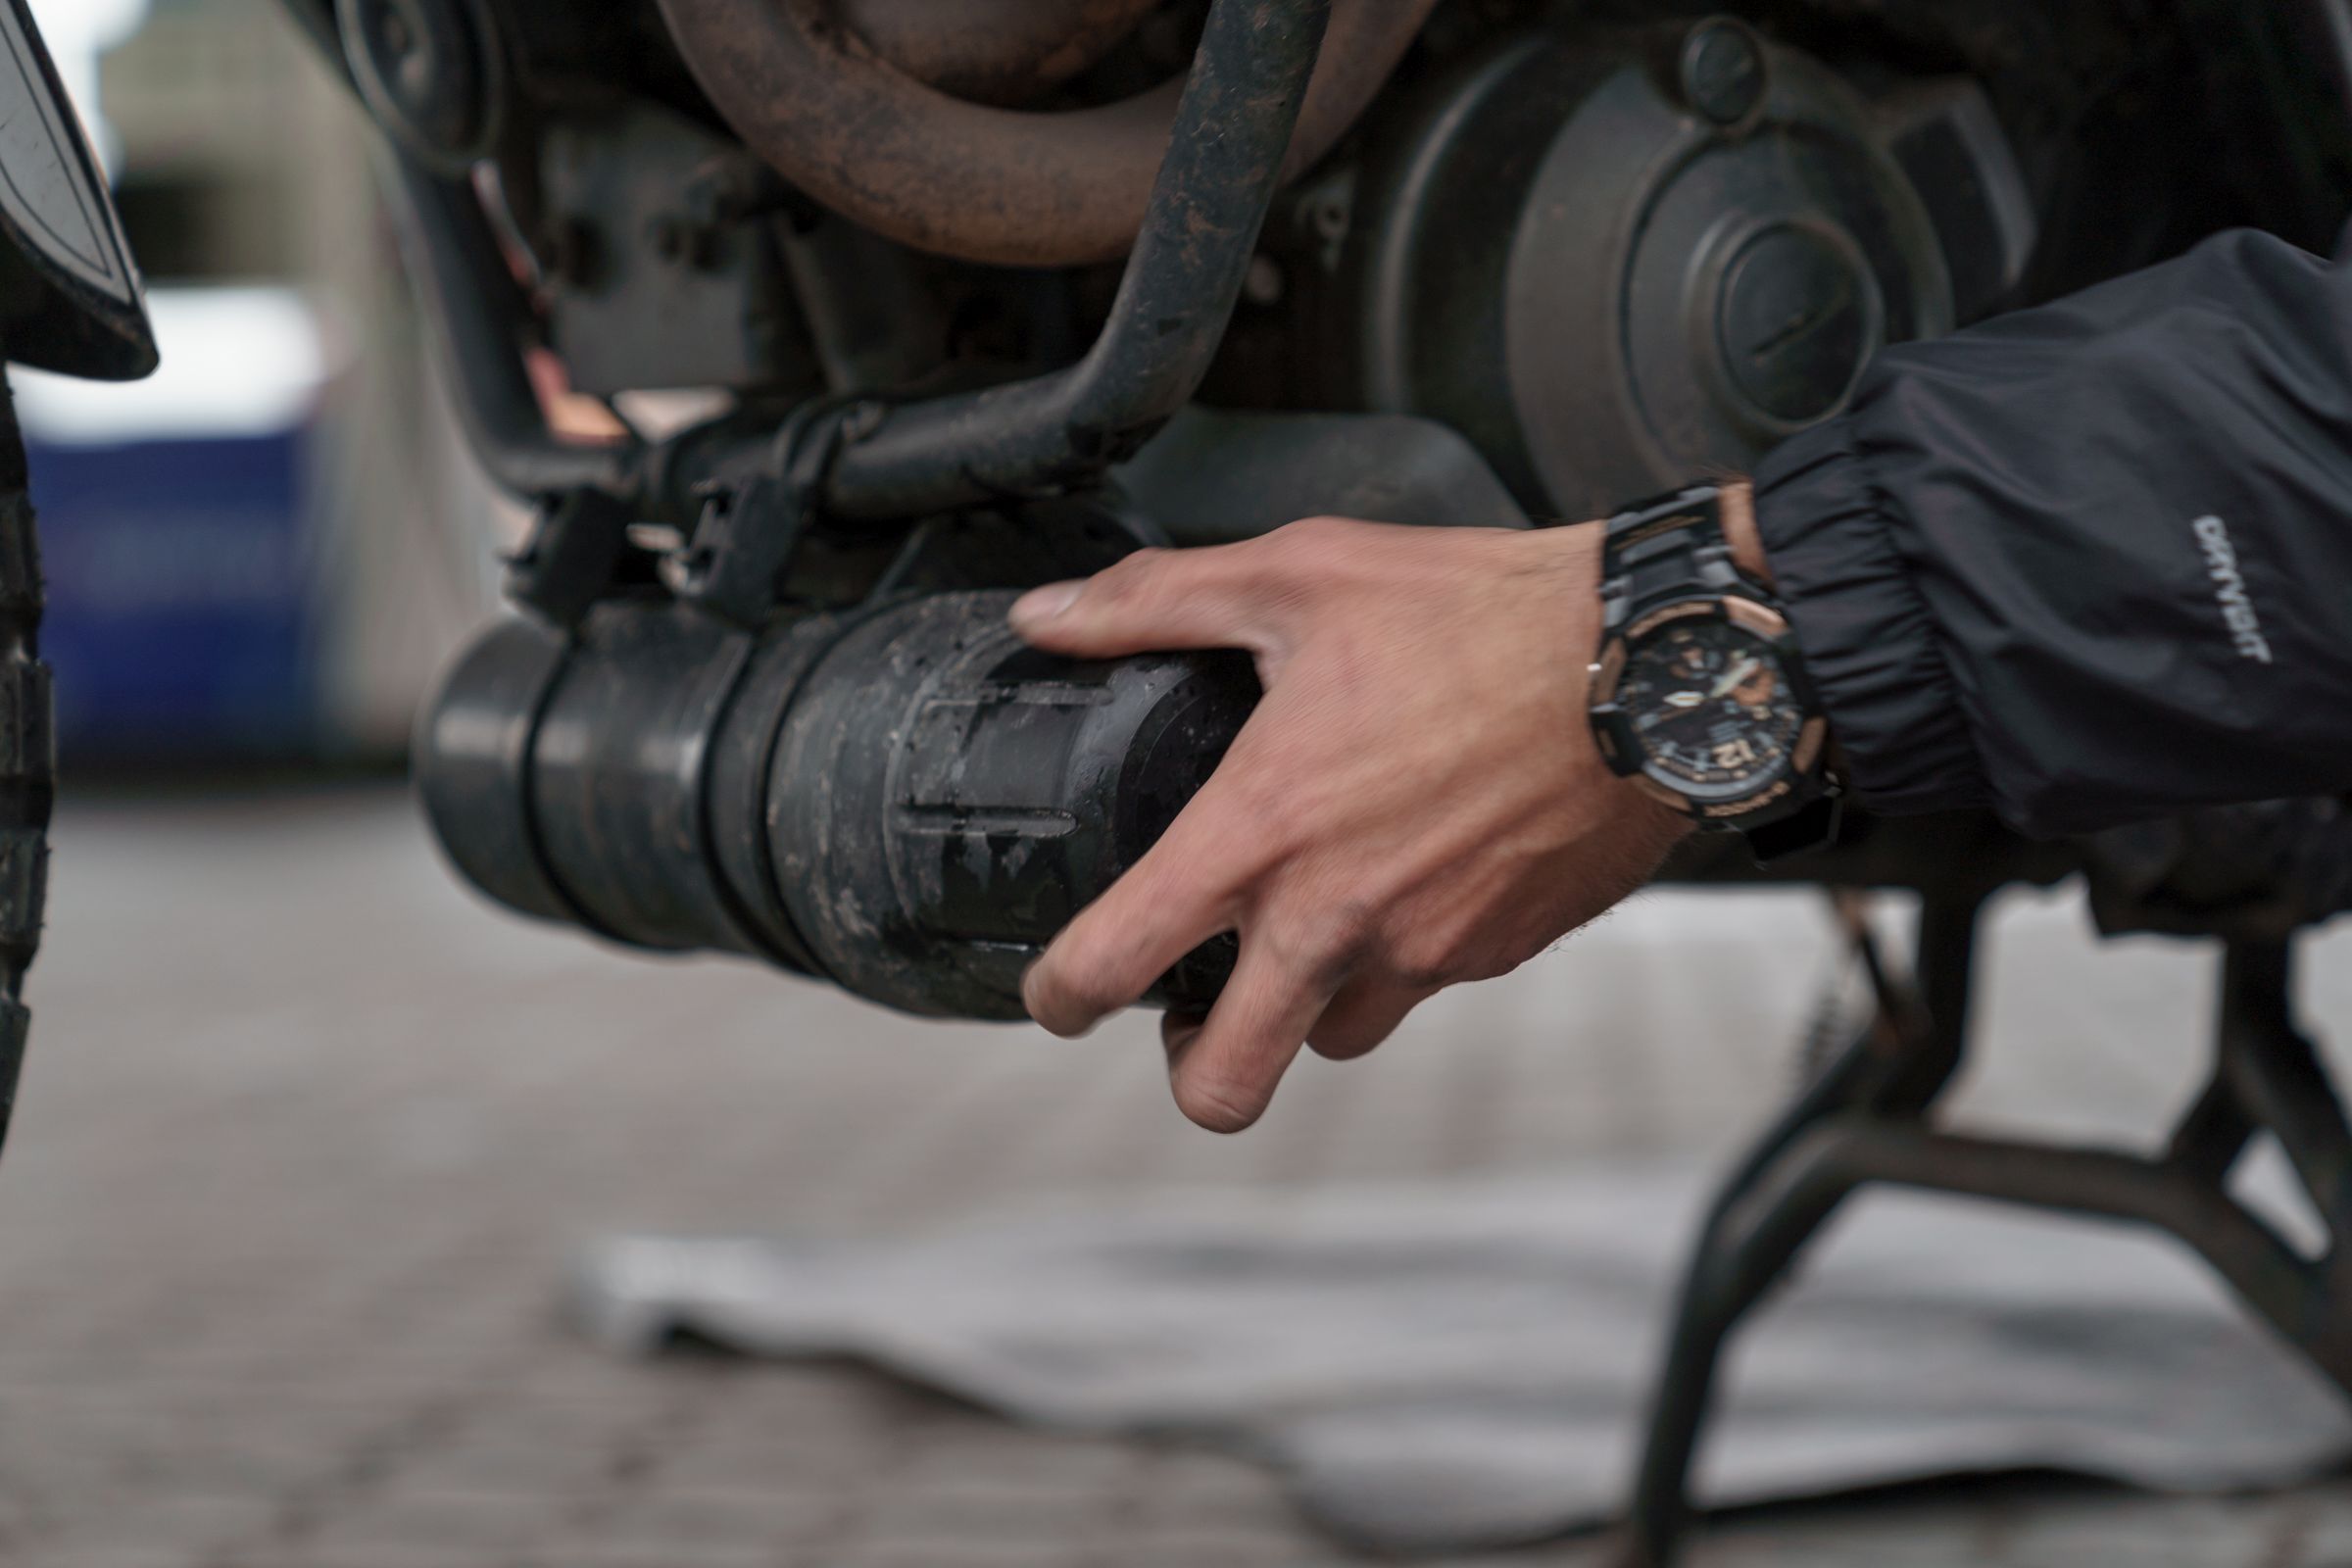
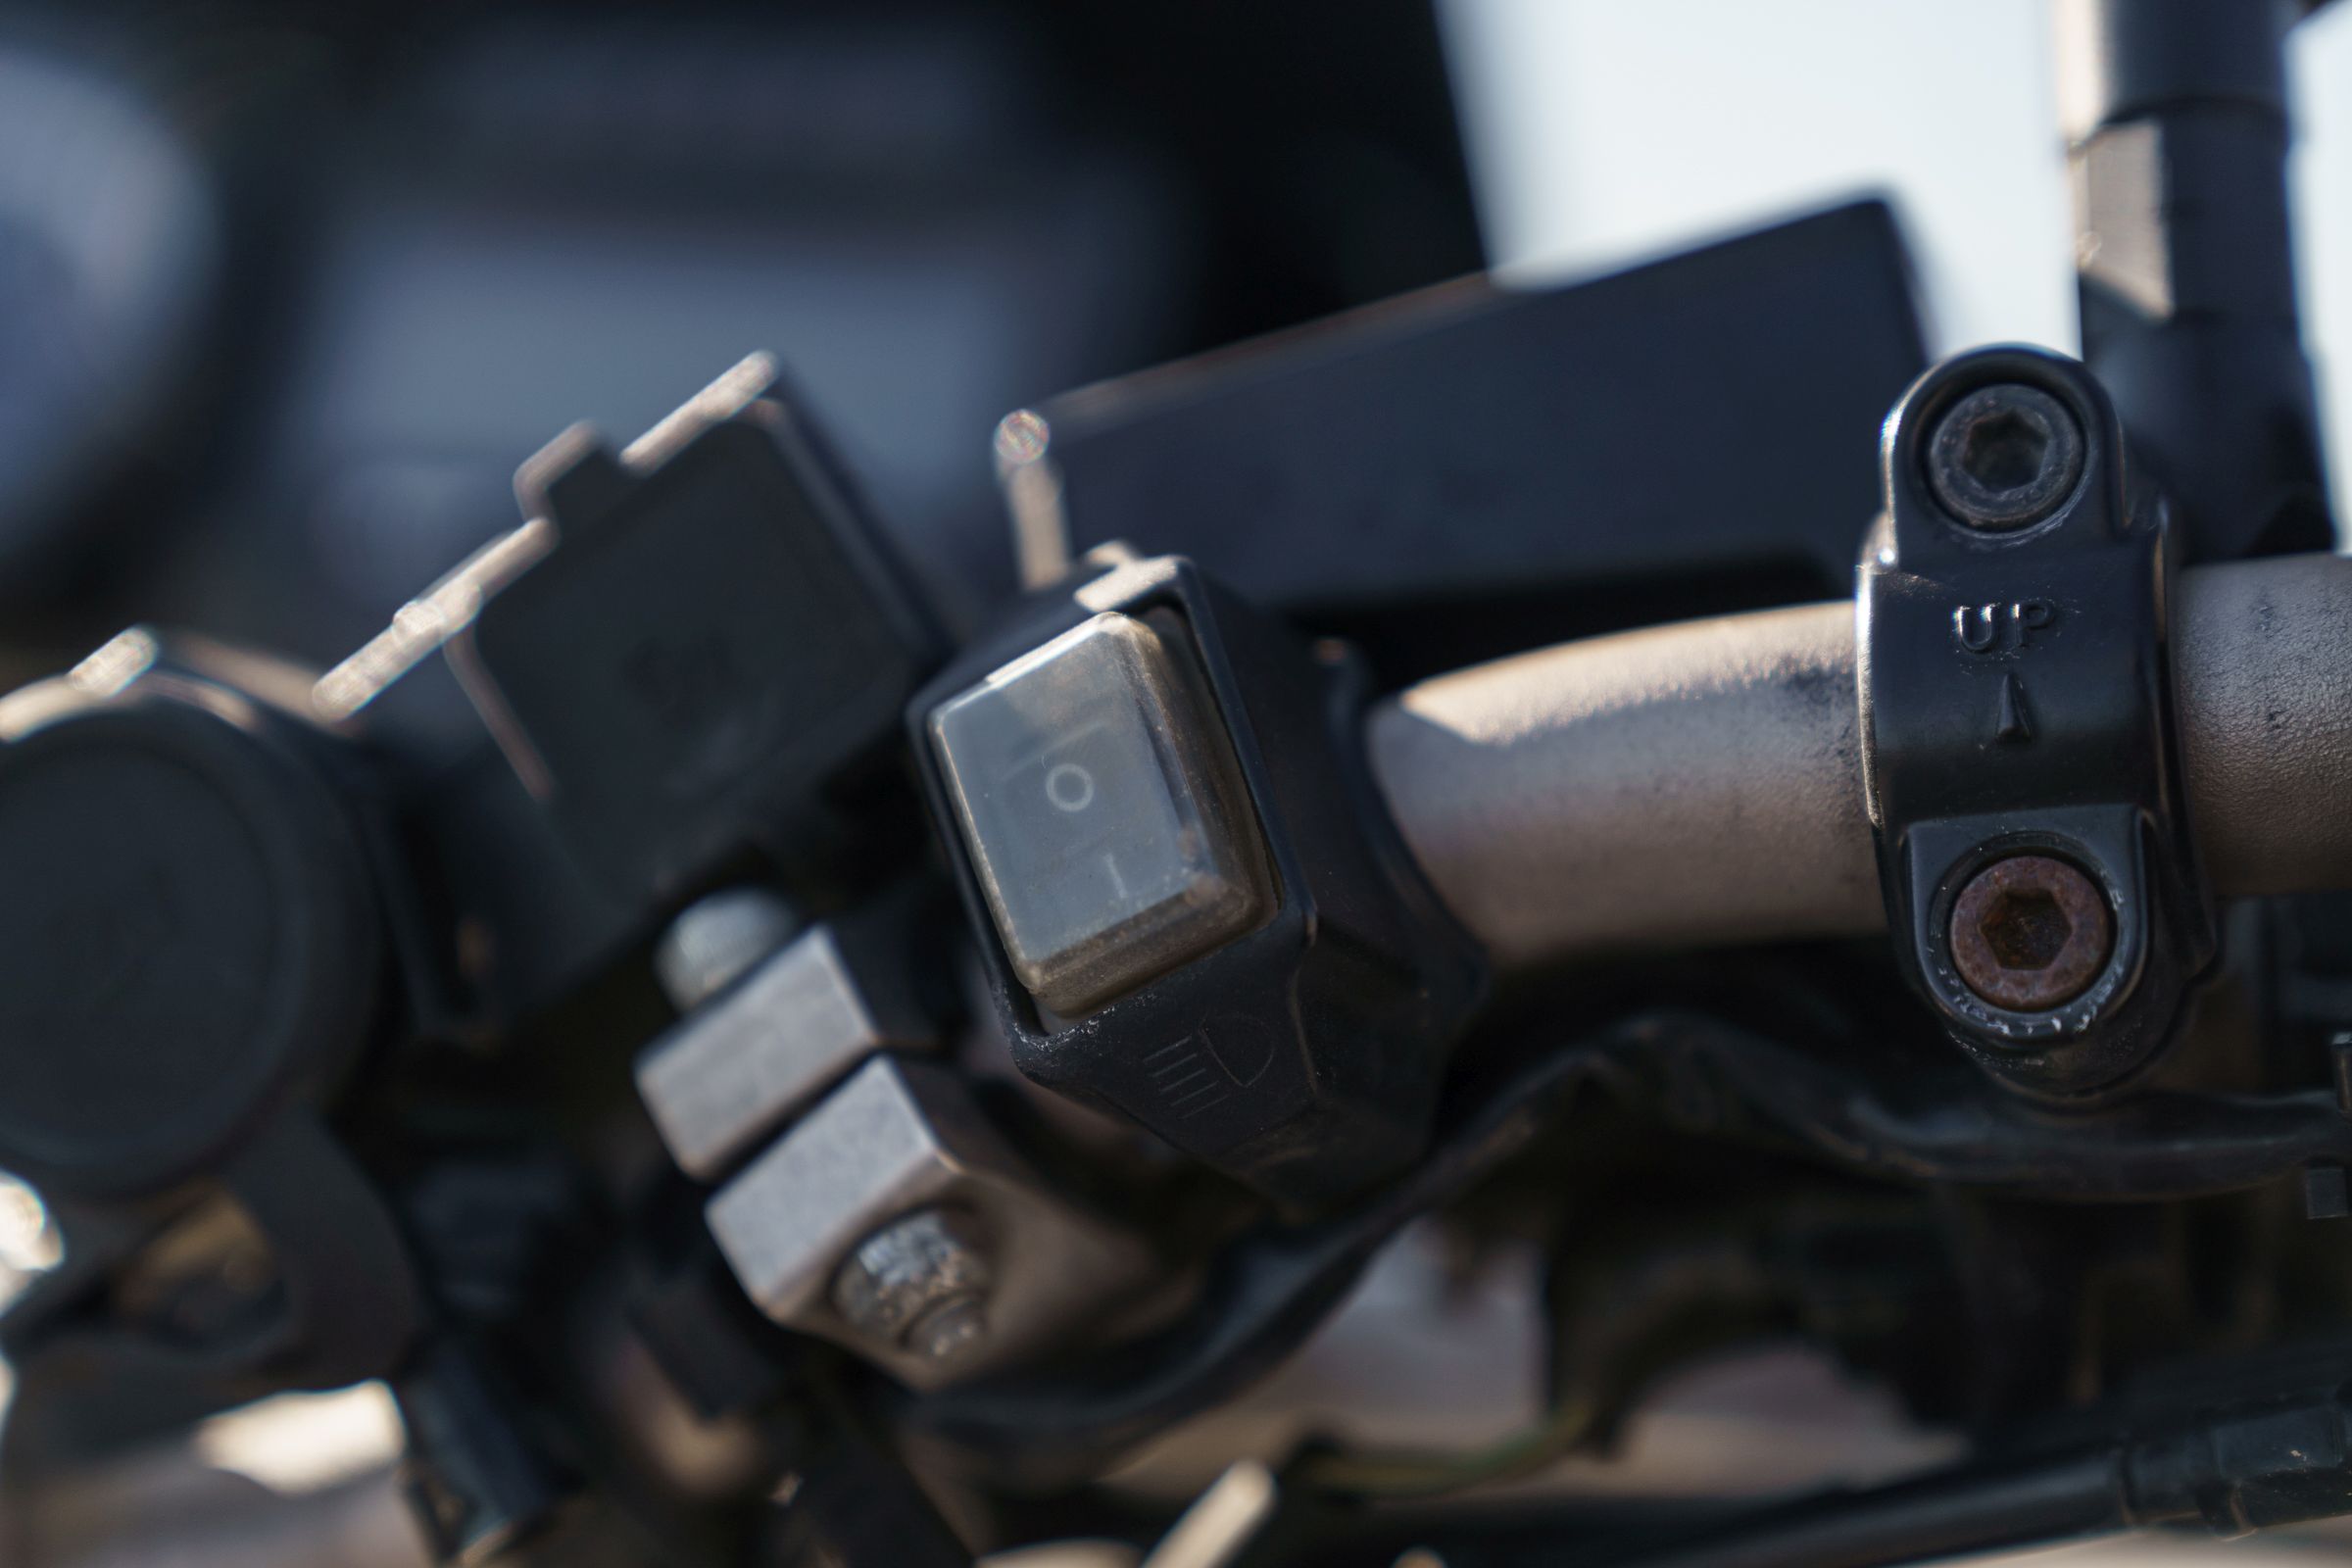
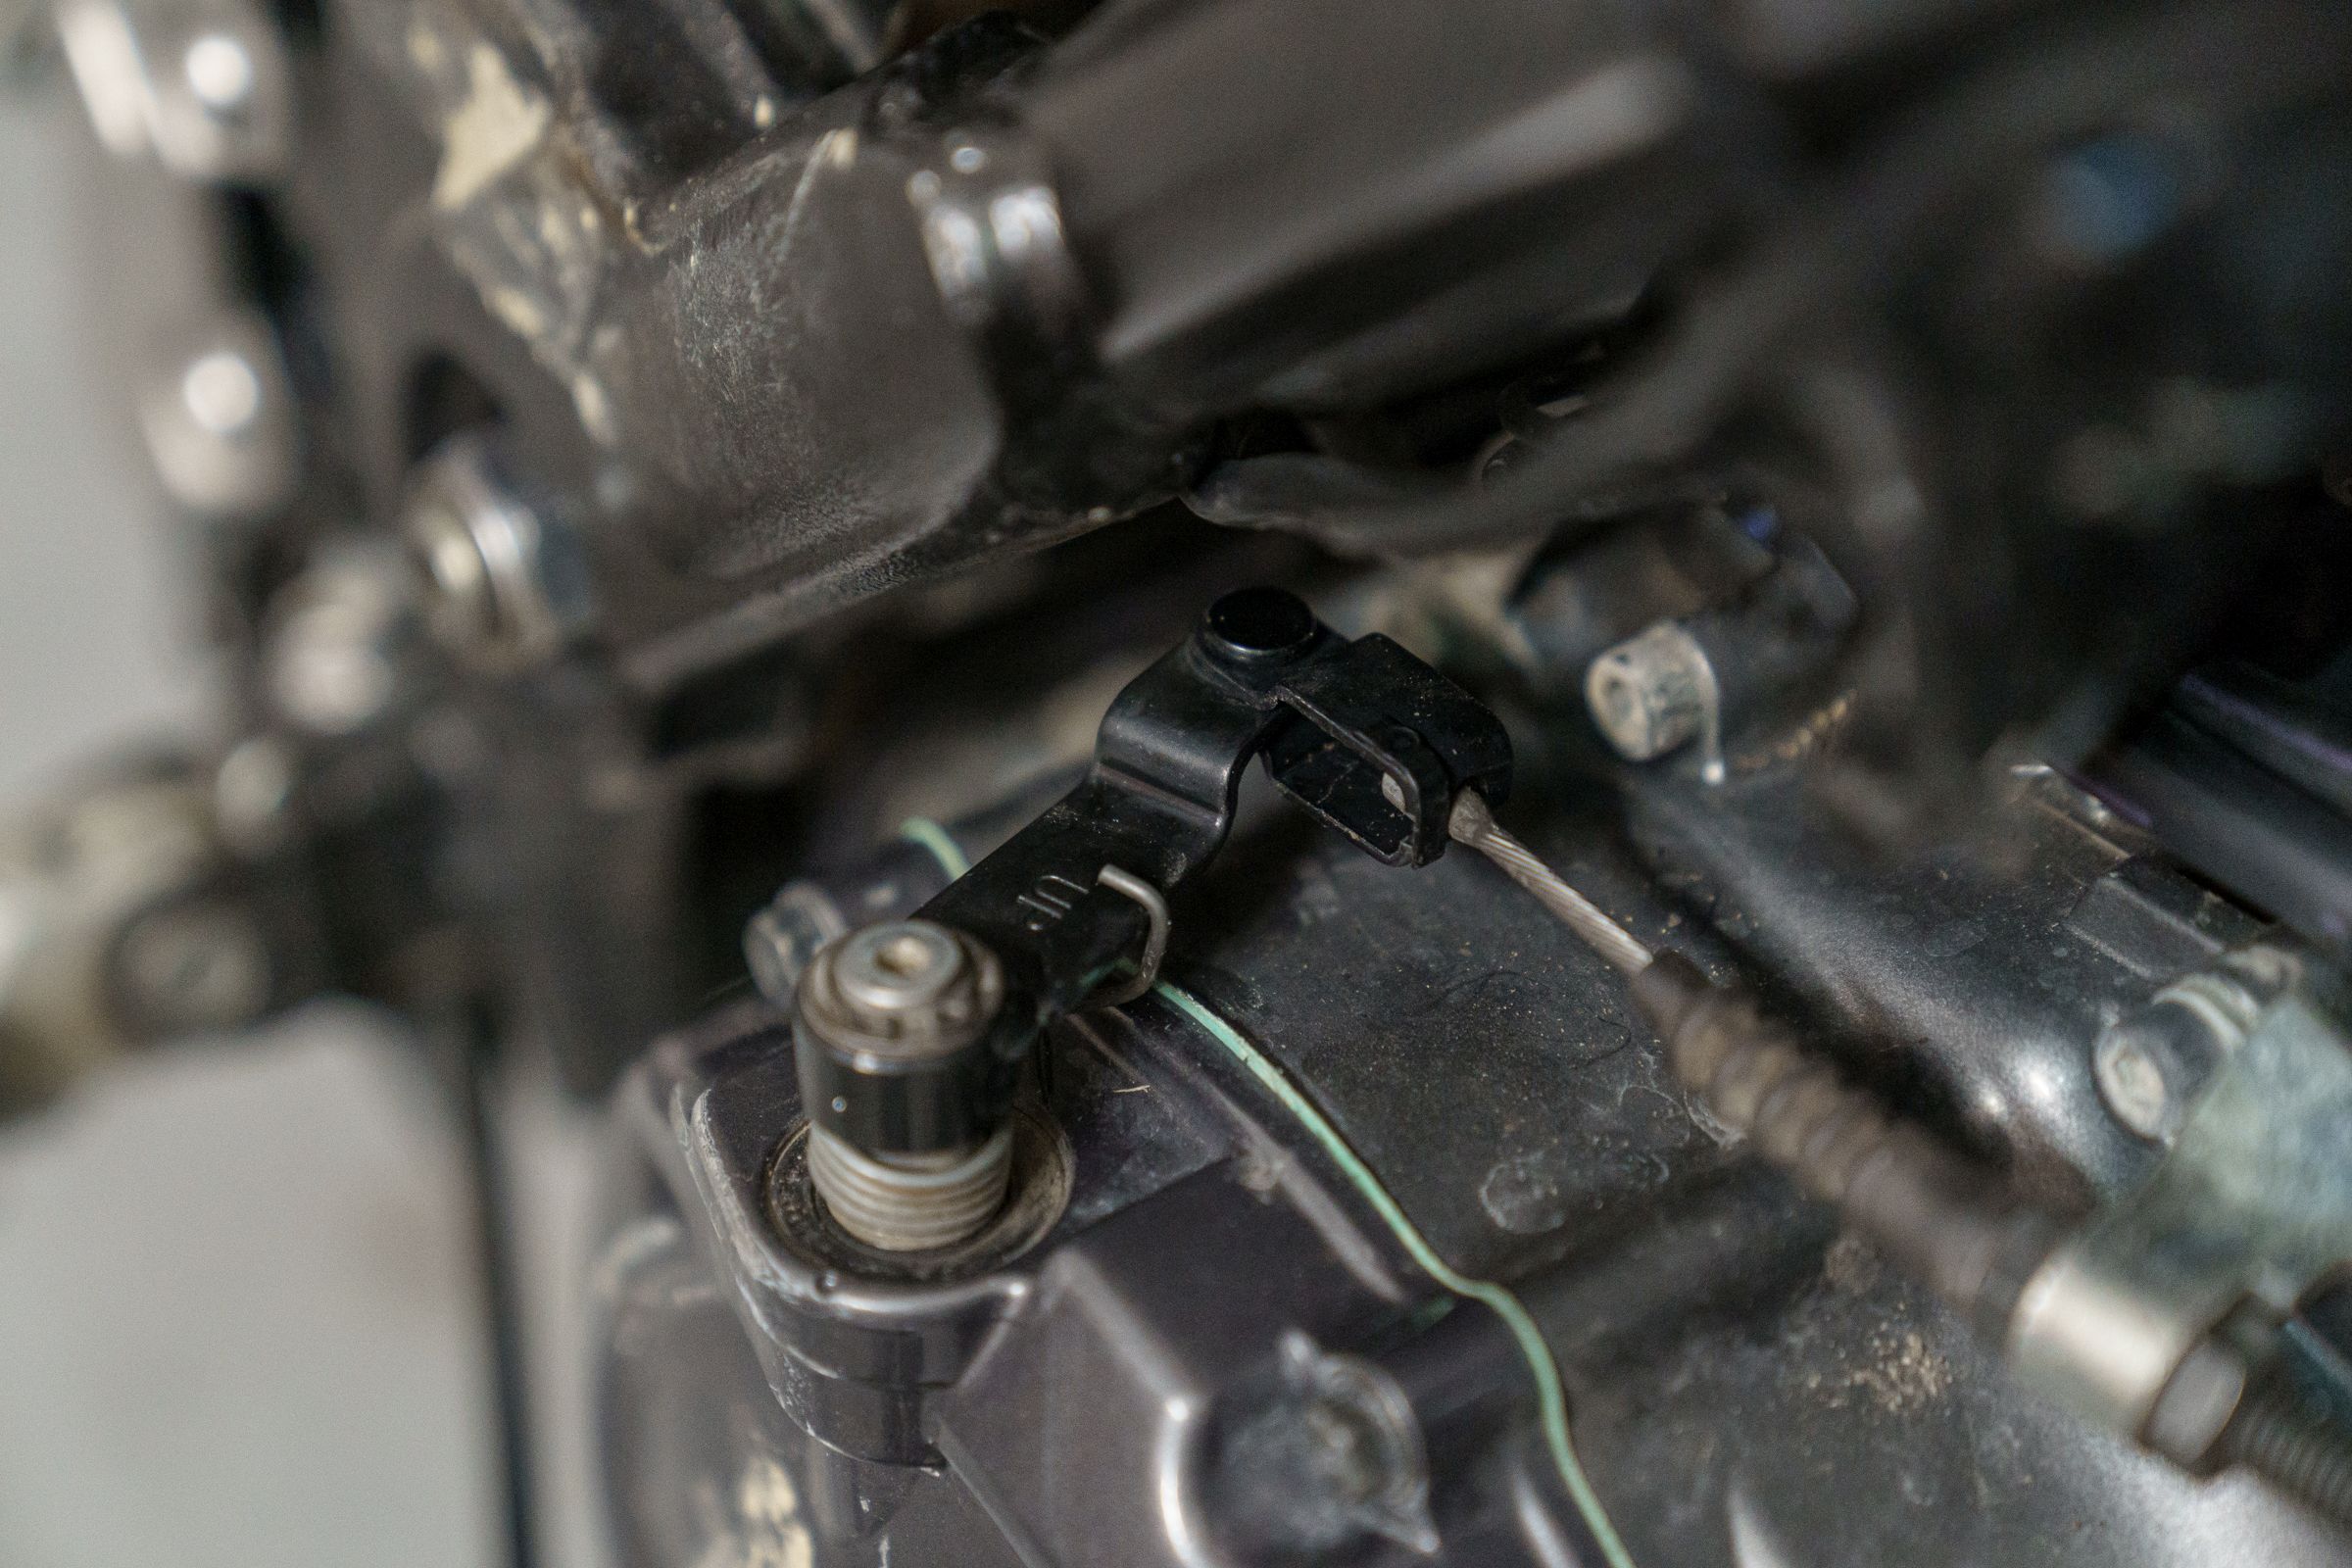
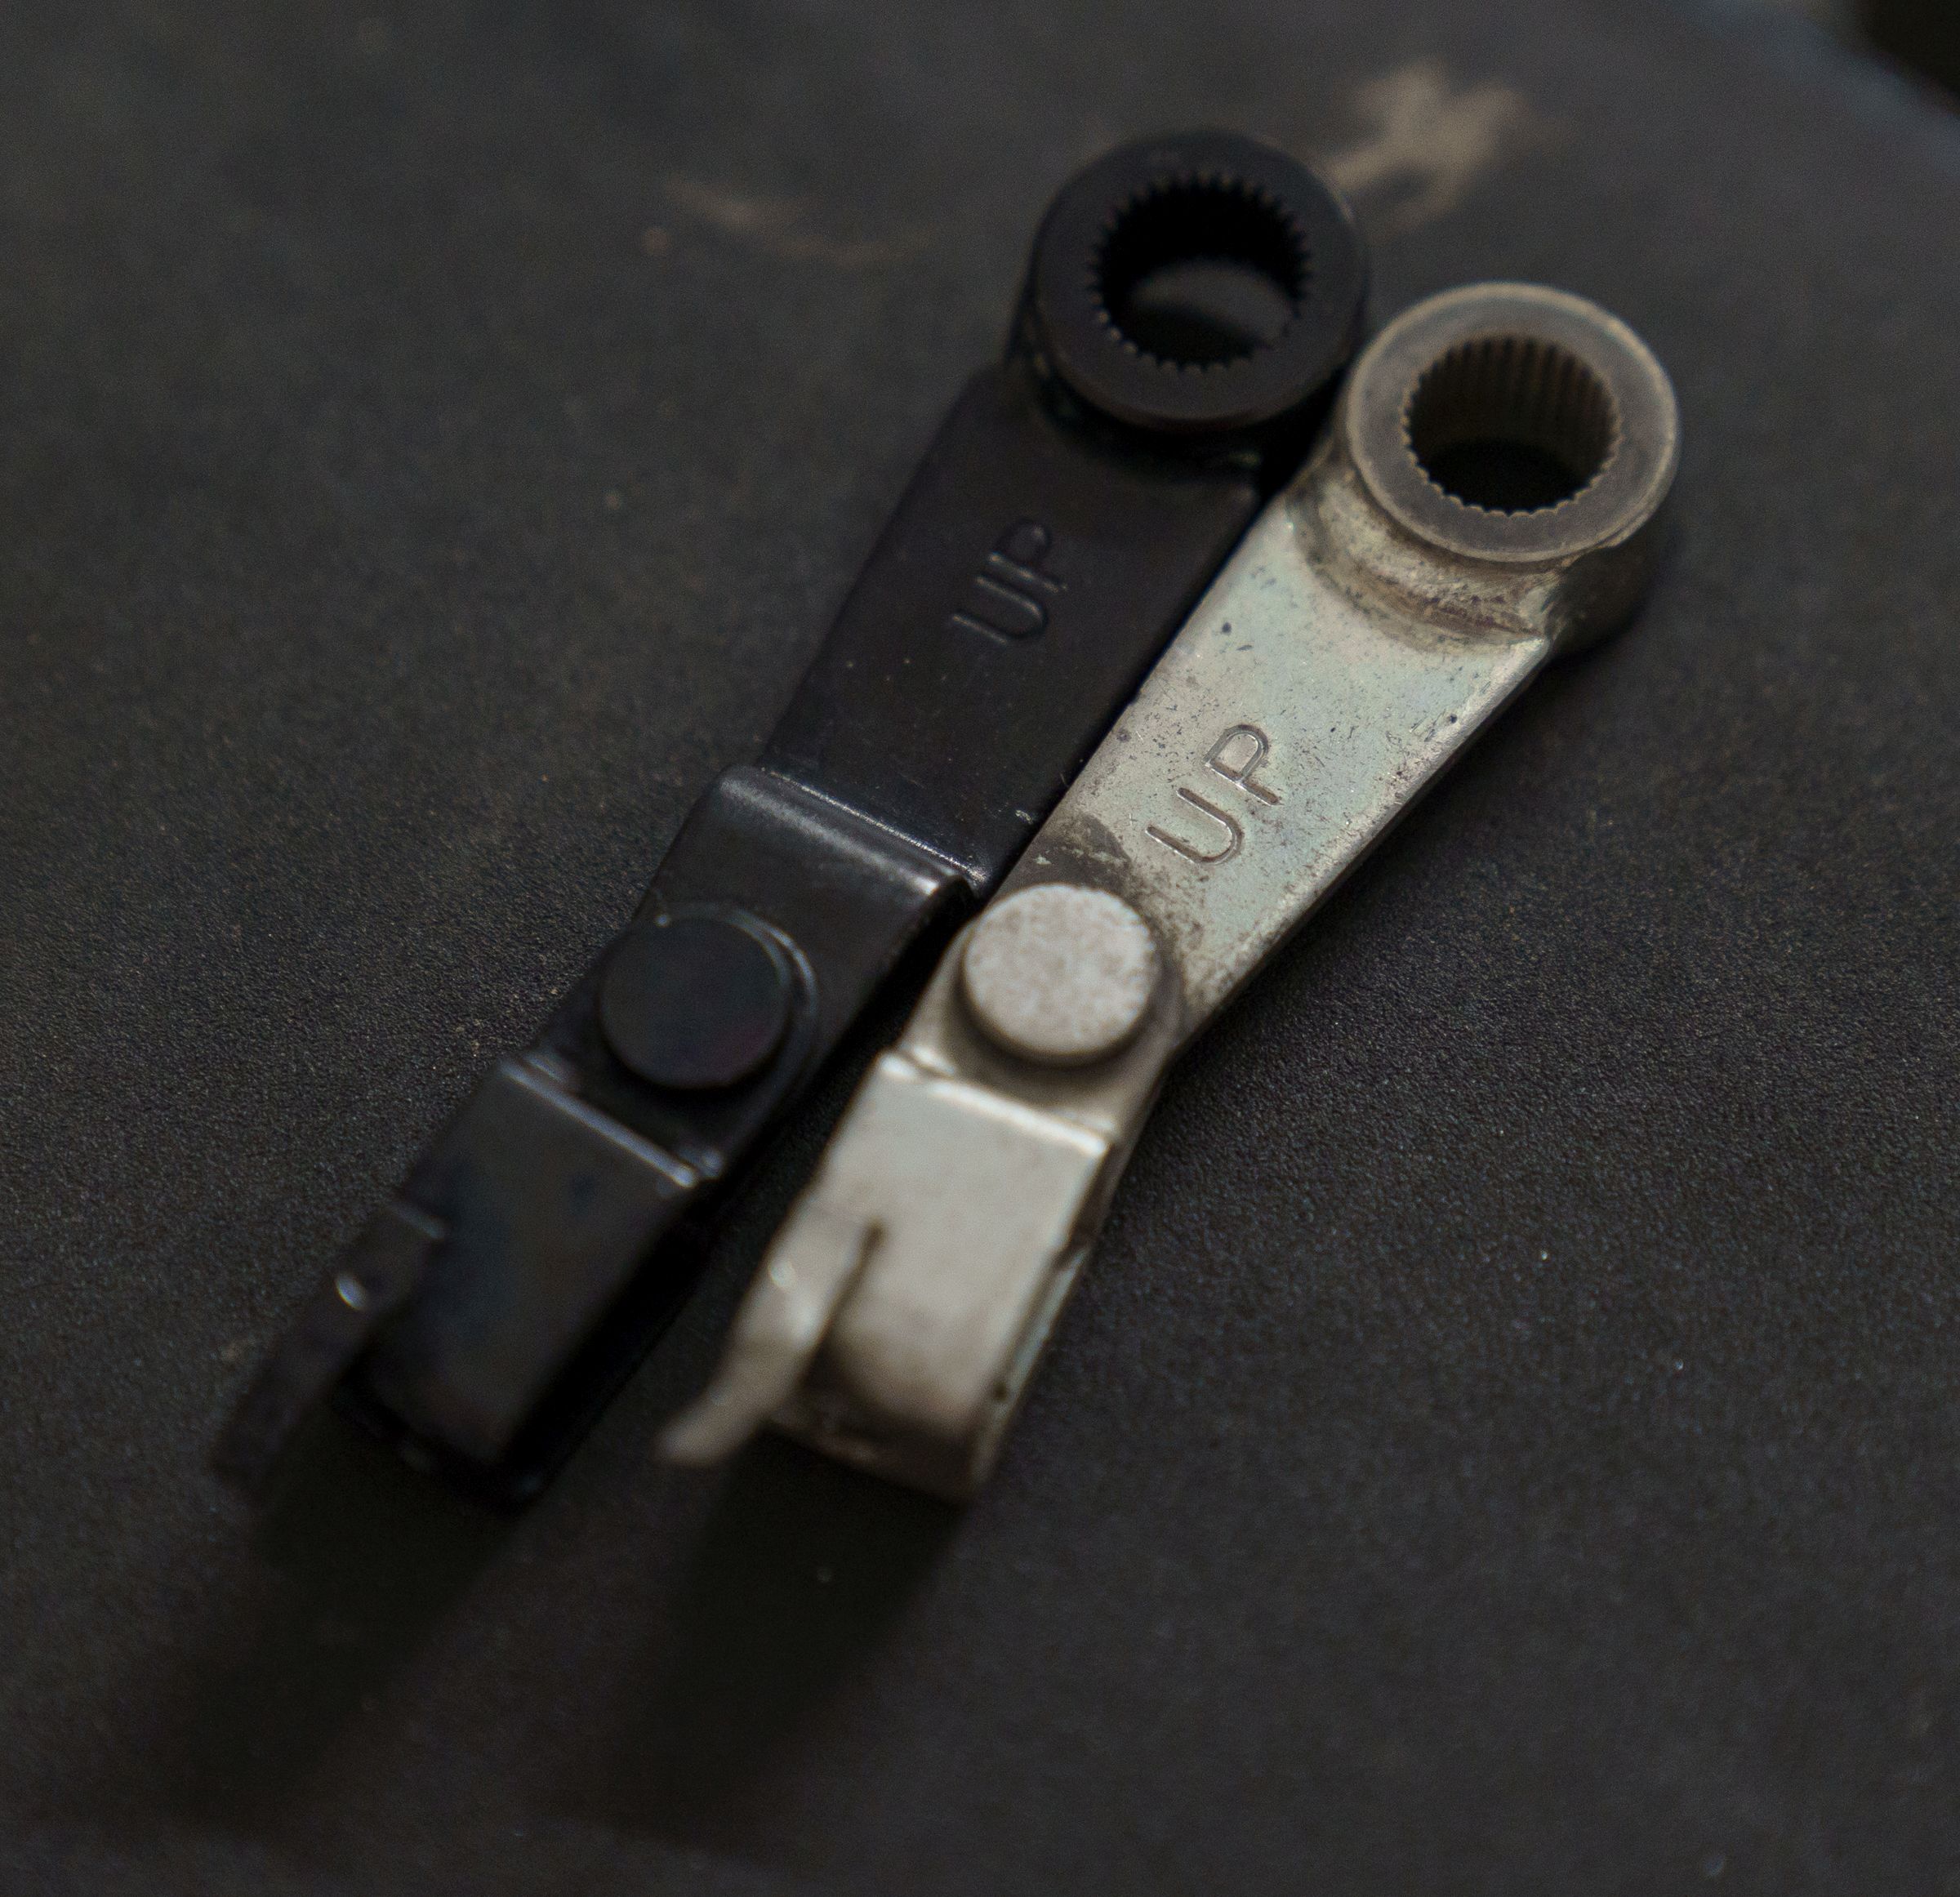
ABS Switch
The most important modification when we plan to go off-road. Unfortunately, the Tenere 660 does not have the switch by default, so there was a slight modification to cut off the ABS on the flip.
The waterproof ABS switch from SW-Motech works well for this.
https://sw-motech.com/en/products/power+supply/4052572021545.htm

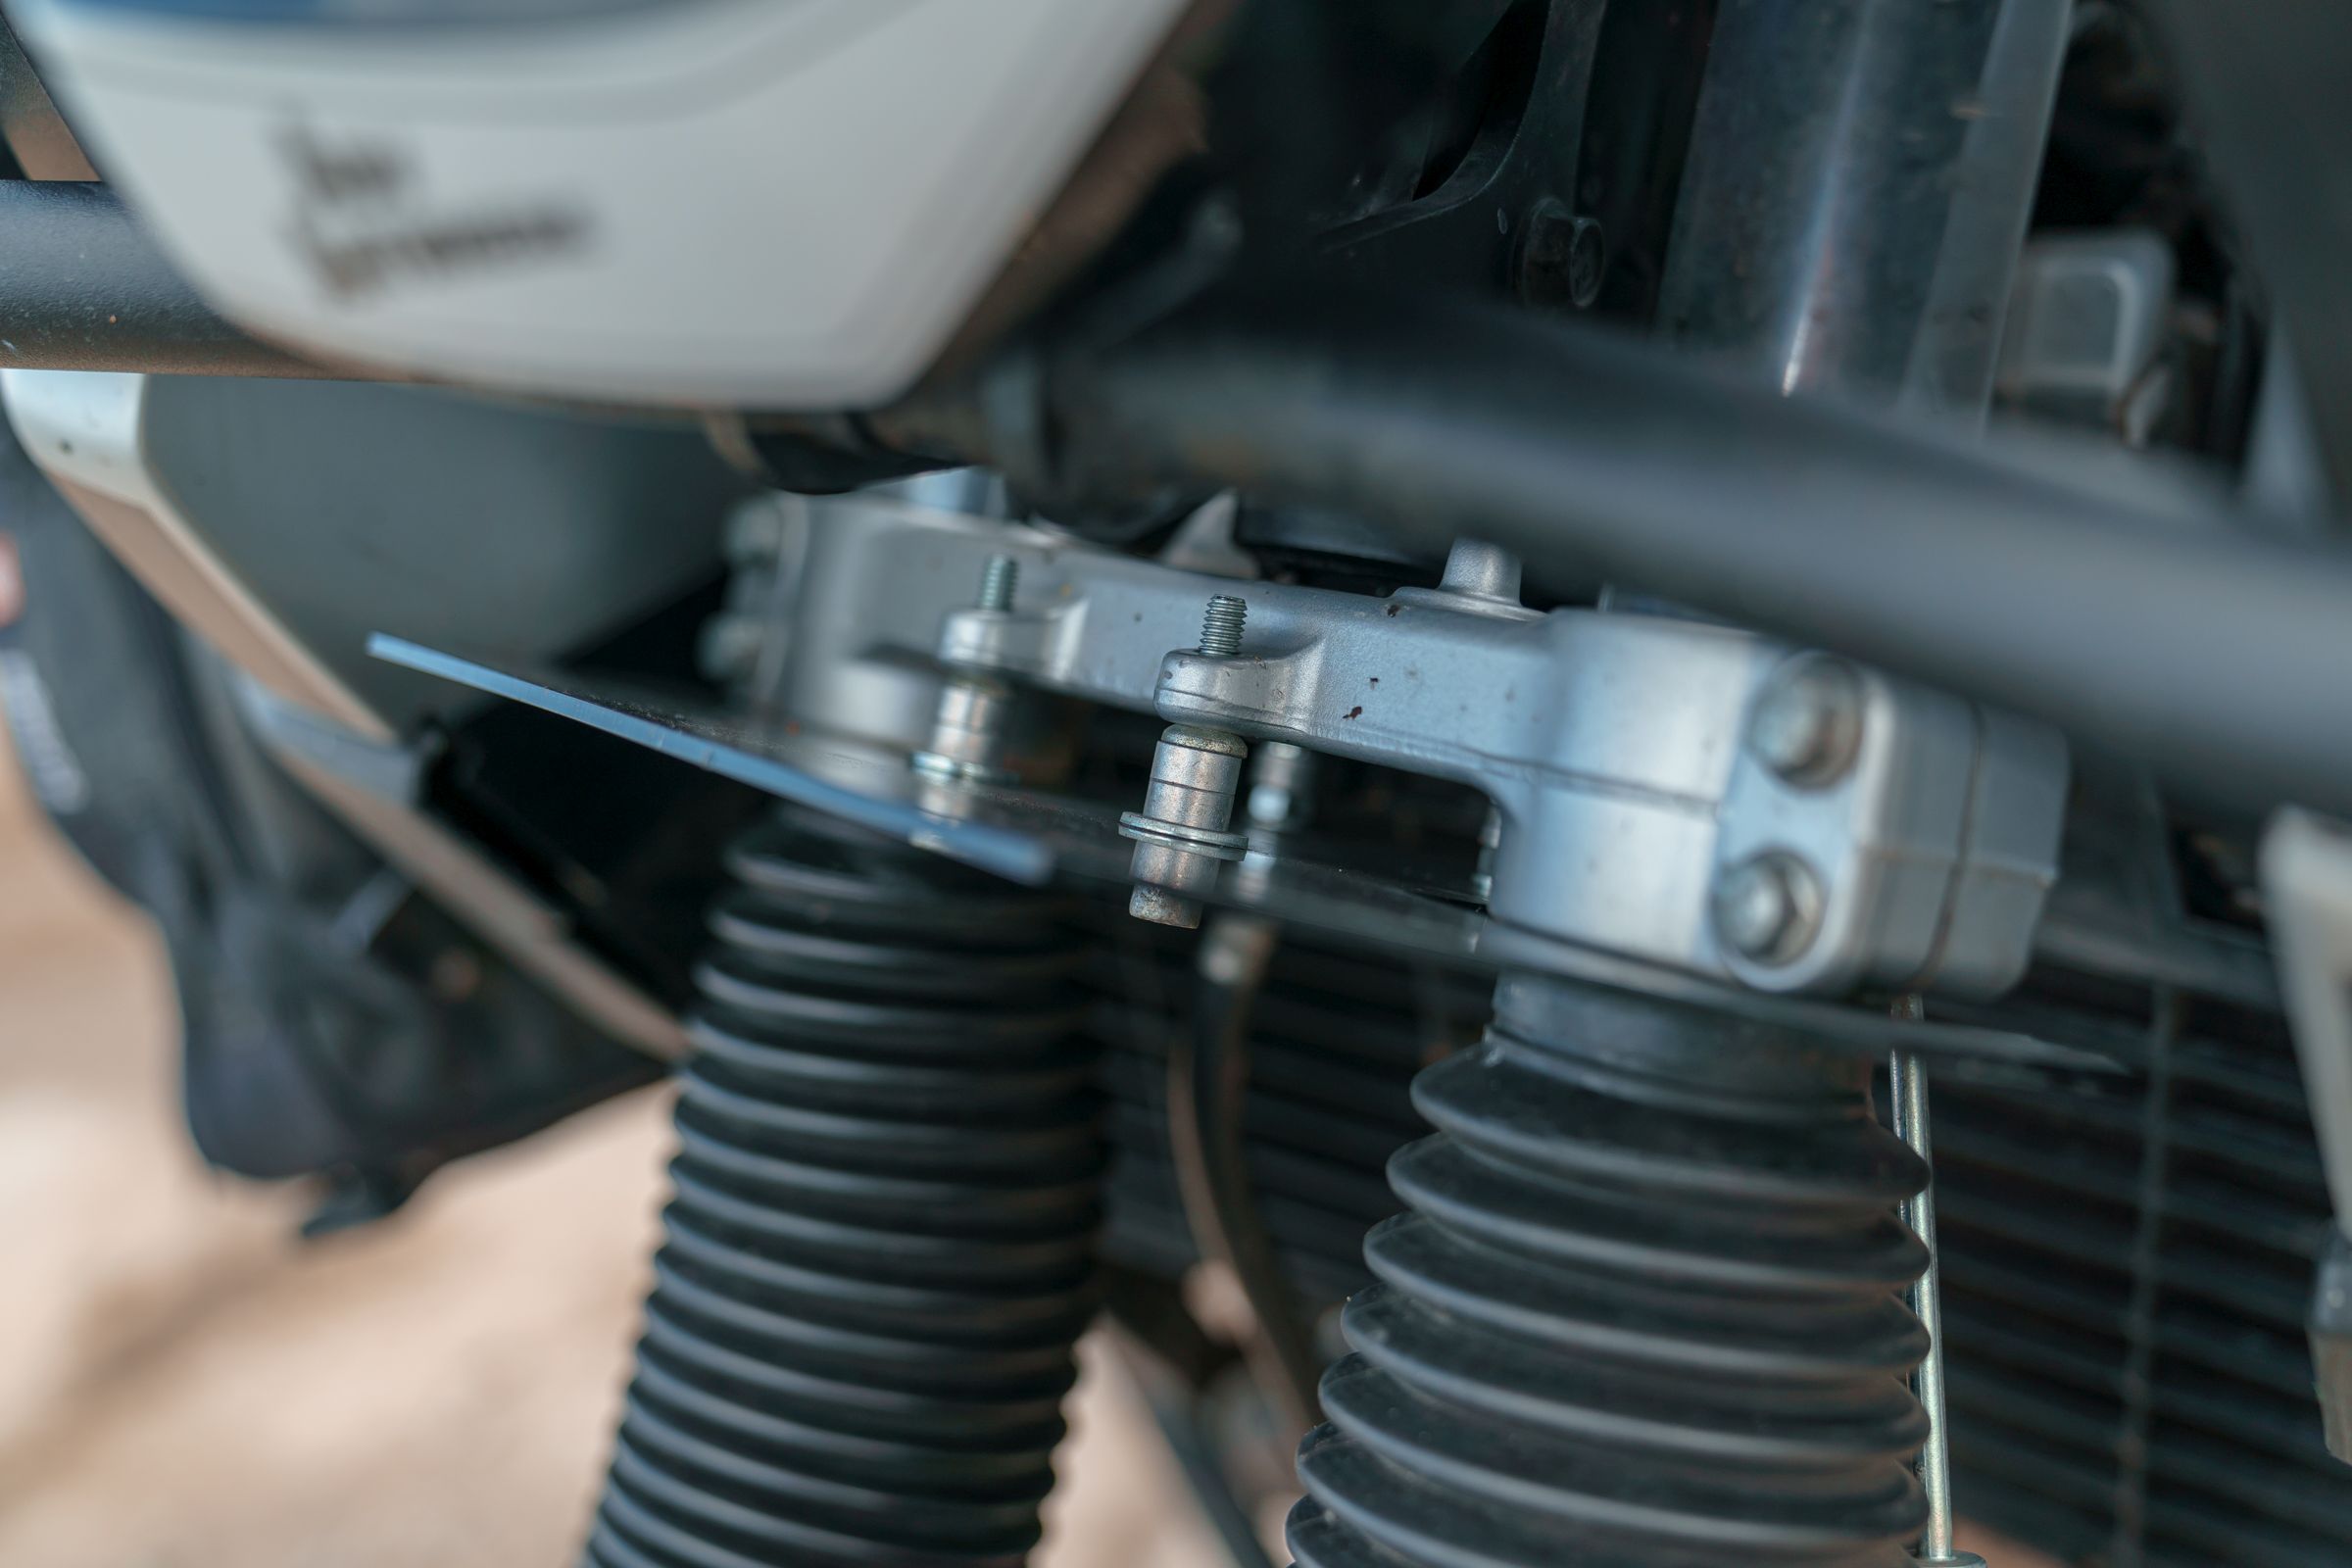
Hyperpro Combi Kit Exchange Springs
After assessing the luggage and two passengers’ weight, I was afraid that the Tenere’s suspension might give up at an unexpected moment. I decided to upgrade with progressive springs. This is definitely a cheaper modification than replacing the entire suspension.
If only I knew how much difference Hyperpro would make in riding, it would be one of the first investments in Tenere. A small thing and the difference is colossal.
On asphalt, the roughness is almost imperceptible.
In the field, the shock absorber bottomed out many times, which resulted in the destabilization of the motorcycle and bumping wheel. With progressive springs, it is practically impossible to bottom out the shock absorber. The spring becomes harder with pressure, which makes the motorcycle float.
Oxford Heated Grips
Travels teach. The autumn trip to Ukraine taught me that the fingers are always getting cold first, and defrosting them every 30 minutes by holding them near the engine is an ineffective way to move. After I returned, the first thing I bought was Oxford heated grips. They have a very nice adventure grip.
If you drive off-road in winter and autumn, you need to re-seal them once a season, or rather once every 30,000km.
You must remember that the gloves’ waterproof properties will be damaged if you use heated grips. However, it is a fair price for me. If I drive in the rain and in low temperatures, I prefer to ride in wet and warm gloves rather than in dry ones but with frozen fingers.

Long Clutch Lever
Give me a lever long enough and a fulcrum on which to place it, and I shall move the world – I decided to apply this Archimedes wisdom to reduce the effort of operating the clutch with one finger.
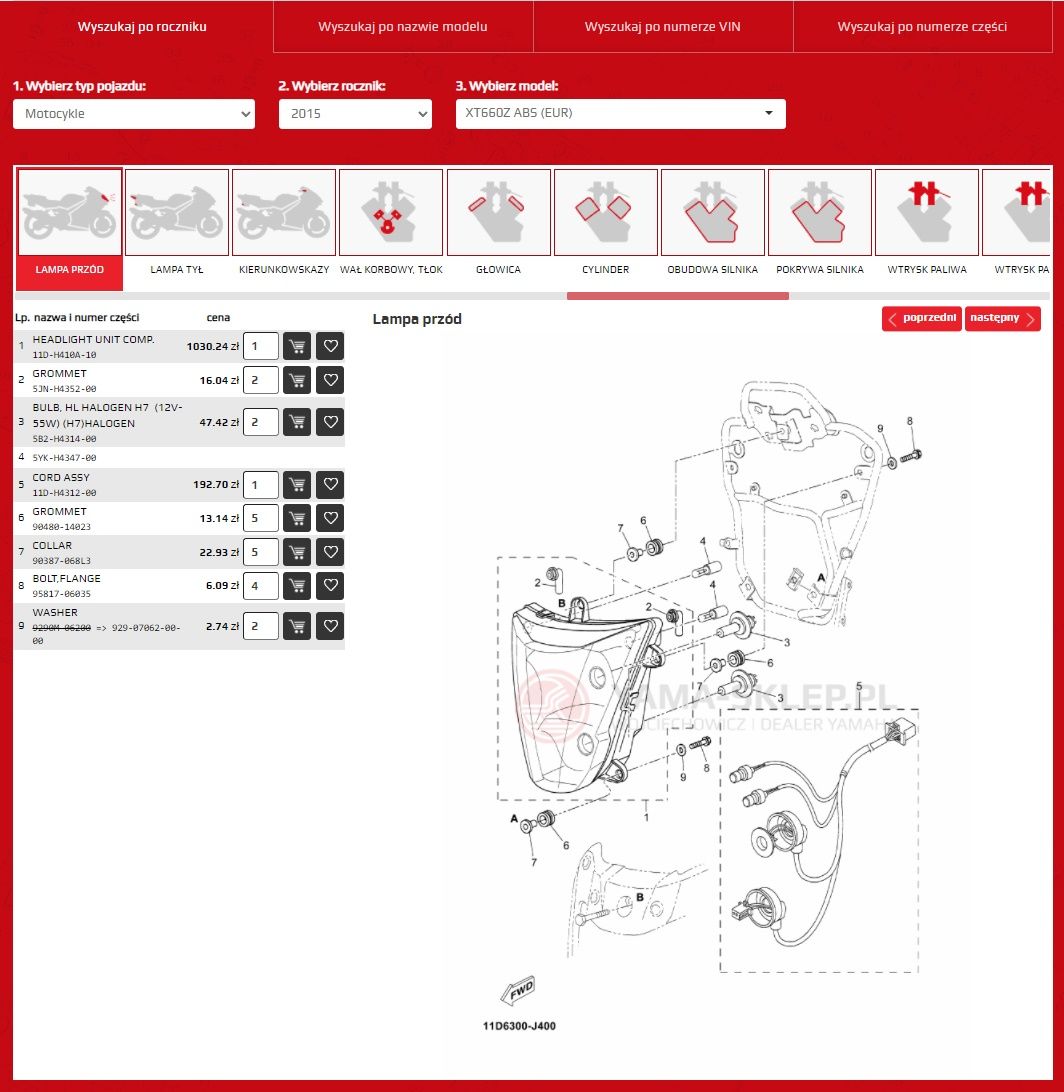
I easily found the matching lever in yama-sklep.pl. Eureka! The lever model [1WS1634000] of the MT-07 is almost identical to that of the Tenere XT660Z. The only difference is in length, which shows that Yamaha is successfully applying improvements to new motorcycle models. Even with such minor differences as the length of the clutch lever.
And I must admit that this search engine is brilliant. You can easily find a part by year, name, model, or part number.
Interactive diagrams often helped me understand the structure of individual elements and, if necessary, order individual parts, such as a mirror or foot brake lever.
Remember that on the website you can change the language to English. And currency to EUR.
Use promo code advanywhere to get 6% off at yama-sklep.pl
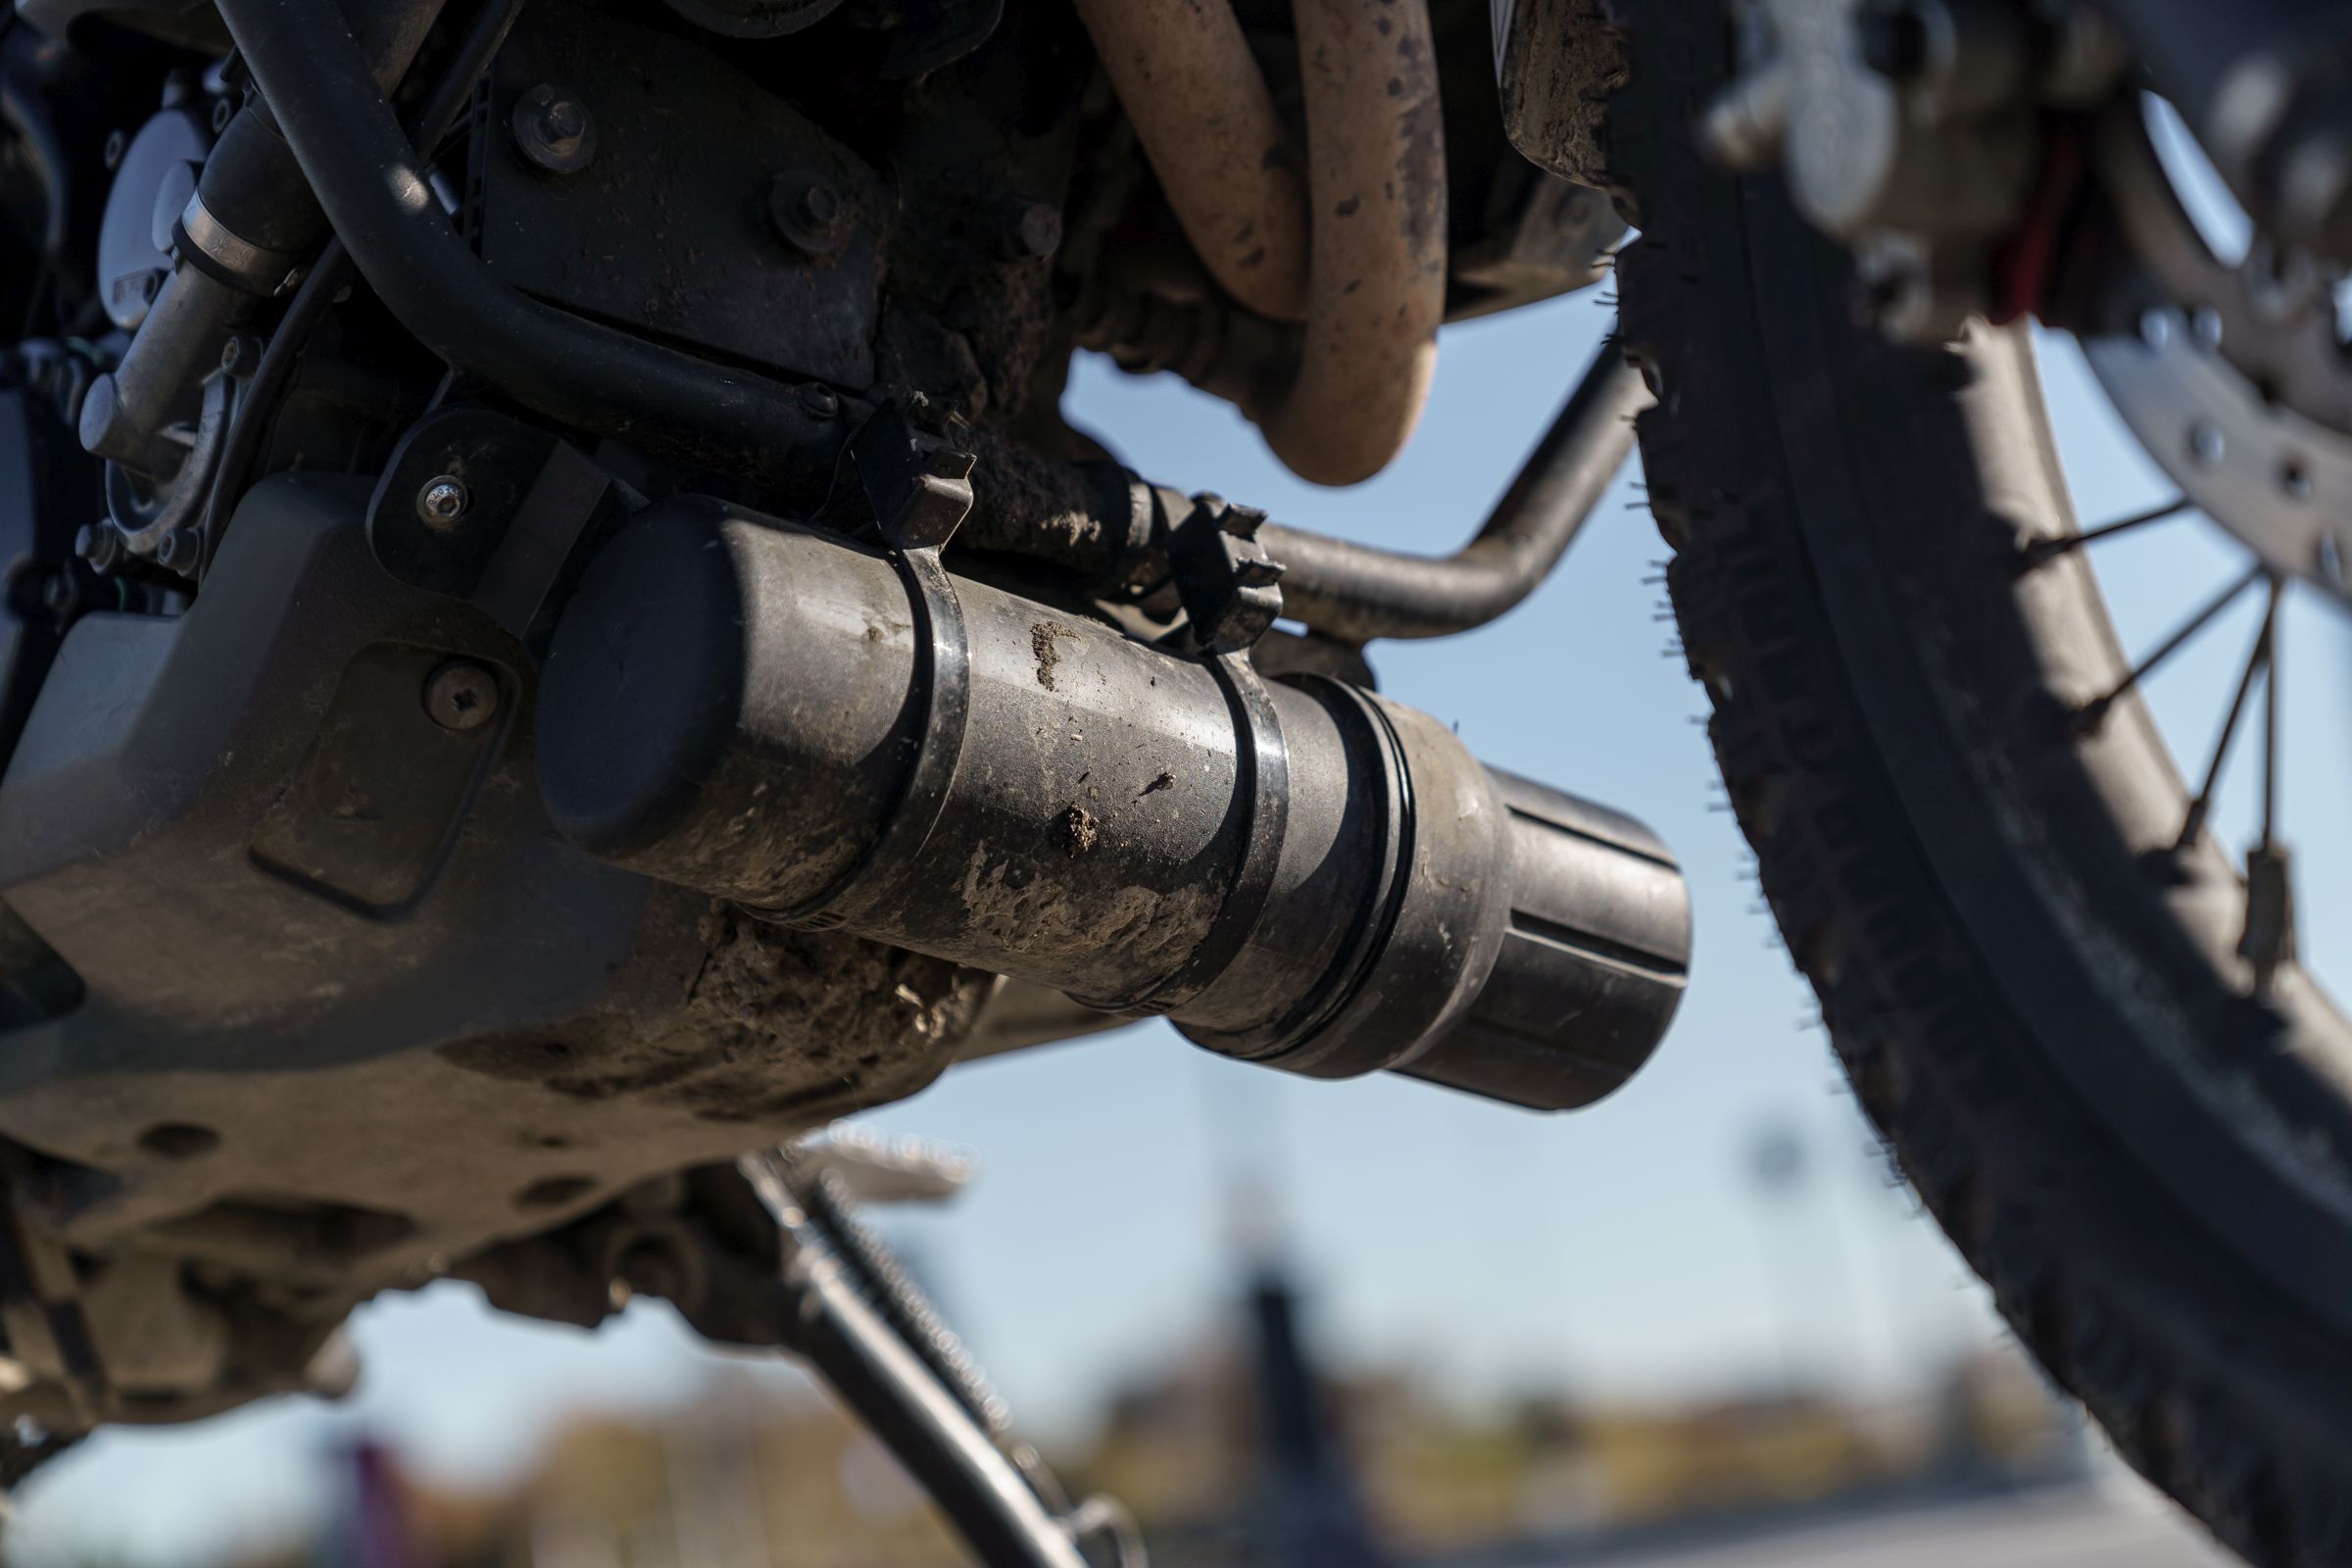
Akrapovič Dual Exhaust System
This modification was made by the previous Tenere owner. In addition to reducing weight and increasing performance, Akrapovič gives the incredible sound for the single-cylinder XT660Z.
Black Windscreen
I painted the windscreen partly for aesthetic and partly for practical reasons. The opaque glass provides some shade for navigation, which makes it easier to see the screen on sunny days. It also forces you to look into the distance, helping to learn to look correctly while driving off-road. However, the main thing that bothered me was cleaning the standard version.

Summary
Yamaha Tenere XT660ZA is my first adventure bike. I decided to buy it after trying to travel on a racing motorcycle. You can read about that expedition here: Long Travels on a Racing Motorcycle?
Each kilometer with Tenere opened my eyes more and more to the world of both motorcycles and traveling. Tens of thousands of kilometers showed me many nuances about riding and traveling. For 60,000km, I improved the comfort and usability of my piece.
XT660ZA is not a perfect bike. It’s not perfect for asphalt, it’s not perfect for the terrain. It’s not the best option for long-distance trips. Not perfect for highways and enduro either… But it’s good enough for all these things. And it is this versatility and reliability that is the greatest asset of Yamaha Tenere.
Today, after three years (not seasons, because my fascination with riding does not allow me to keep my bike in a garage for a long time), I can say that my Tenere is complete and has everything I need for a comfortable ride in all conditions. And I am richer in the knowledge that I like to share on the blog.


 Facebook
 Instagram
 Youtube


Pingback: Norway 2021 - Chapter I – AdvAnywhere
Pingback: Turkey 2022 - Chapter I – AdvAnywhere
Hi mate! Awsome website! Great adventure photos! I just bought a 660. I’d like.to know what you used to paint thr front screen? Or is it a sticker?
Cheers Jeff
Hi Jeffrey! Thank you! i used simple black matte plastic spray. Don’t forget about painting primer in spray and sanding before!
Hi Kewin! Please keep your website alive as I probably will use it allot over the next months! You have the most usefull information on adventures with the Tenere 660. I have another question… where did you get that withe “YAMAHA” sticker on the back / rear wheel fork?
Sure! I’m happy to hear that! I made stickers by myself. On my blog, you can find a post with a free Tenere 600 sticker template. I made all the measurements and shared the template for free. You just put your graphics and print it, so it’s fully custom and way cheaper than other solutions 😉
Thanks mate! I probably come up with more questions as I’m preparing my bike for my first adventure! Cheers
Feel free to ask!
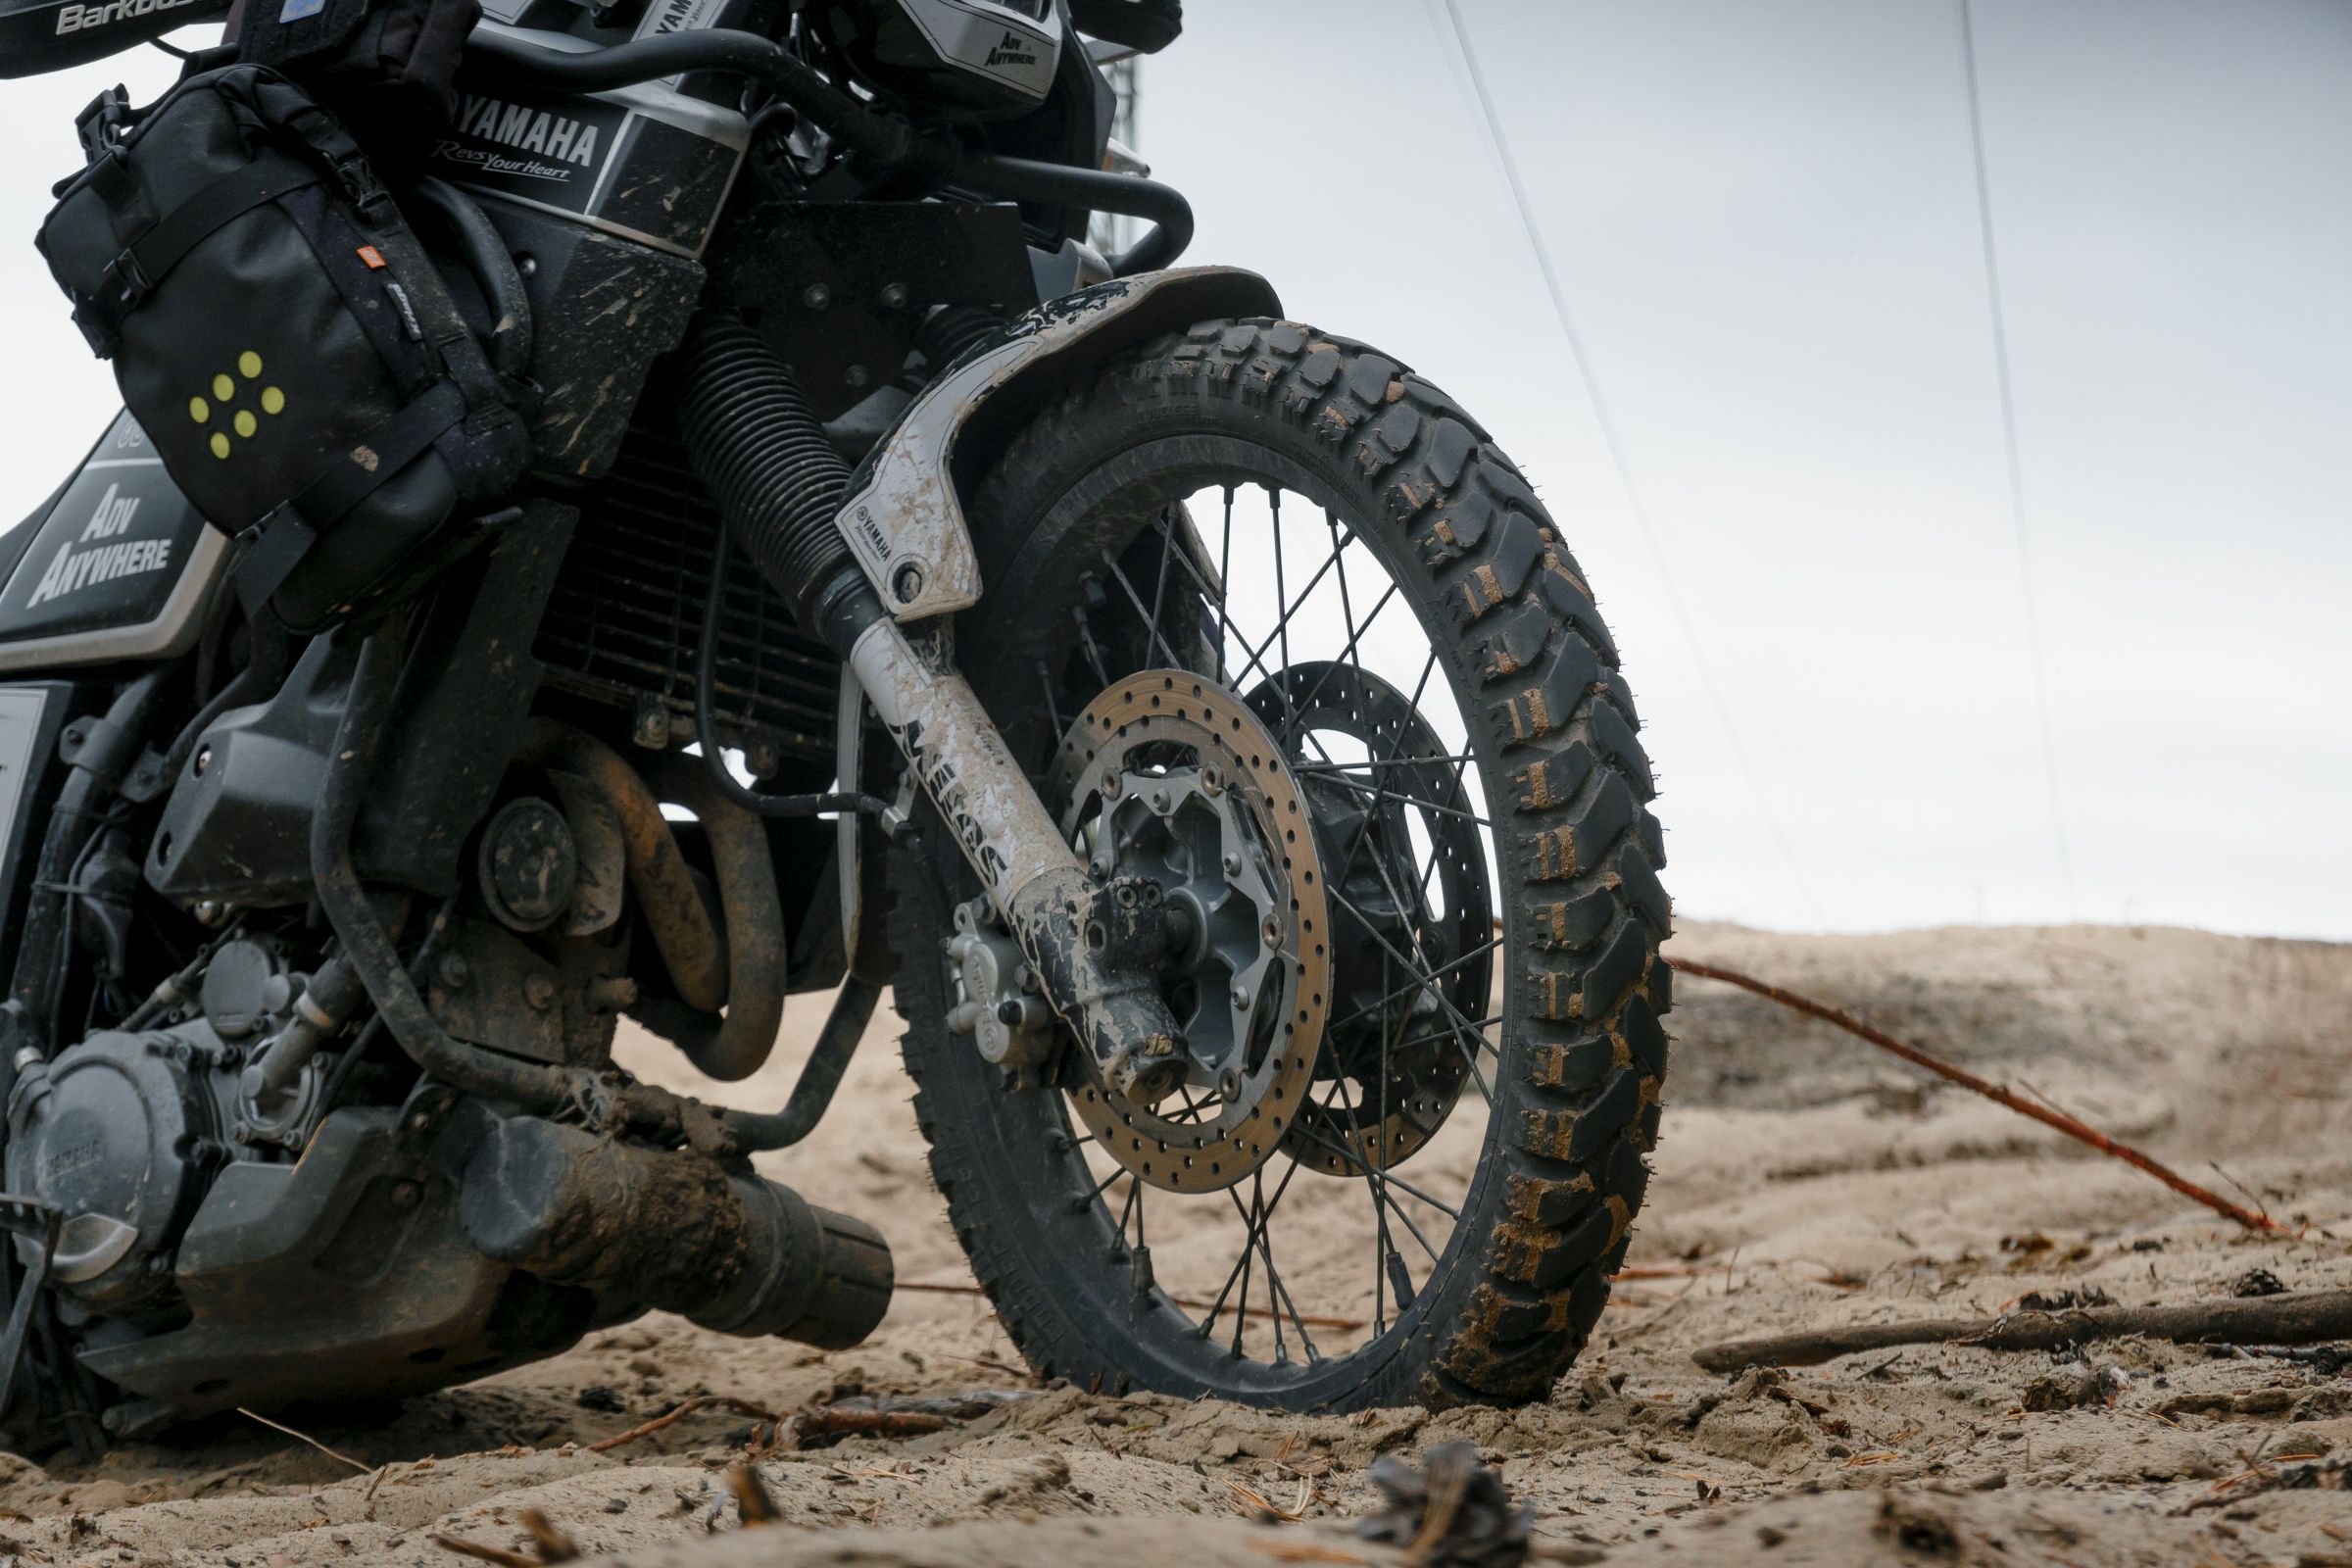
What kind of tires did you put on your bike? I just bought myself a ténére 660 2012 with road wheels boed would like to upgrade to off-road capable ones. It really is the first upgrade that I would like to do, but I didn’t see a tire upgrade in your list.
I recommend Mitas E-13 front + E-09 rear for XT660ZA. Read my reviews about the tires, you might find it useful. Cheers!
Very good website ! Good Design excelent photos !
Thank you!
Hey! Love your site and the pics — thanks for sharing! I just got an XT660ZA (ABS version) and was wondering how you added the ABS on/off switch. Could you tell me a bit more about it? Cheers!