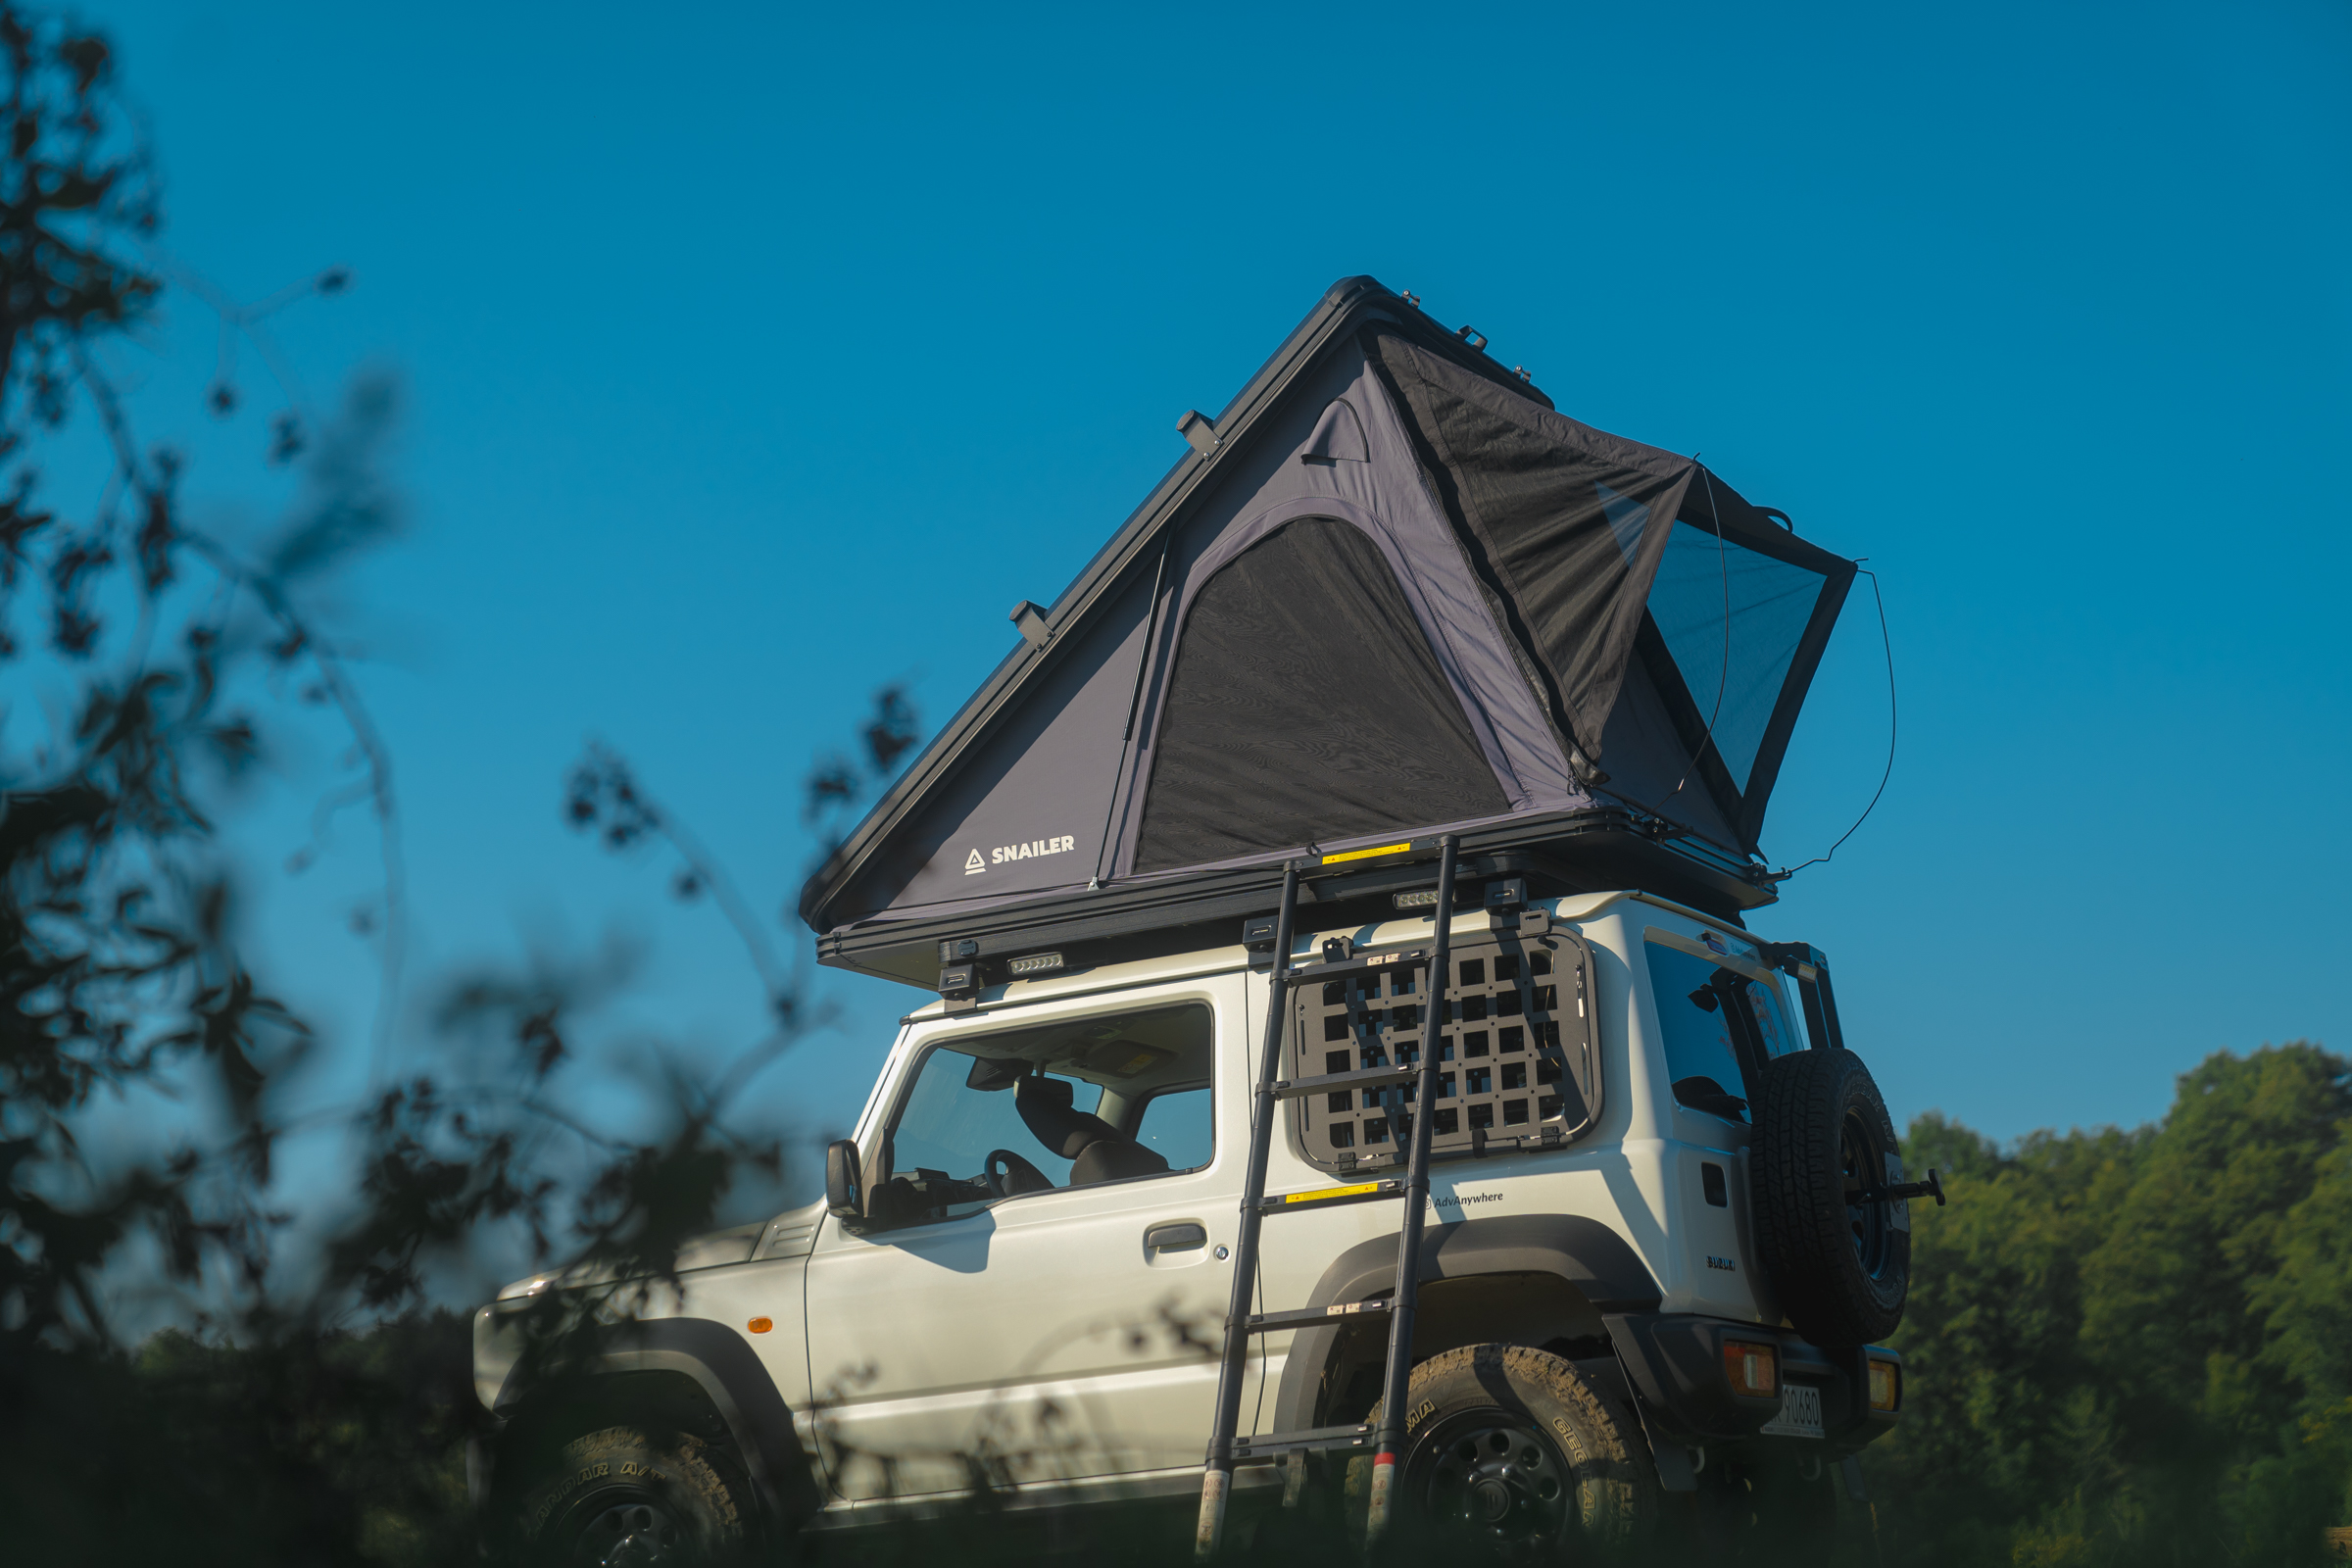
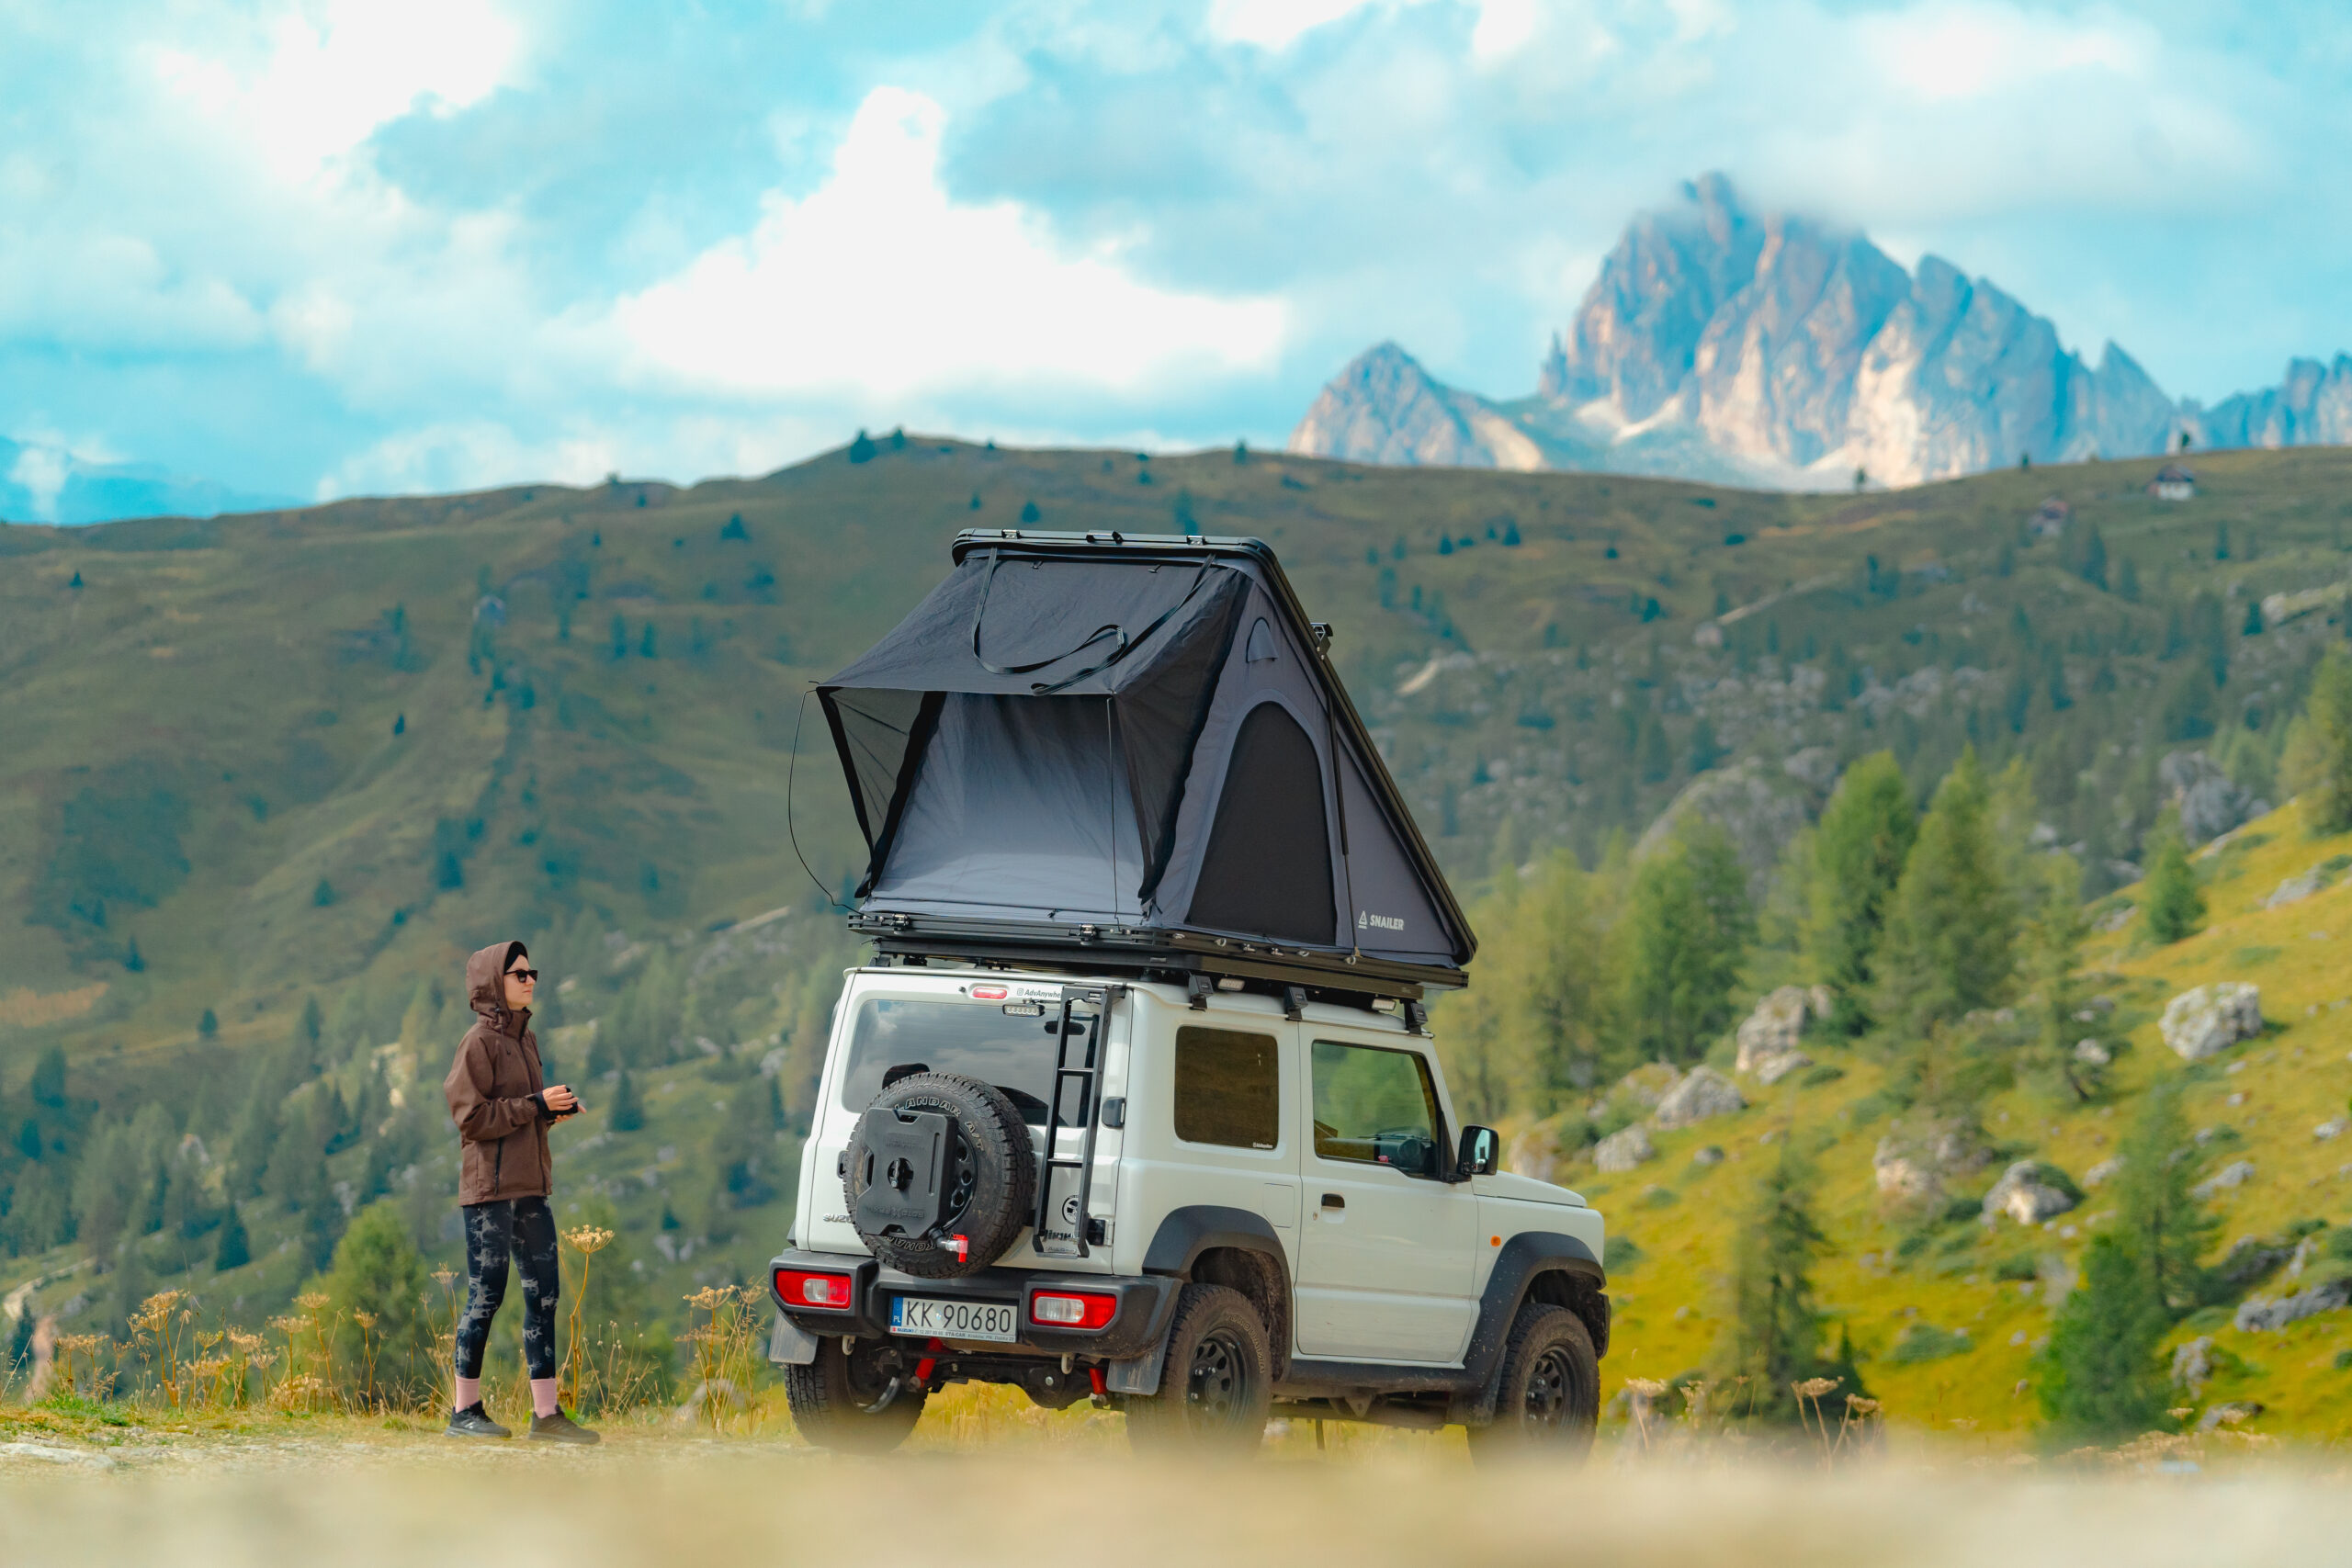
When I began traveling with my off-road vehicle, a rooftop tent was always on my wishlist. Initially, I was drawn to its appearance and the expedition-like atmosphere it creates, but I’ve come to appreciate its comfort and functionality over time.
Why did I choose a rooftop tent, and why a hardshell? I’ll do my best to explain everything below.
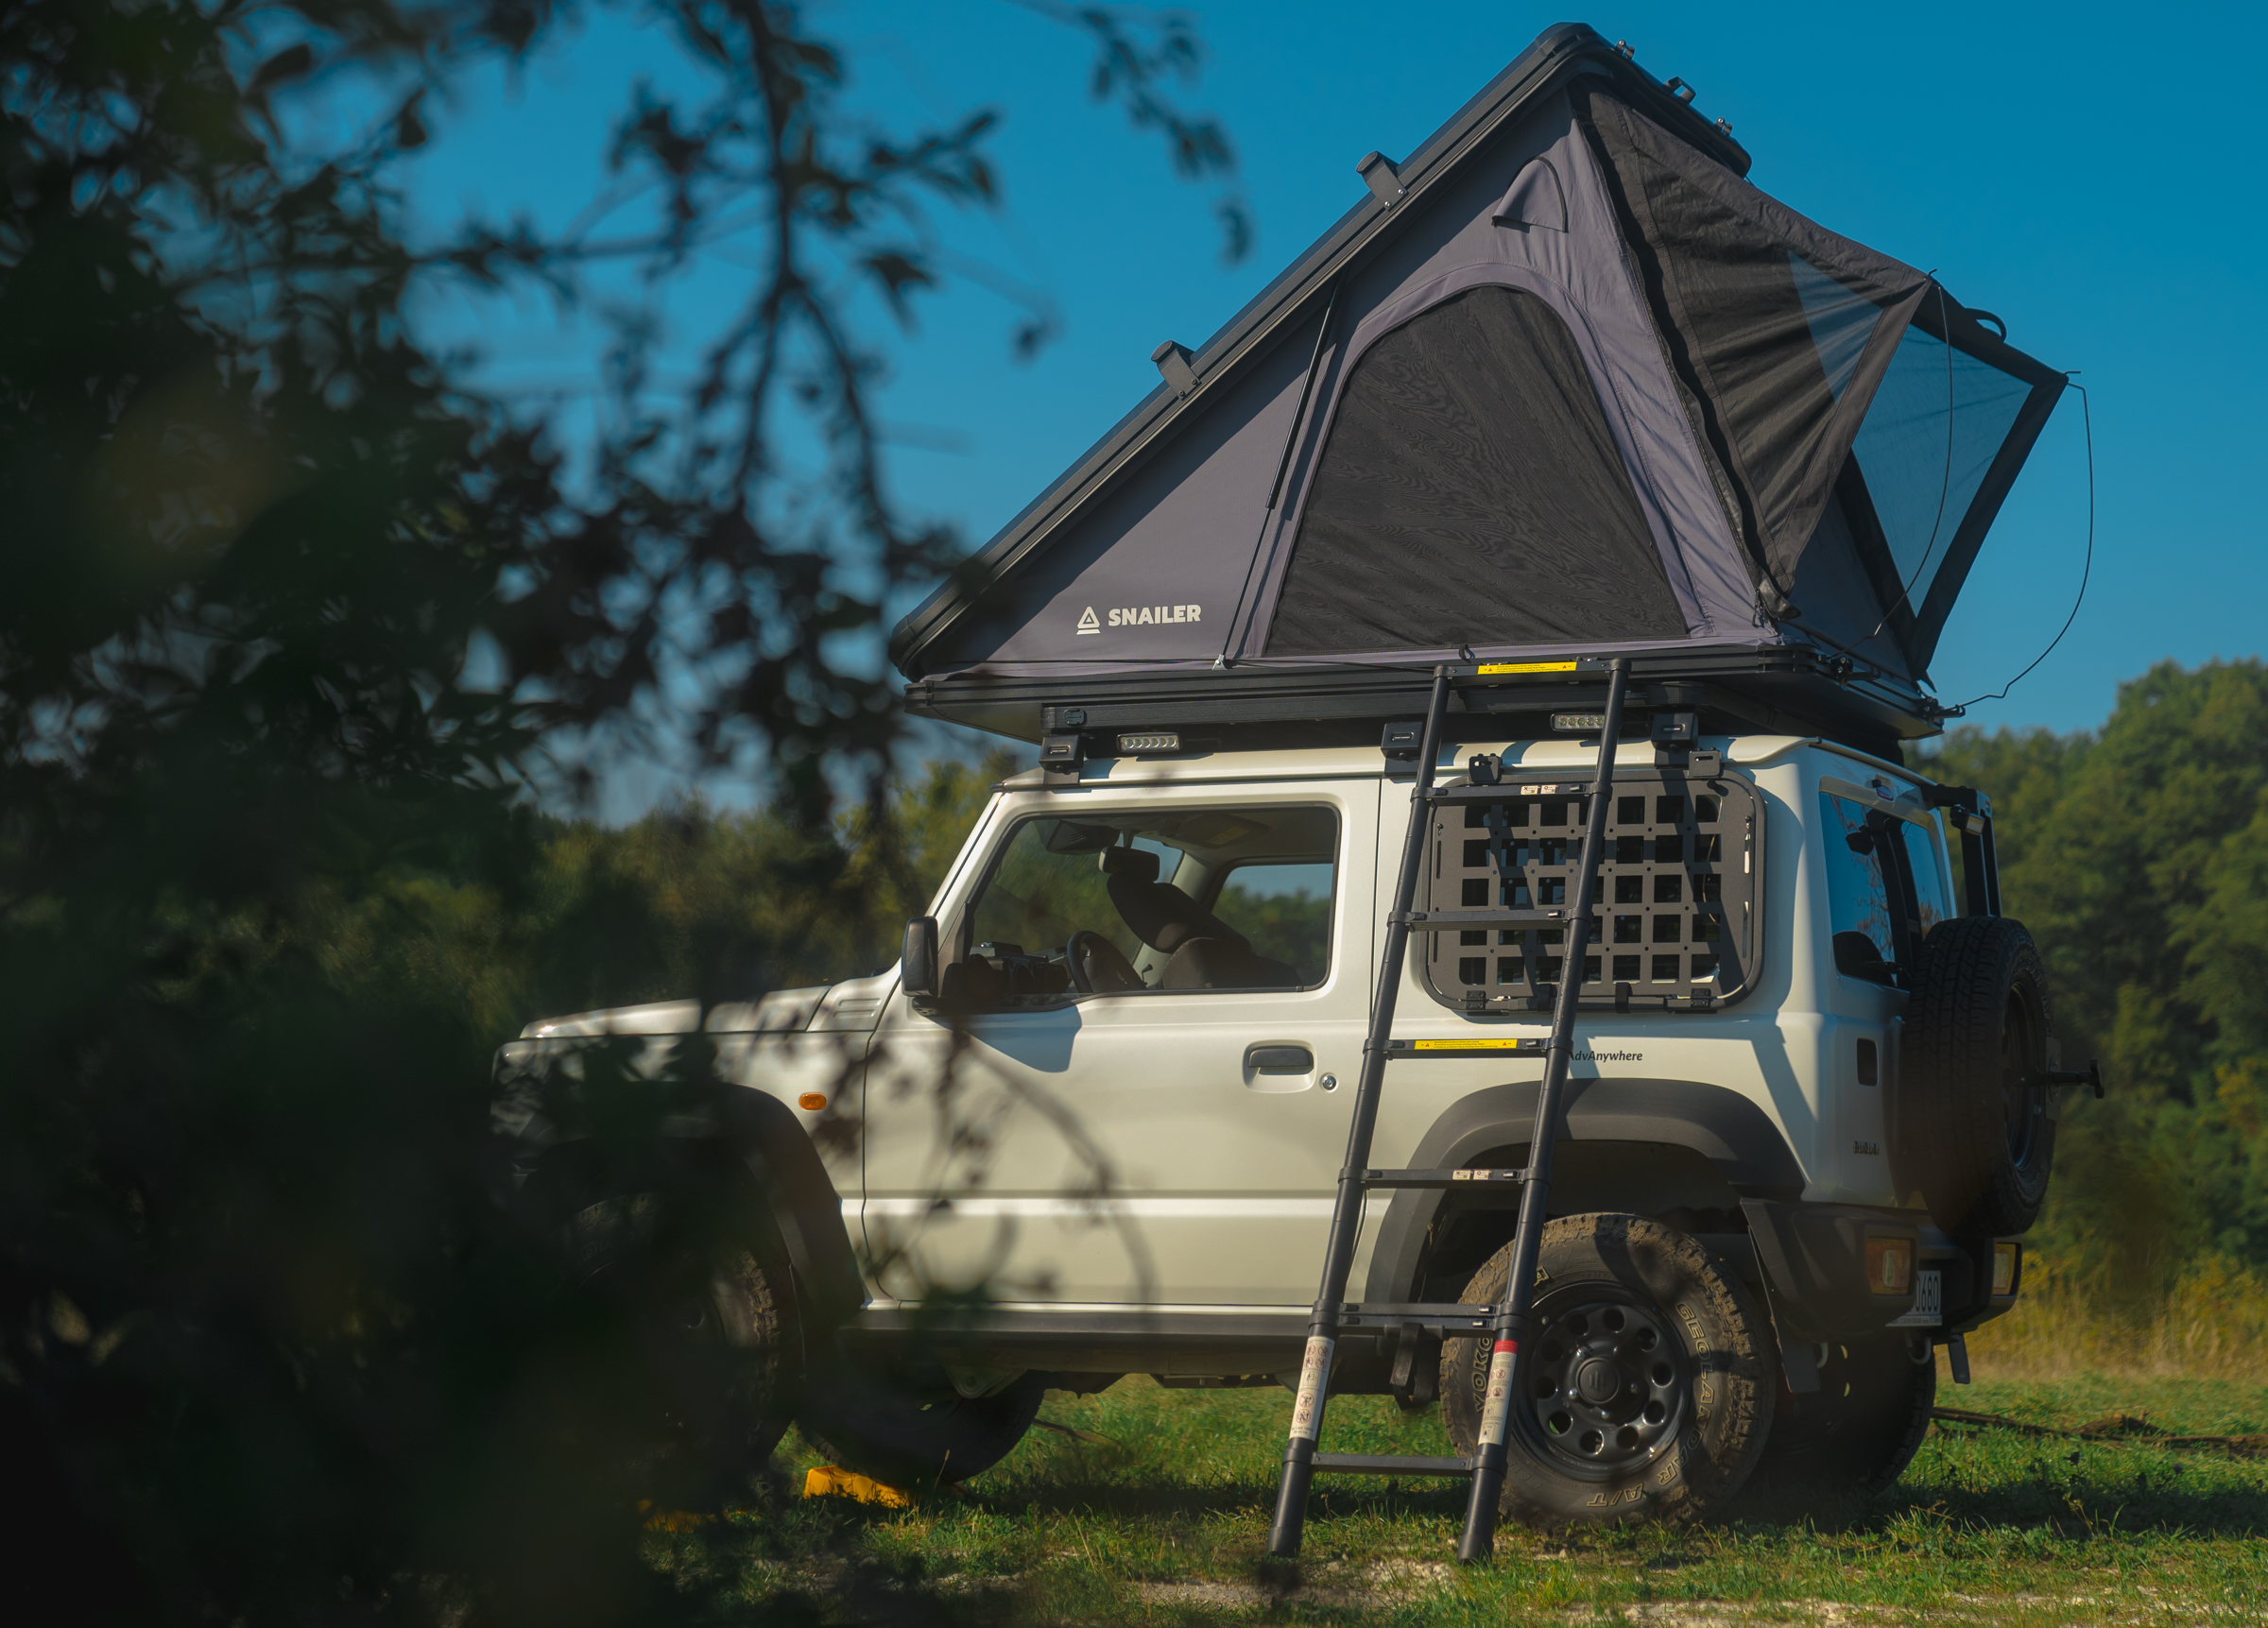
All technical specifications can be found on the manufacturer’s website – SNAILER Alduo roof tent – while I will focus on my personal experiences and observations. Enjoy the reading!

Why a hardshell rooftop tent?
Initially, I considered soft-shell tents, primarily due to their lower price.
I was also attracted to the idea of a soft-shell roof tent because extending it to the side provides a bit of shelter above your head. However, the reality is that it doesn’t serve as a true replacement for an awning. In the end, though, the numerous advantages of a hard-shell tent won me over.
The closed shell offers excellent protection
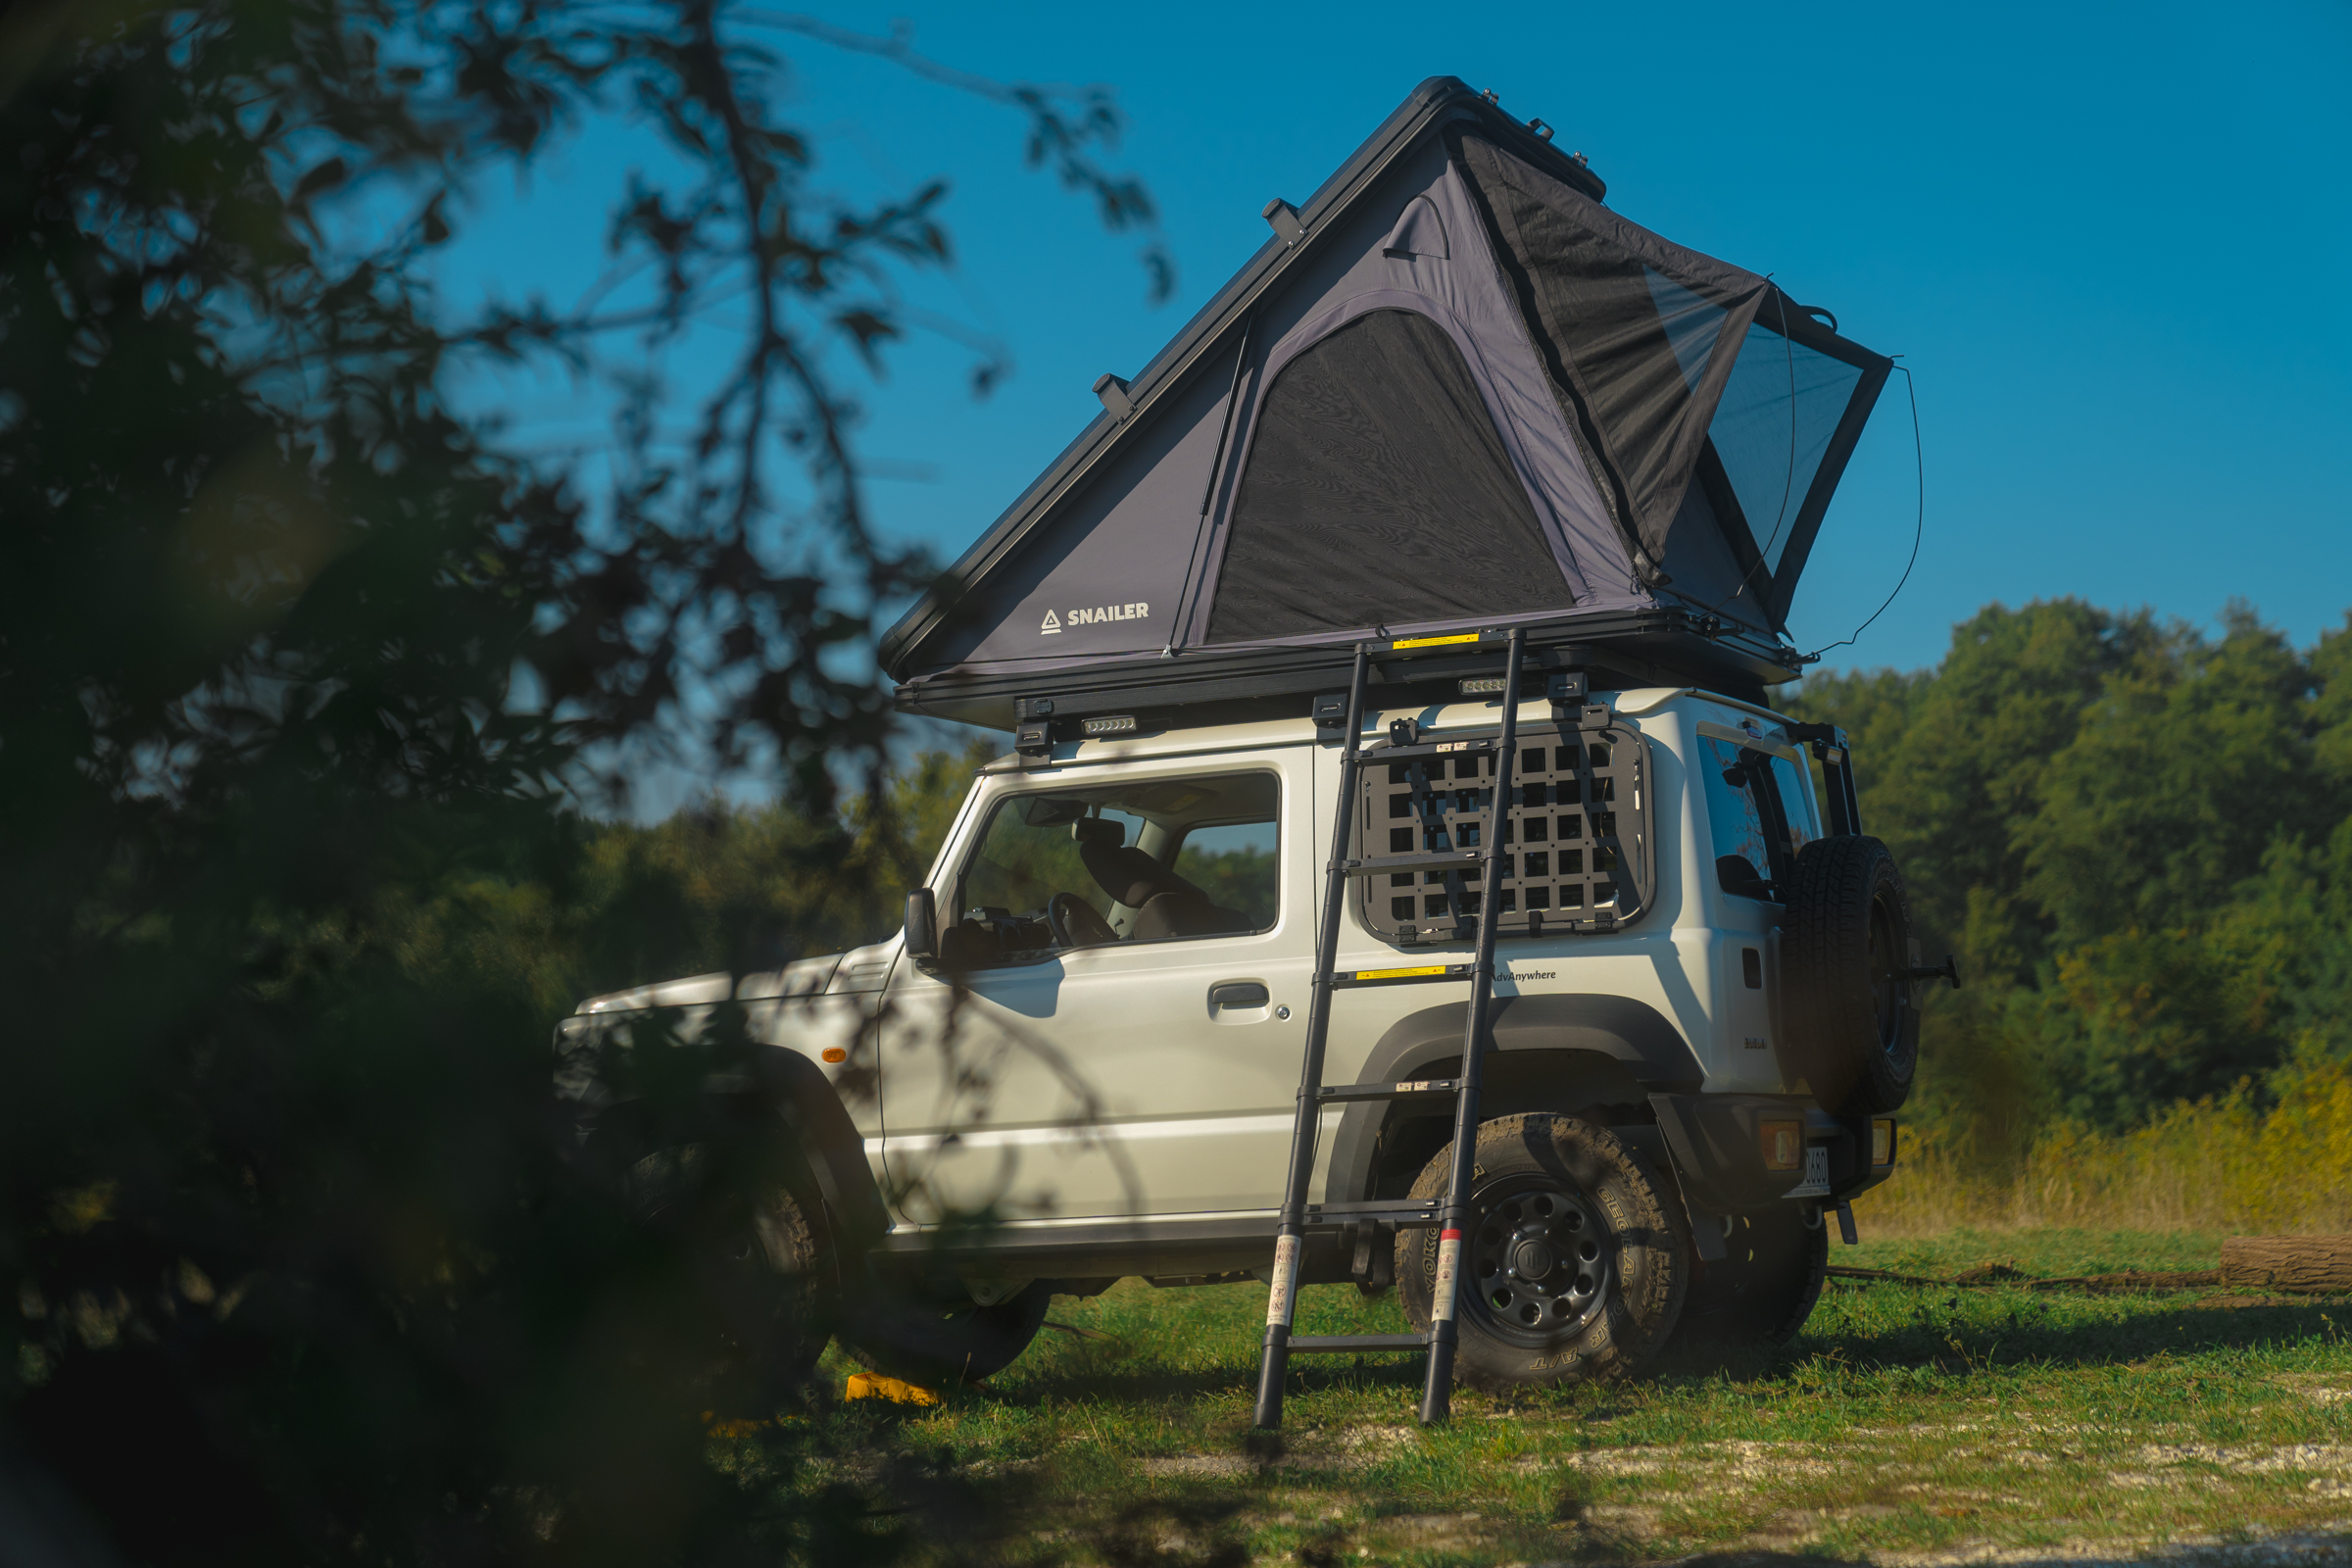
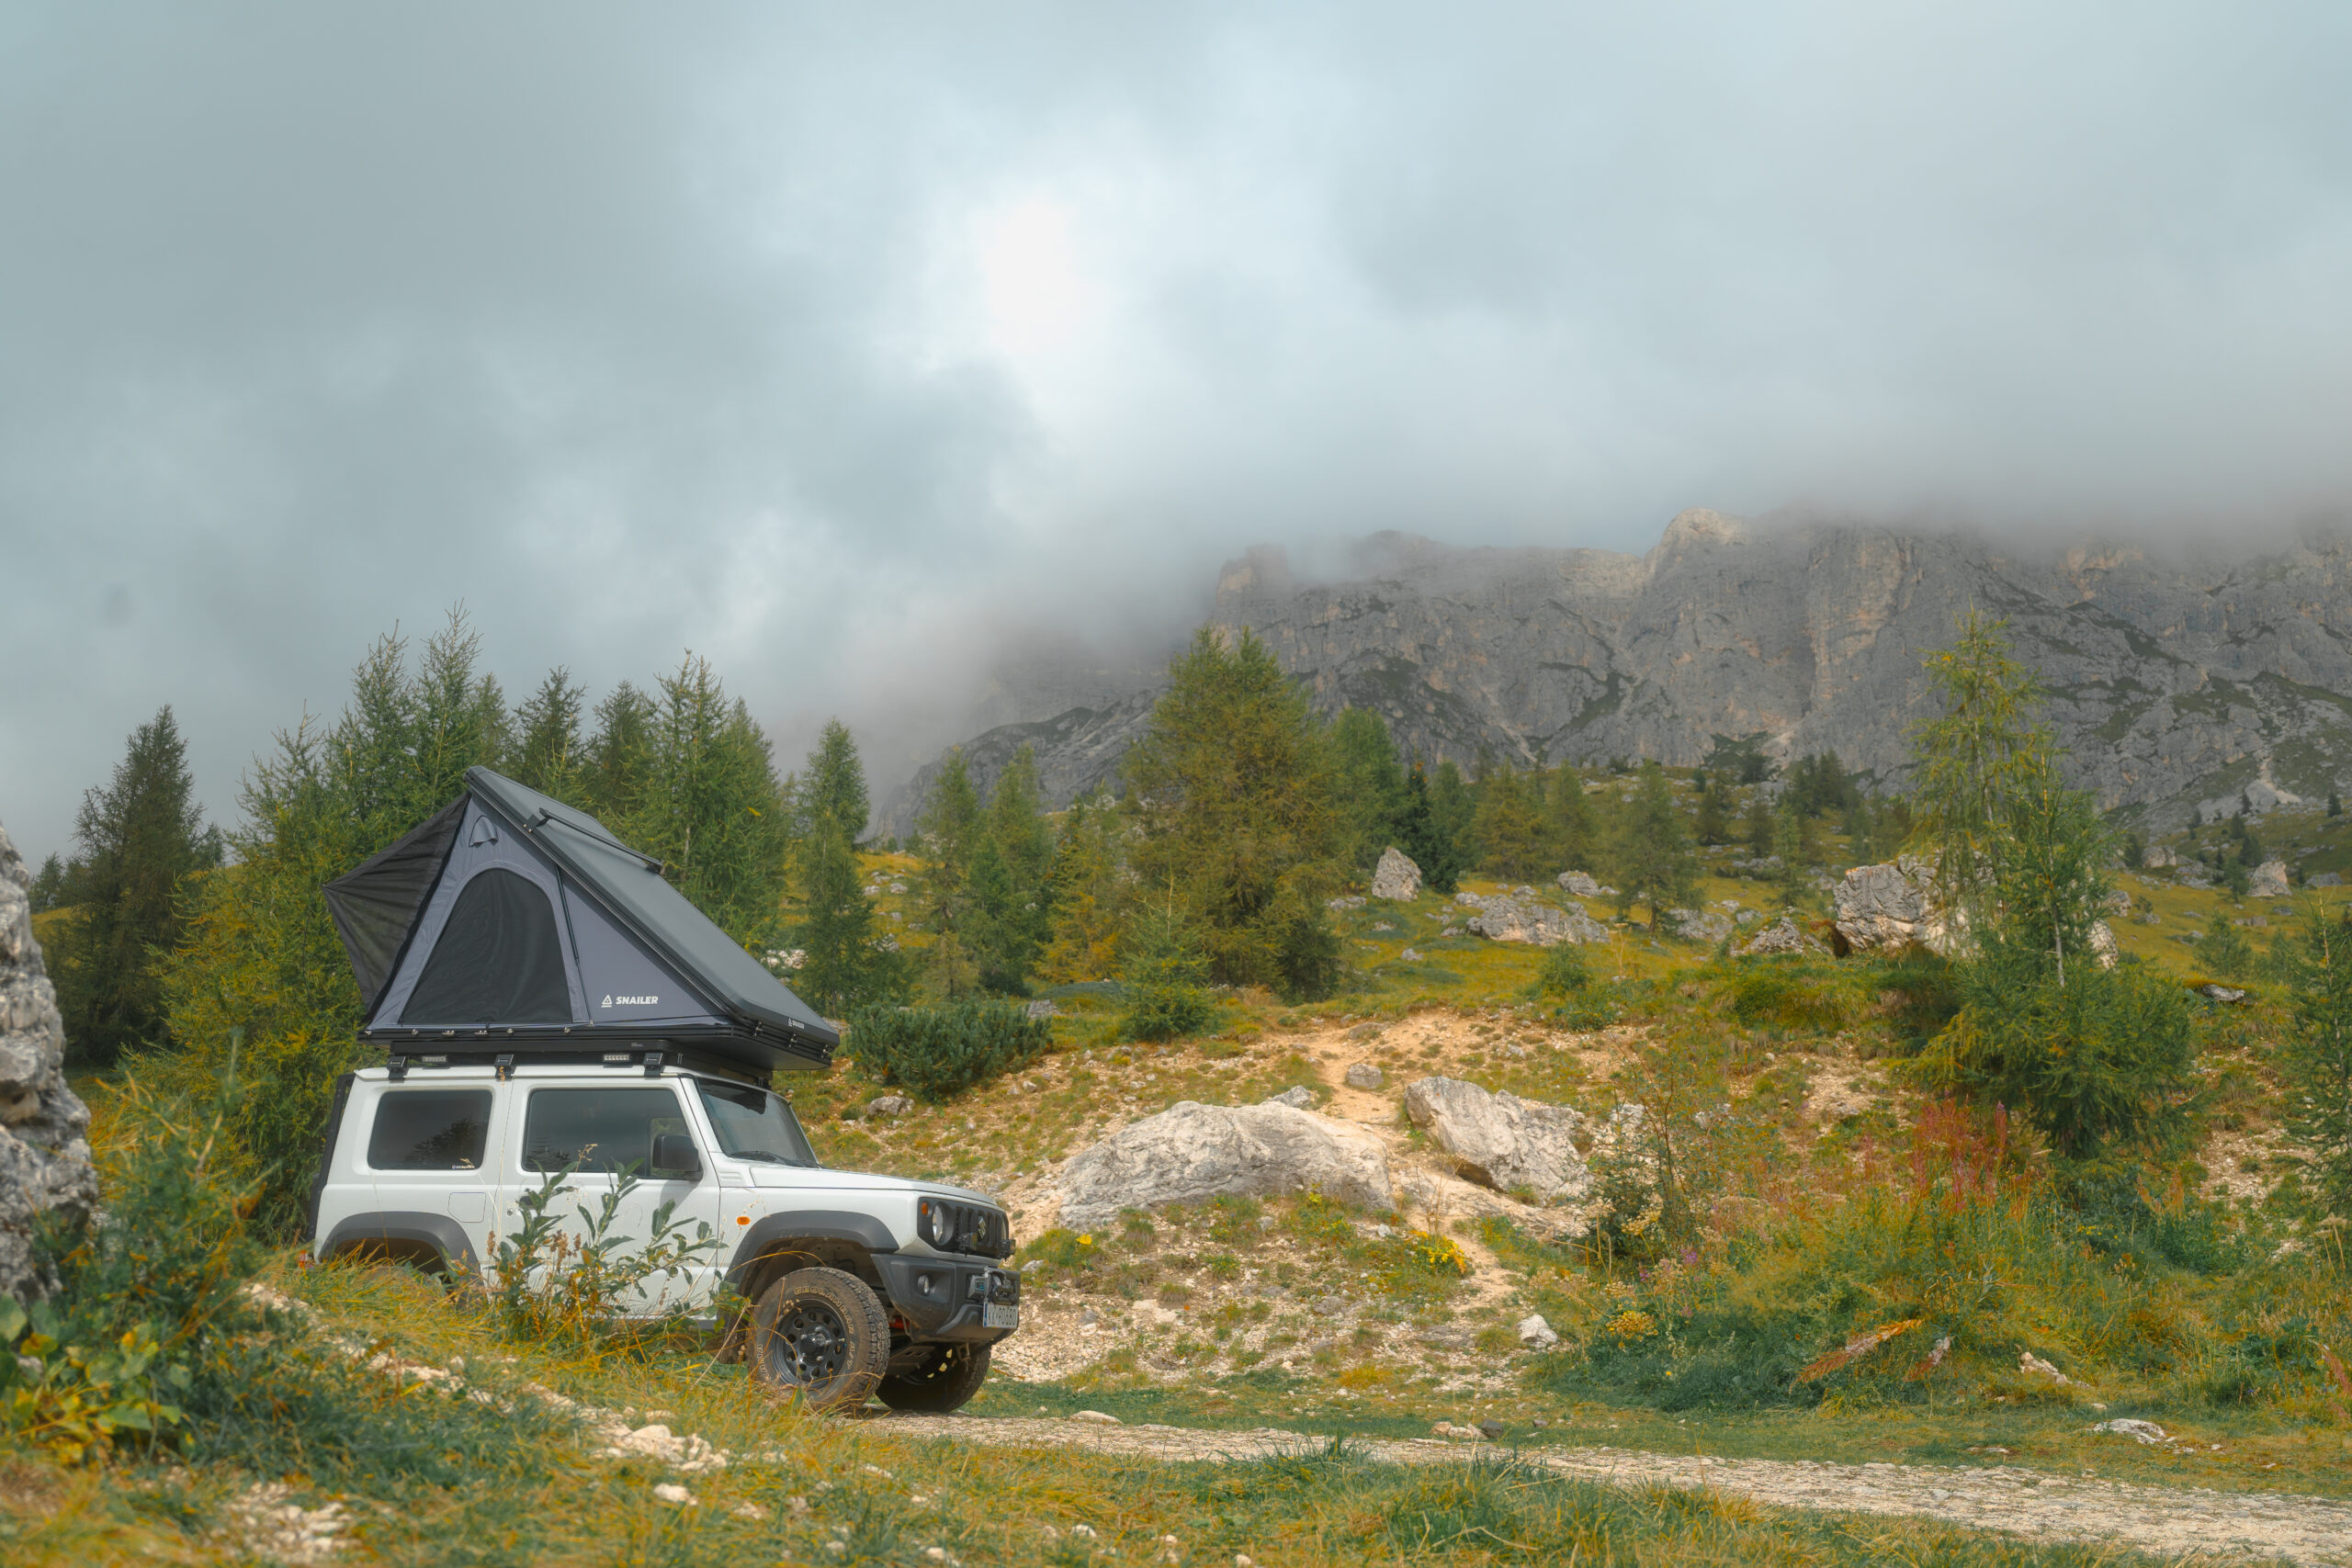
The hard shell ensures complete safety for the sleeping area against all weather conditions, so I don’t have to worry about water or dust getting inside the tent.
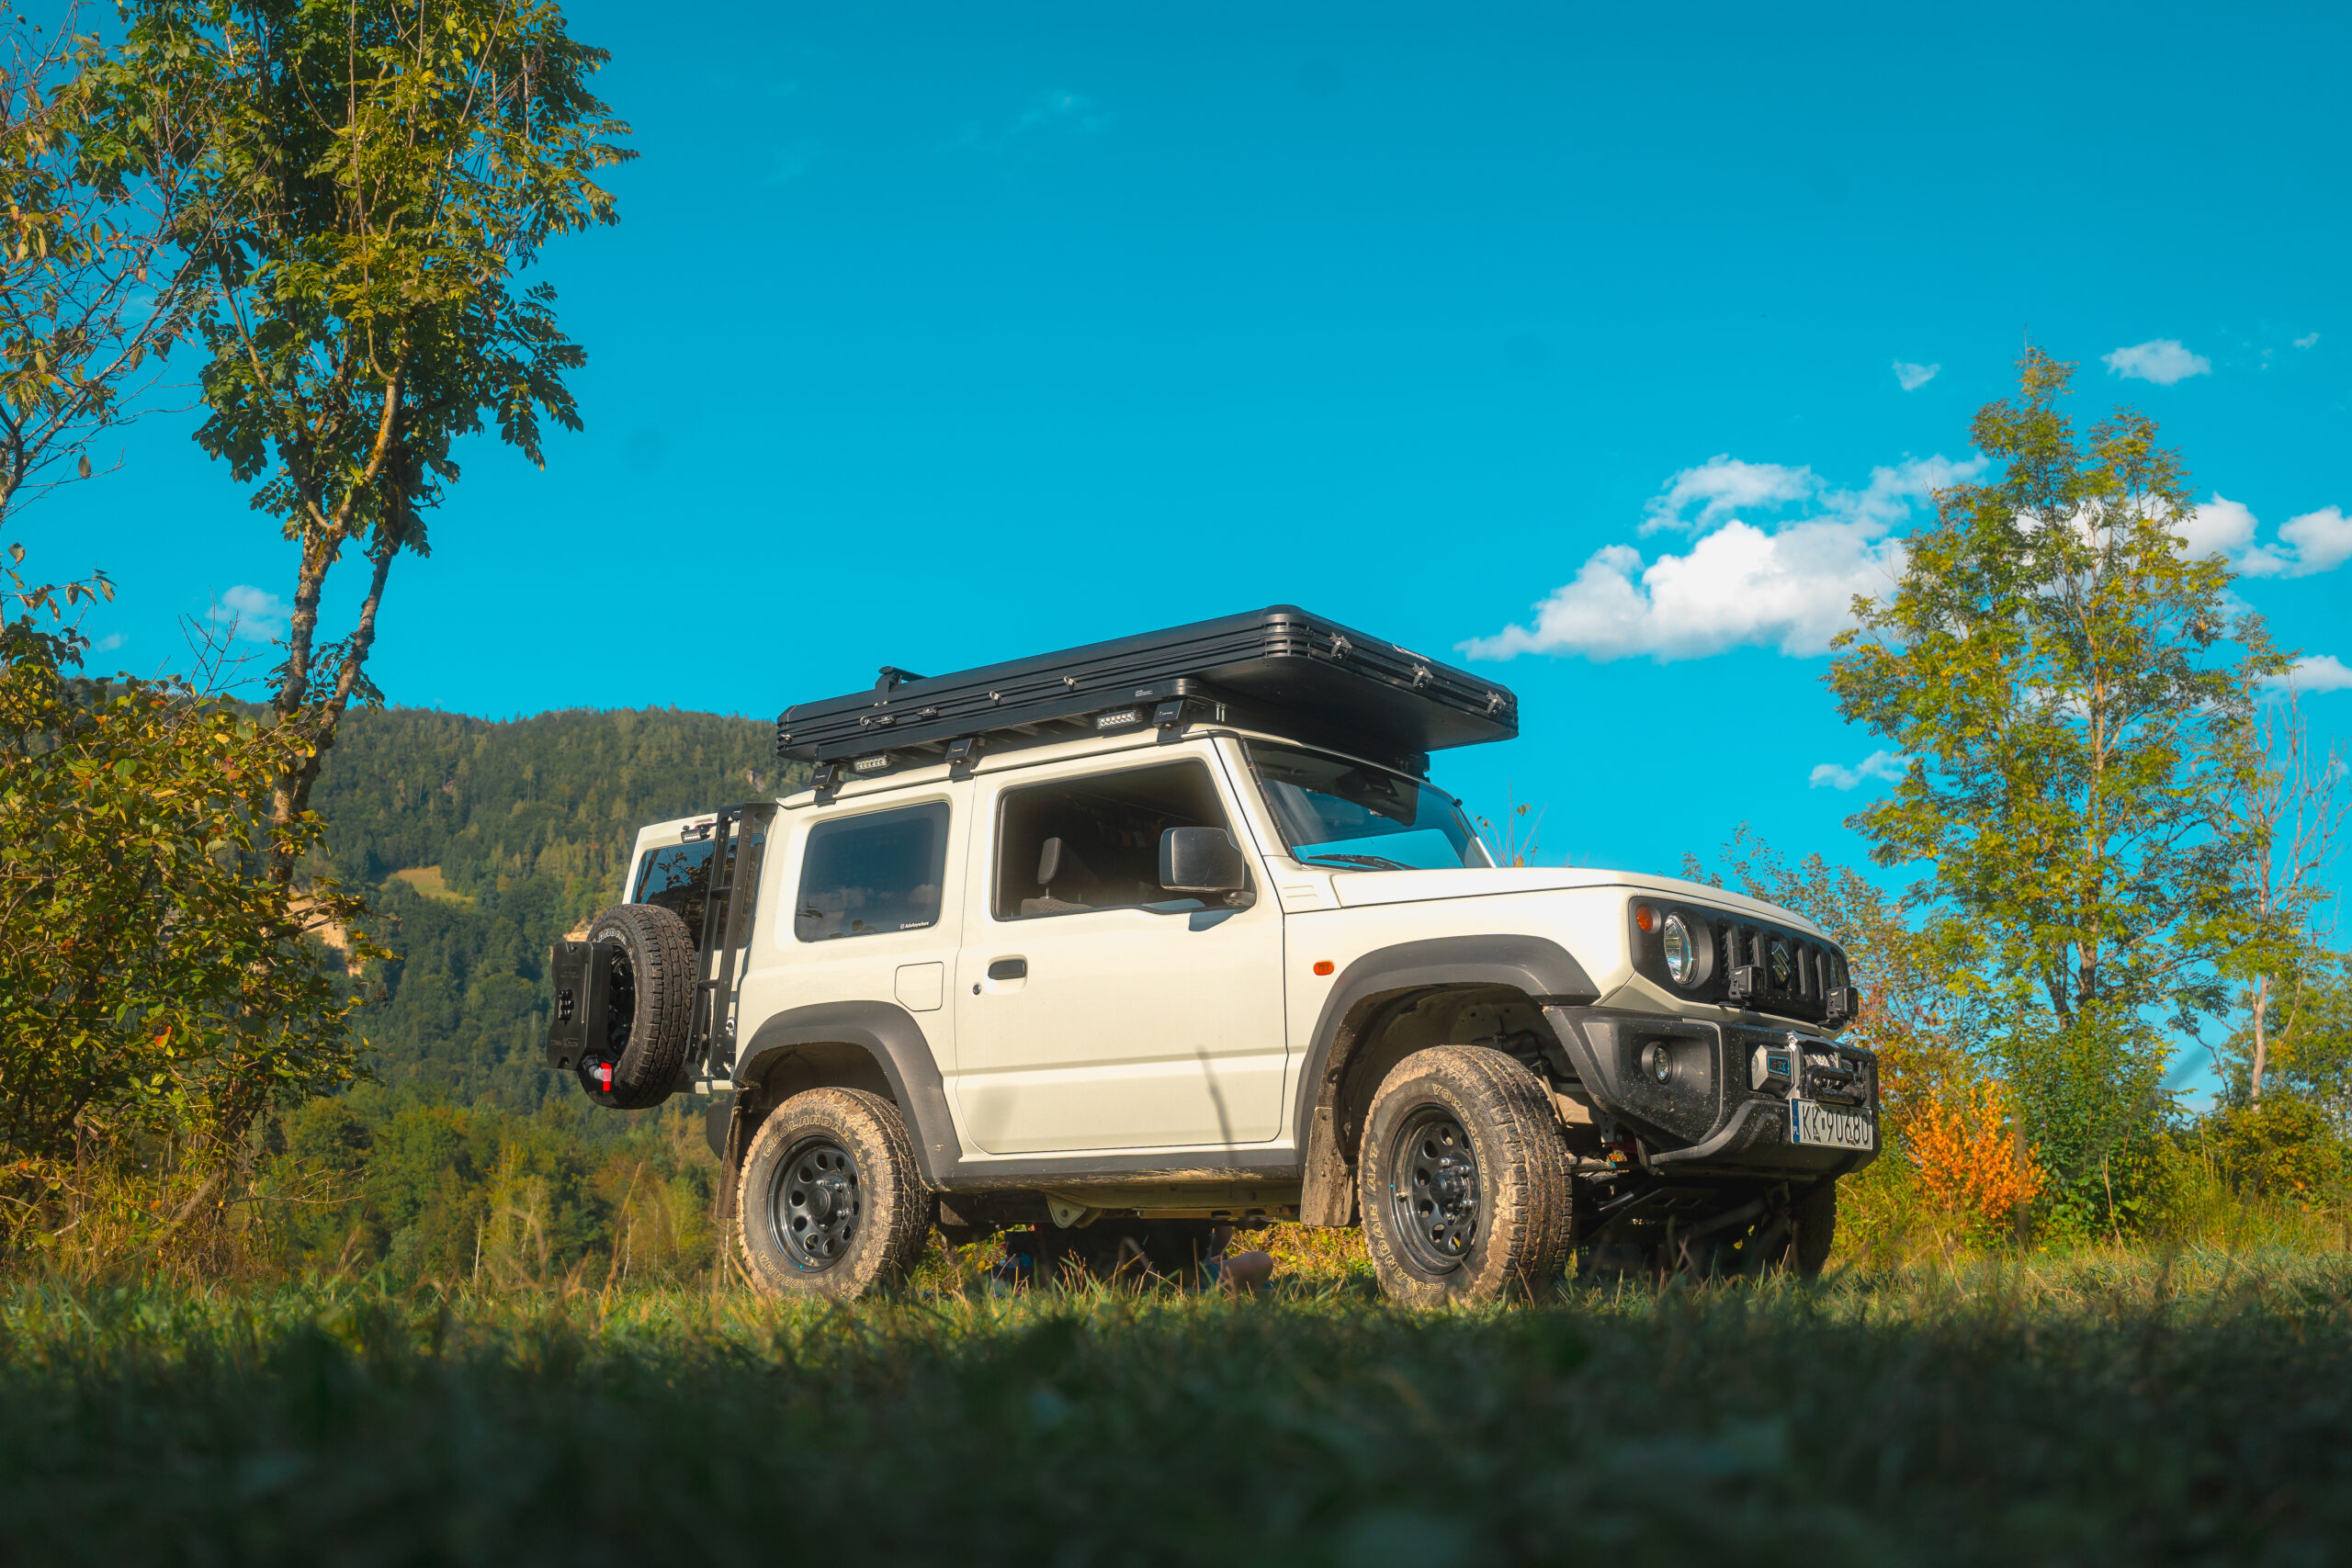
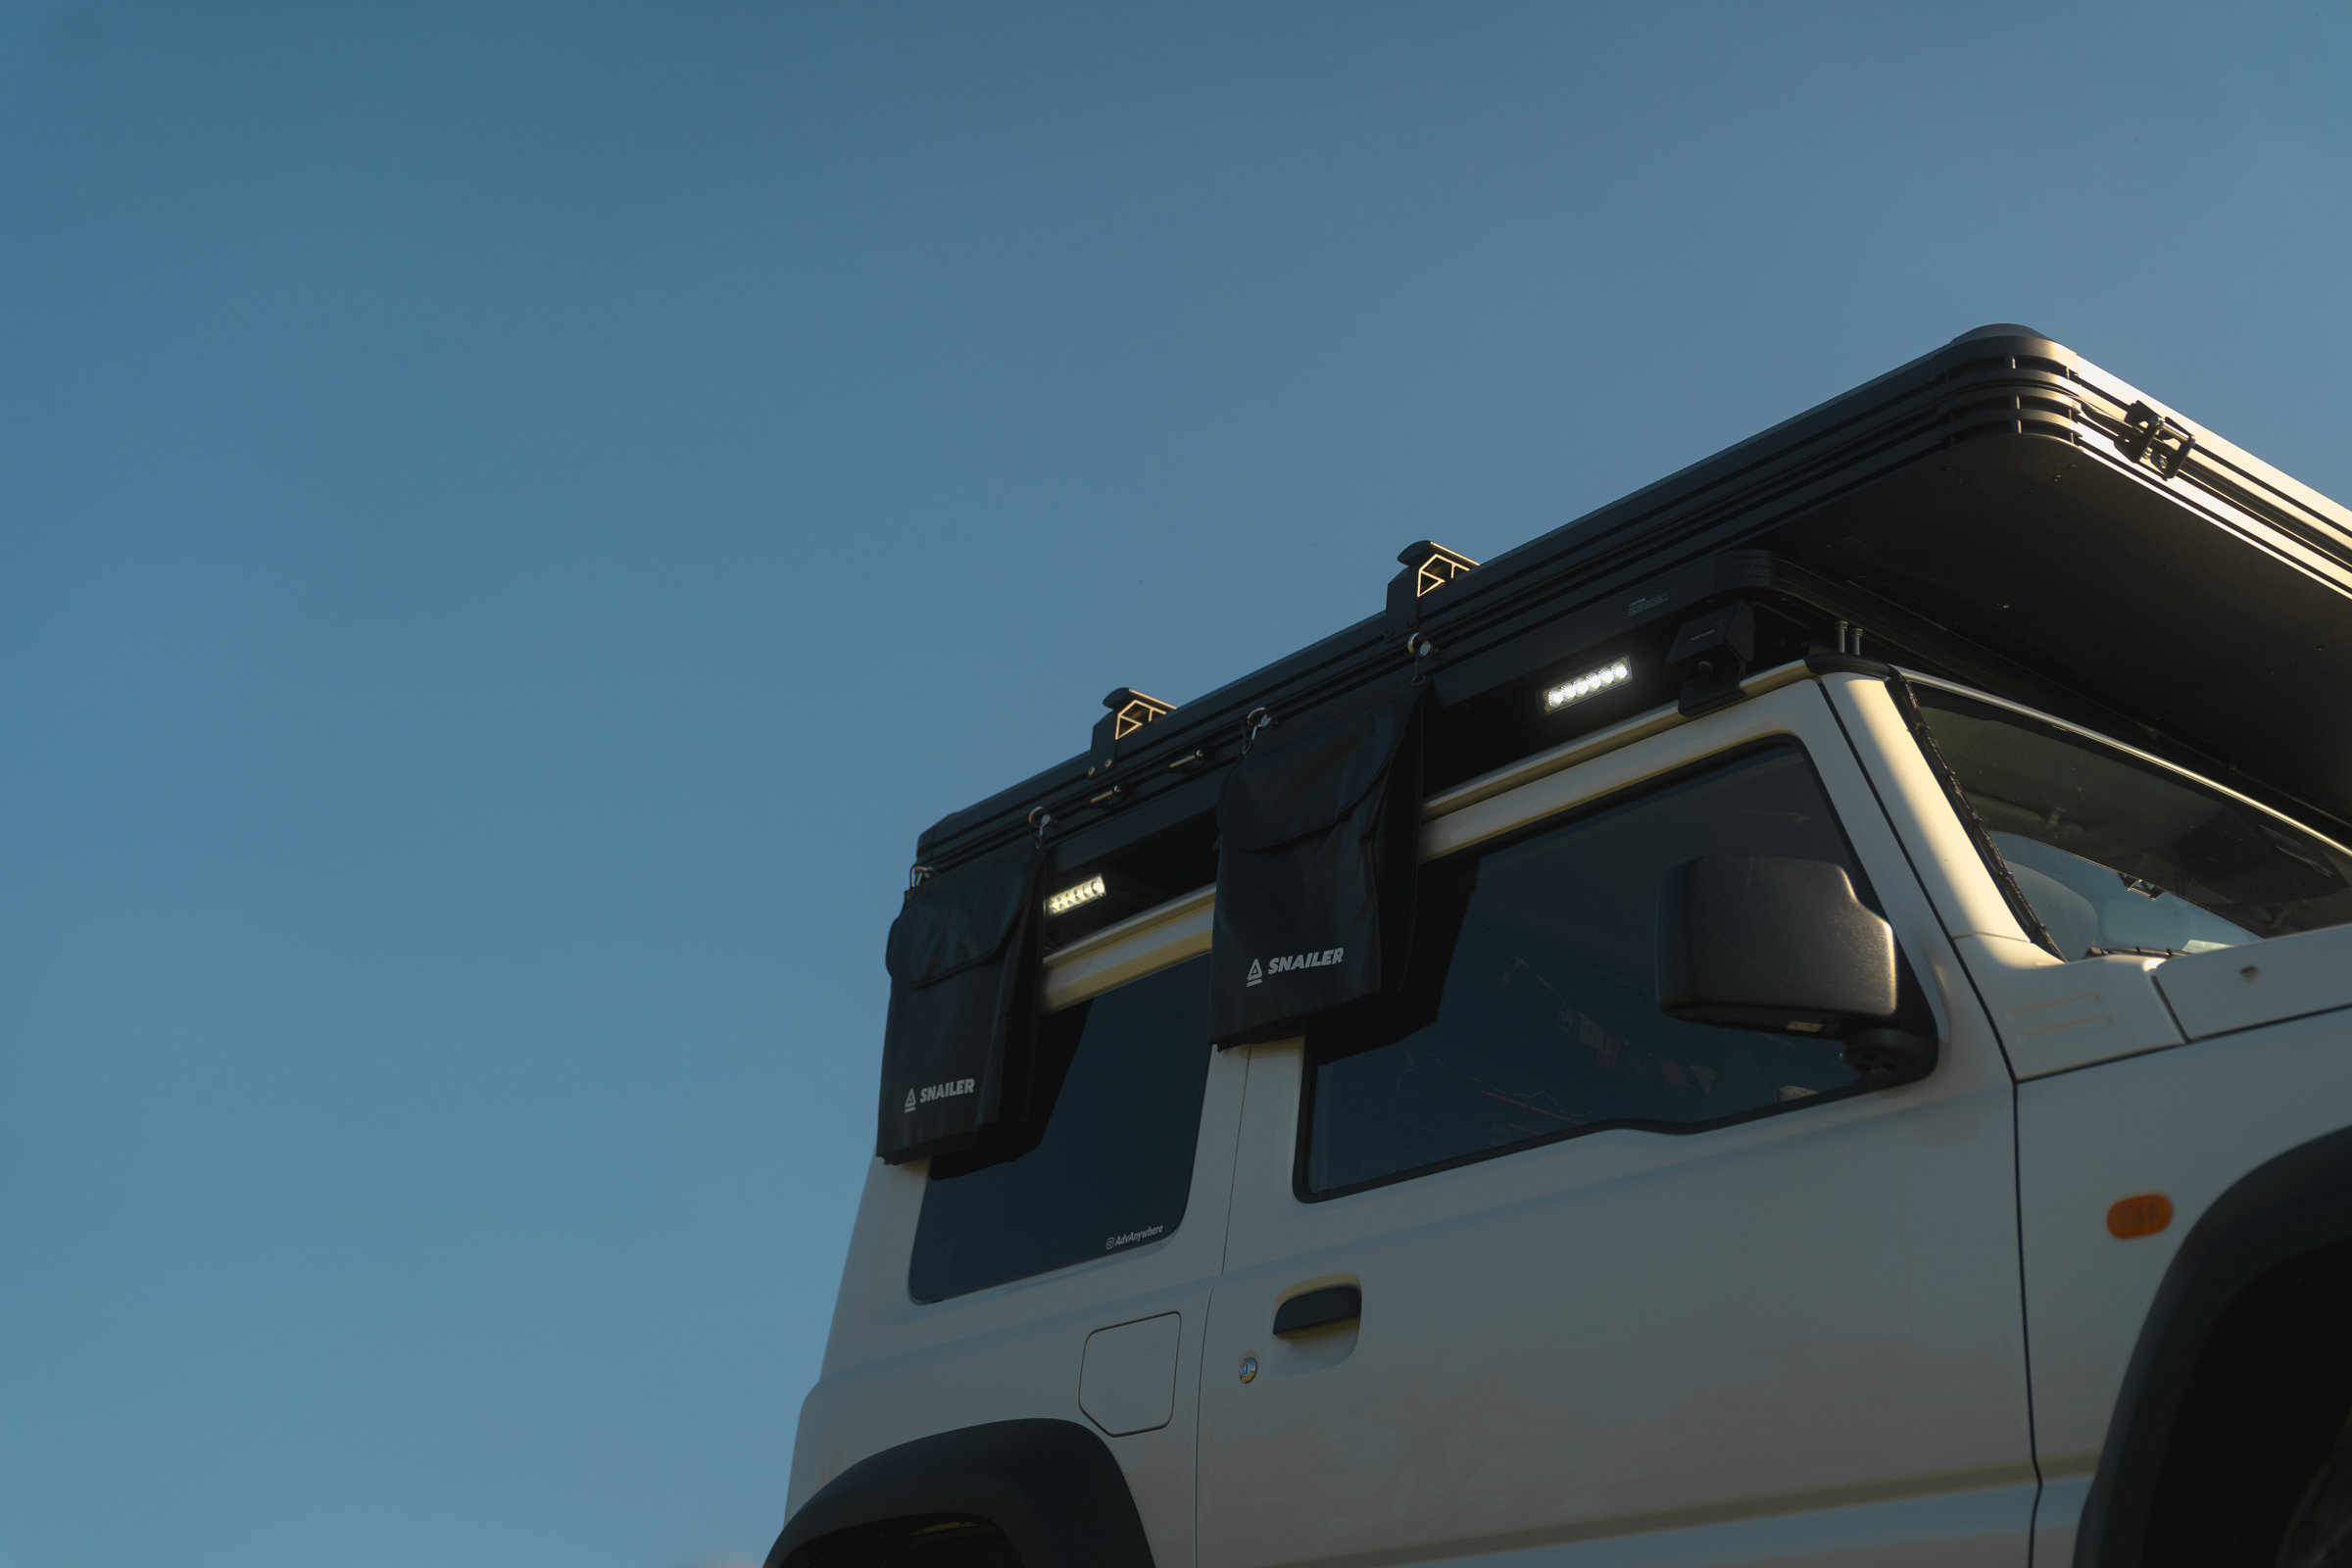
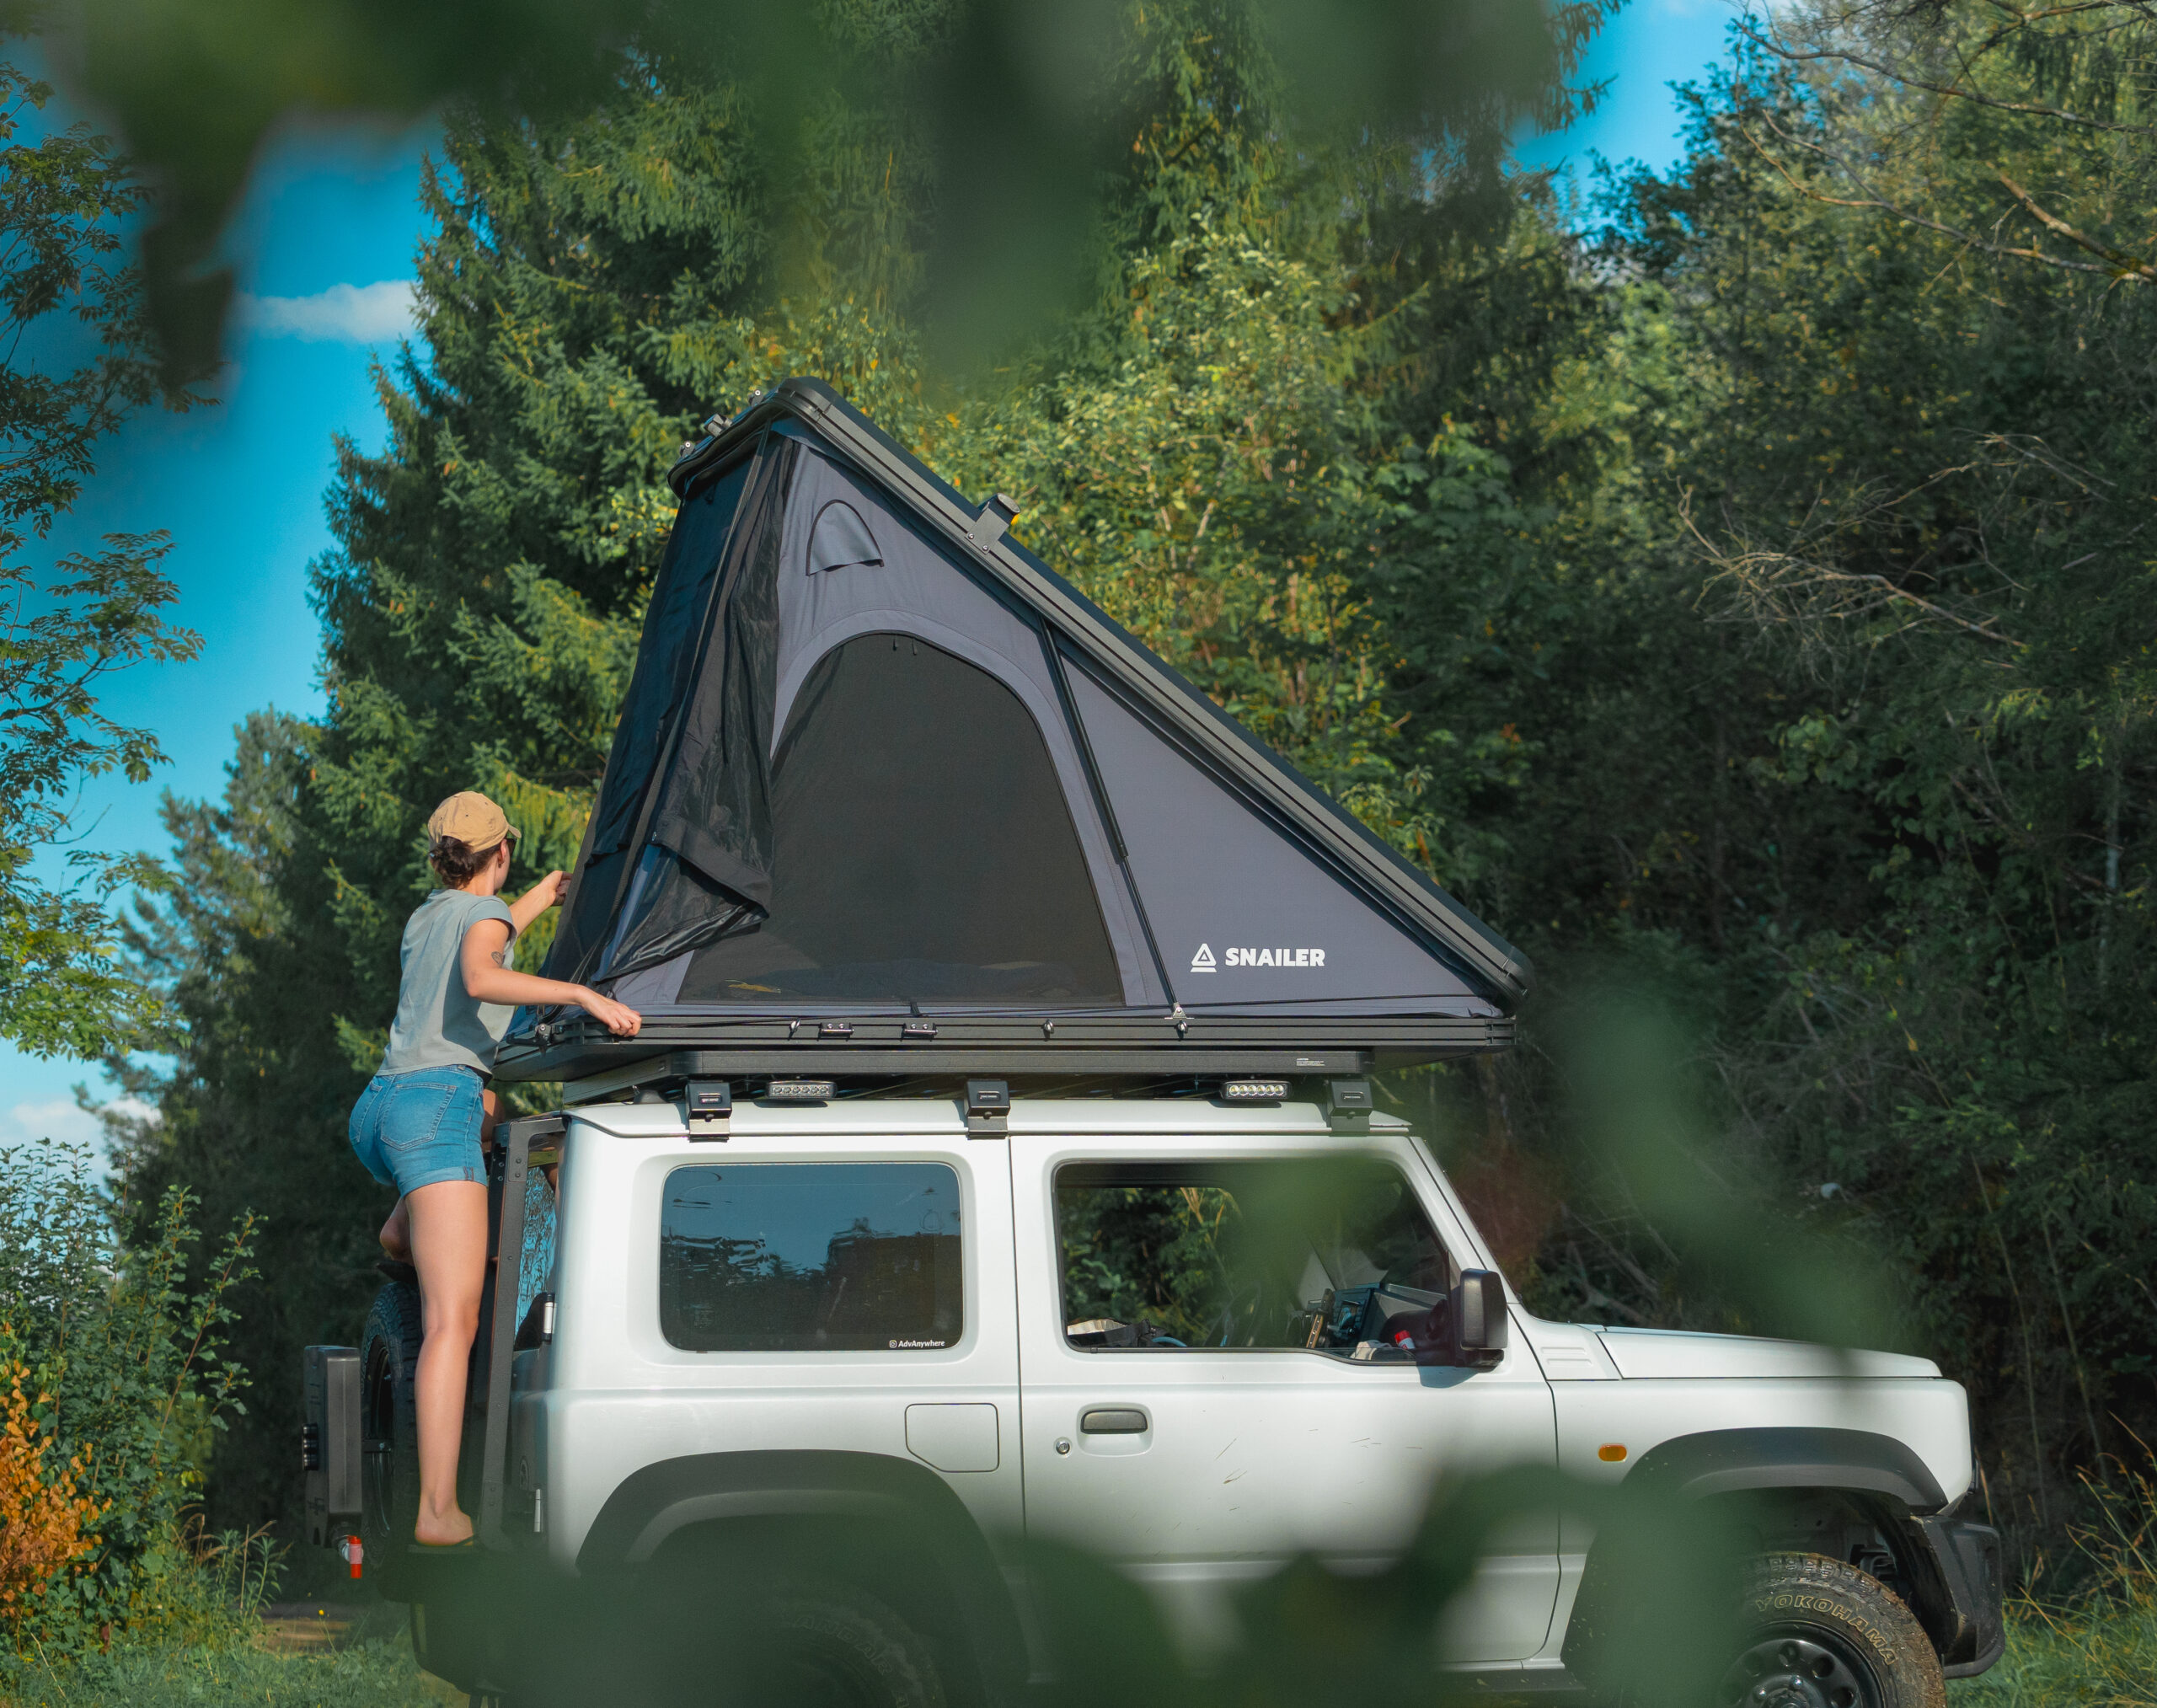
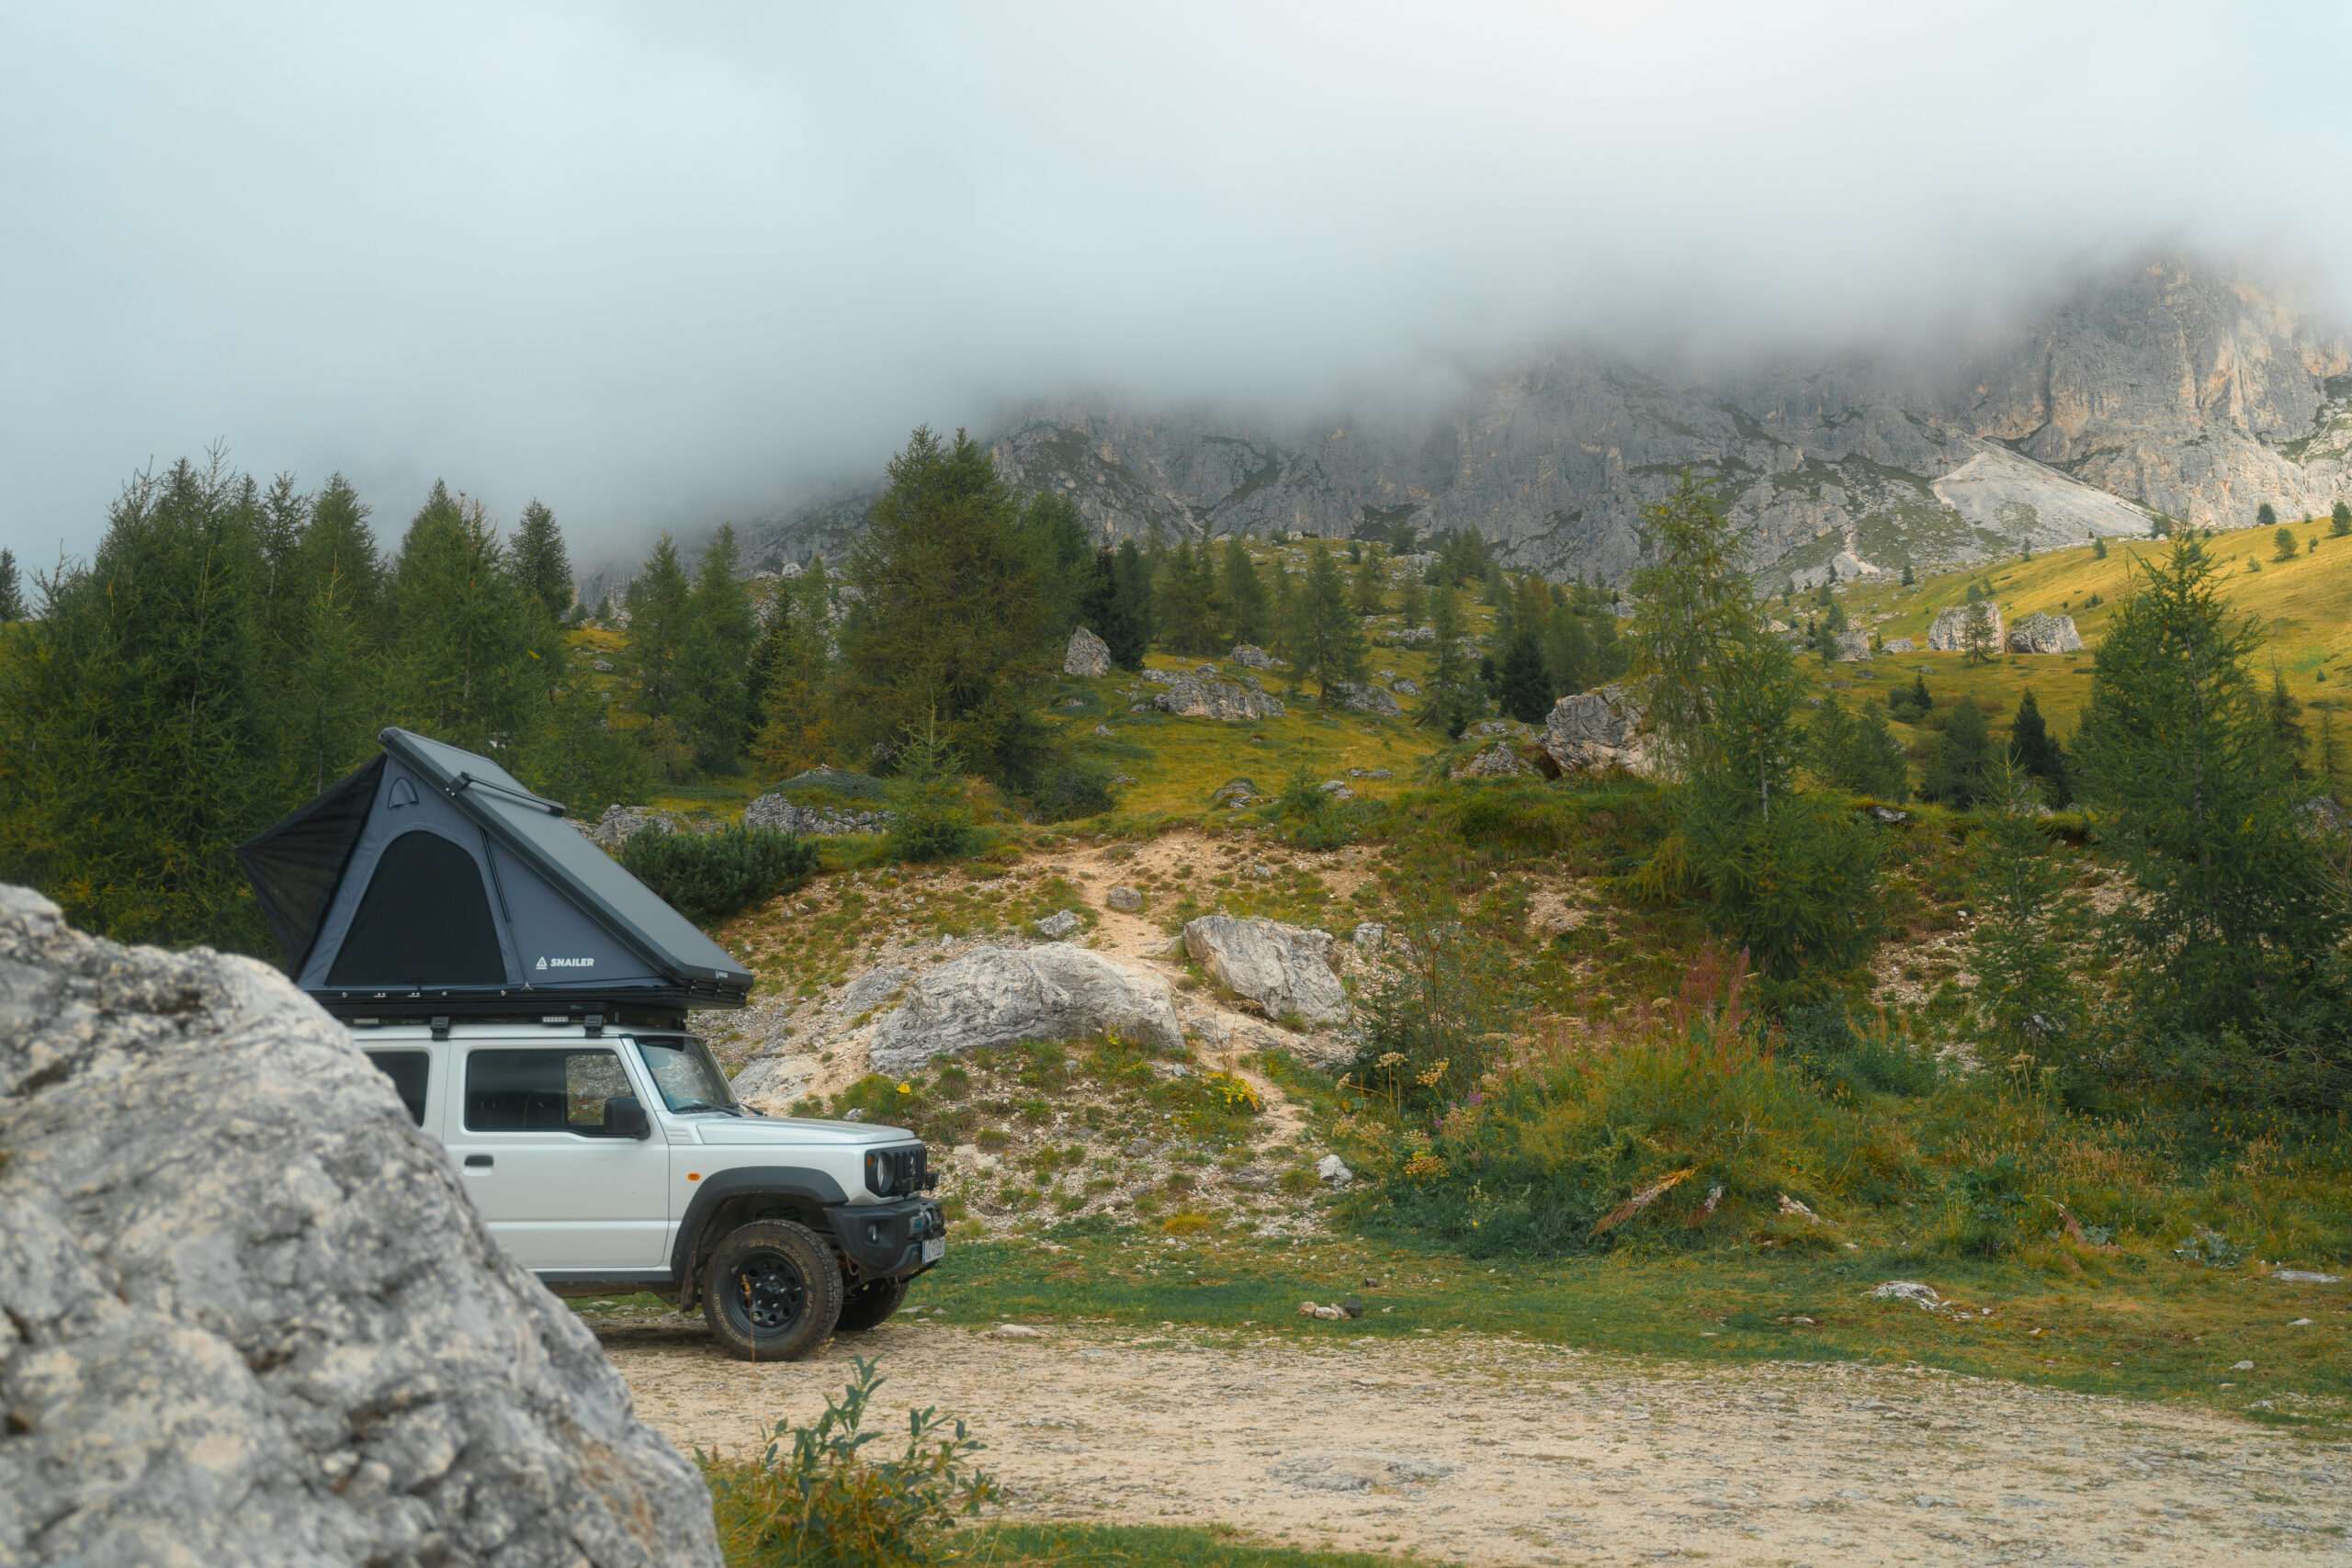
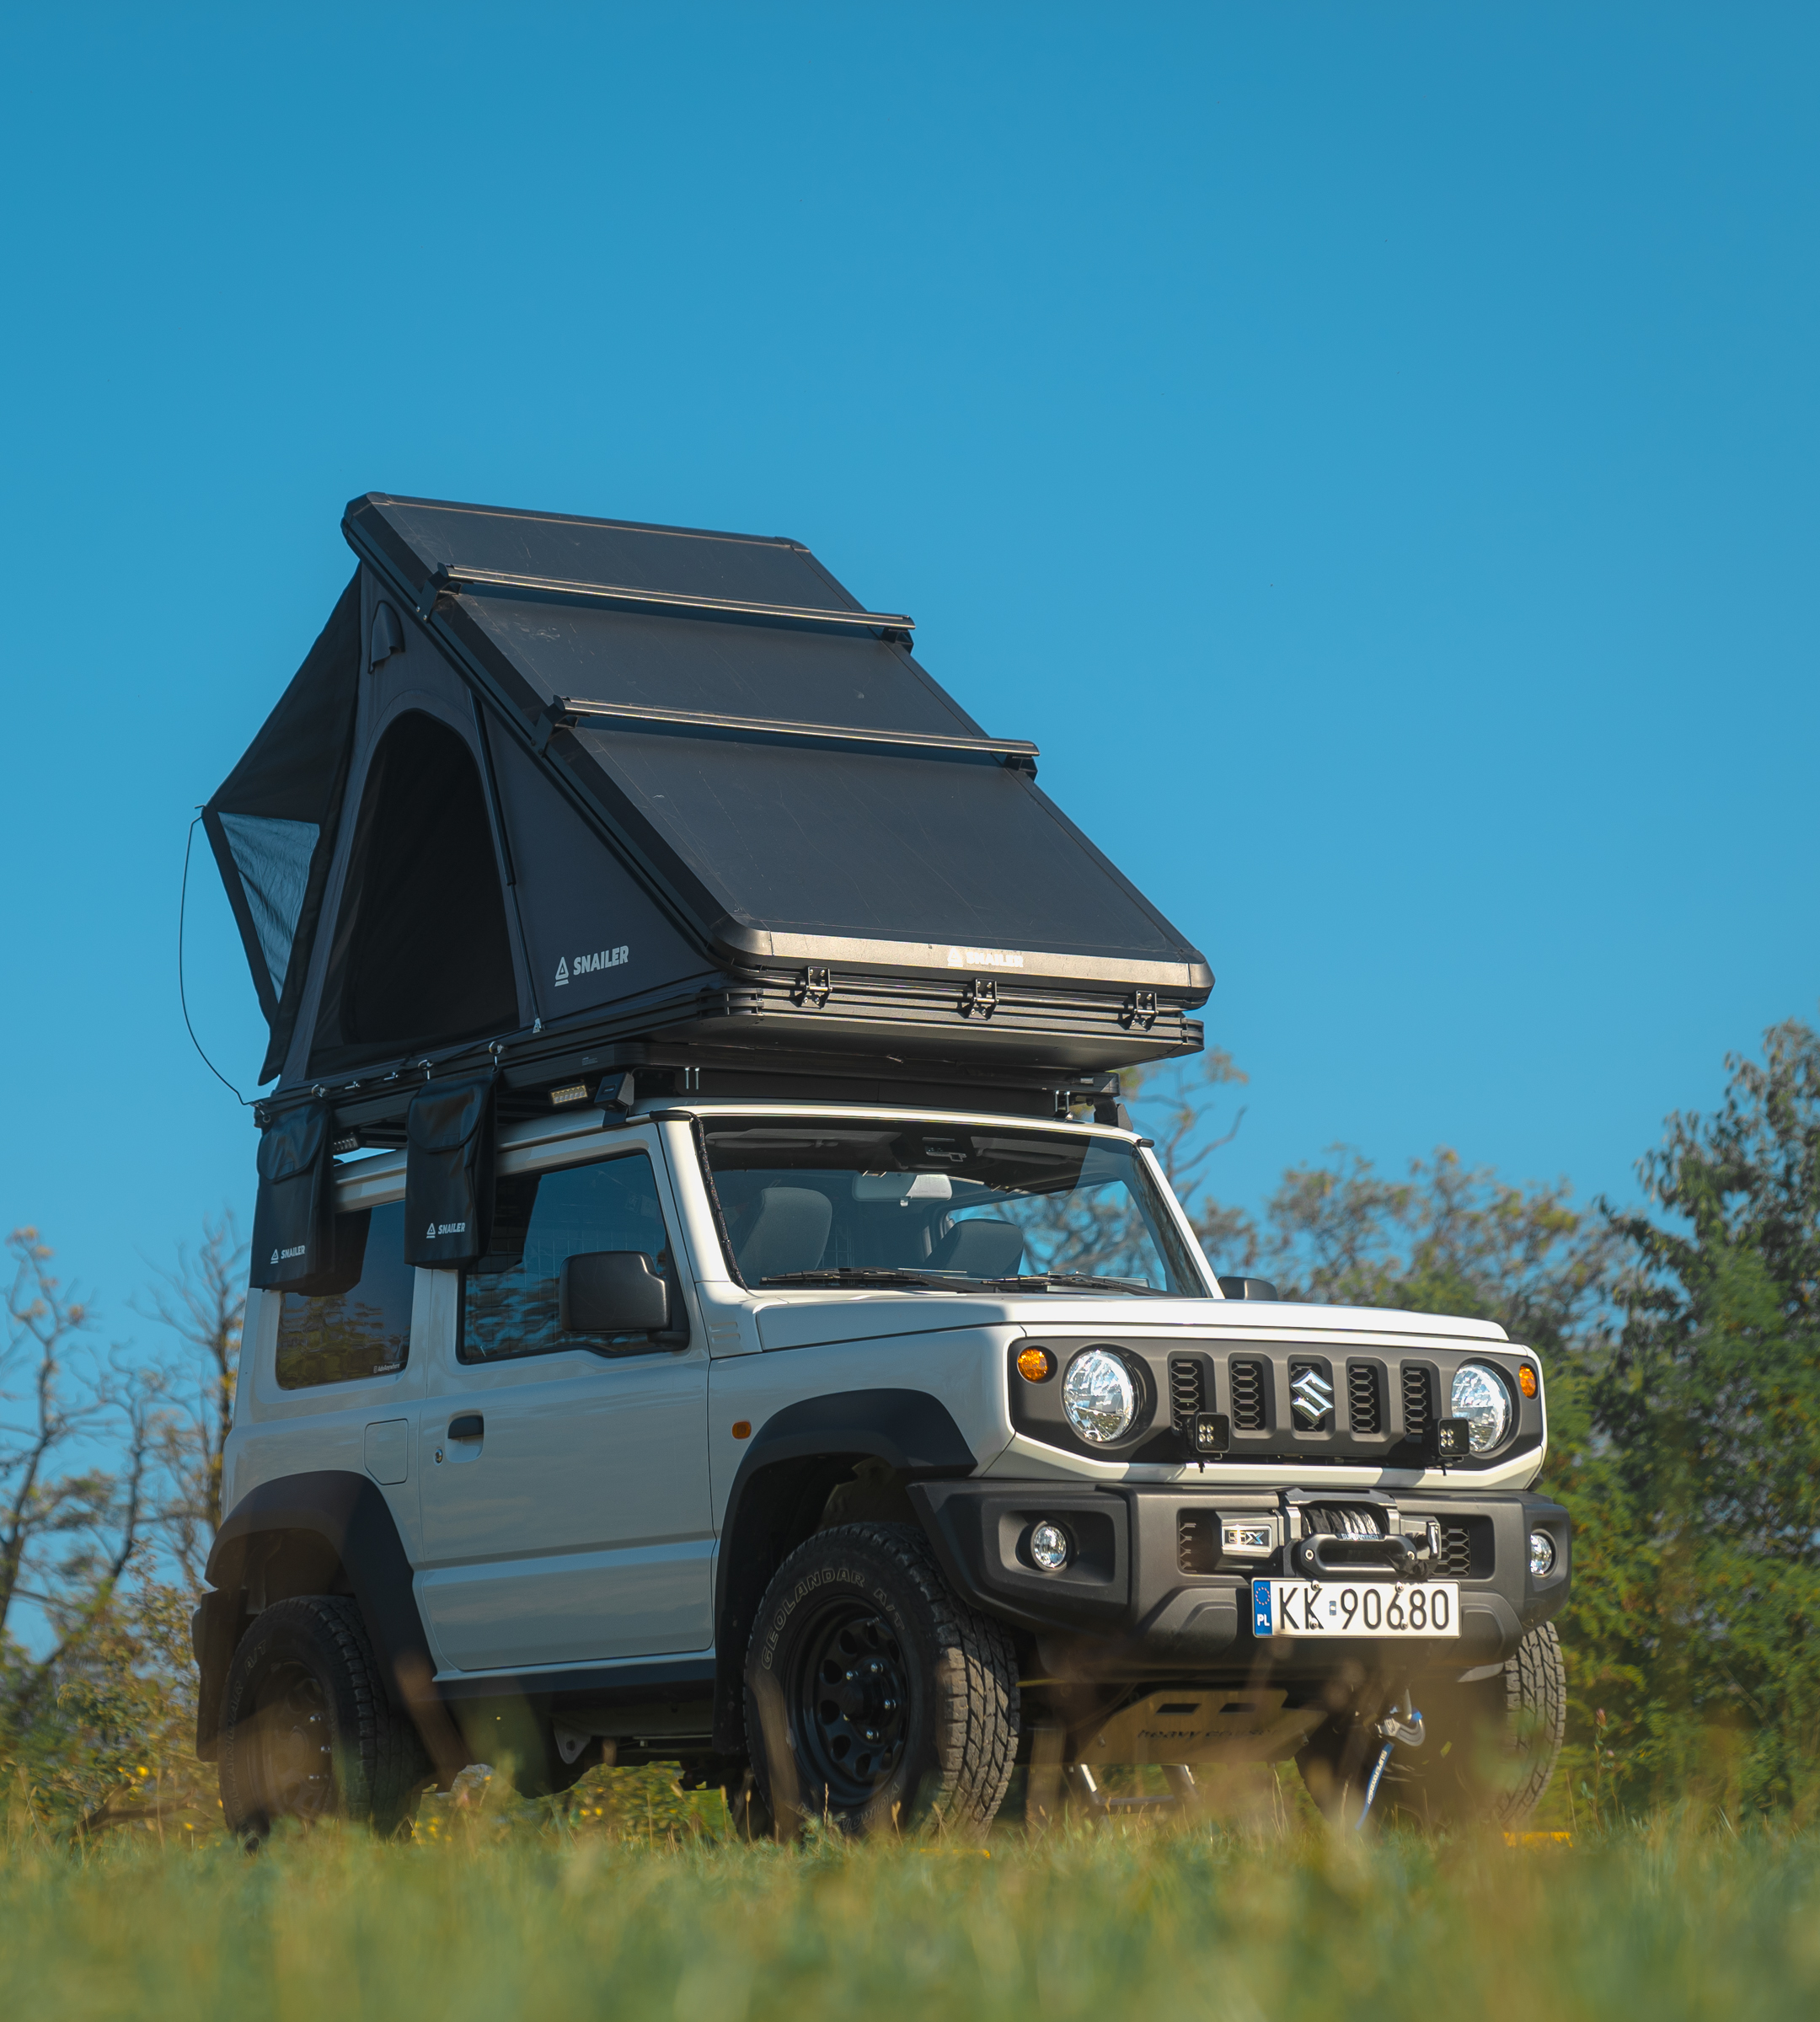
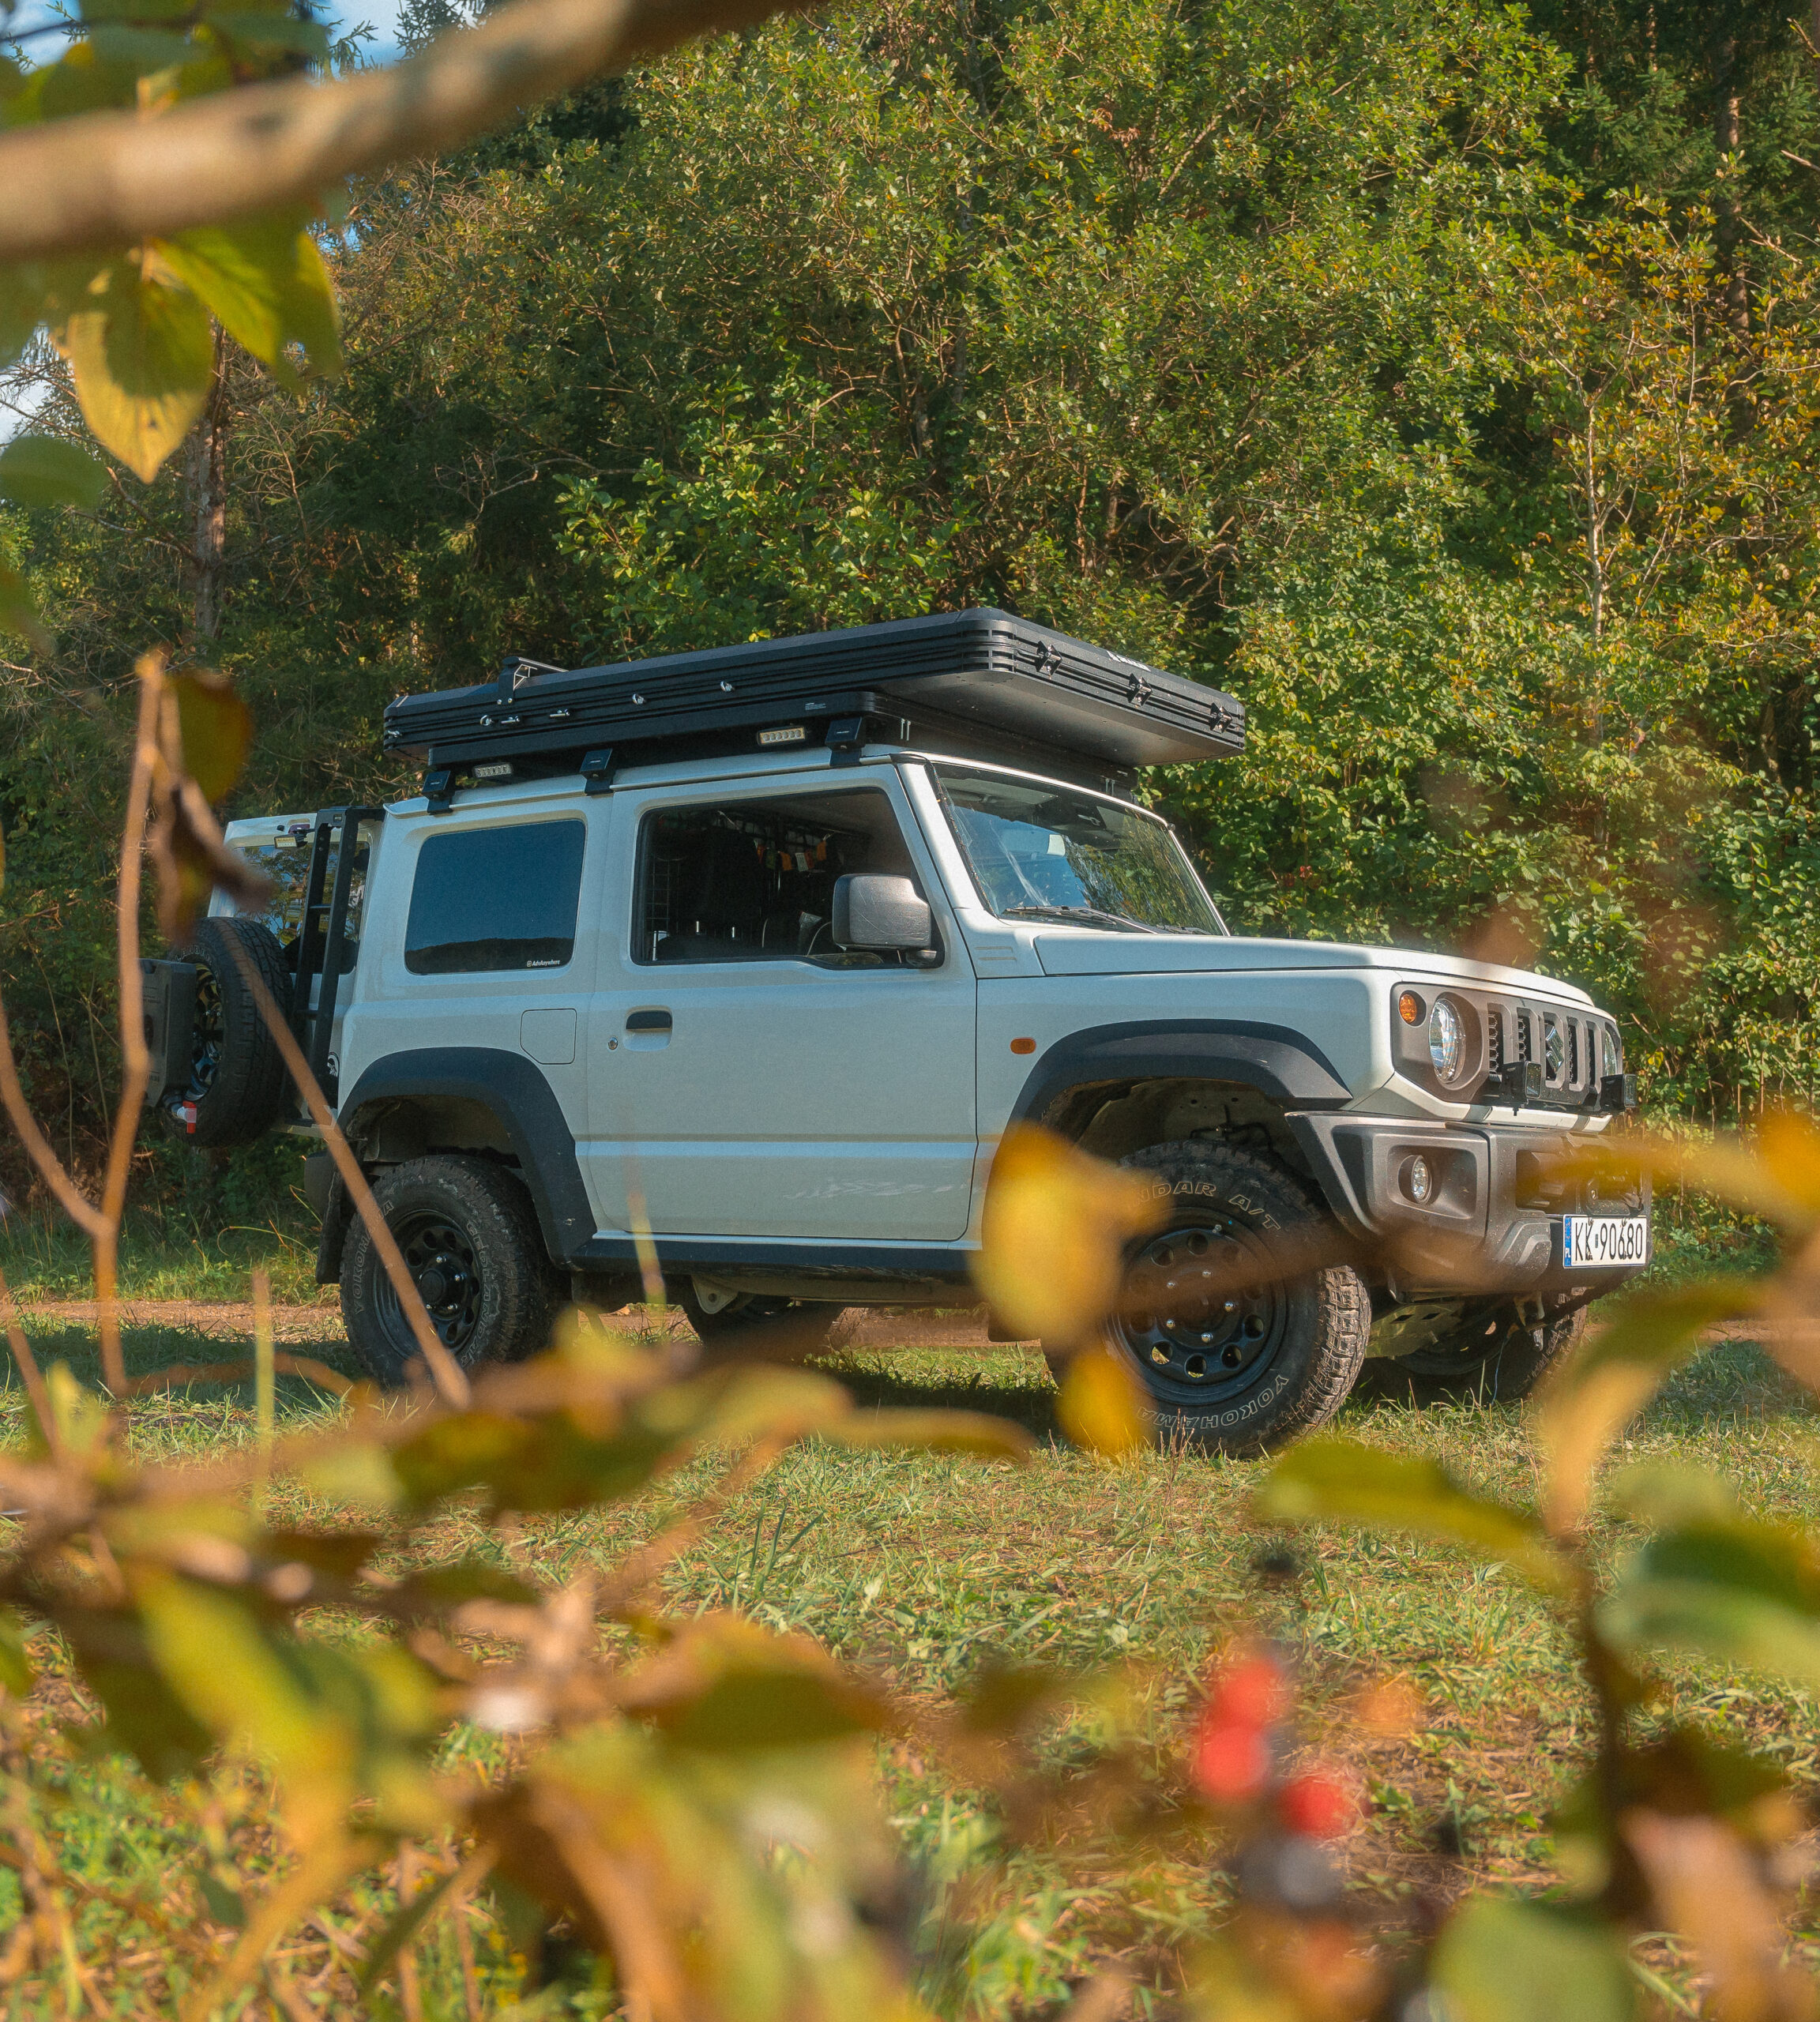
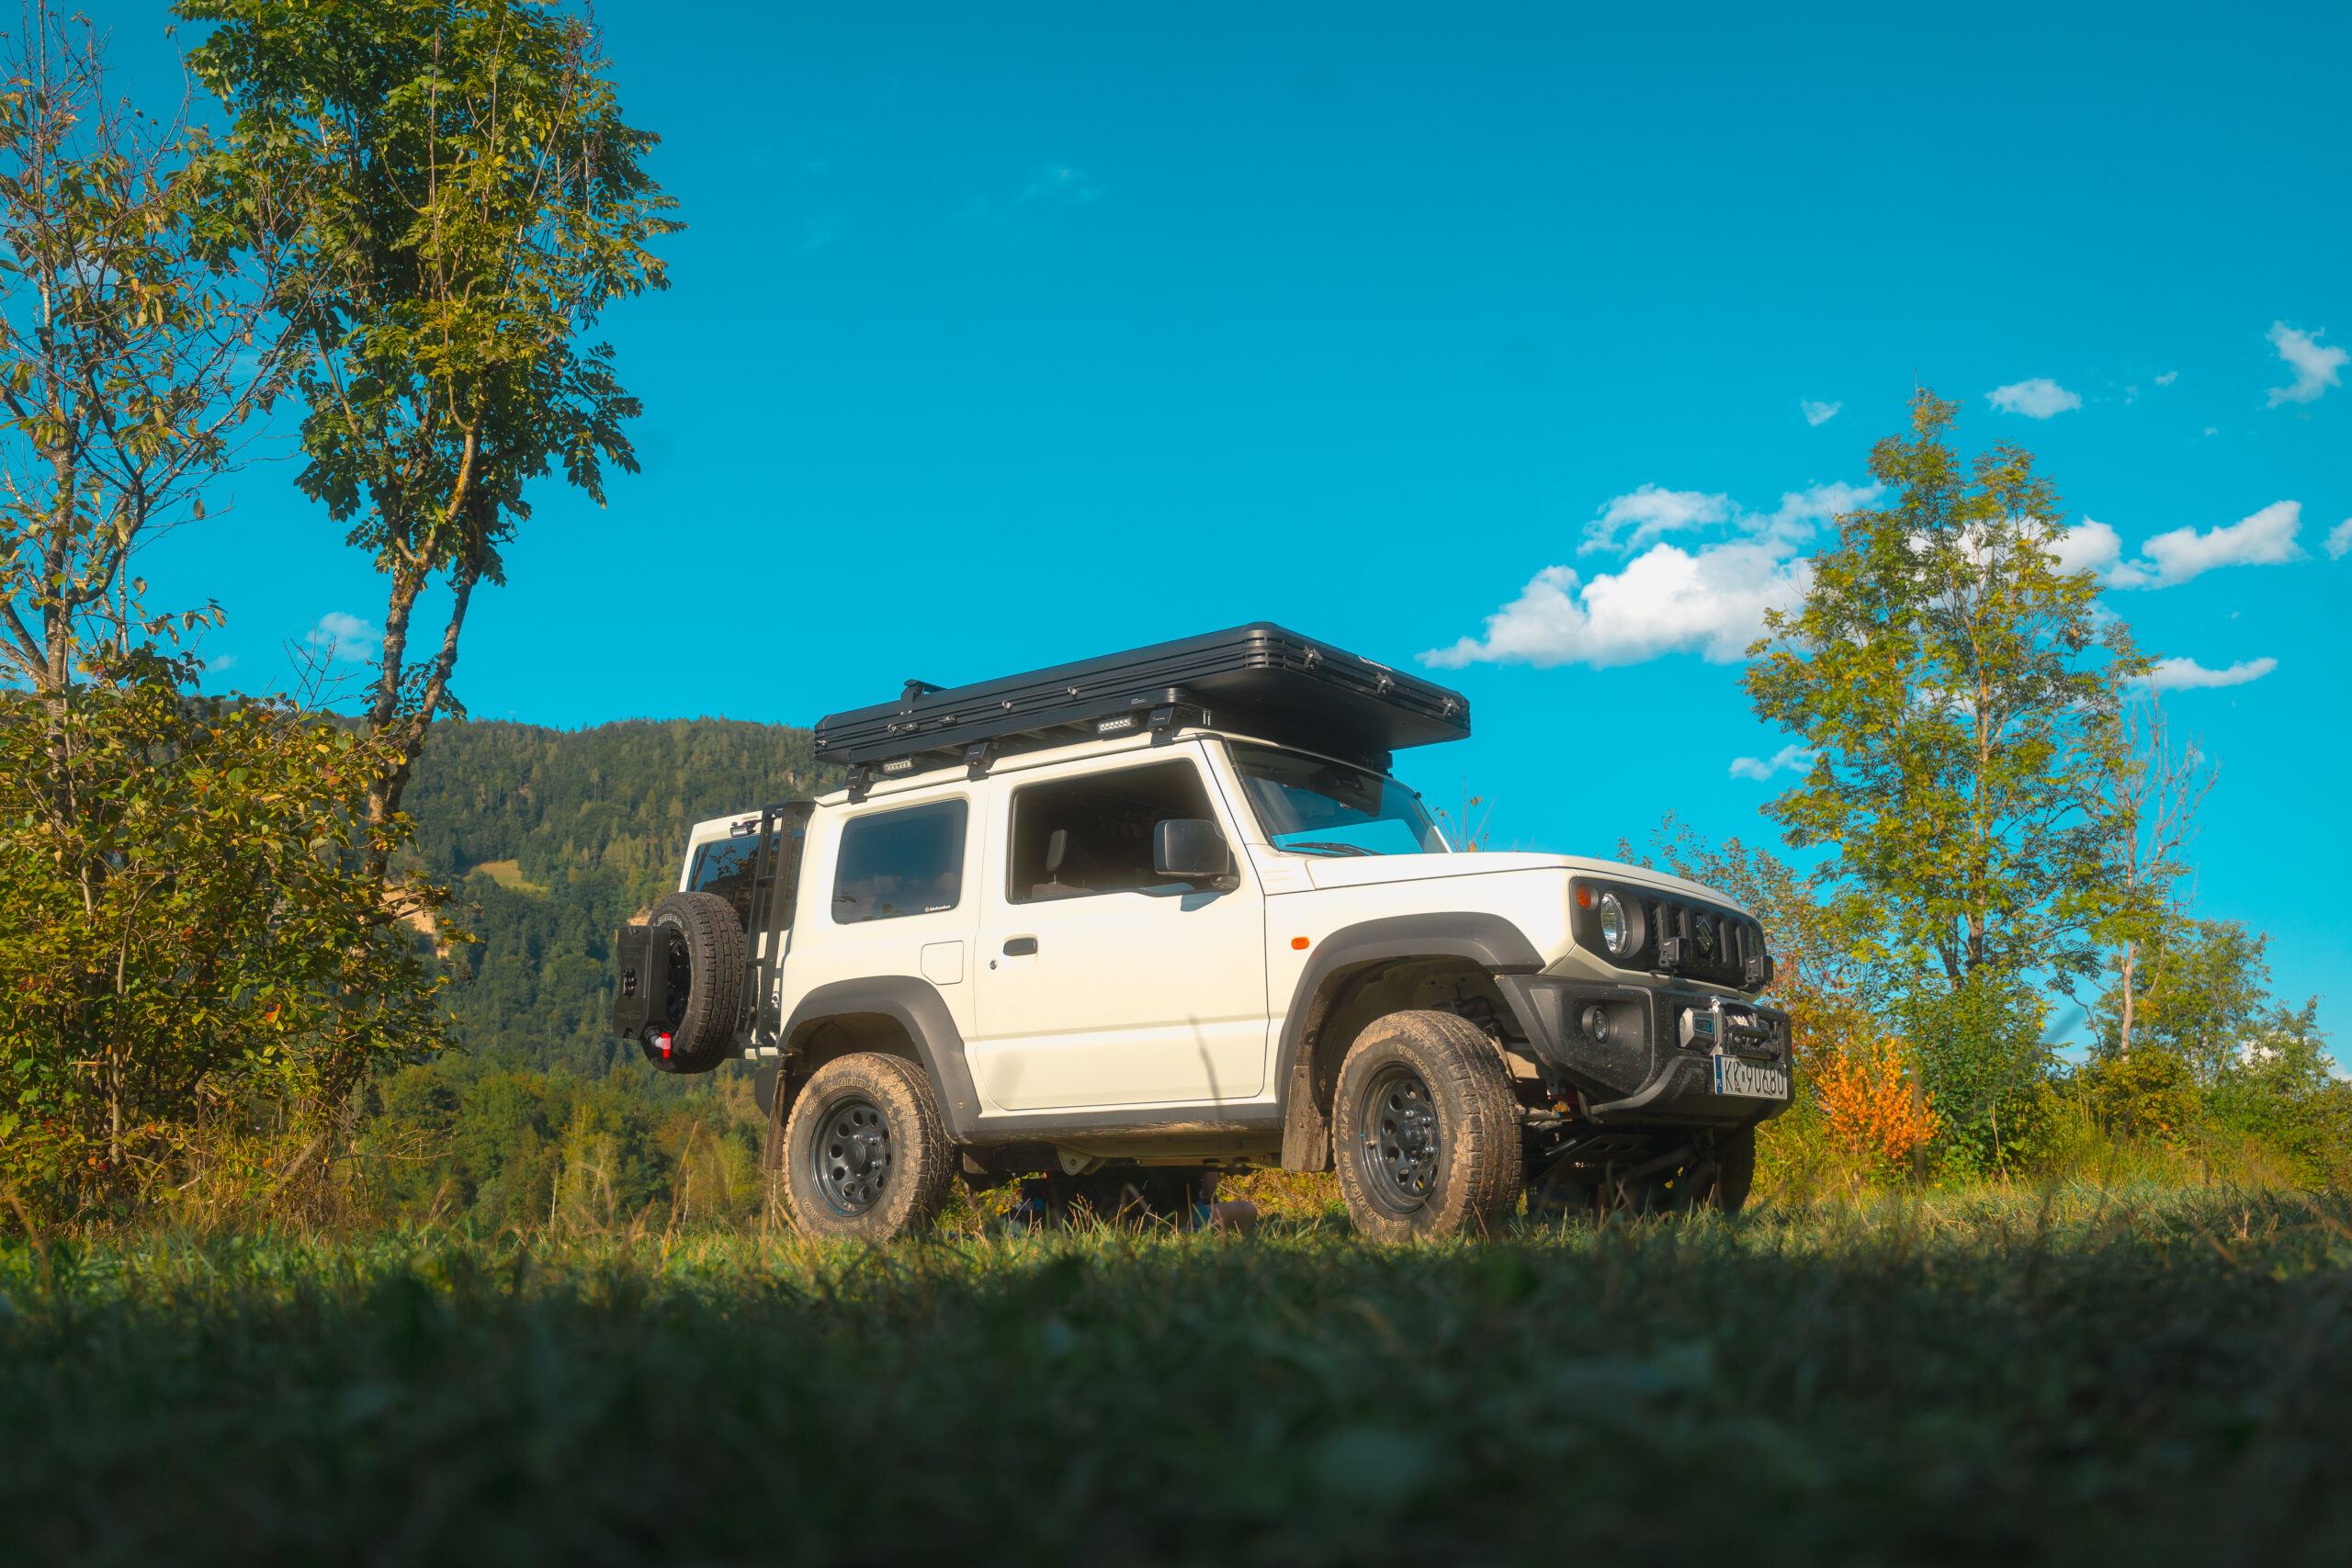
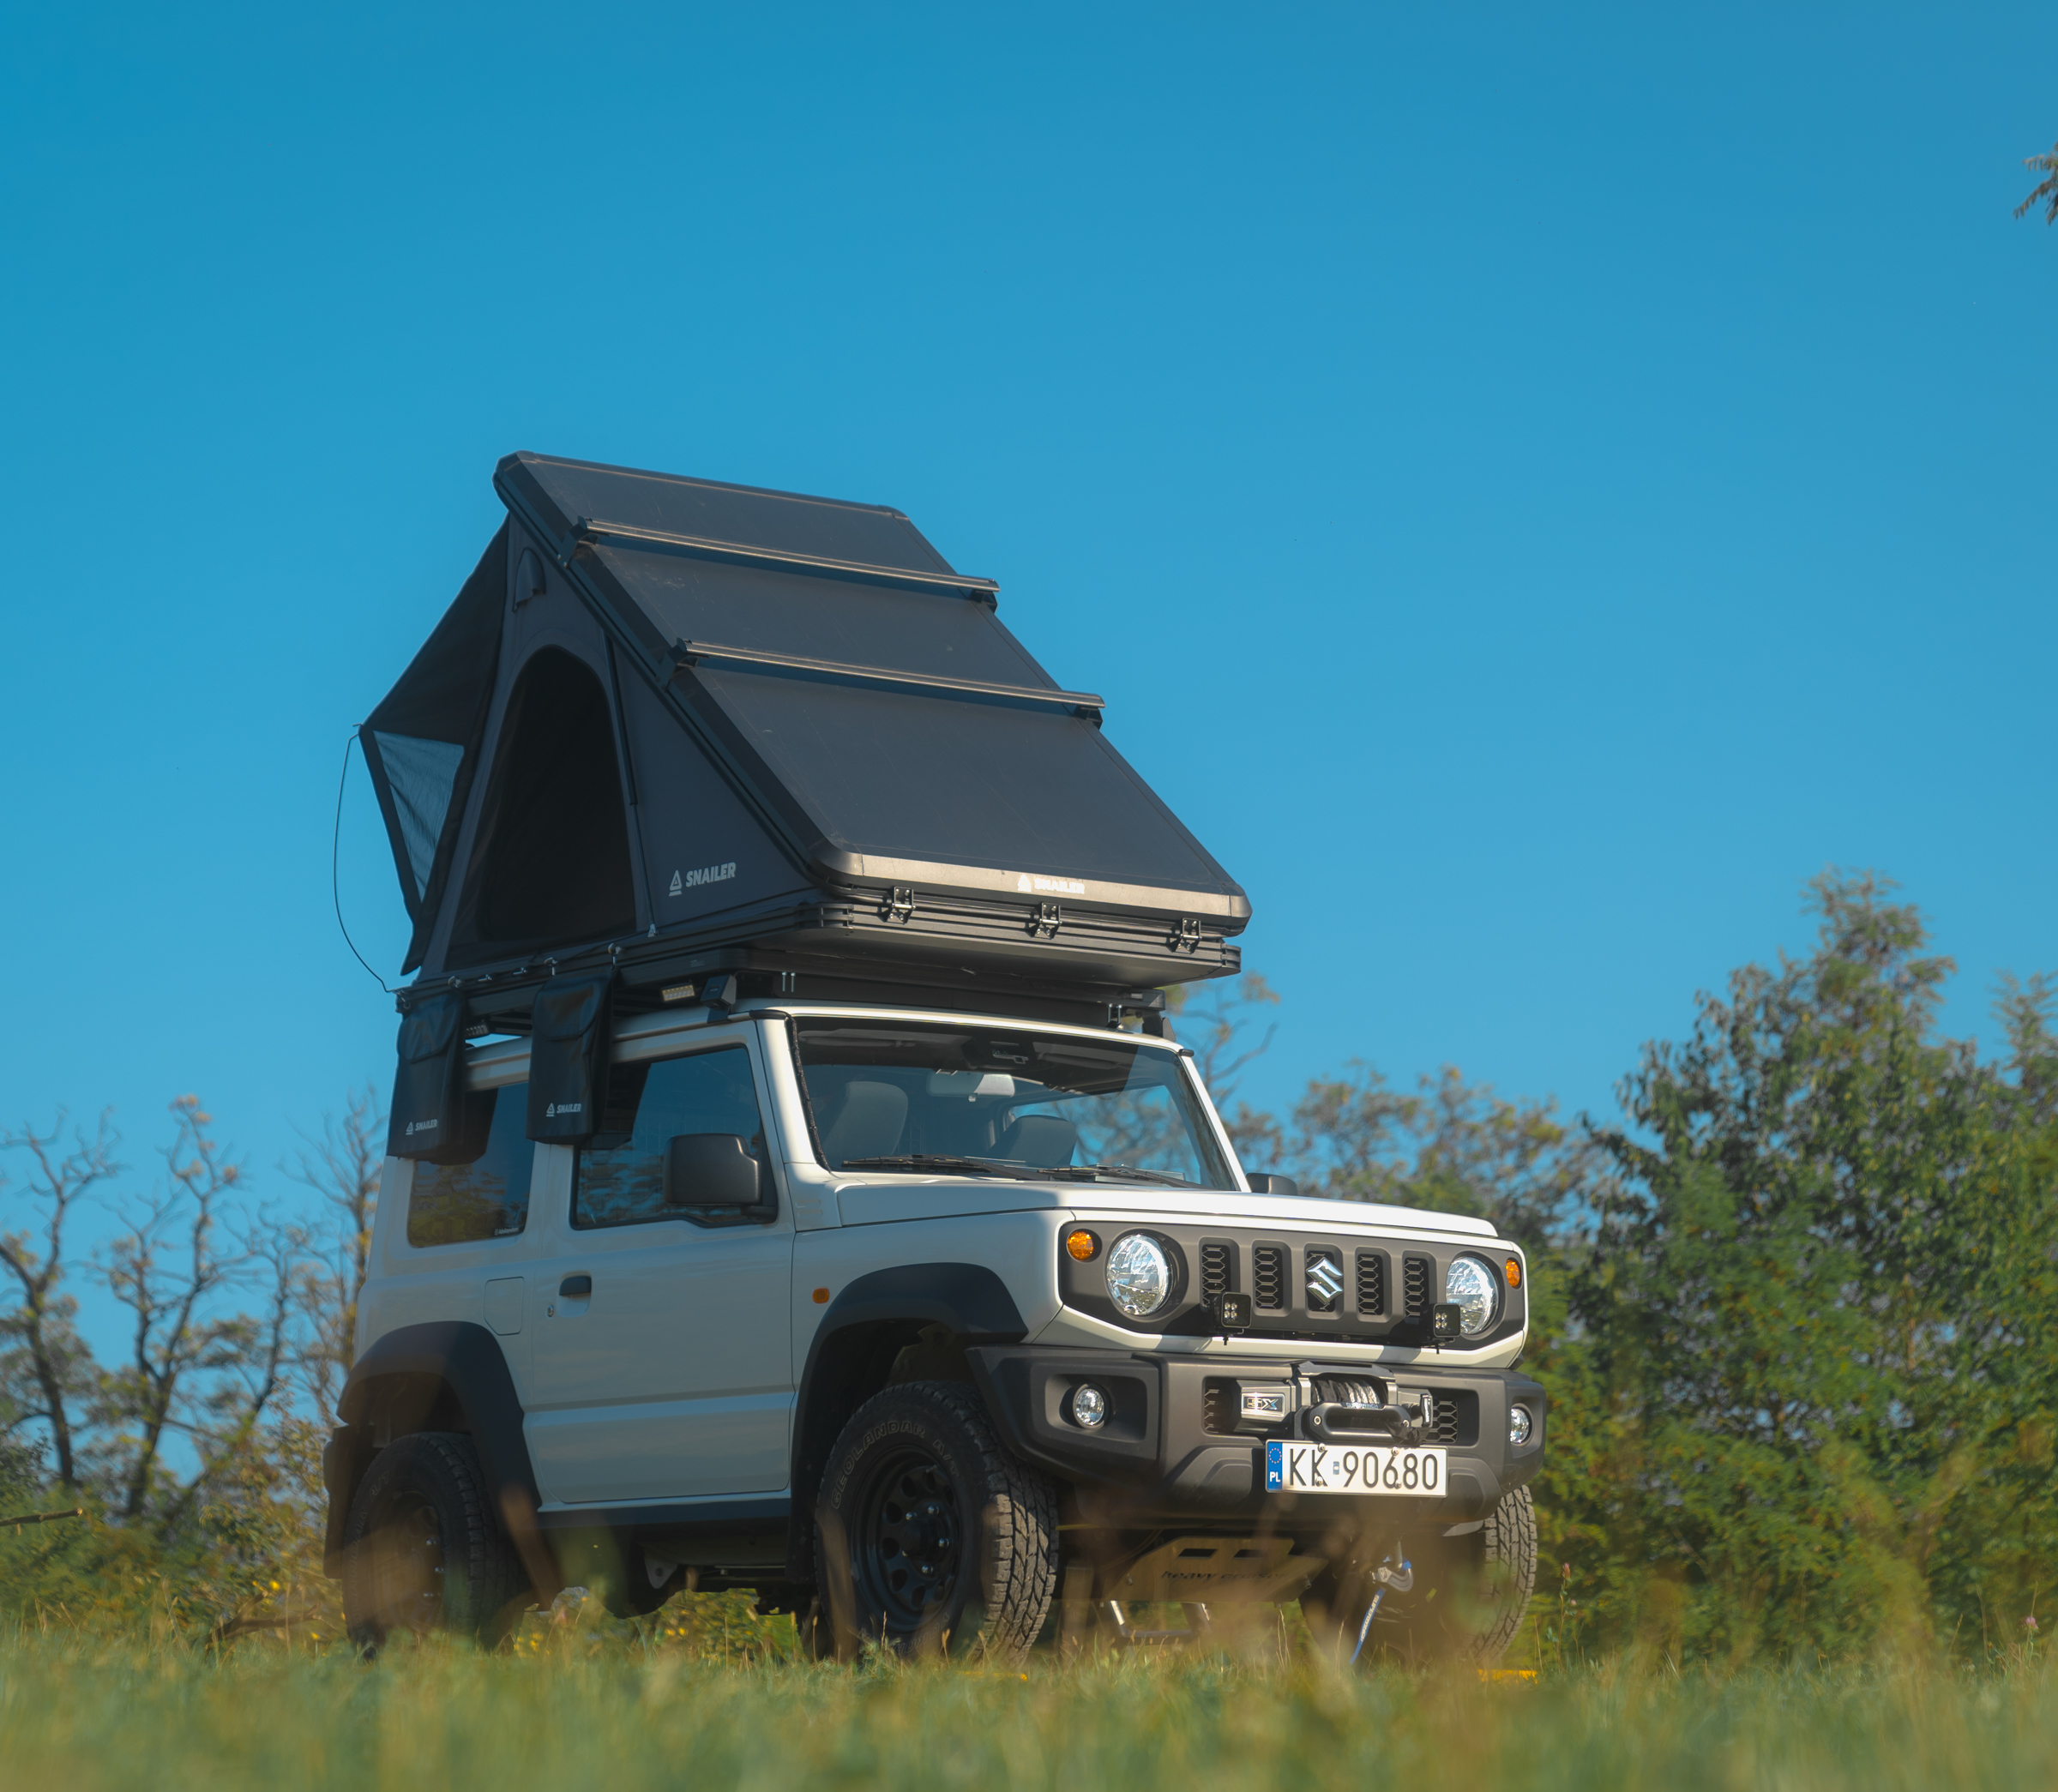
When closed, the SNAILER Alduo tent measures just 17.5 cm in height!
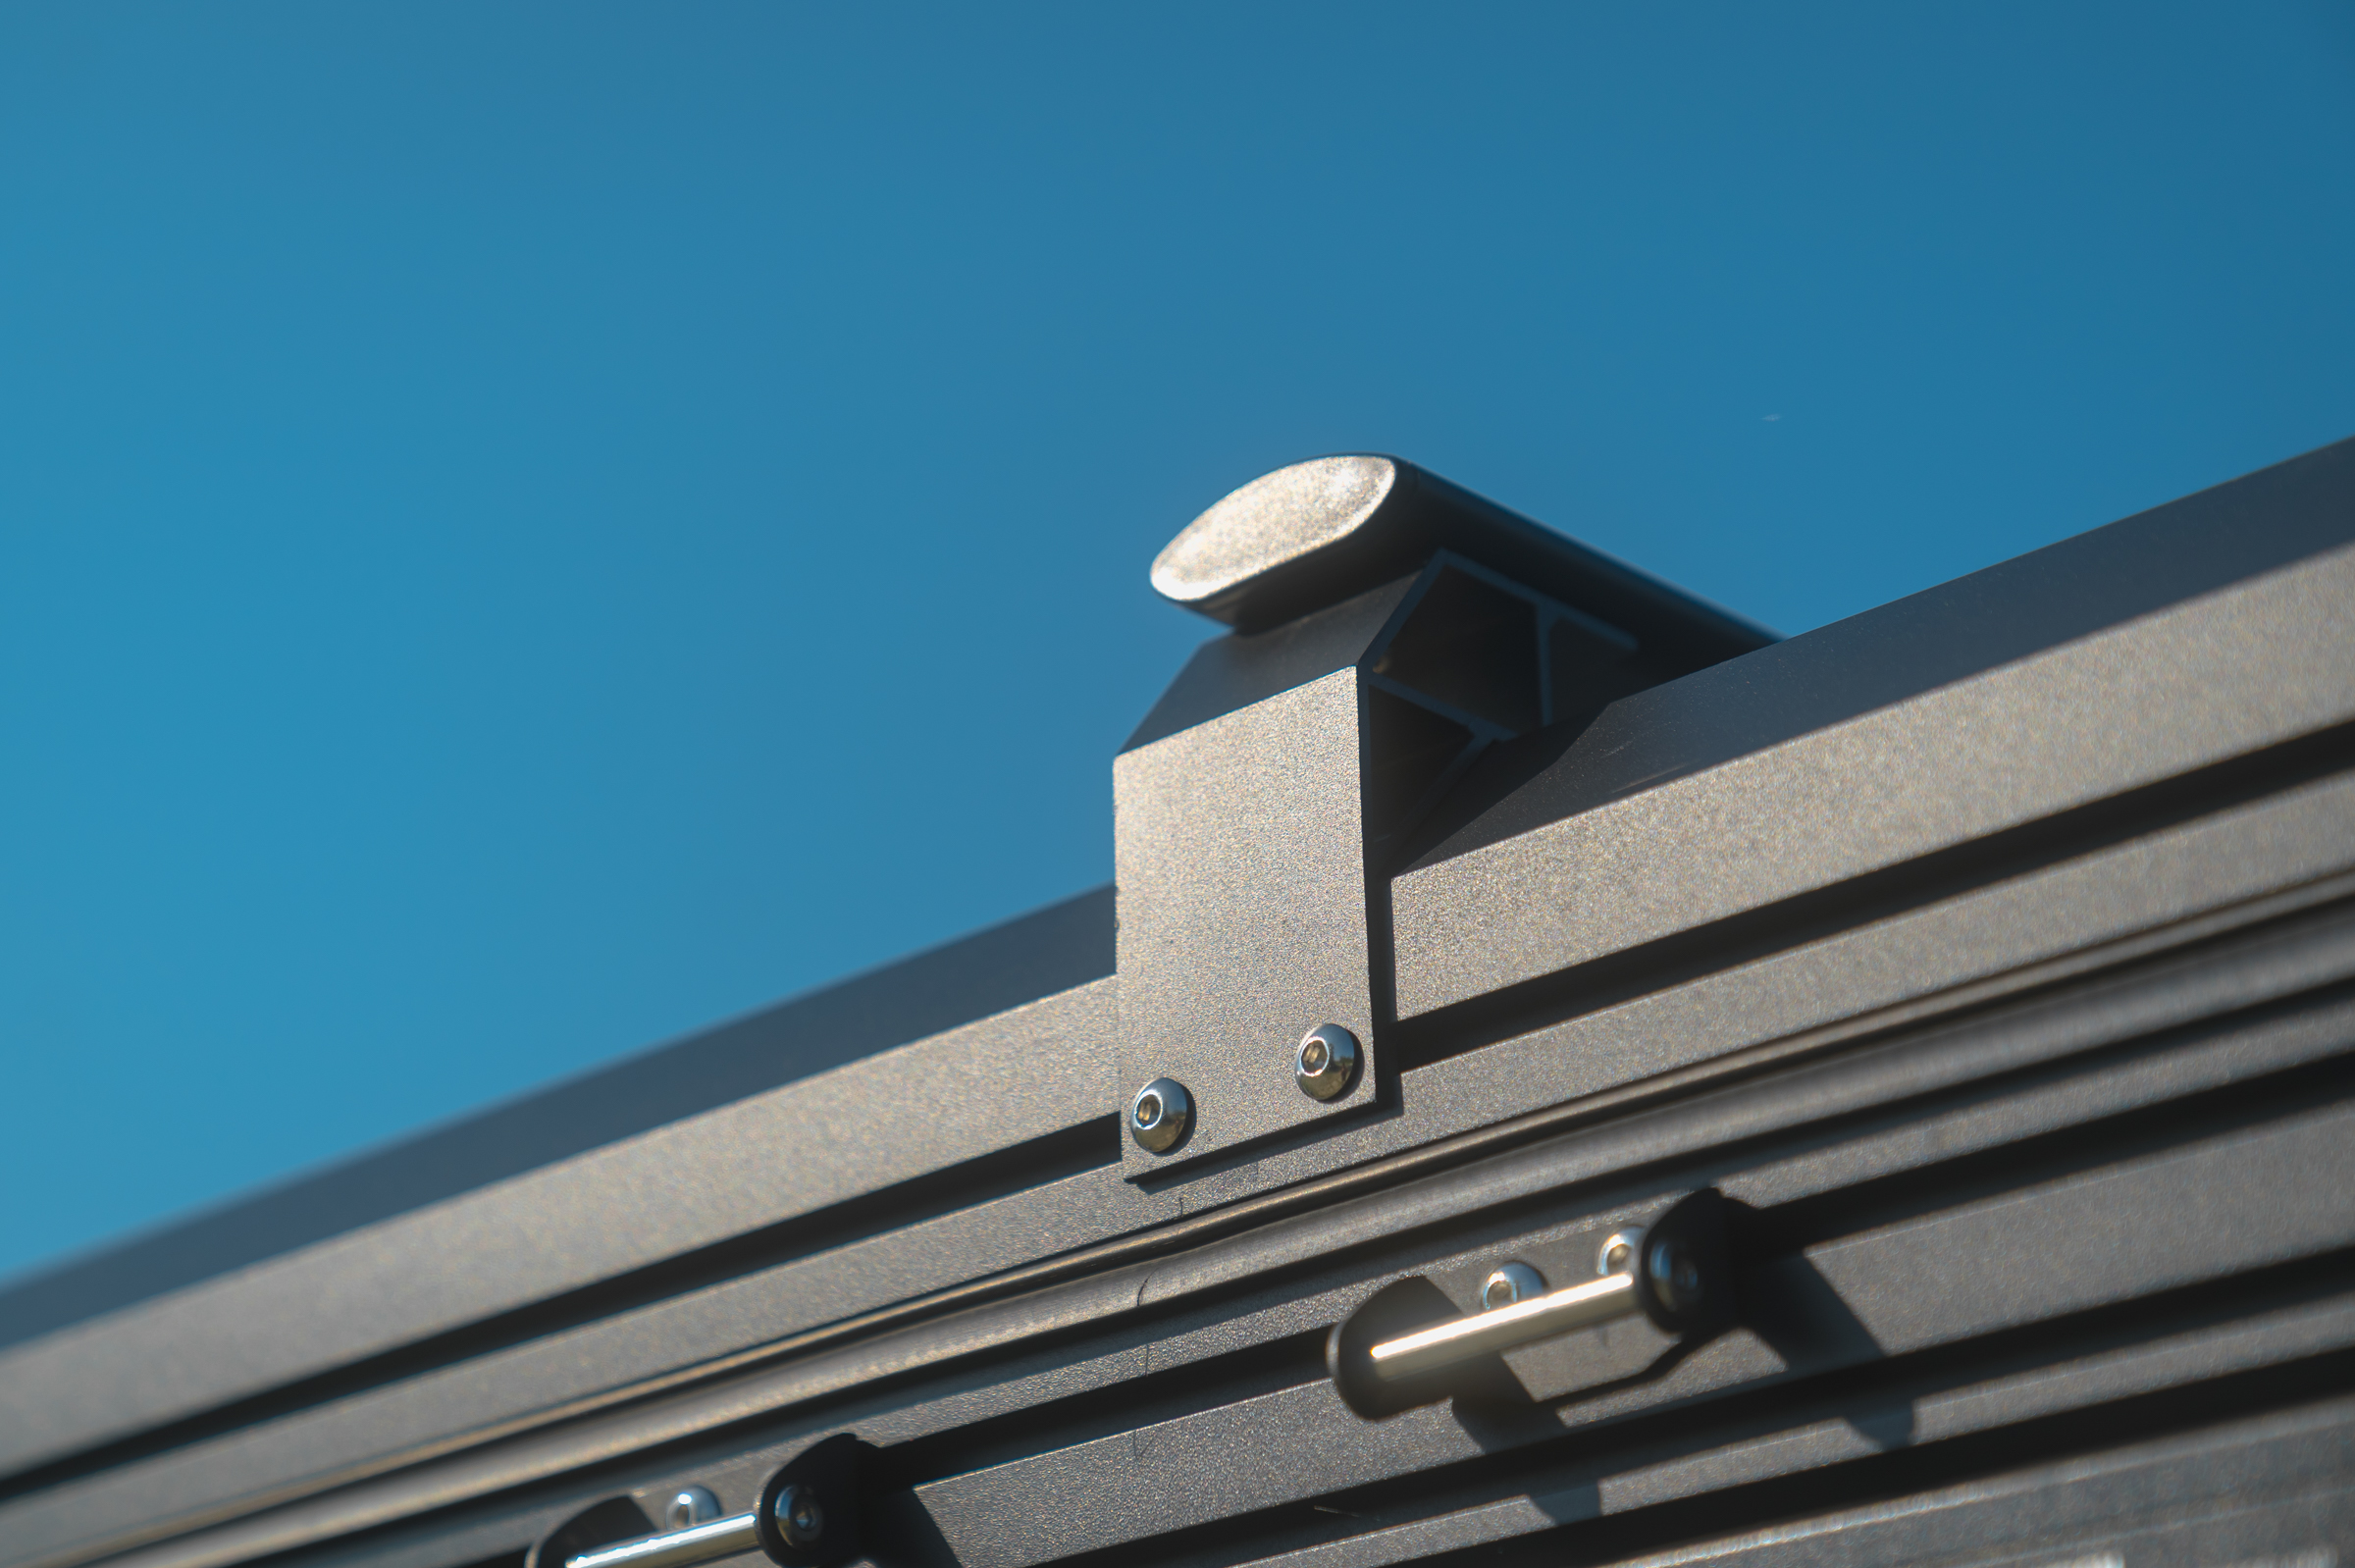
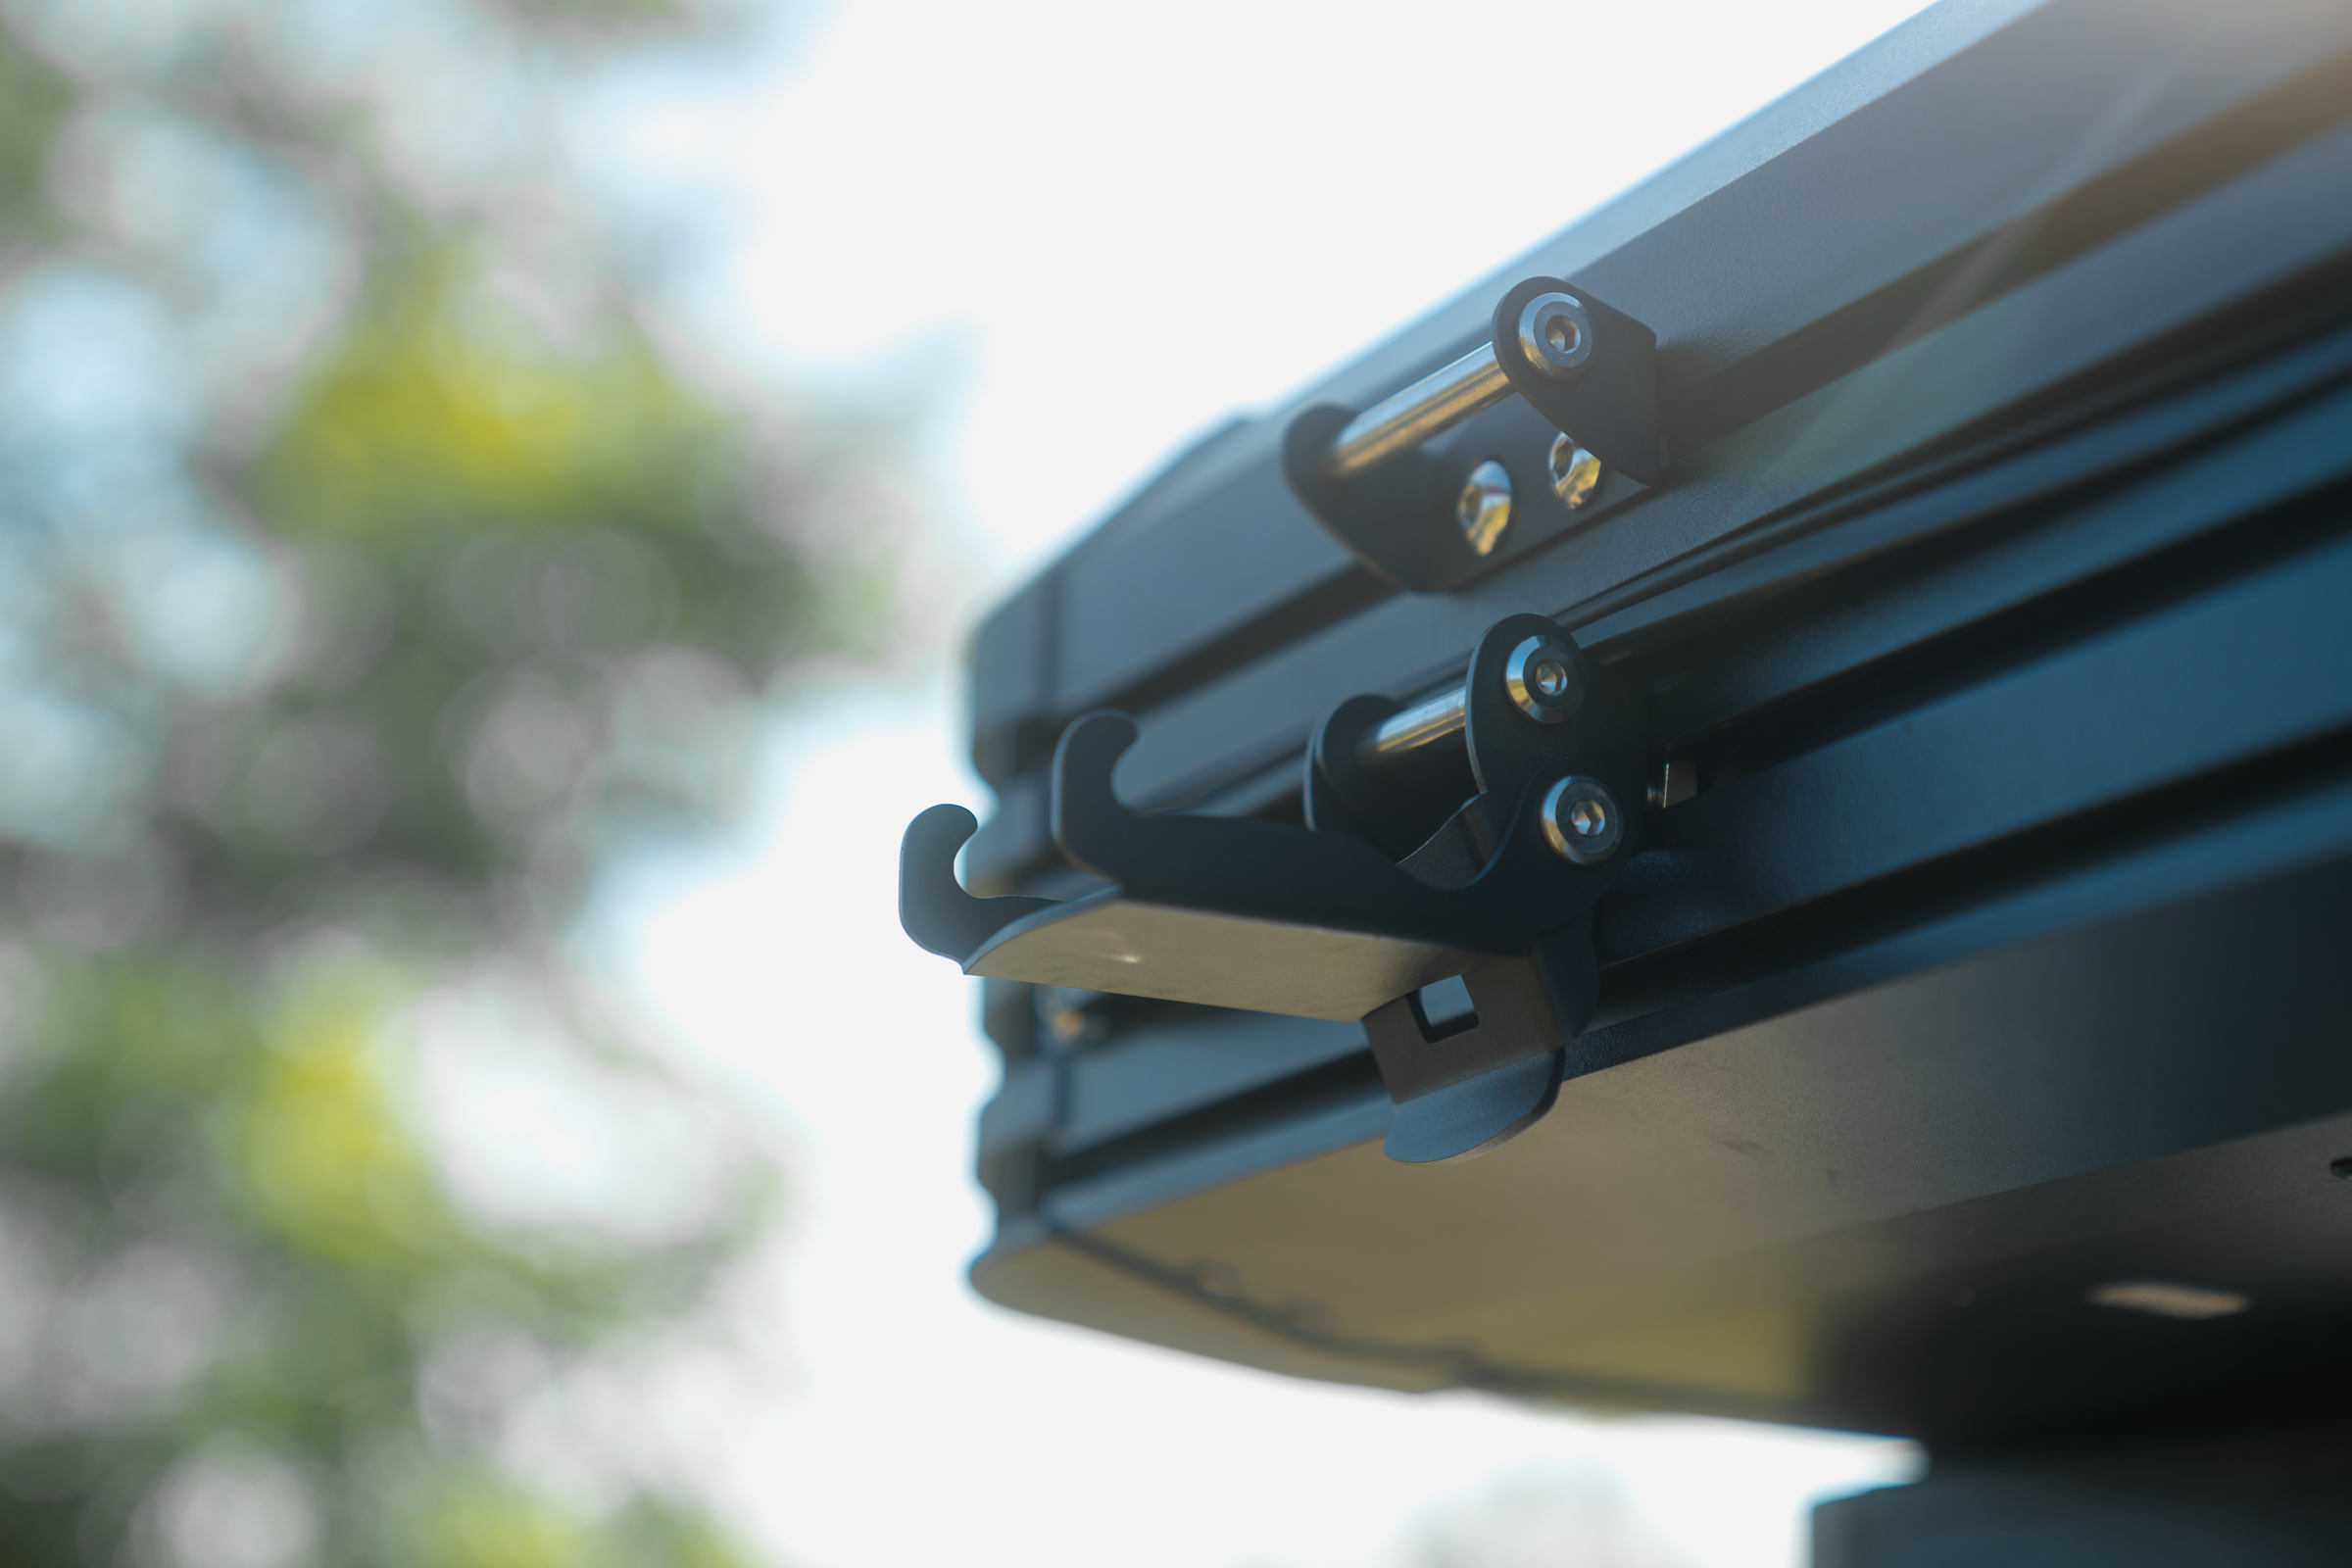
Possibility of installing additional accessories
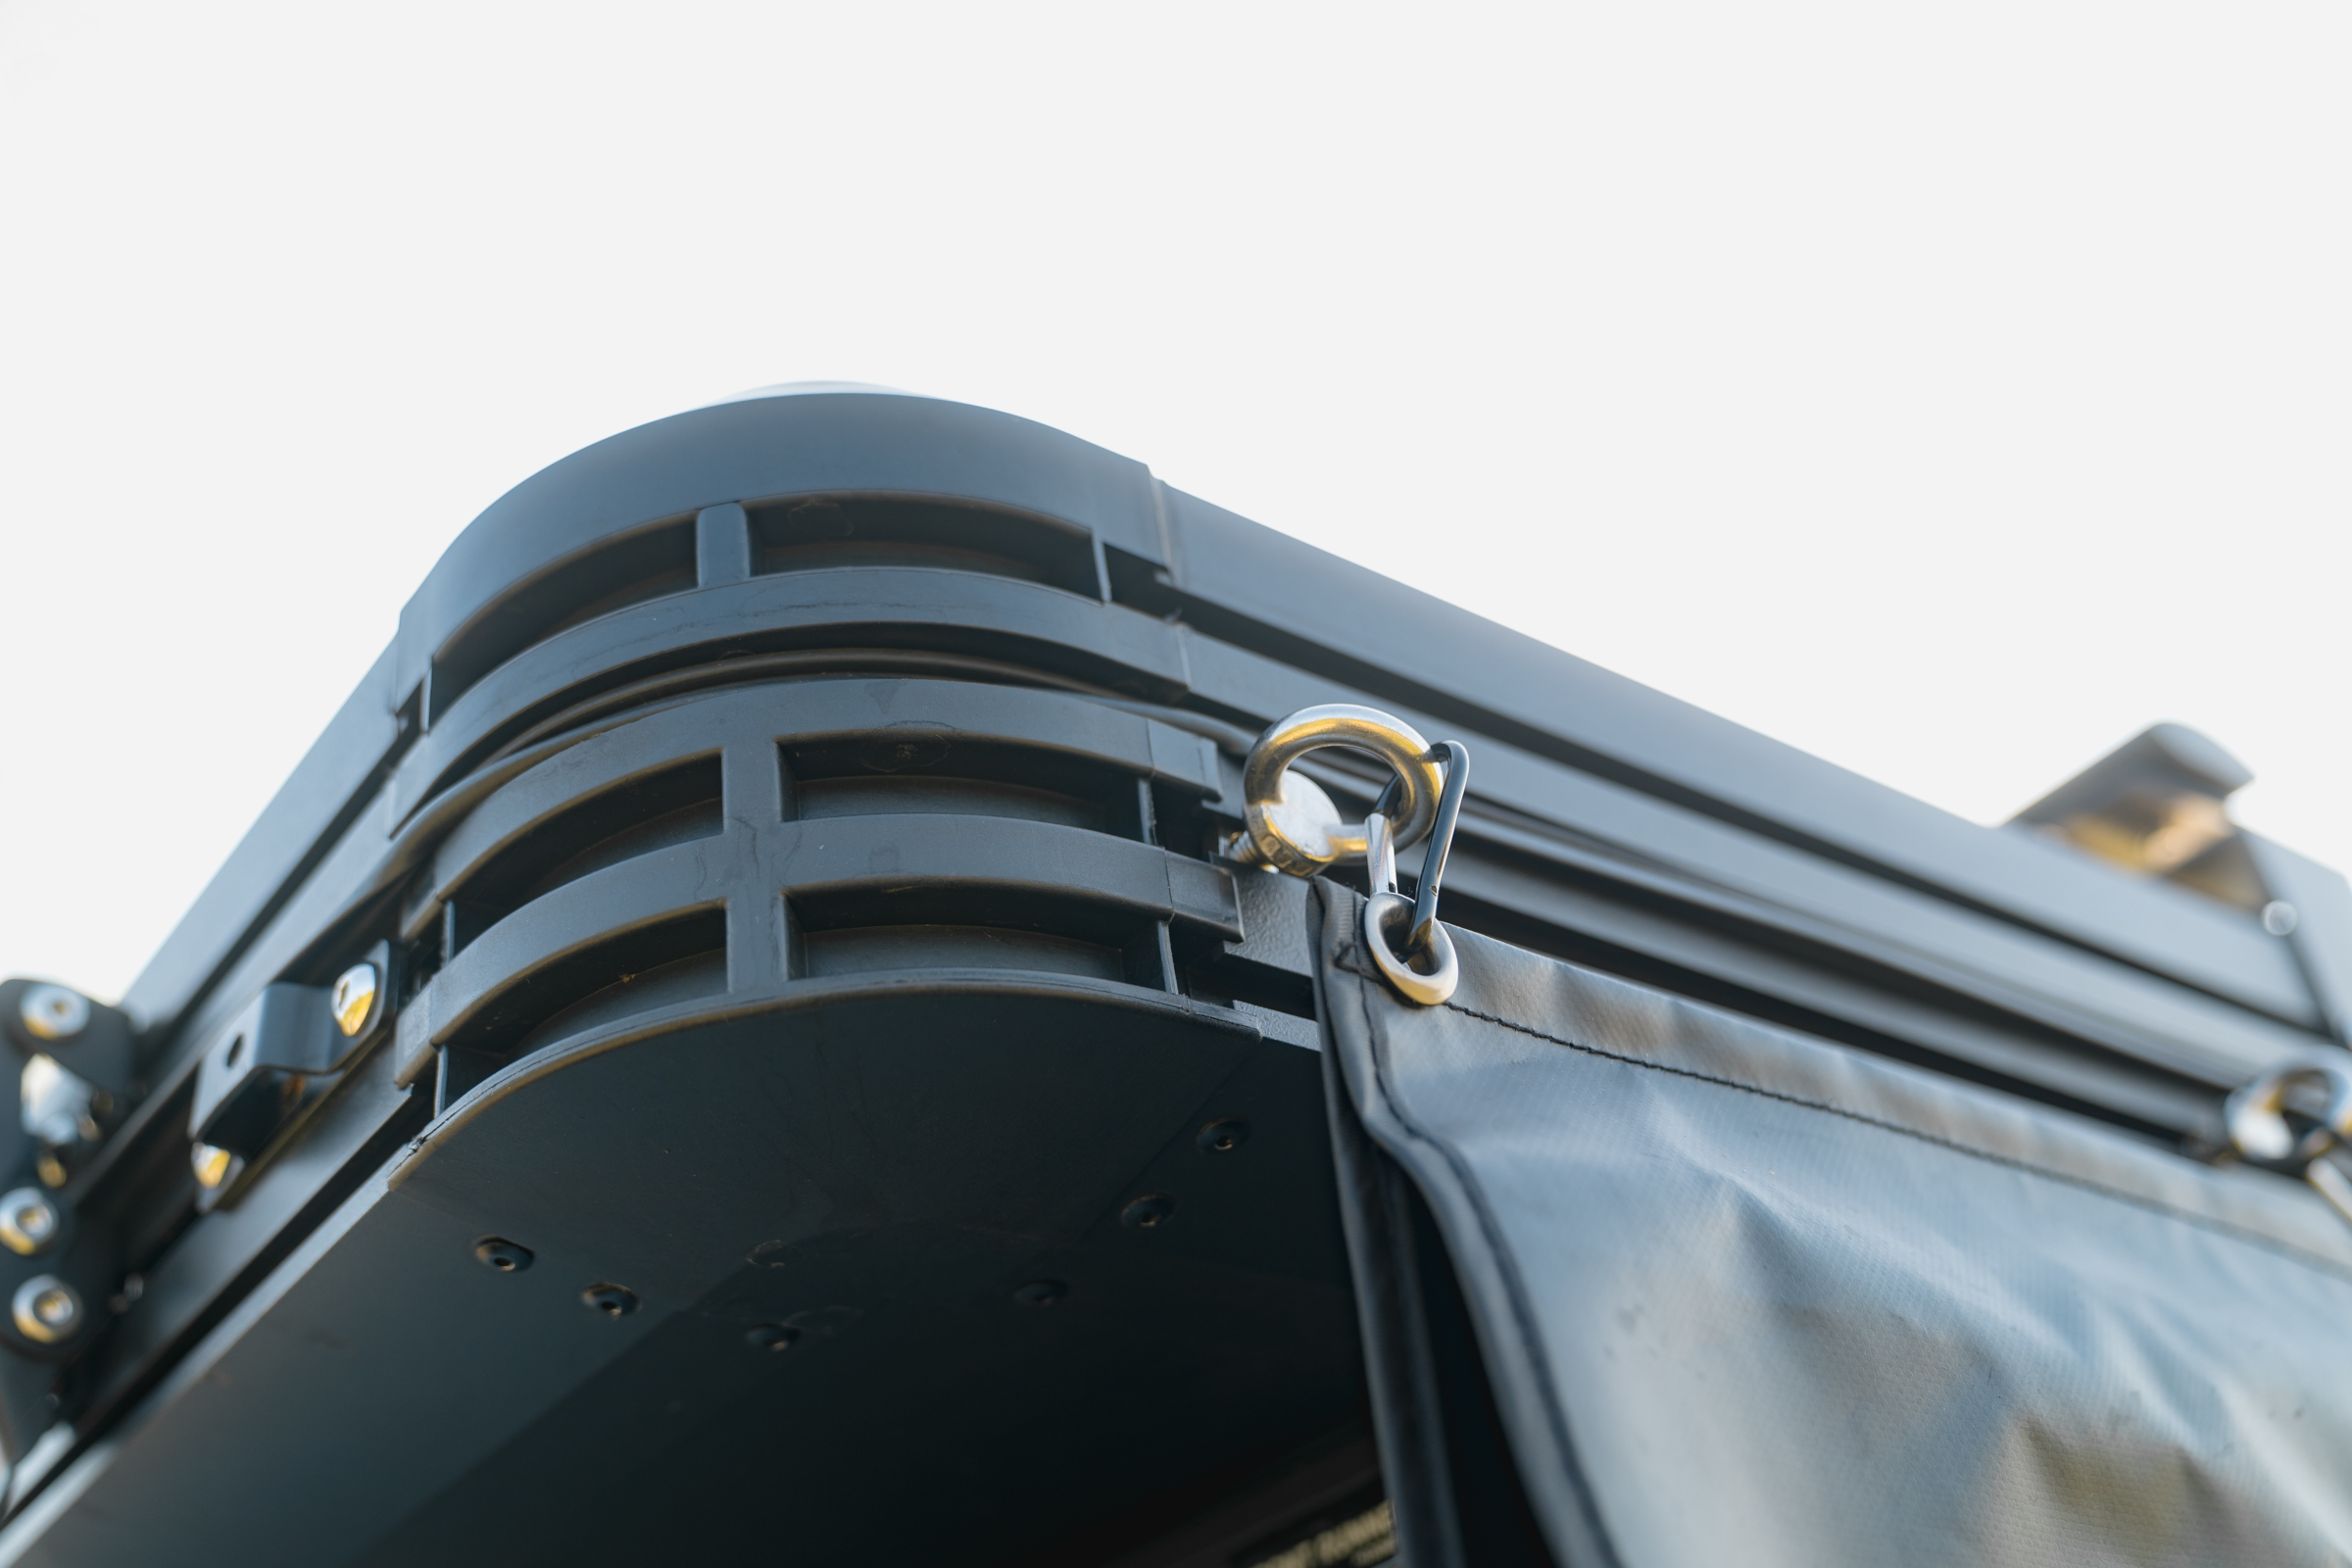
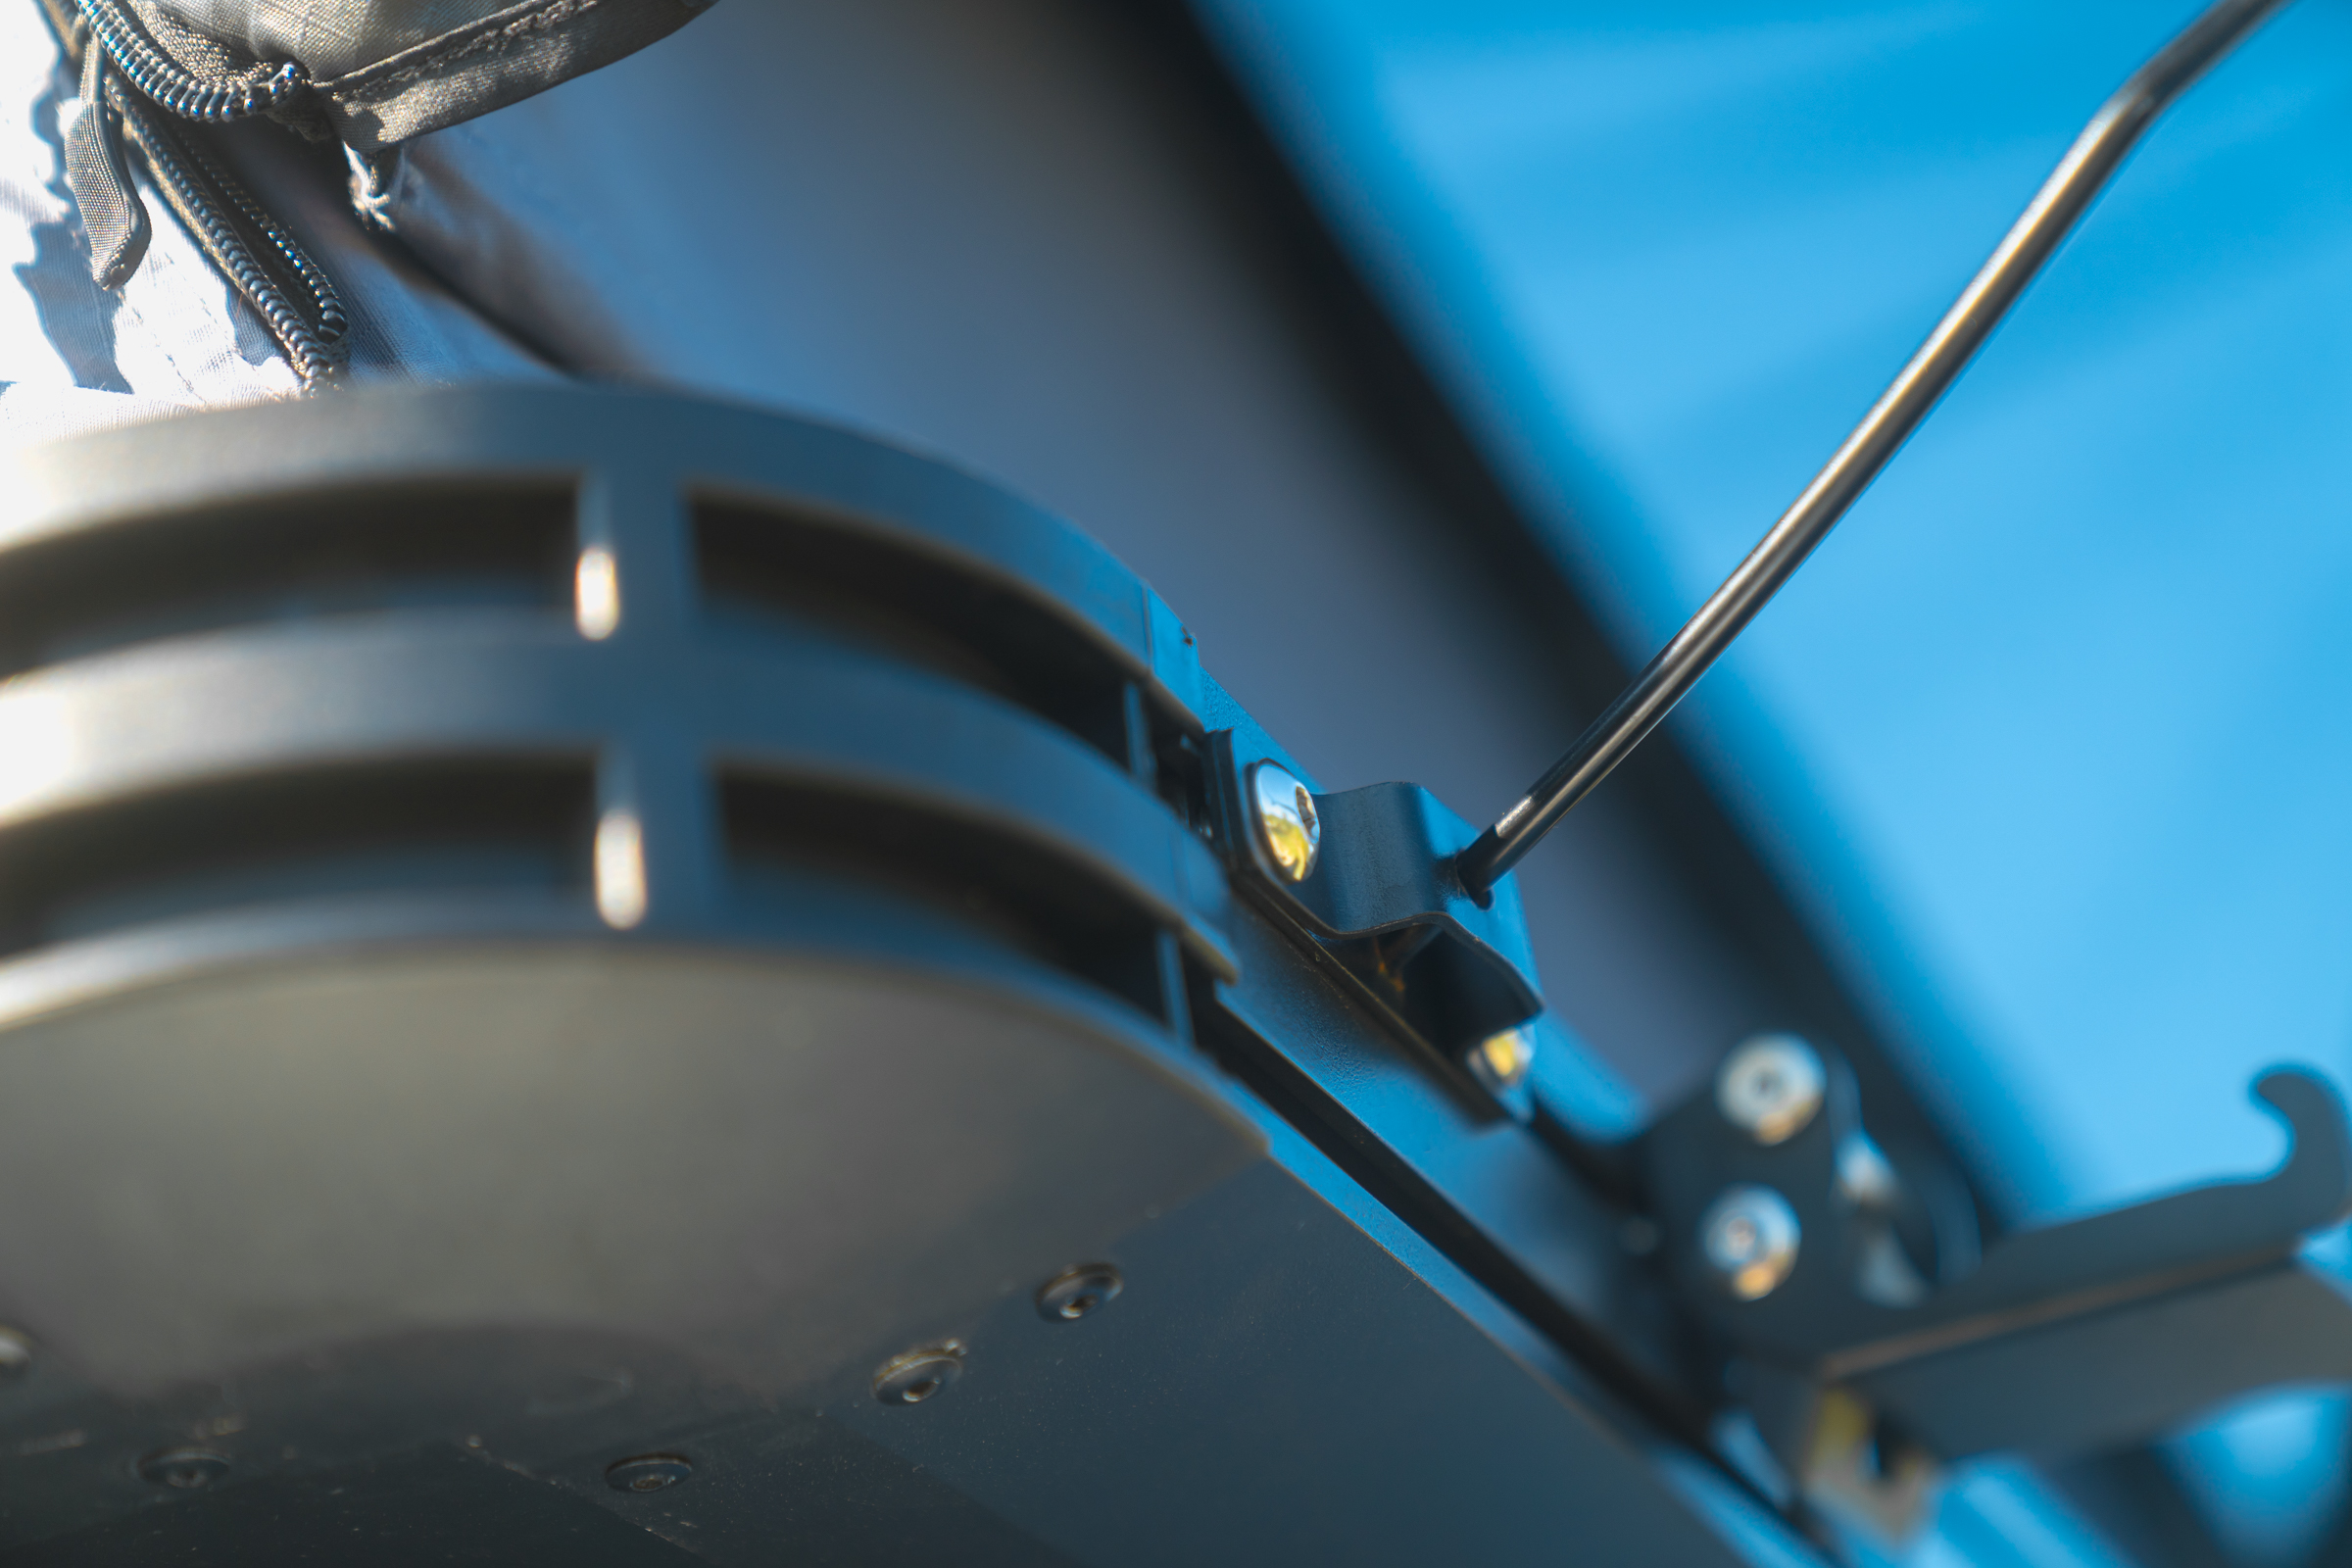
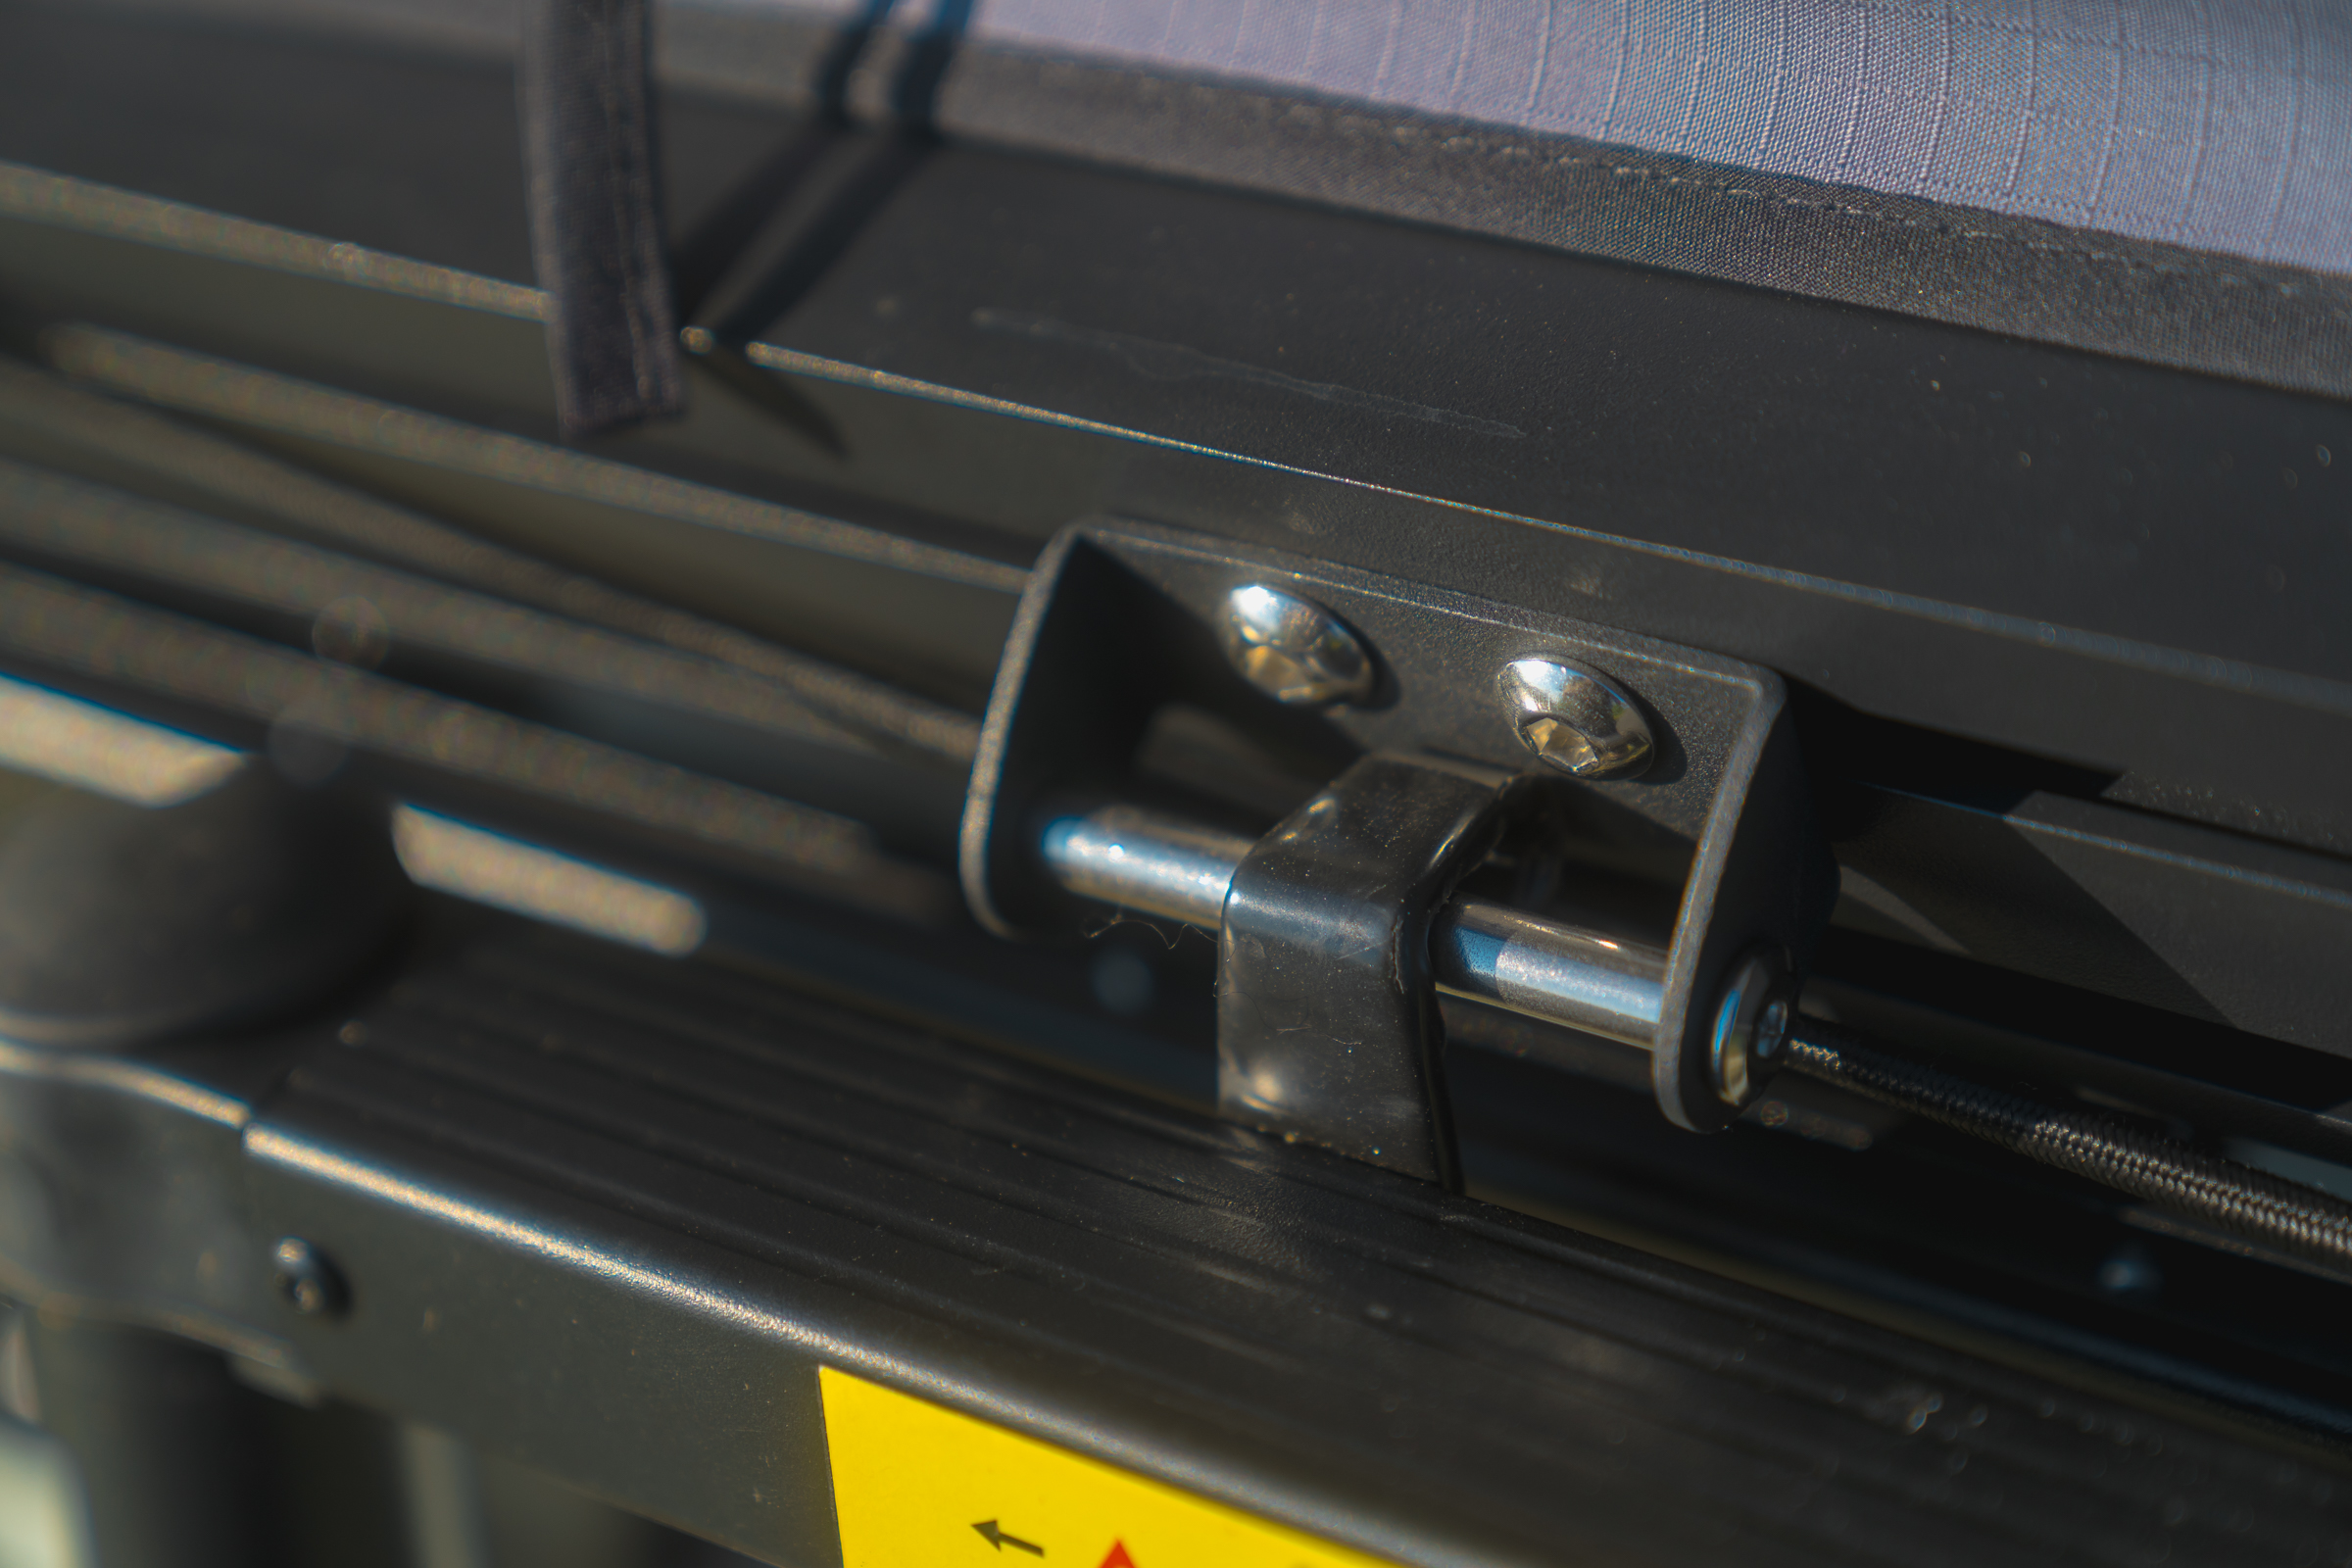
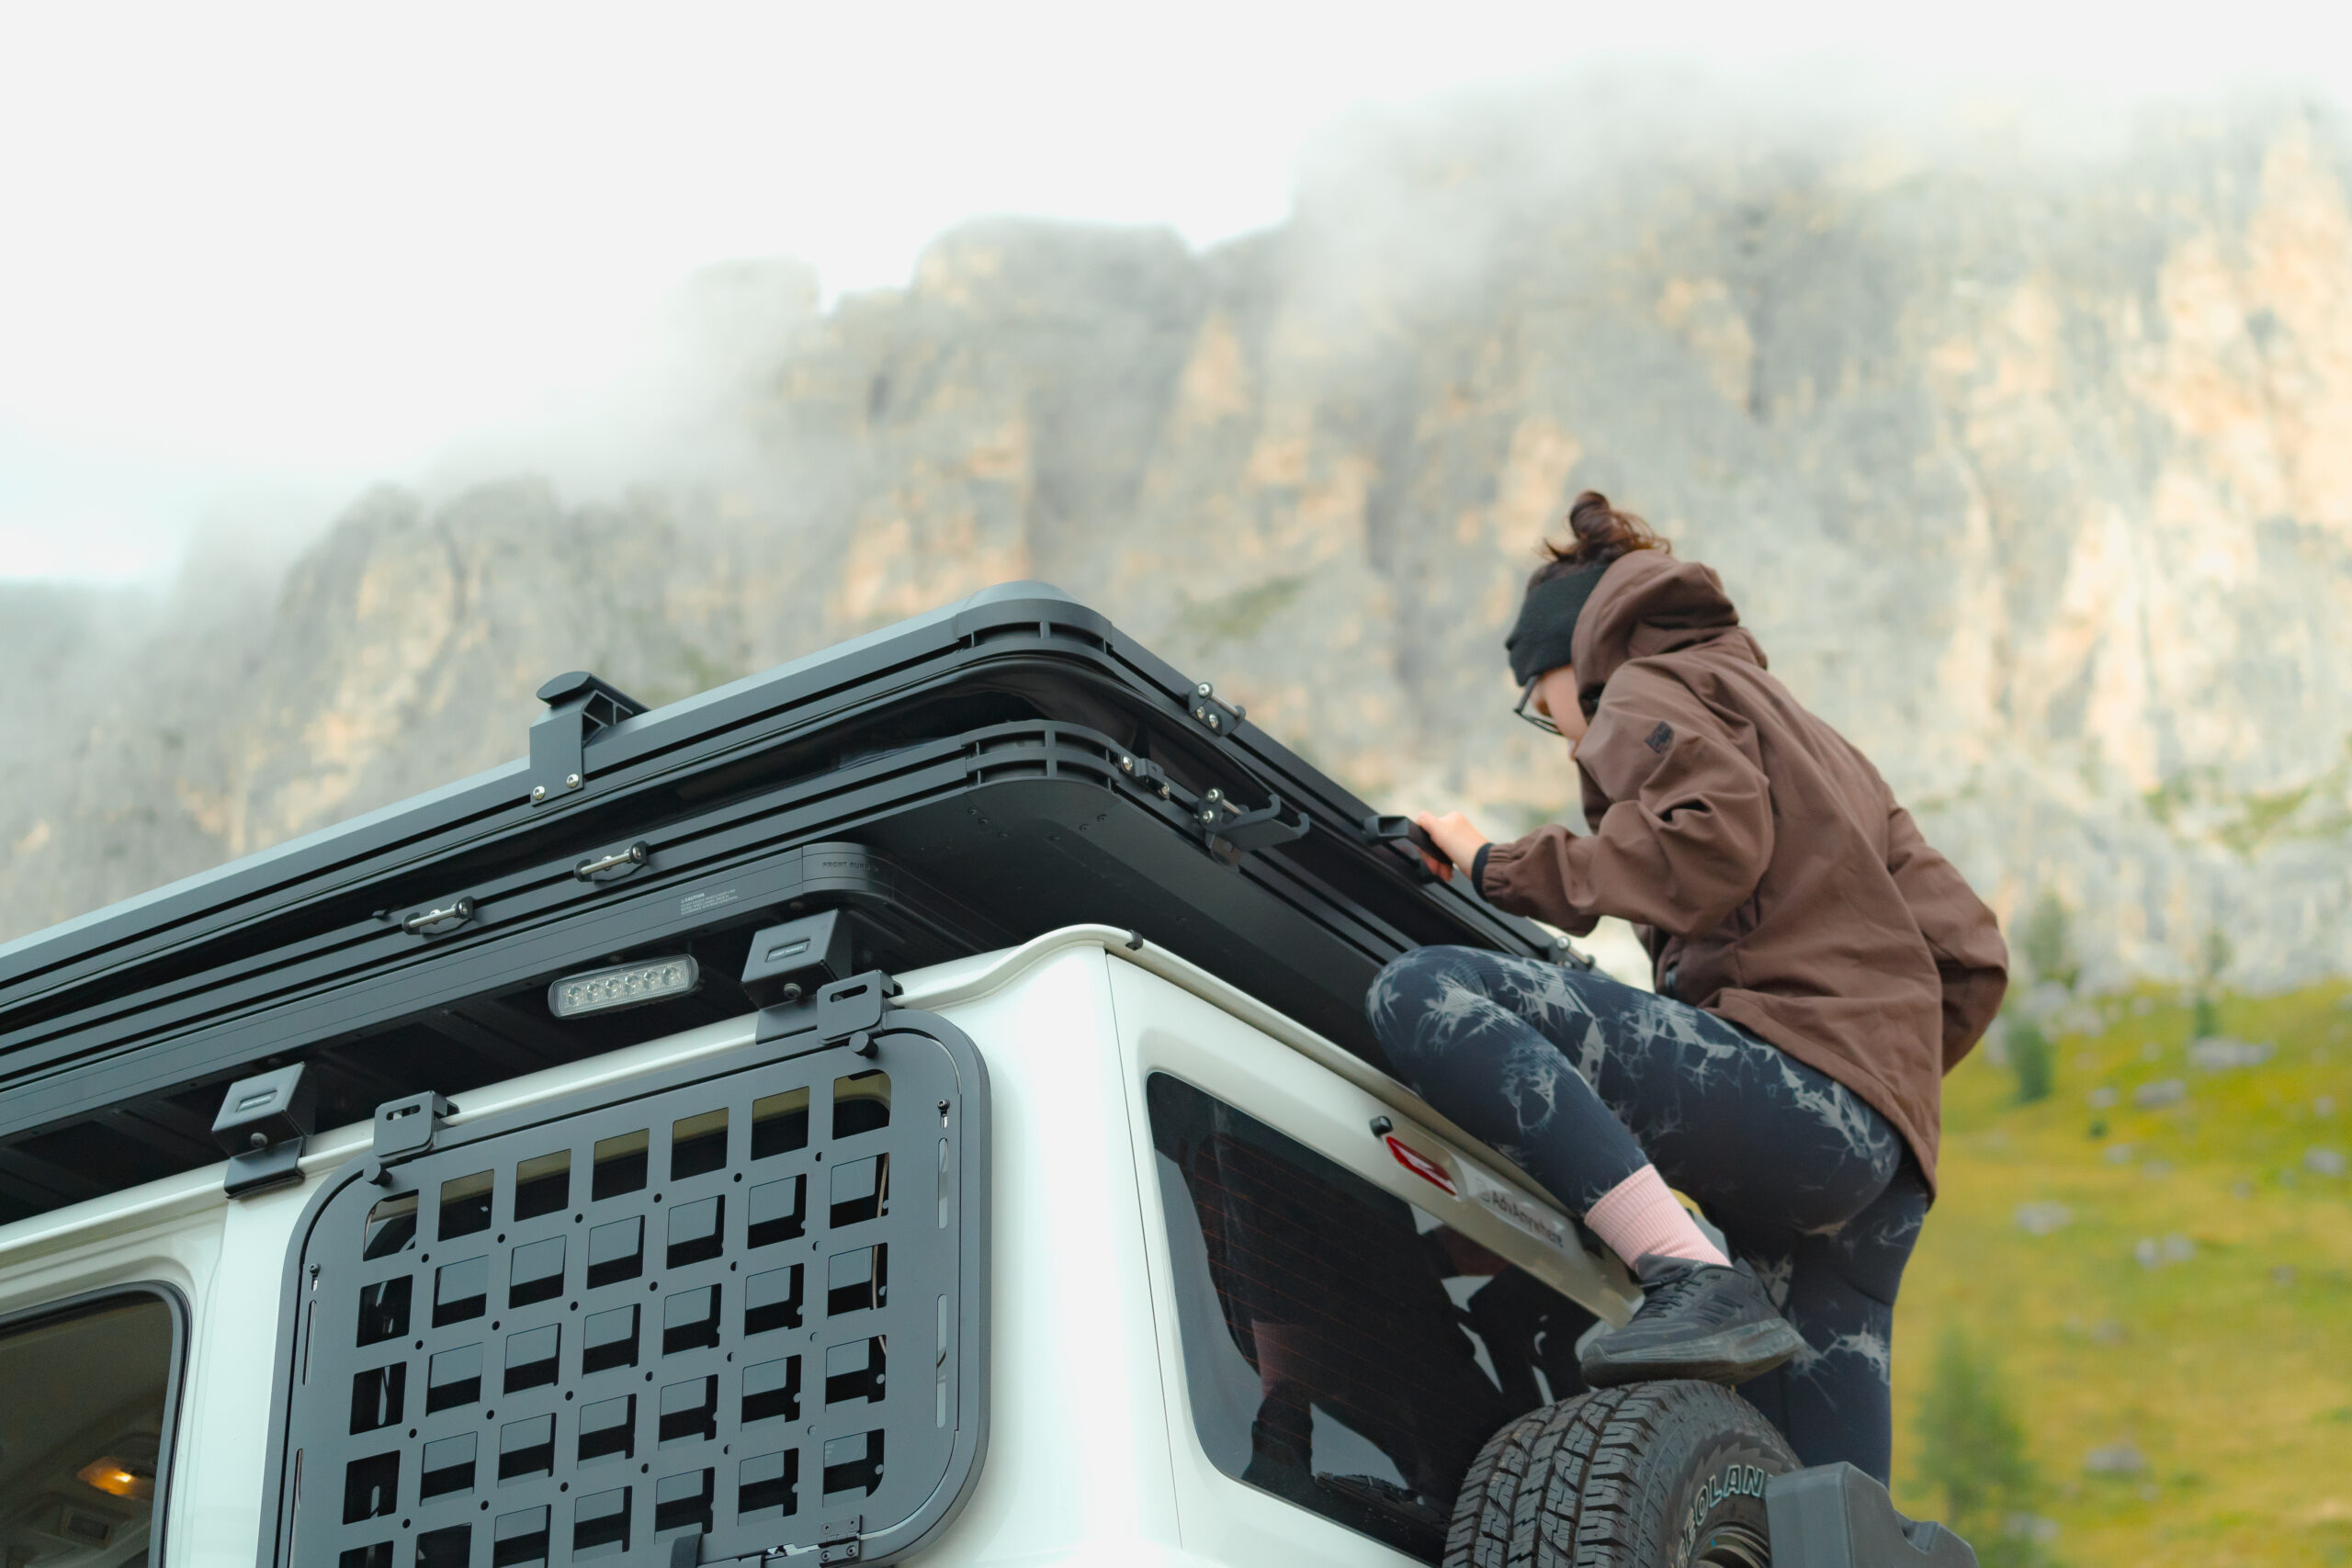
Hardshell roof tents typically feature a rail that allows you to attach various accessories. With the SNAILER Alduo rooftop tent, you can mount M6 flat-head screws or insert a half-nut into the rail. This setup enables you to attach practically anything—from hooks and tool holders to traction board mounts. Ladder hooks and the handle for opening the tent are also mounted in this manner.

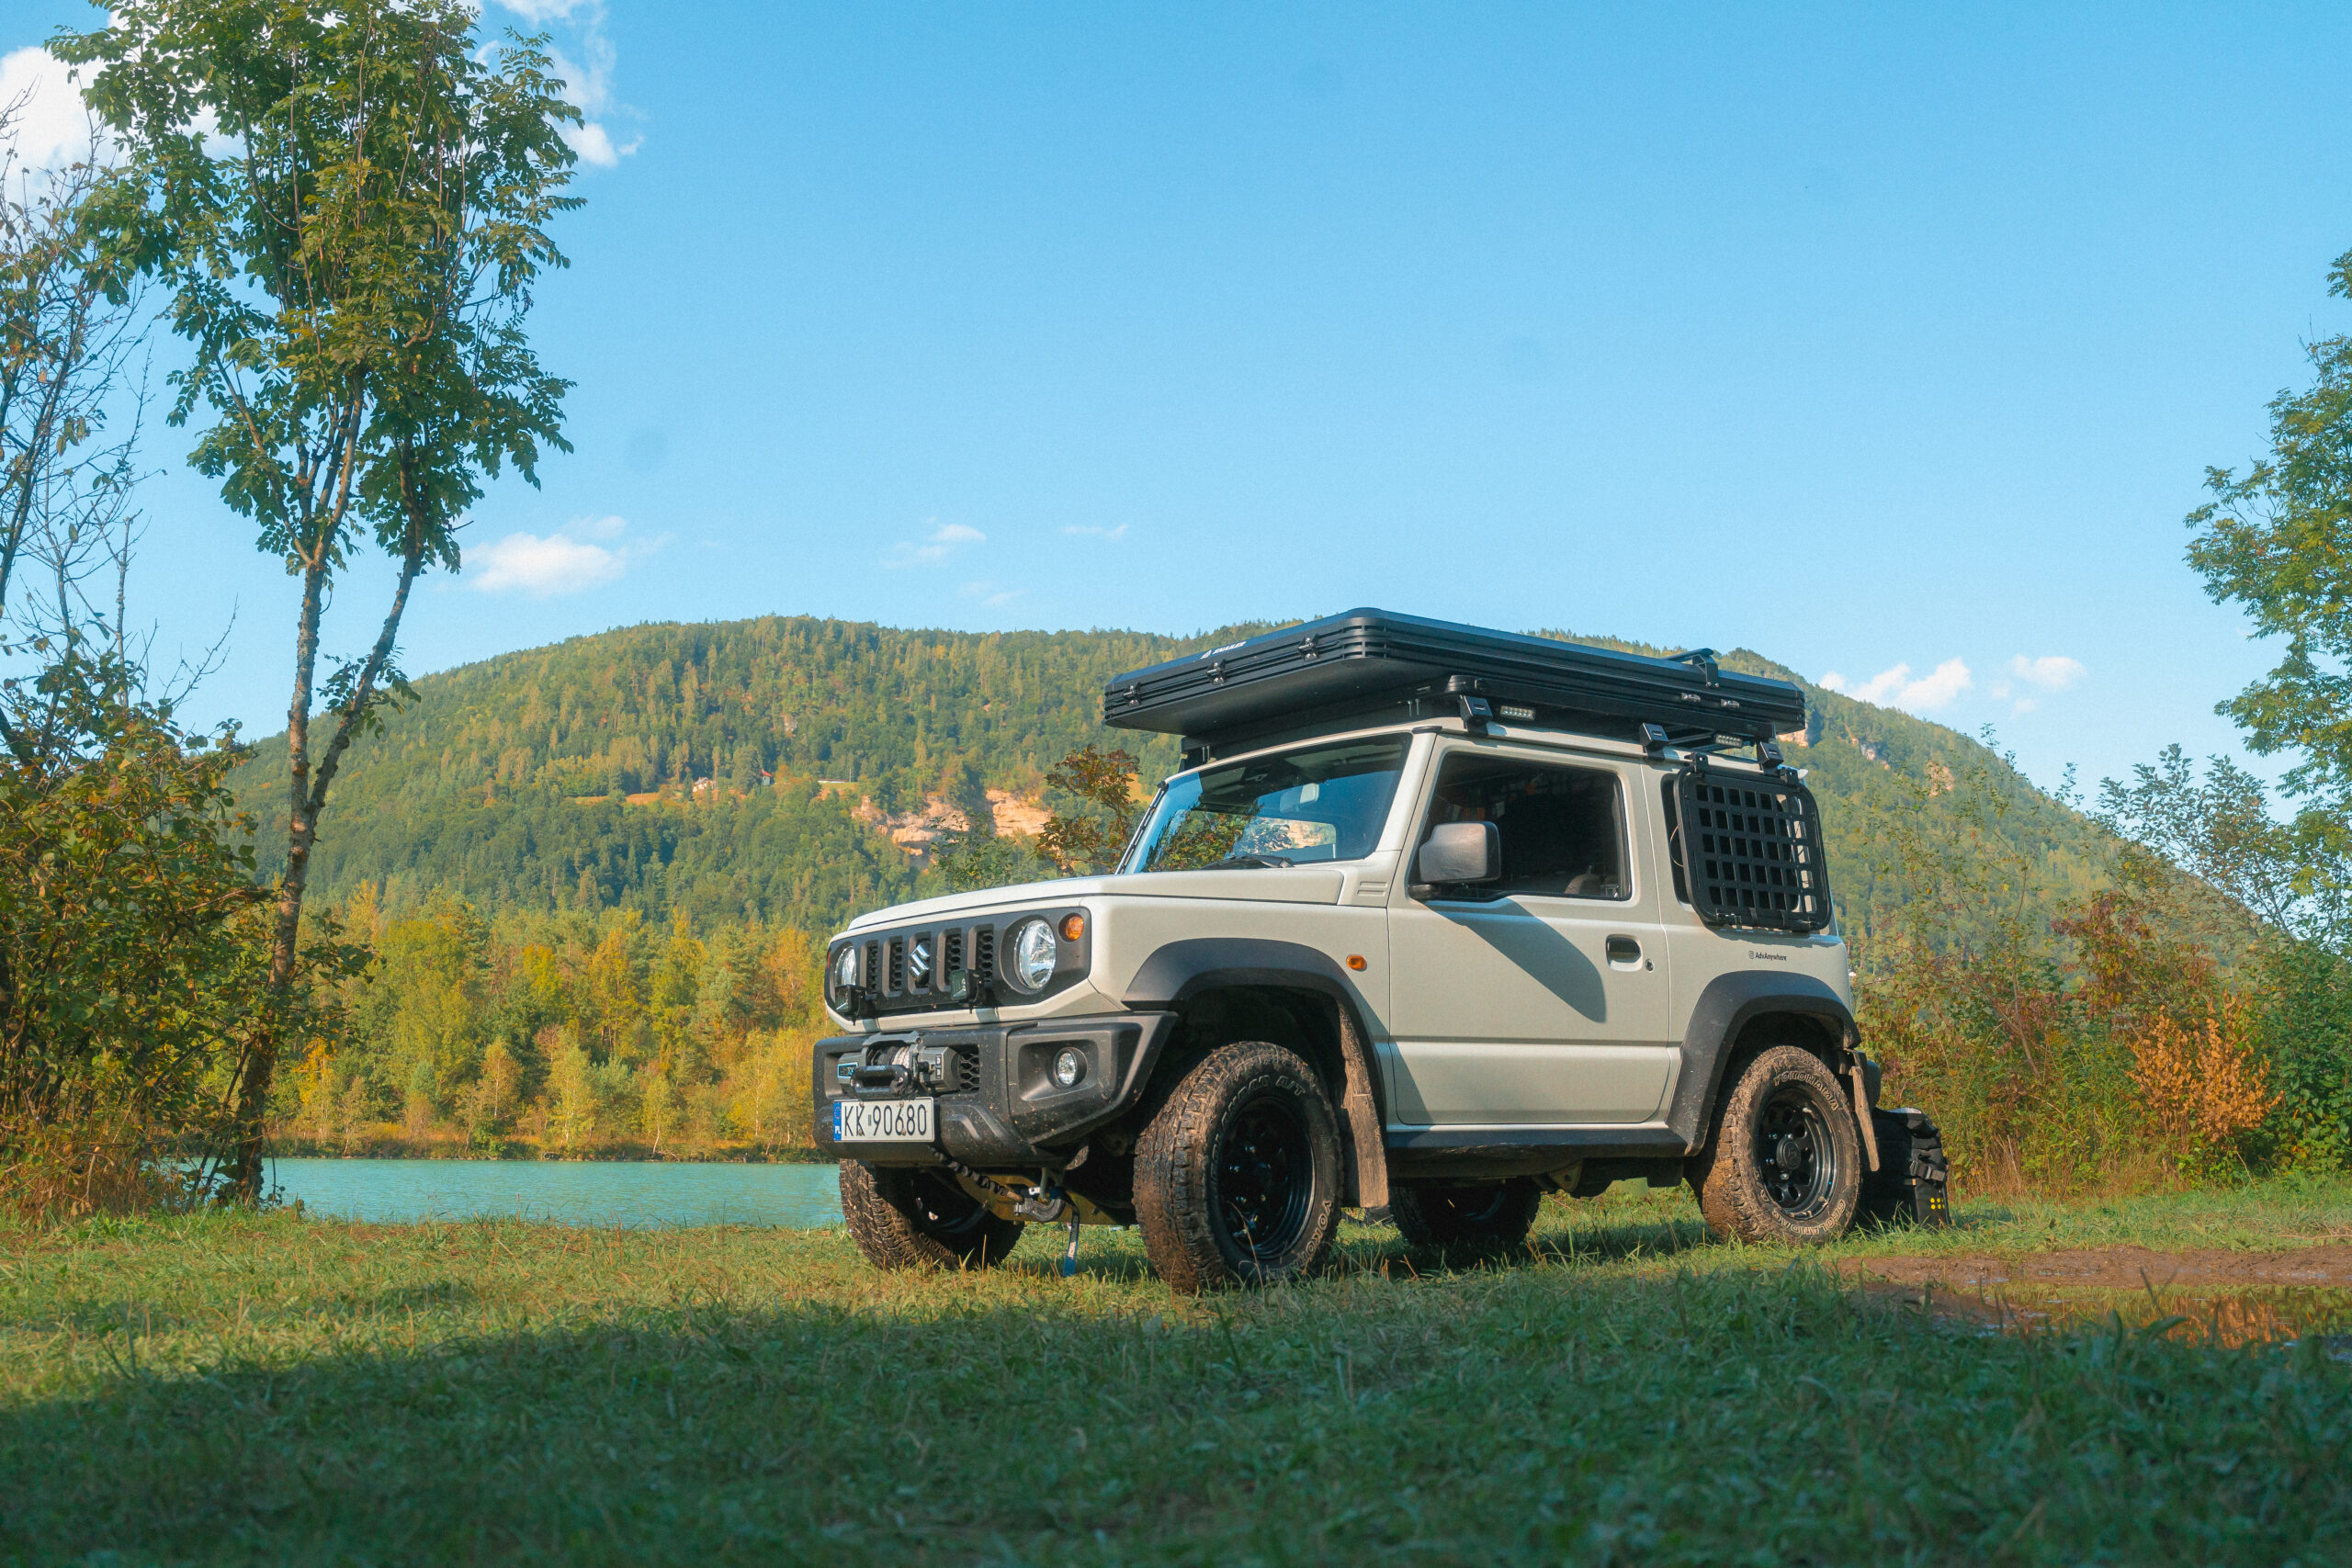
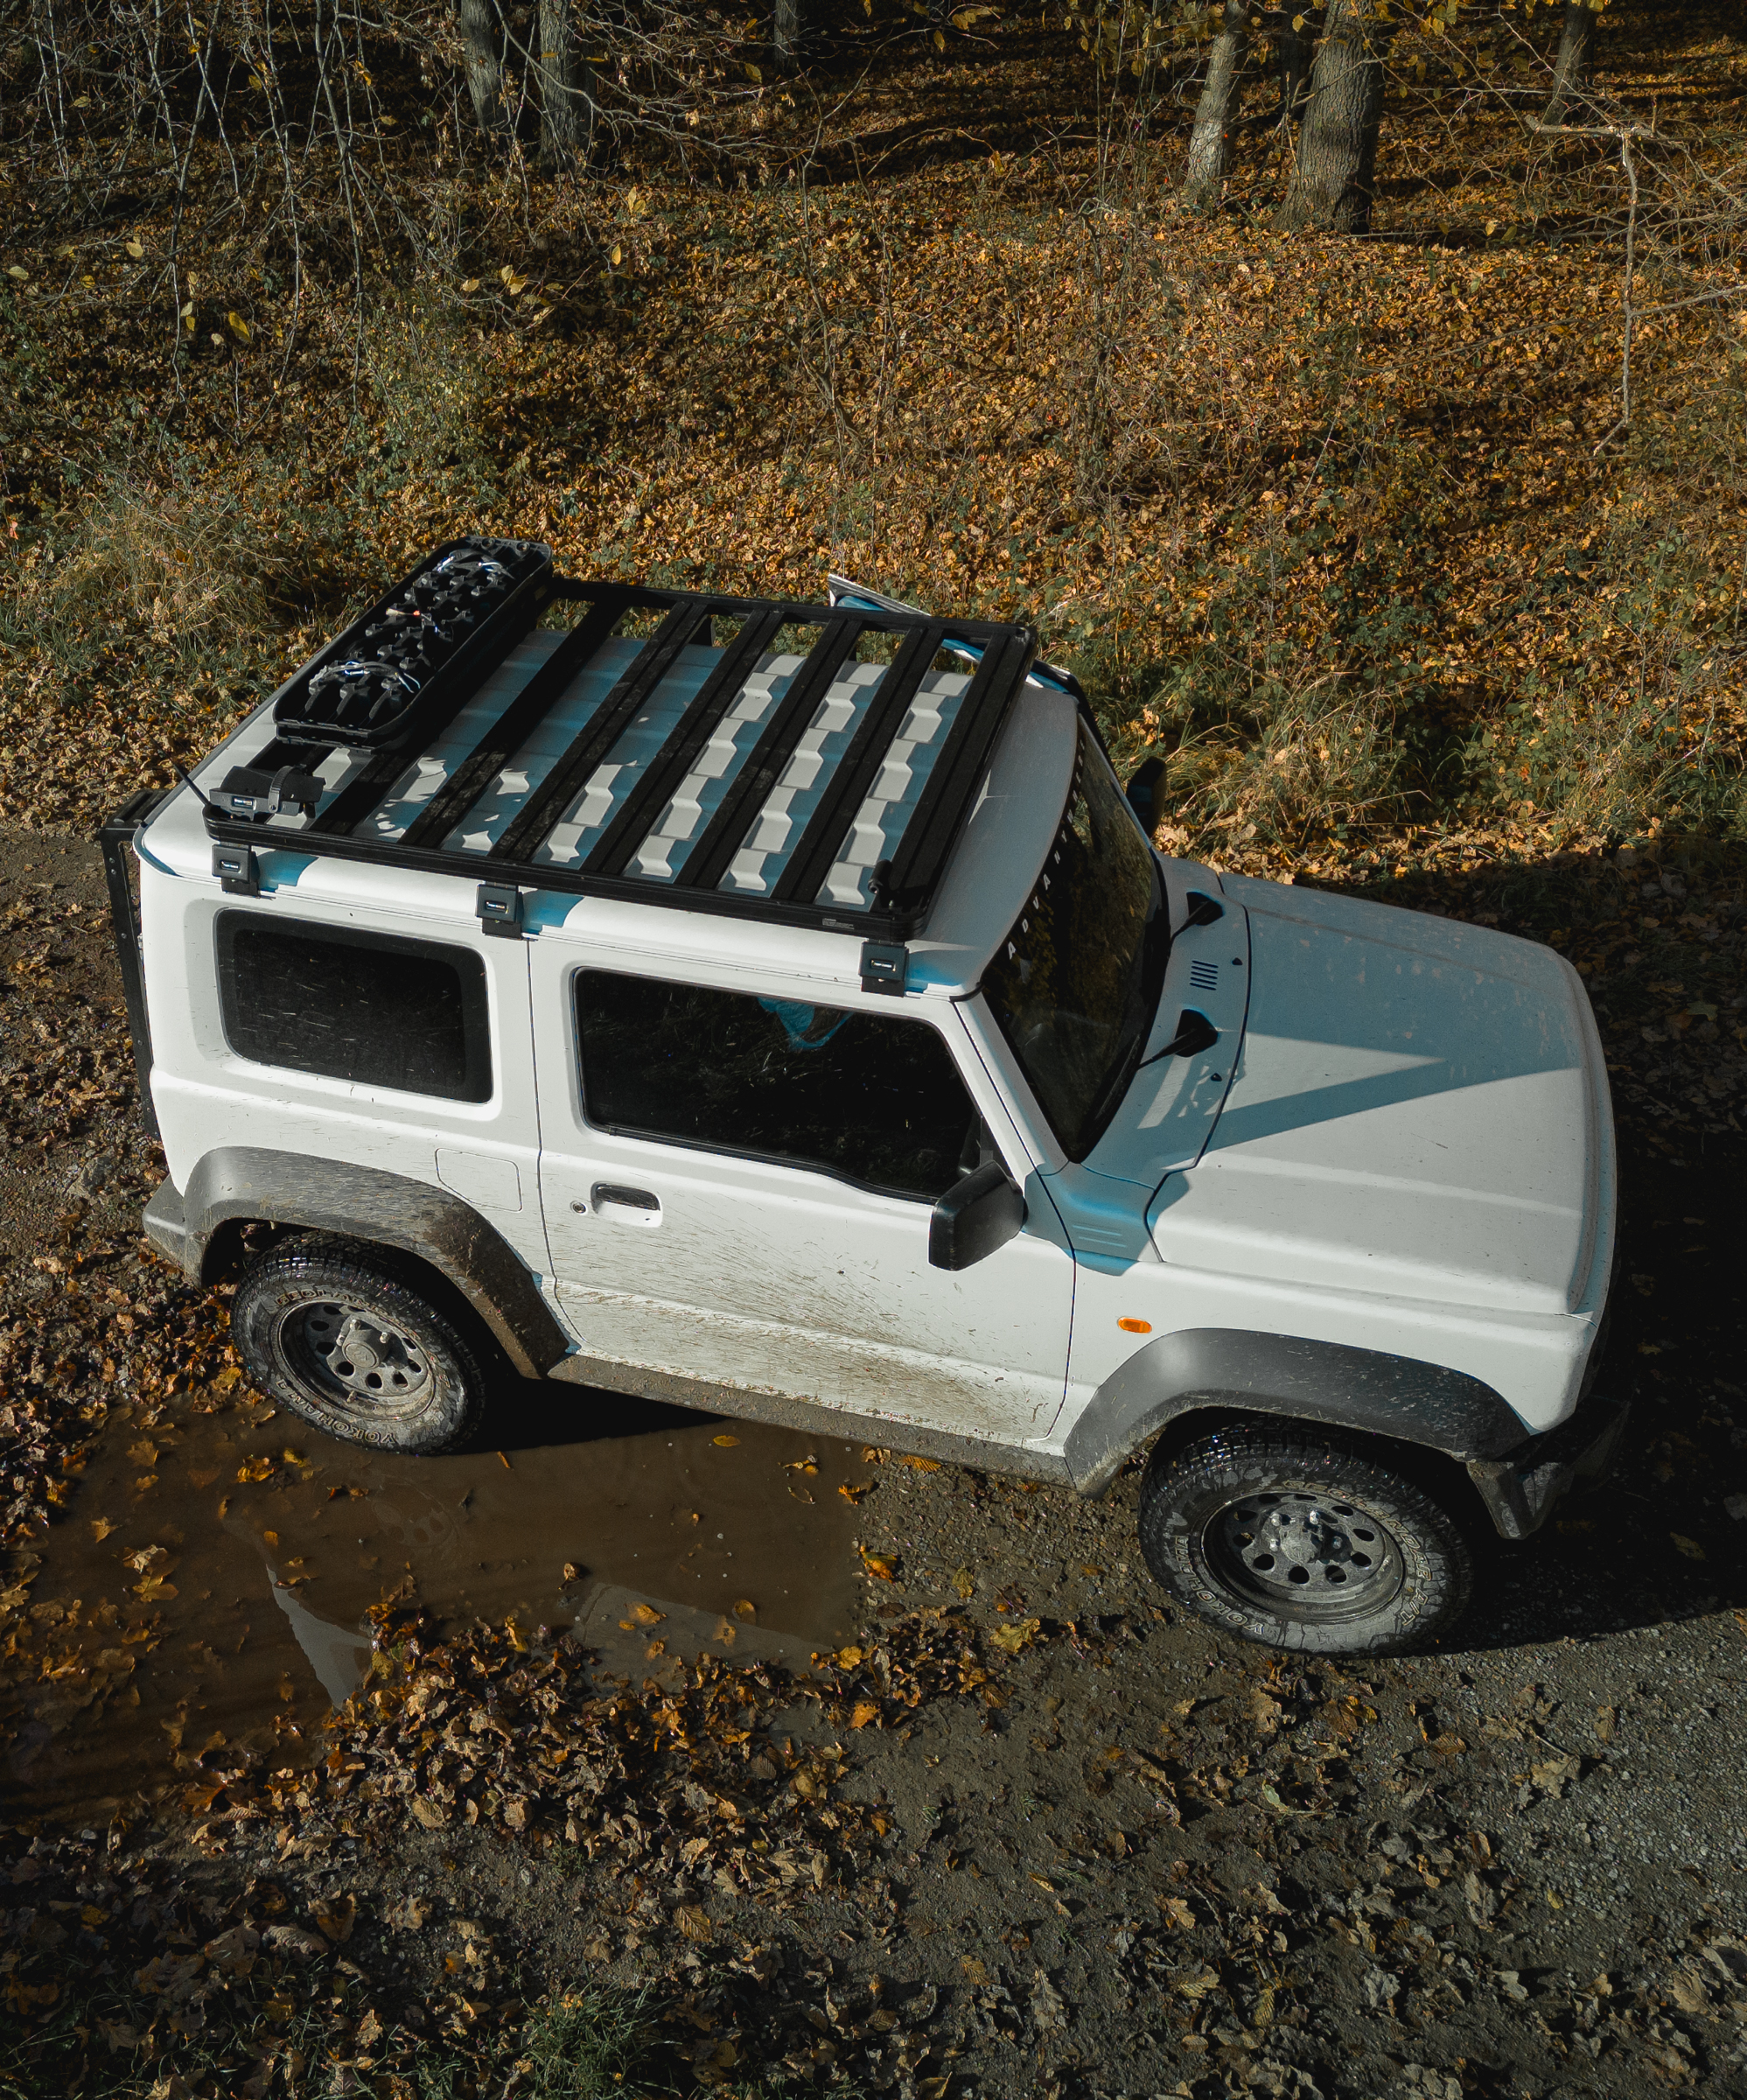
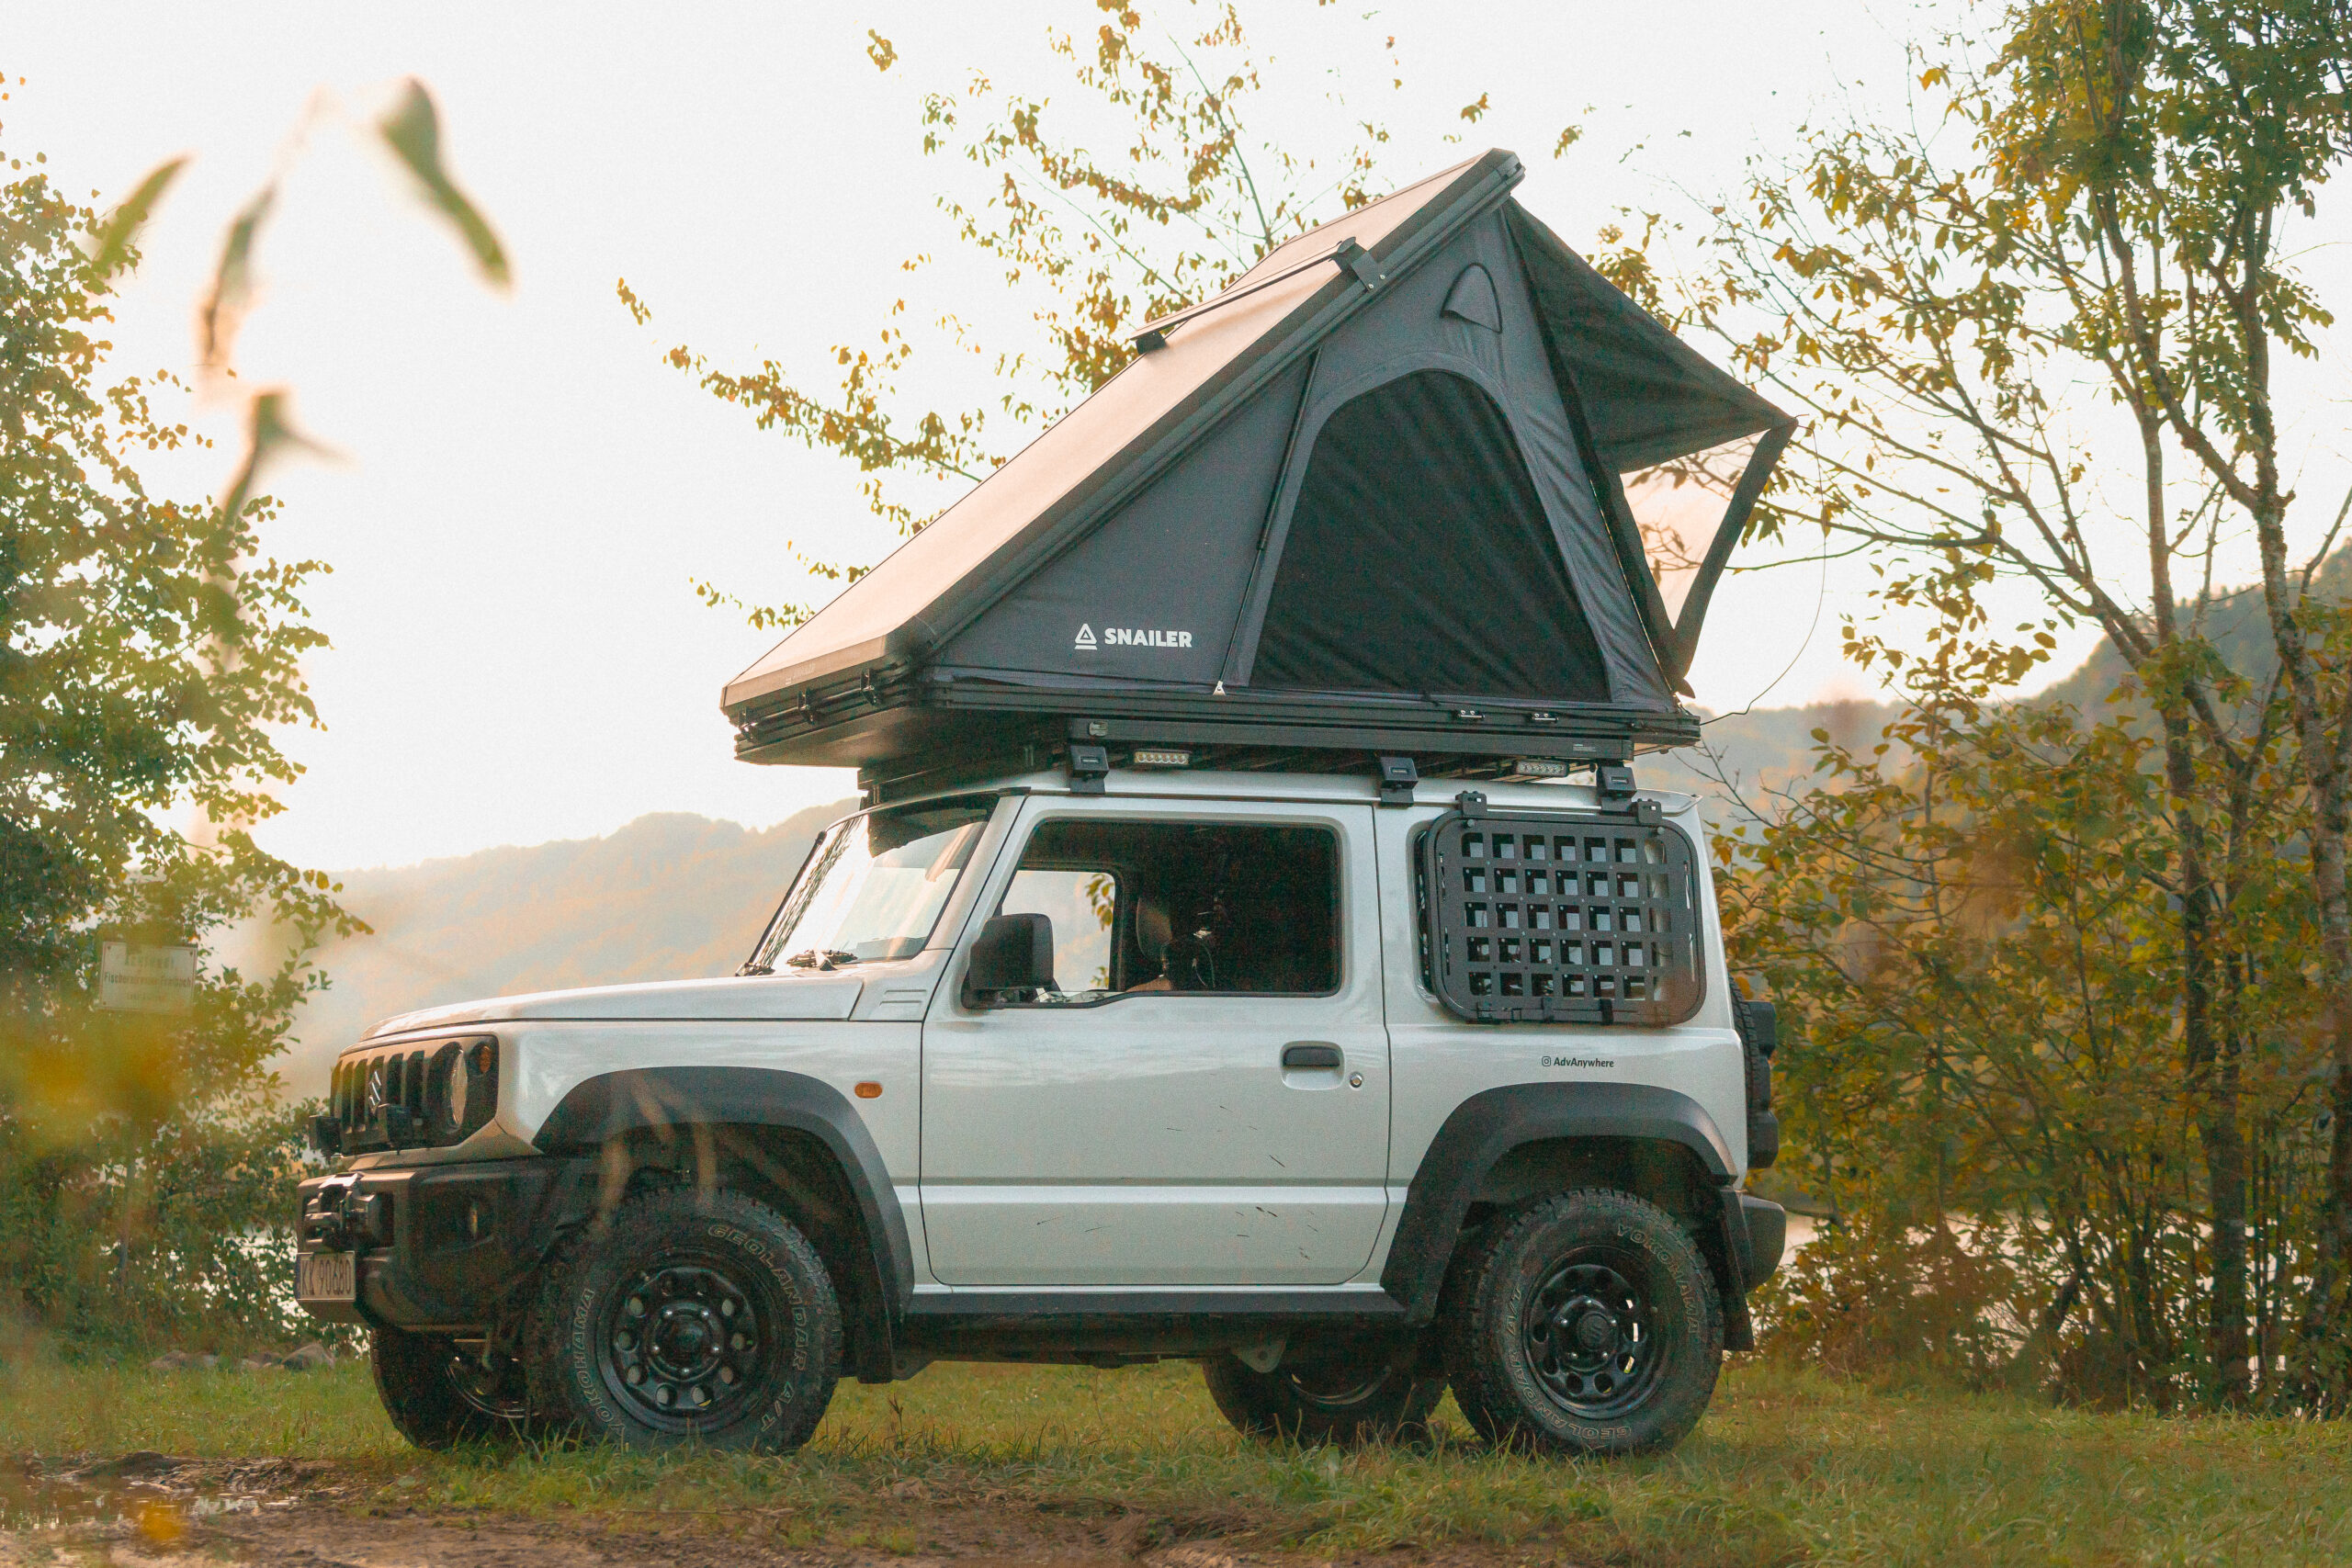
Extra space on the roof
Having a rooftop tent on your off-road vehicle doesn’t mean sacrificing luggage space—this is especially true with a hard-shell tent.
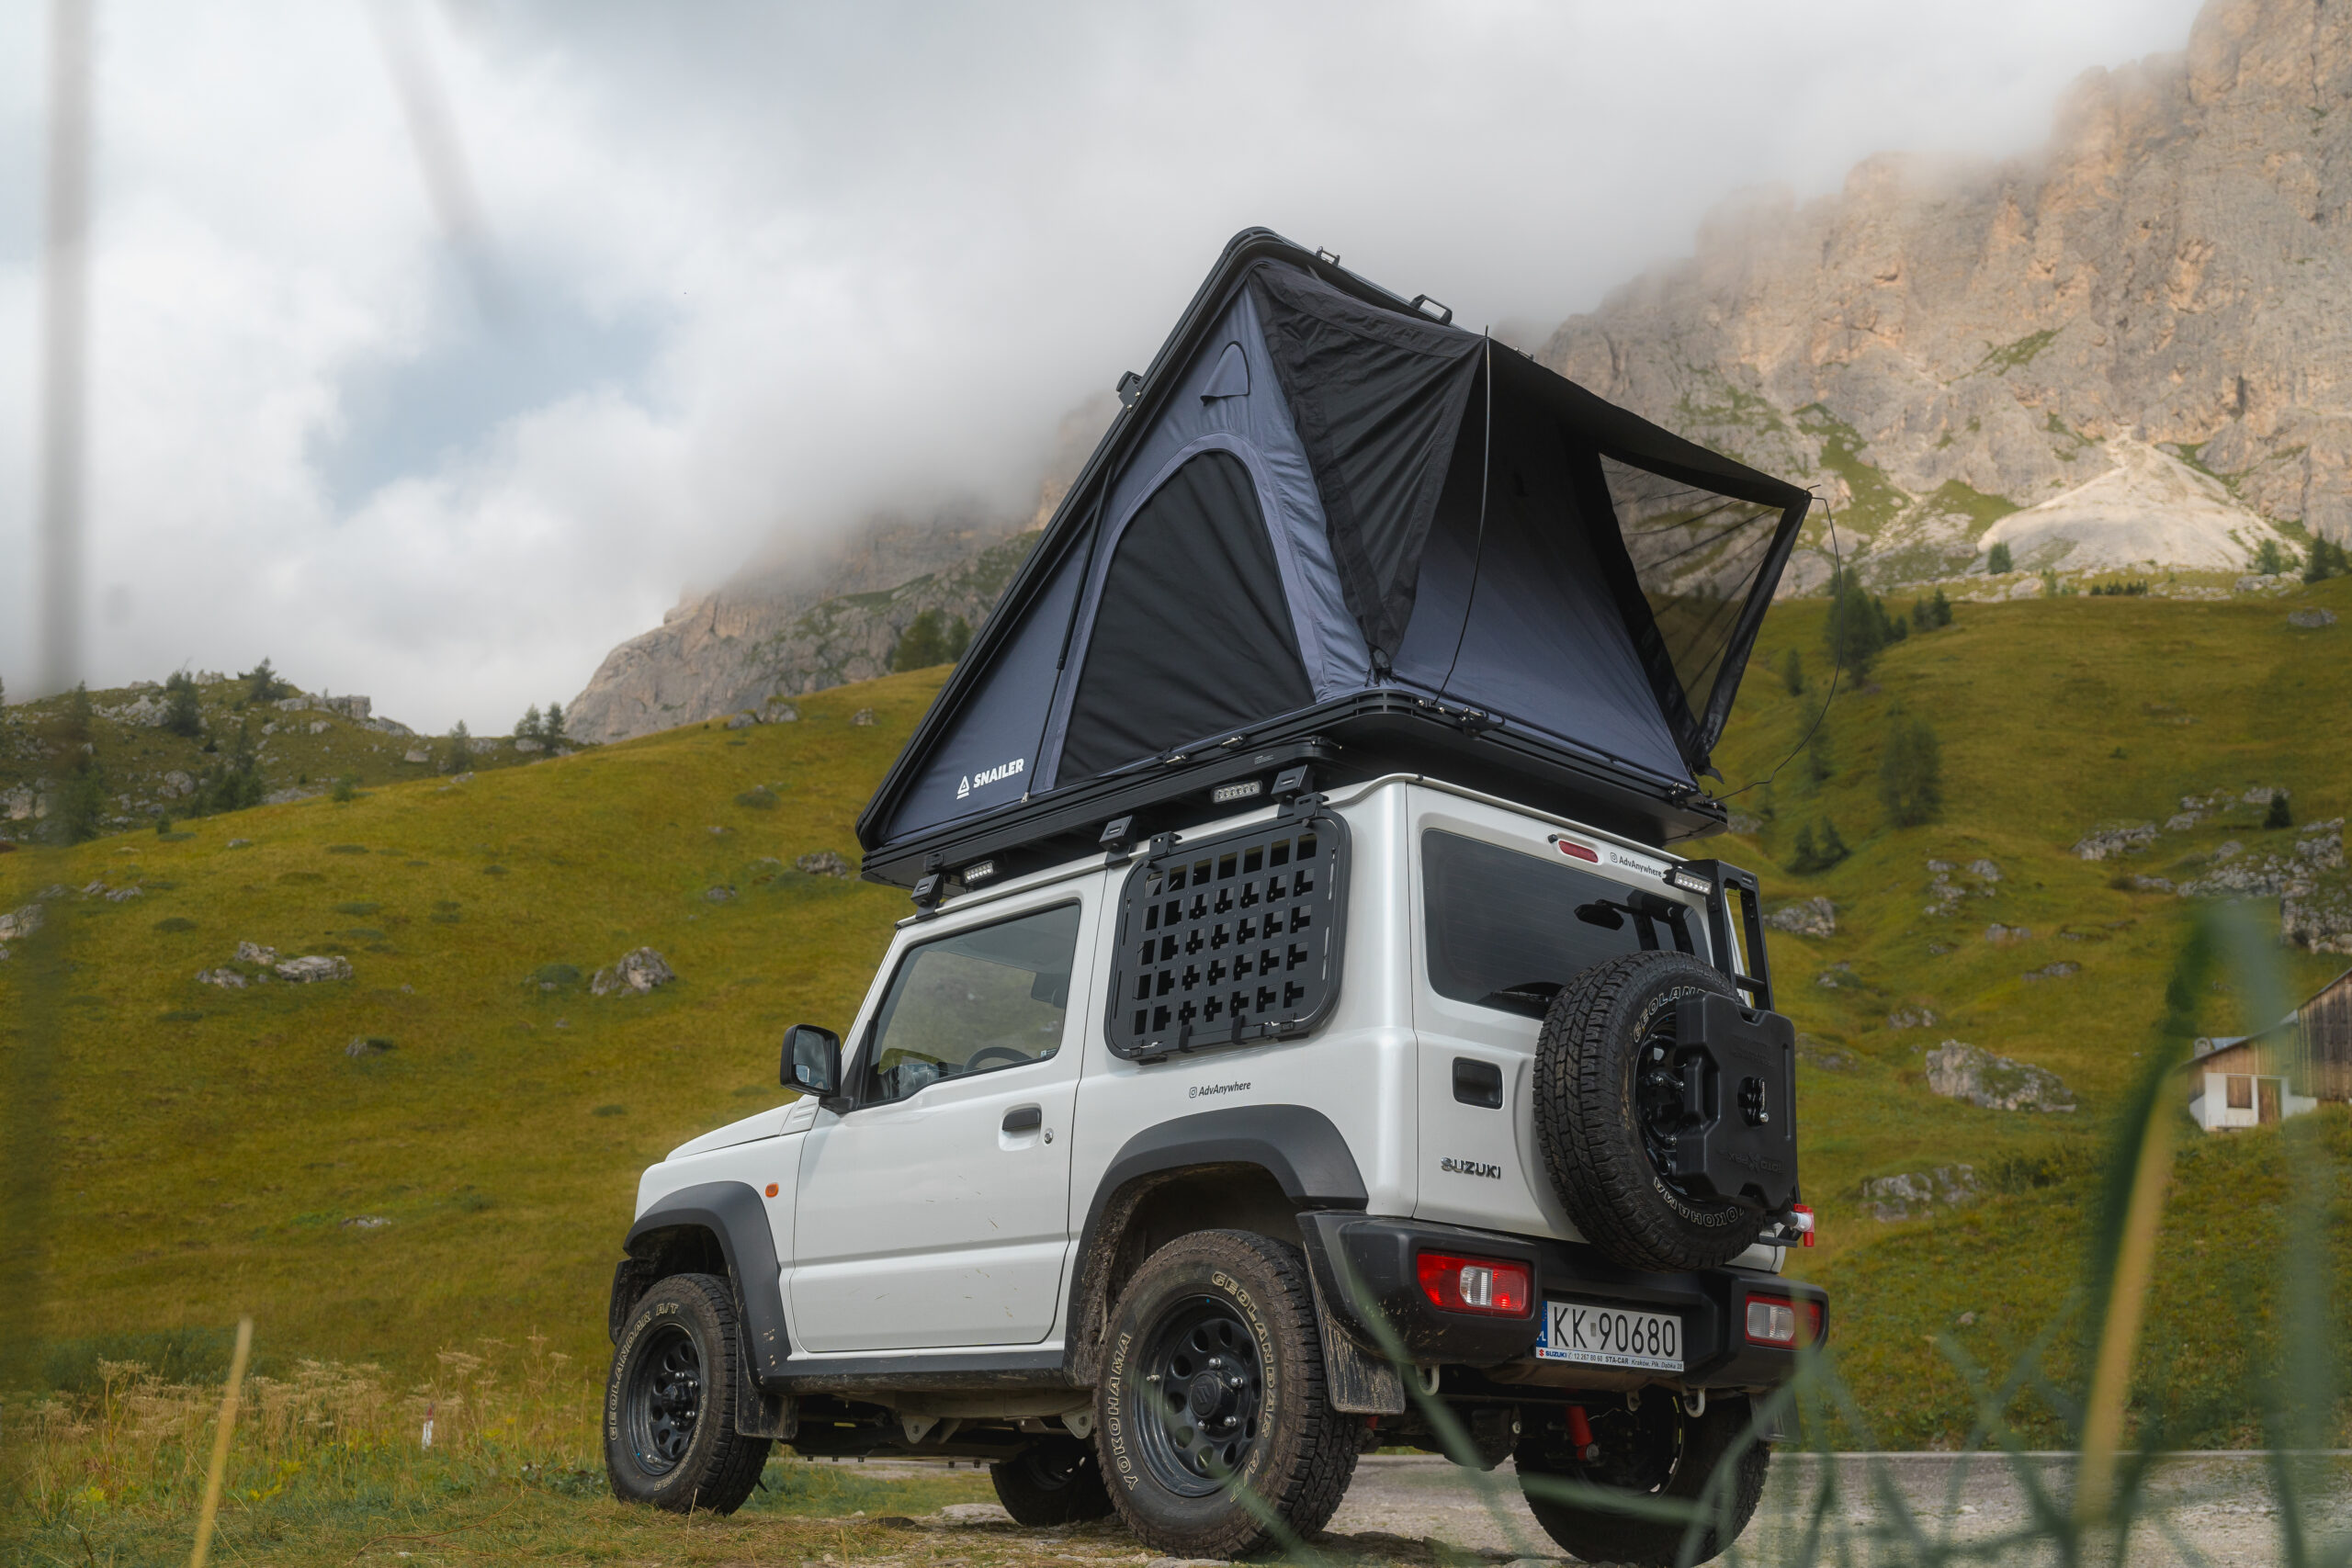
You can easily attach various elements to the hardshell rooftop tent. Currently, I have railings installed (only one is shown in the photos because I lost the screws while tinkering before the expedition) that can hold traction boards and an emergency box with ease. In the future, I also plan to mount solar panels.
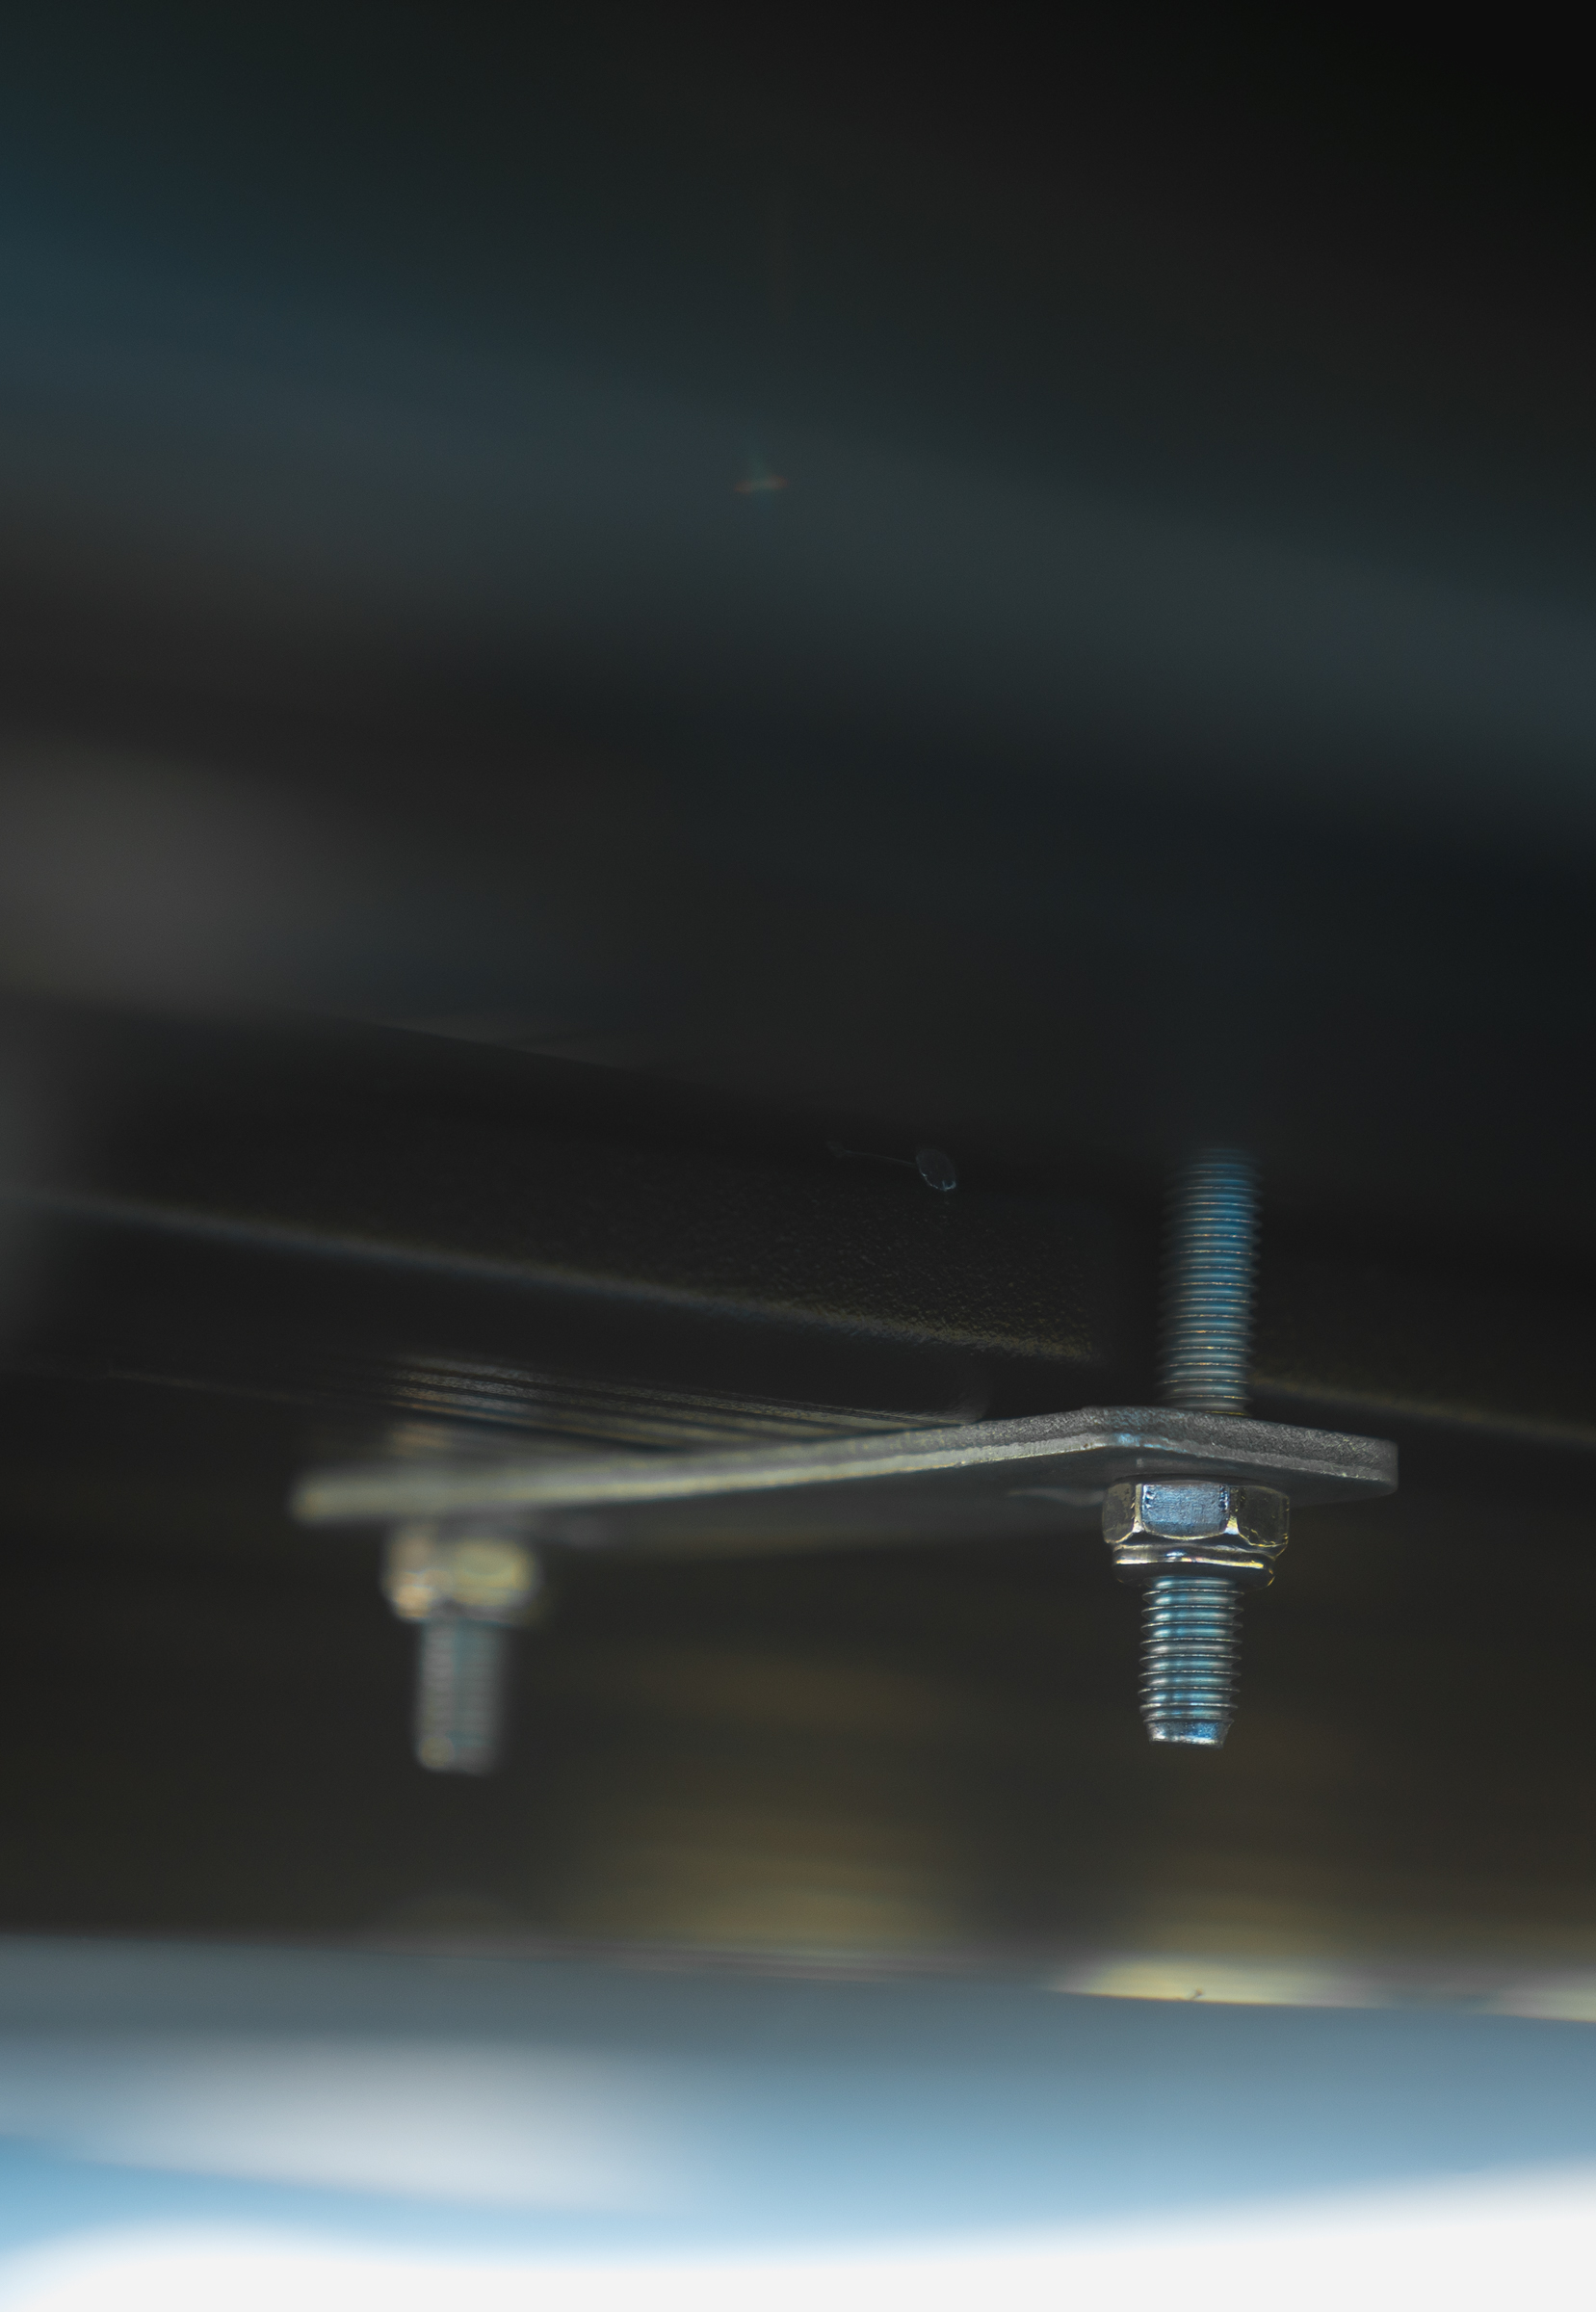
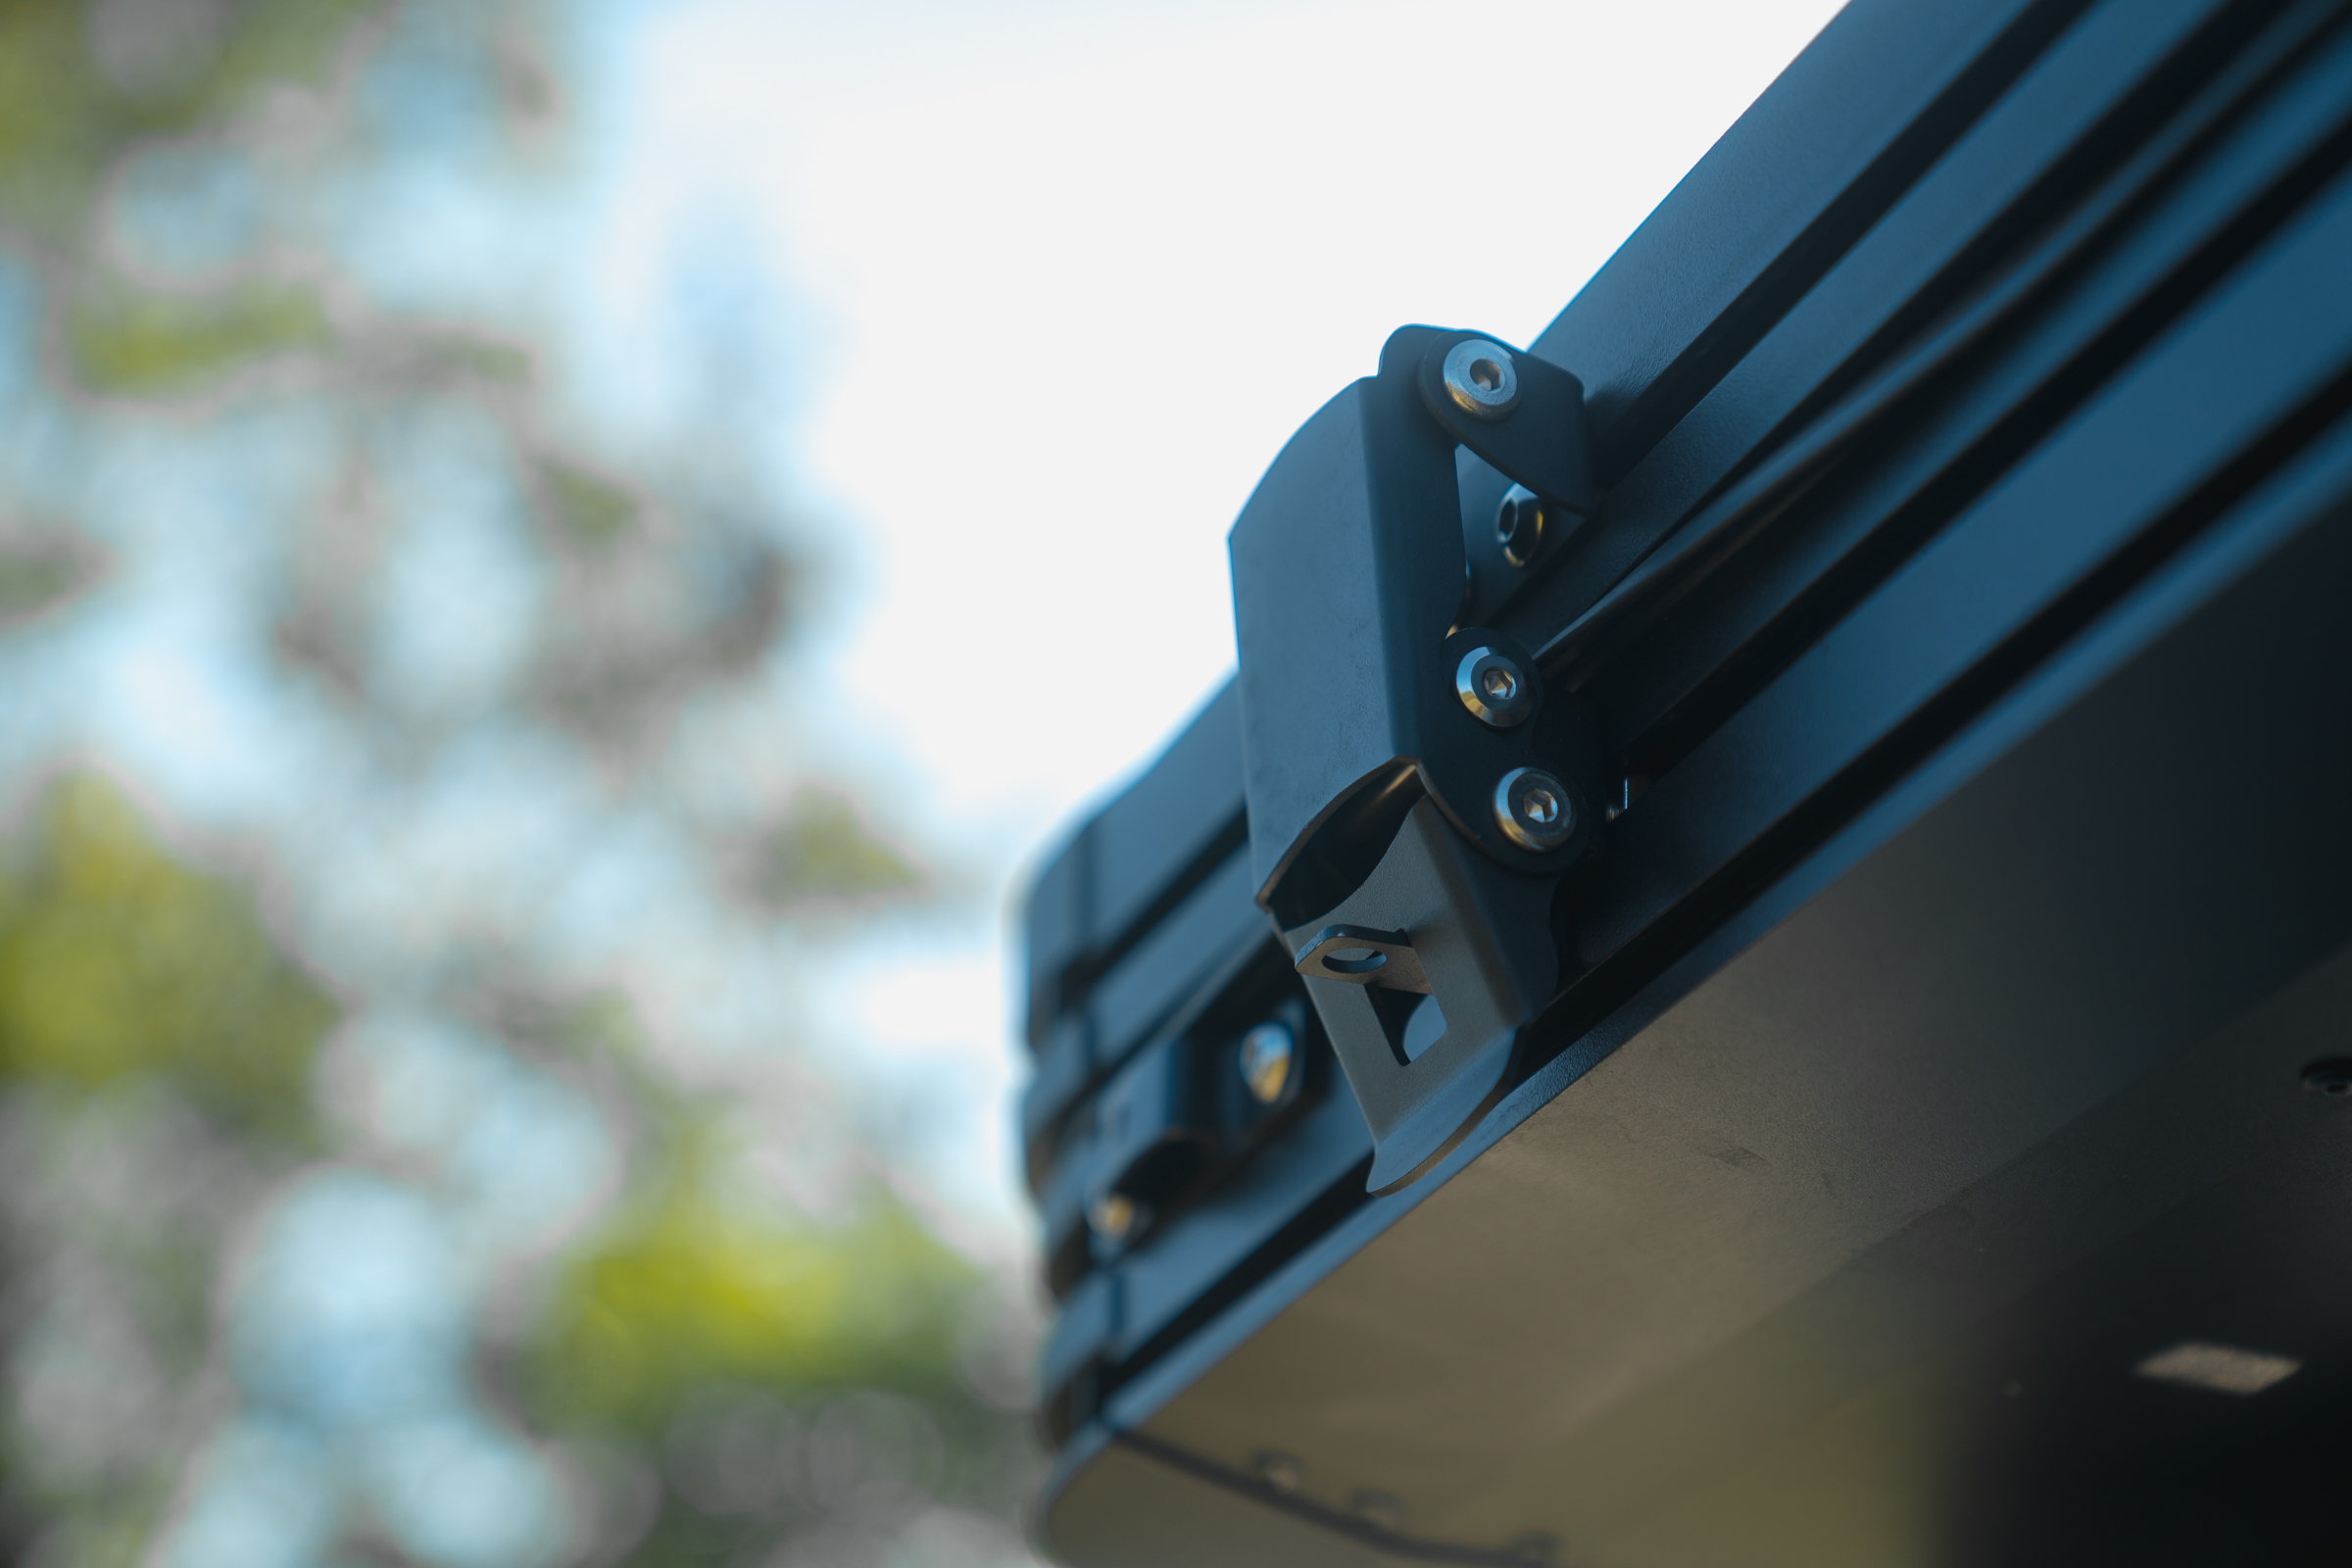
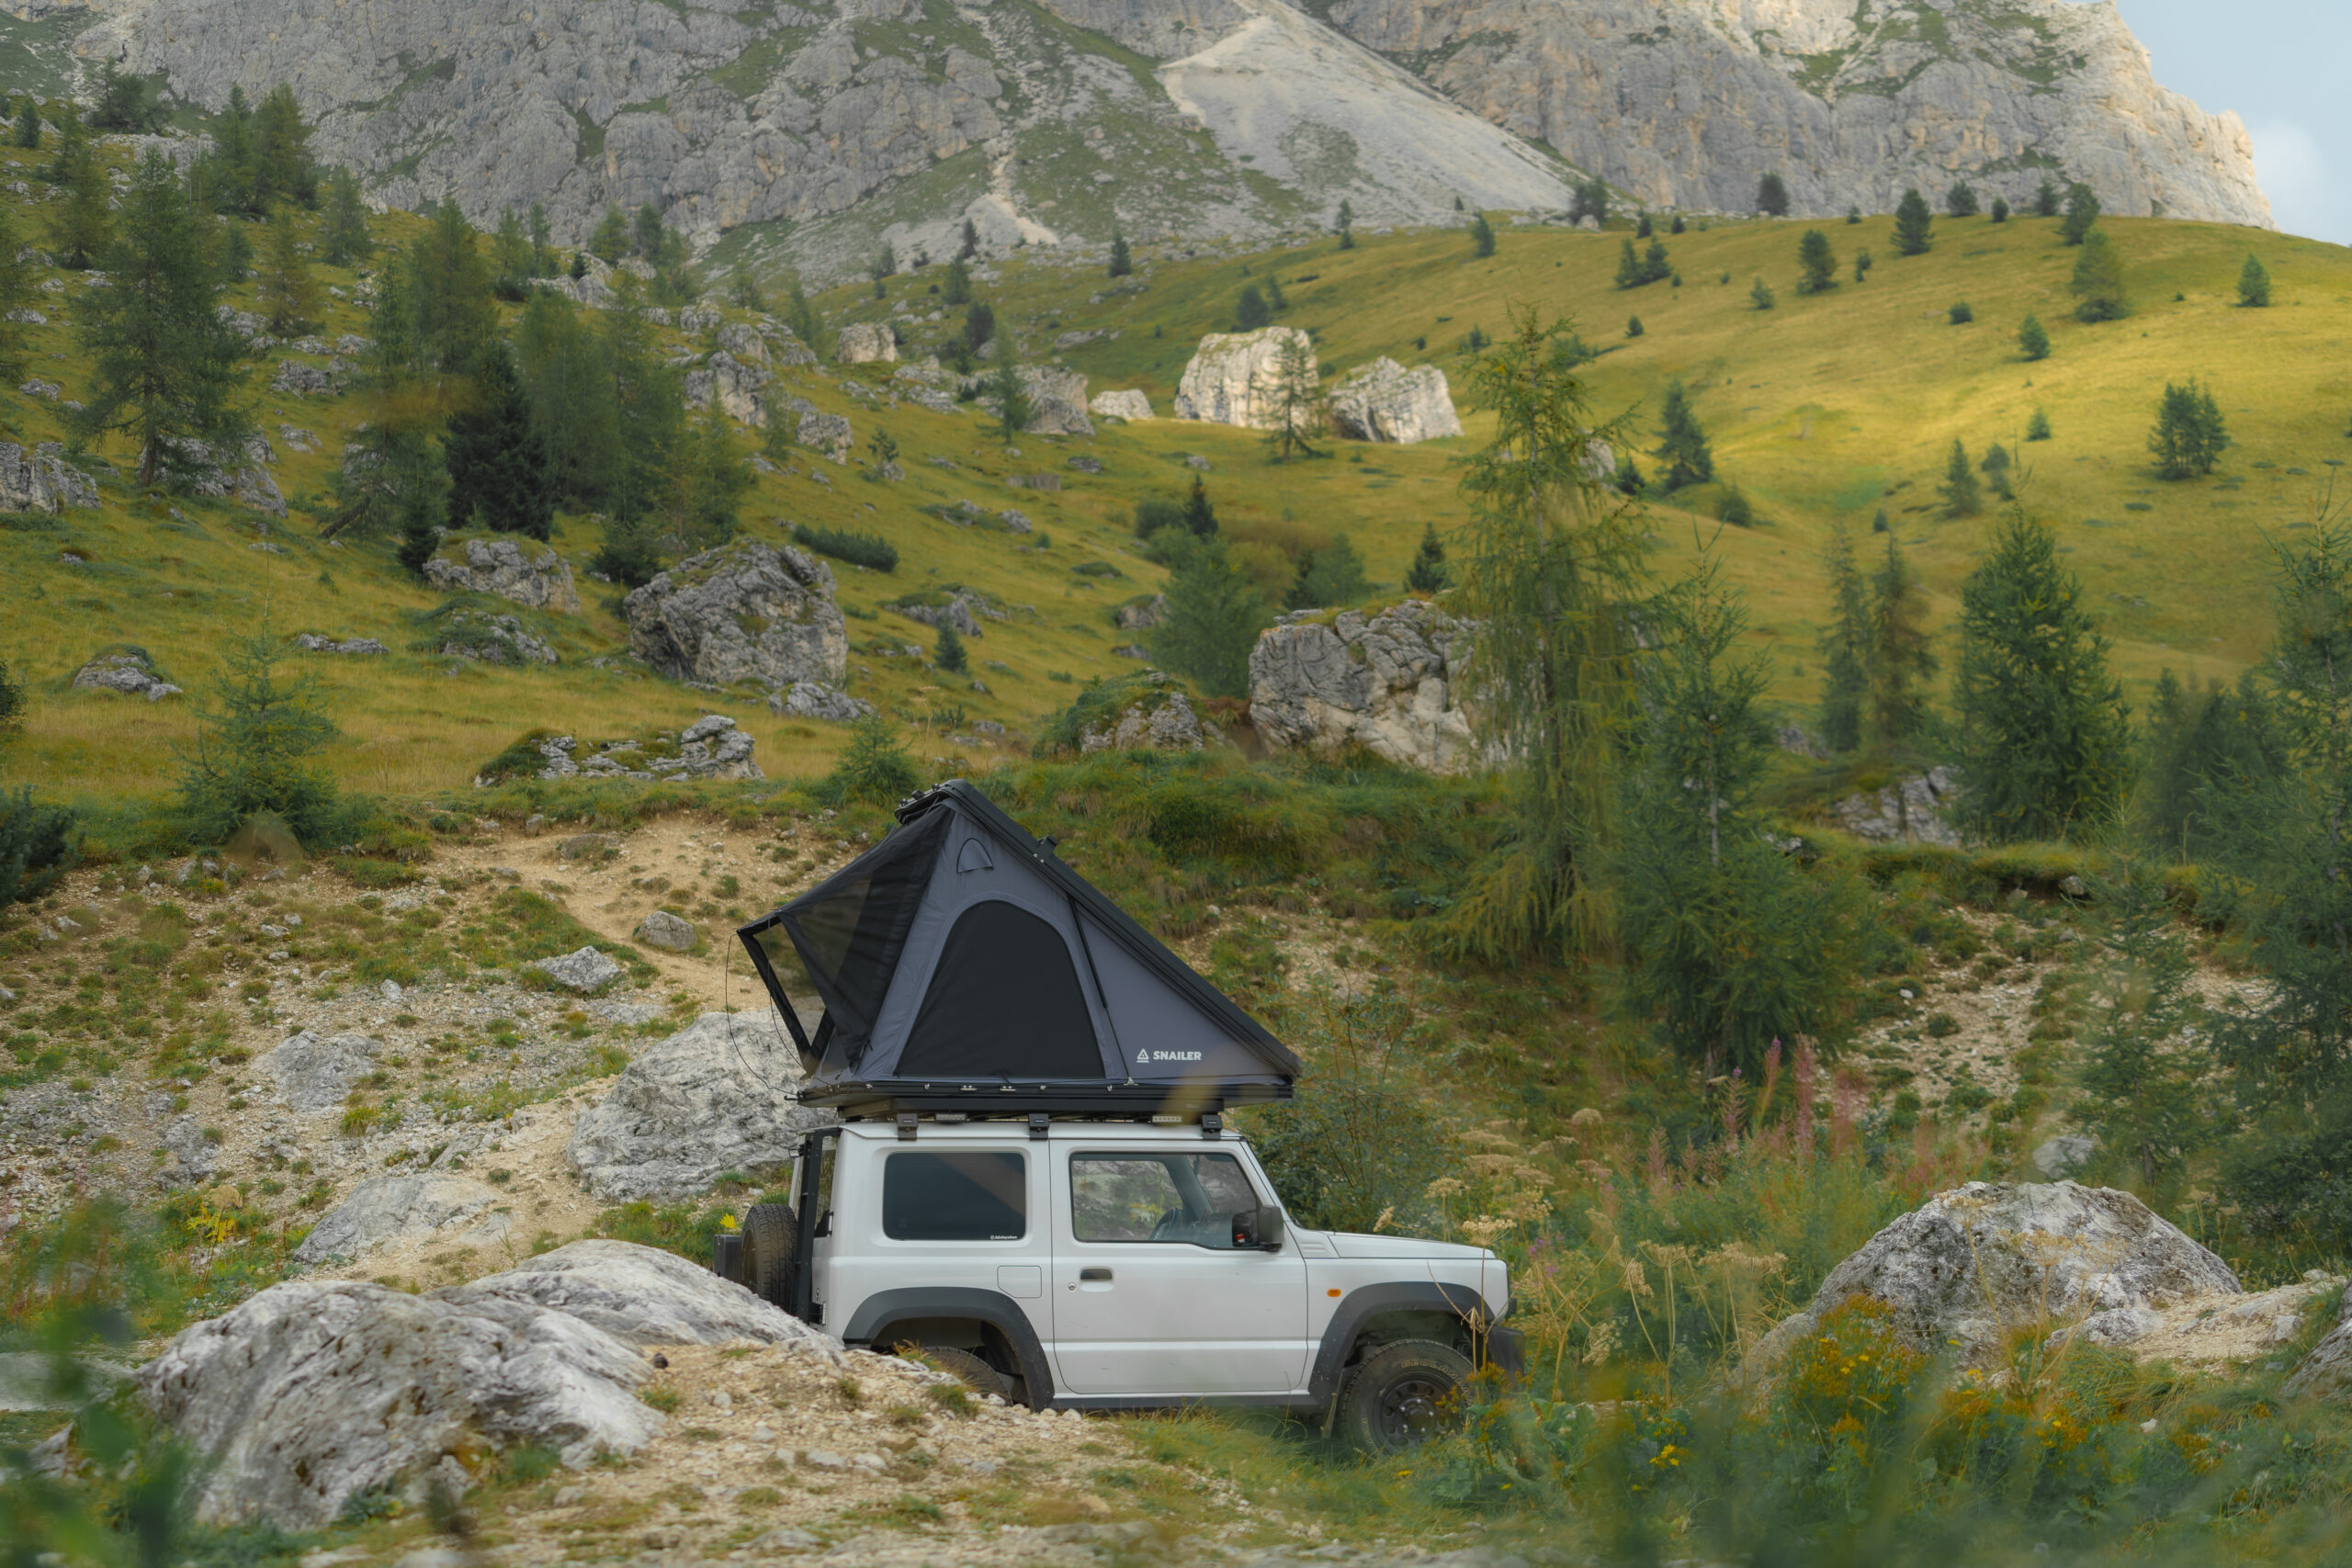
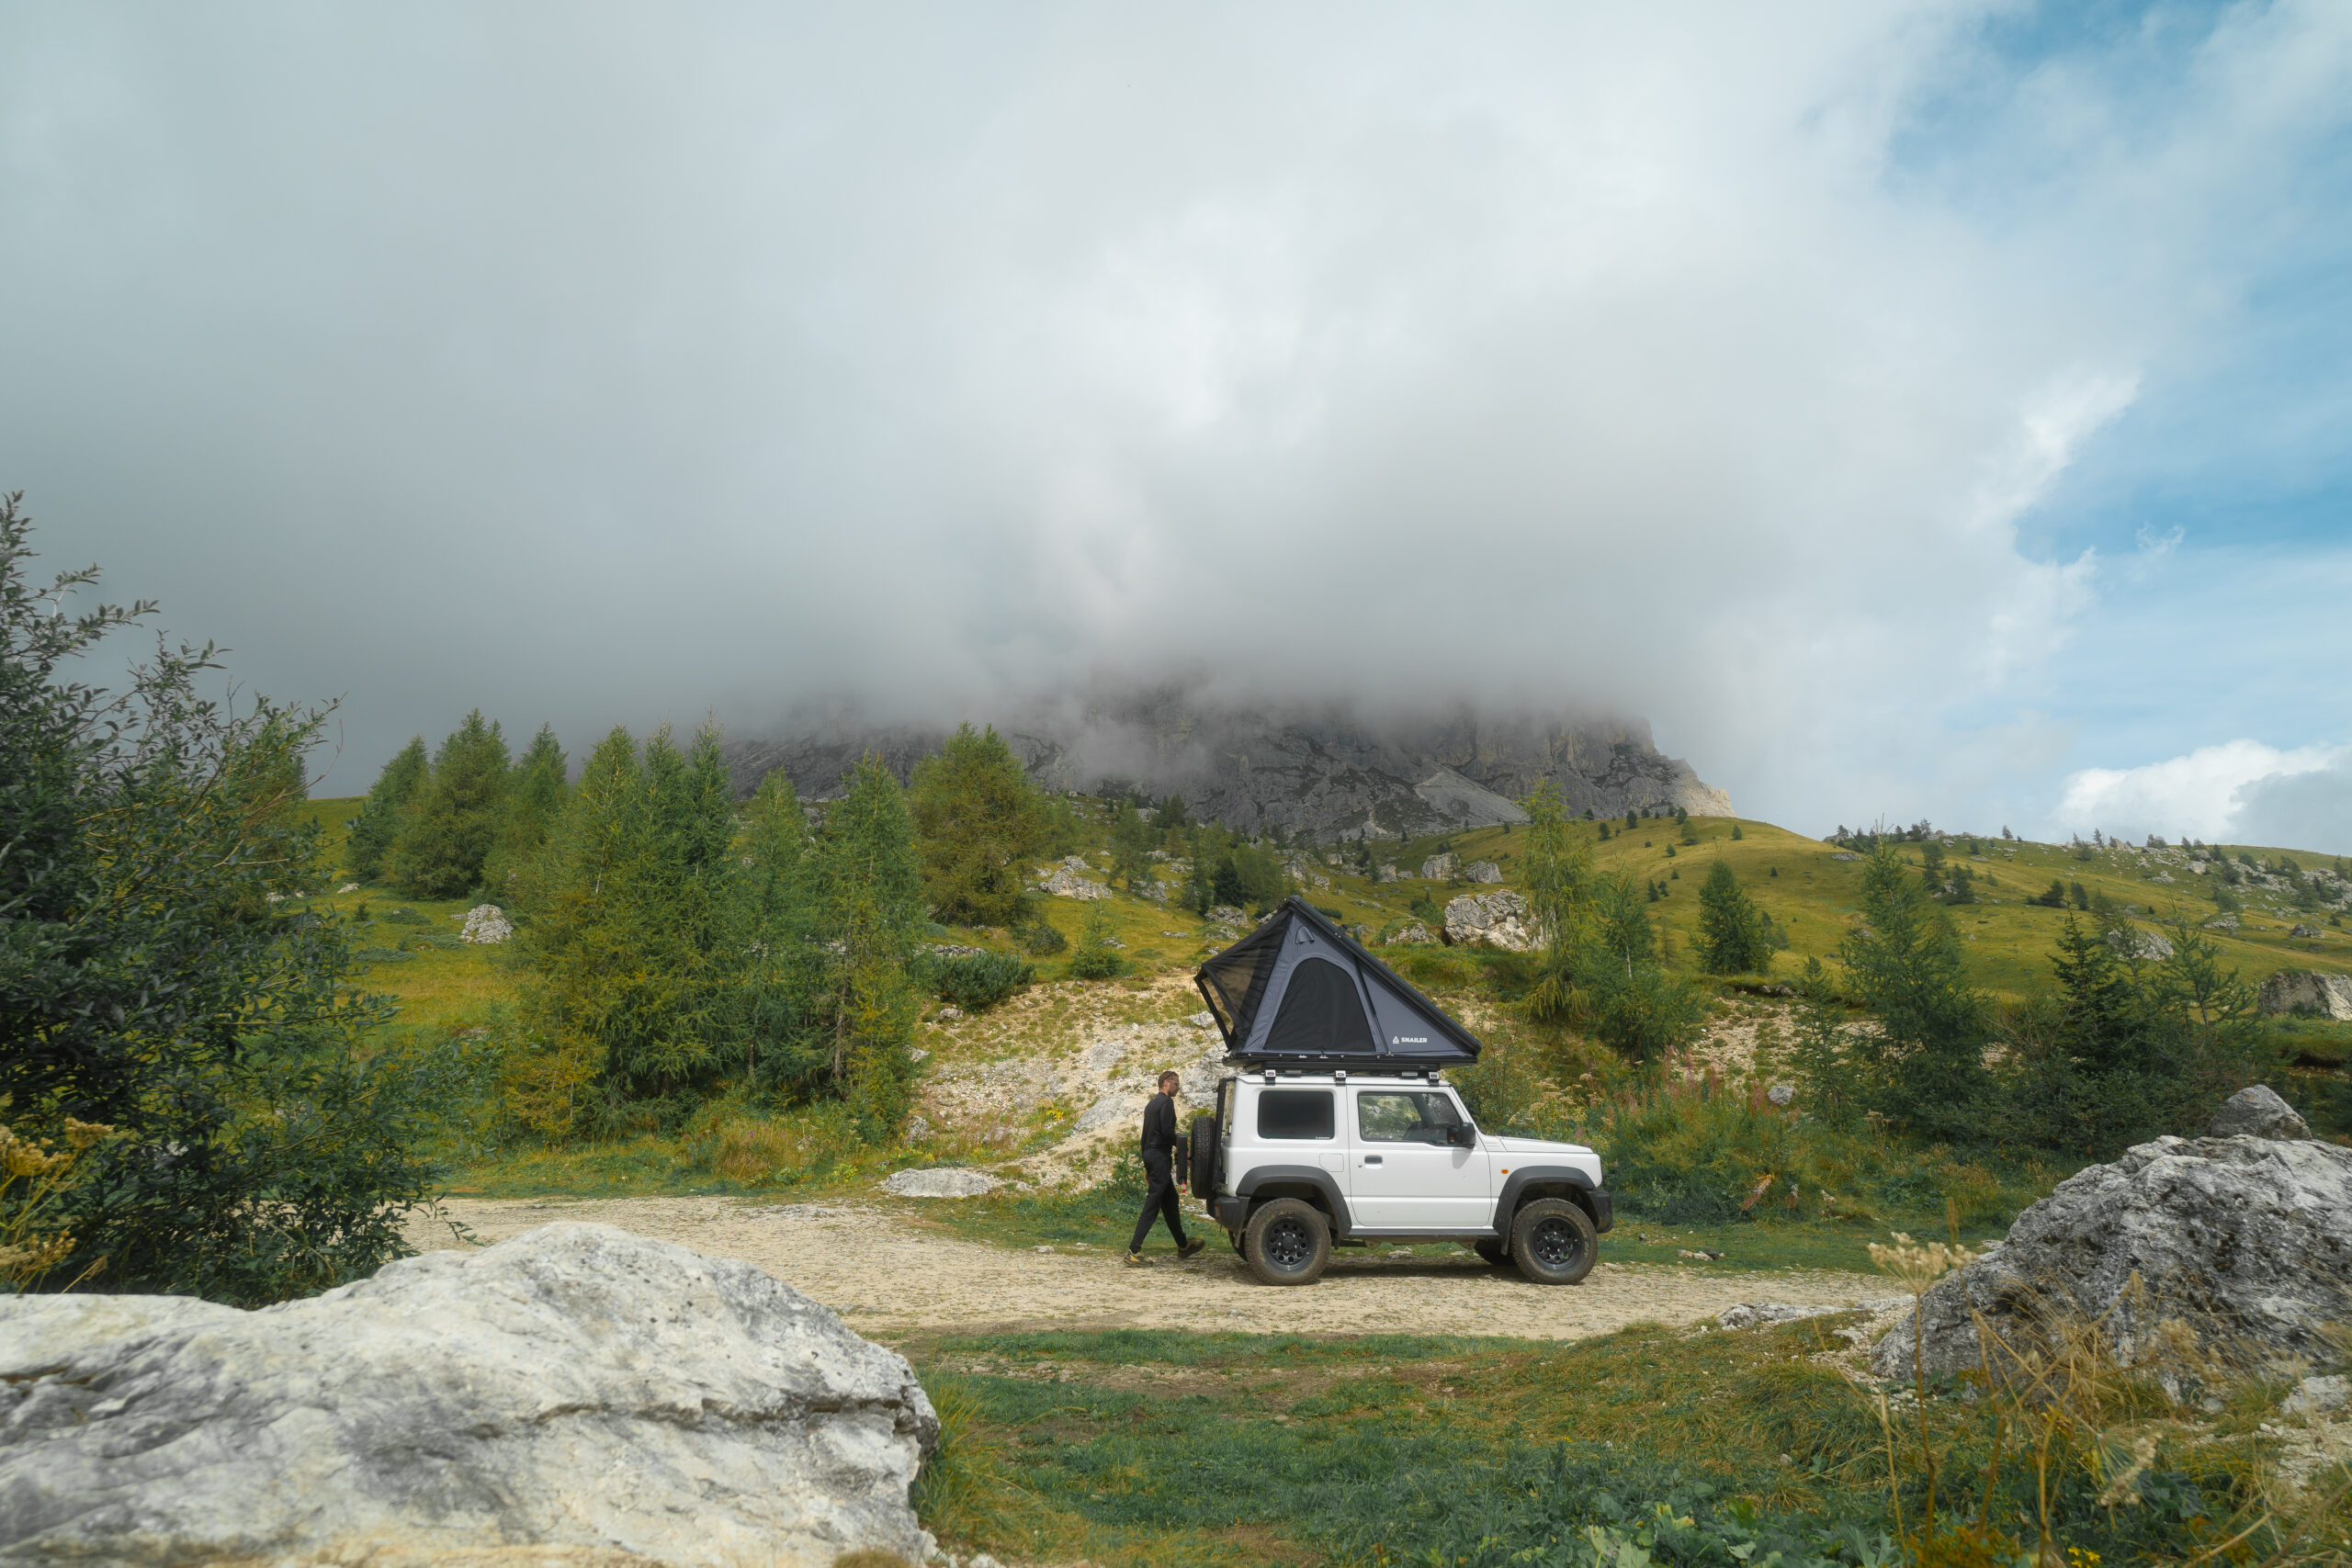
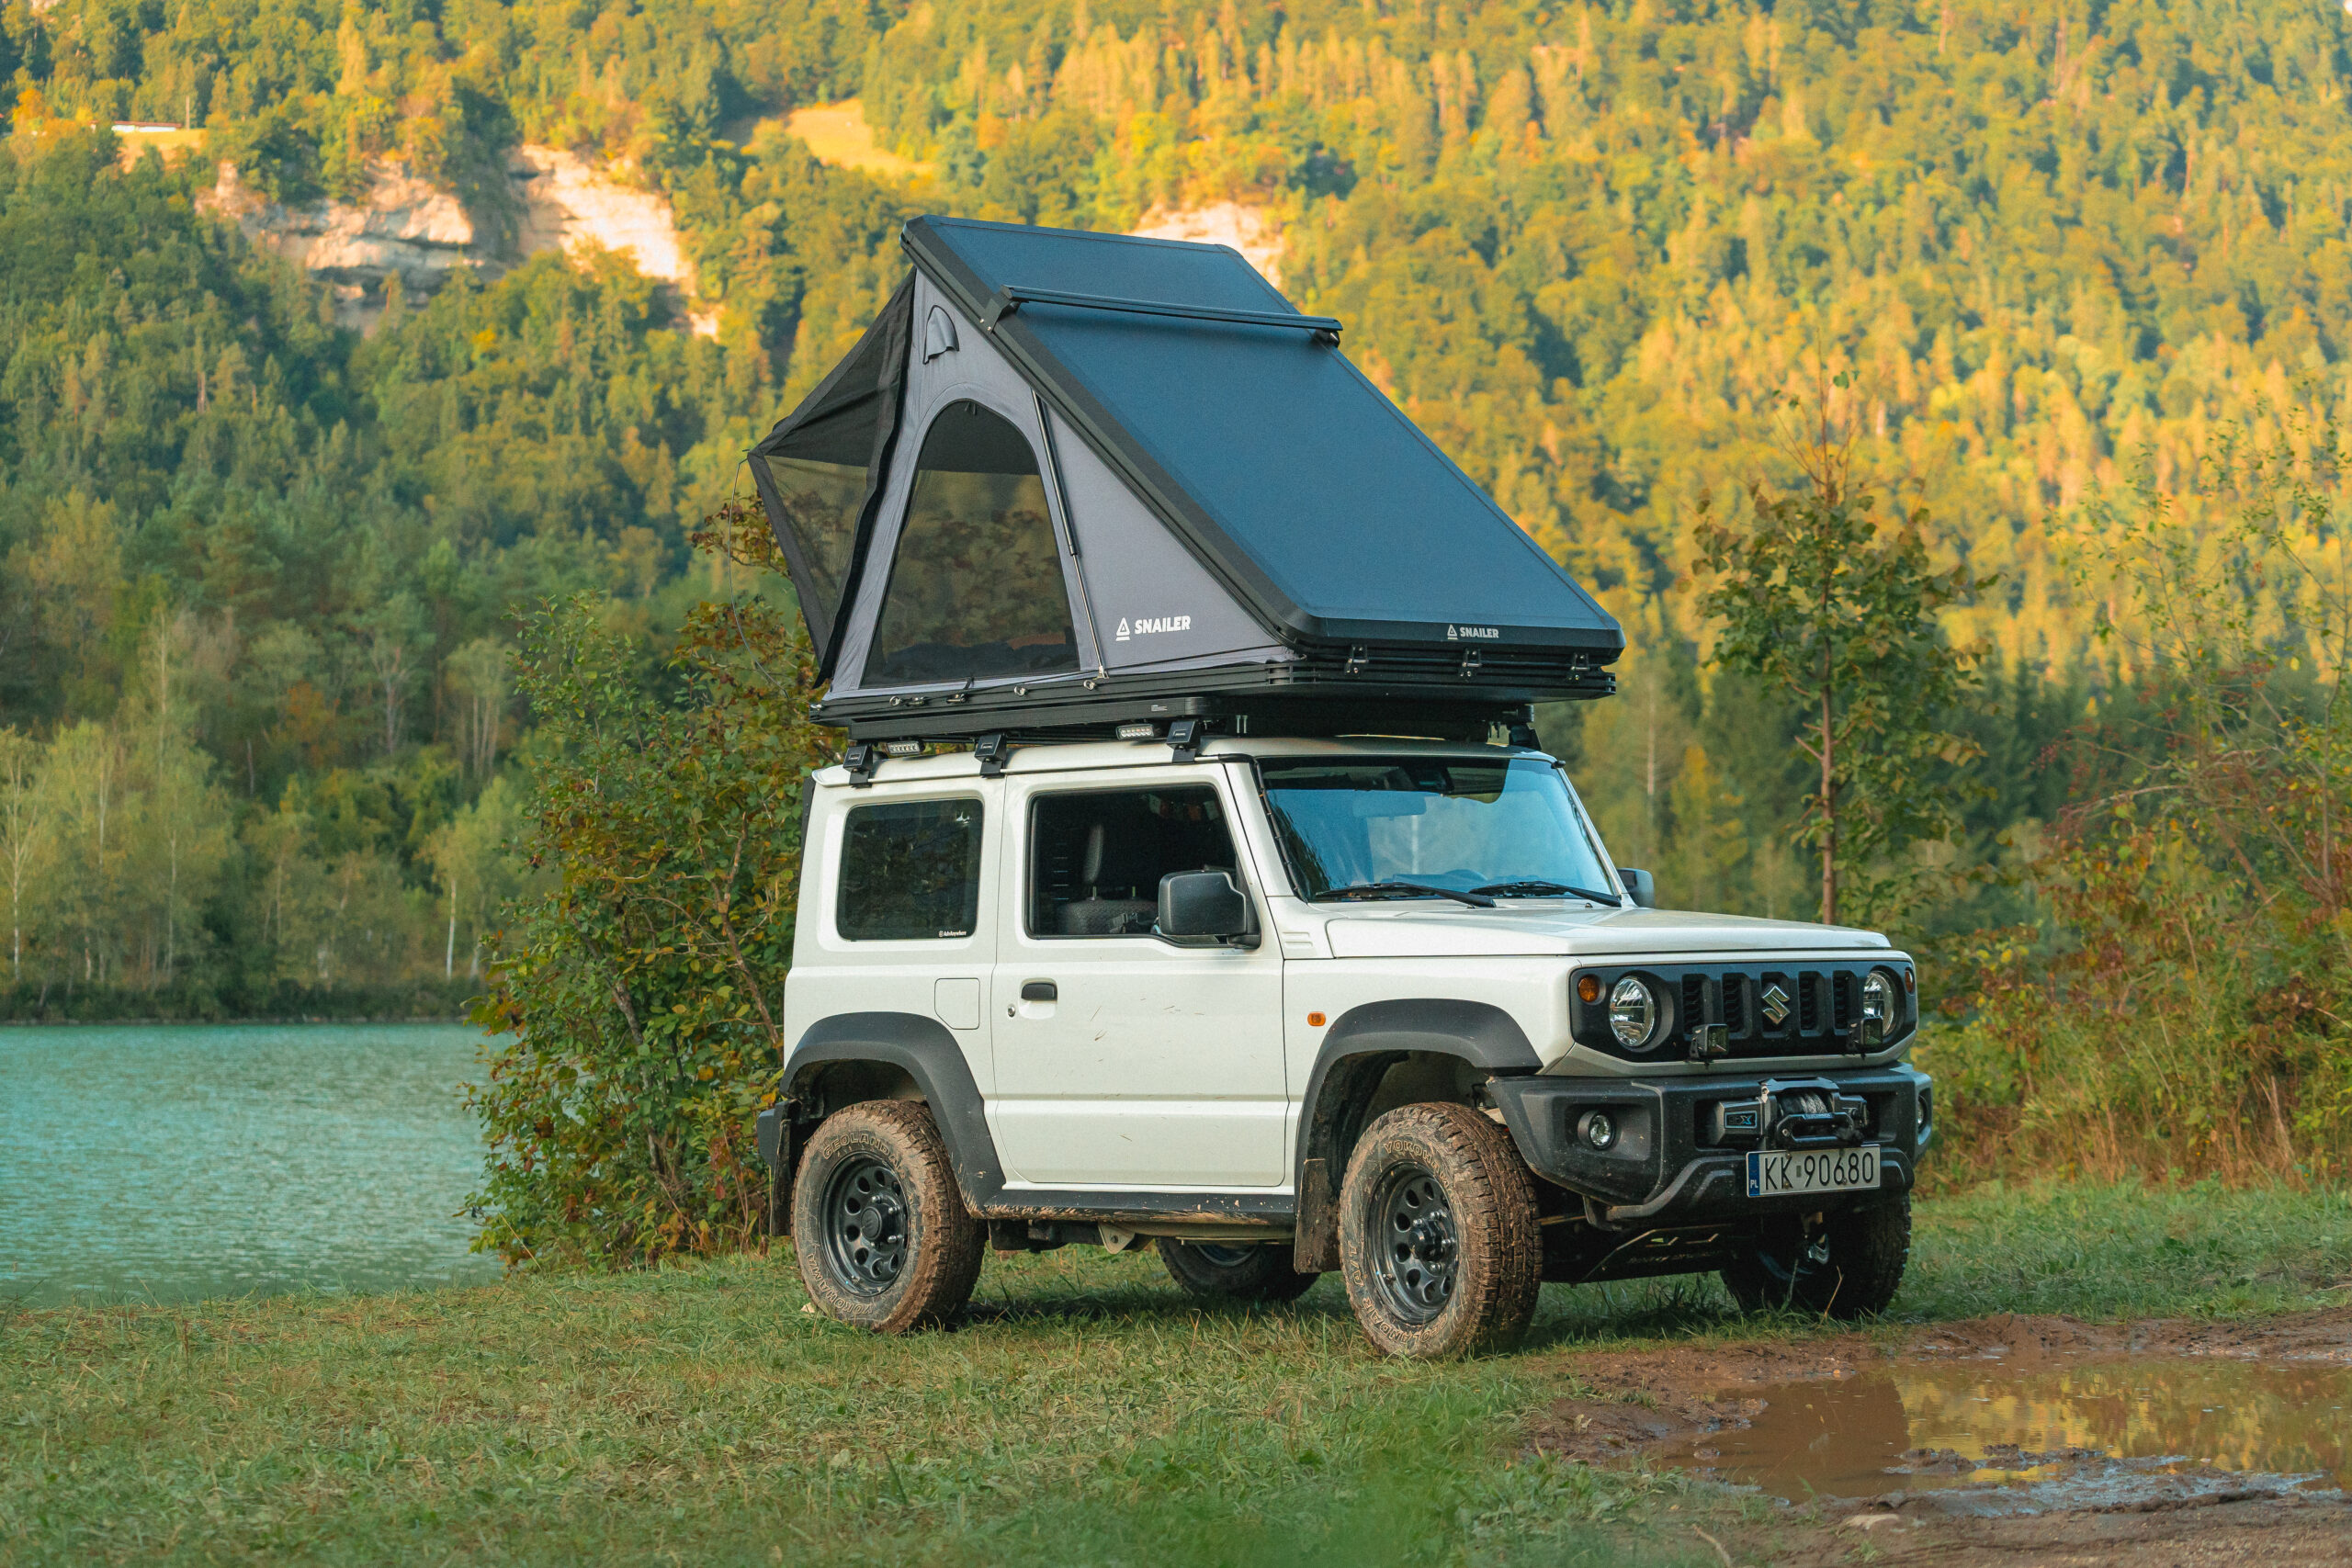
Roof tent mounting
The tent can be mounted on railings, allowing it to sit as low as possible.
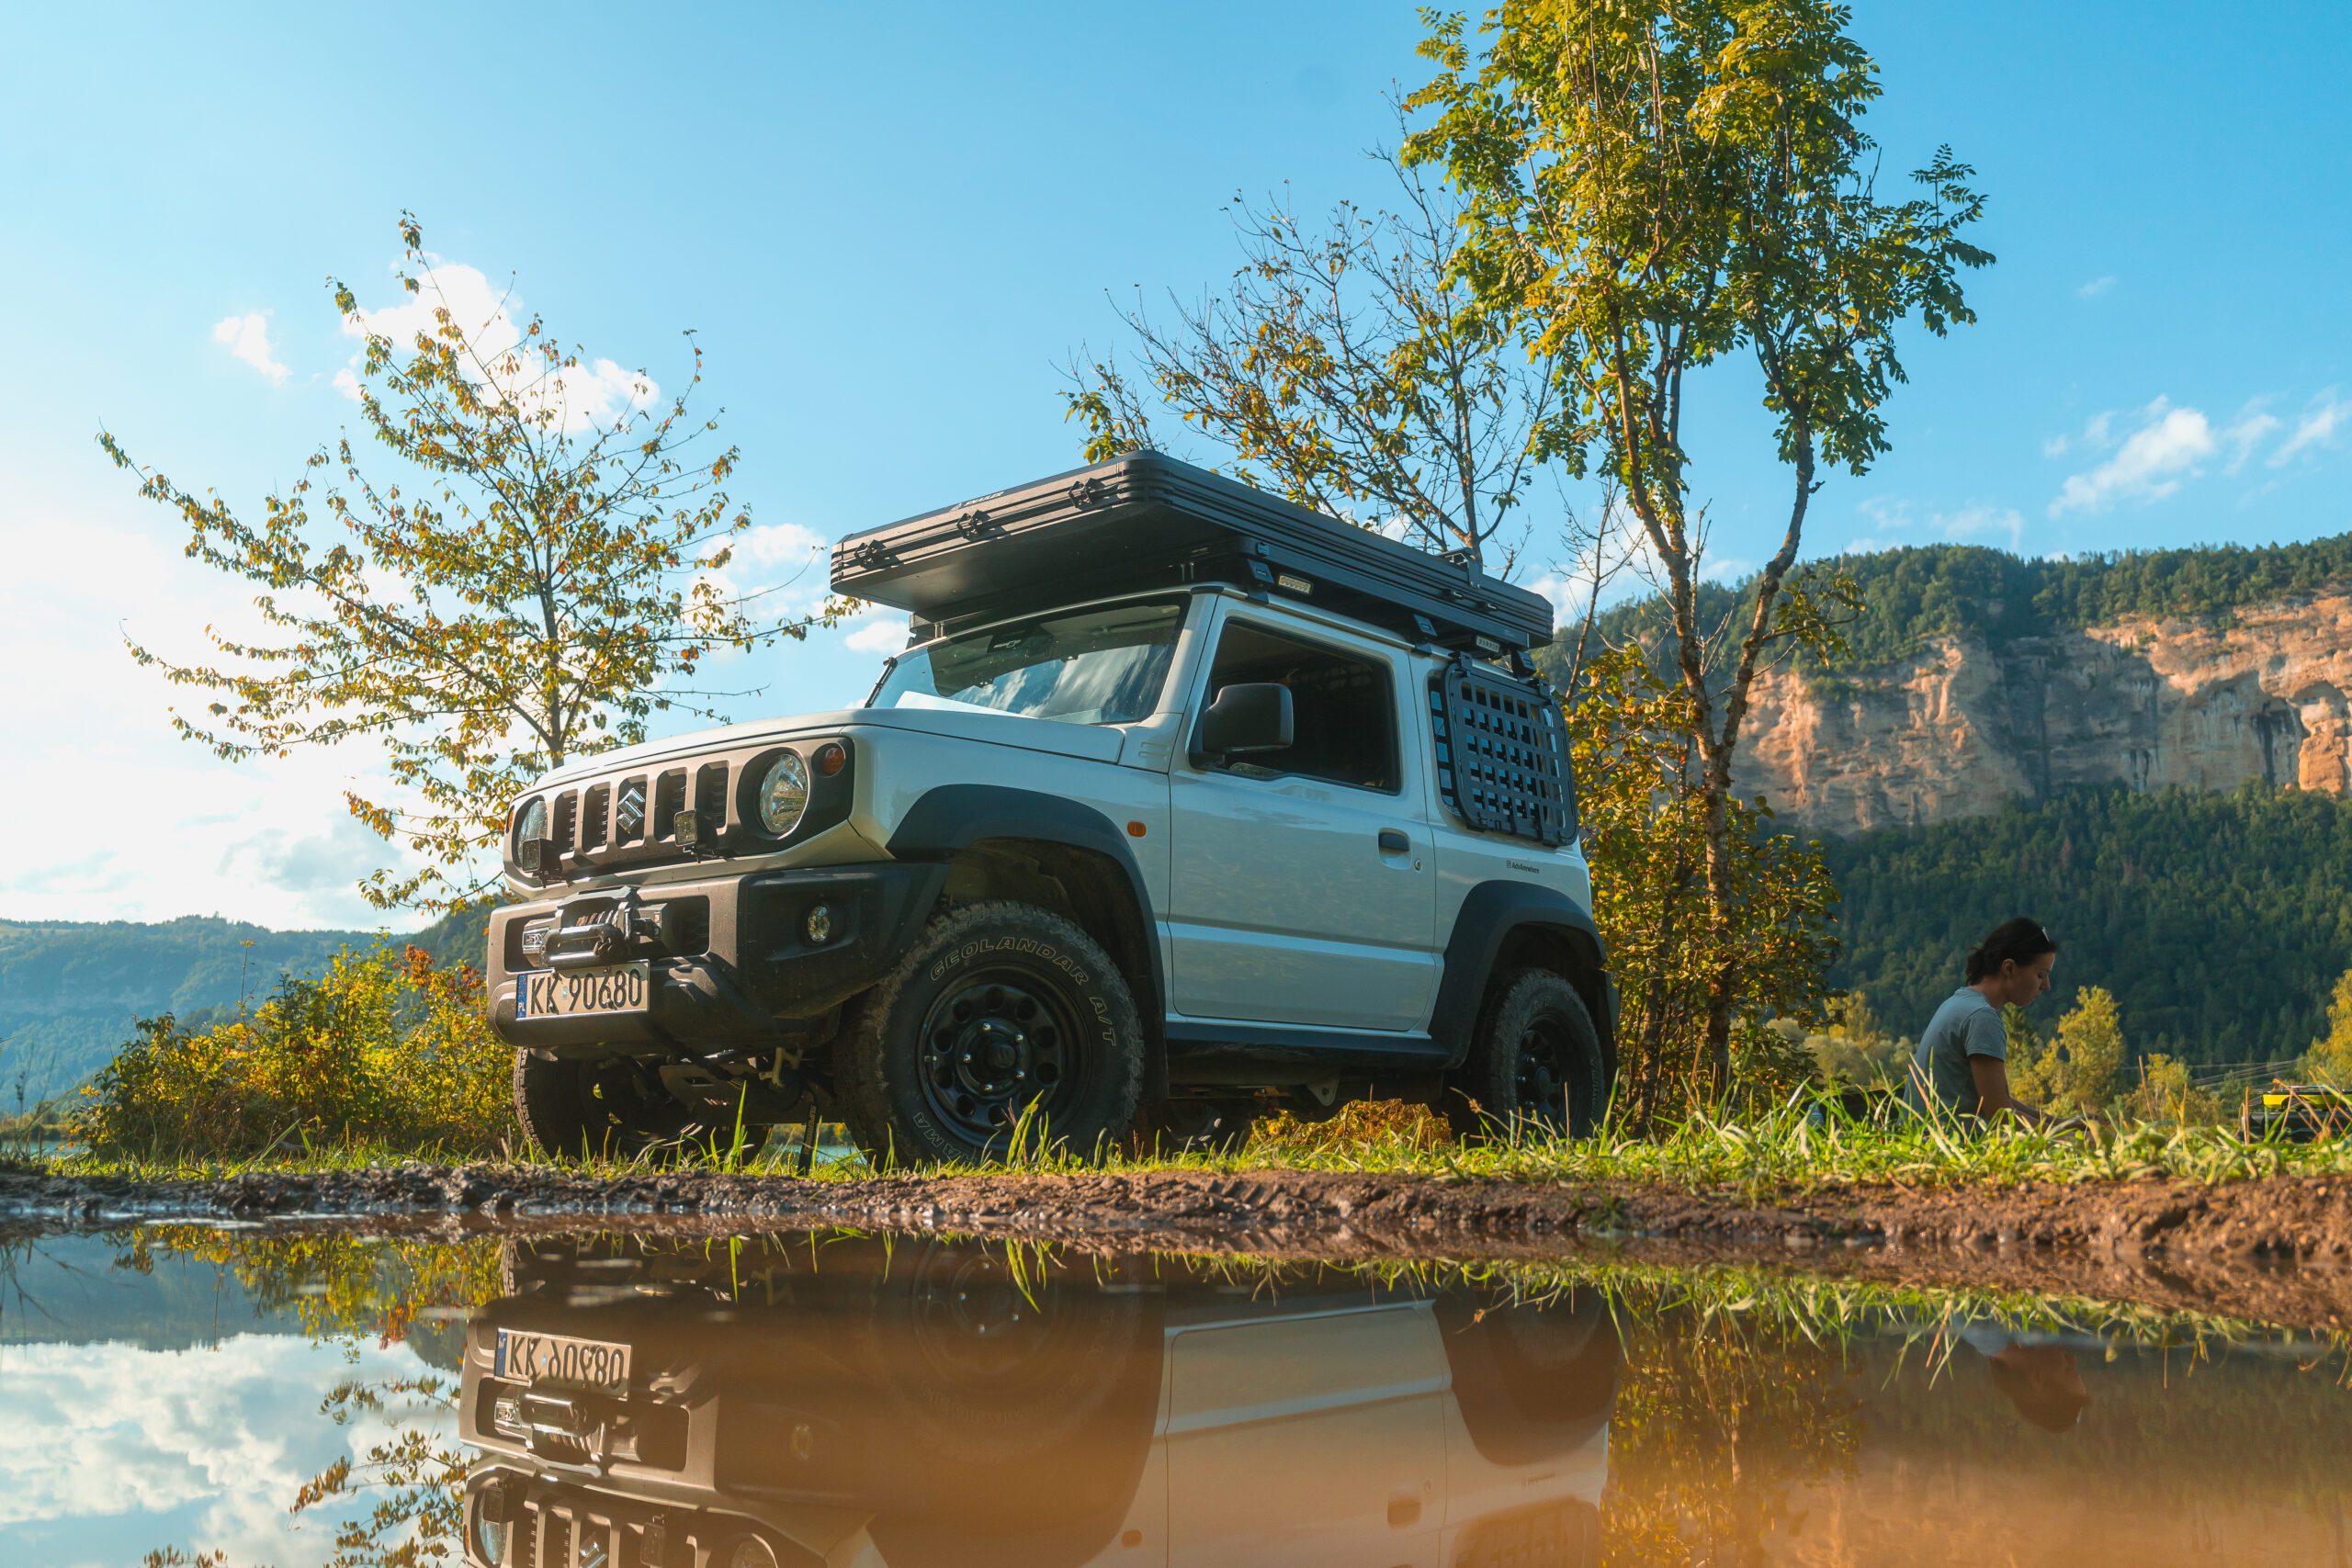
In my case, the SNAILER roof tent is installed on the Front Runner Slimline II (KRSJ003T) roof rack, which weighs 26 kg. This setup enables me to remove the tent when it’s not in use, preserving valuable luggage space.
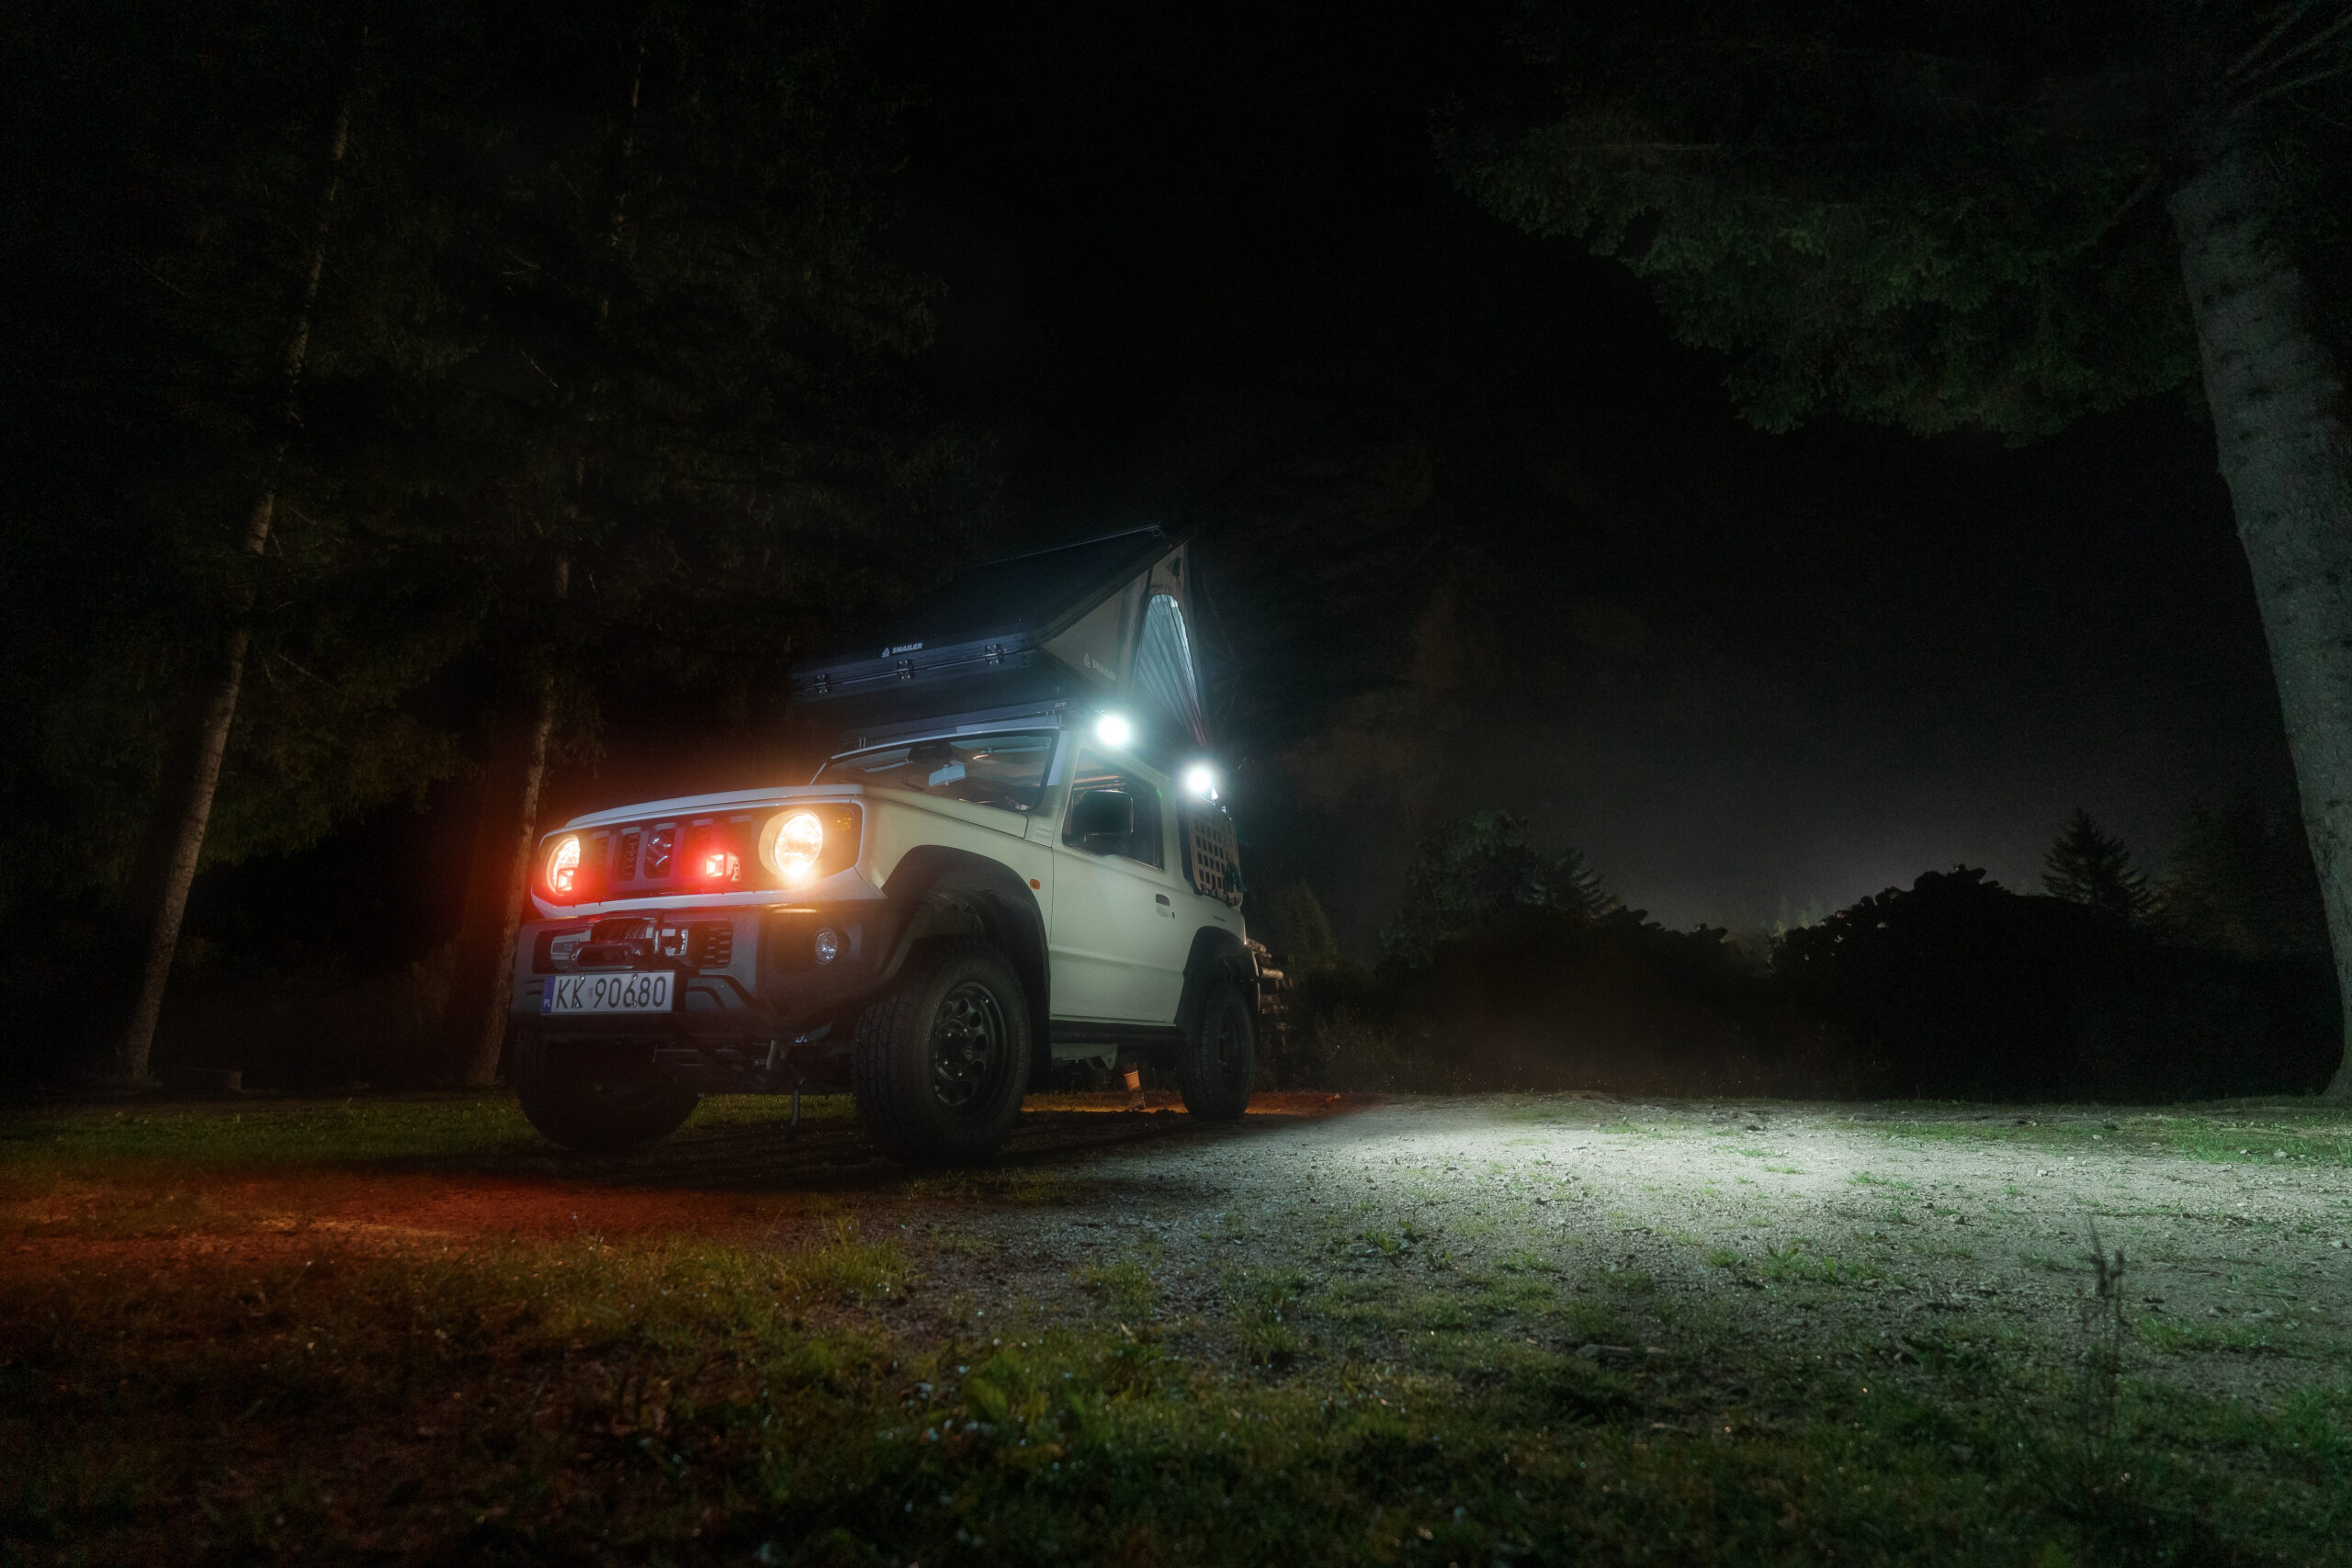
While I don’t plan on taking the tent off, I keep the roof rack on “just in case.” The second reason for this is that I already have the entire lighting system installed on the roof rack.
The SNAILER Alduo tent weighs 68 kg, and together with the rack, LED bar, lights, and cables, the total weight on the roof is nearly 100 kg.
What do you need to install a roof tent?
Roof rack or railings
The SNAILER Alduo tent, like other rooftop tents, can be easily mounted on railings, meaning you don’t necessarily need an off-road vehicle to sleep on the roof.
A roof rack is typically found on most off-road vehicles, and one of its universal applications is the ability to mount a rooftop tent. However, with so many different roof racks available, it’s best to consult the tent manufacturer to ensure compatibility.
In my case, with my Jimny and the Front Runner rack, the tent’s mounting beam had to be shortened slightly.
Optional: Suspension
The suspension must be adequate to handle the increased load capacity, which is crucial given the added weight, especially on the roof.
I have the Pedders +2″ Suspension Kit installed in my Suzuki Jimny. This not only boosted the load capacity but also significantly improved the vehicle’s handling. In the case of the Suzuki Jimny 2018+, the factory suspension should be replaced immediately, even without a rooftop tent. Of course, each vehicle is different.
Driving with a roof tent
Fuel consumption
I was concerned that the design would lead to significantly higher fuel consumption. I estimate that it increased by about 1 L/100 km, but that’s just an approximation.
In a short period, I added numerous elements to my expedition Jimny, which increased the weight and compromised the already average aerodynamics of the small, boxy car.
Currently, when driving economically and avoiding aggressive acceleration with all my modifications and the tent on the roof, my fuel consumption is around 7.5-8.5 L/100 km. Before making any modifications, I believe I achieved fuel consumption in the range of 6-7 L/100 km. If you also own a Jimny, let me know in the comments how your fuel consumption compares!
Wind
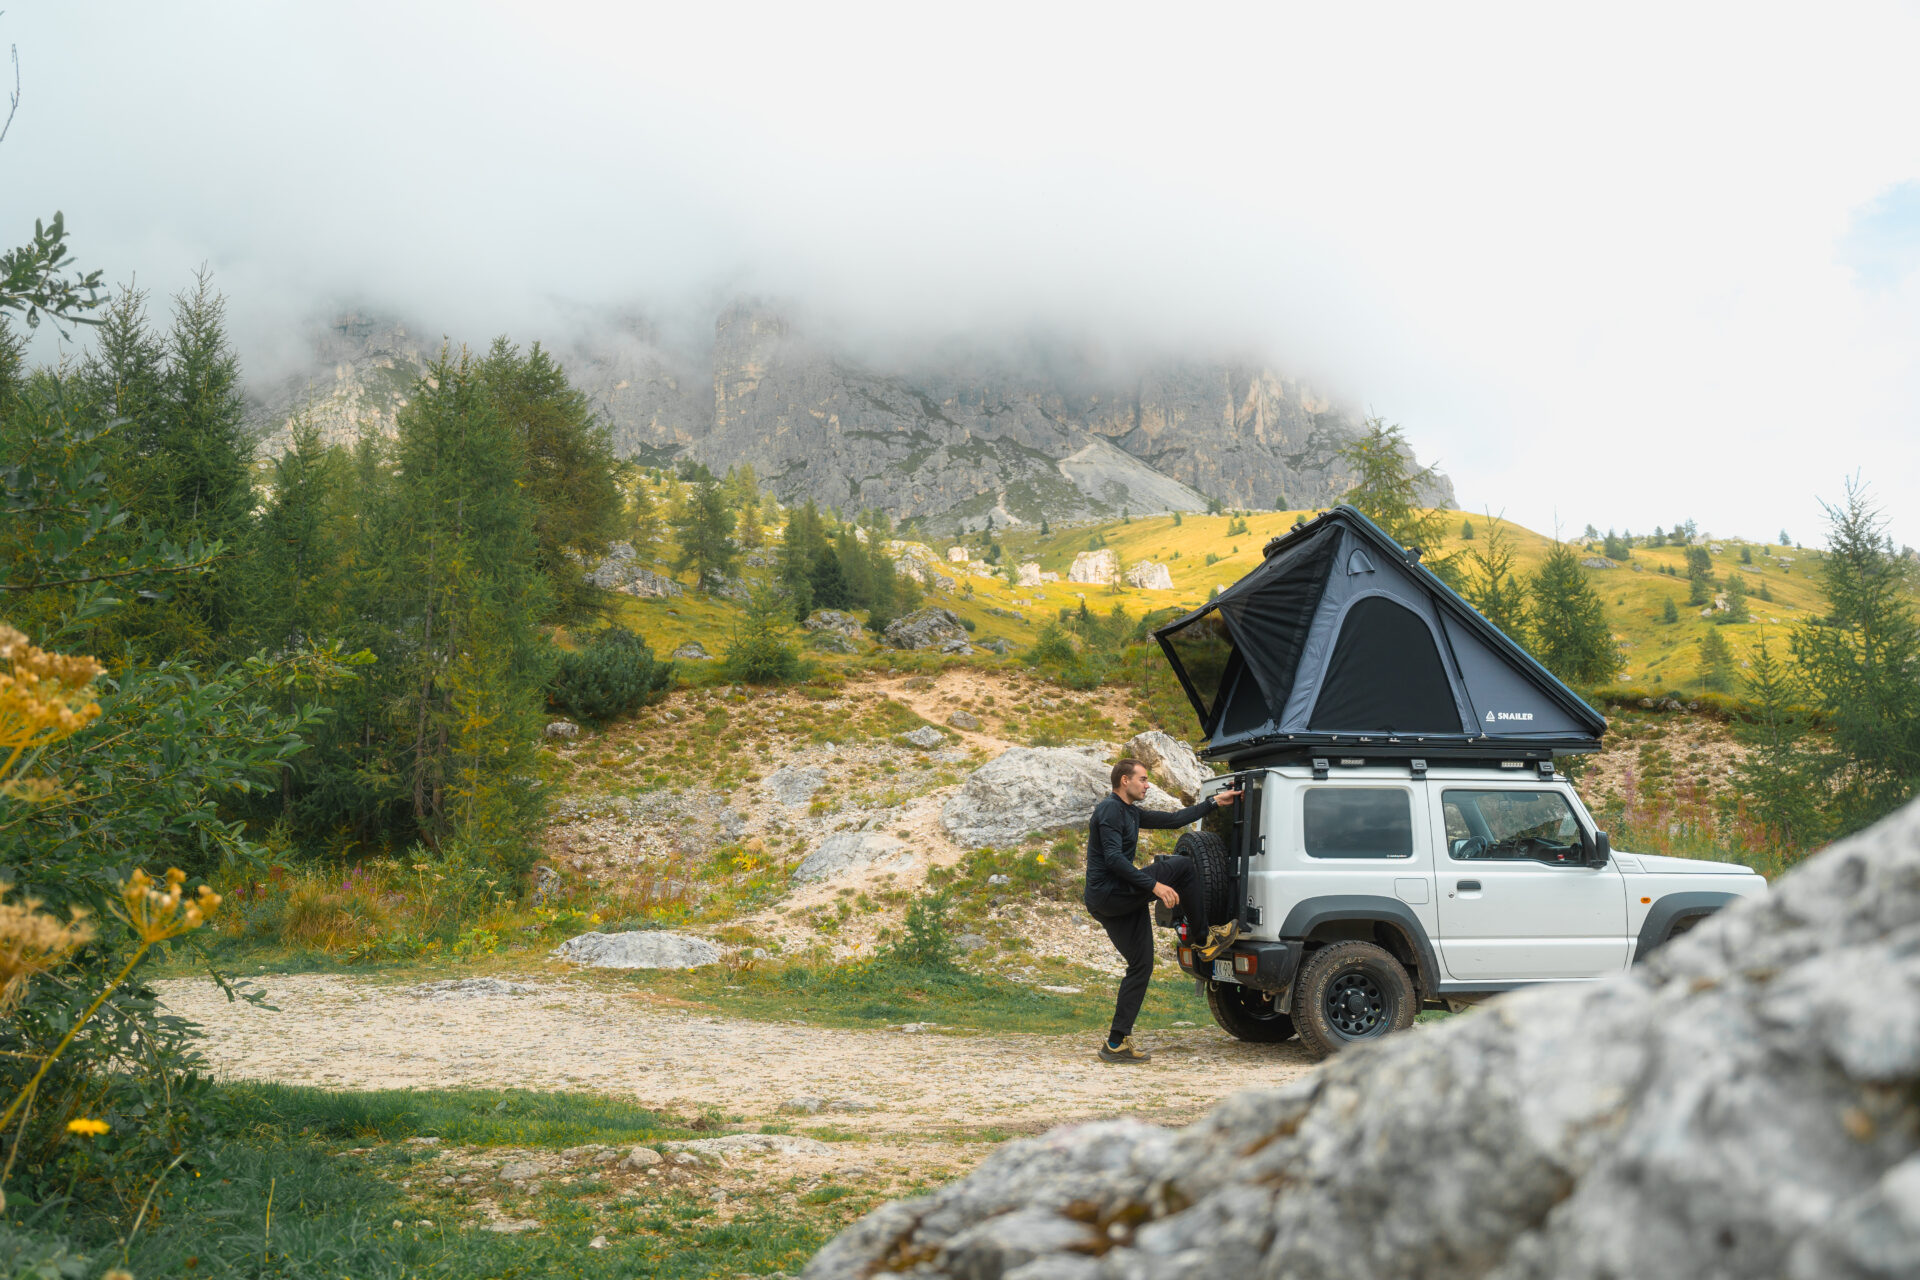
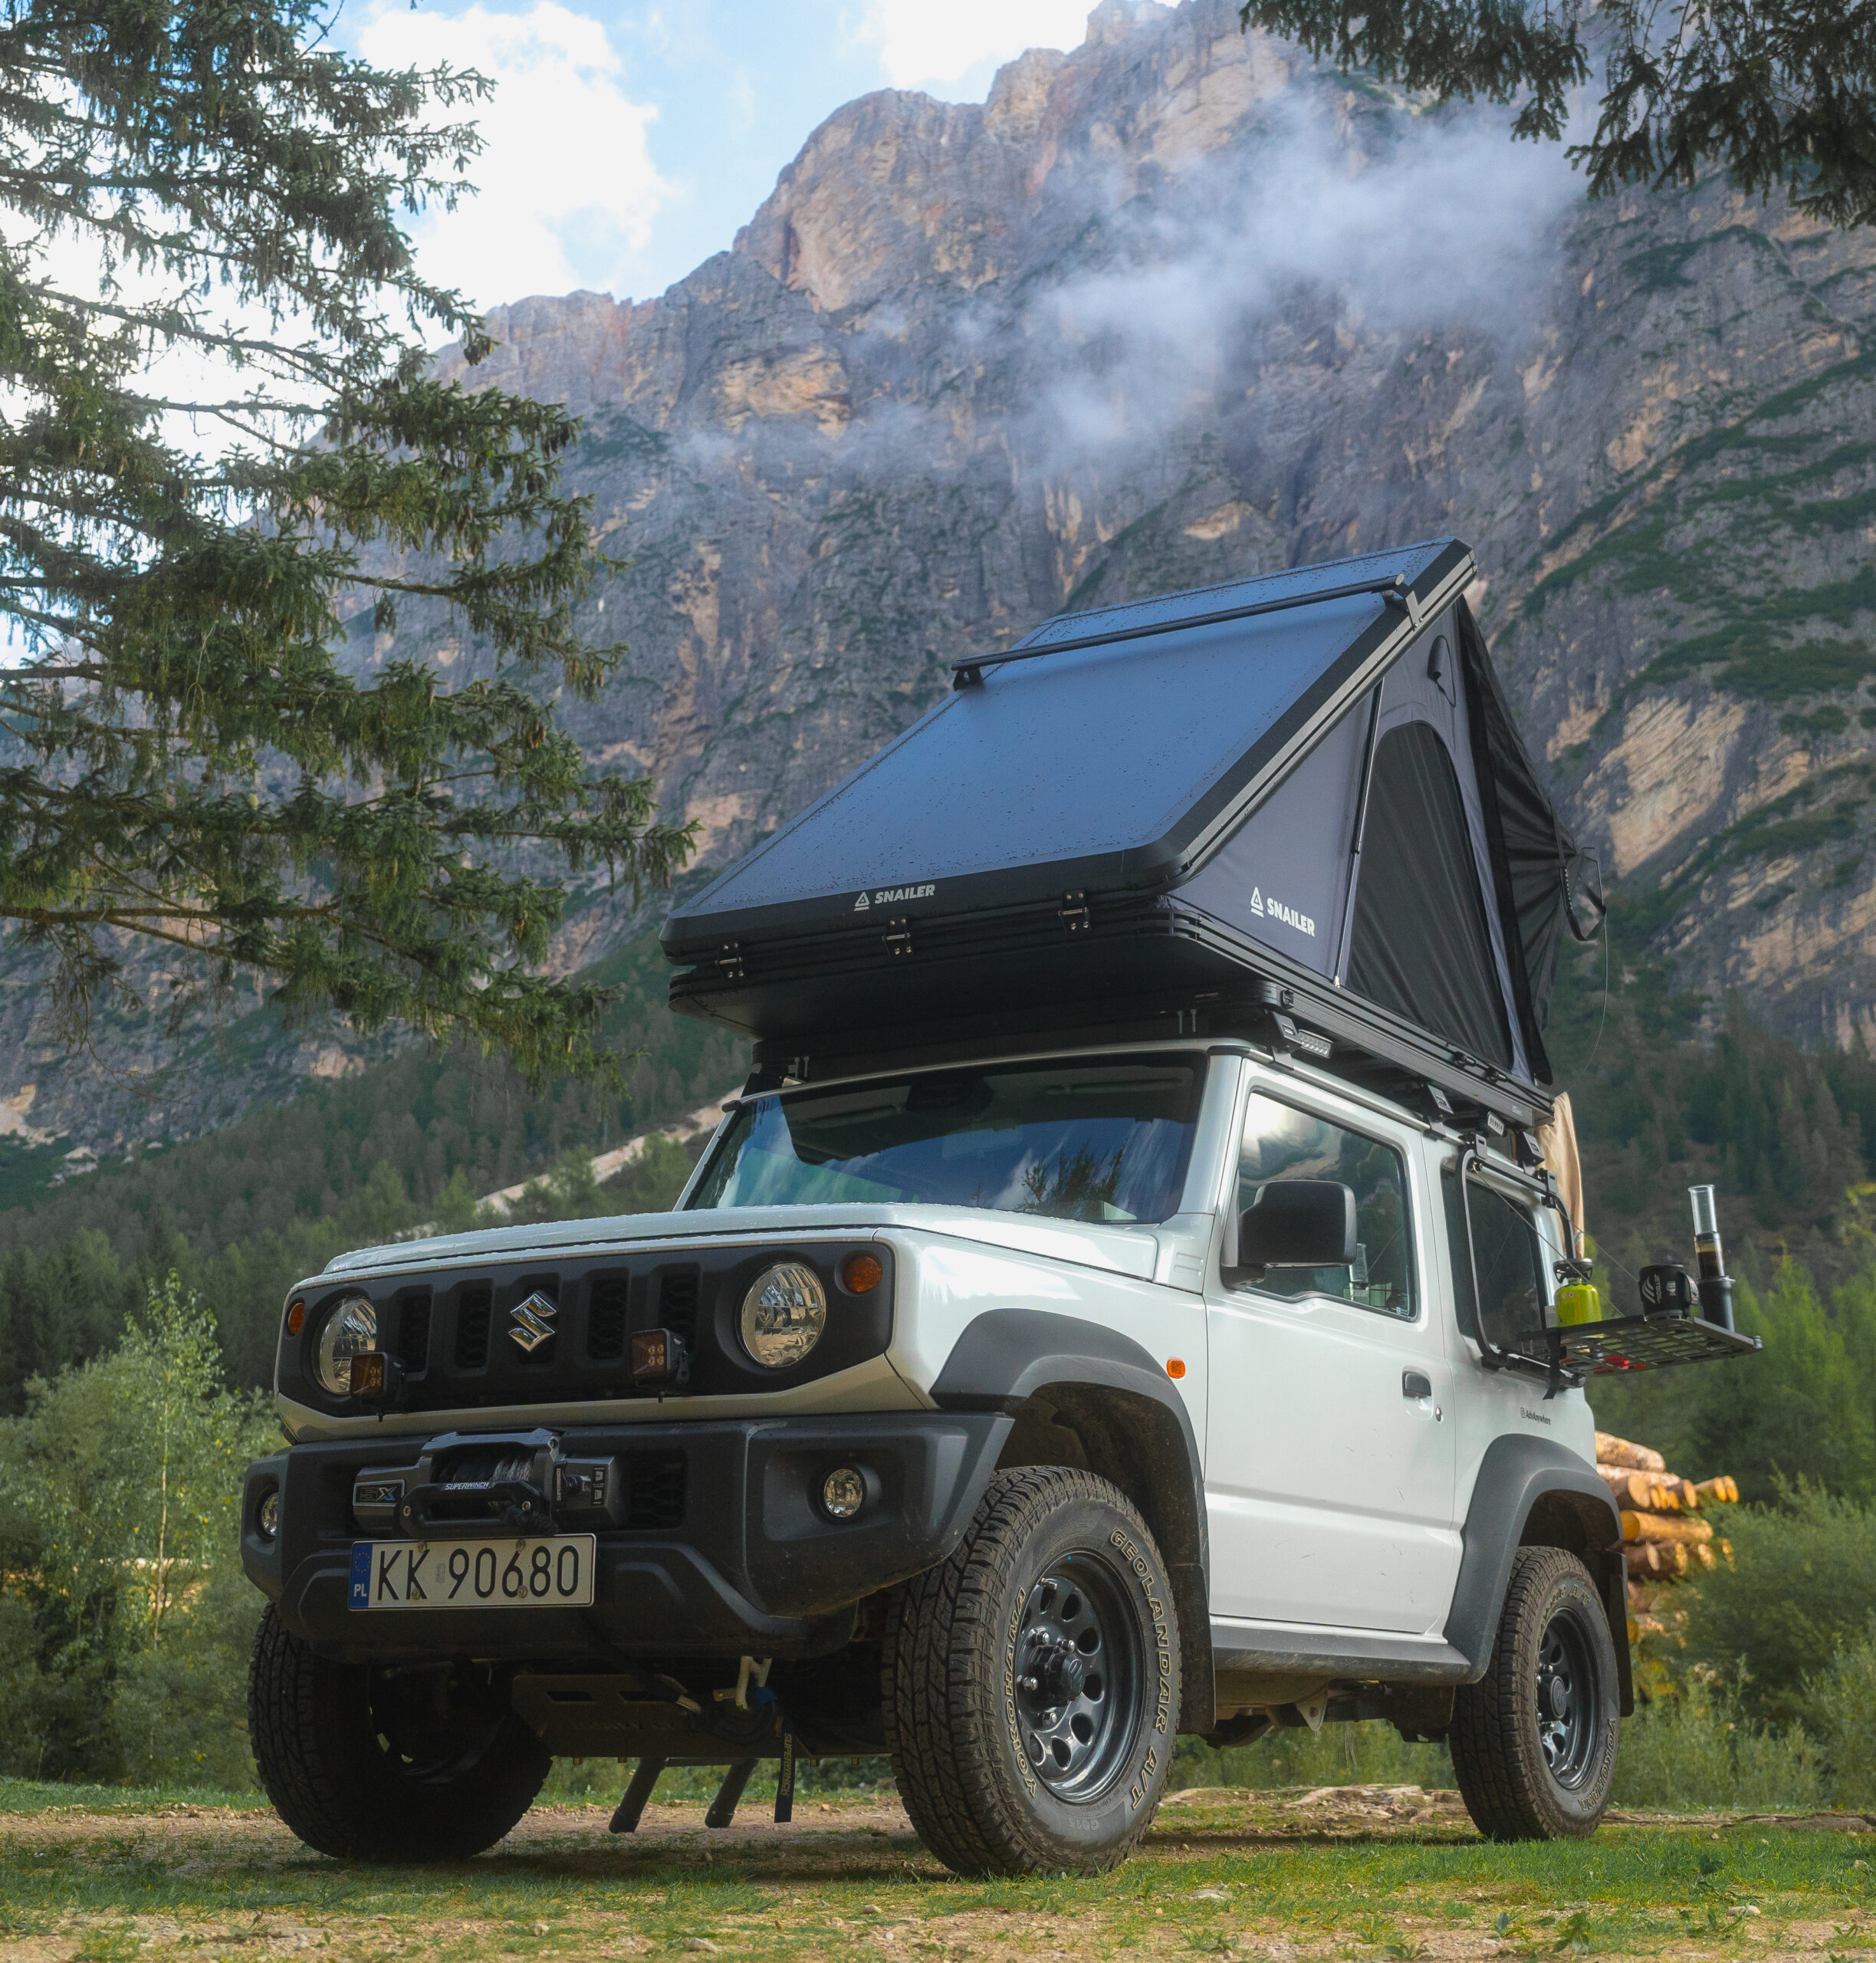
The first week of testing the tent was a real baptism of fire. On my return from Italy, the Jimny drove the entire route through Storm Boris, facing heavy rainfall and wind gusts of up to 100 km/h, which tried to throw the vehicle off track. Fortunately, nothing of the sort happened.
In the case of the Jimny, the tent extends slightly at the front, which could be felt during gusts of wind. However, you won’t notice the tent much in moderate or slightly windy conditions. It’s worth emphasizing again that modifying the suspension is crucial, as it has the greatest impact on steering performance.
Wind noise
Due to their rigid, streamlined construction, hard-shell tents should generate significantly less noise than those covered with fabric.
However, I noticed virtually no difference in noise with the Jimny.
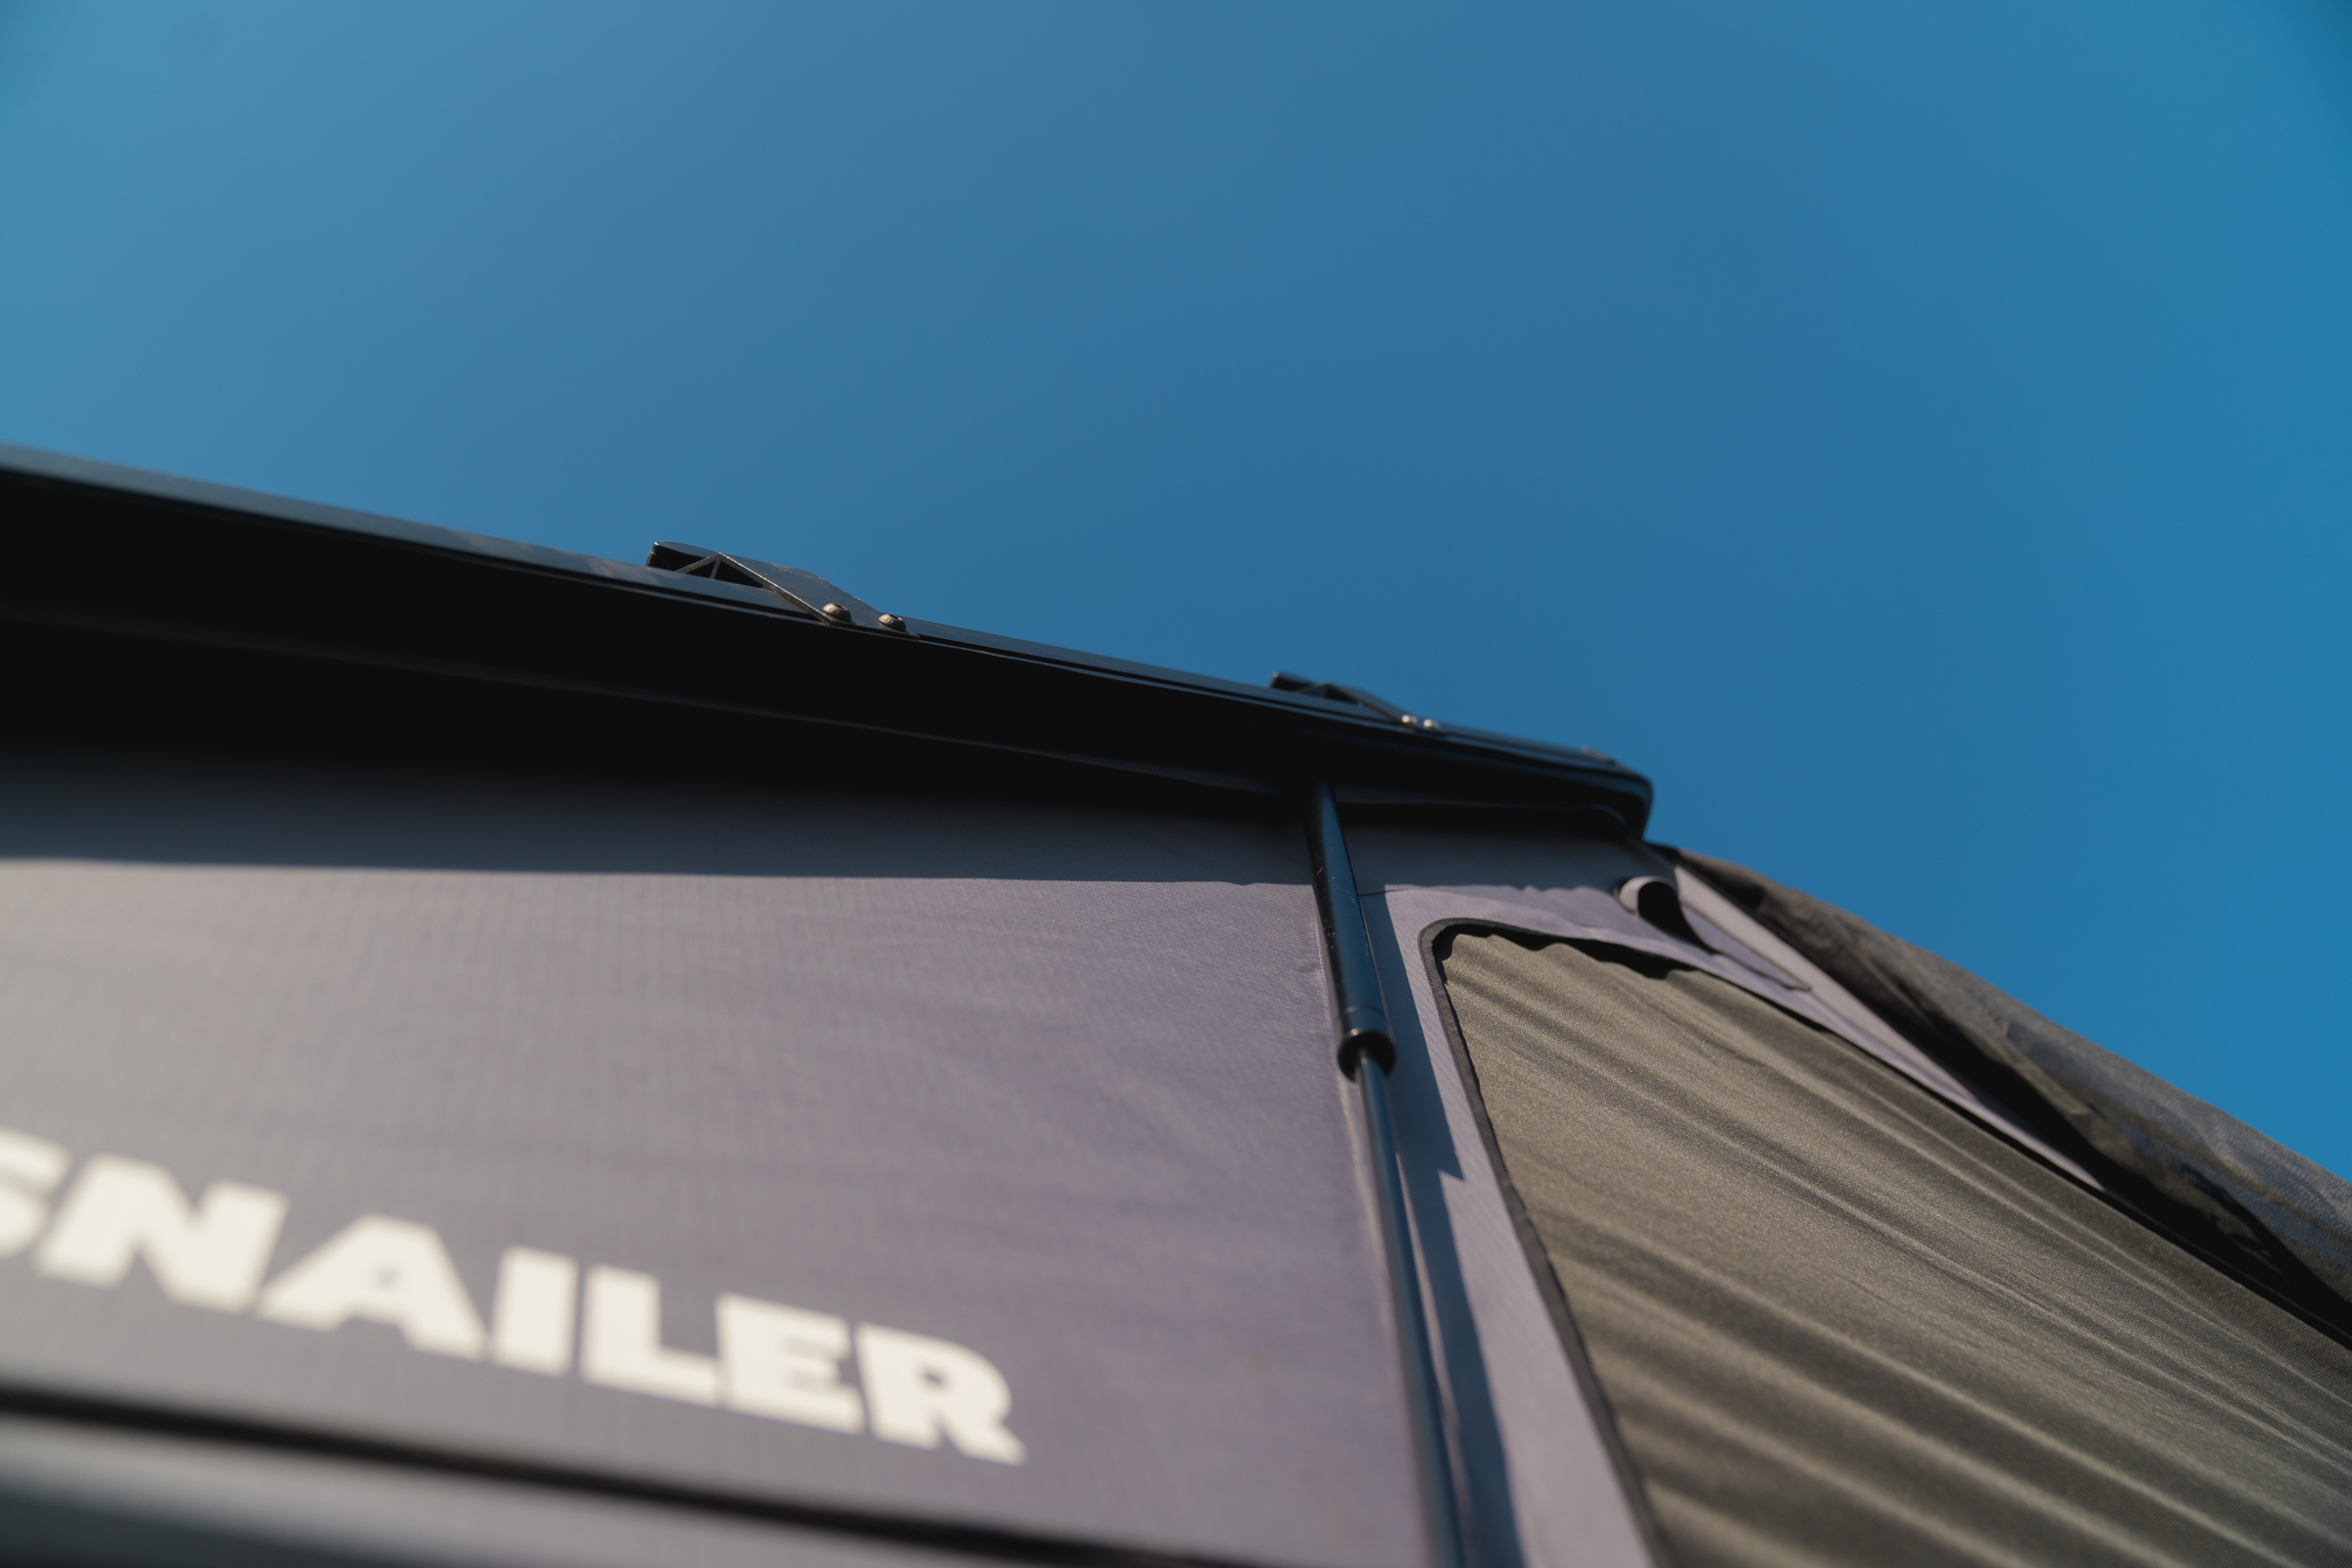
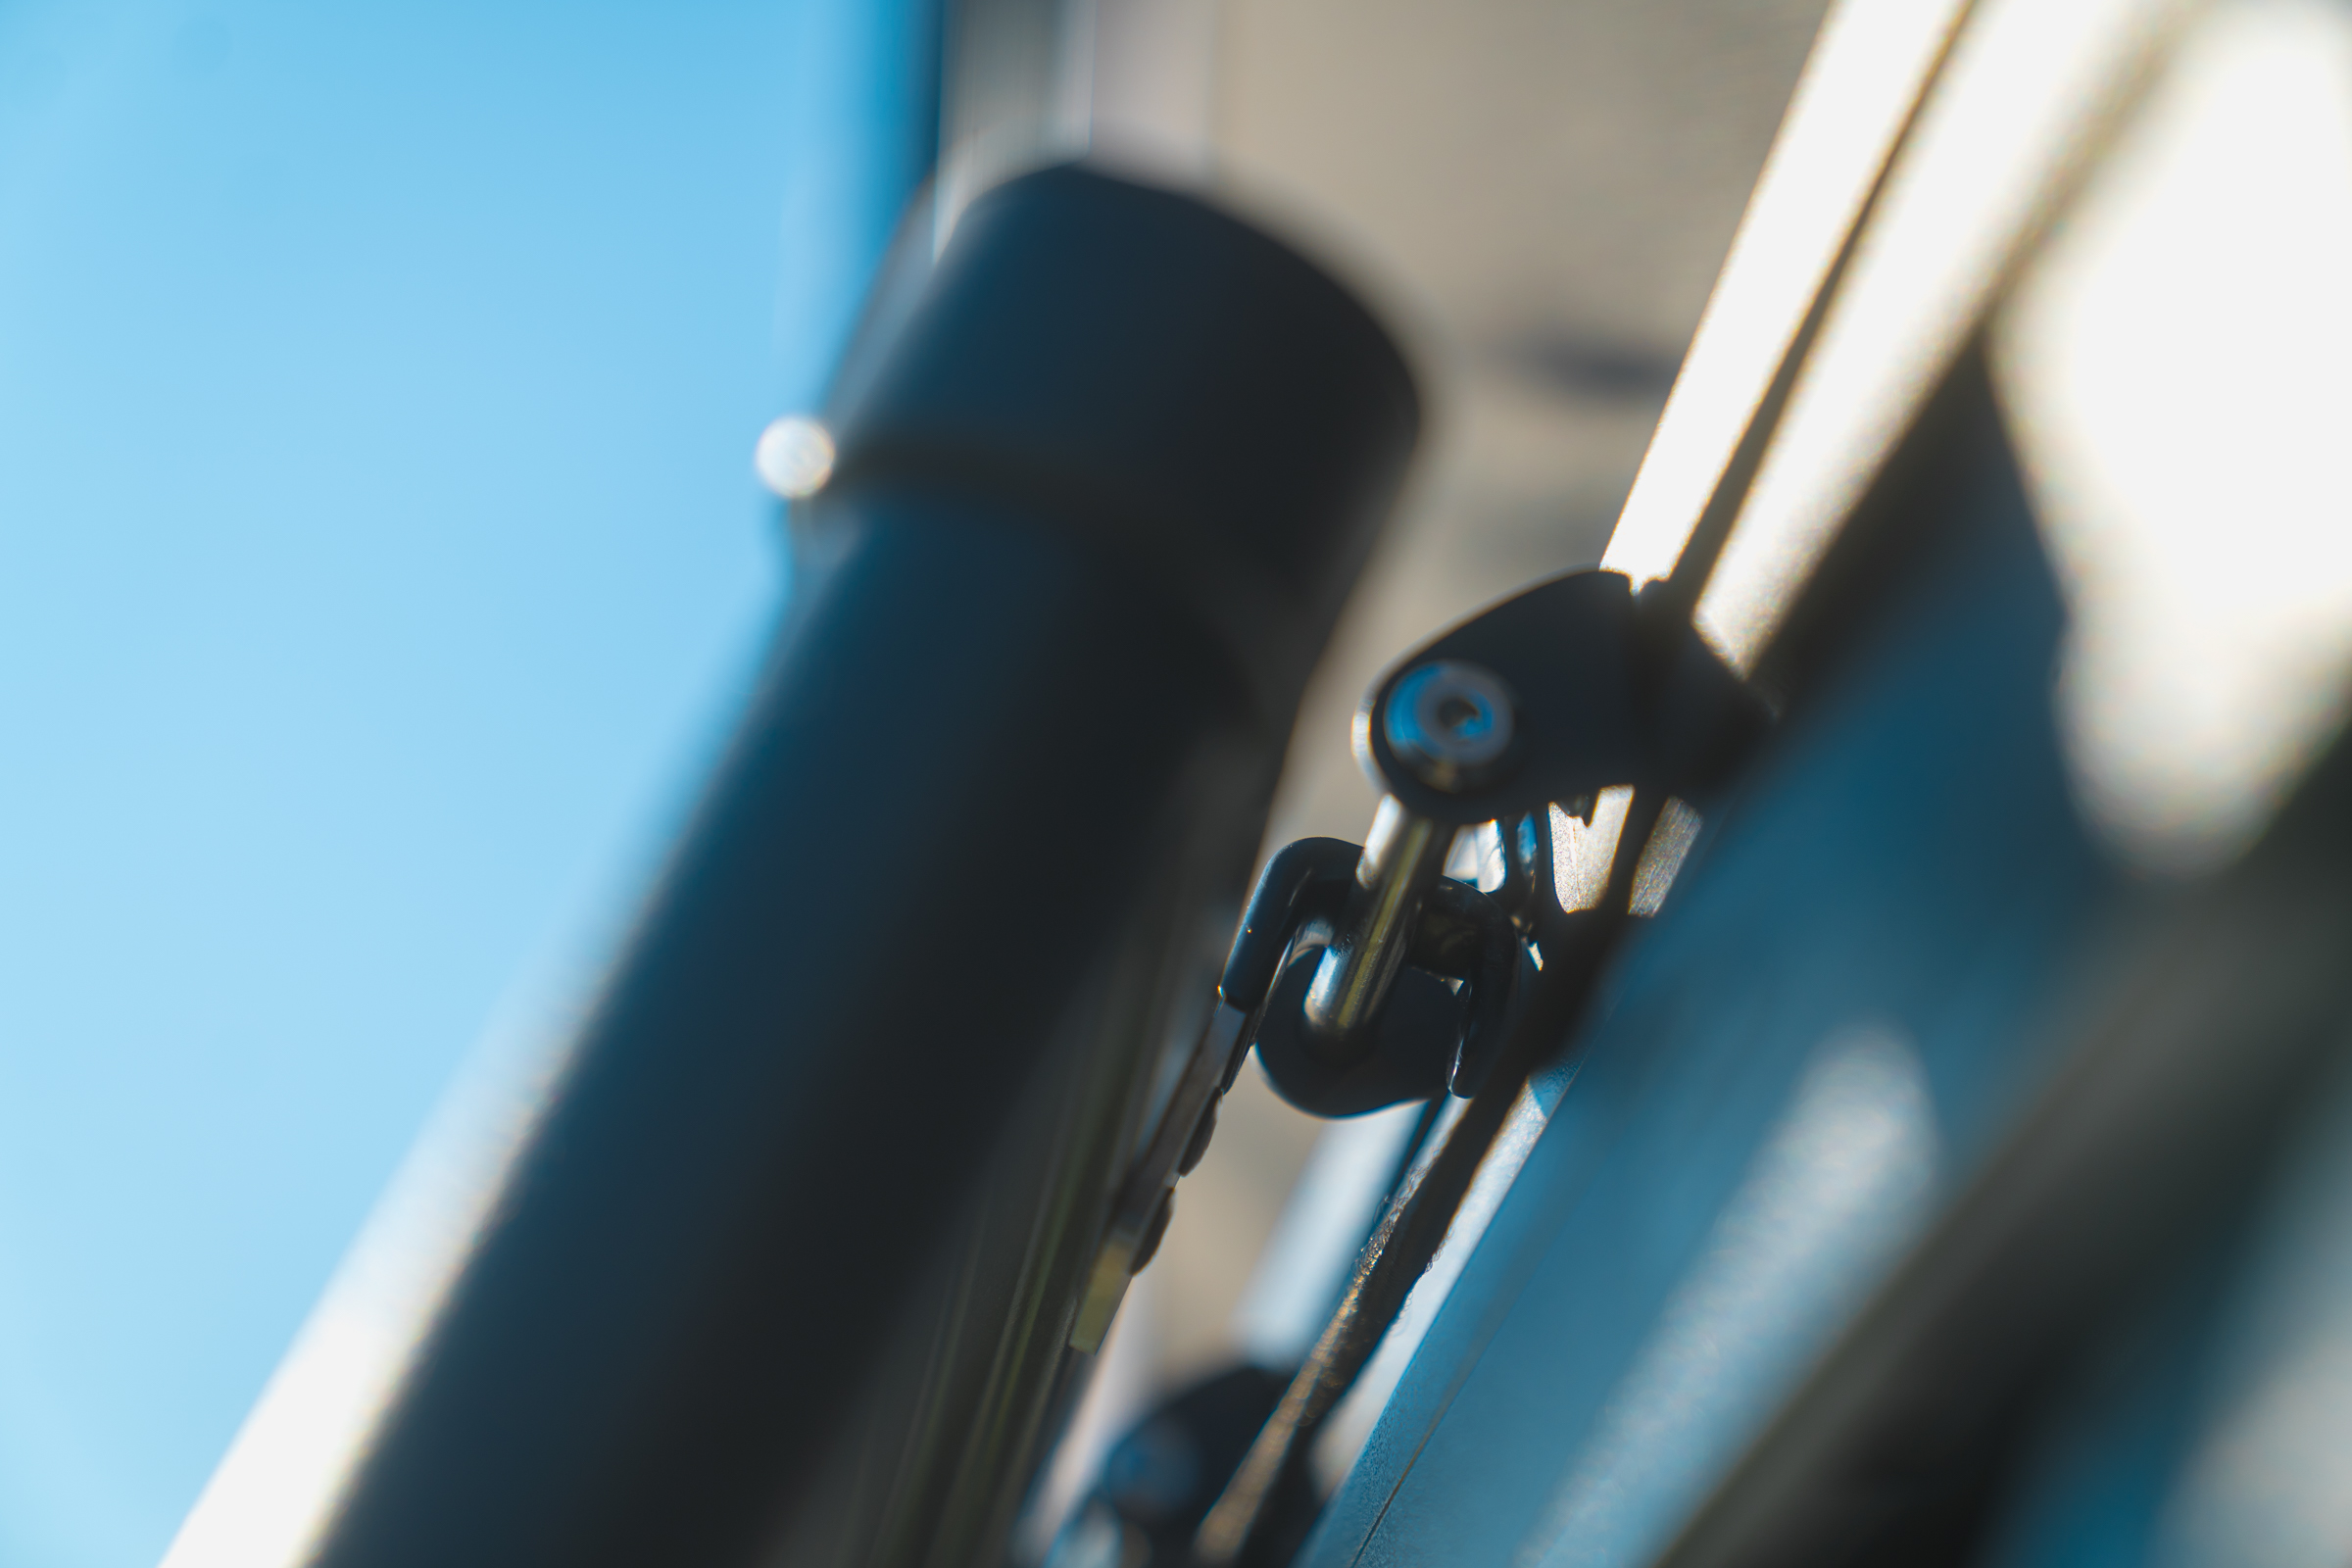
There was, however, a whistle caused by a small gap between the rack and the tent. I easily resolved this issue by inserting a rubber strip into the rack rail. Now, the tent rests on the rubber strip at both the front and back, sealing the connection and dampening potential vibrations between the rack and the tent.
It’s worth noting that each vehicle is different, and various mounts can produce different levels of noise. Therefore, I can only comment on my specific experience.
In short, with the SNAILER Alduo roof tent attached to the Front Runner rack (with a deflector), there is virtually no sound generated by the tent.
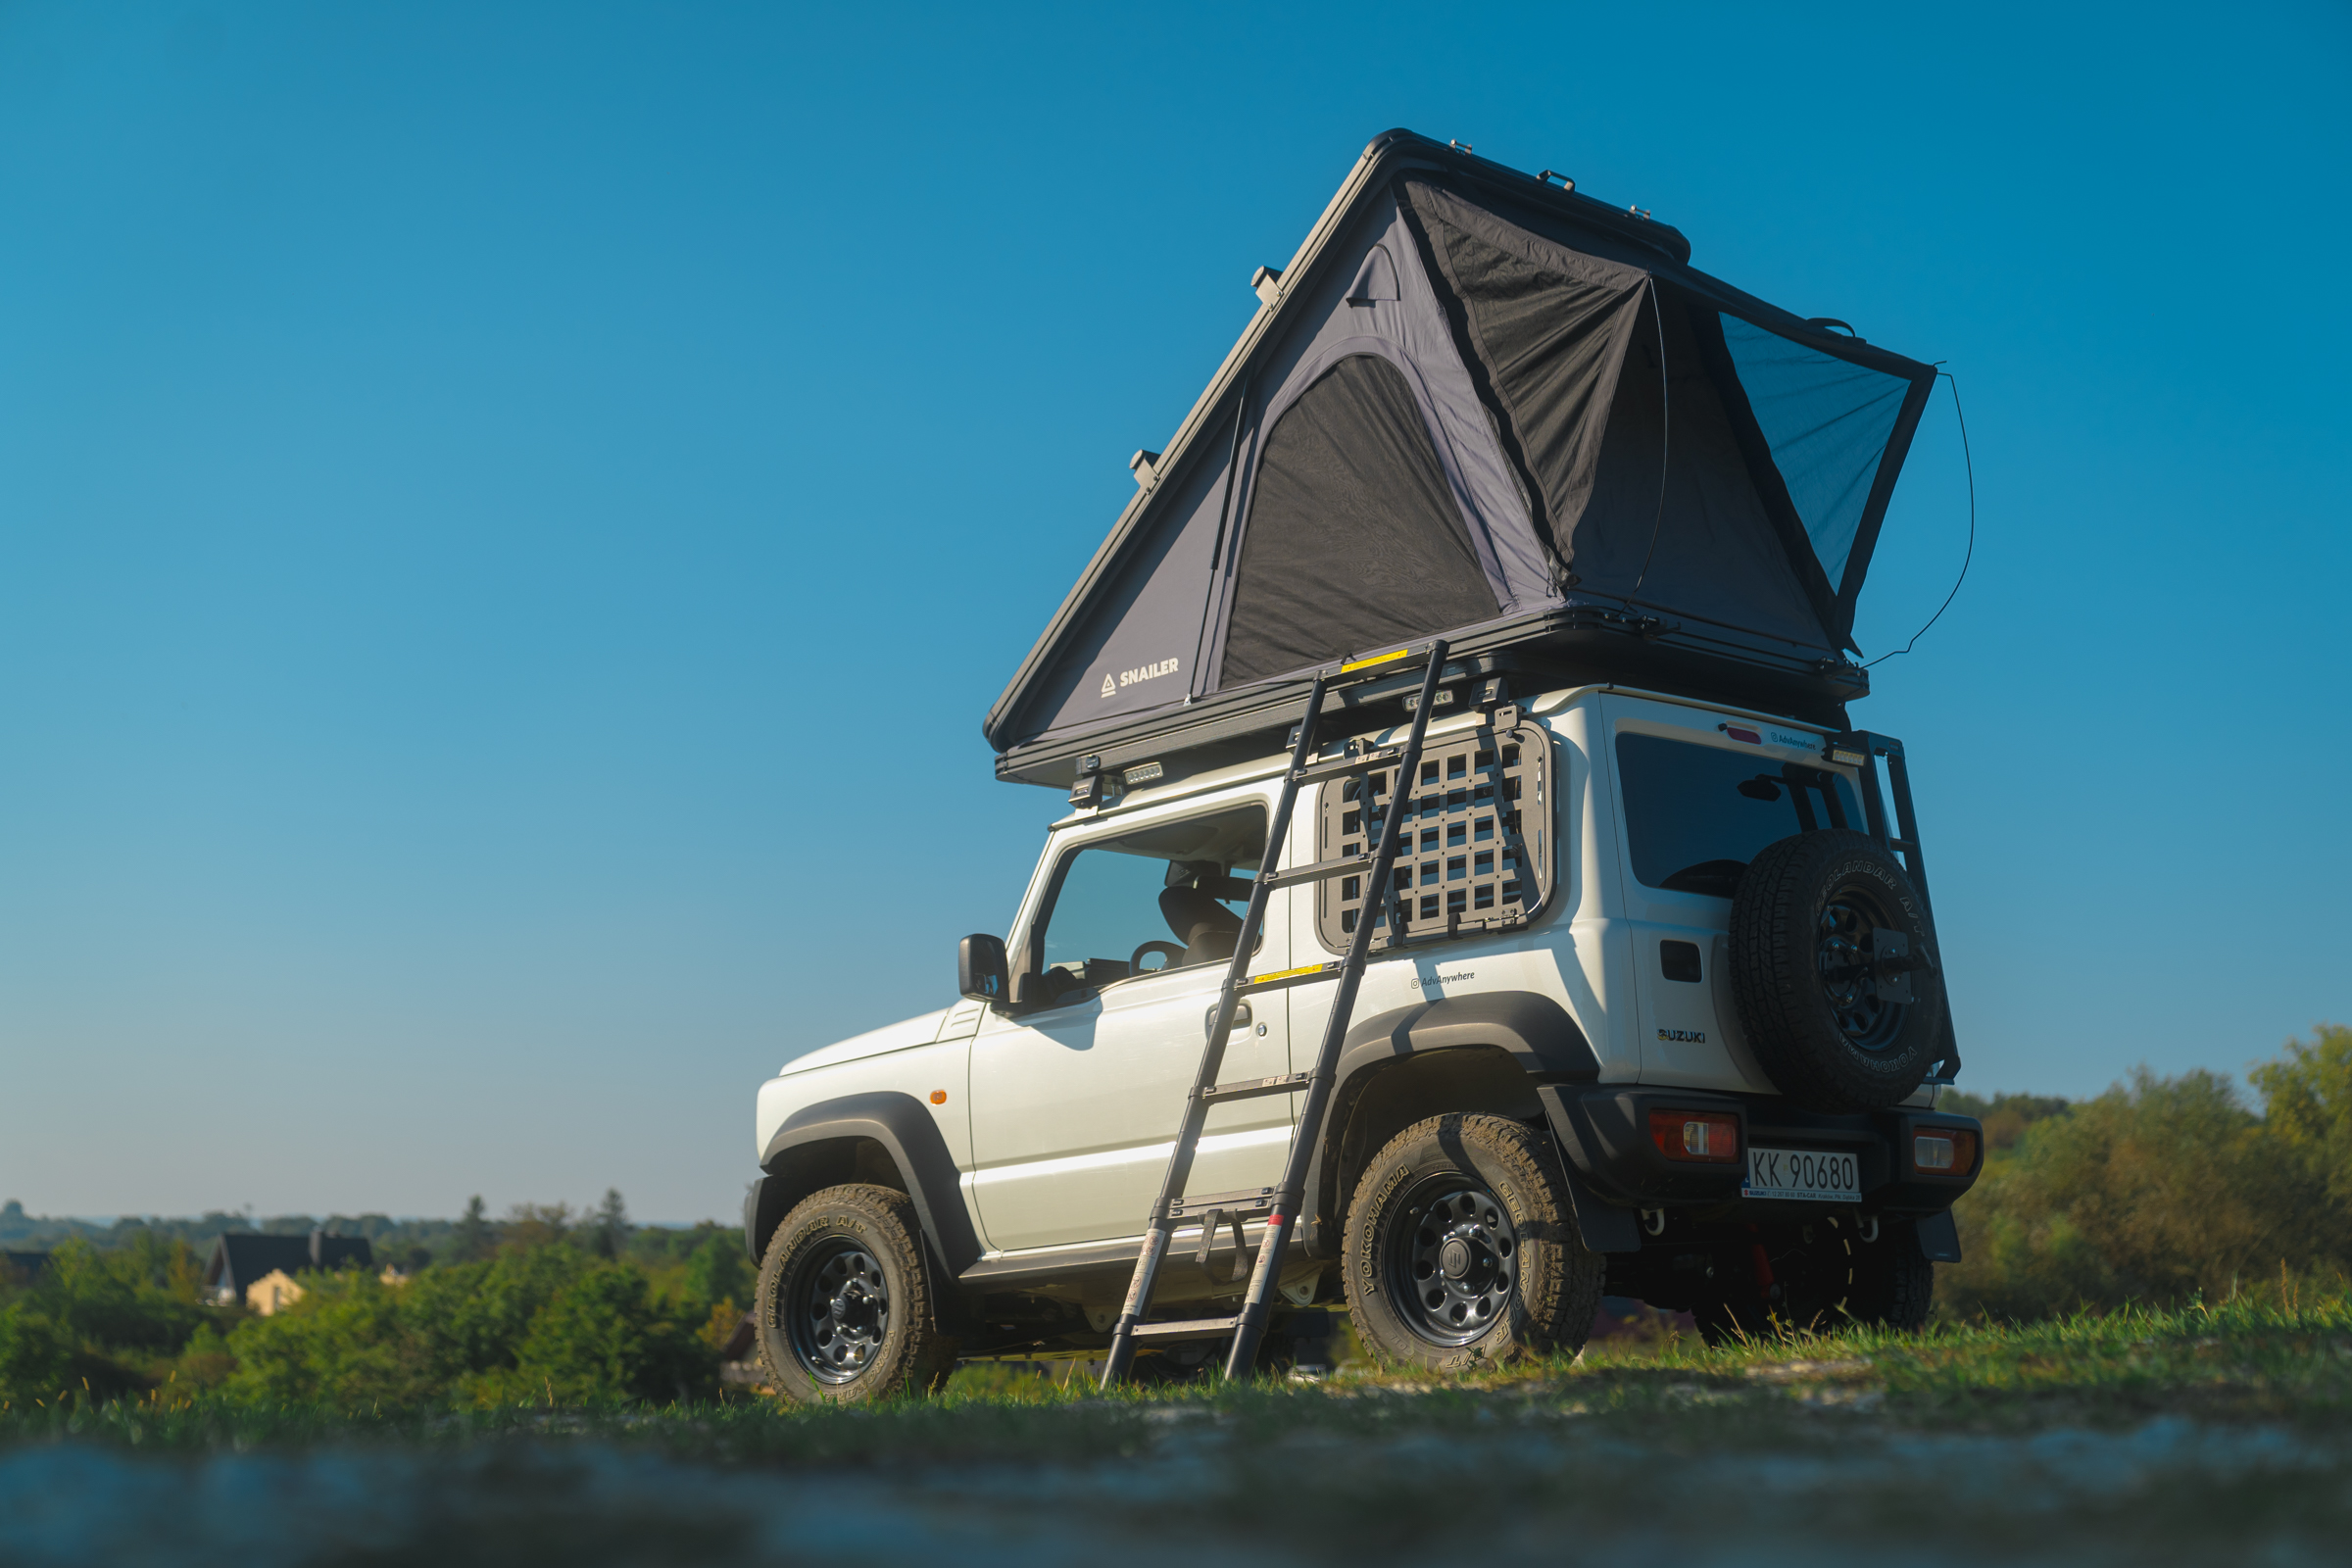
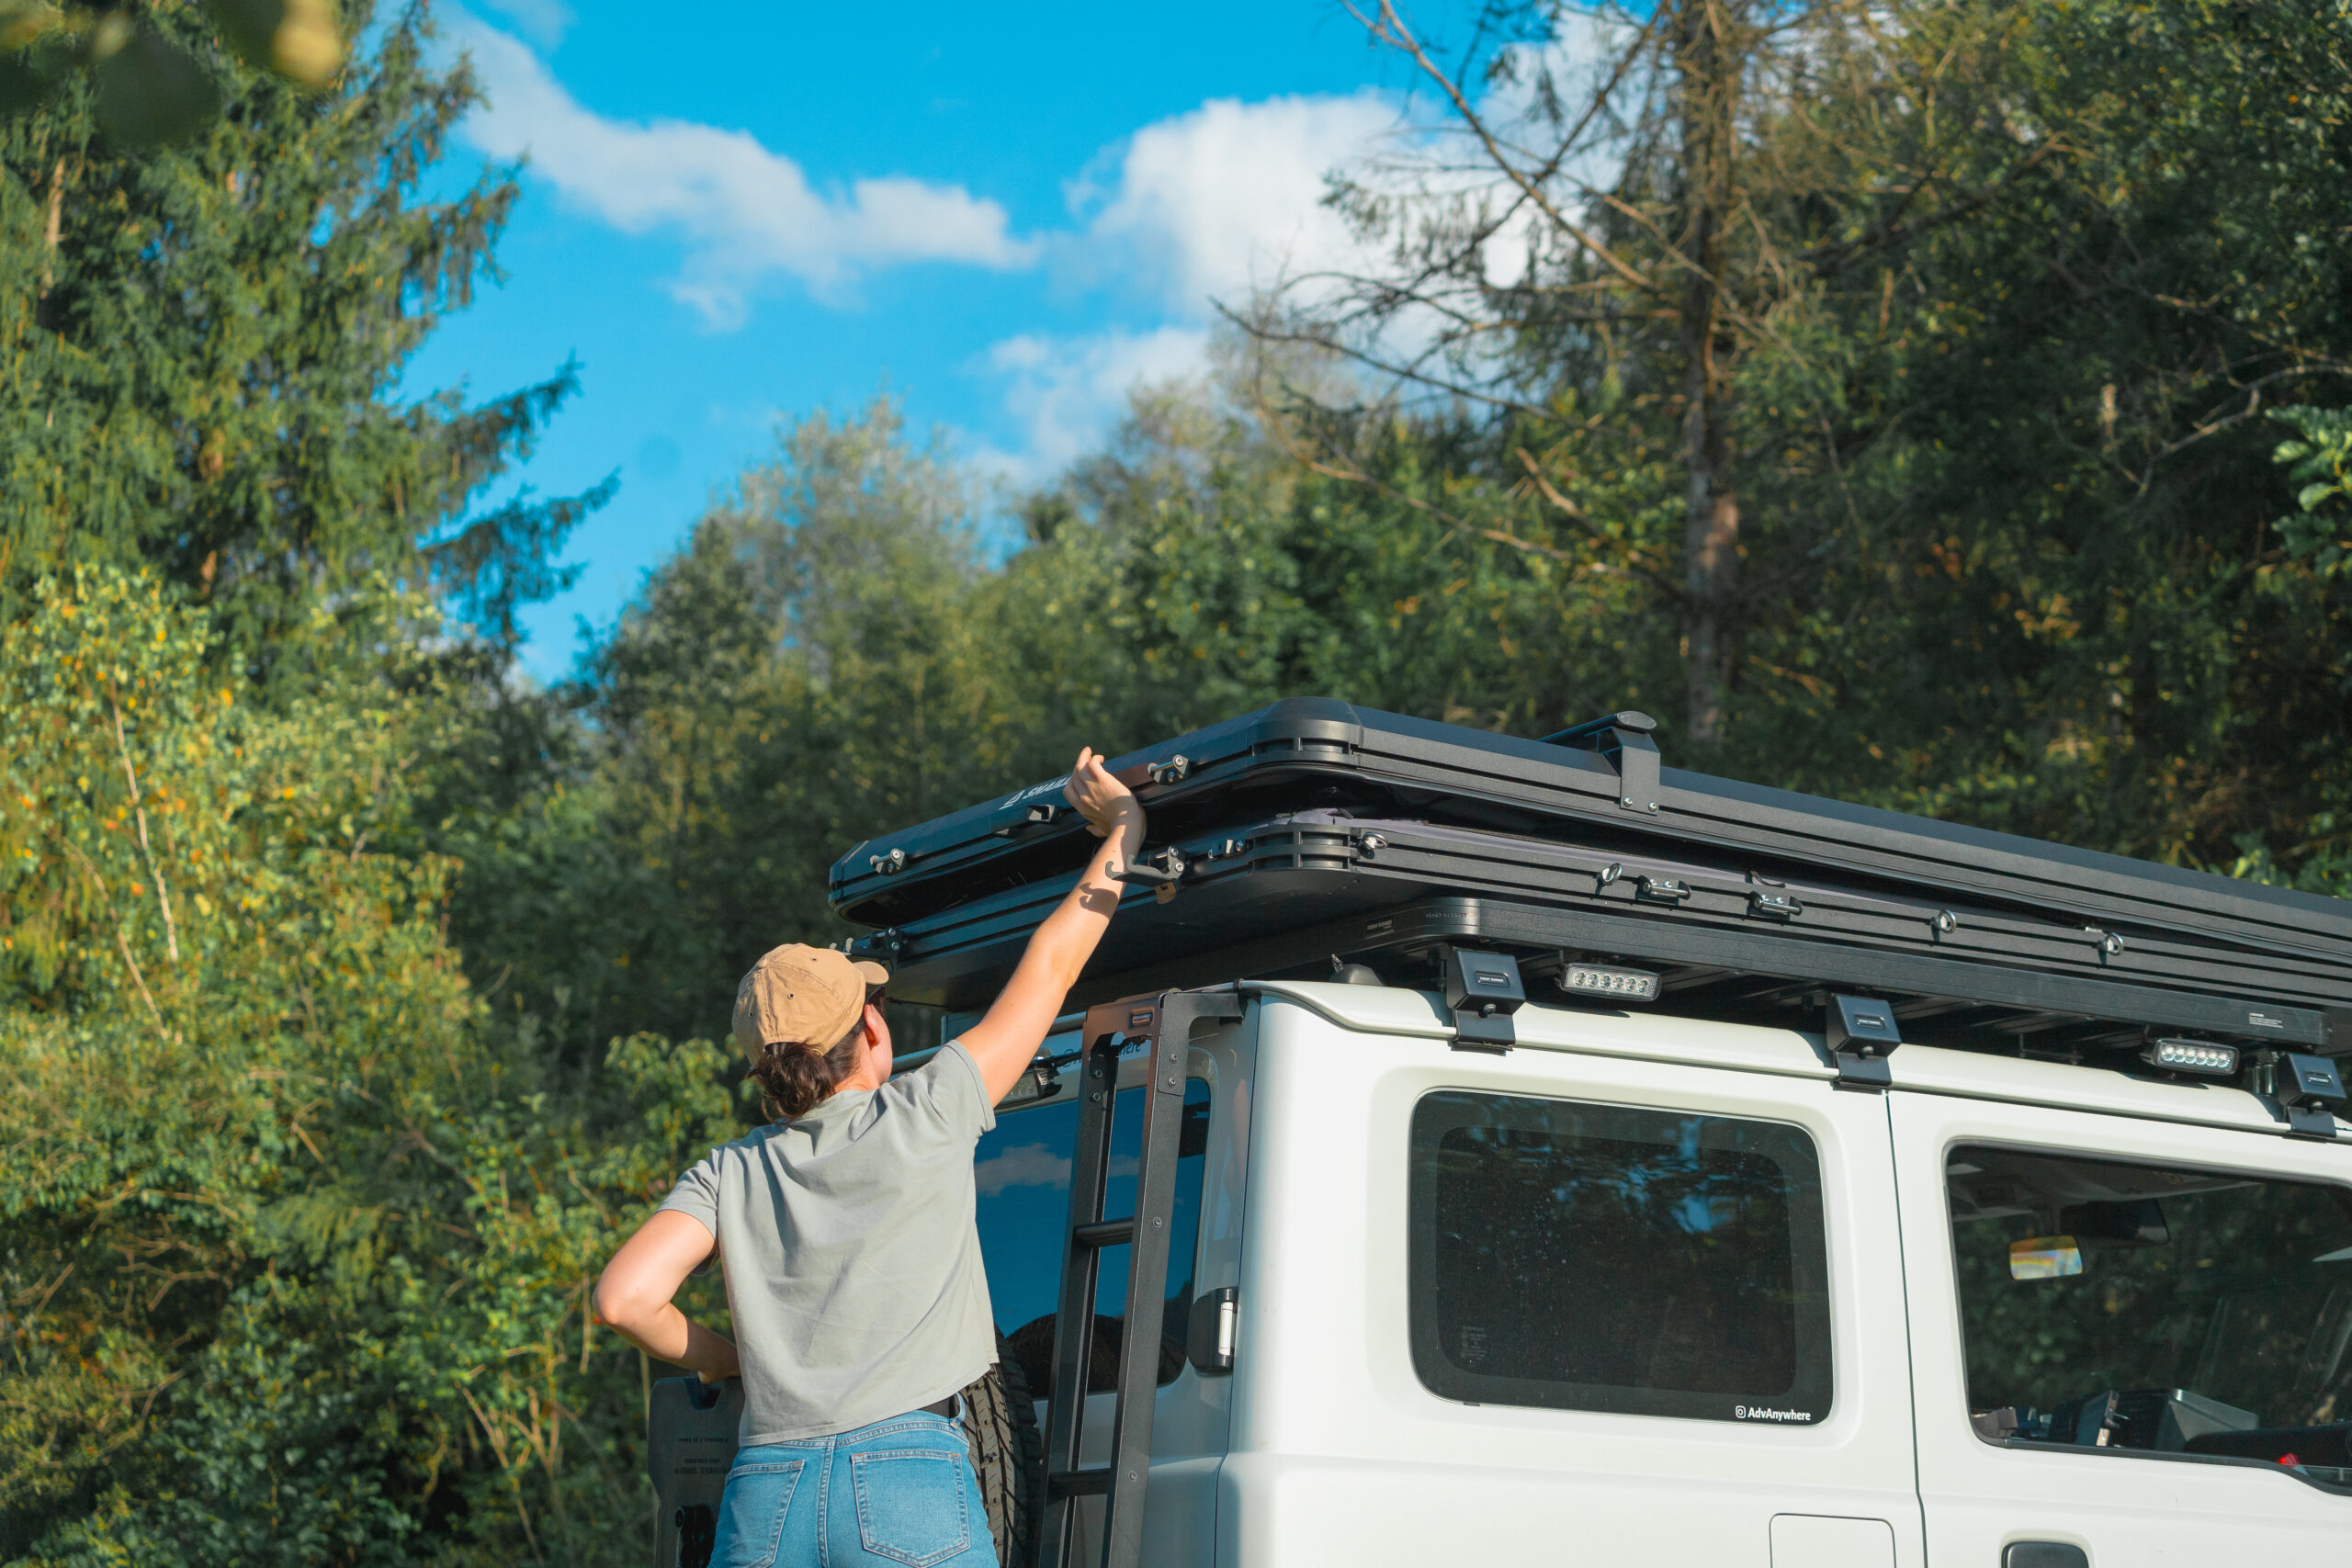
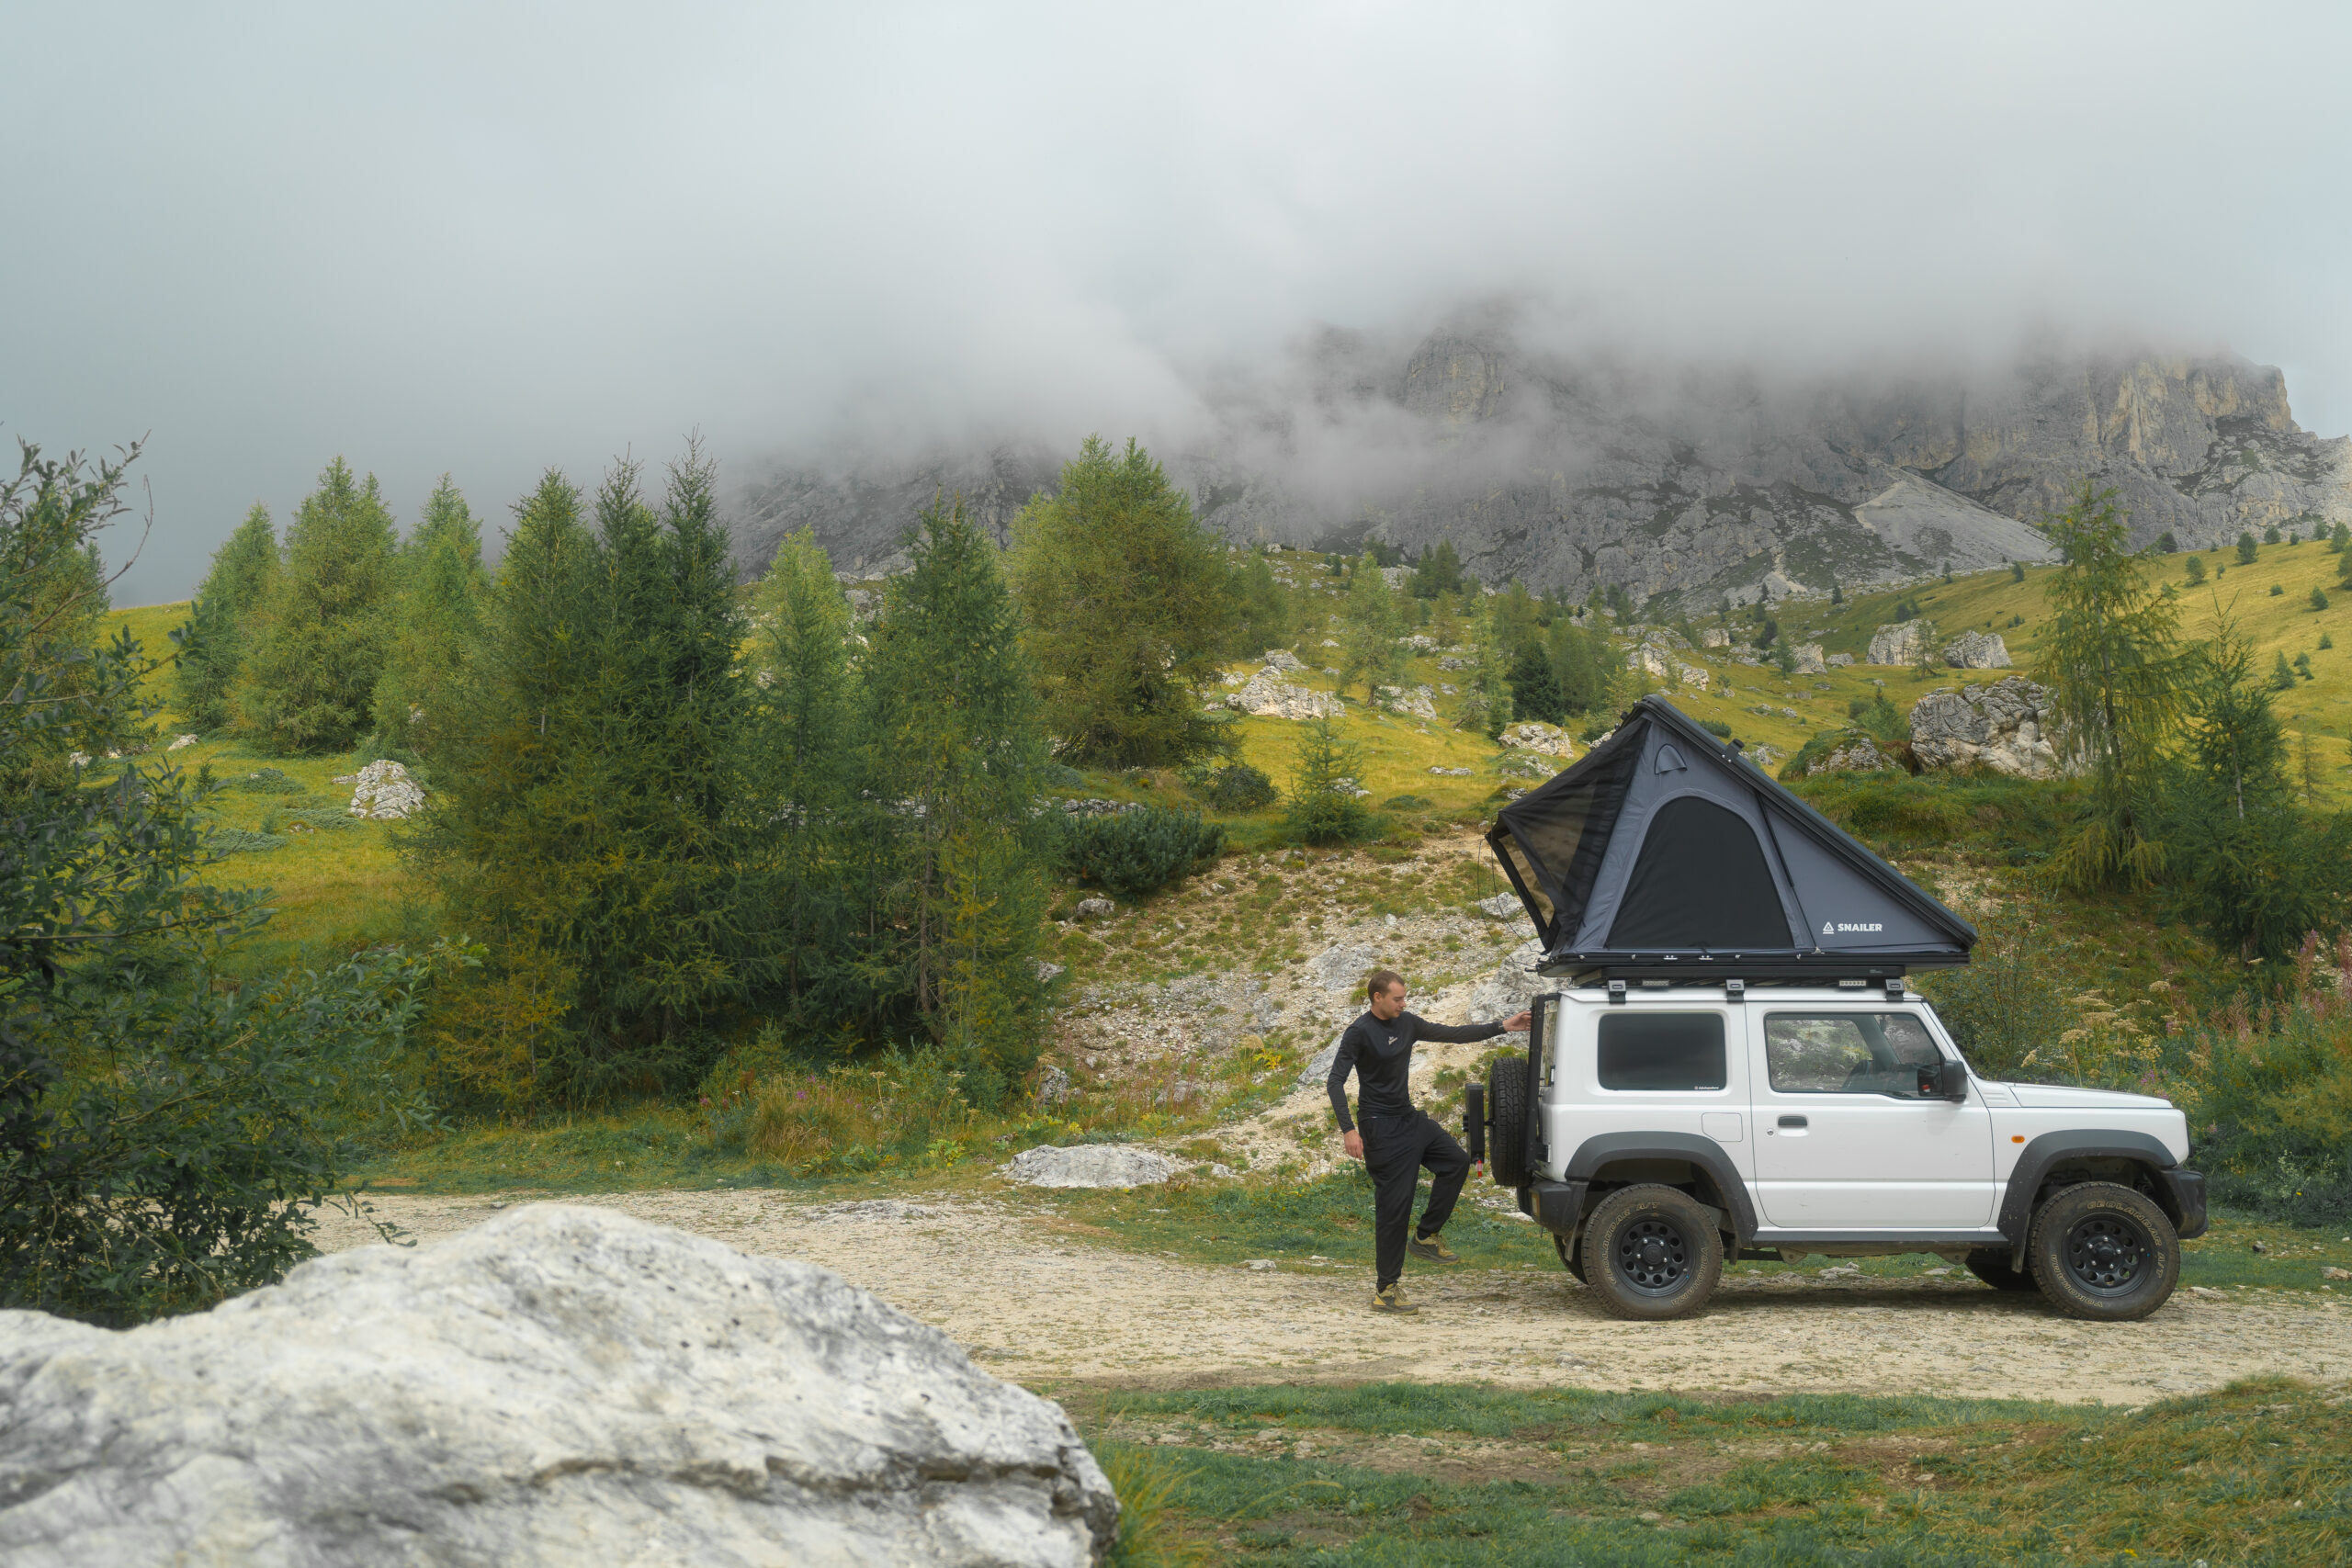
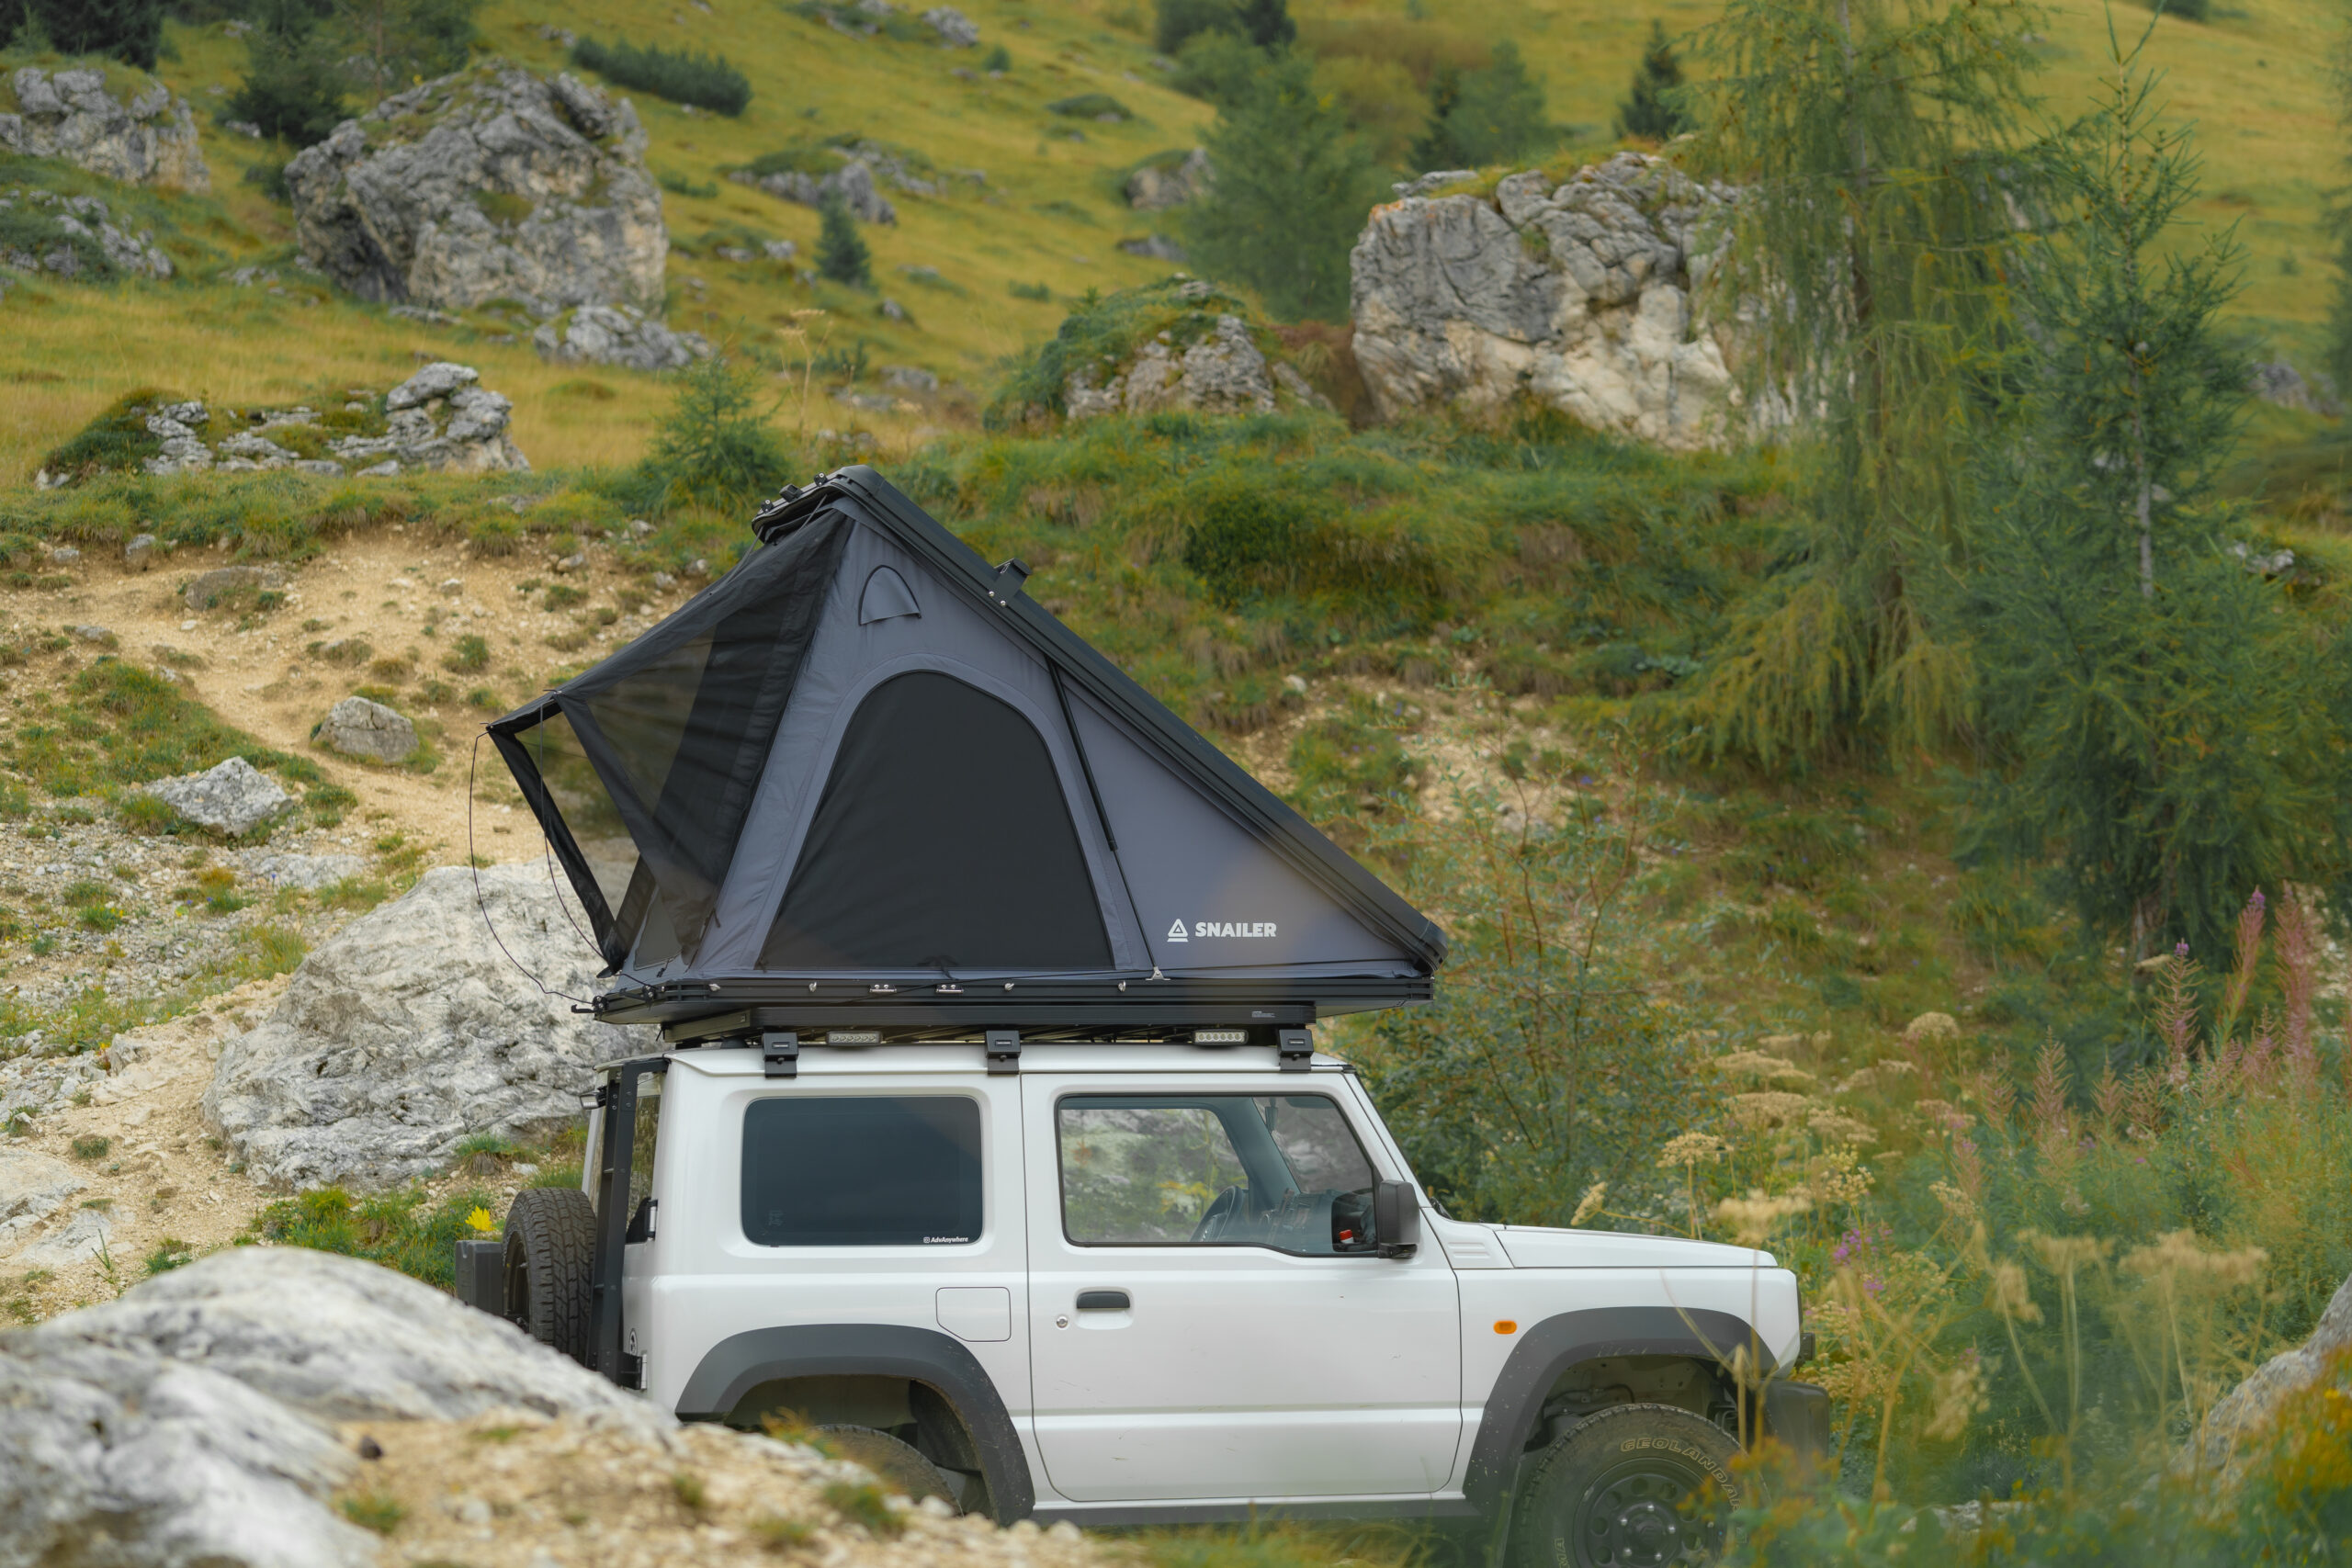
Setting up and folding down the Snailer Alduo tent
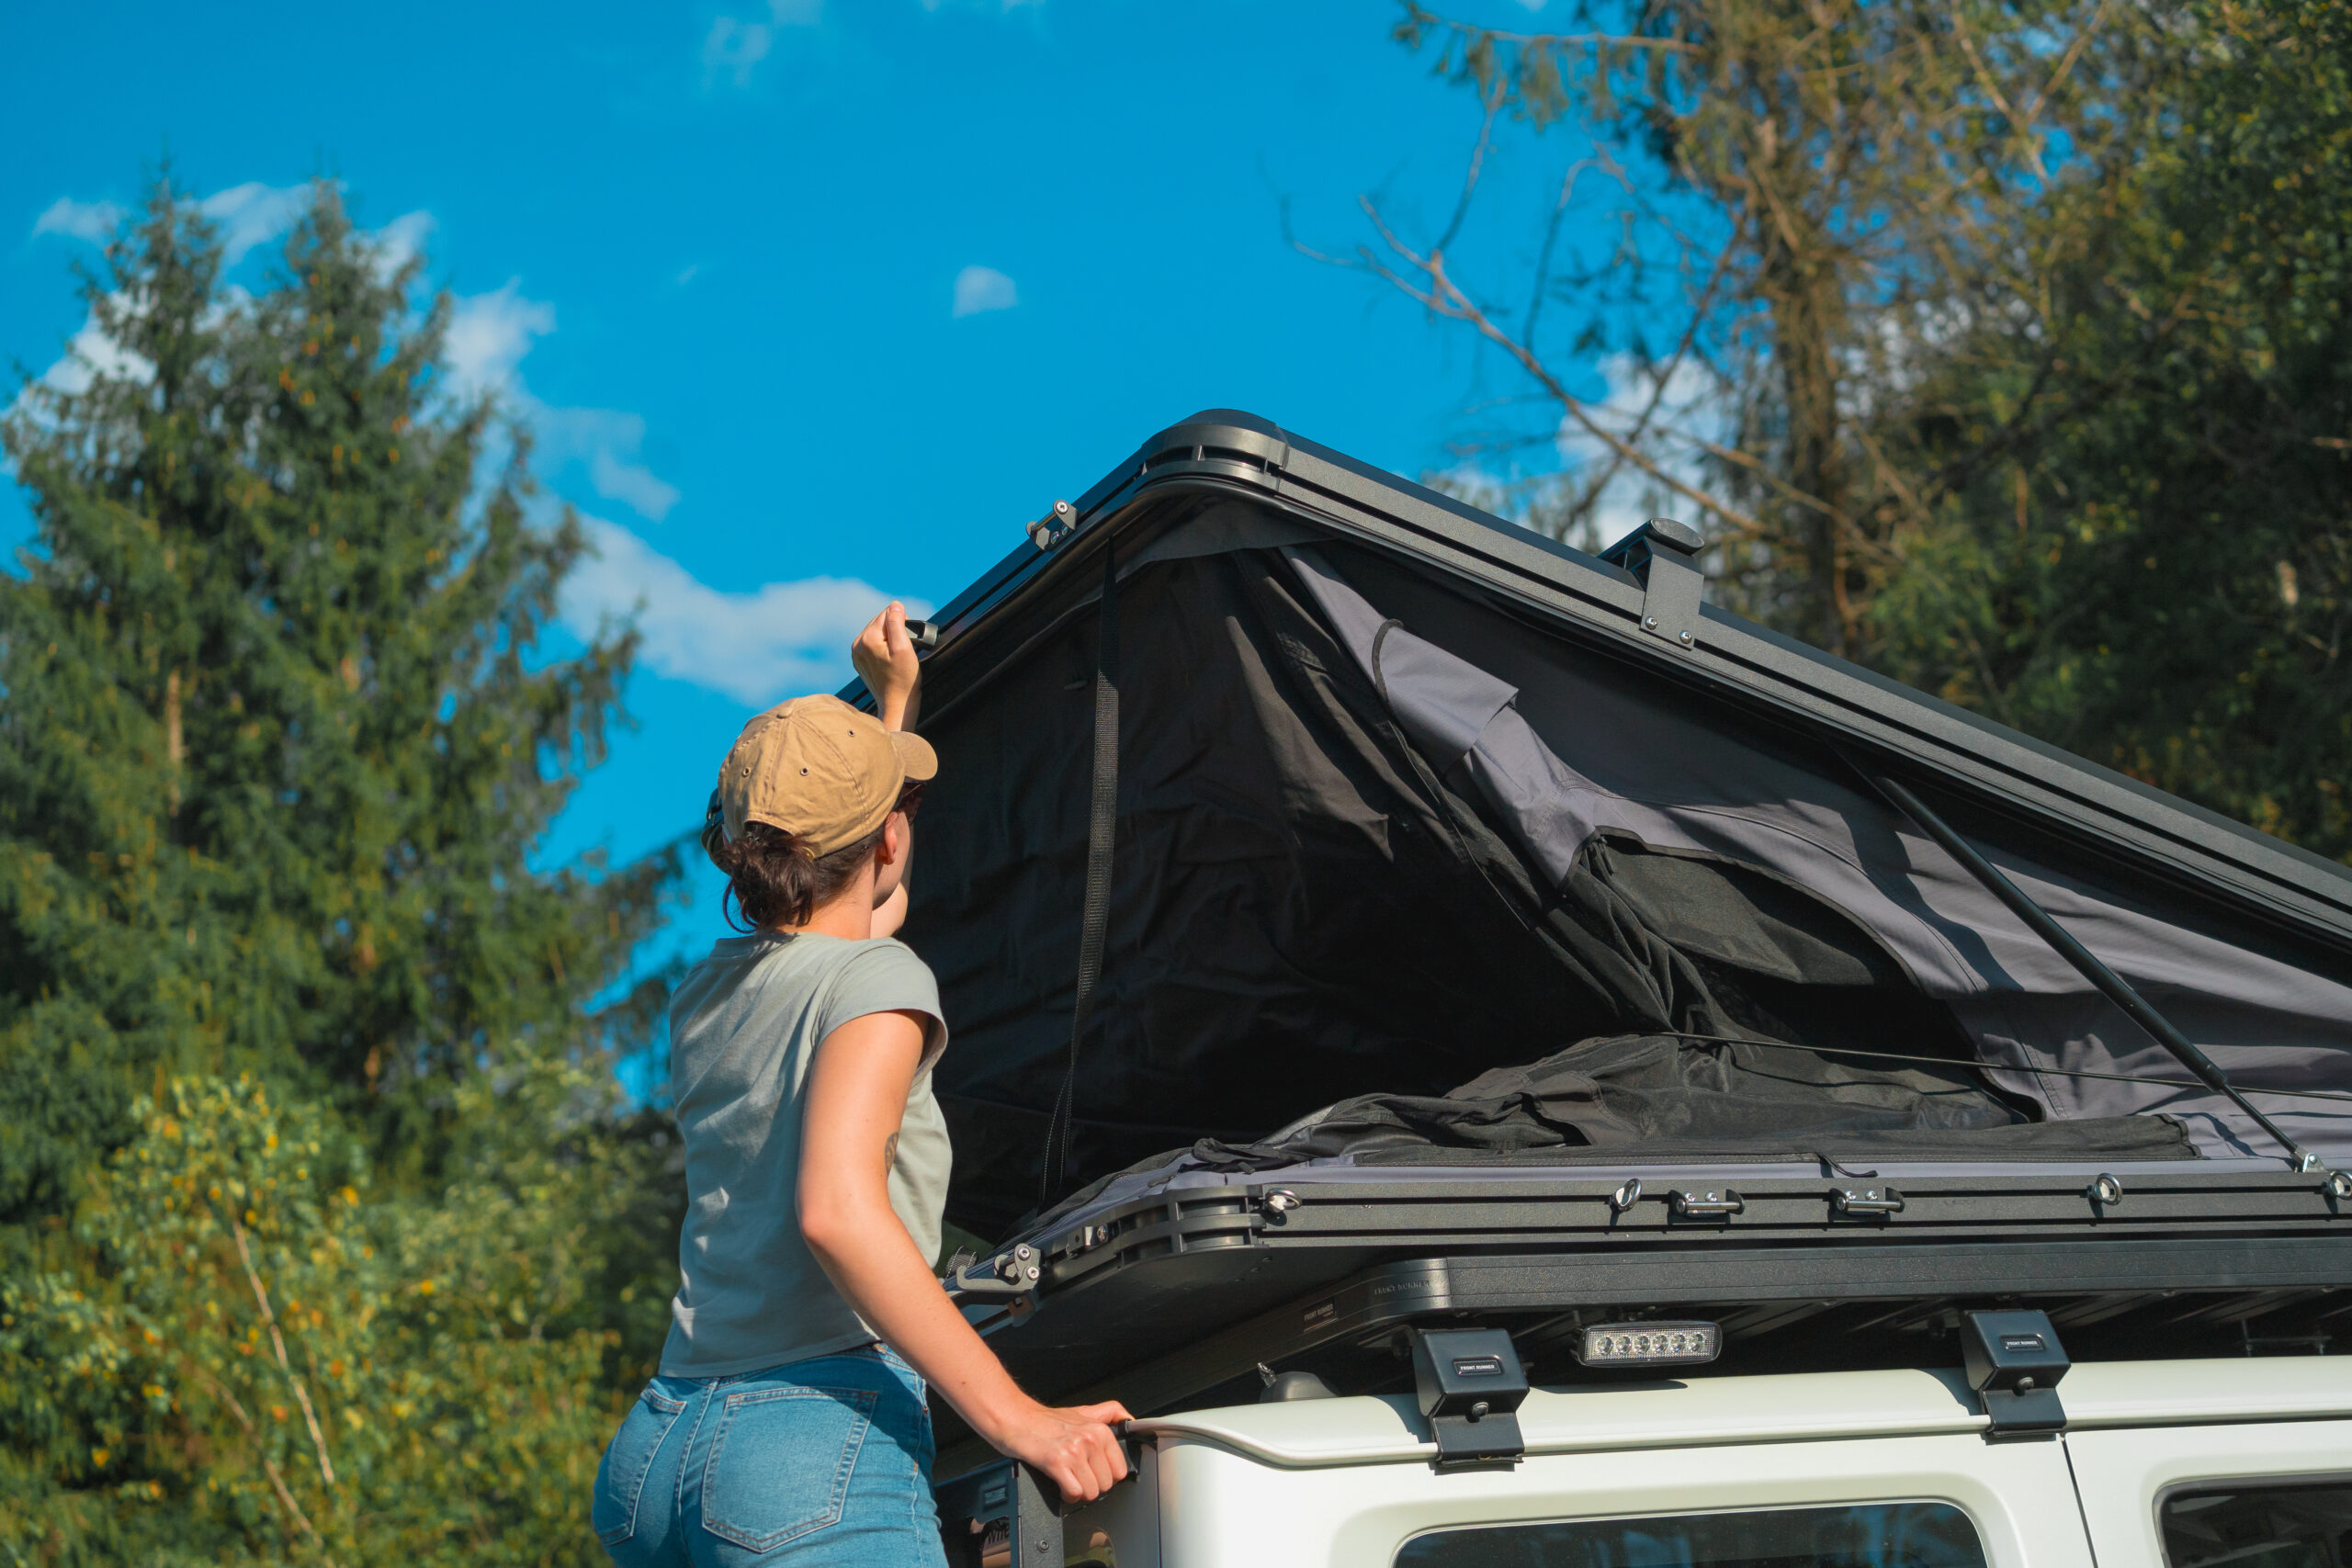
And here we are talking about seconds…

Real magic! In literally just a few seconds, we can set up the tent, and with a few more seconds, it’s tightly packed away.
For someone like me, who values process and time optimization, this is an absolute delight!
This optimization allows you more time to set up the rest of the campsite. Imagine you’re on a trip and want to take a quick nap after lunch. You can simply pop open your tent anywhere in the bushes, and within 15 minutes, you’re all set to relax.
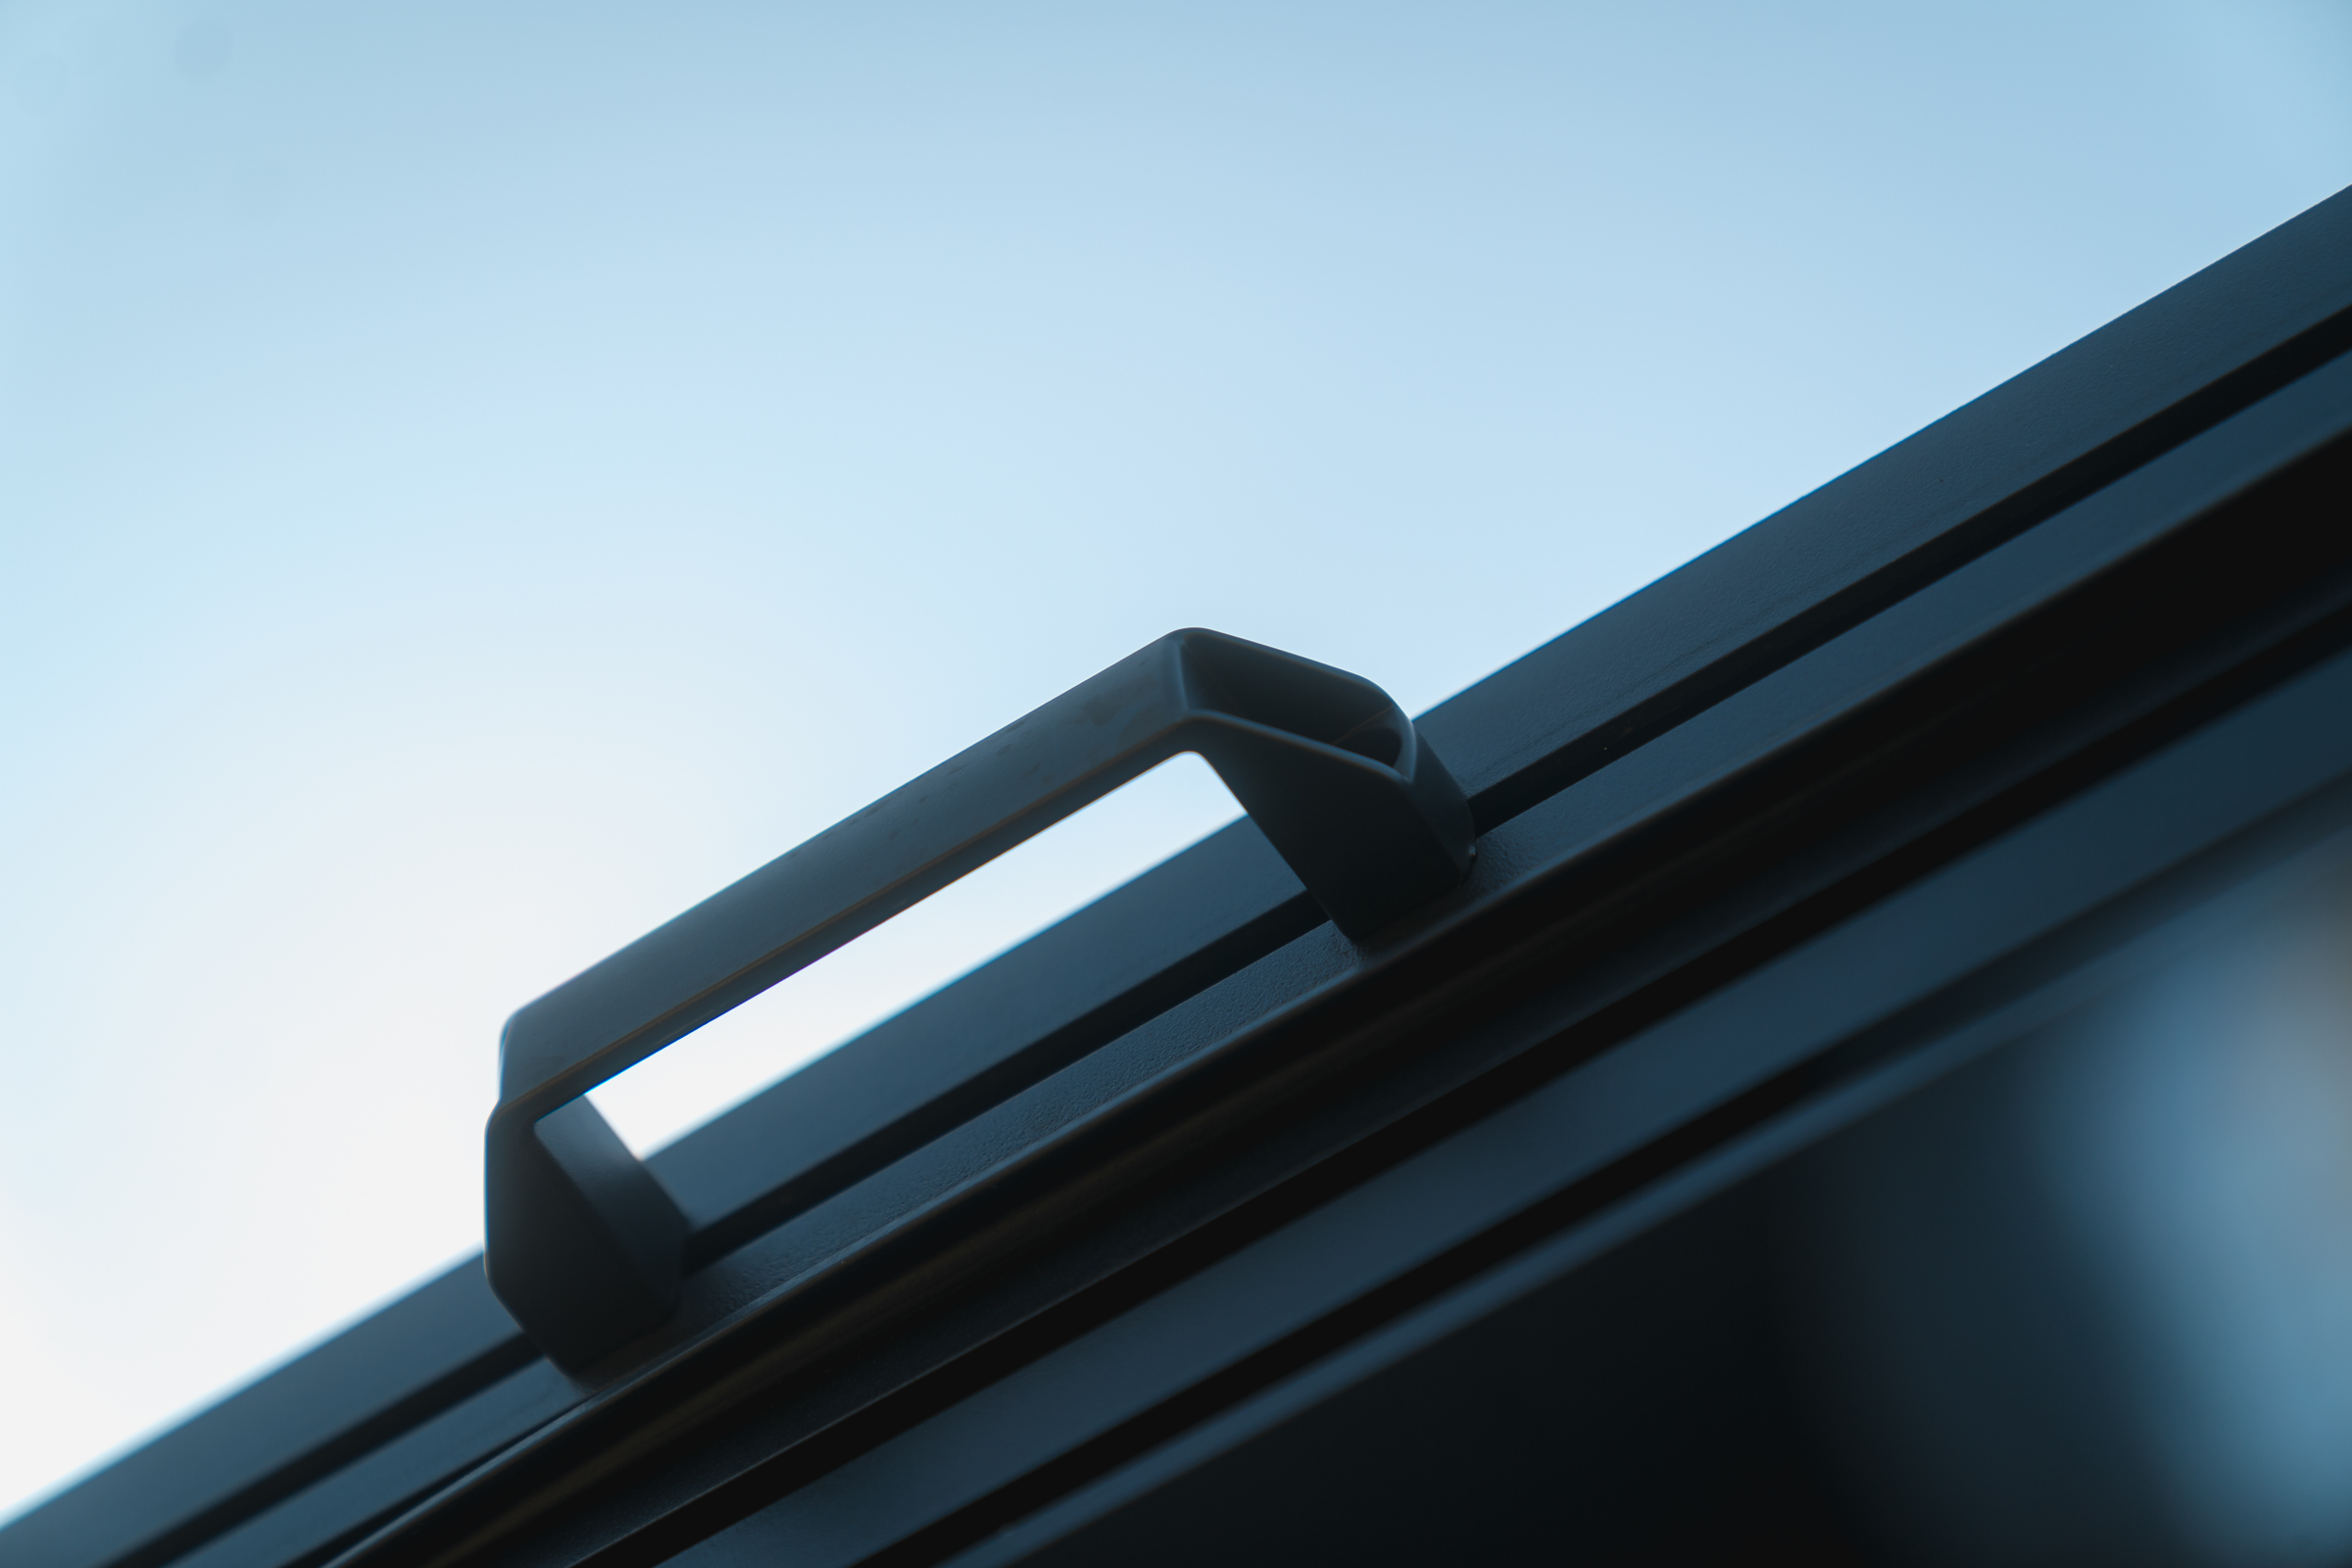
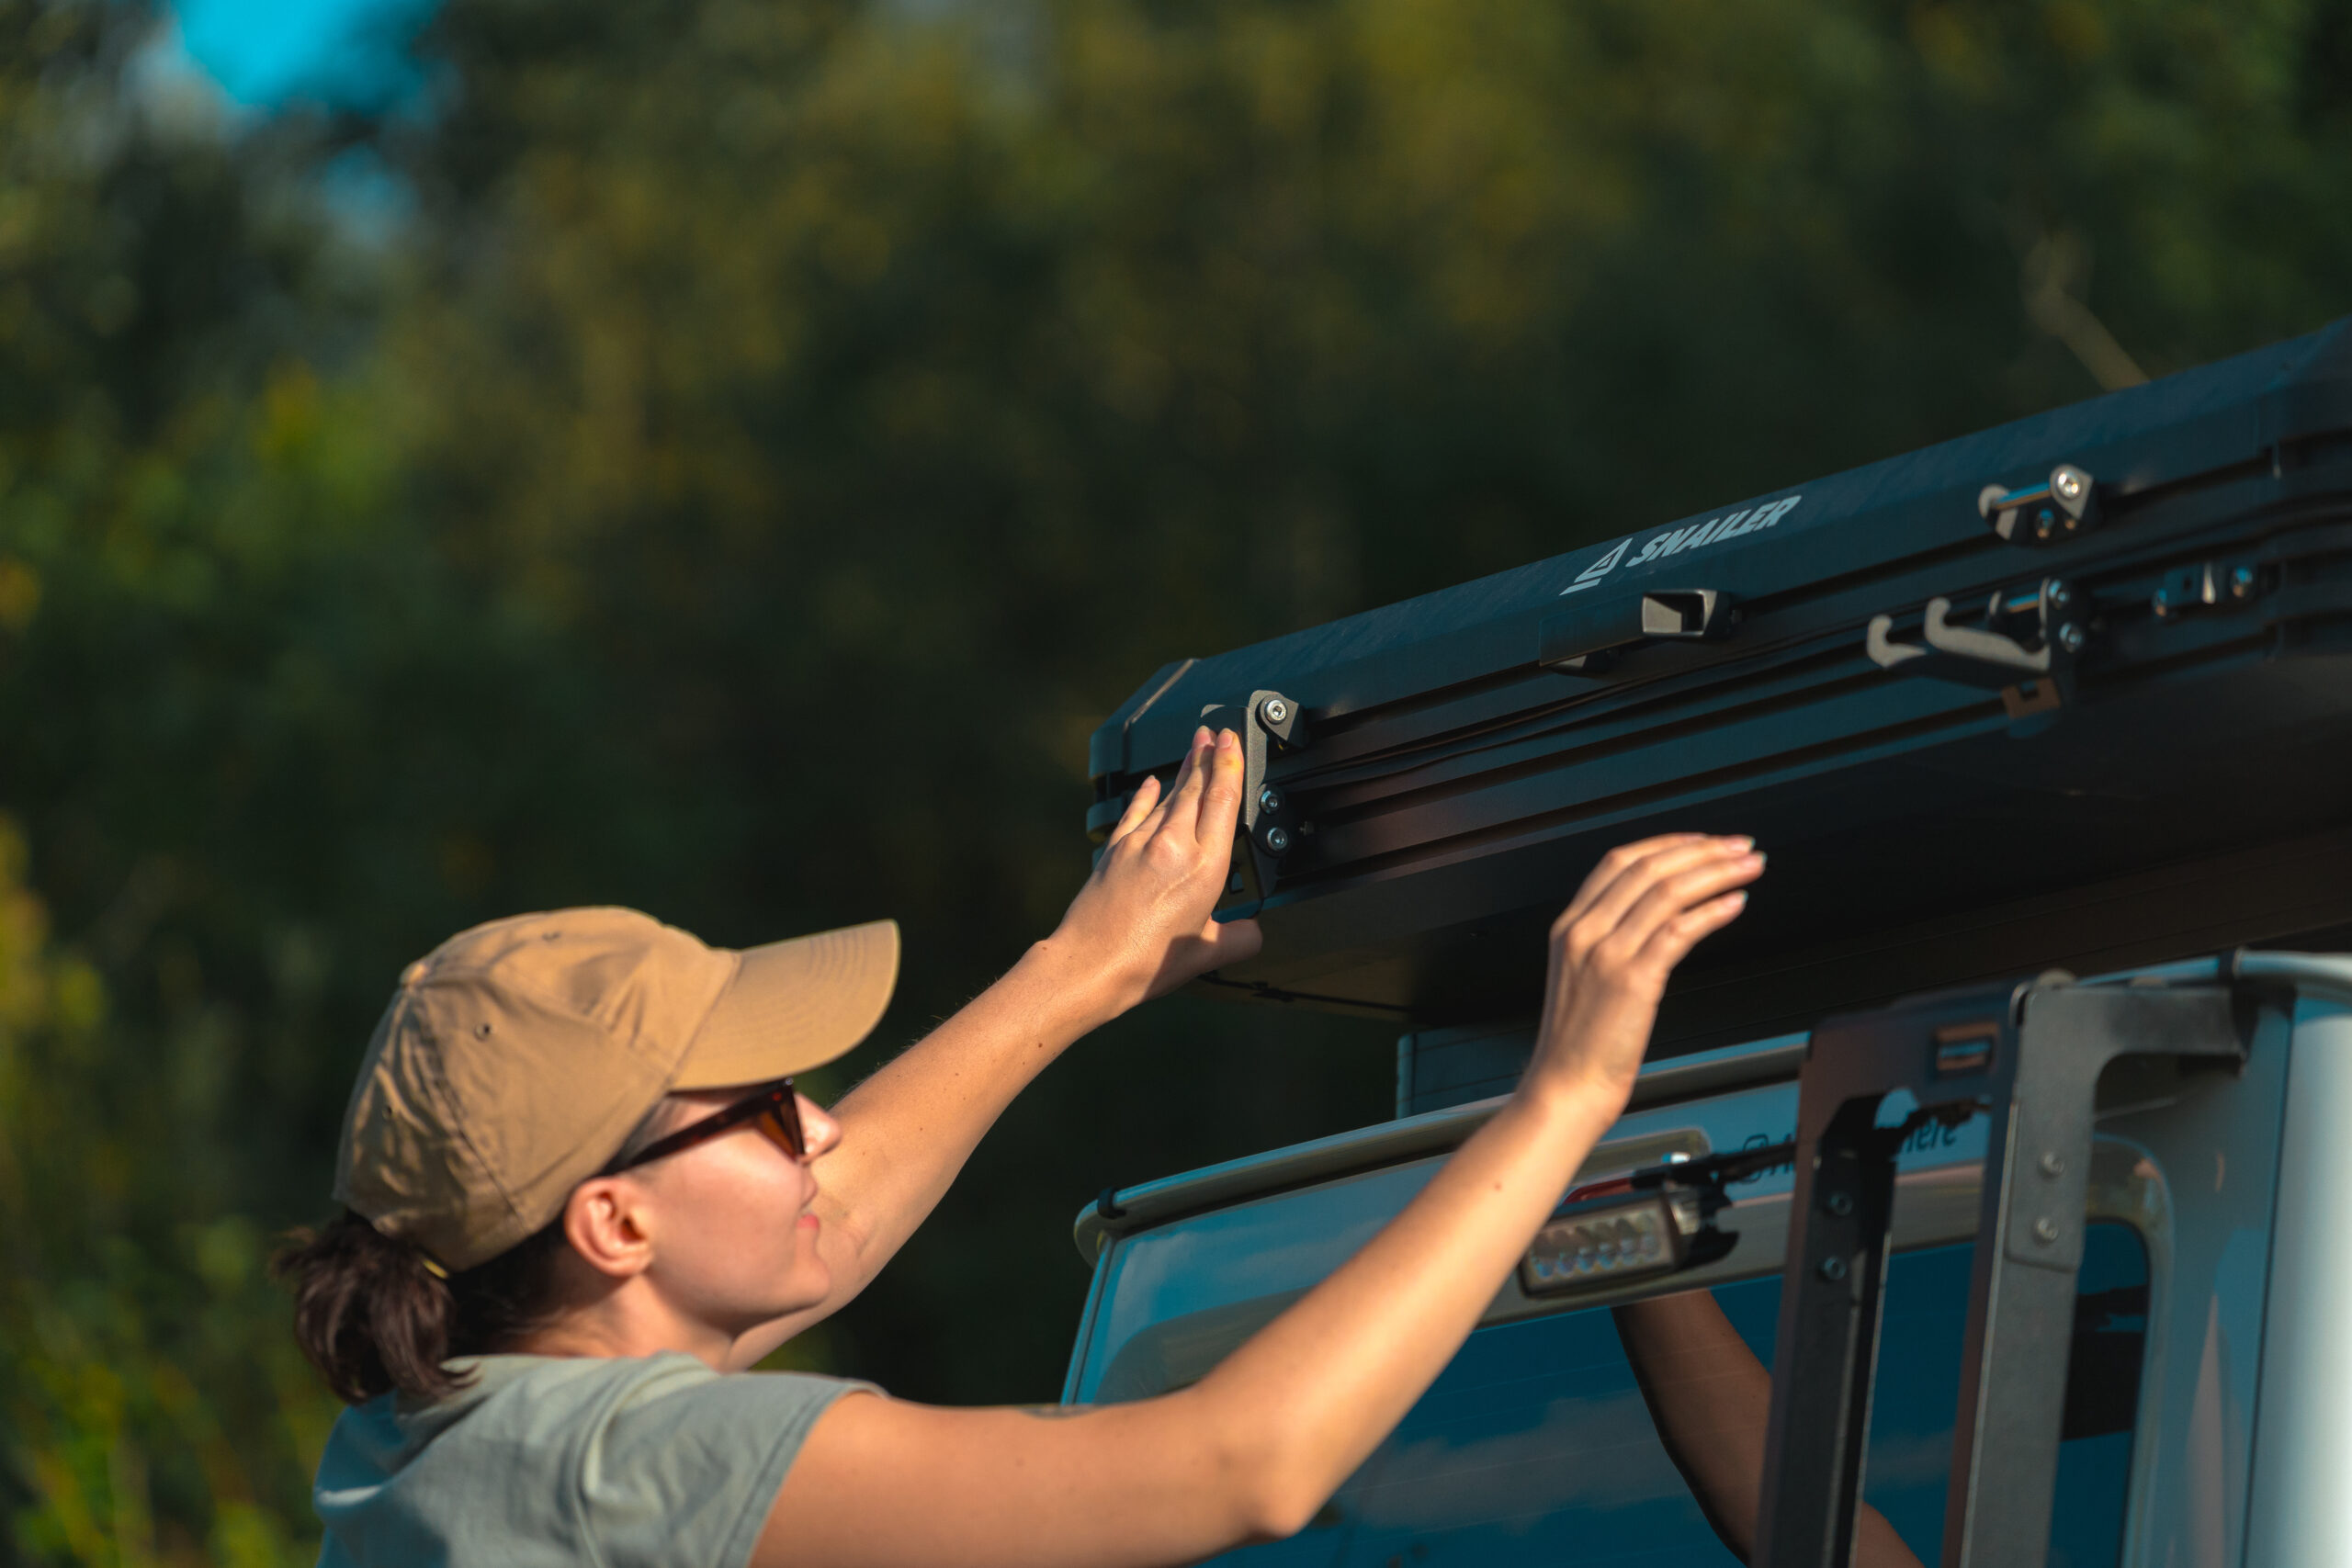
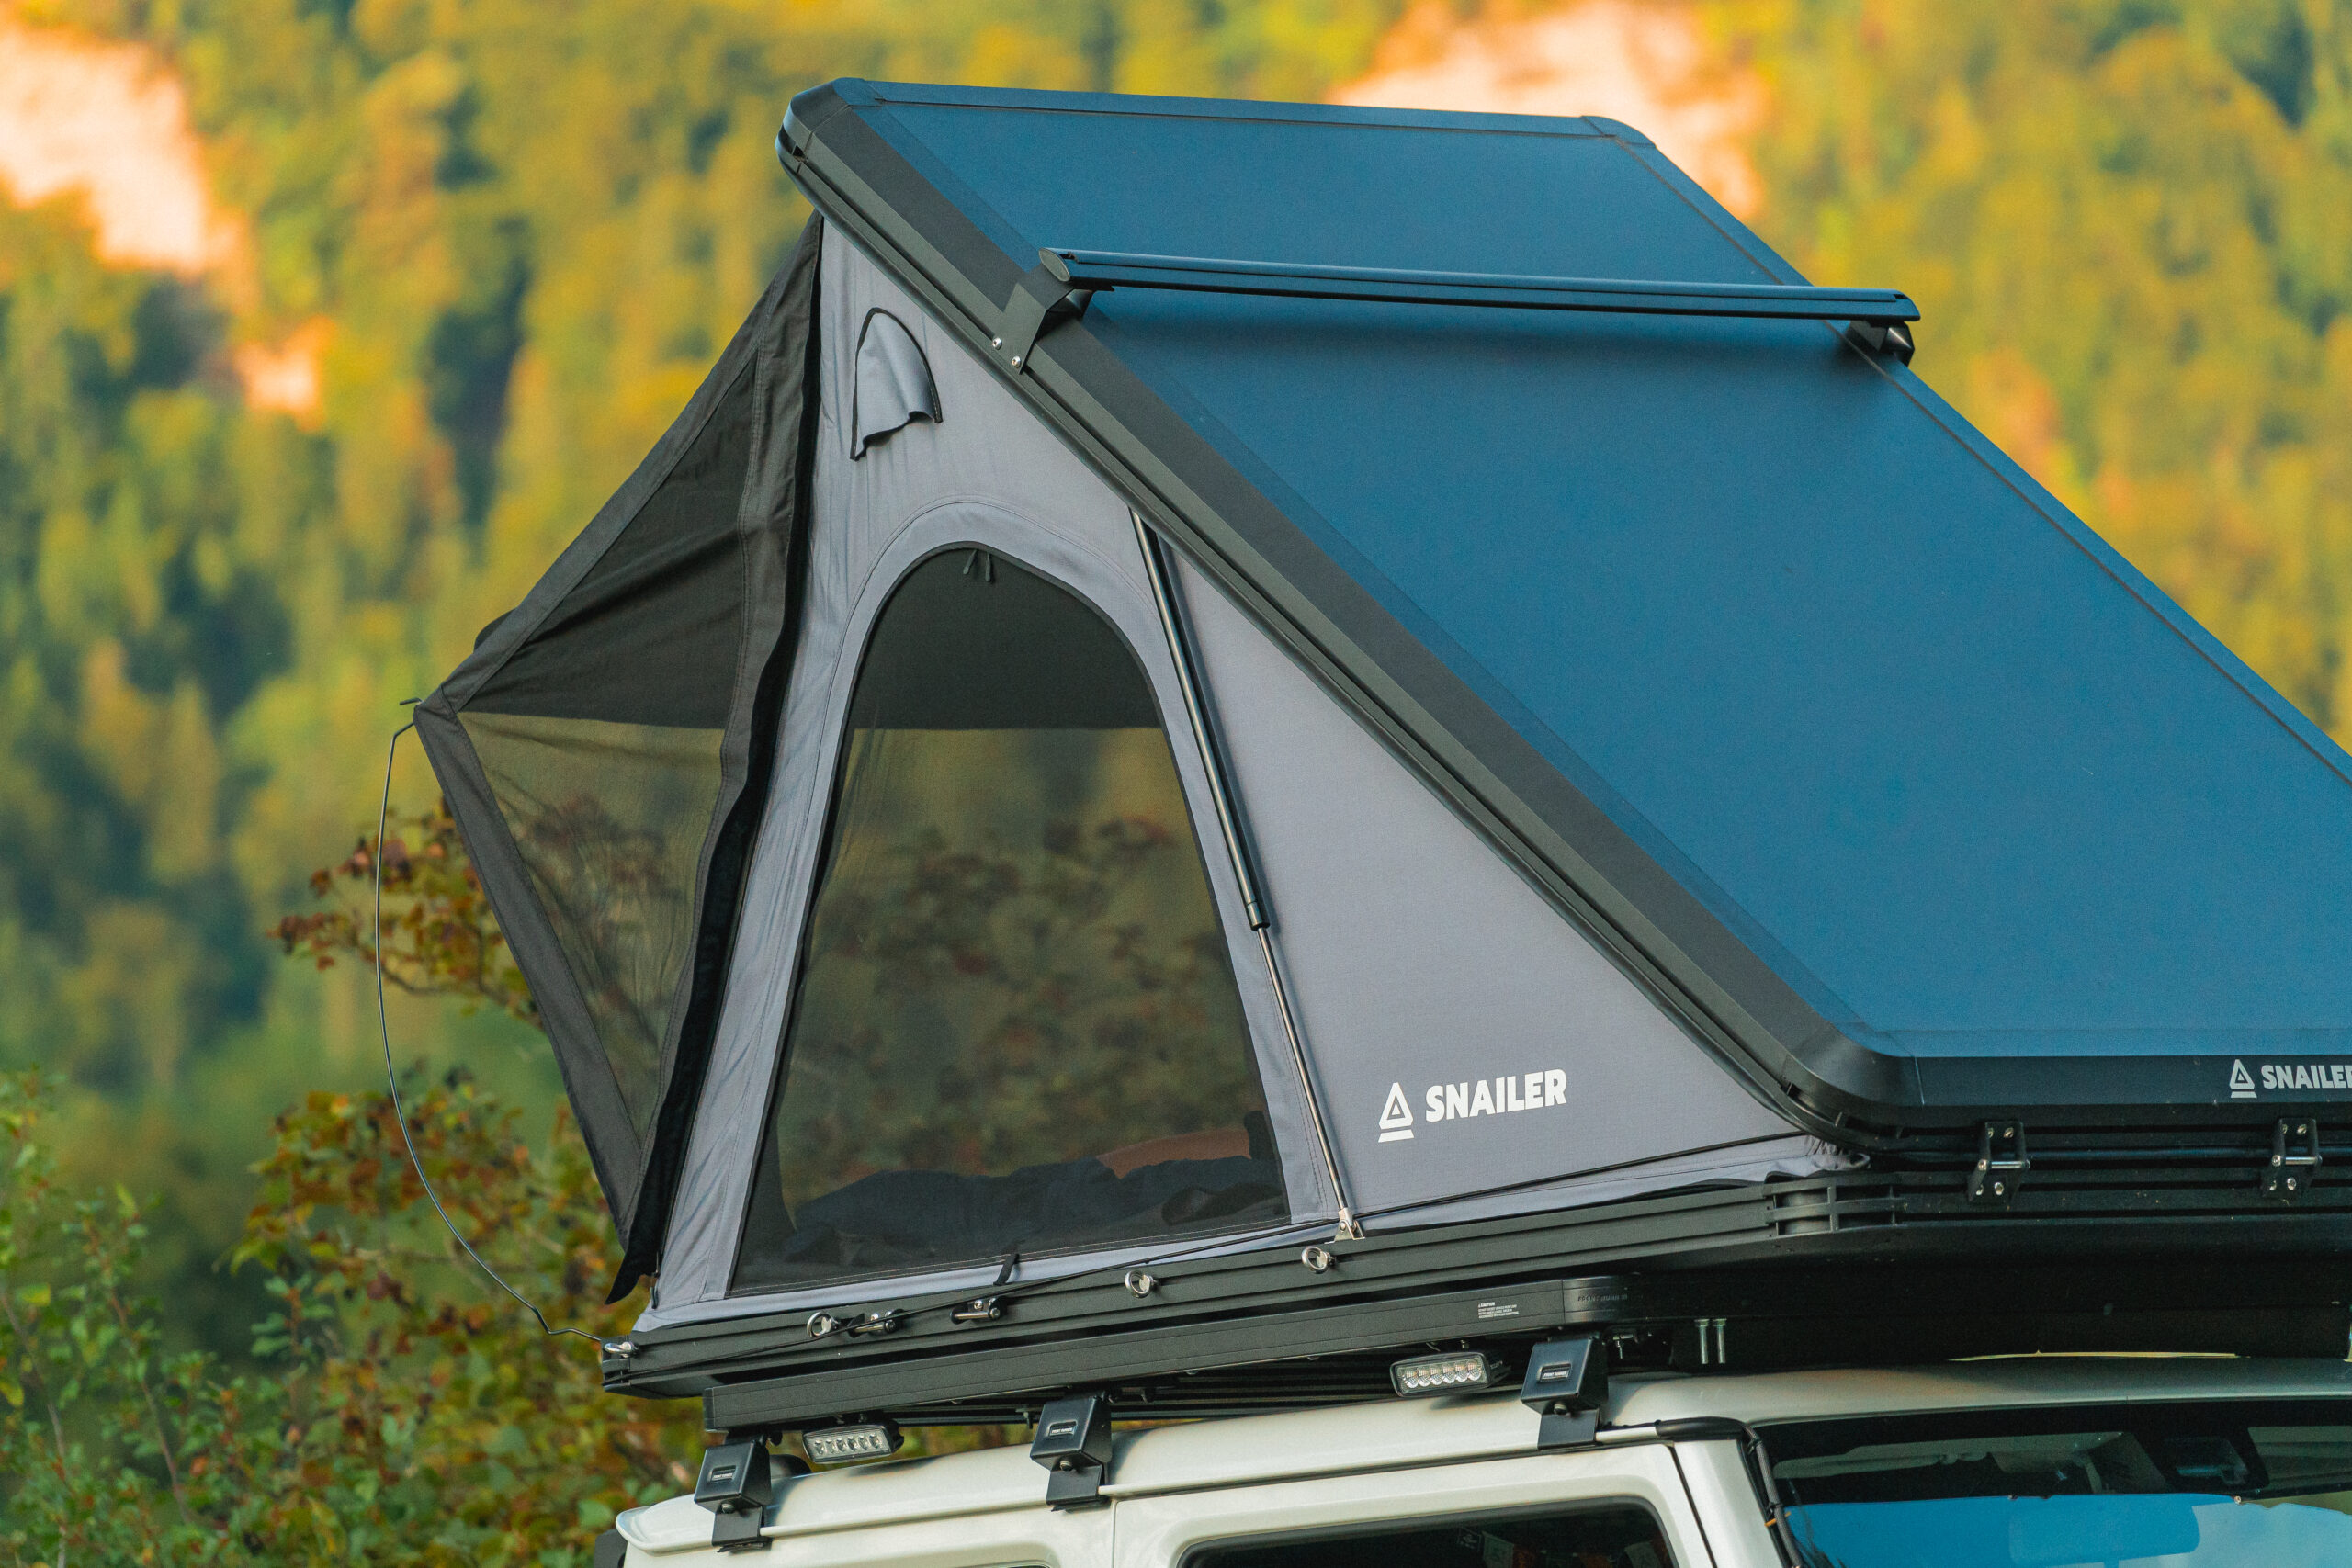
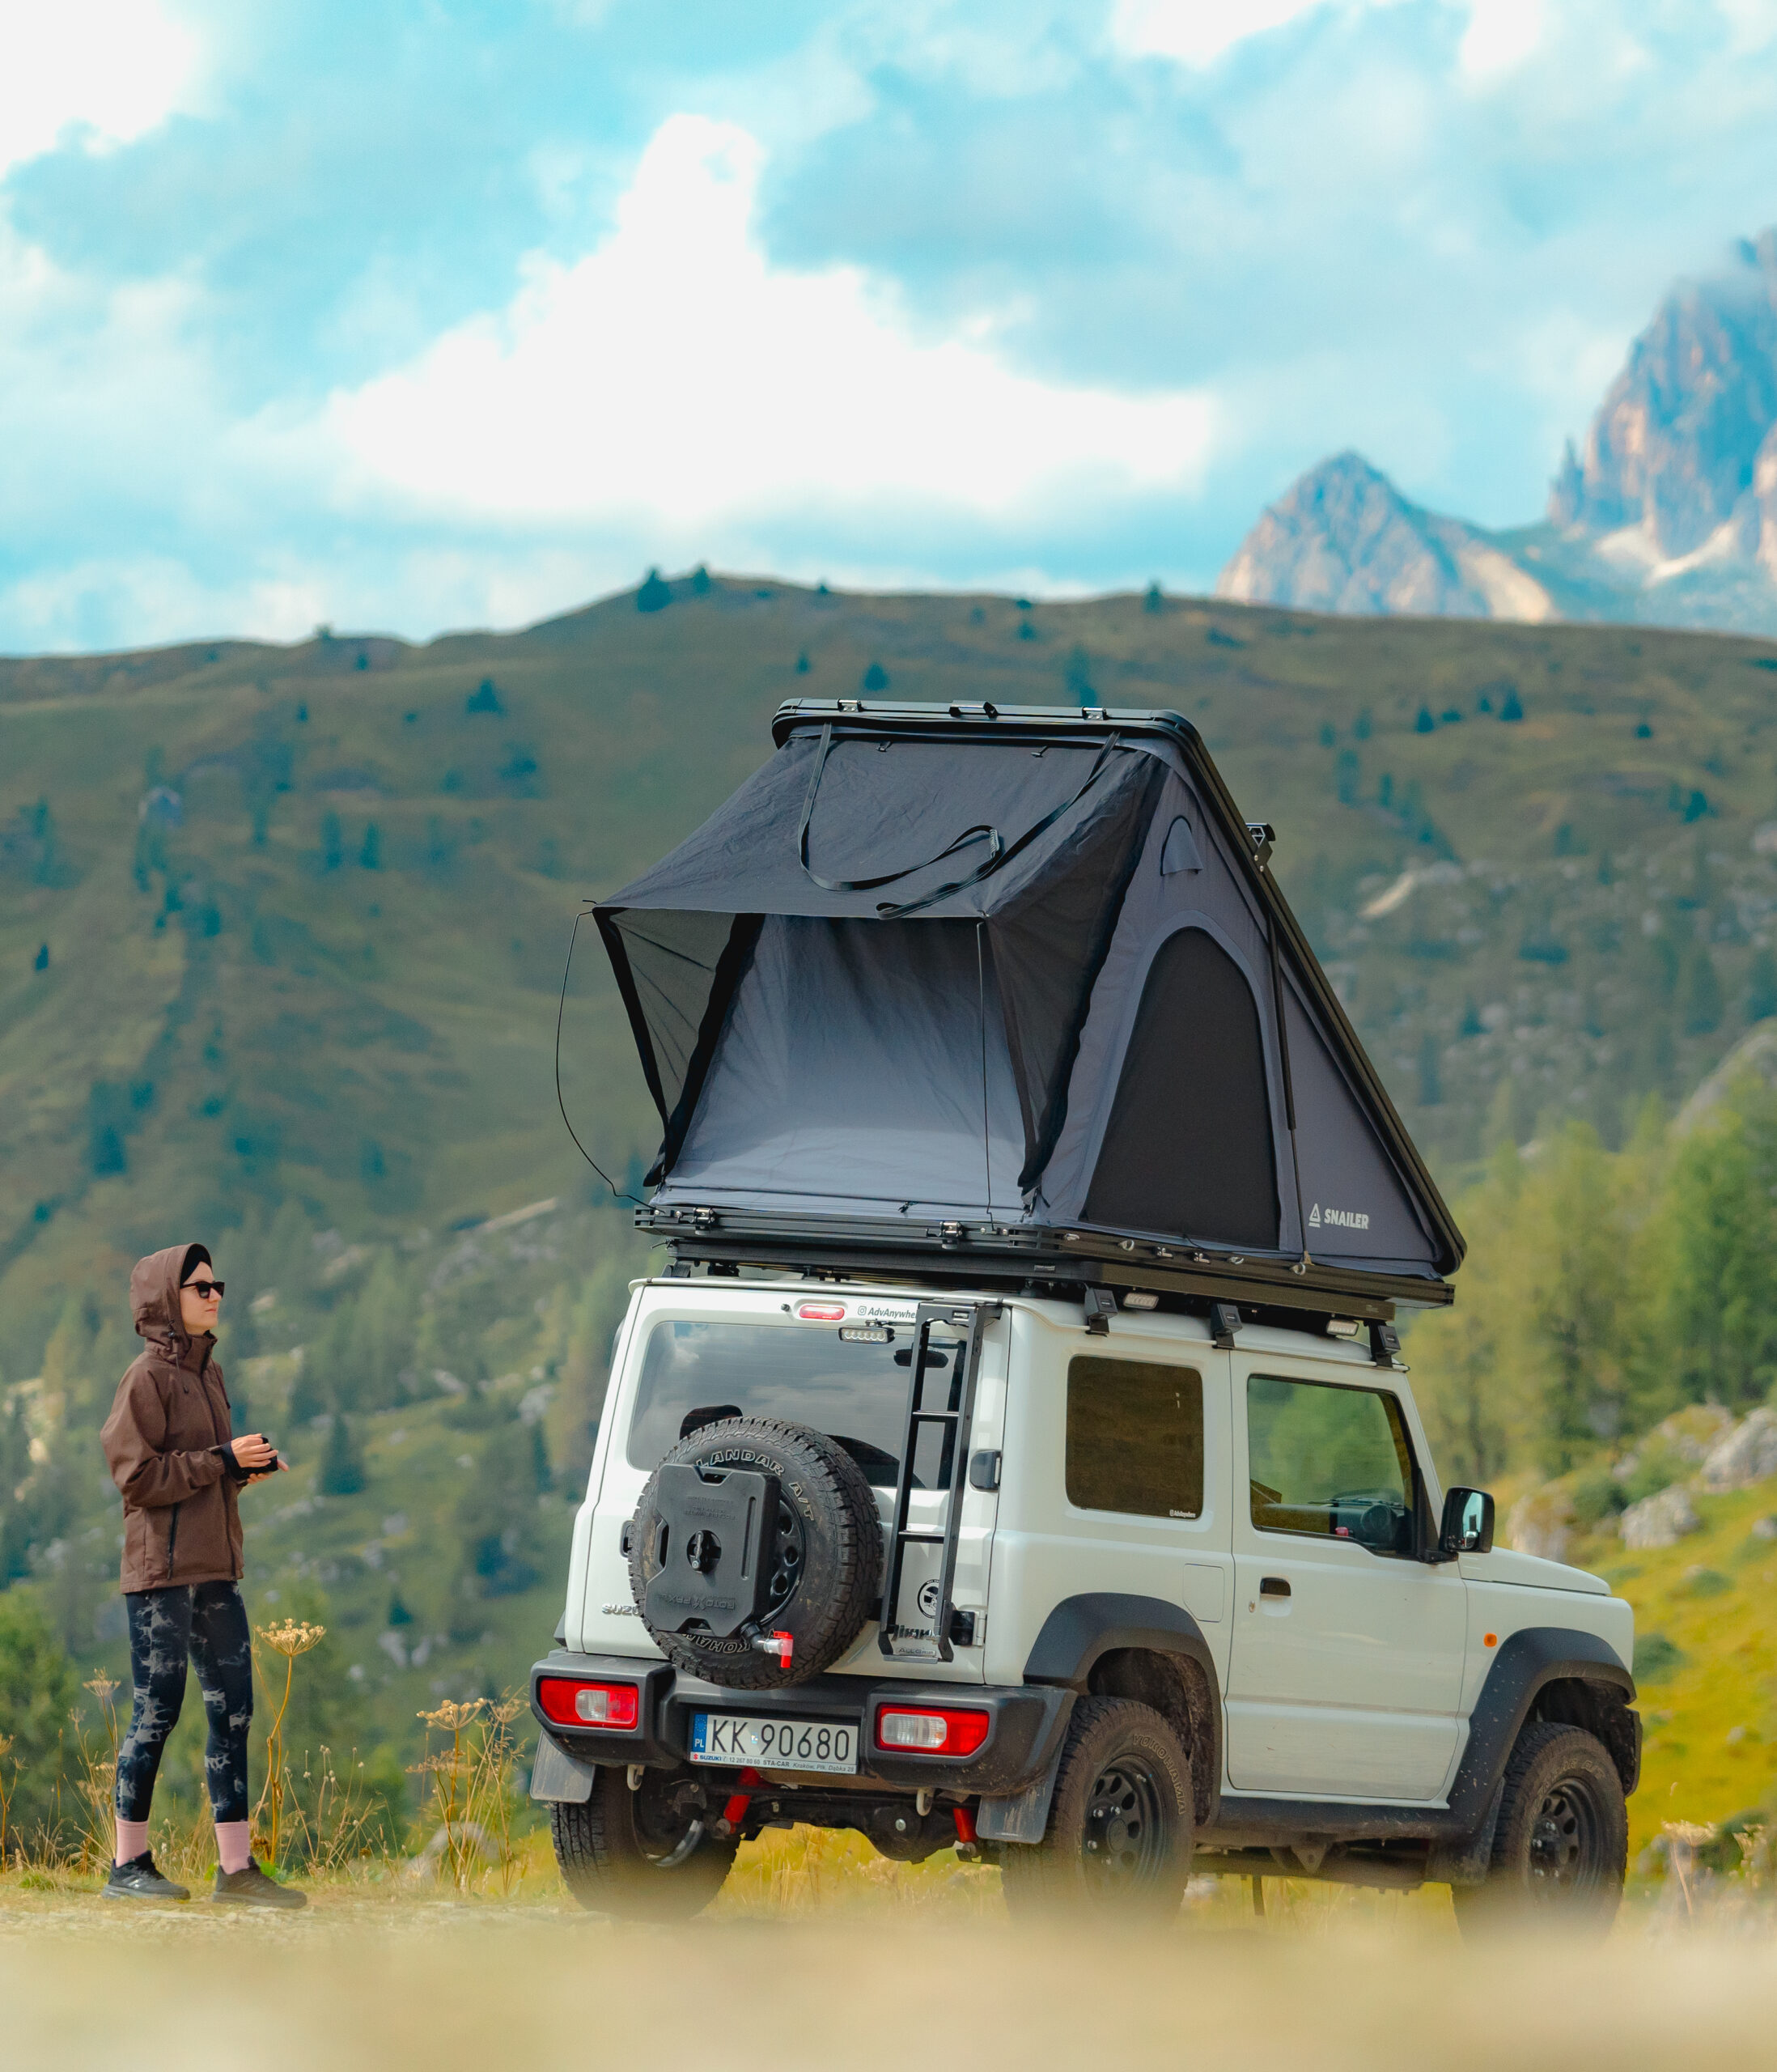
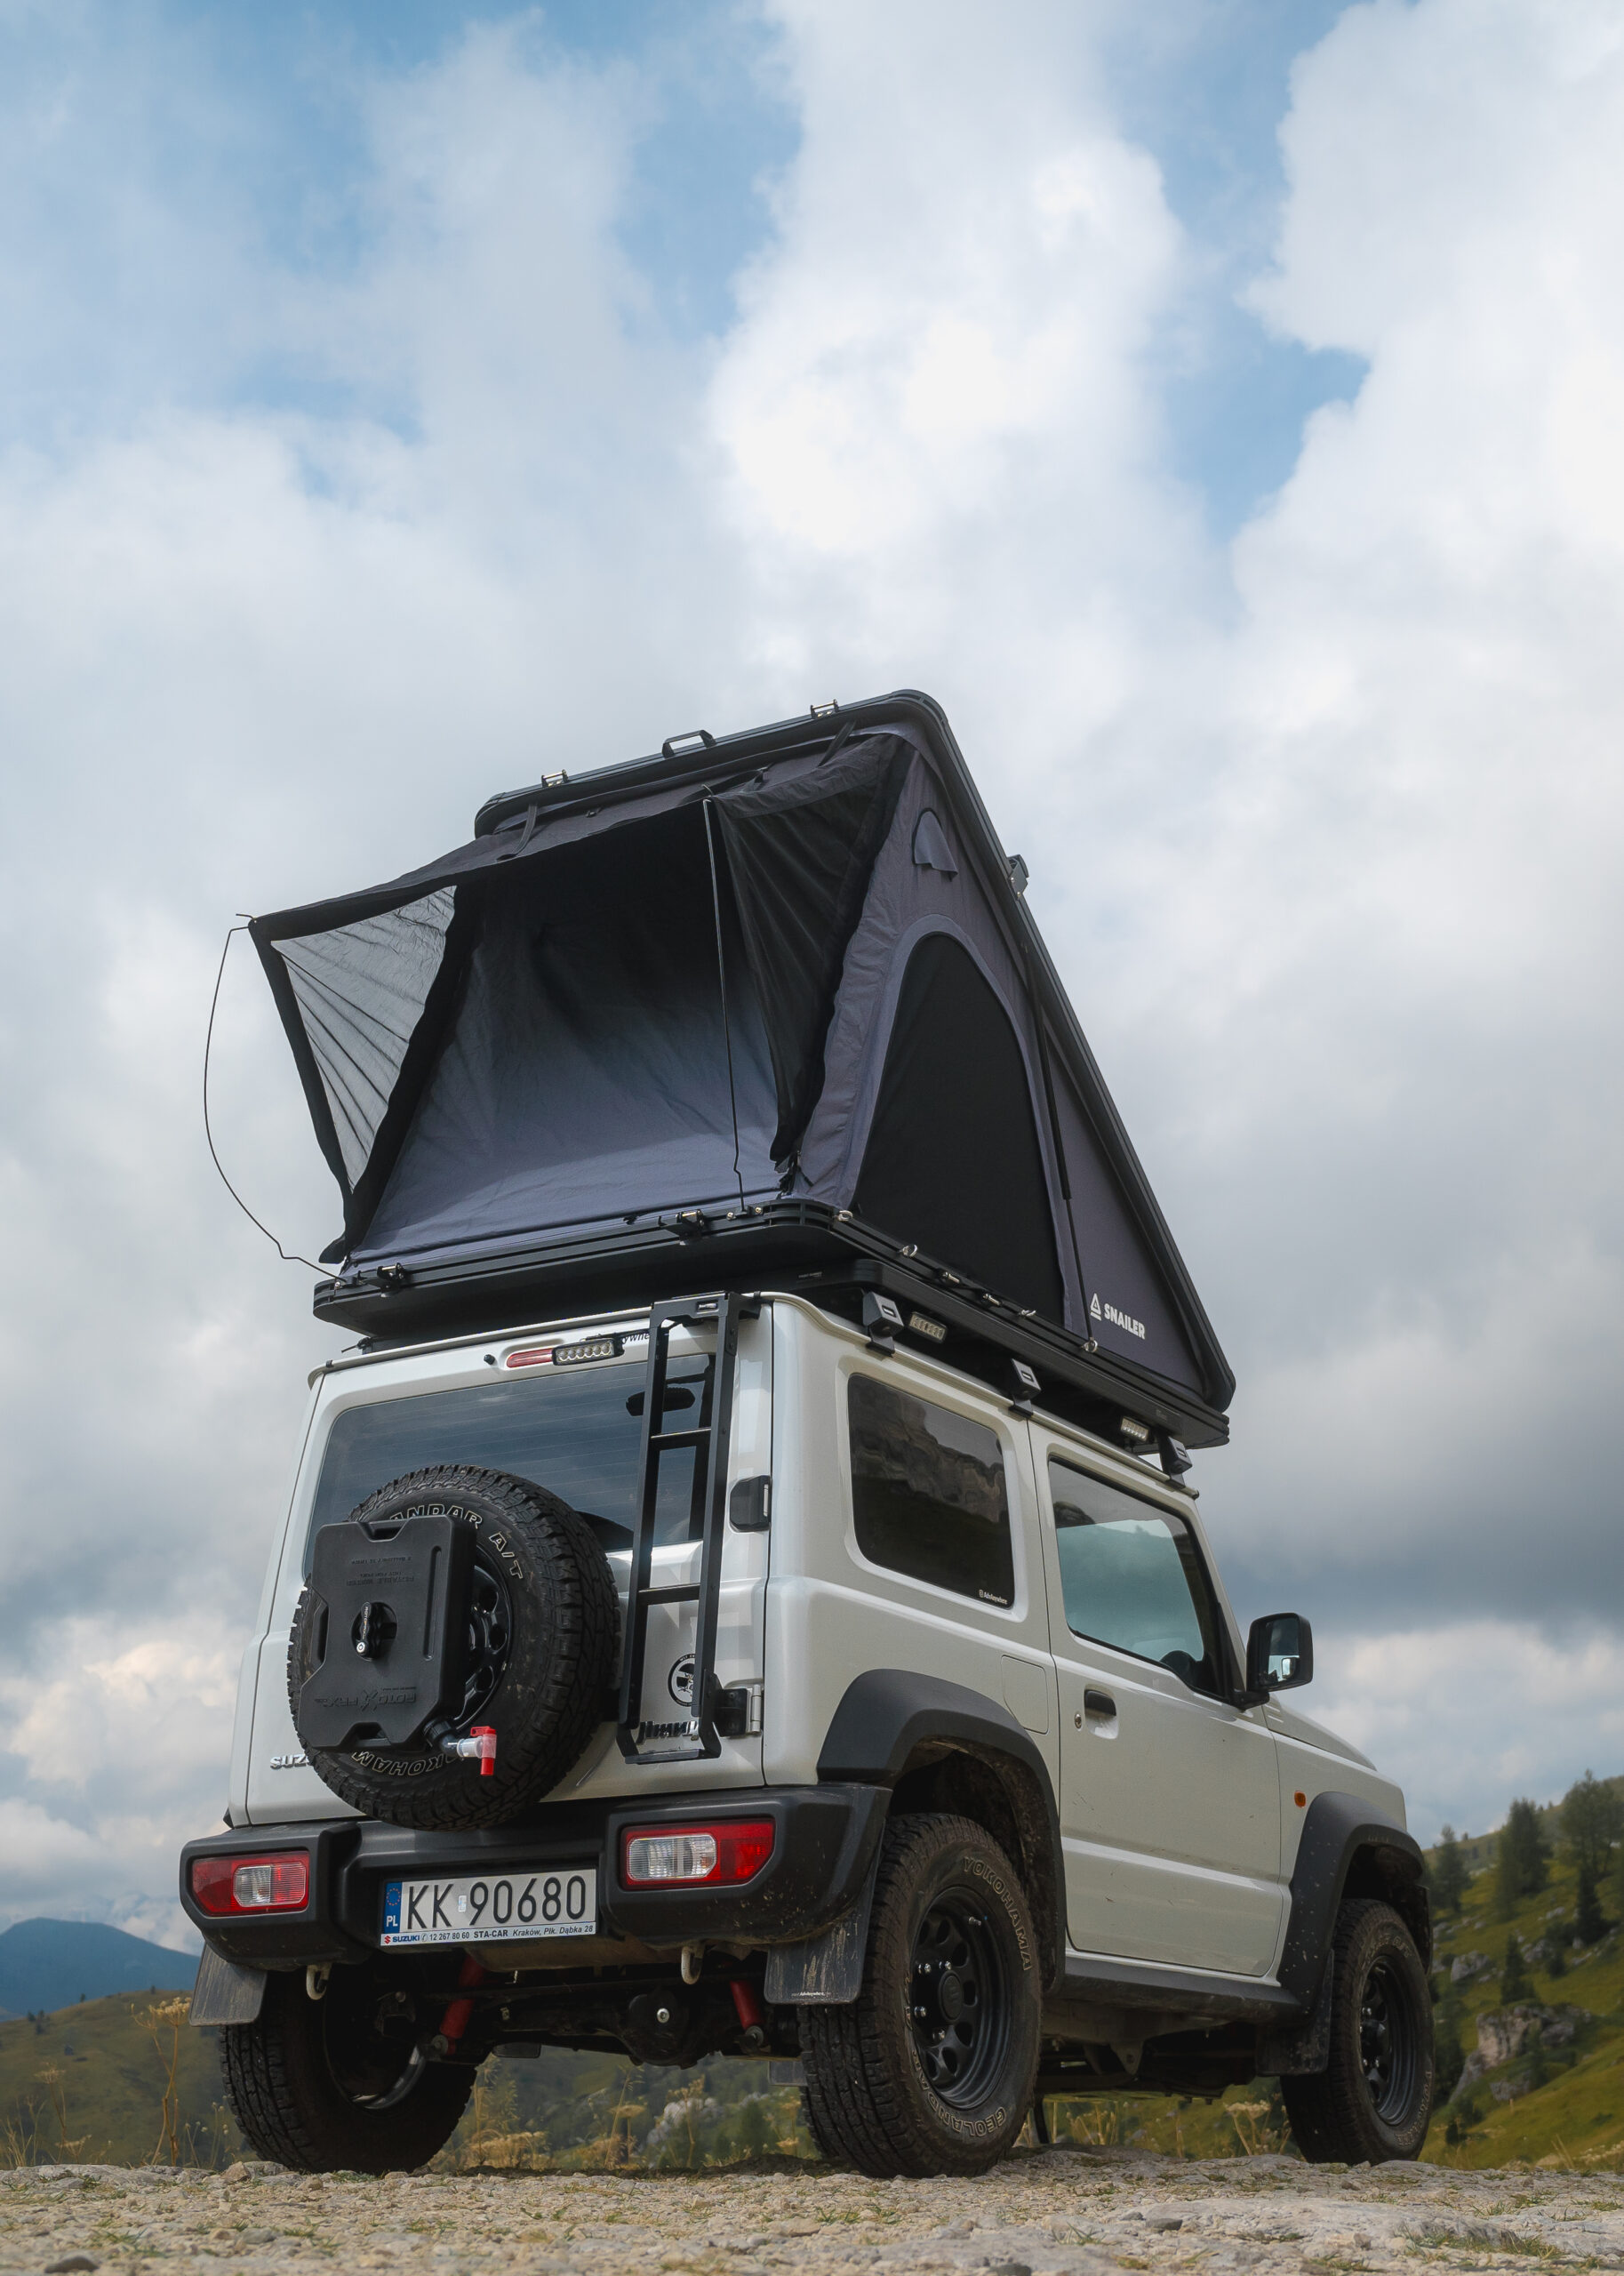
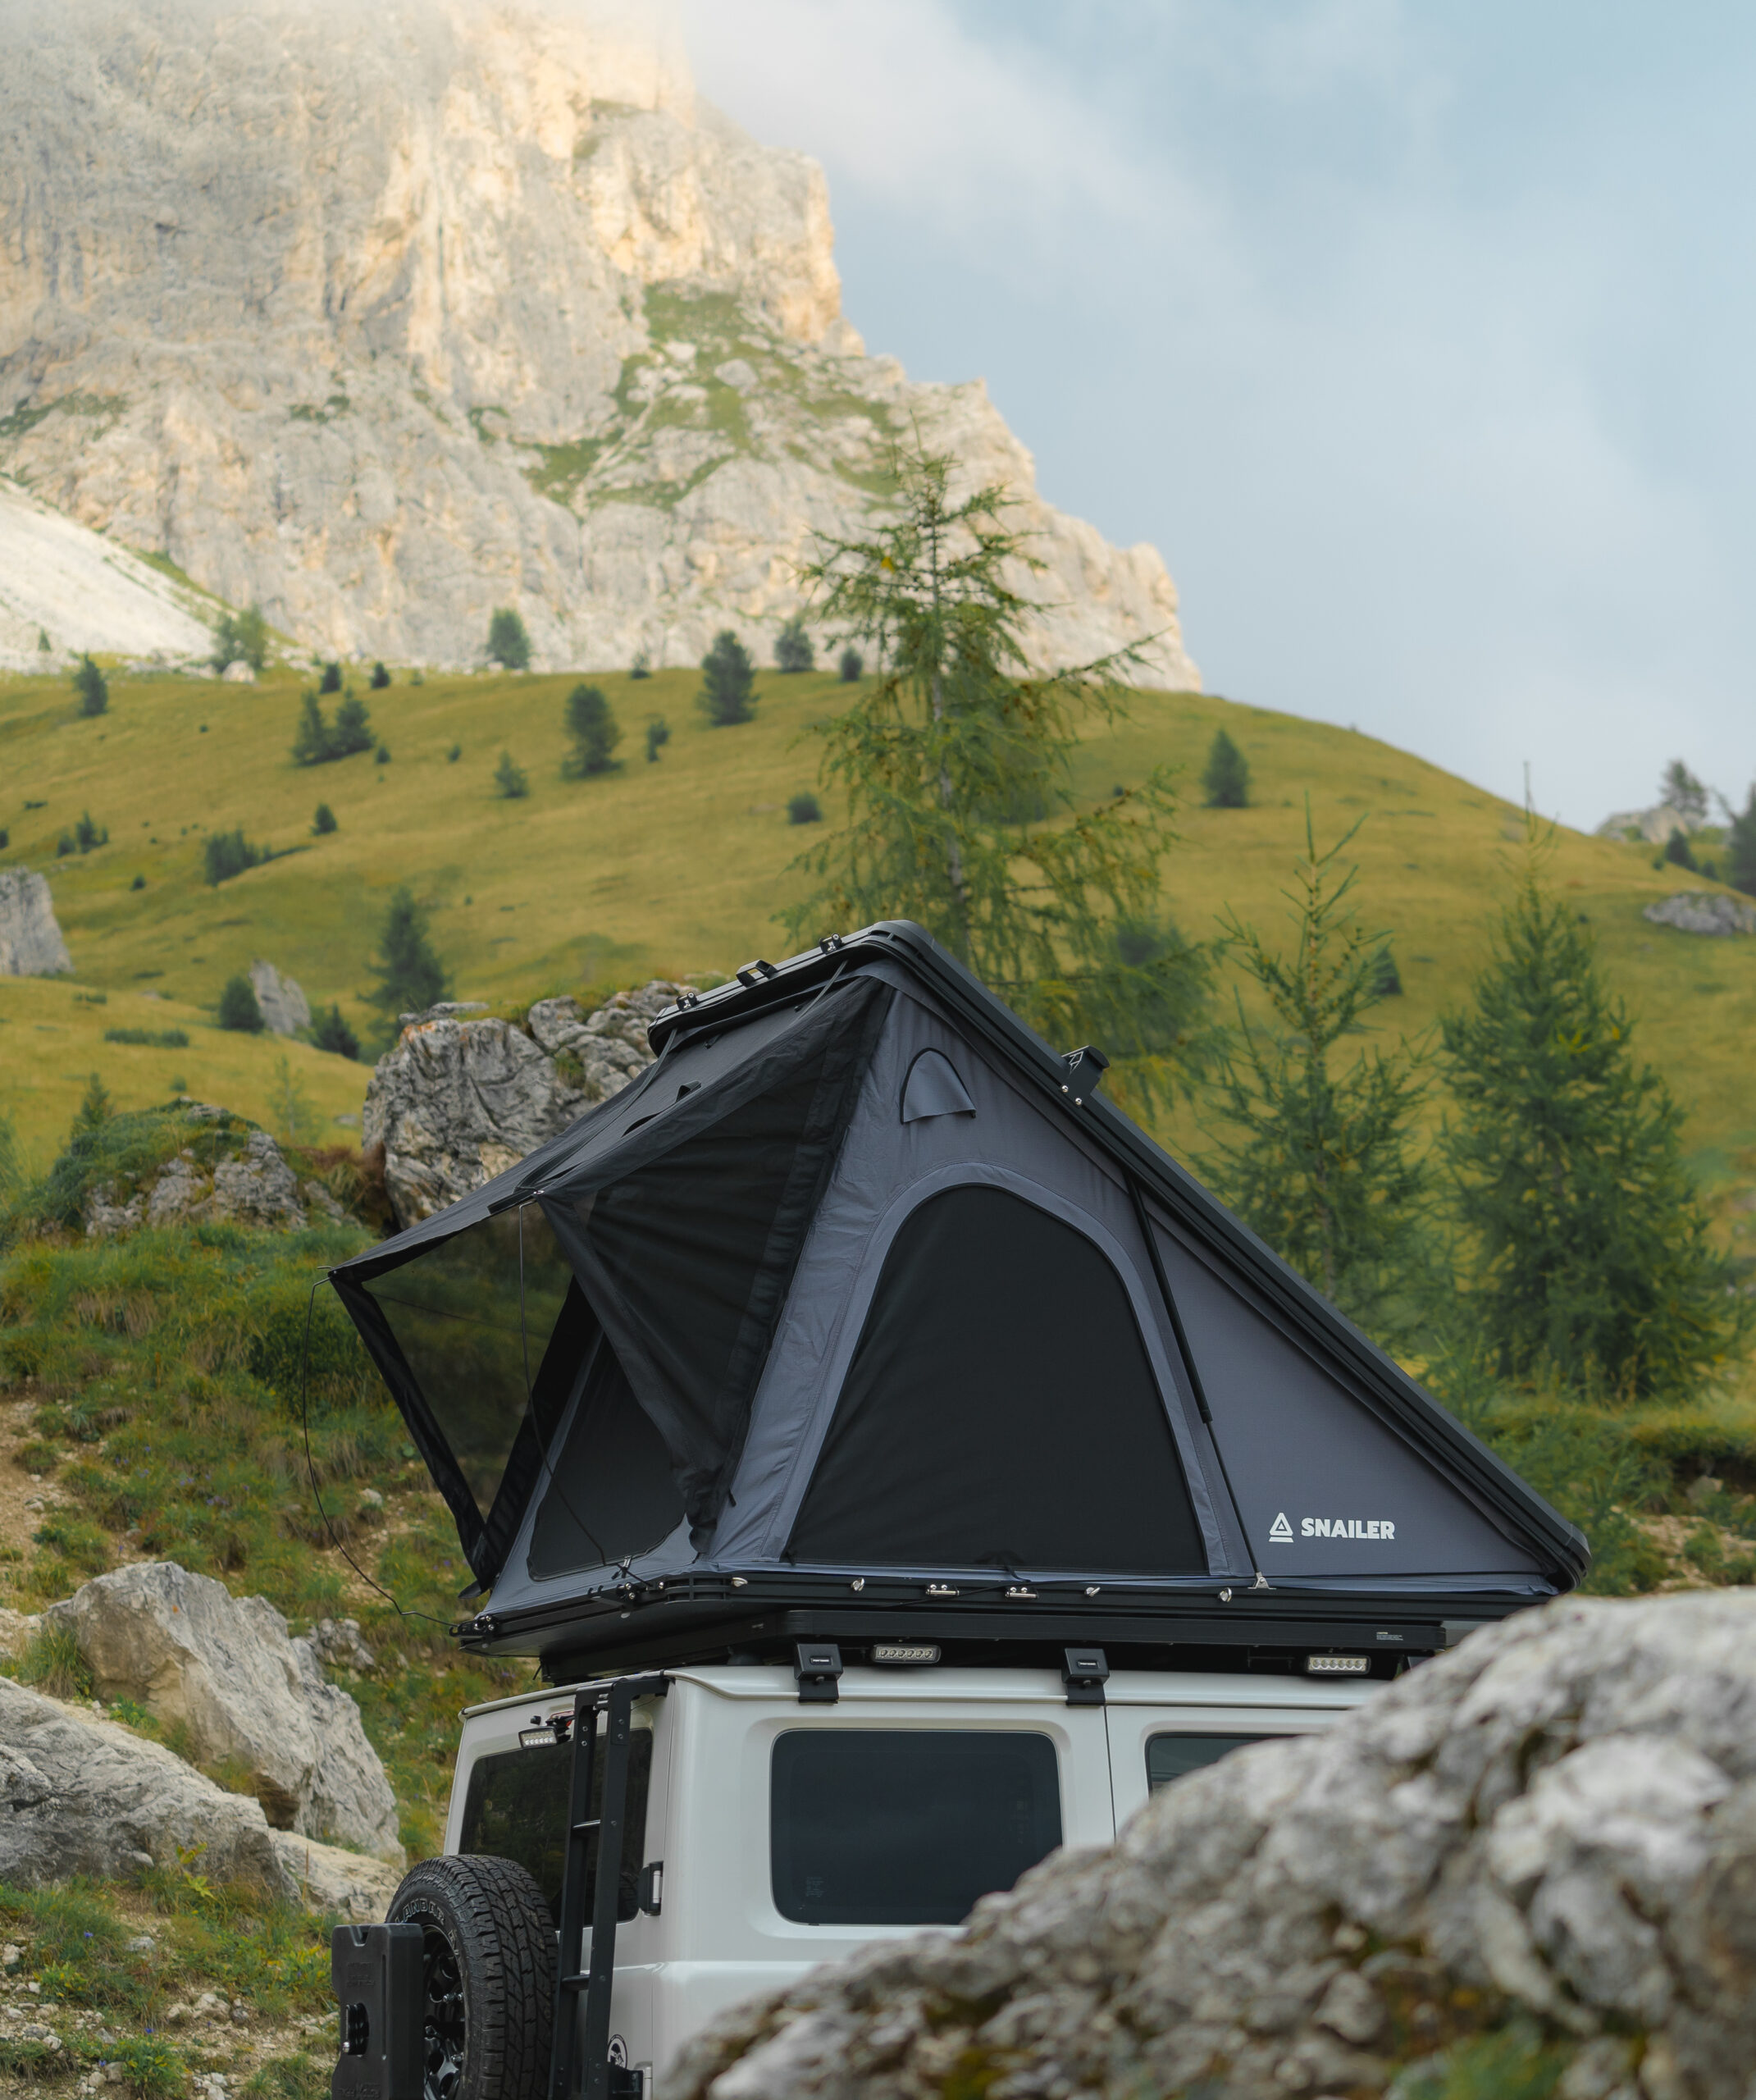
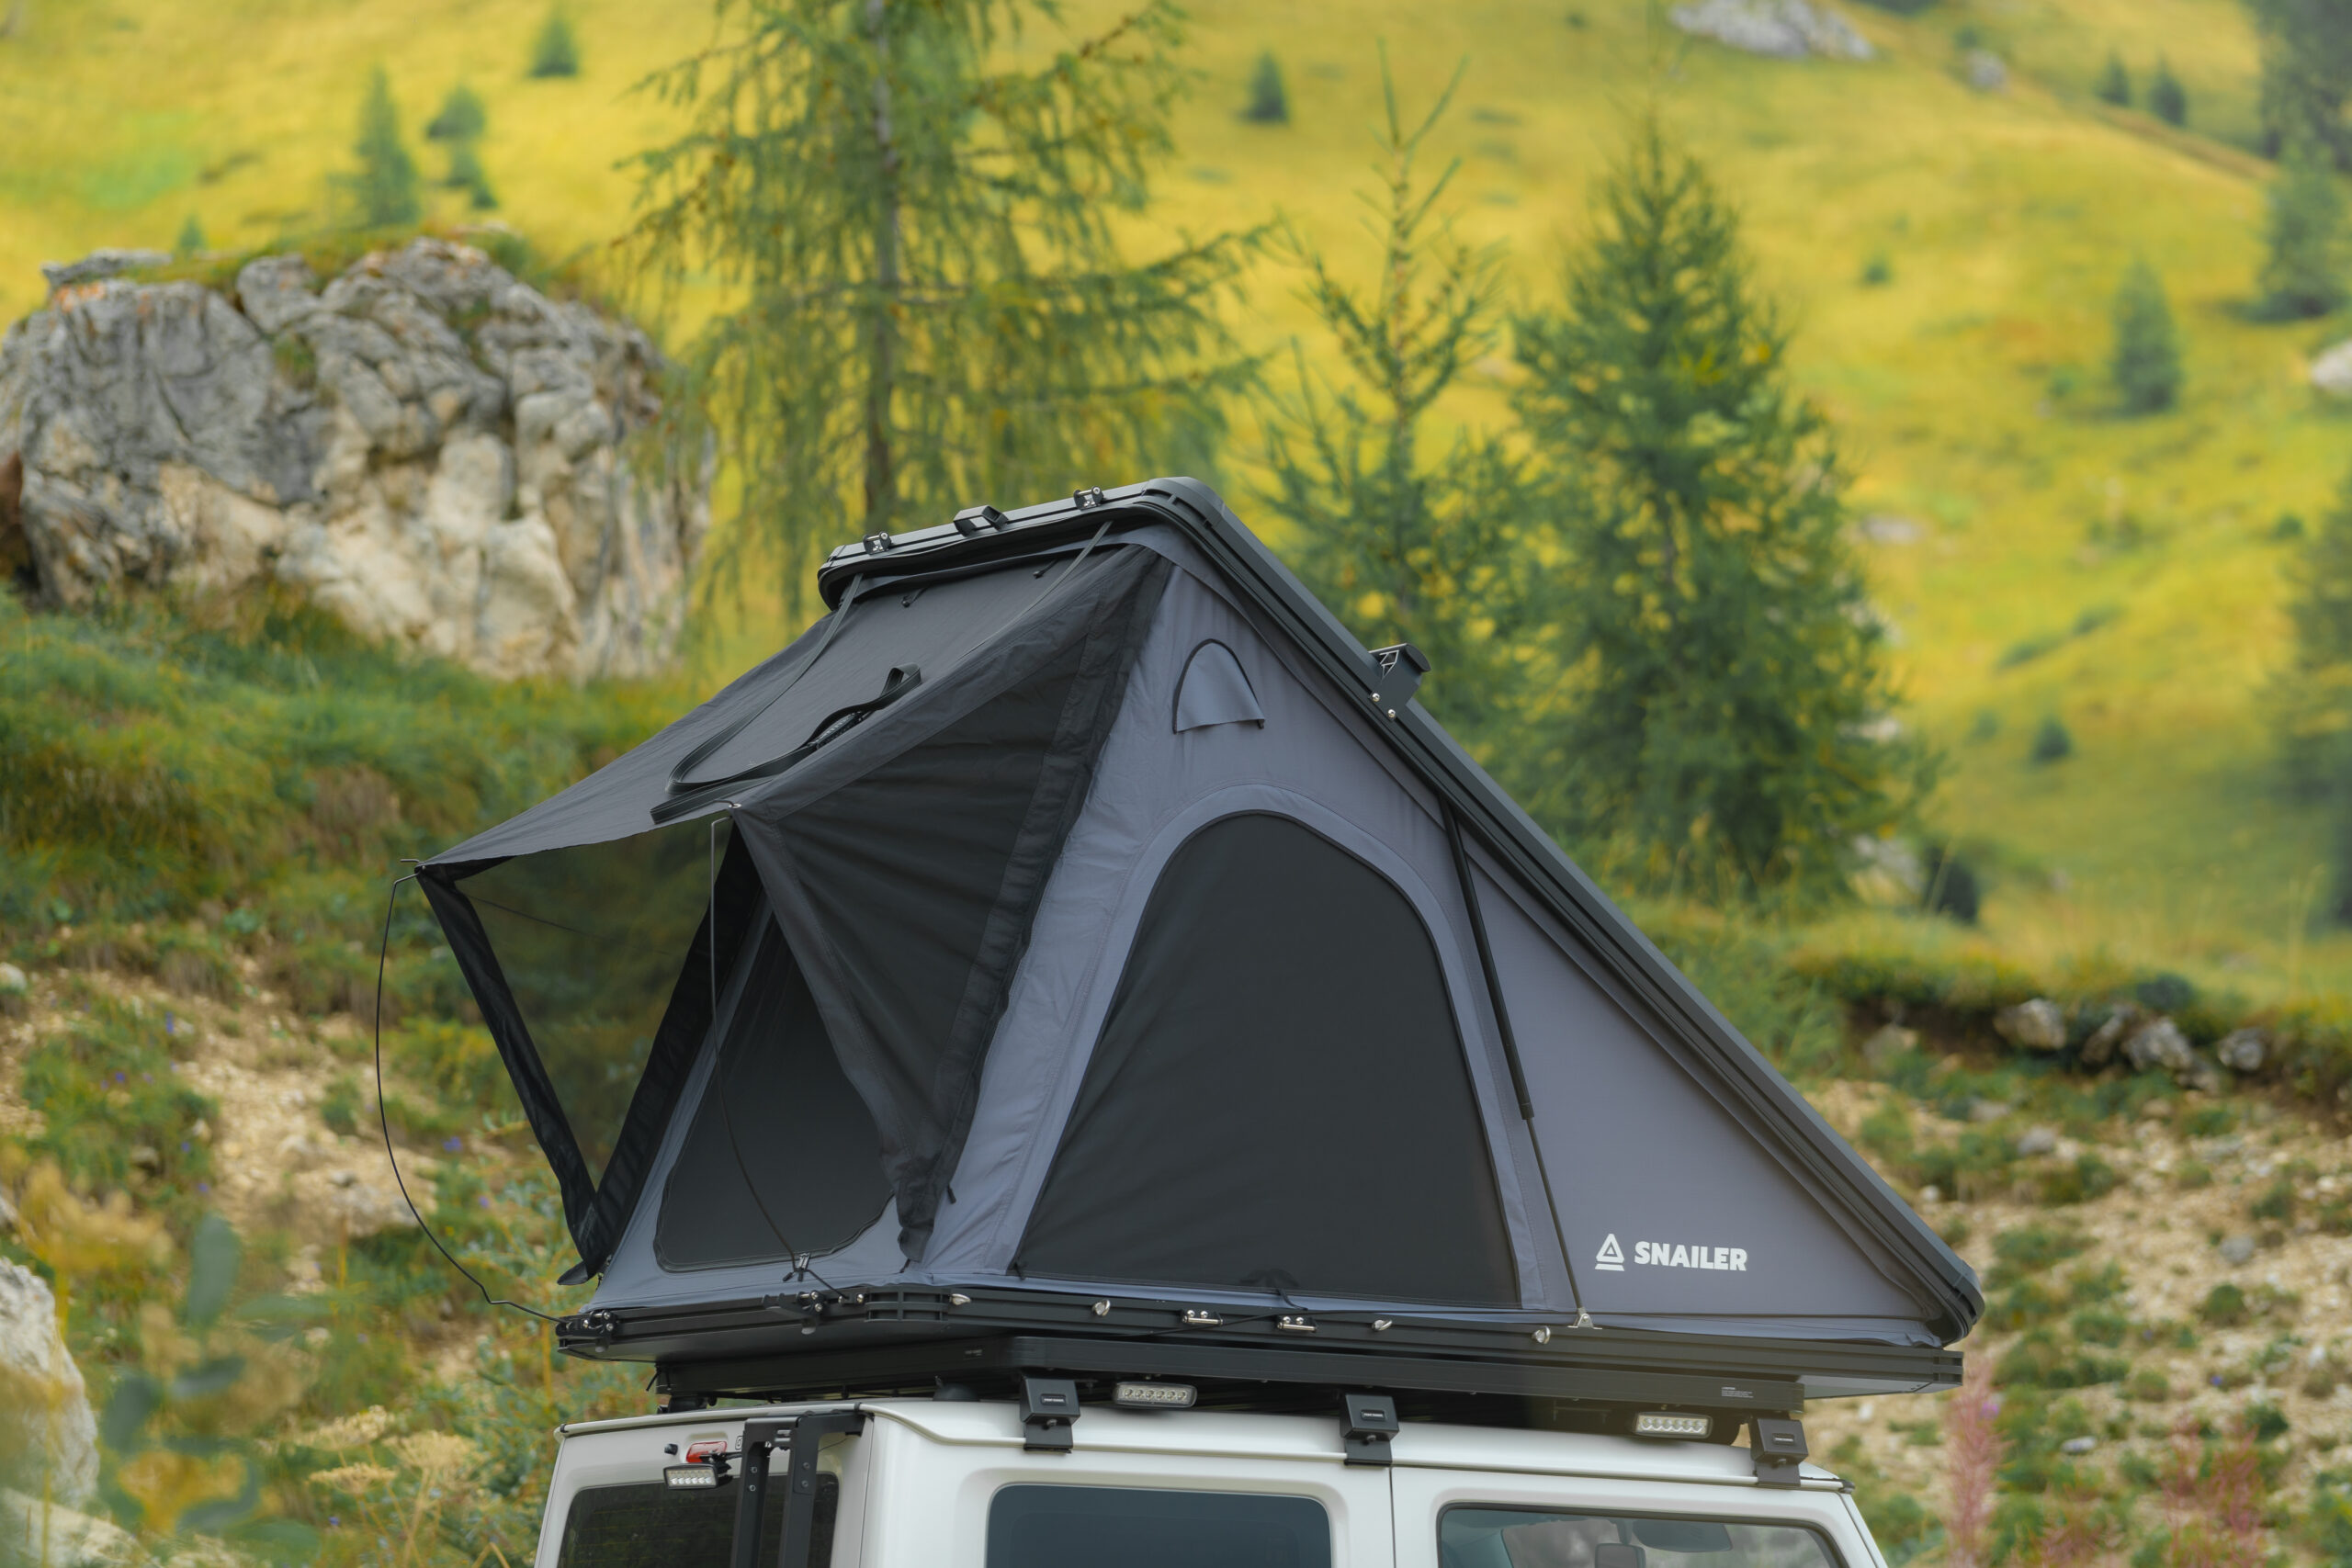
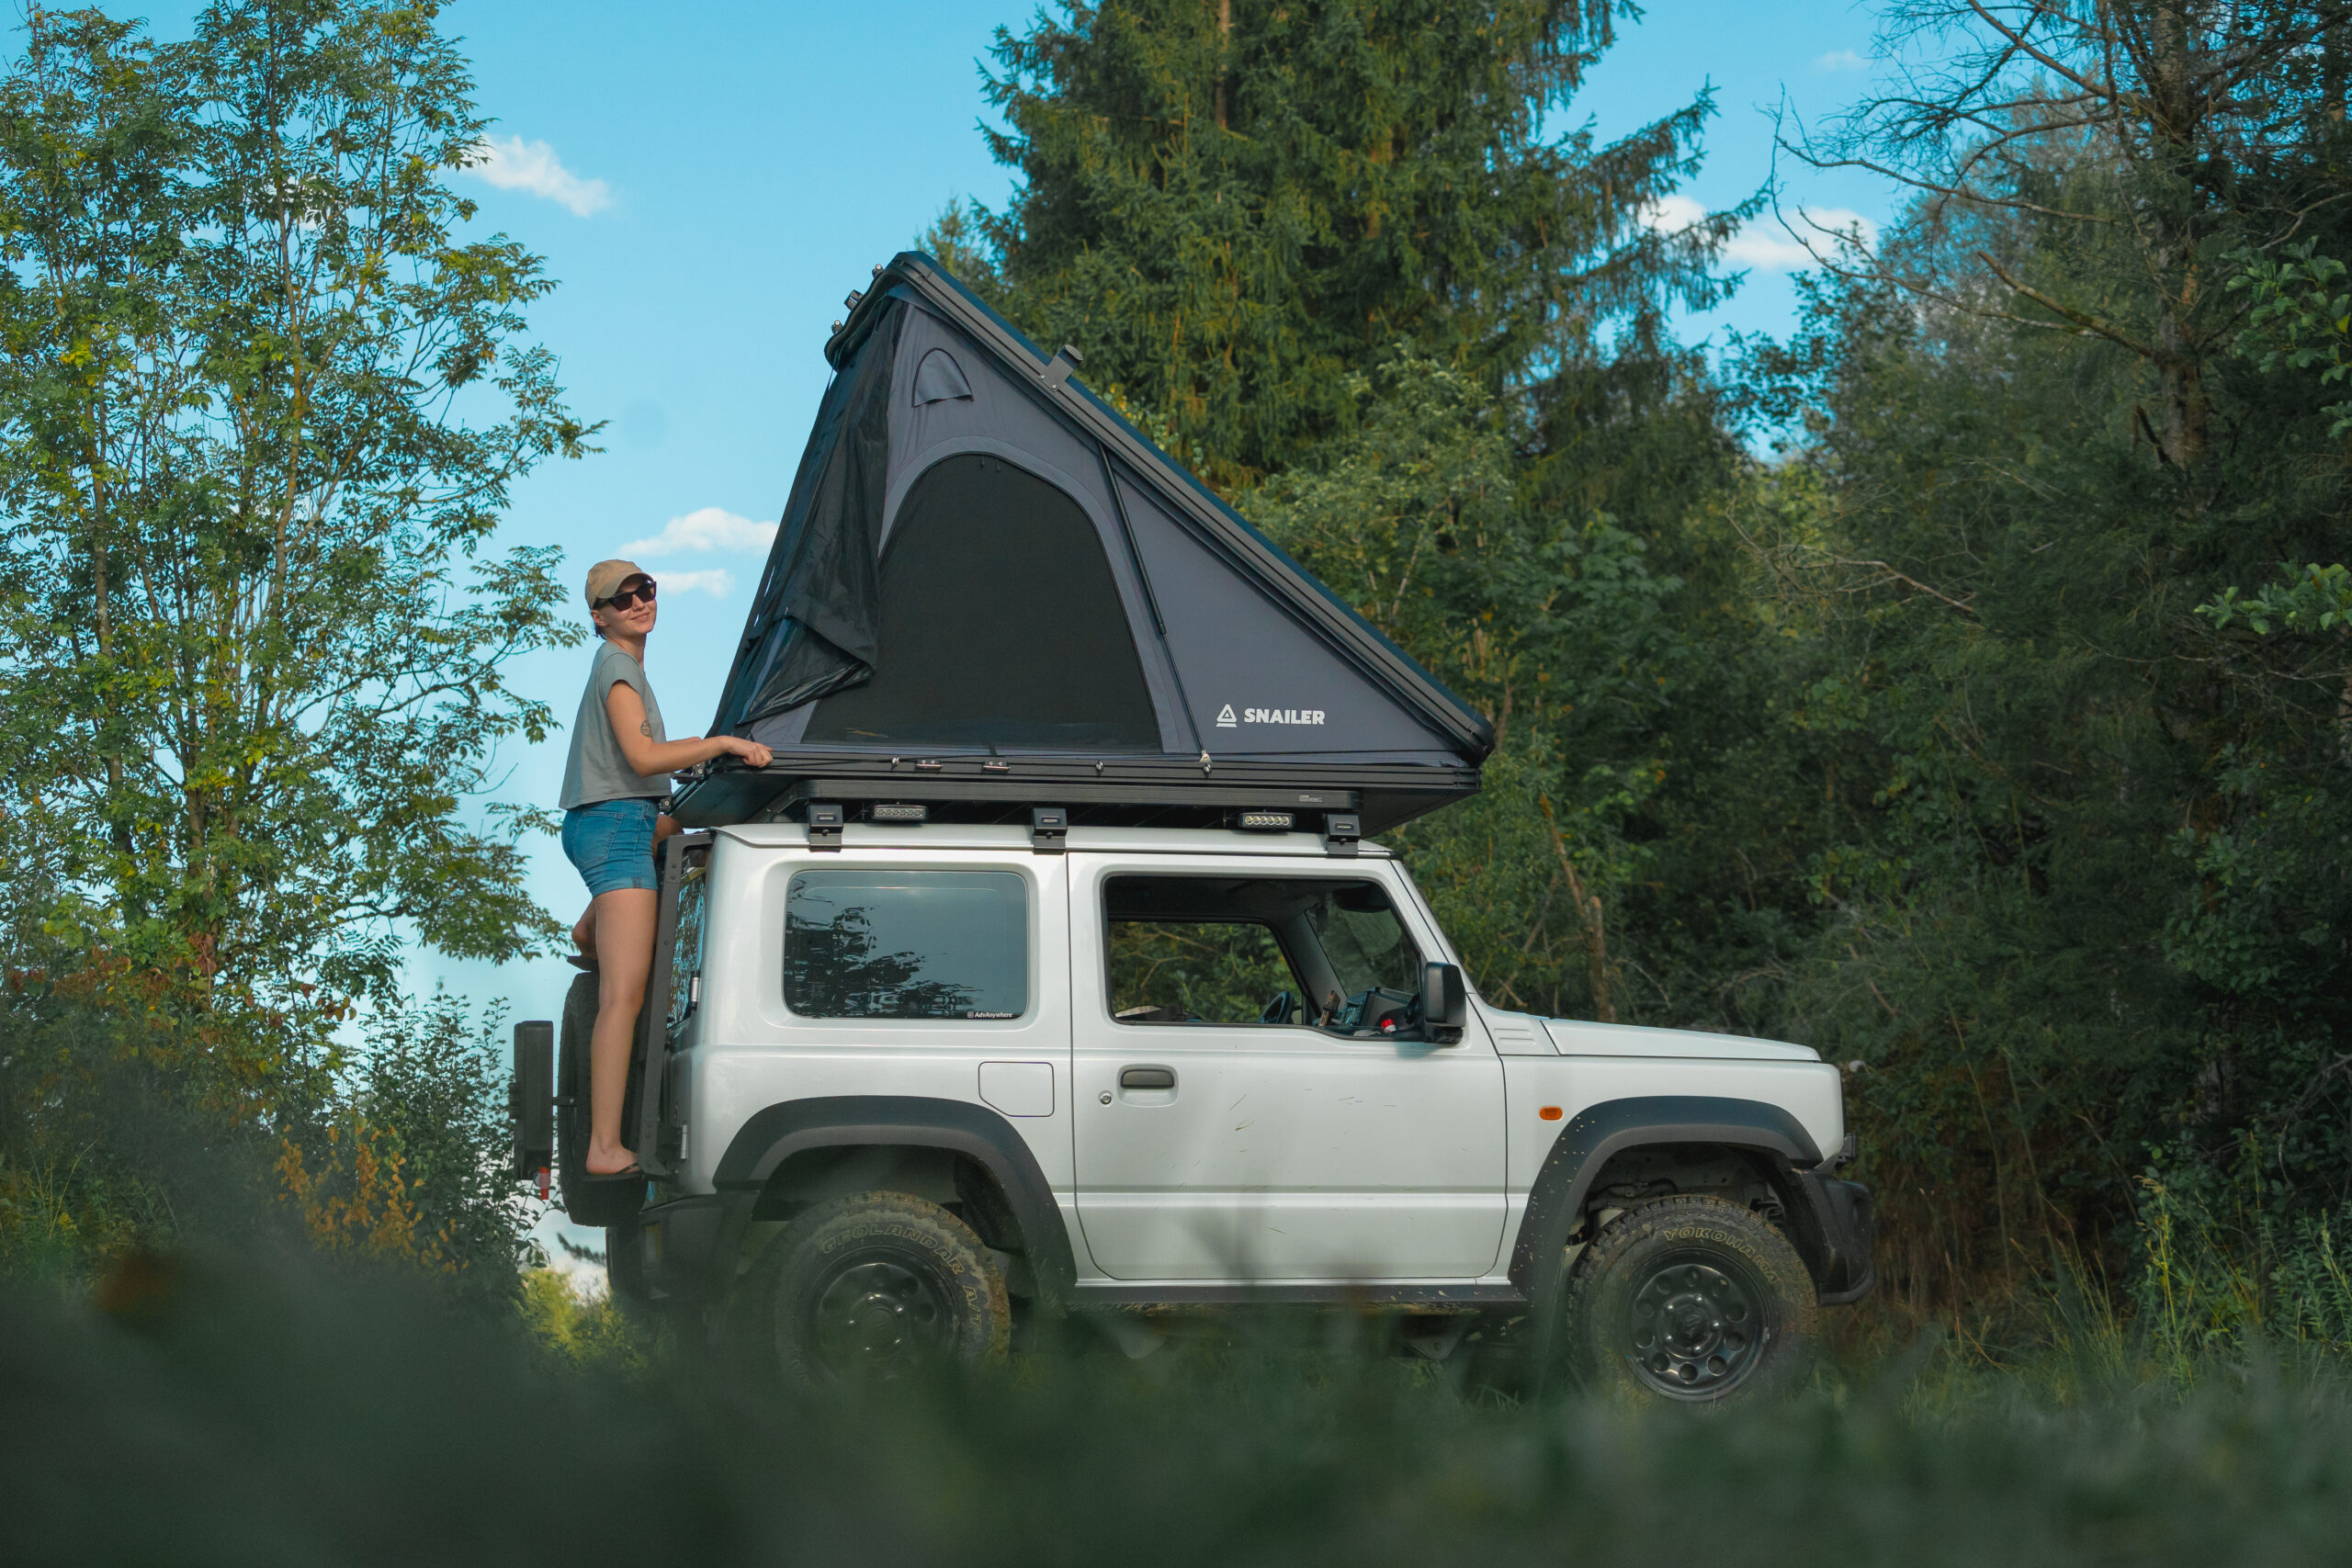
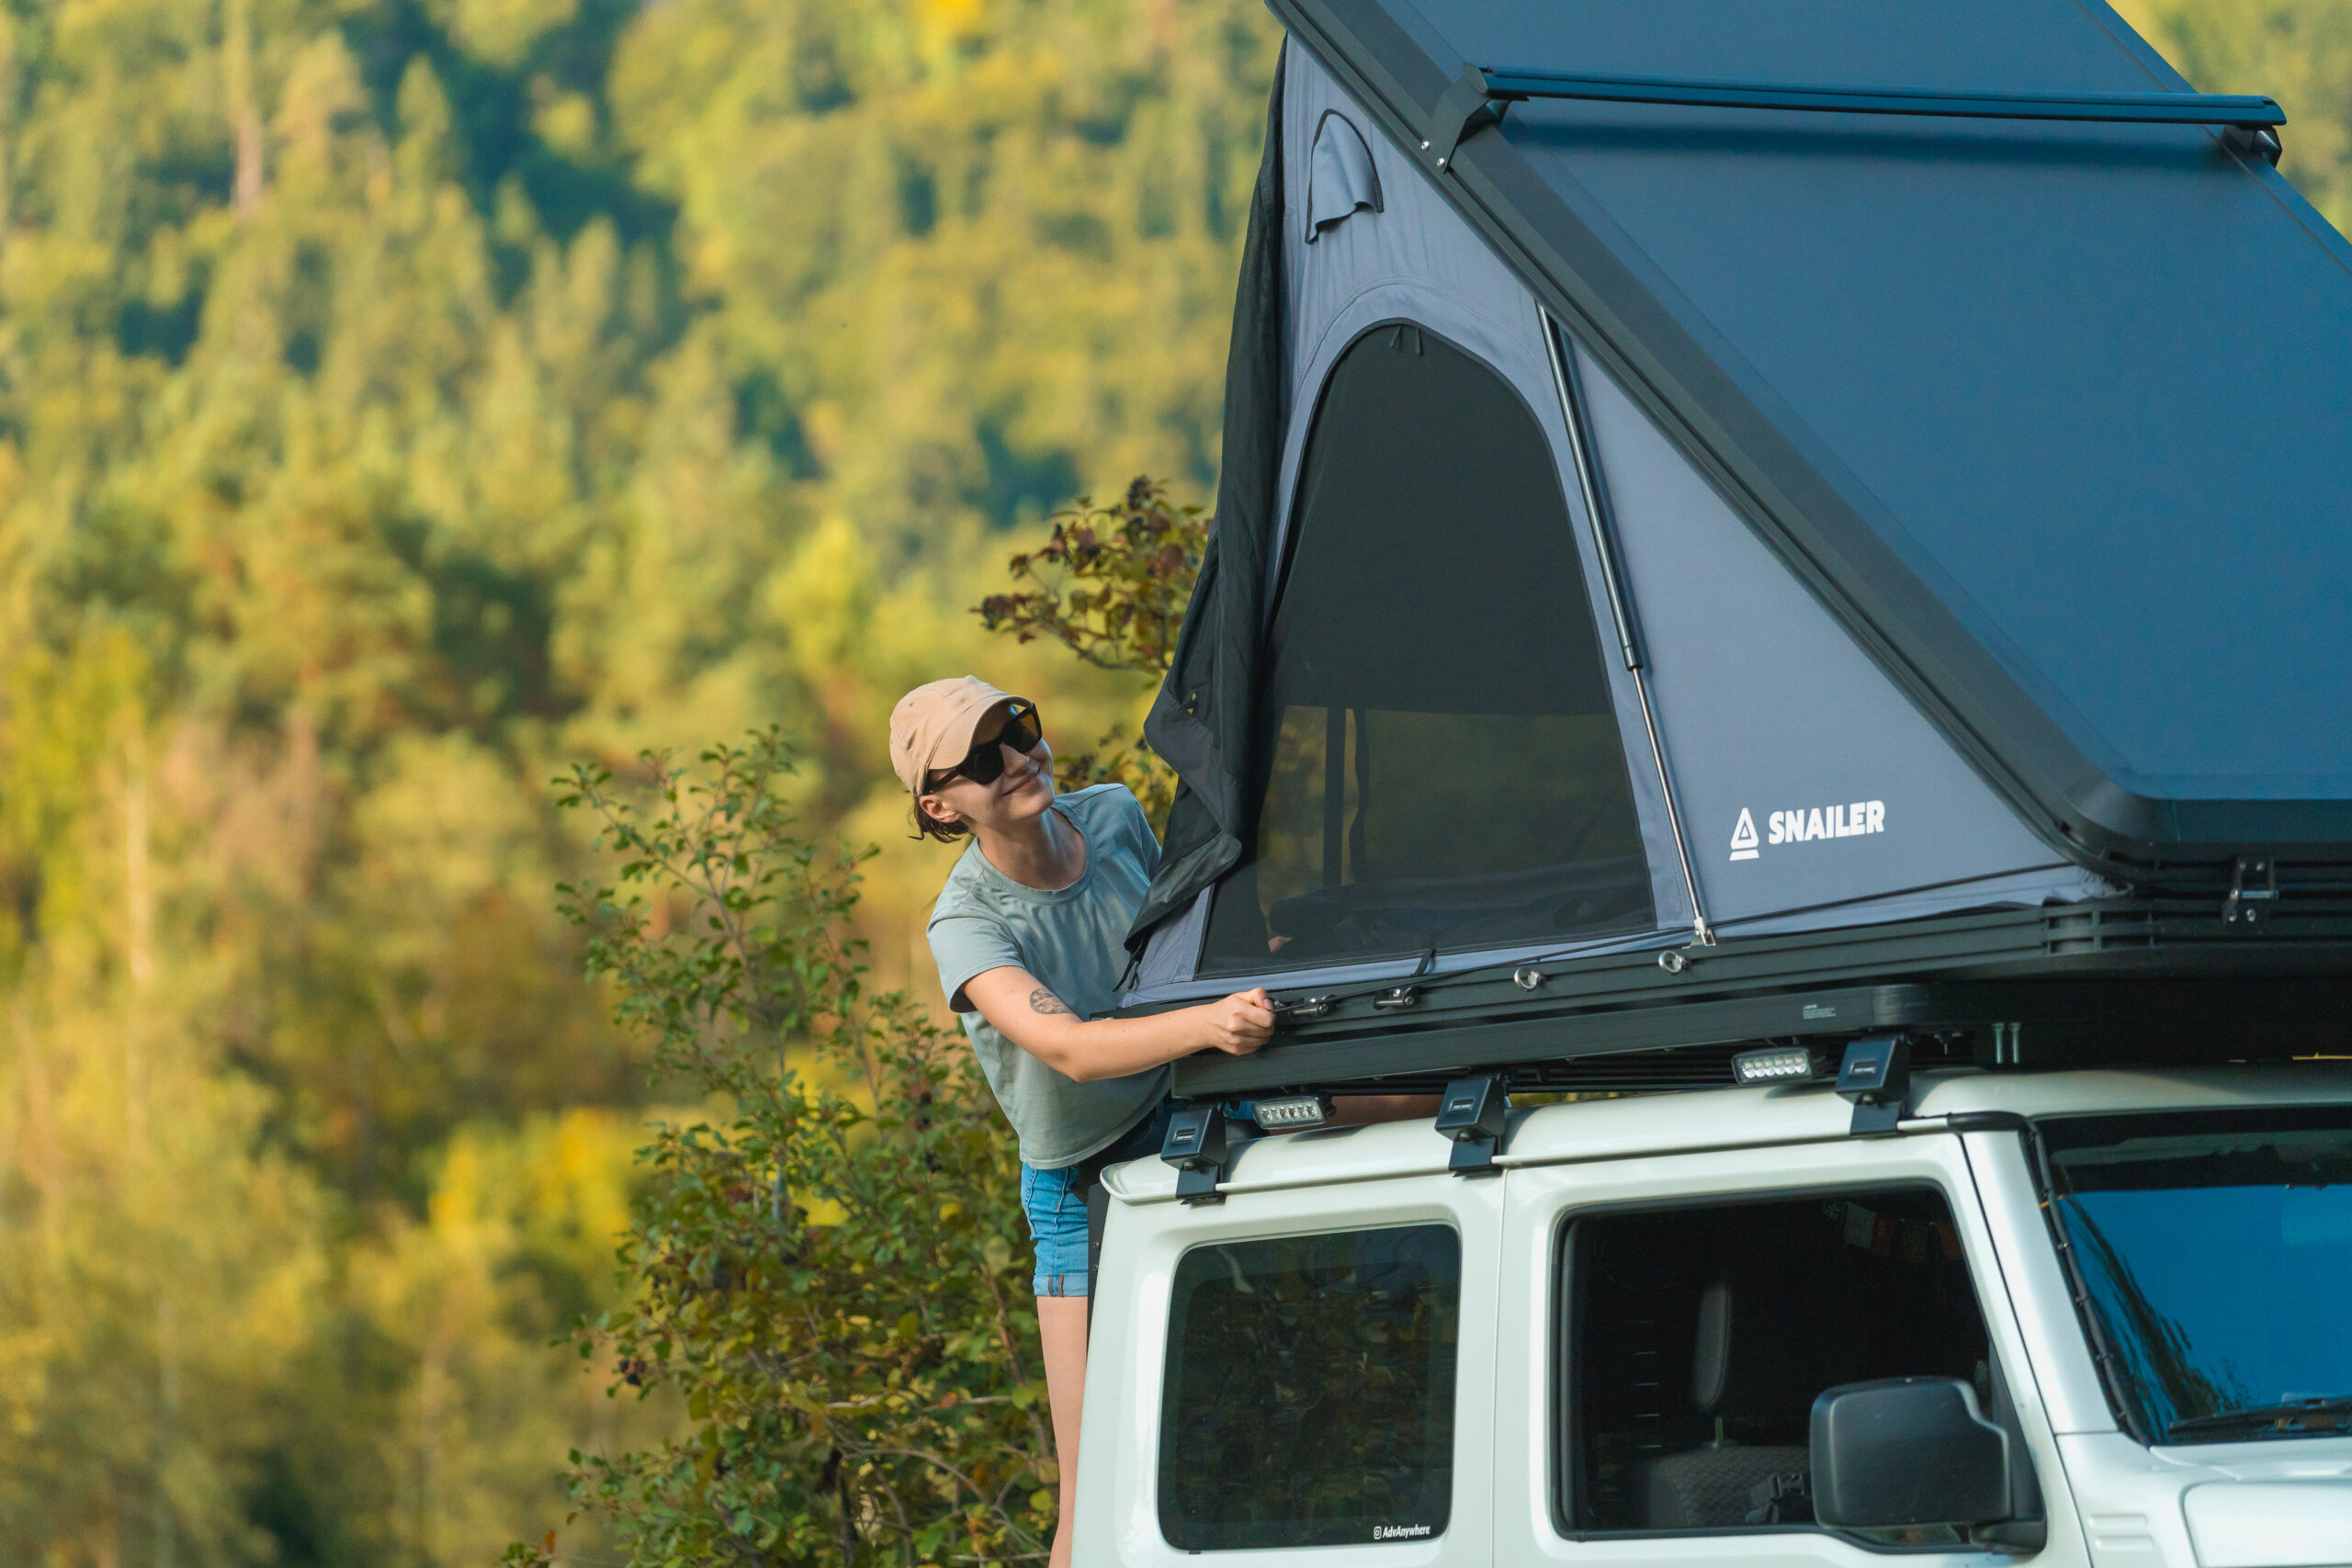
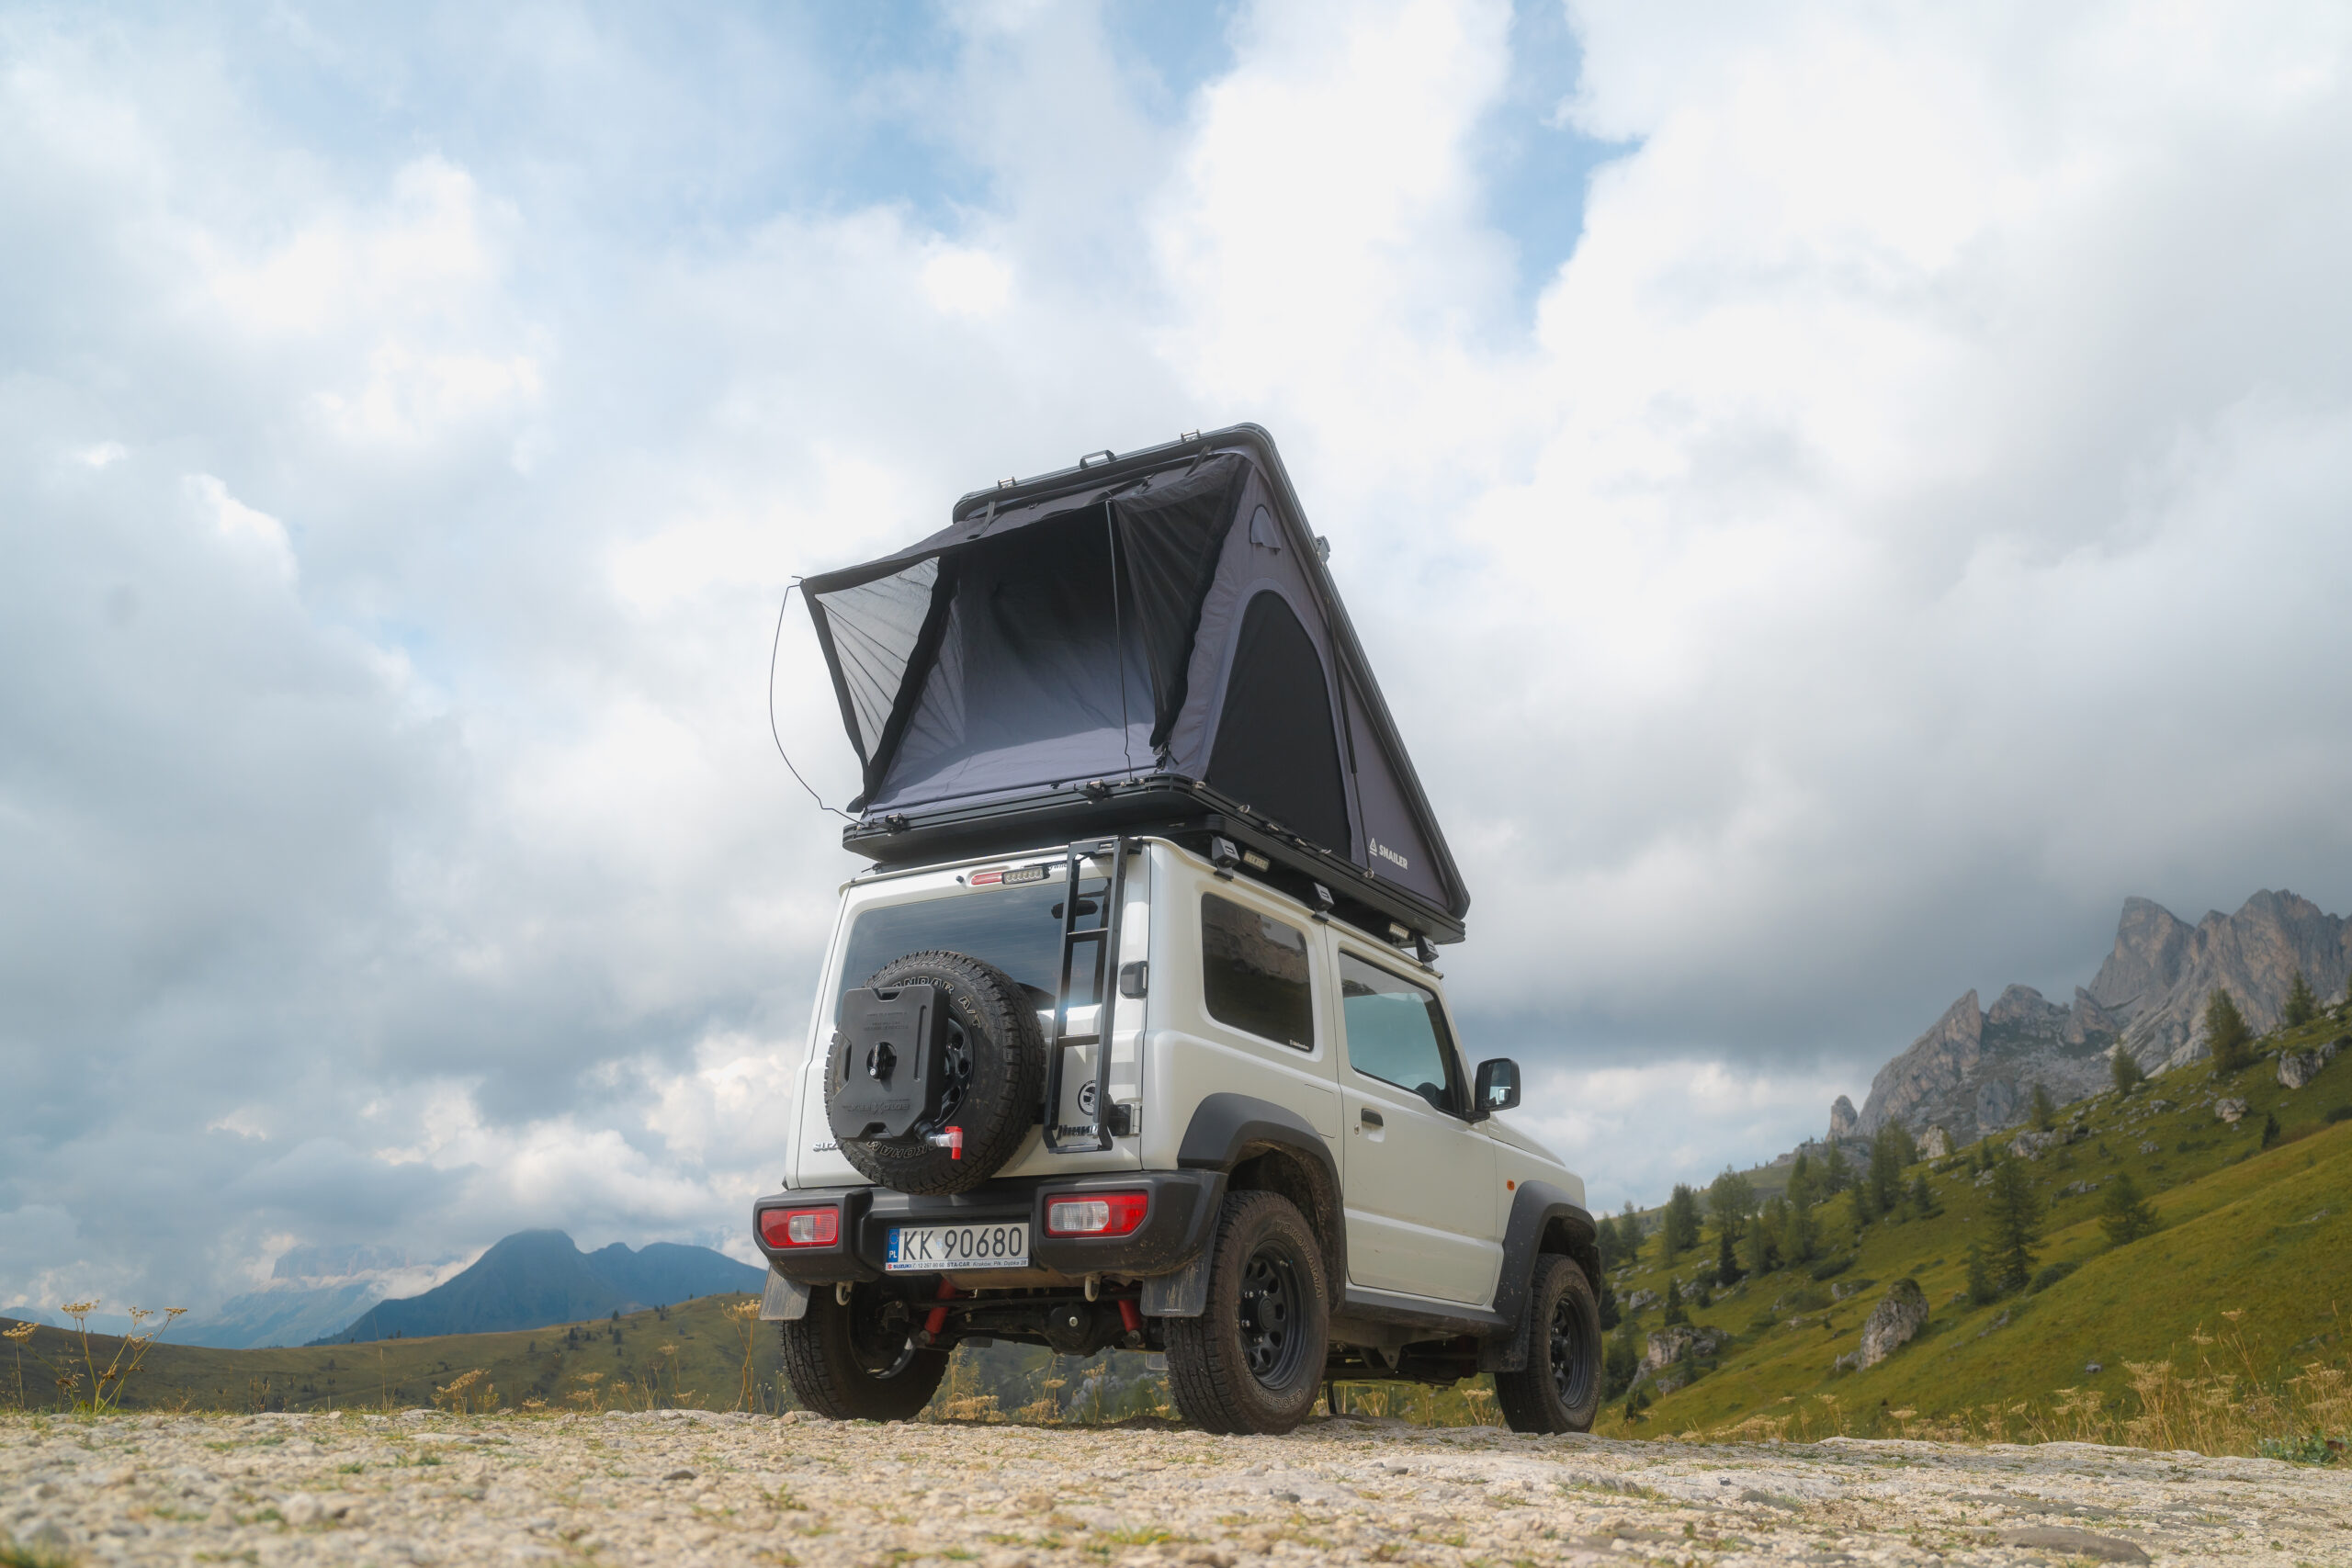
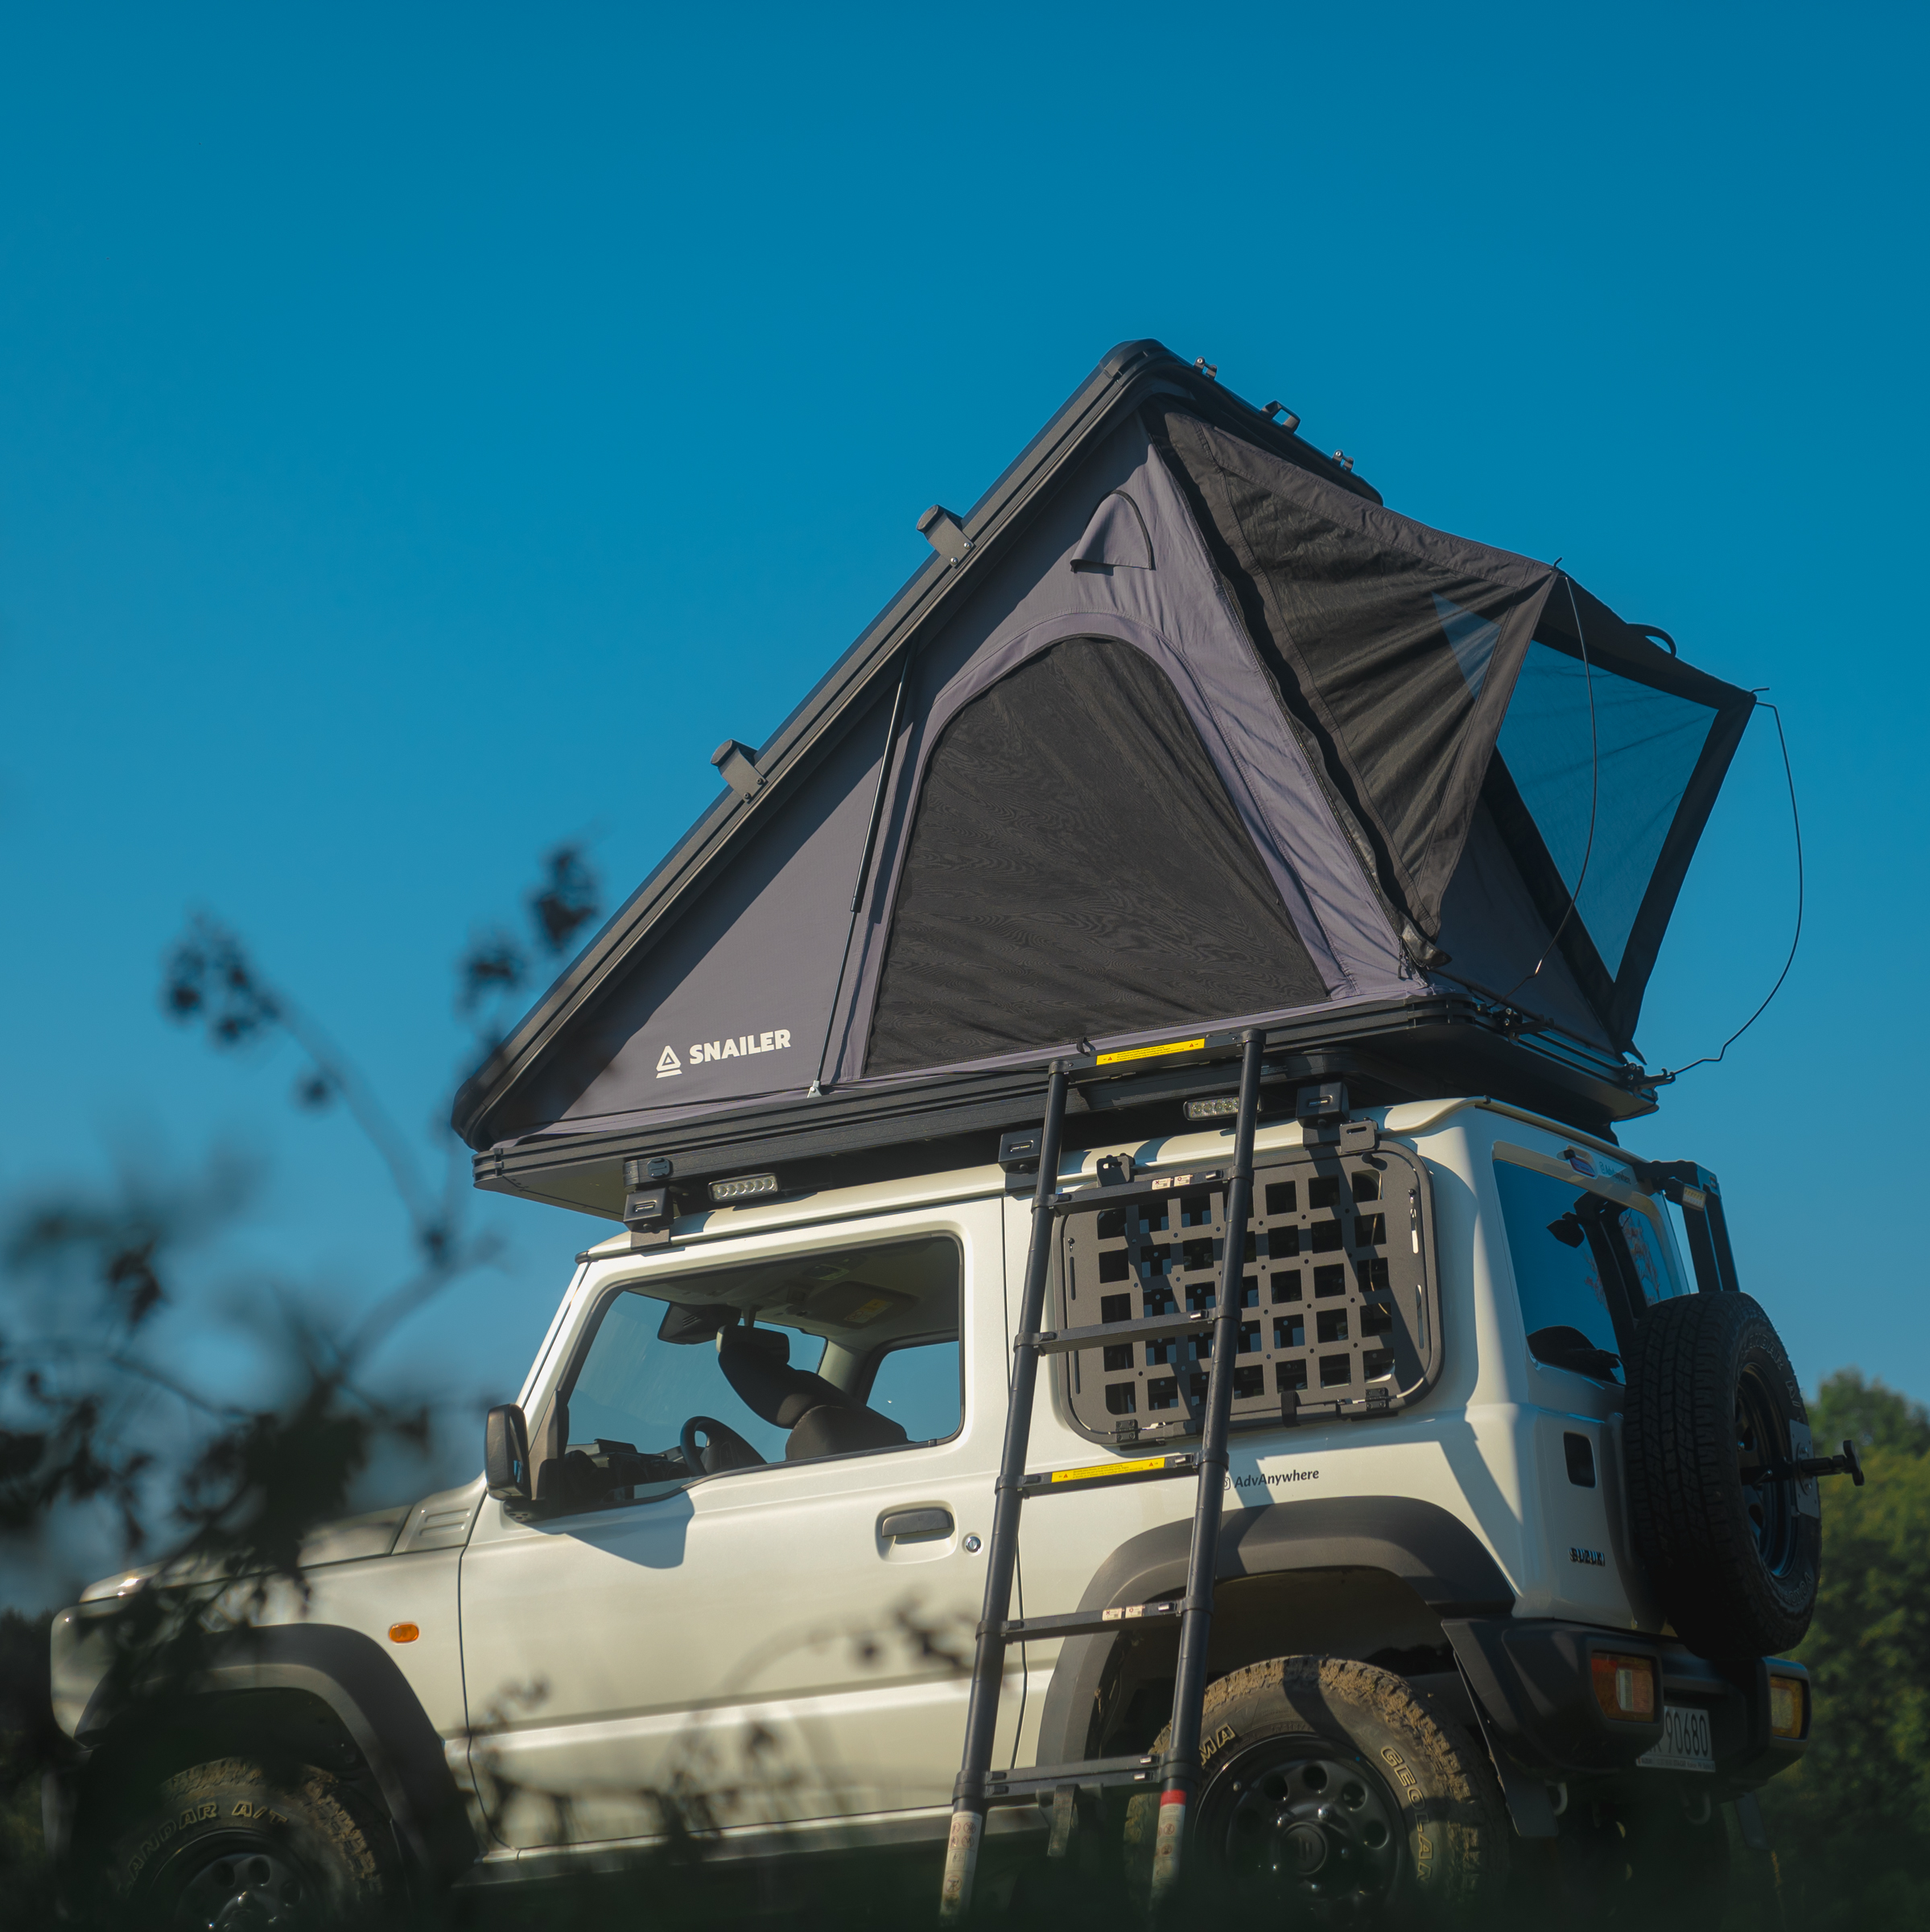
Setting up the SNAILER Alduo rooftop tent
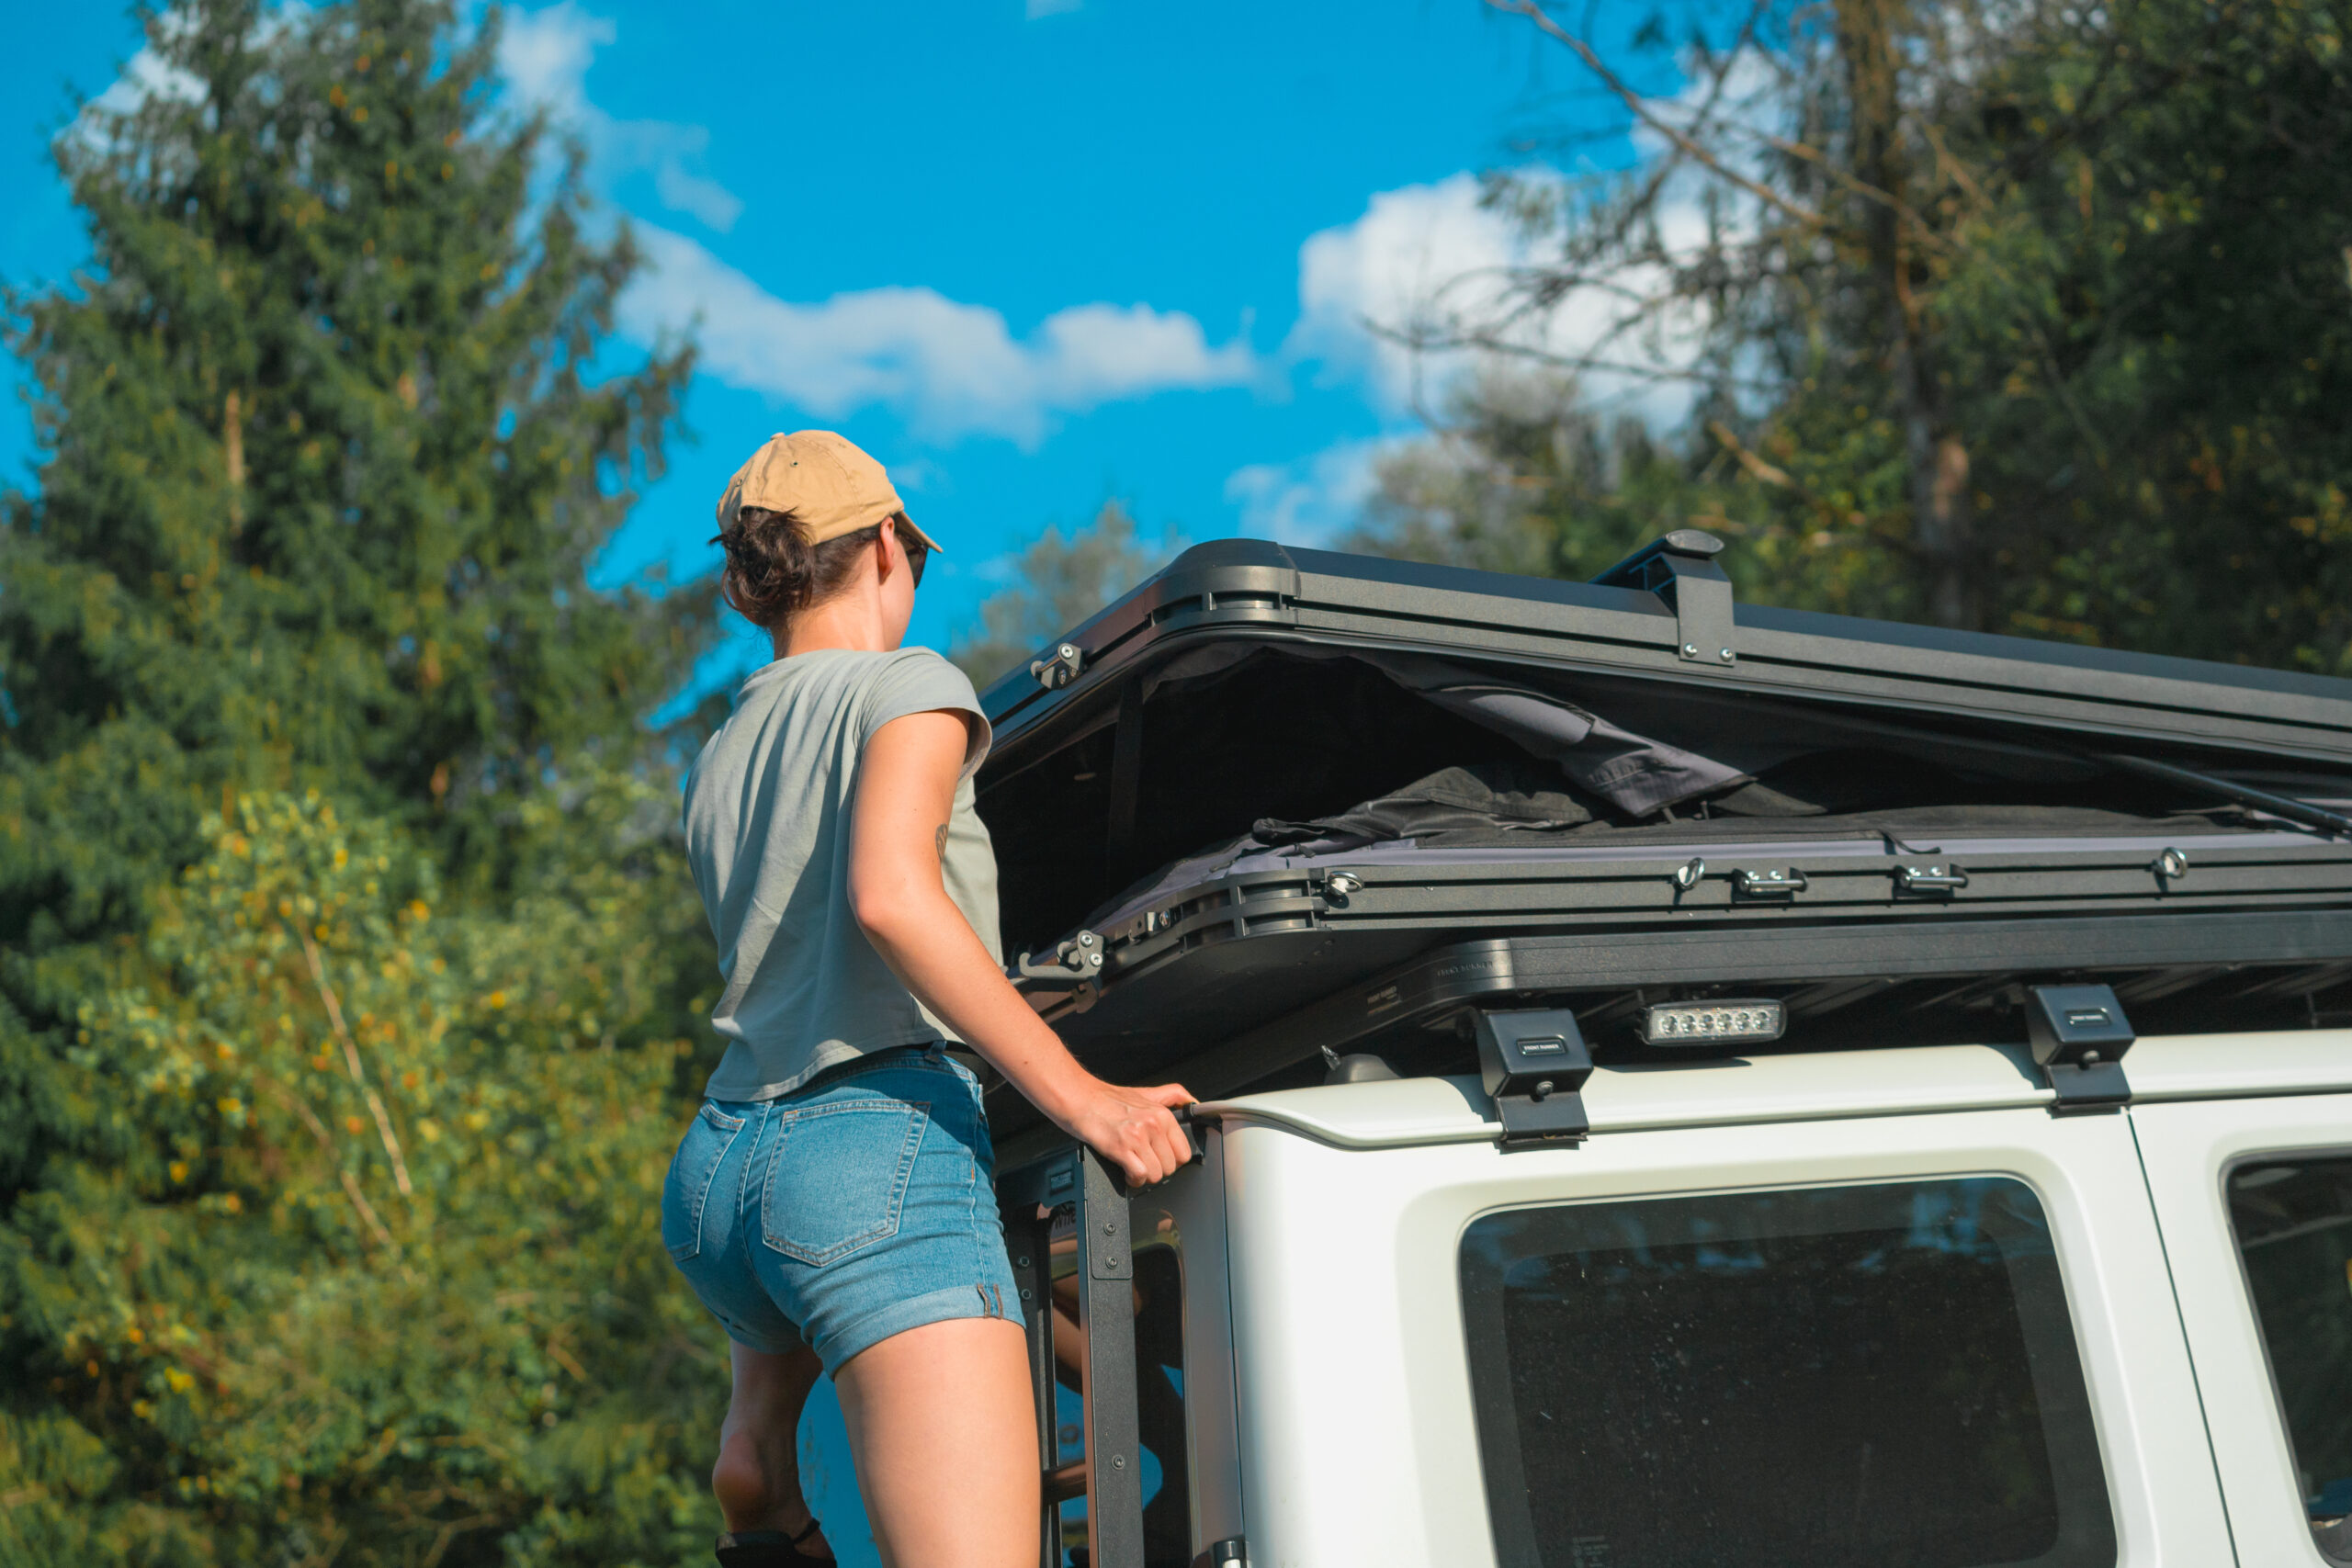
Simply unfasten two buckles and give the handle a gentle push — the hydraulic cylinders take care of the rest.
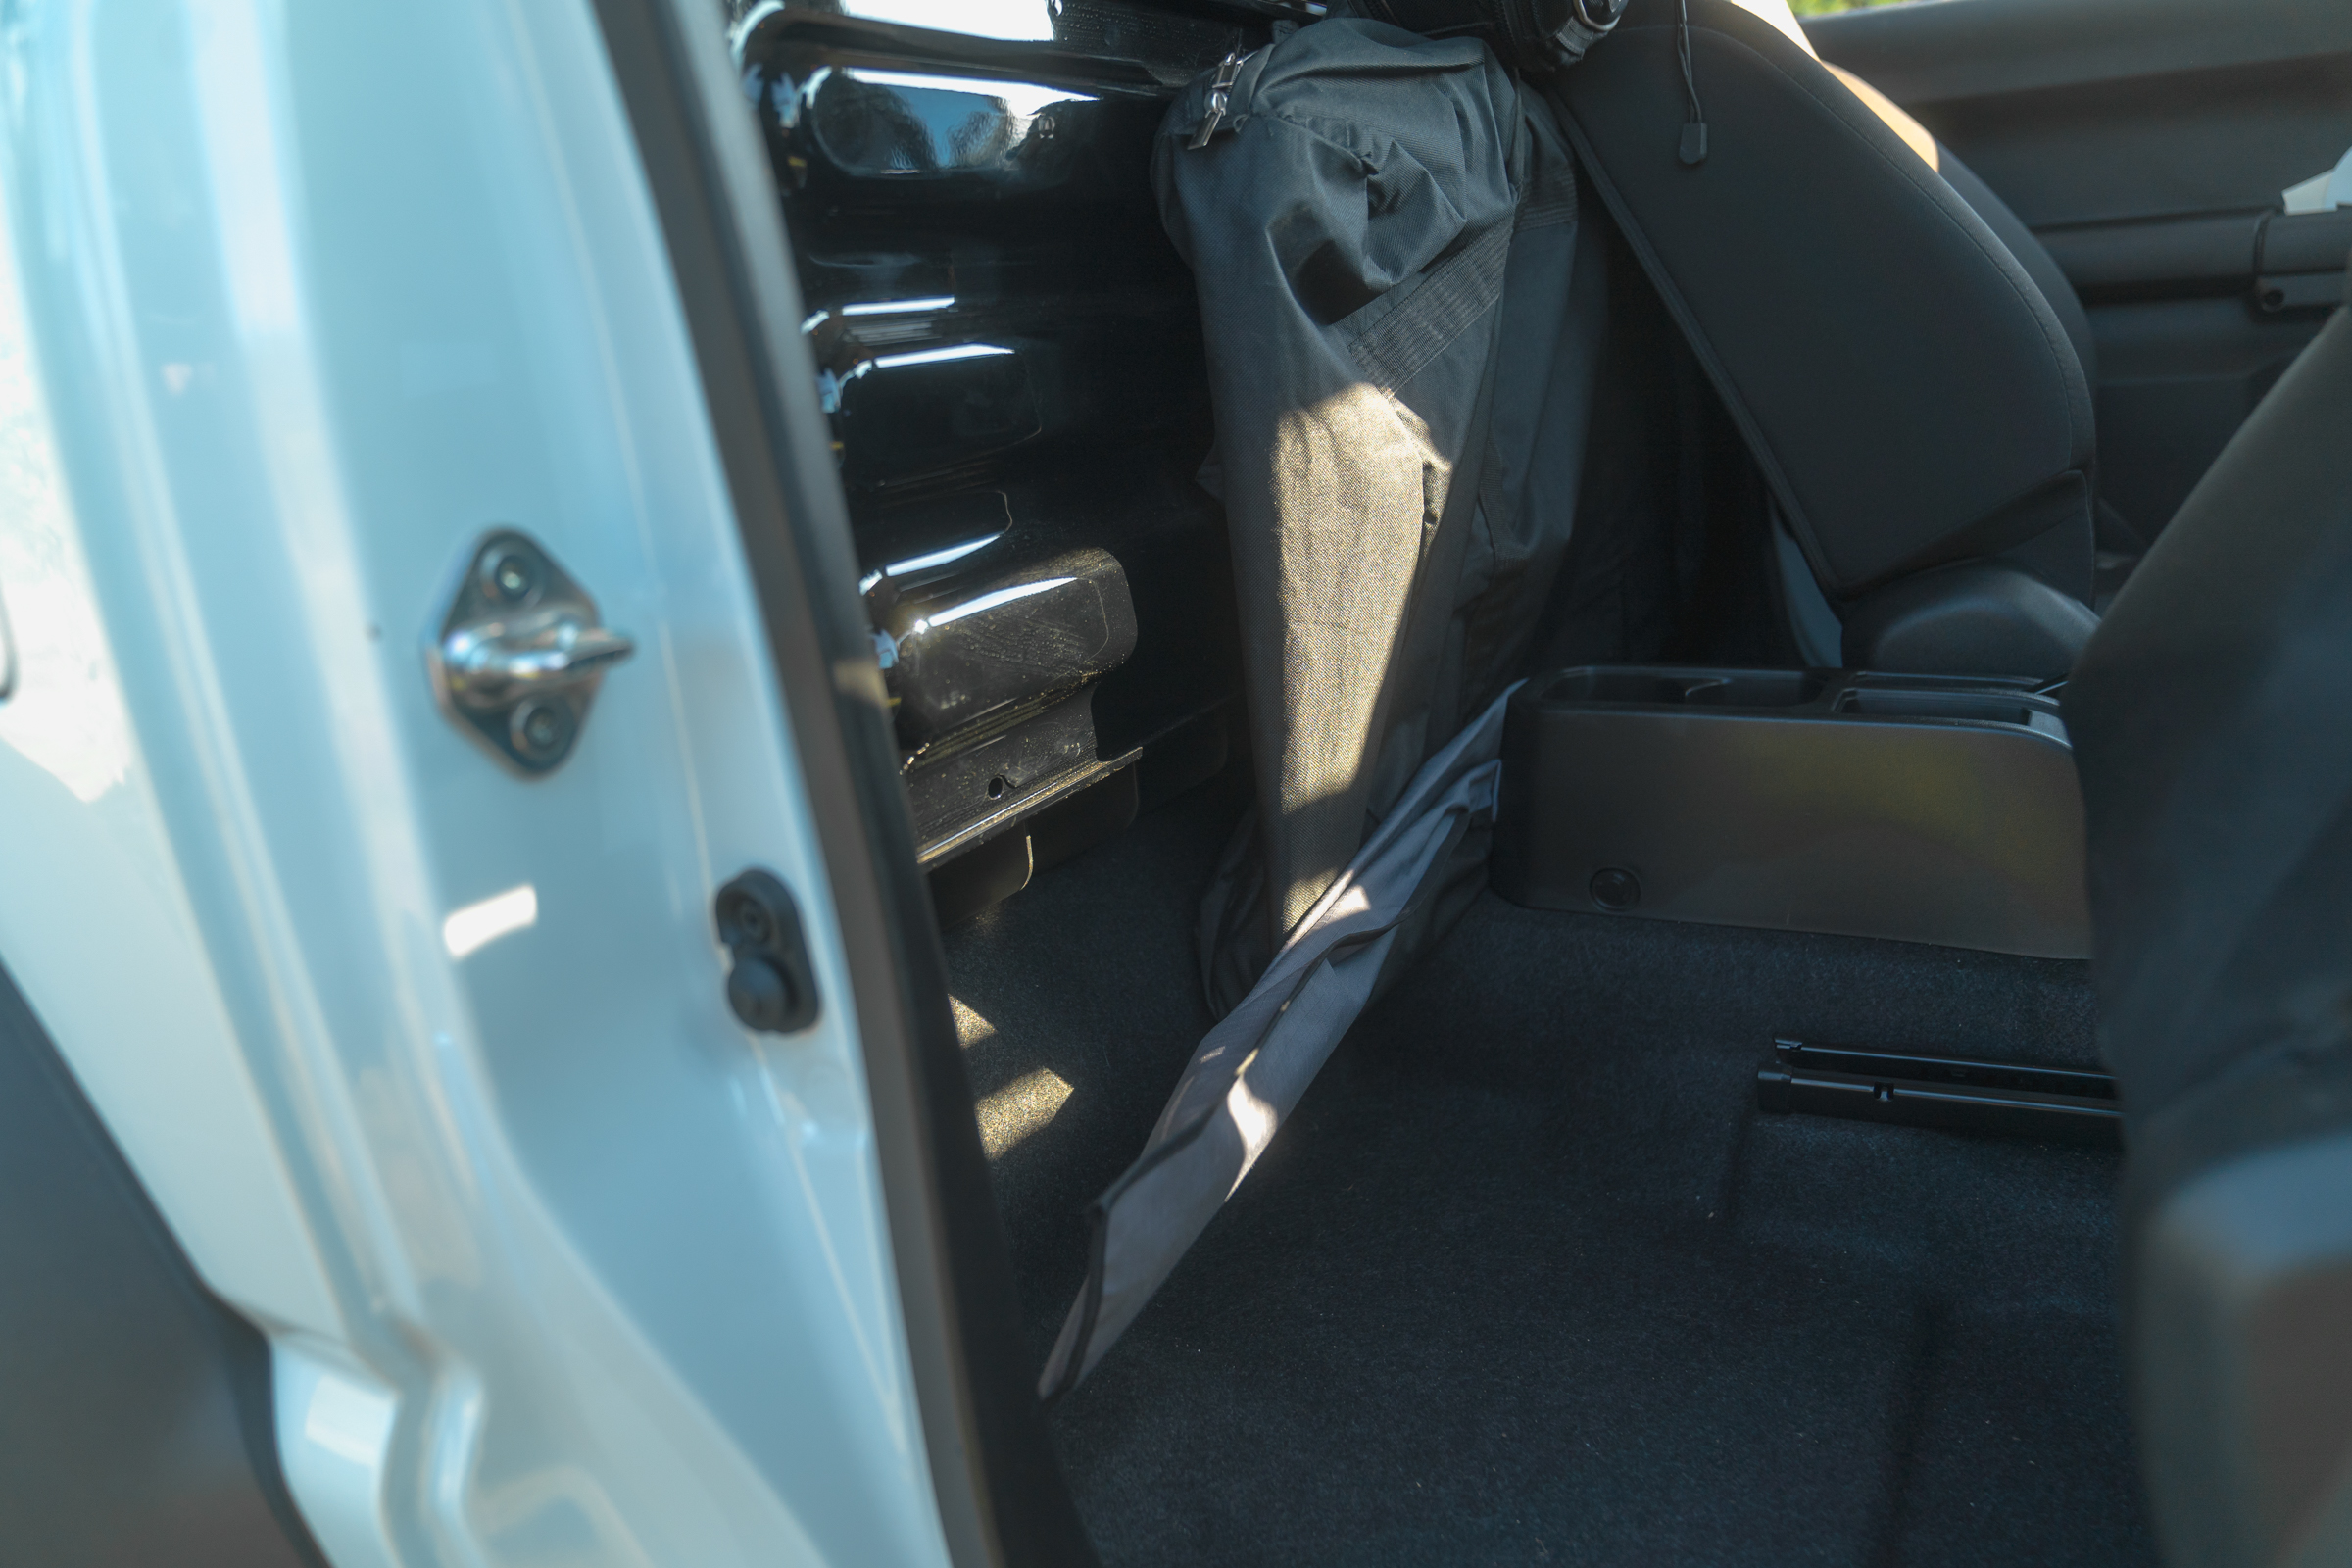
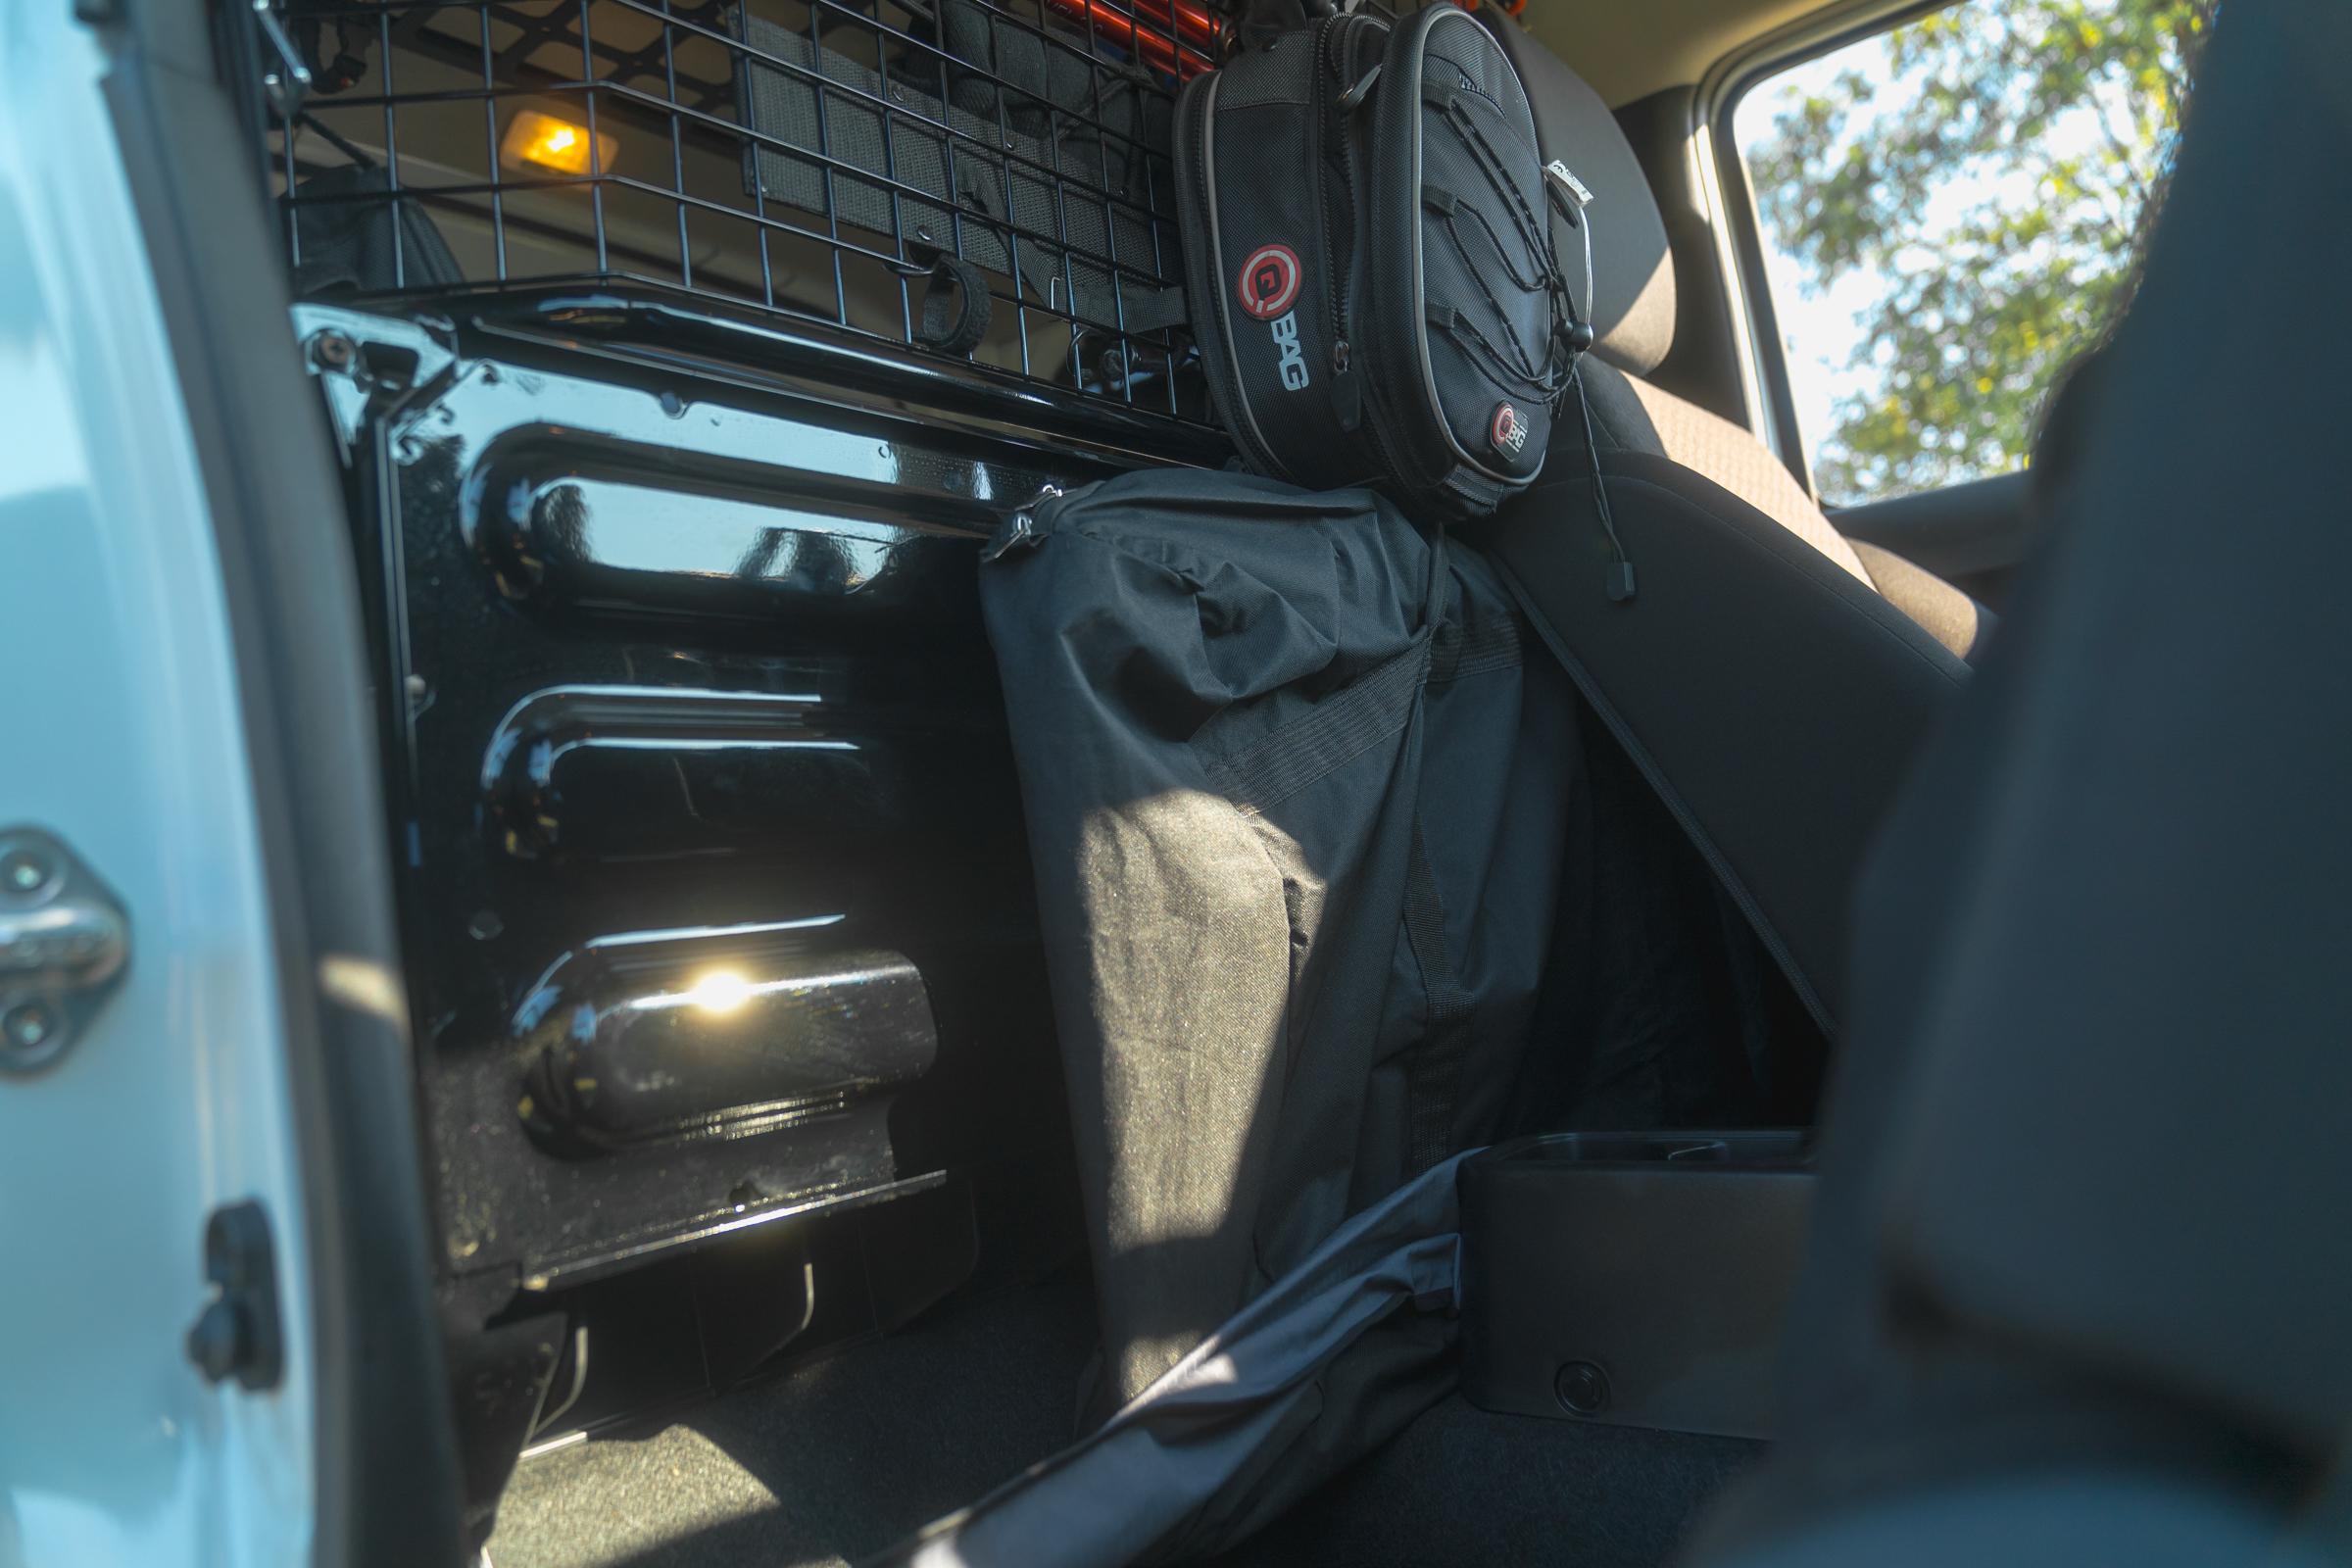
You can set up two canopy stretchers without even stepping inside the tent. I store the canopy and ladder neatly behind the armchairs.
The entire operation takes several seconds.


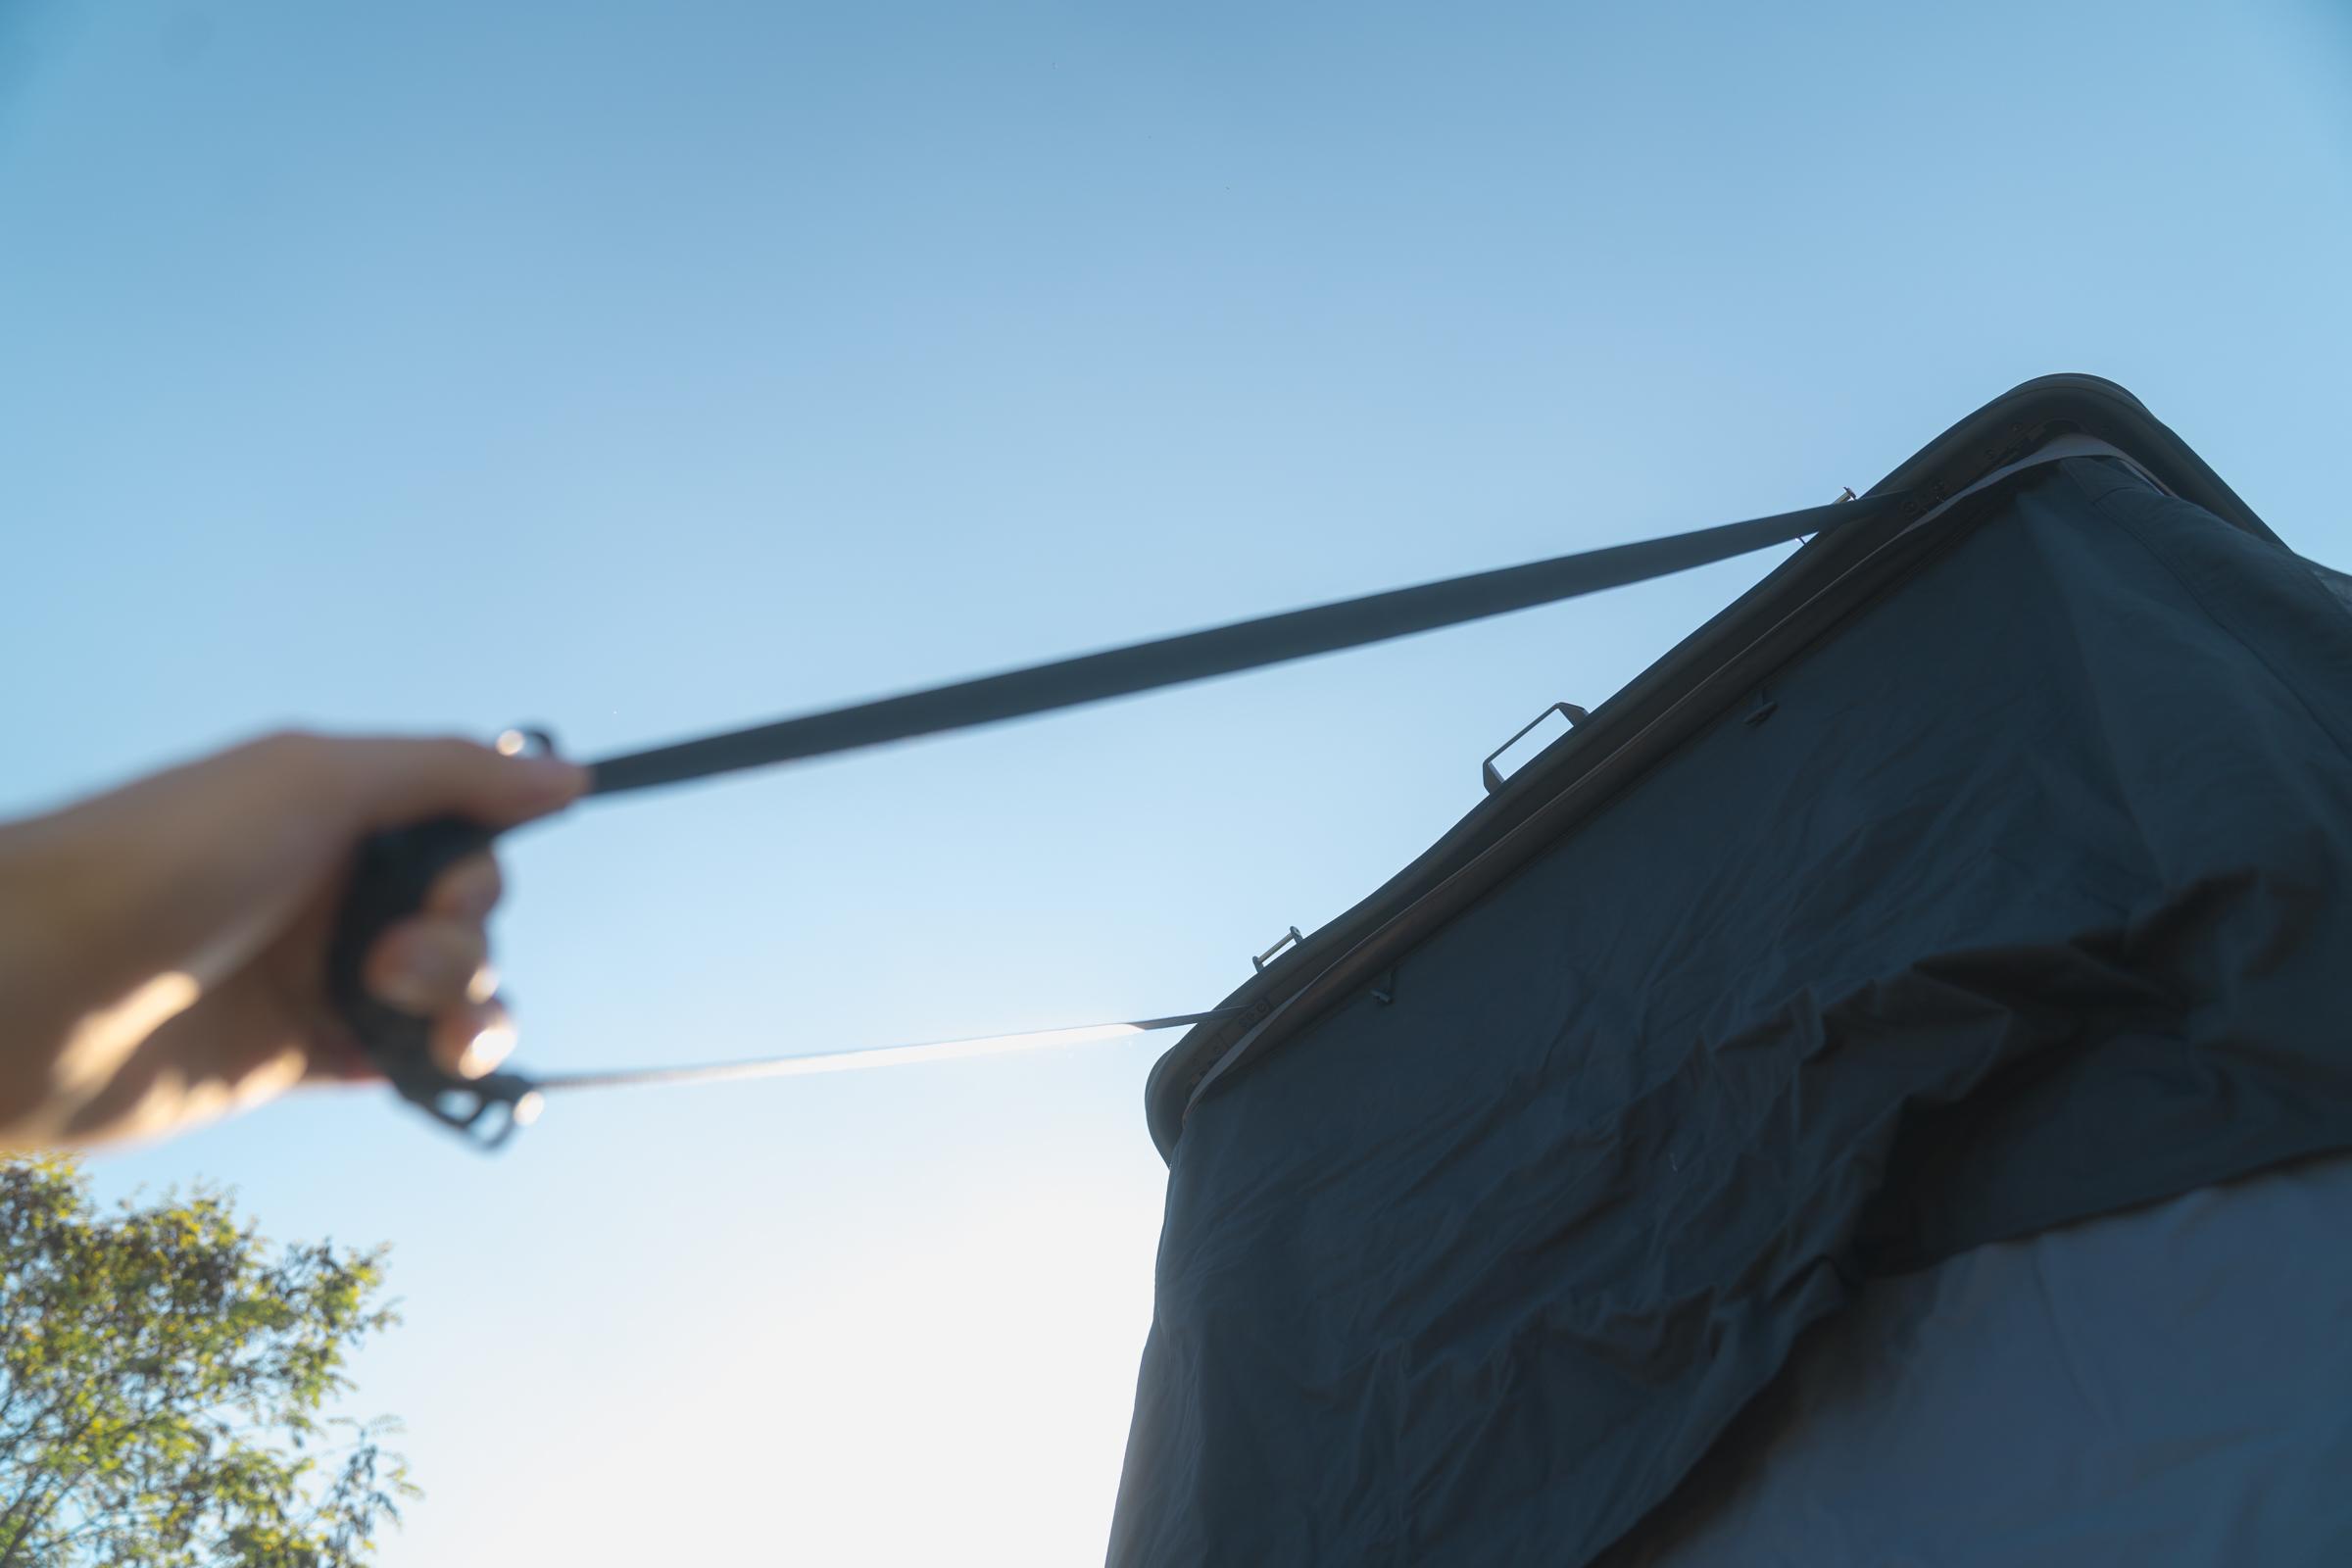
Folding the SNAILER Alduo roof tent
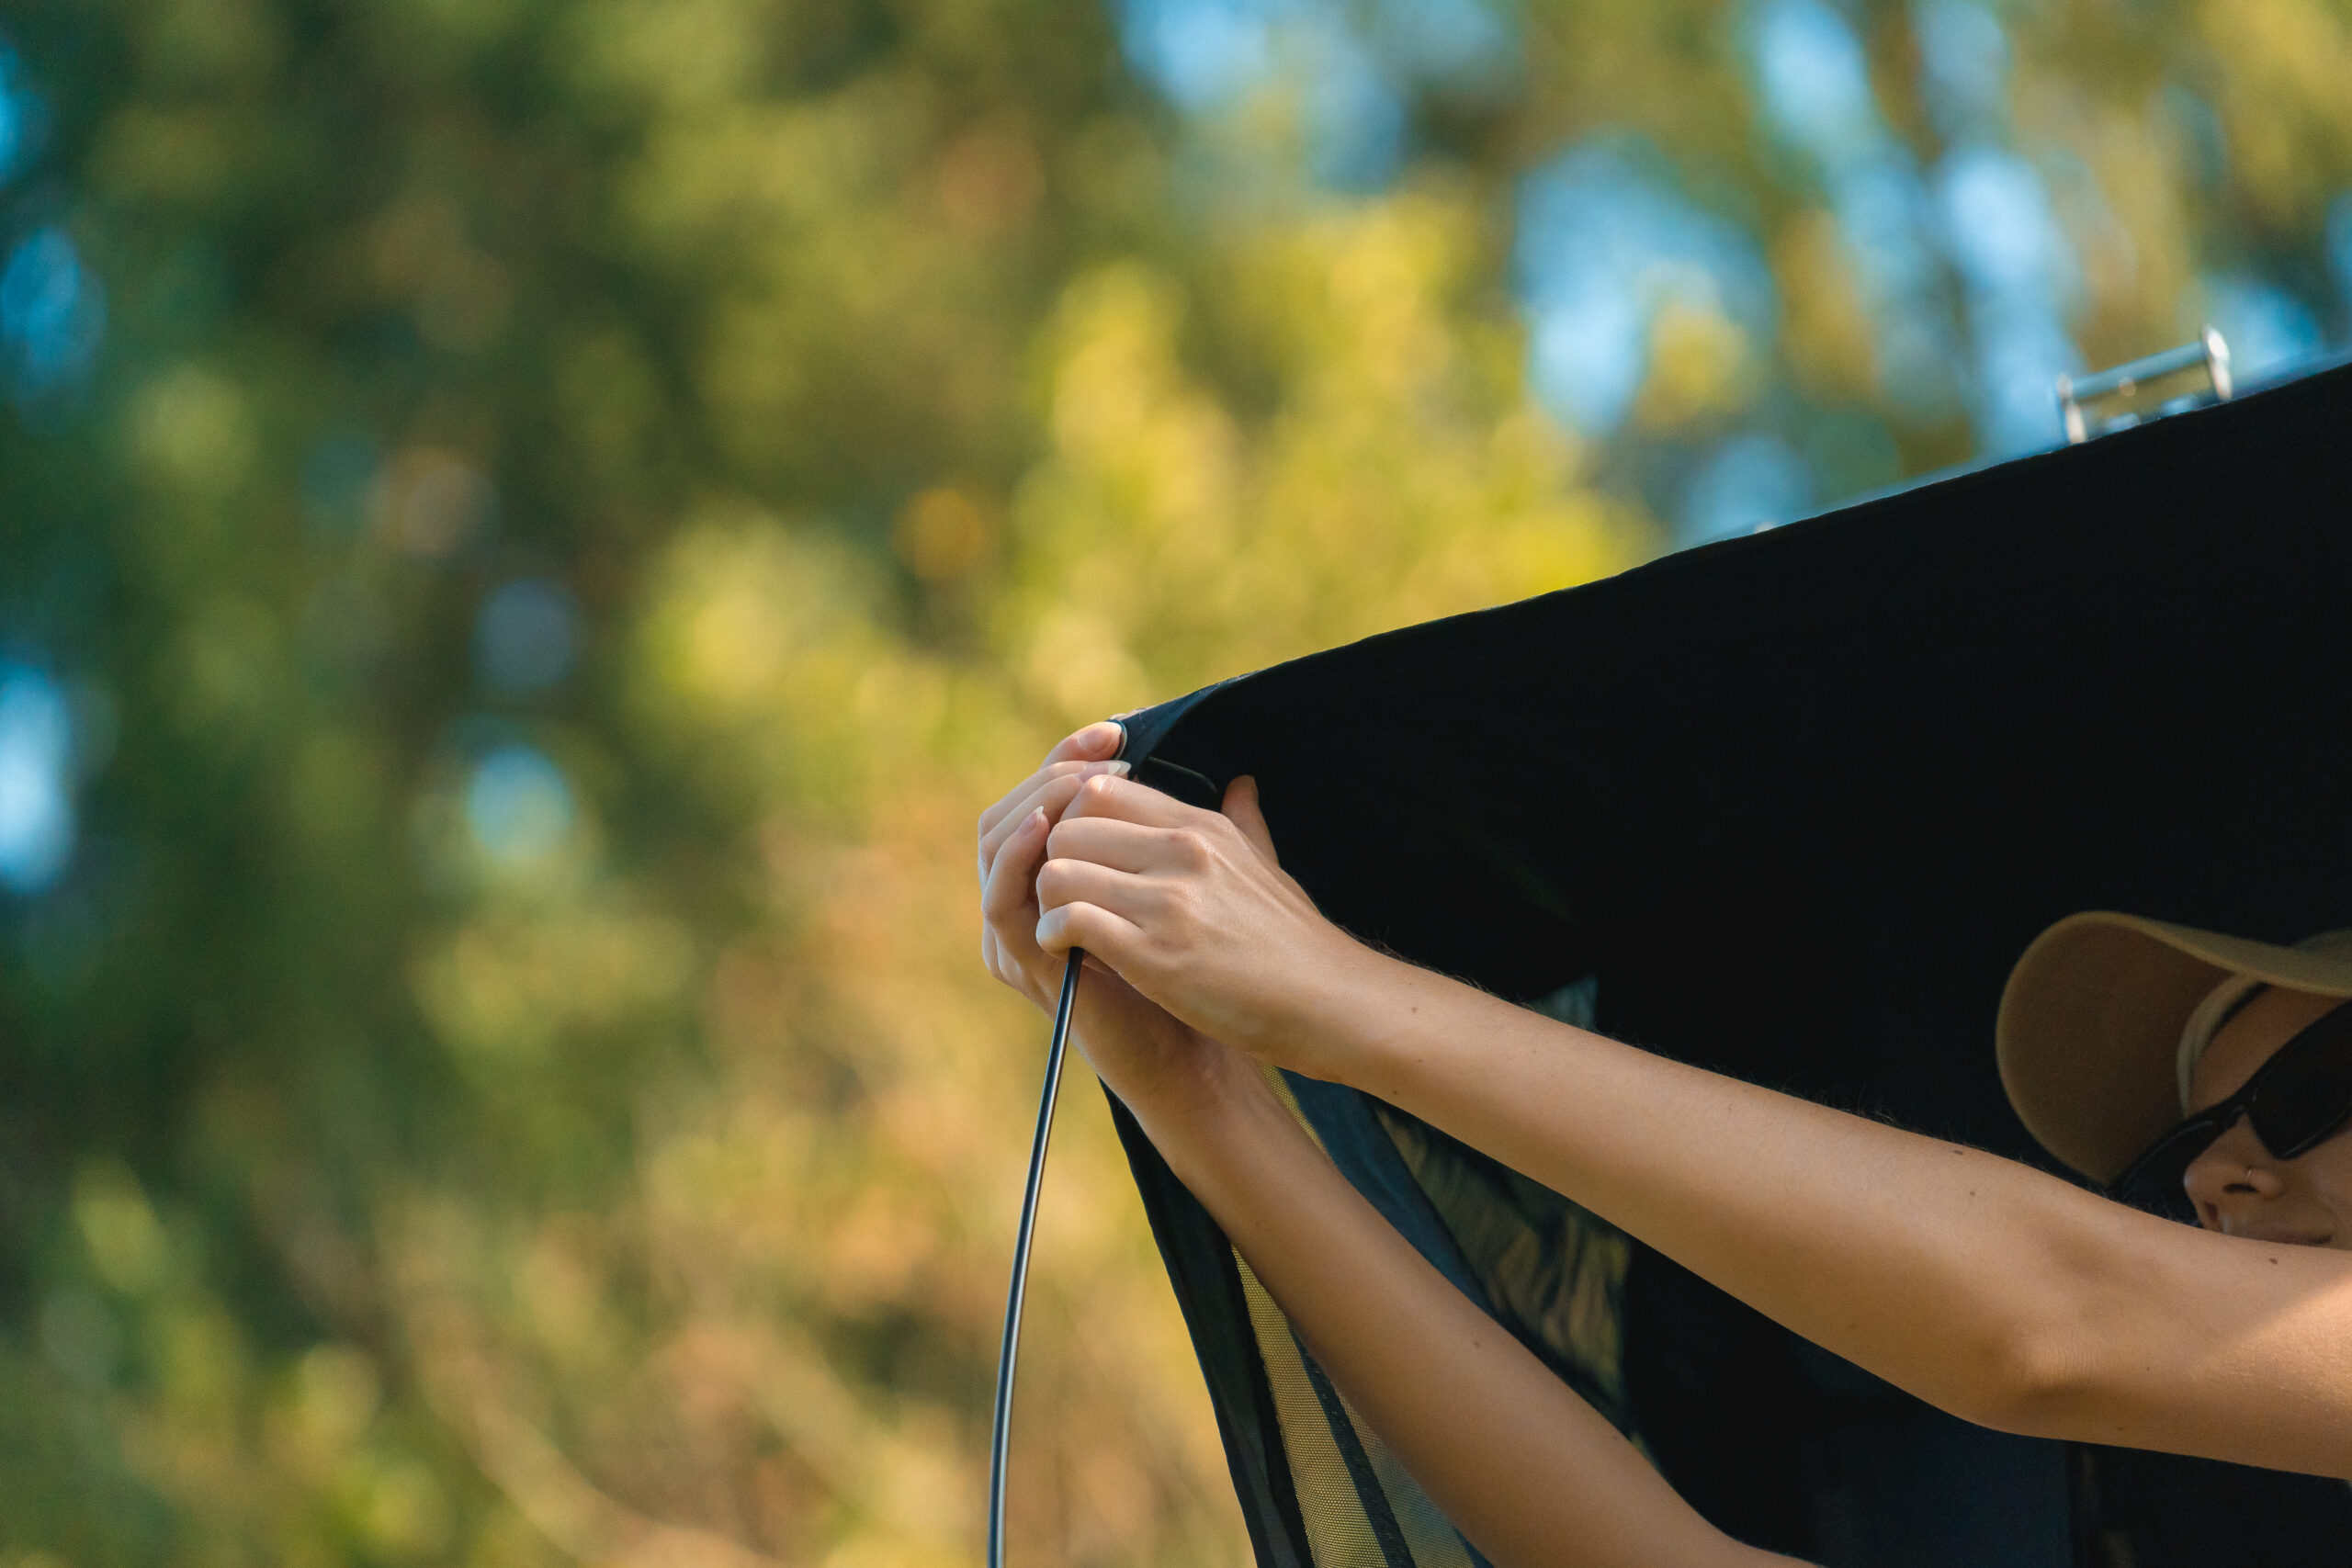
After extending the poles, simply pull the strap. Before closing, push the fabric walls inward from both sides, ensuring nothing sticks out of the shell—just 5 quick moves. The attached rubber strap helps guide the tent fabric inside. The top closes smoothly with the help of the actuators, and you’re all set.
The entire operation takes several dozen seconds.
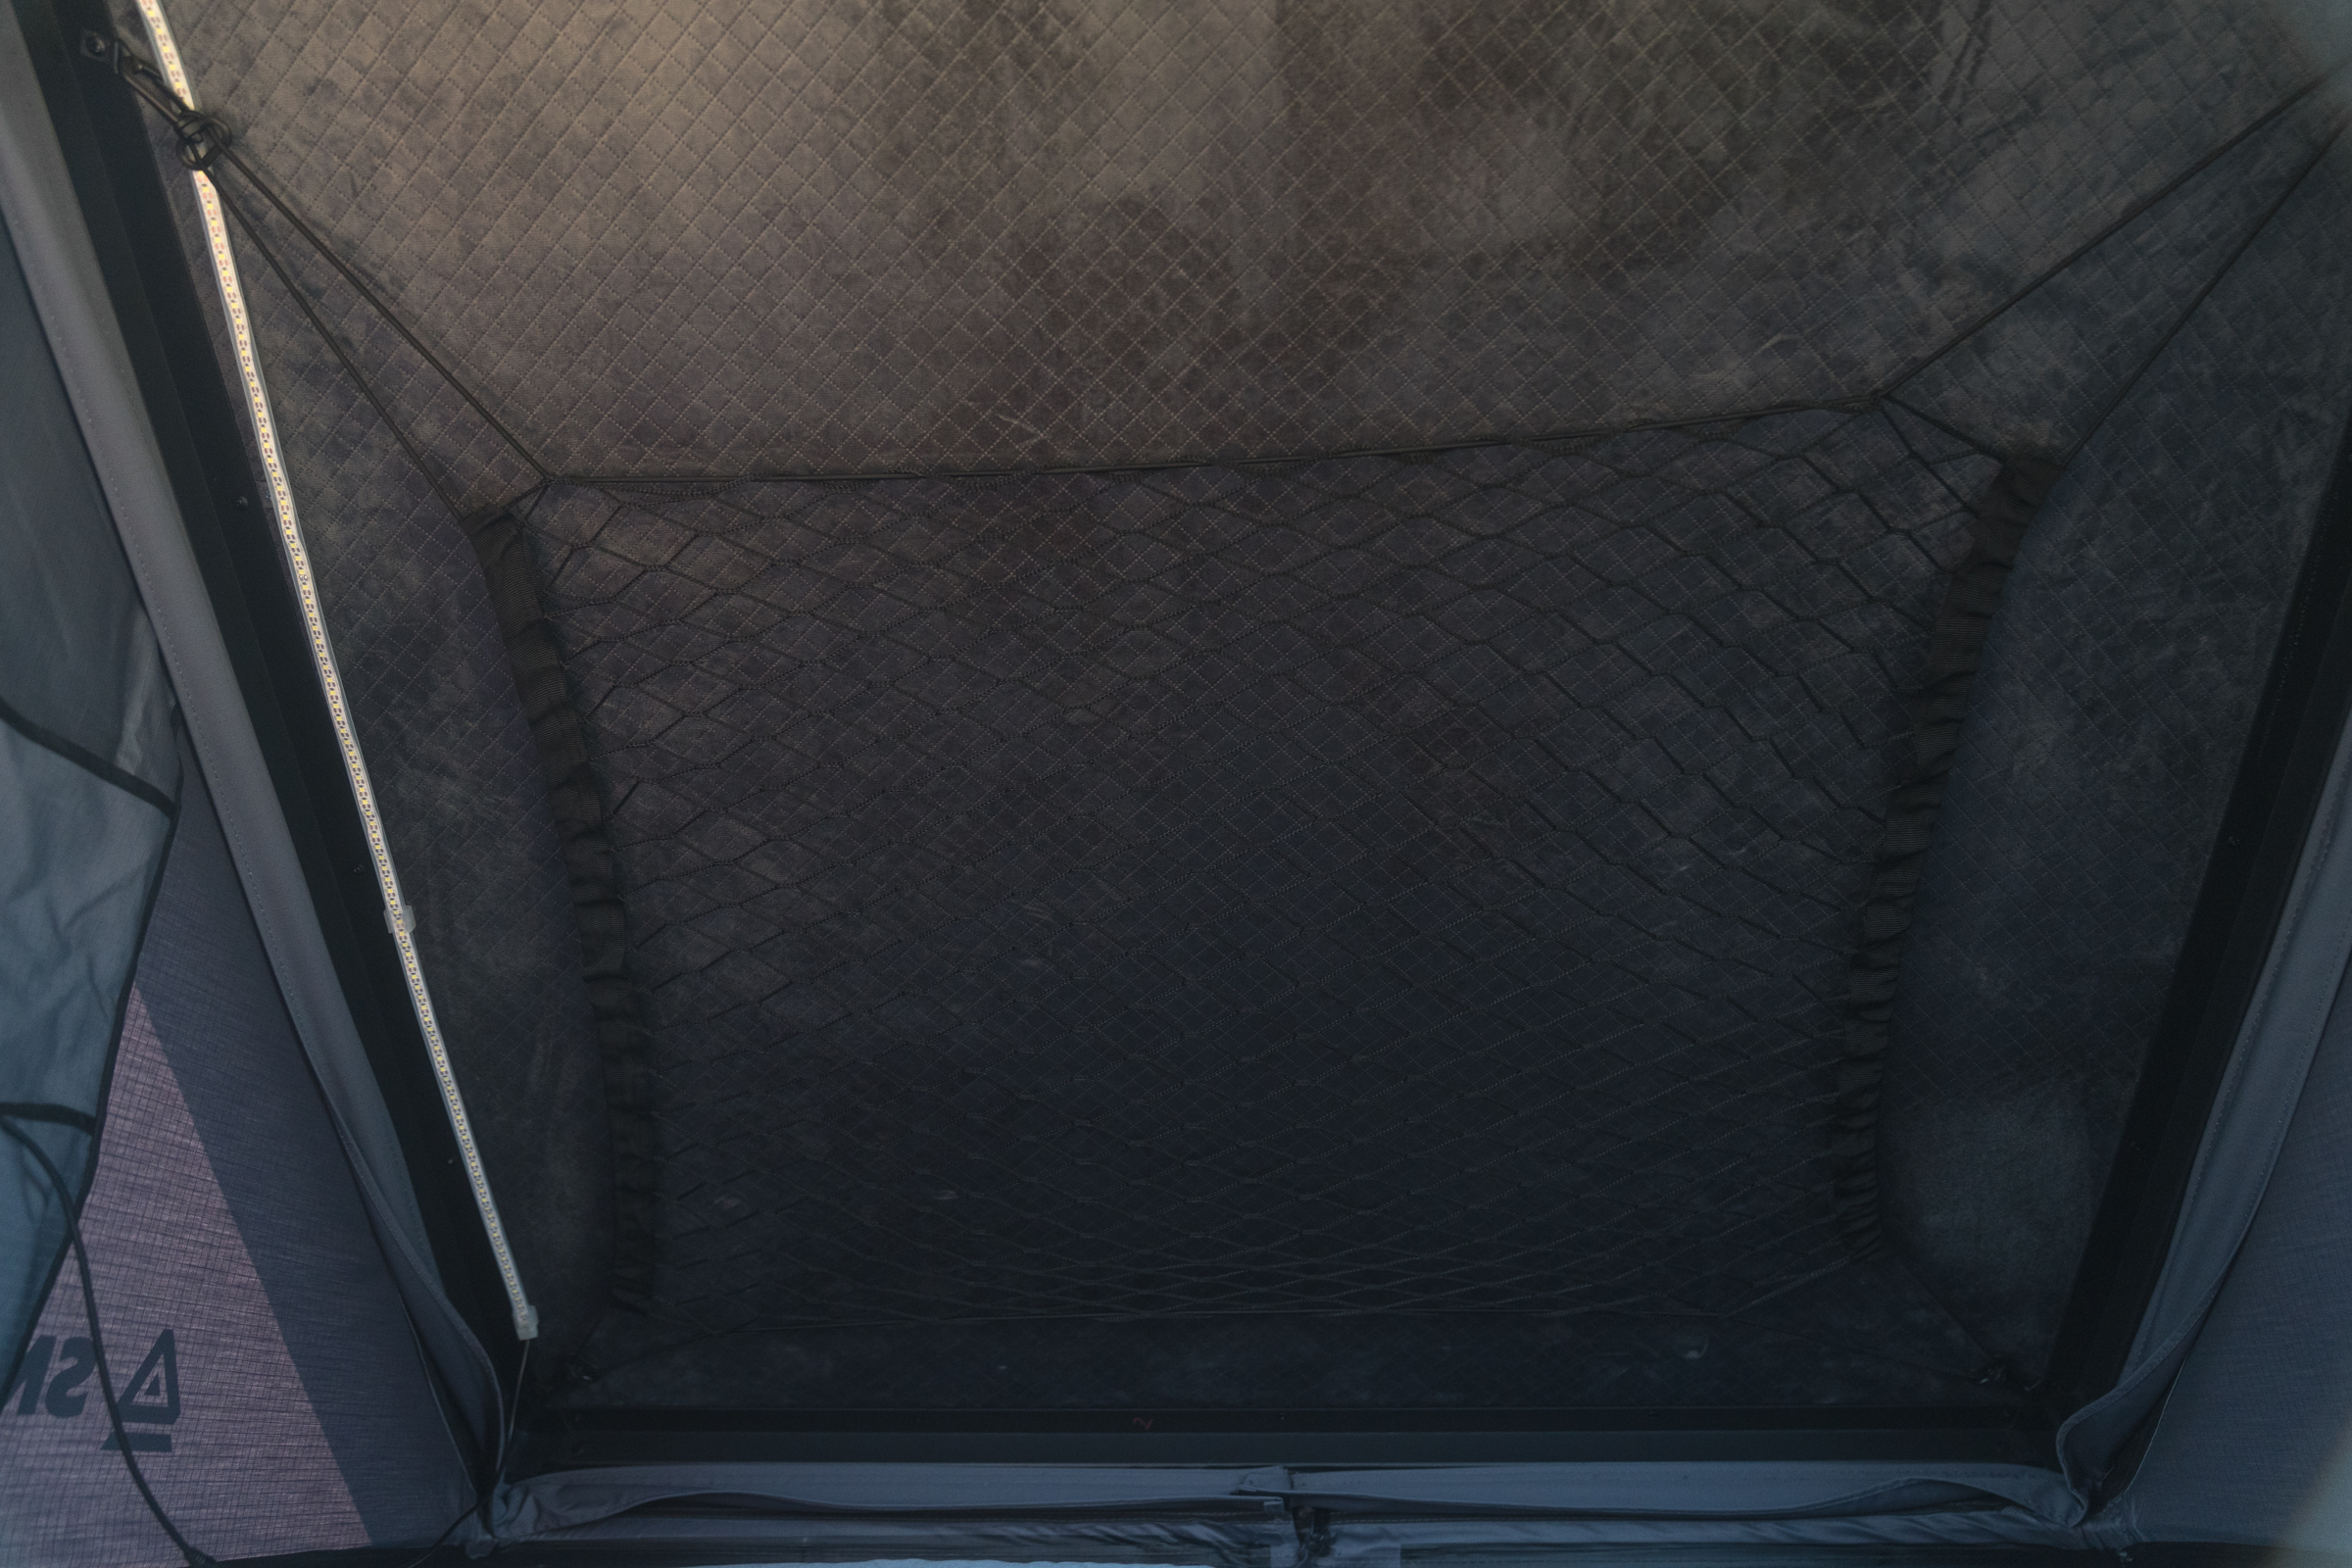
The interior of the SNAILER tent
Fabric covering
The aluminum part is covered with a soft-touch fabric that prevents condensation from forming and dripping down the aluminum surface due to moisture from breathing.
This is an important feature to consider when choosing a roof tent with an aluminum cover.
SNAILER ensures both sides of the interior are fully lined with fabric that retains moisture, preventing it from condensing and running down the walls. Without this, you might wake up with wet feet in the morning.
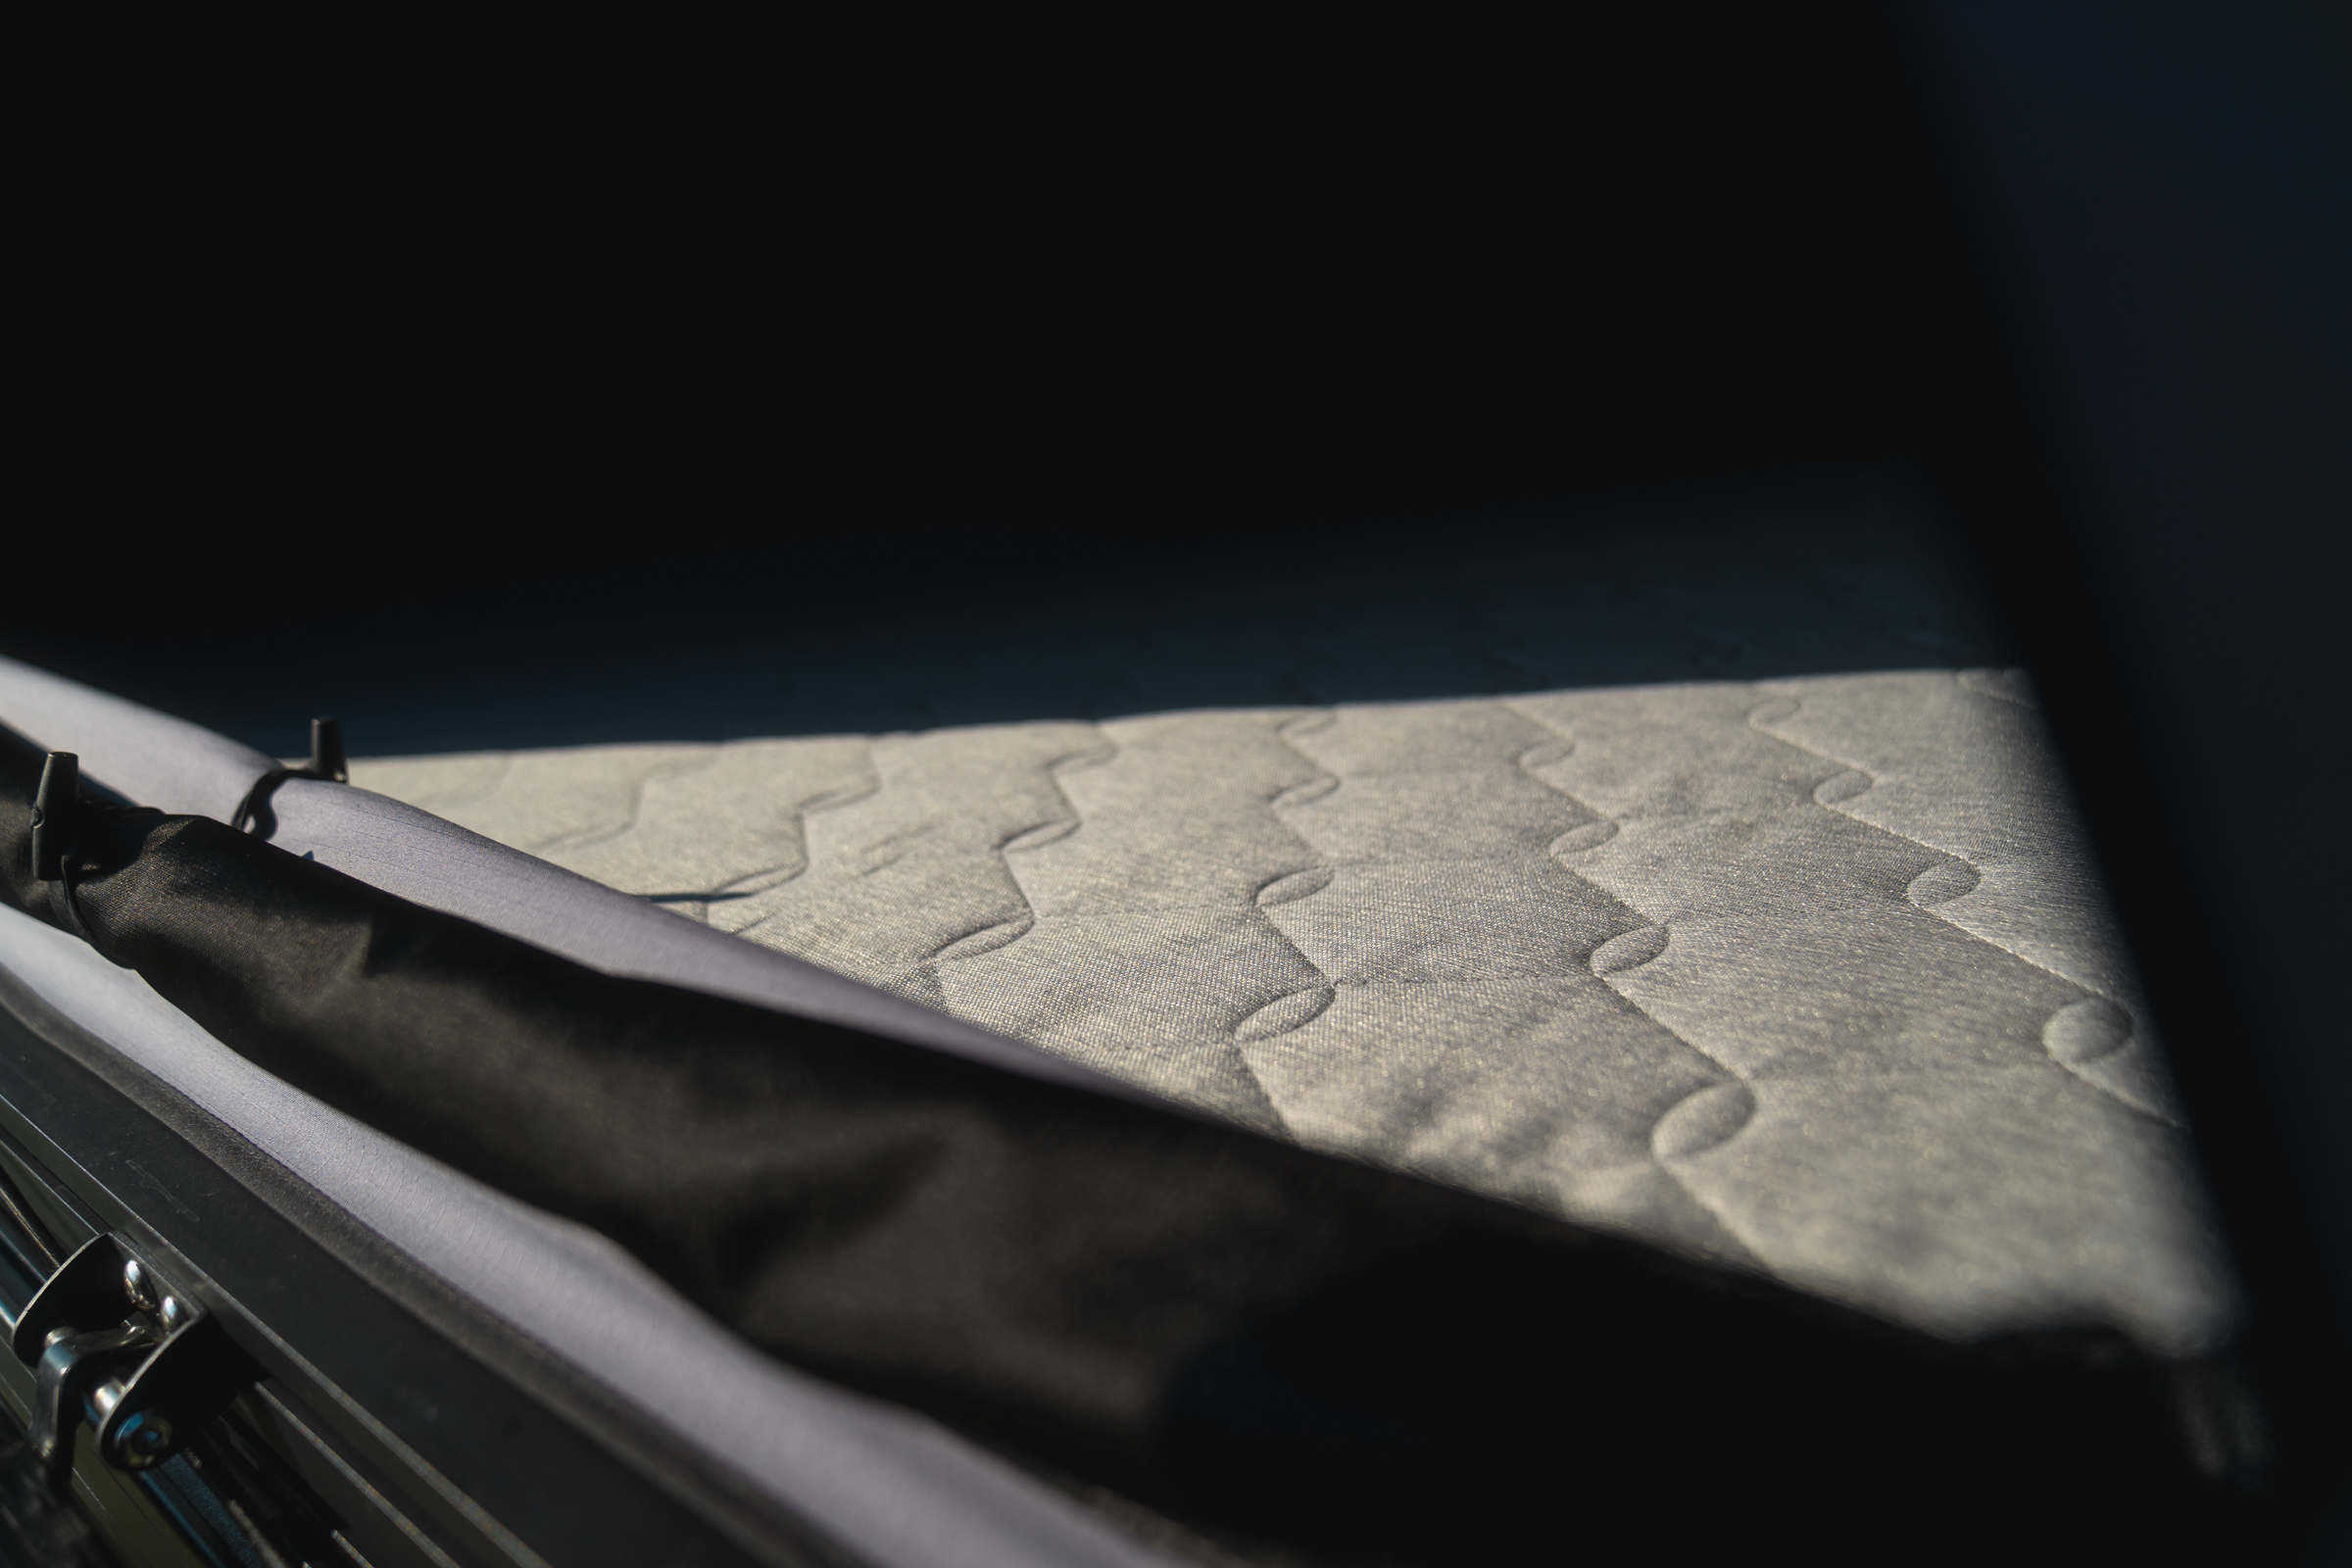
Mattress
This is a big positive surprise: the mattress, made in Slovakia, is the world’s first two-layer mattress that comes with a rooftop tent. Unlike other brands, you won’t need to upgrade to a more comfortable mattress—this one comes with a tent and is top-tier.
The mattress features two 3.5 cm layers. The lower, firmer layer offers great support, even if you lean on your hands or sit on your knees. The upper layer is soft foam for a cozy, restful sleep. Honestly, I sleep better on this 6 cm mattress than in my own bed.
The entire mattress is wrapped in a double-sided, zippered cover. The top layer is soft and comfortable, while the bottom is made of waterproof rubber for extra protection.

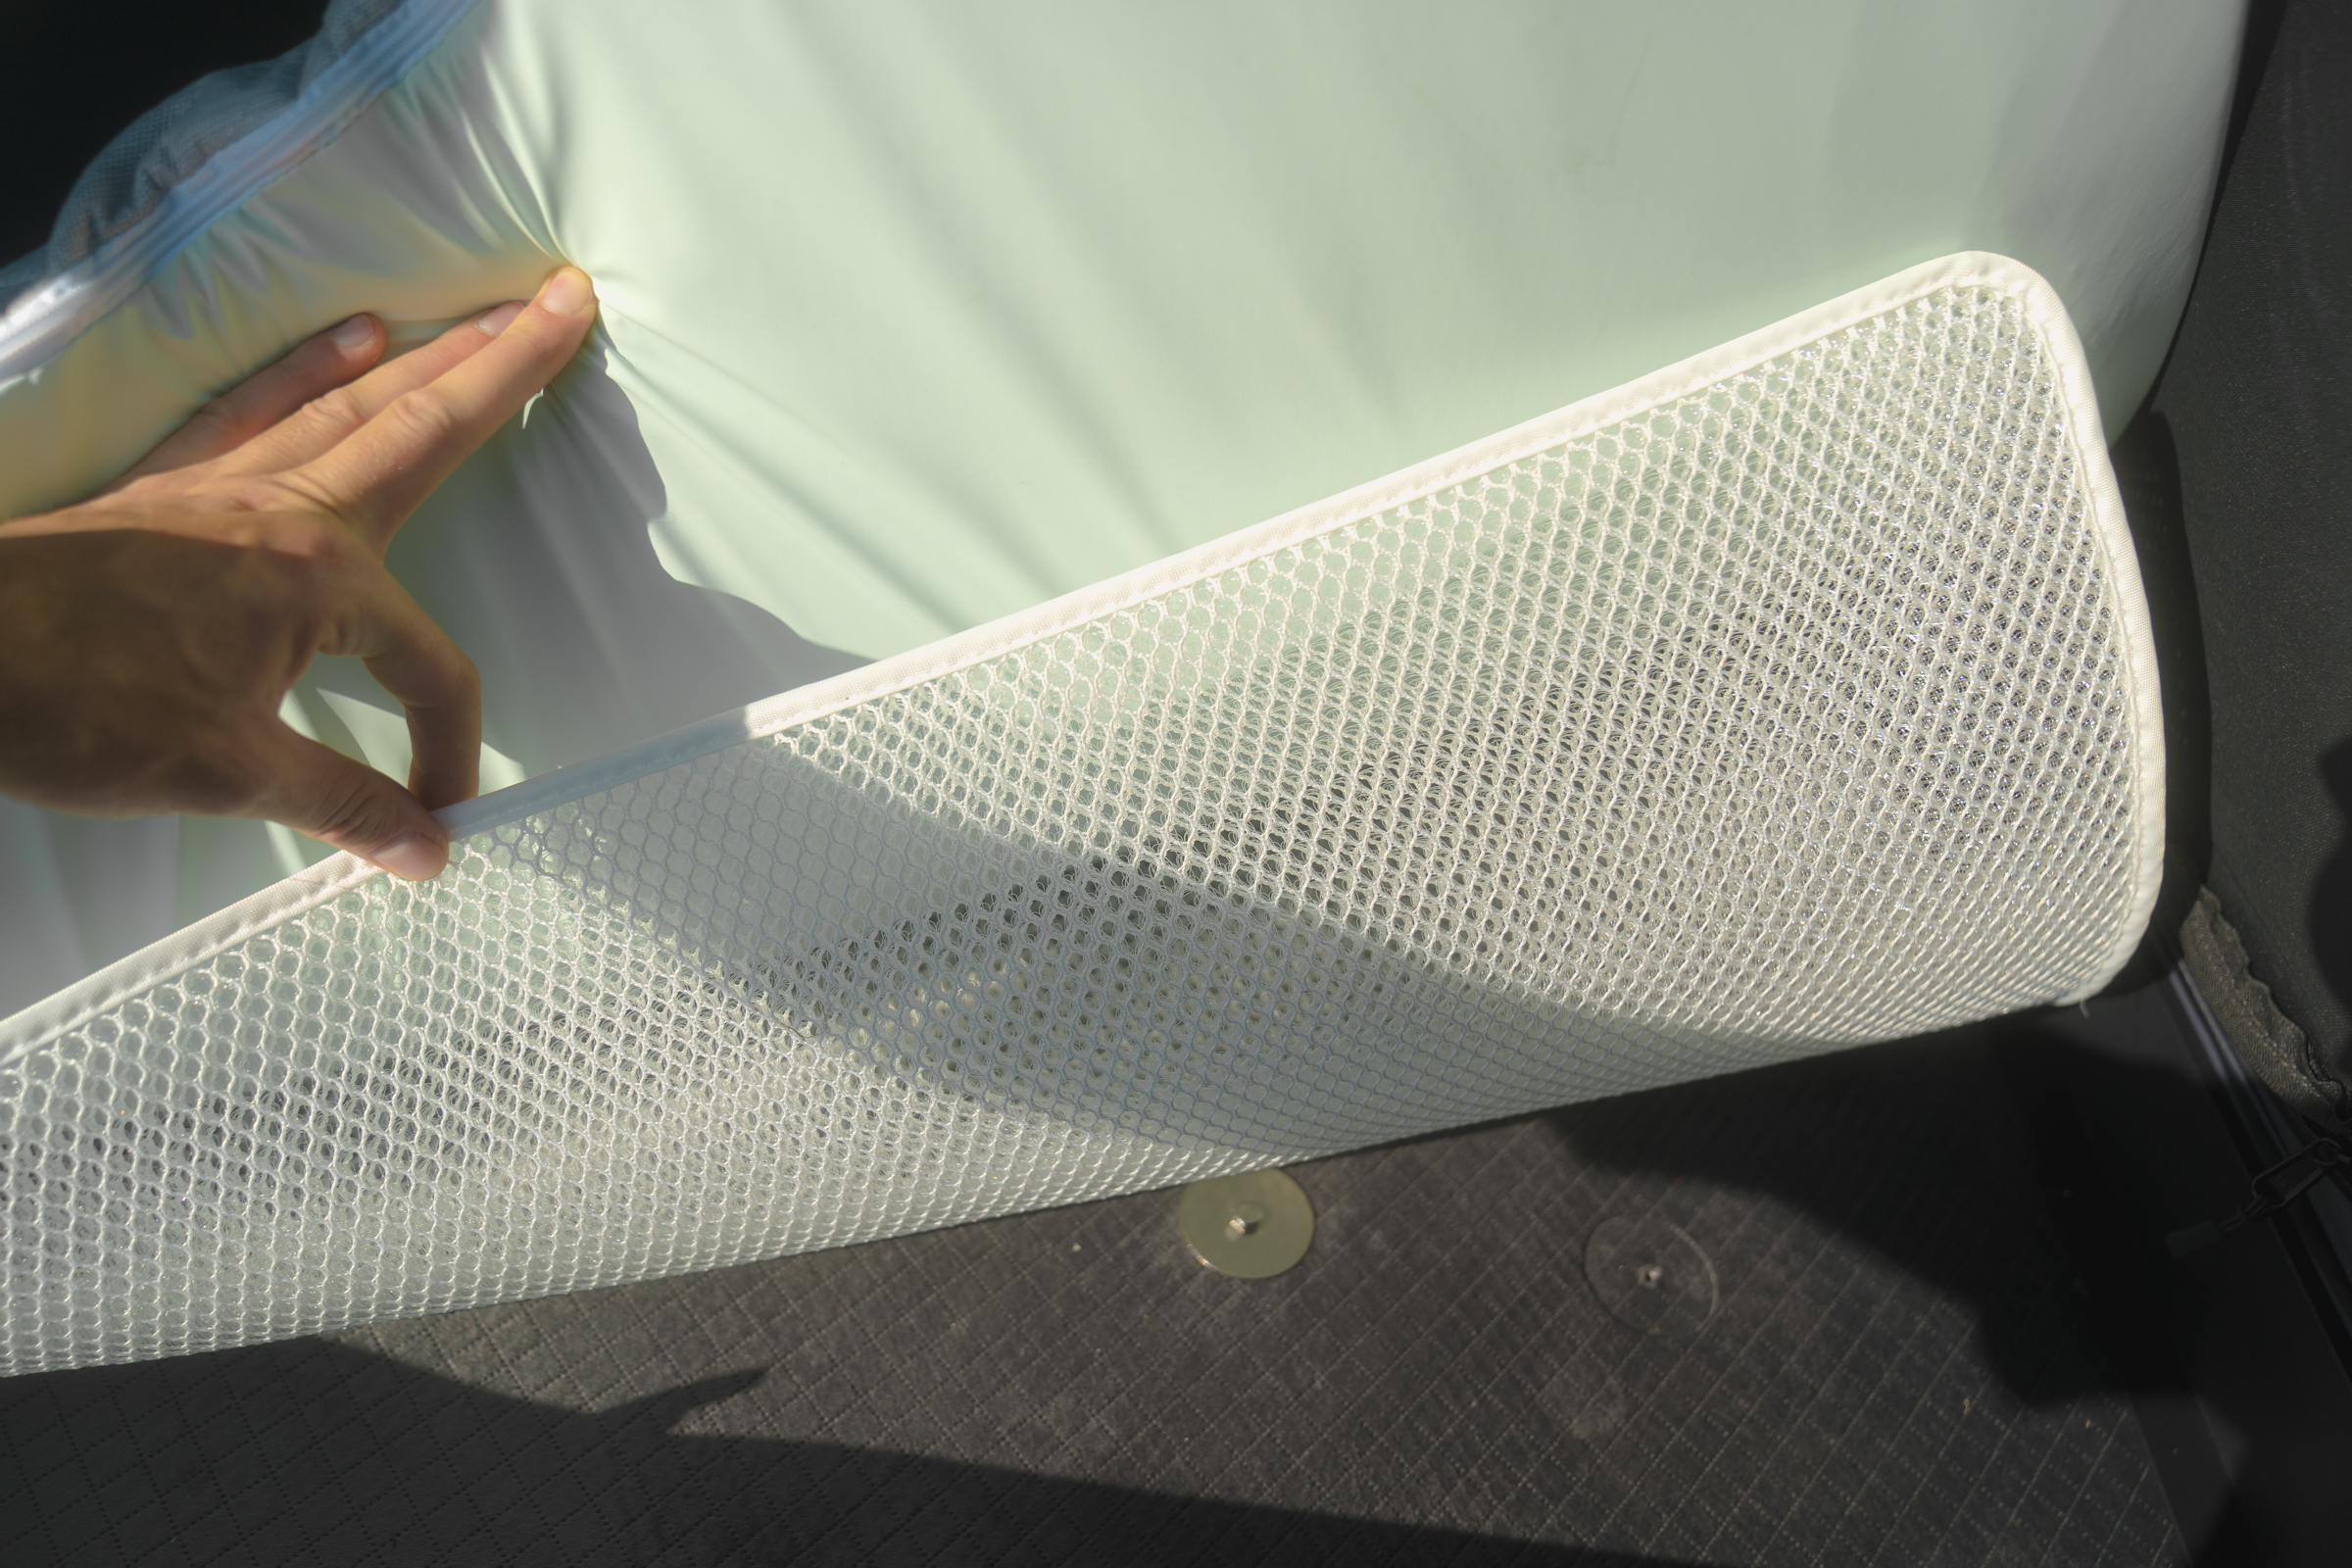
Condensation mat
The mattress sits on a condensation mat, one of the most crucial yet often overlooked components. SNAILER has ensured that under no circumstances will the mattress become damp, keeping it dry and comfortable throughout your trip.
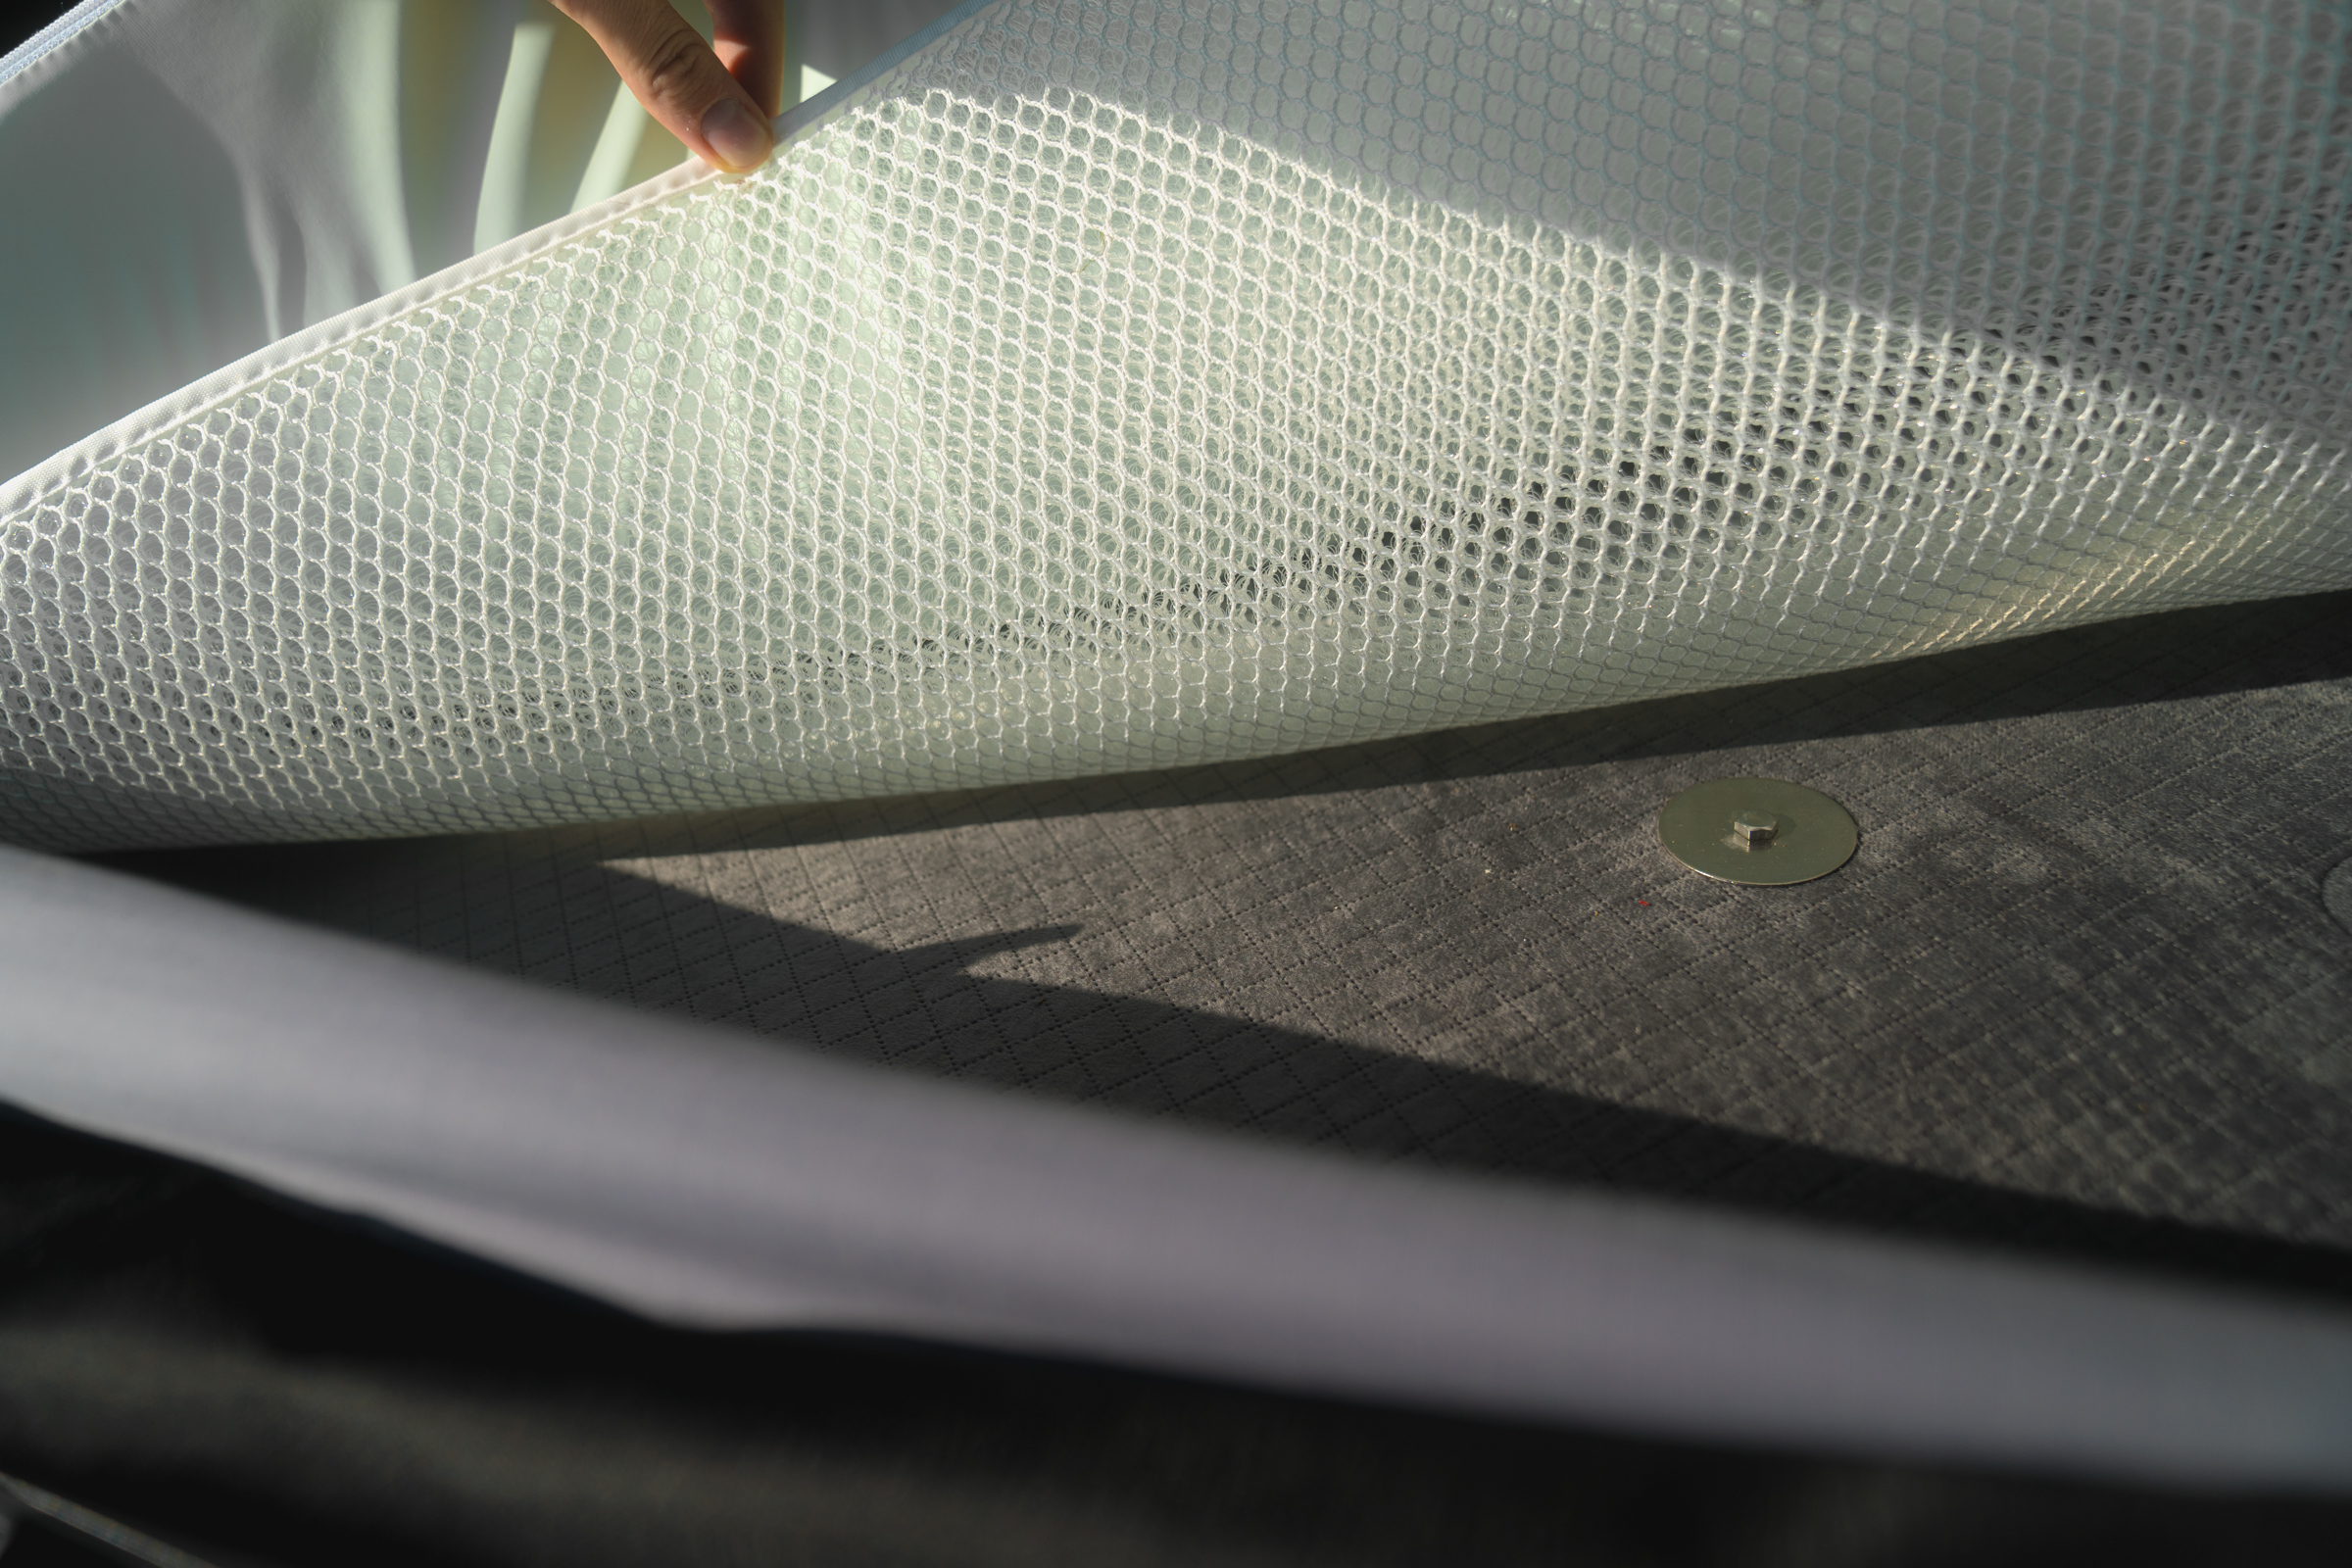
Why a condensation mat in a roof tent?
The condensation mat not only enhances the mattress’s elasticity but also creates an air layer between the tent floor and the mattress. This allows moisture, which is sometimes unavoidable when camping, to evaporate without coming into contact with the mattress. As a result, the mattress stays completely dry, even in the most challenging conditions.
I’ve already tested the tent during high humidity and several days of downpours, and the mattress remained dry throughout. There’s no risk of moisture issues, even on multi-day expeditions.
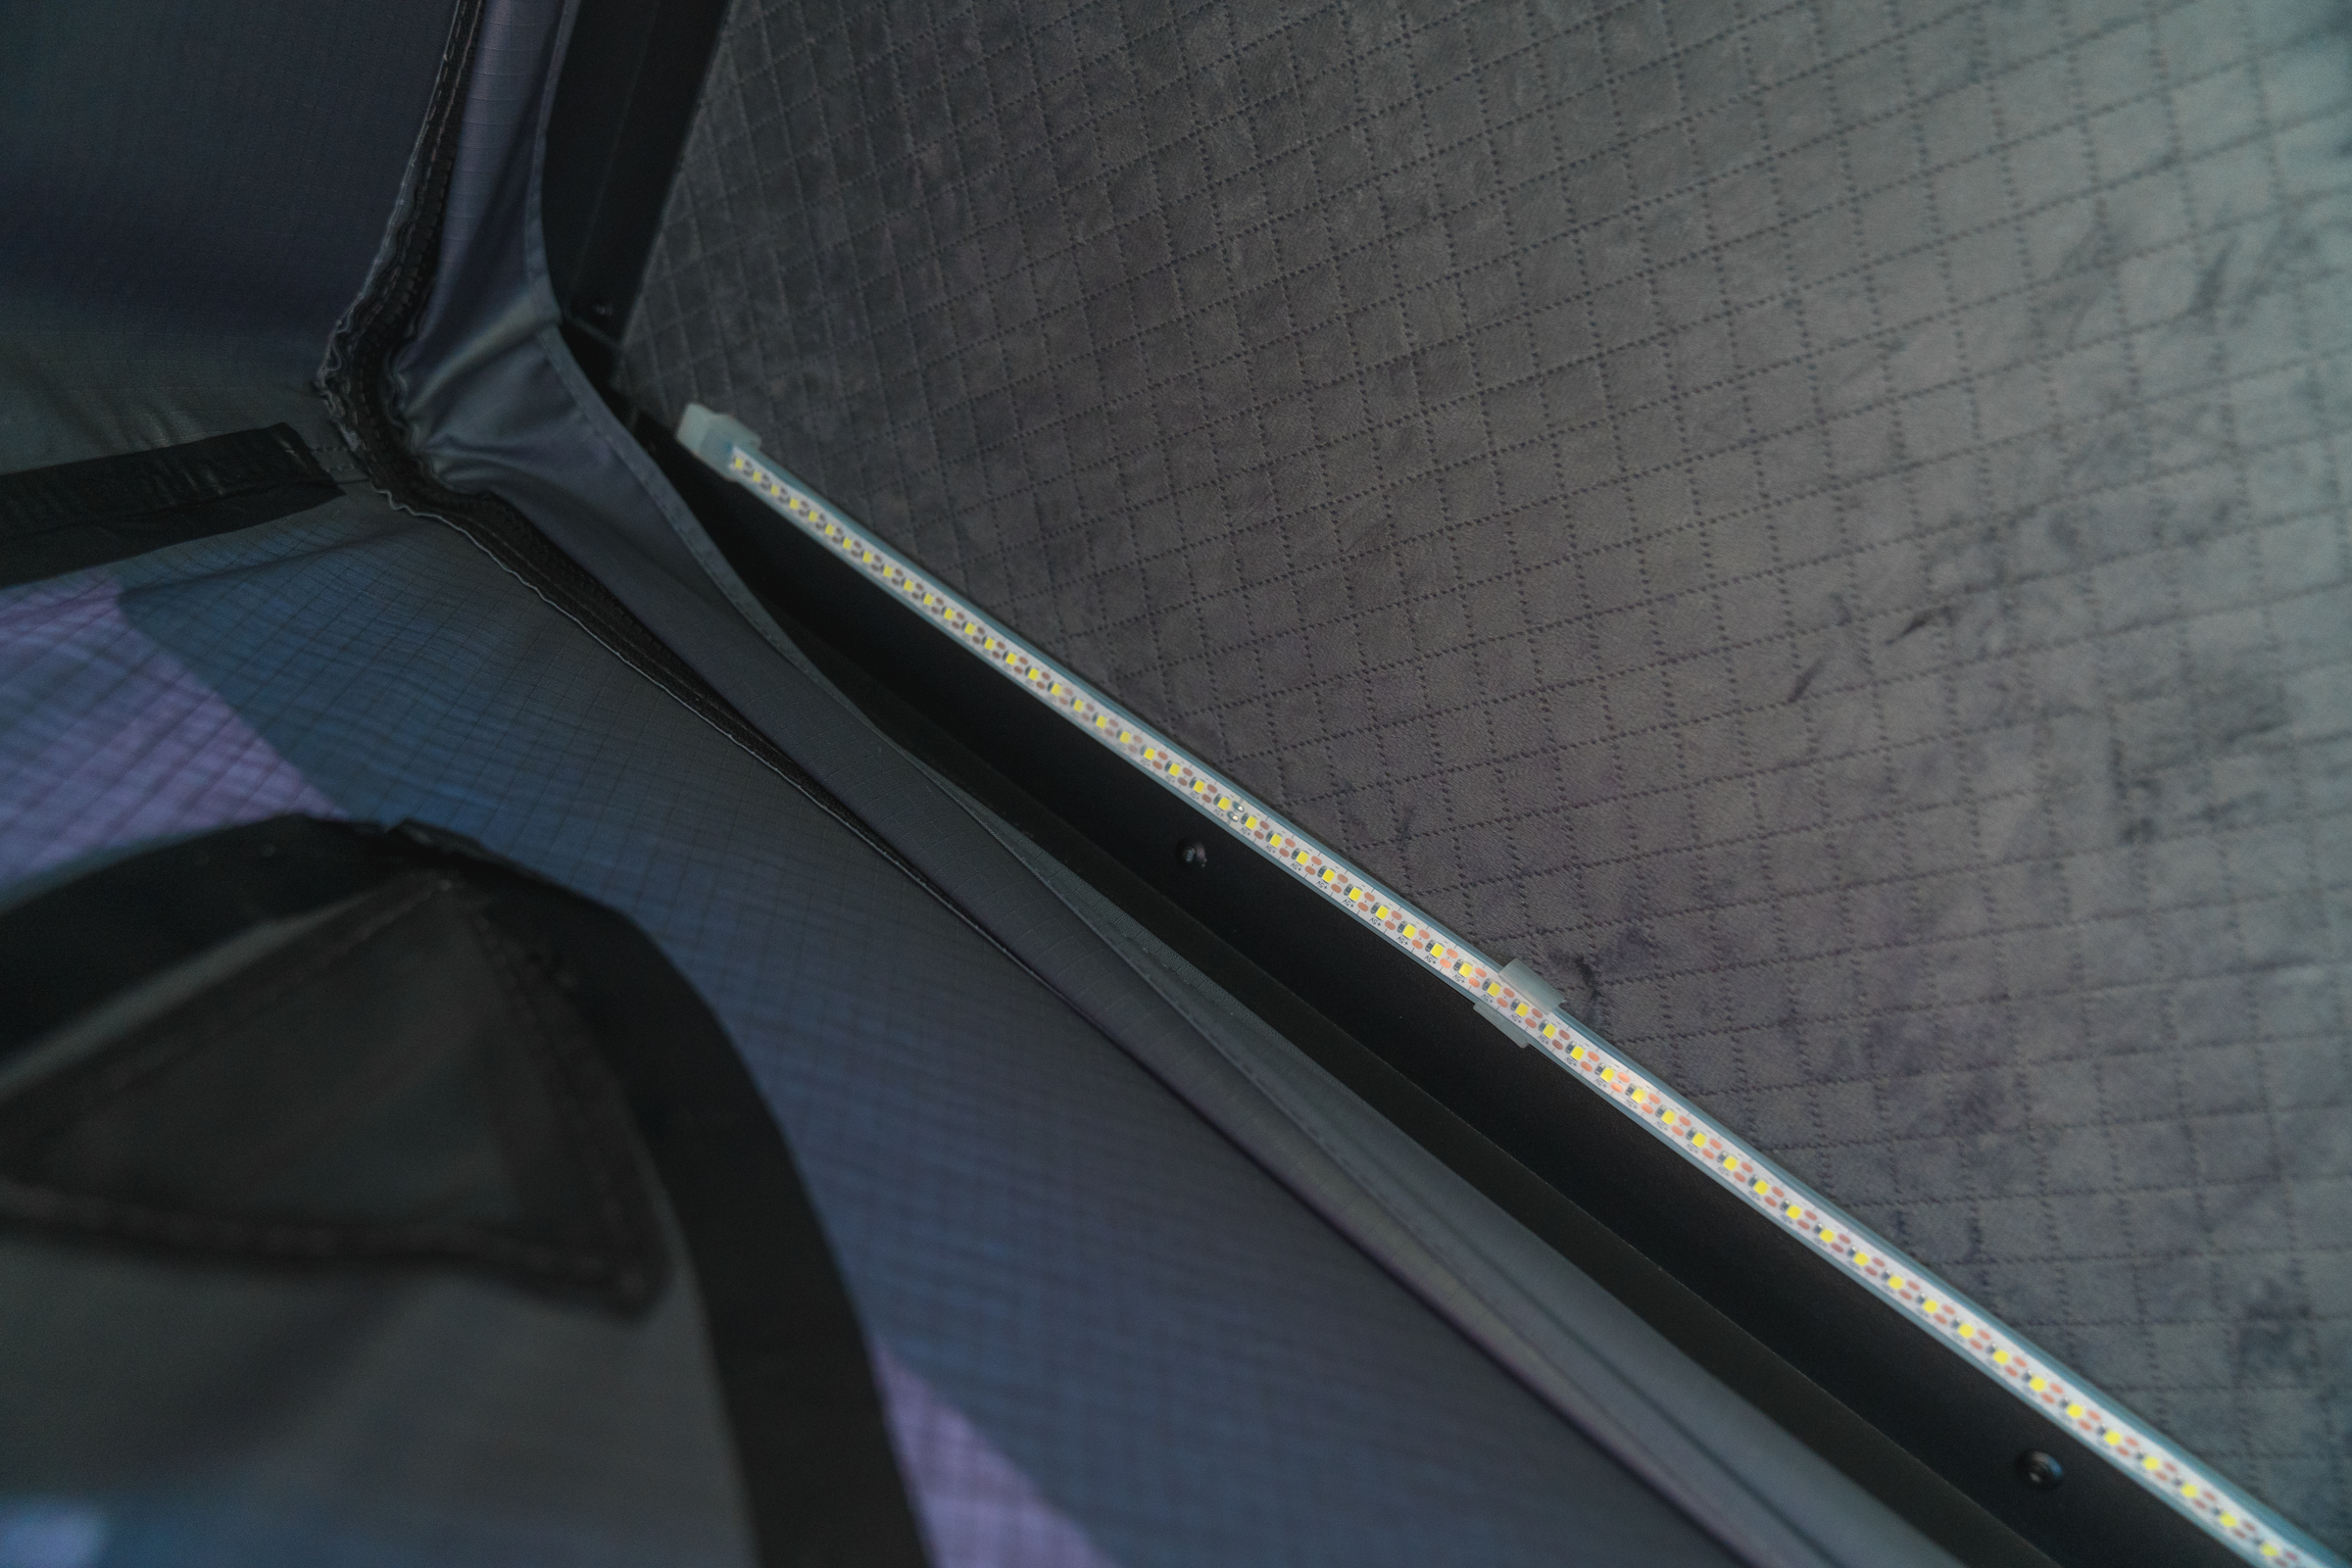
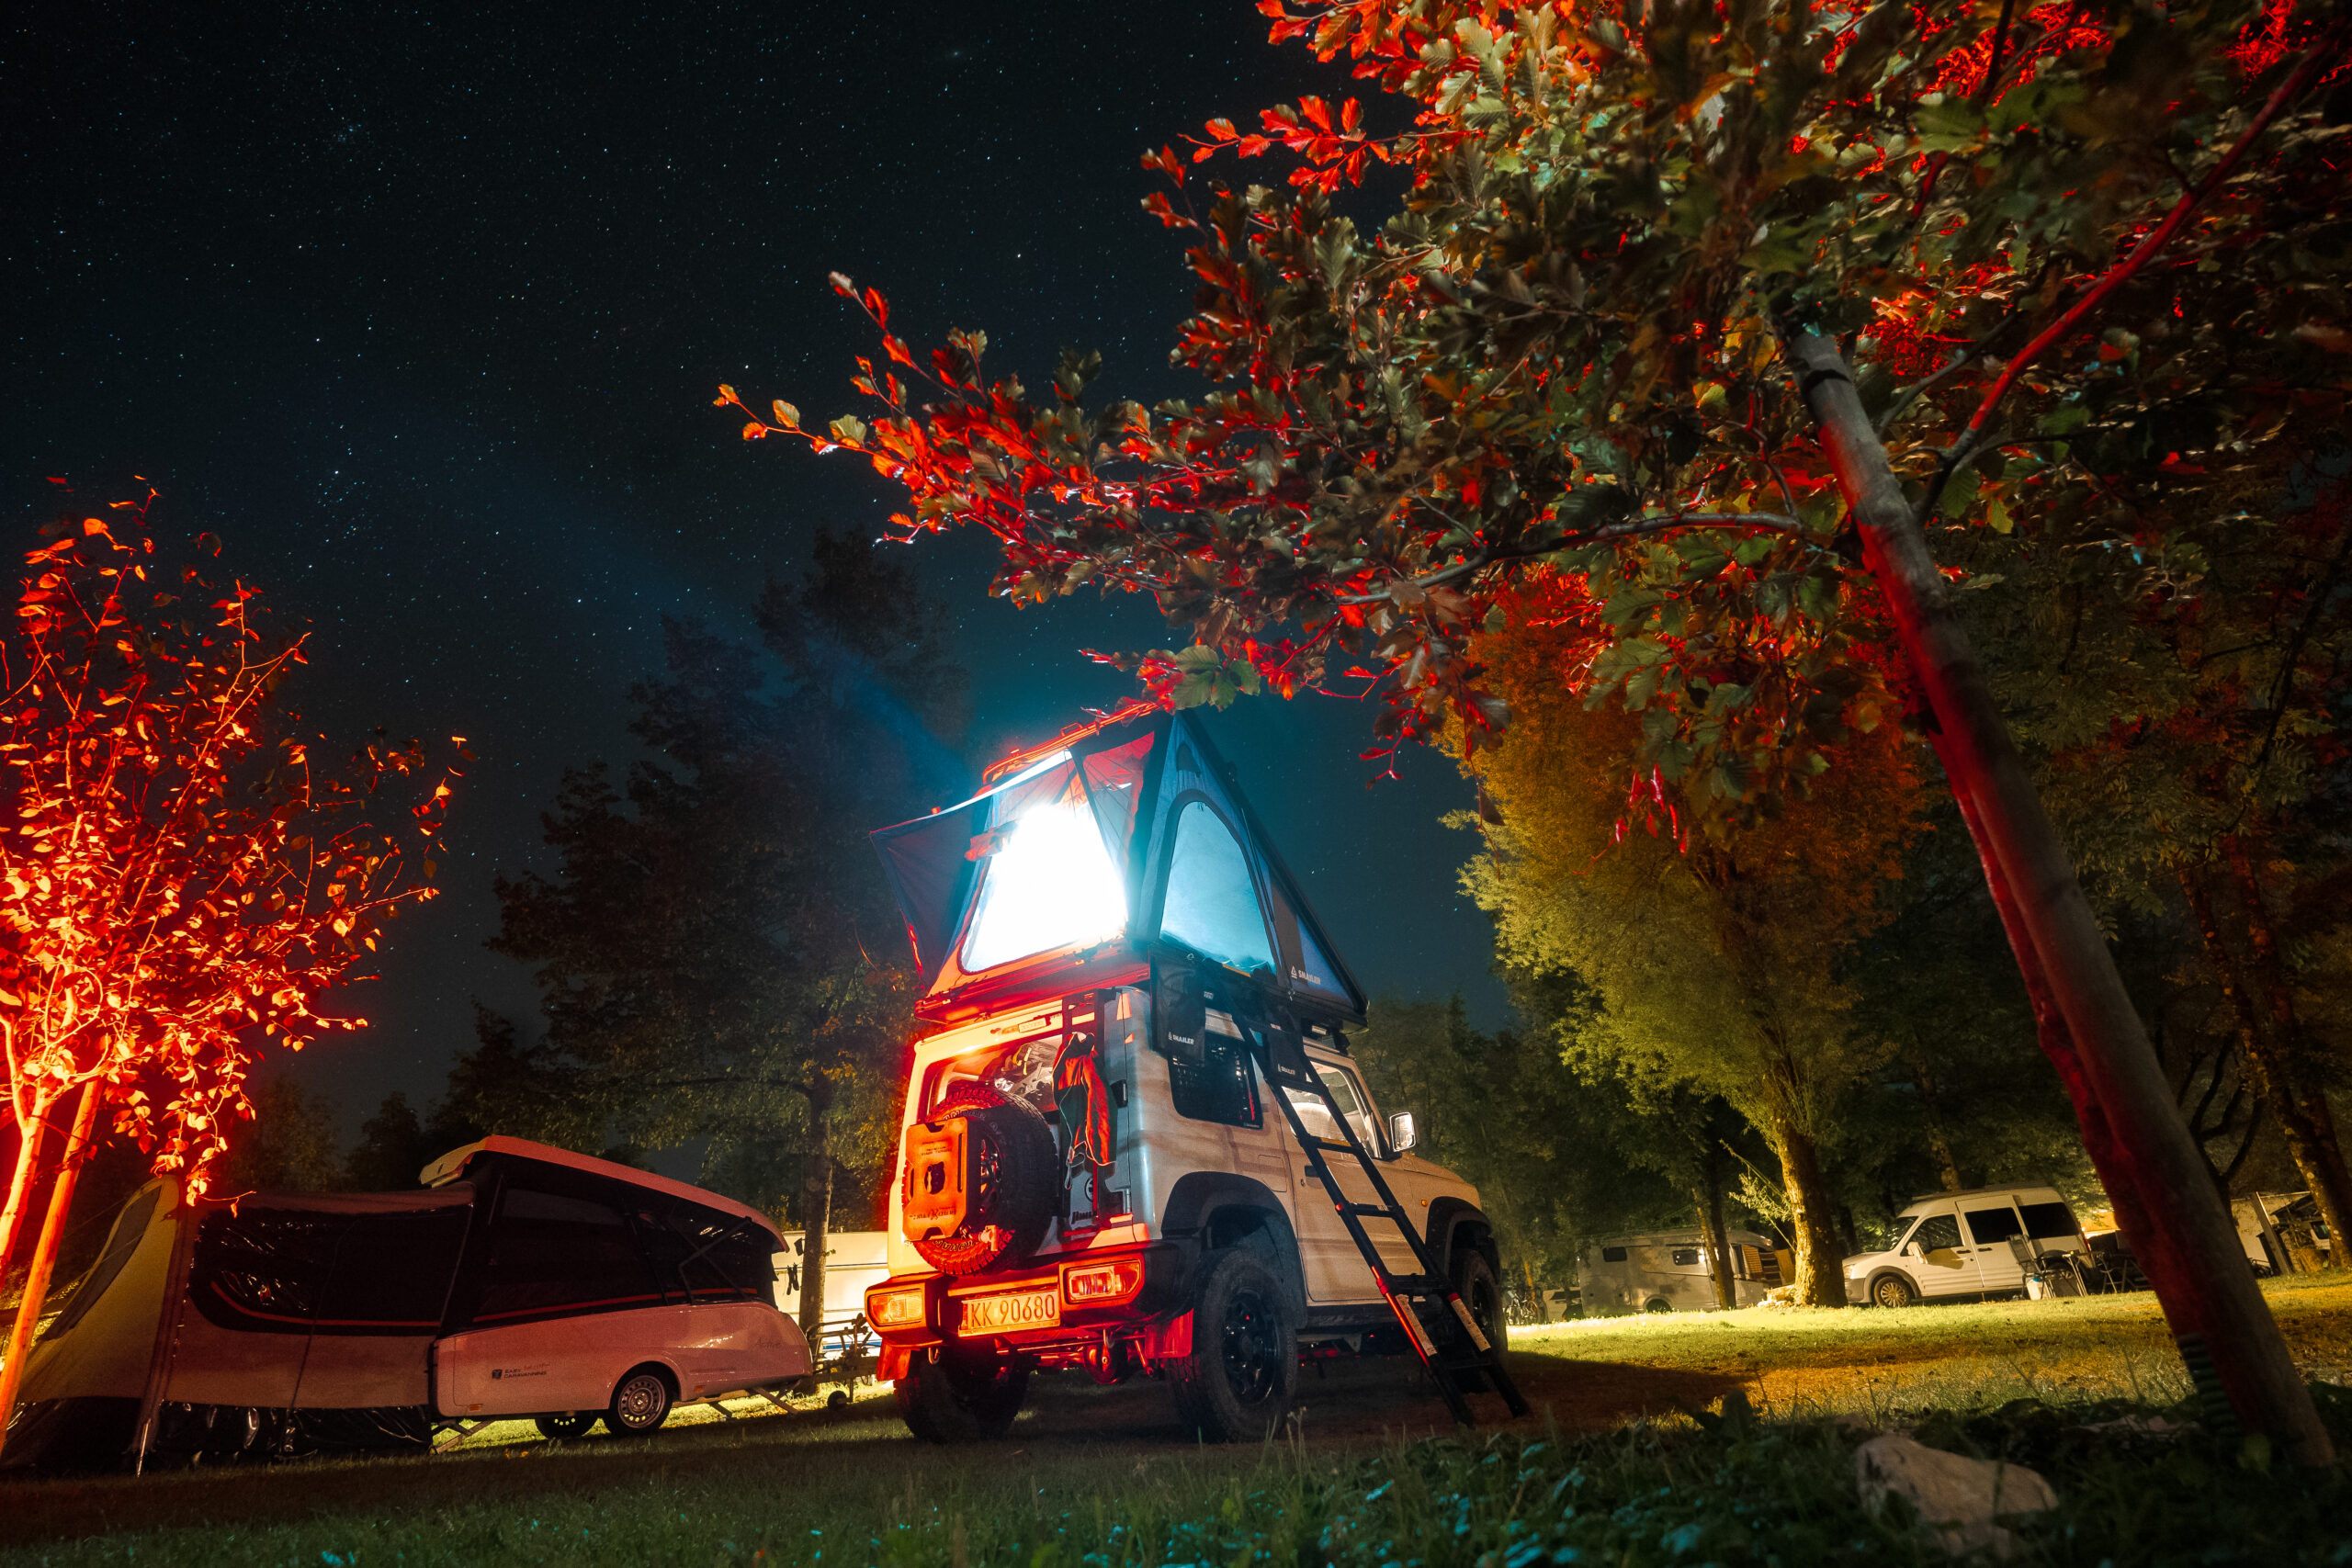
LED strip
The SNAILER Alduo roof tent includes an LED strip that can be controlled via a cable when connected to a power bank, offering adjustable brightness across several levels.
While it’s a cool feature, I’m not a fan of the white, hospital-like light—it’s not ideal before bed either. I’d prefer a warm light option, with the ability to switch to a red mode, which doesn’t attract insects or mosquitoes. Thankfully, it’s easy to swap out the LED strip yourself if you want to make that change.
Clothes net
In the tent, you can easily change into your pajamas and store your clothes in the net, keeping them out of the way without taking up any sleeping space. In the morning, everything is organized, and you’re ready to go without any hassle.
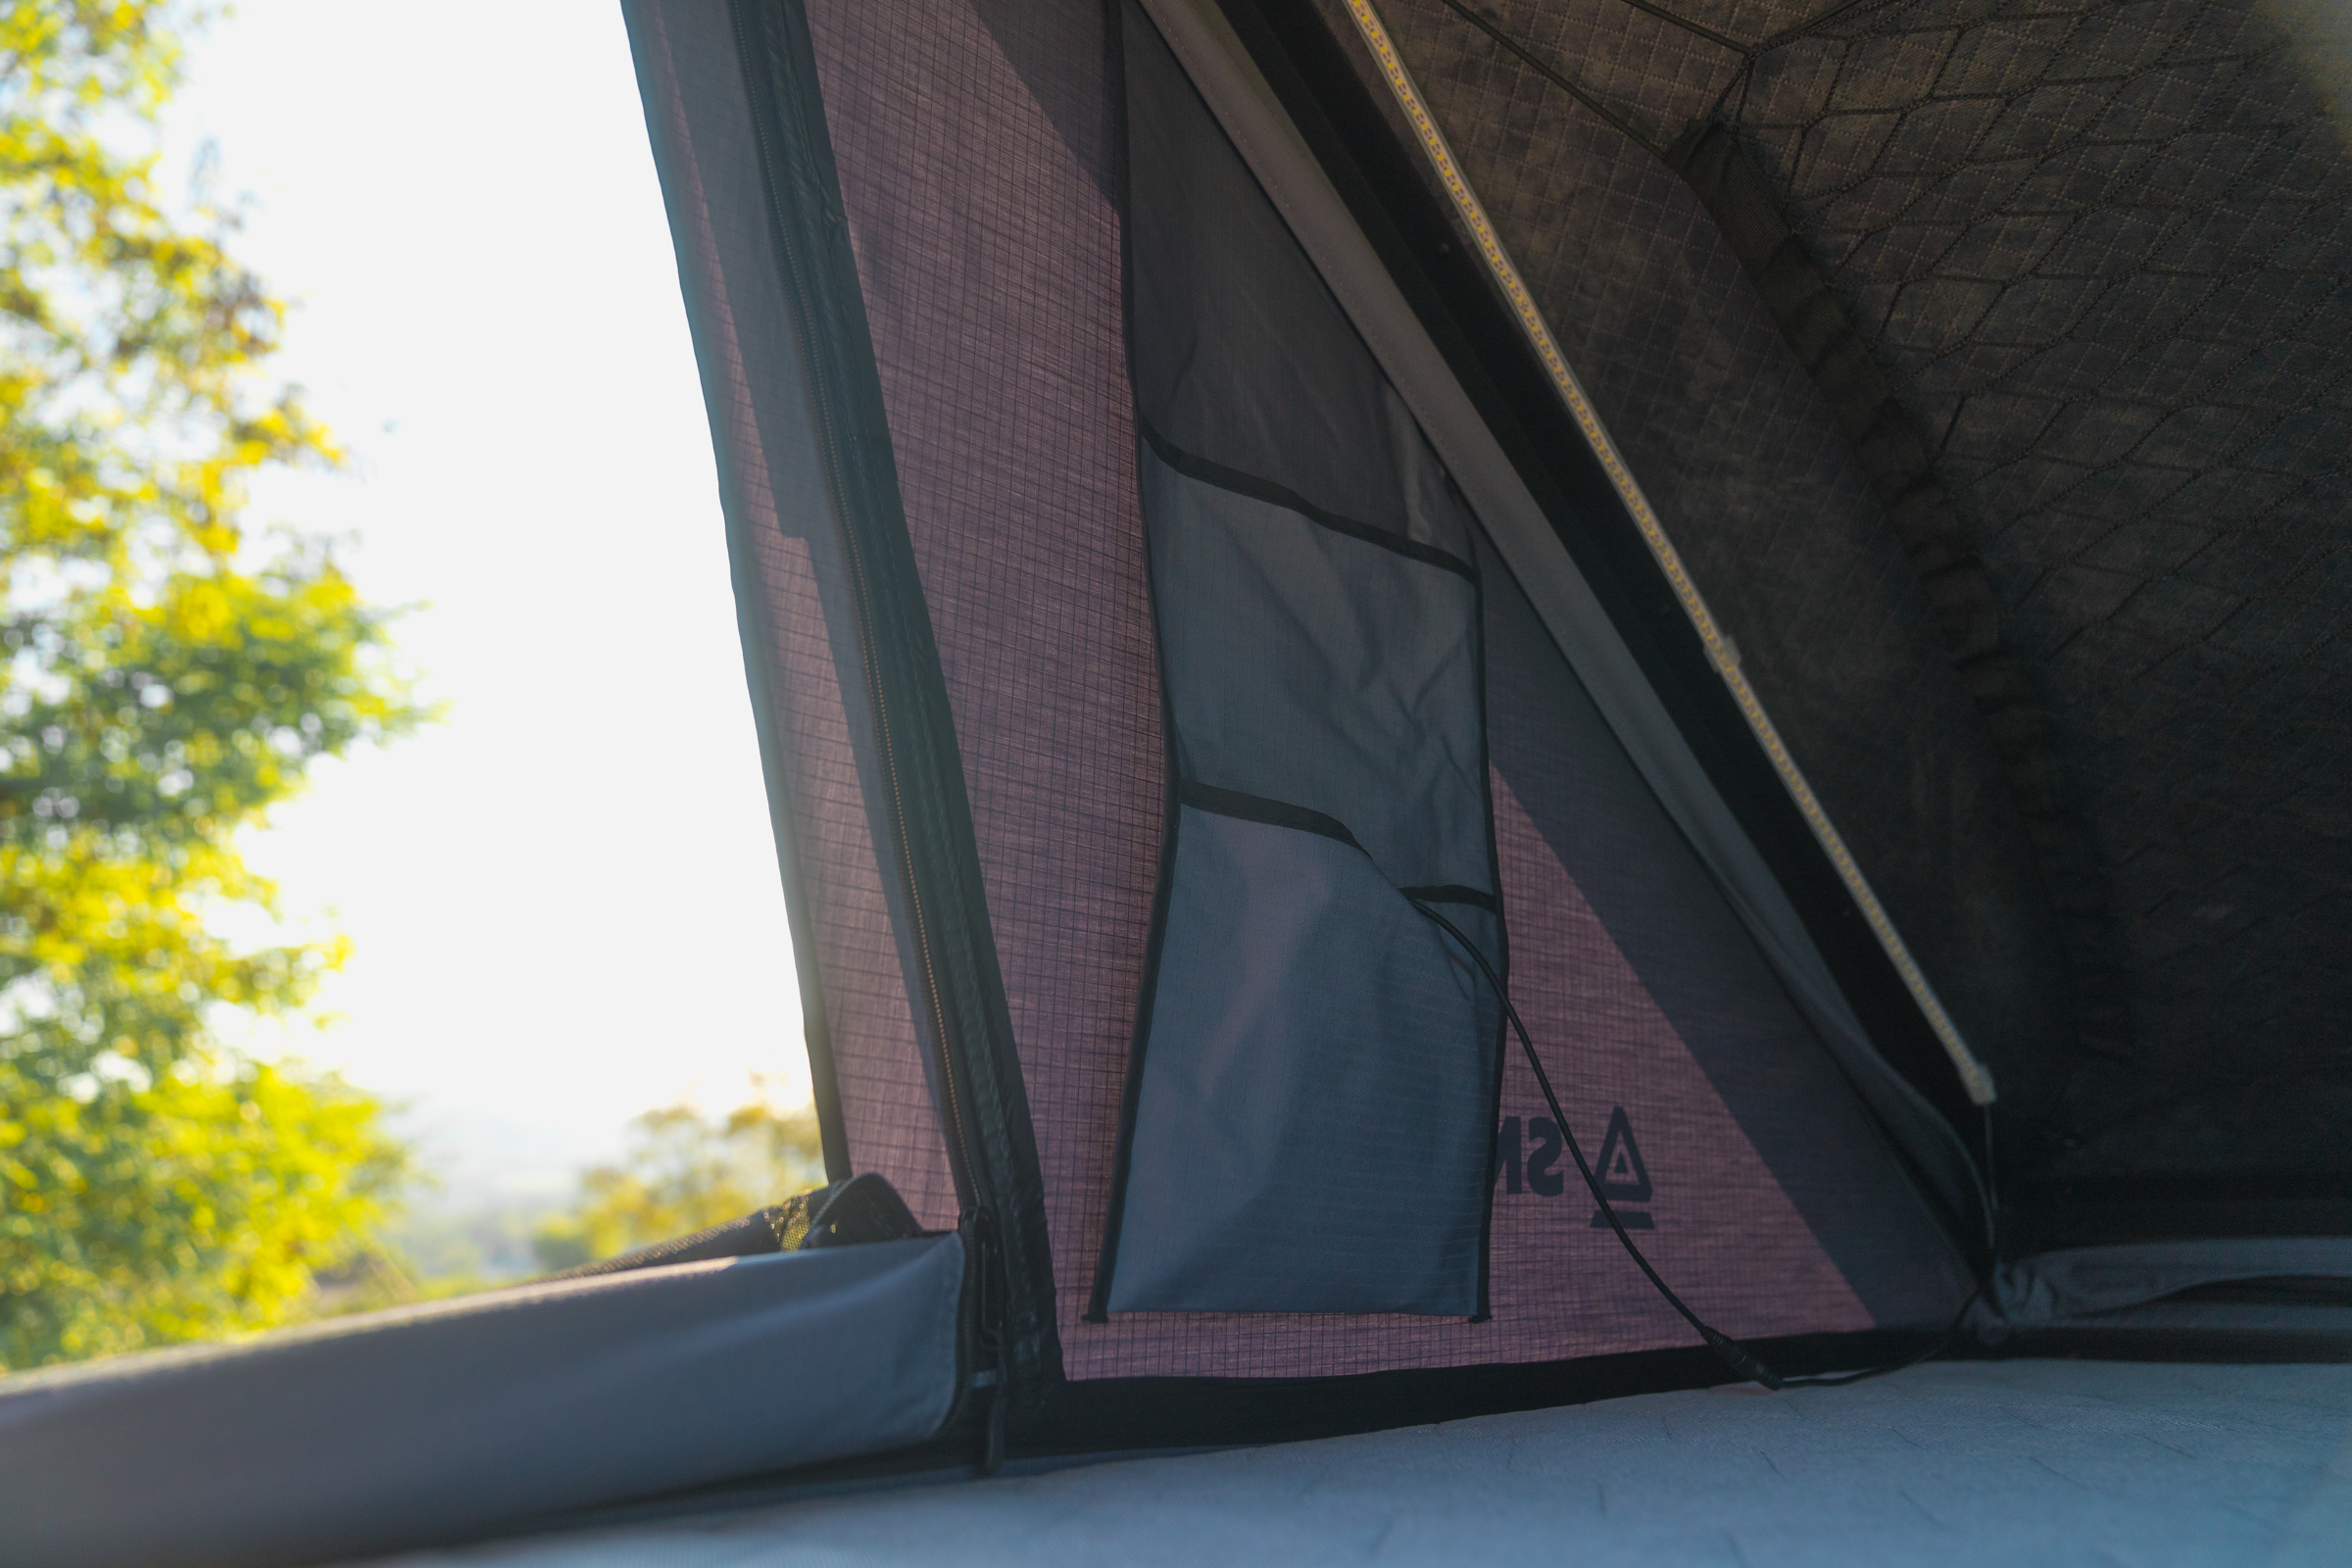
Pockets for small items
There are two spacious pockets on each side of the tent, perfect for storing small items you always want close at hand.
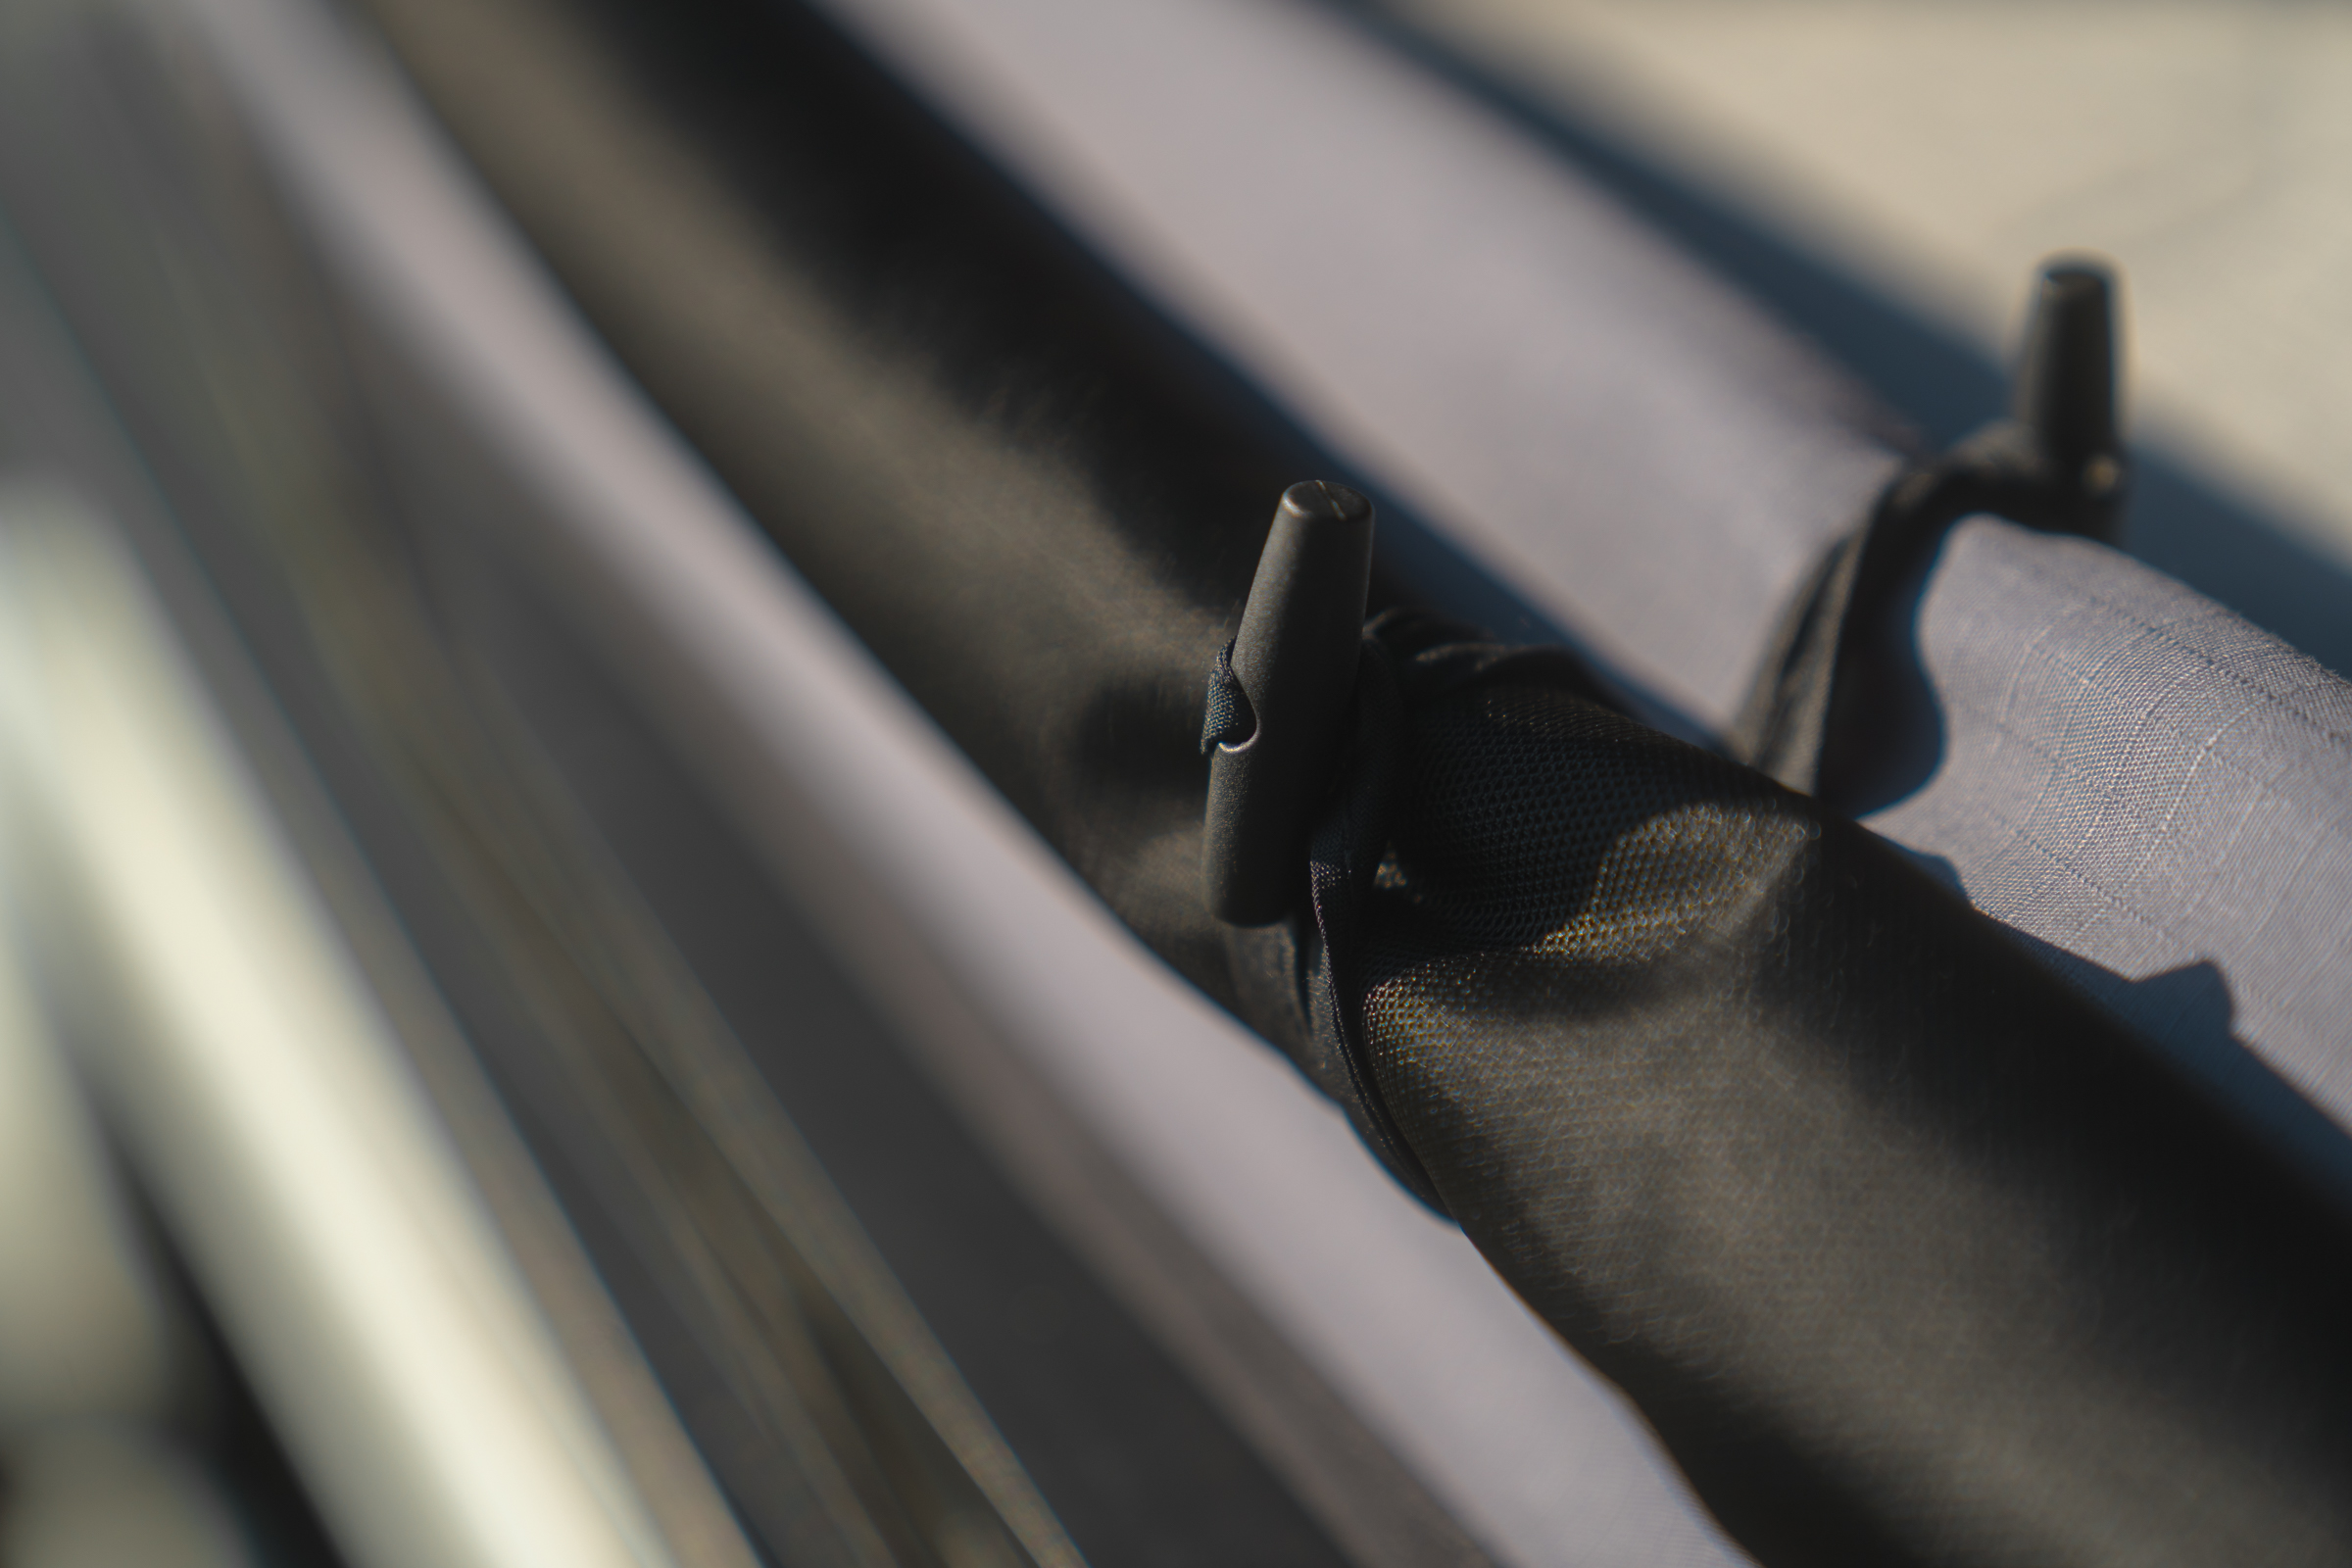
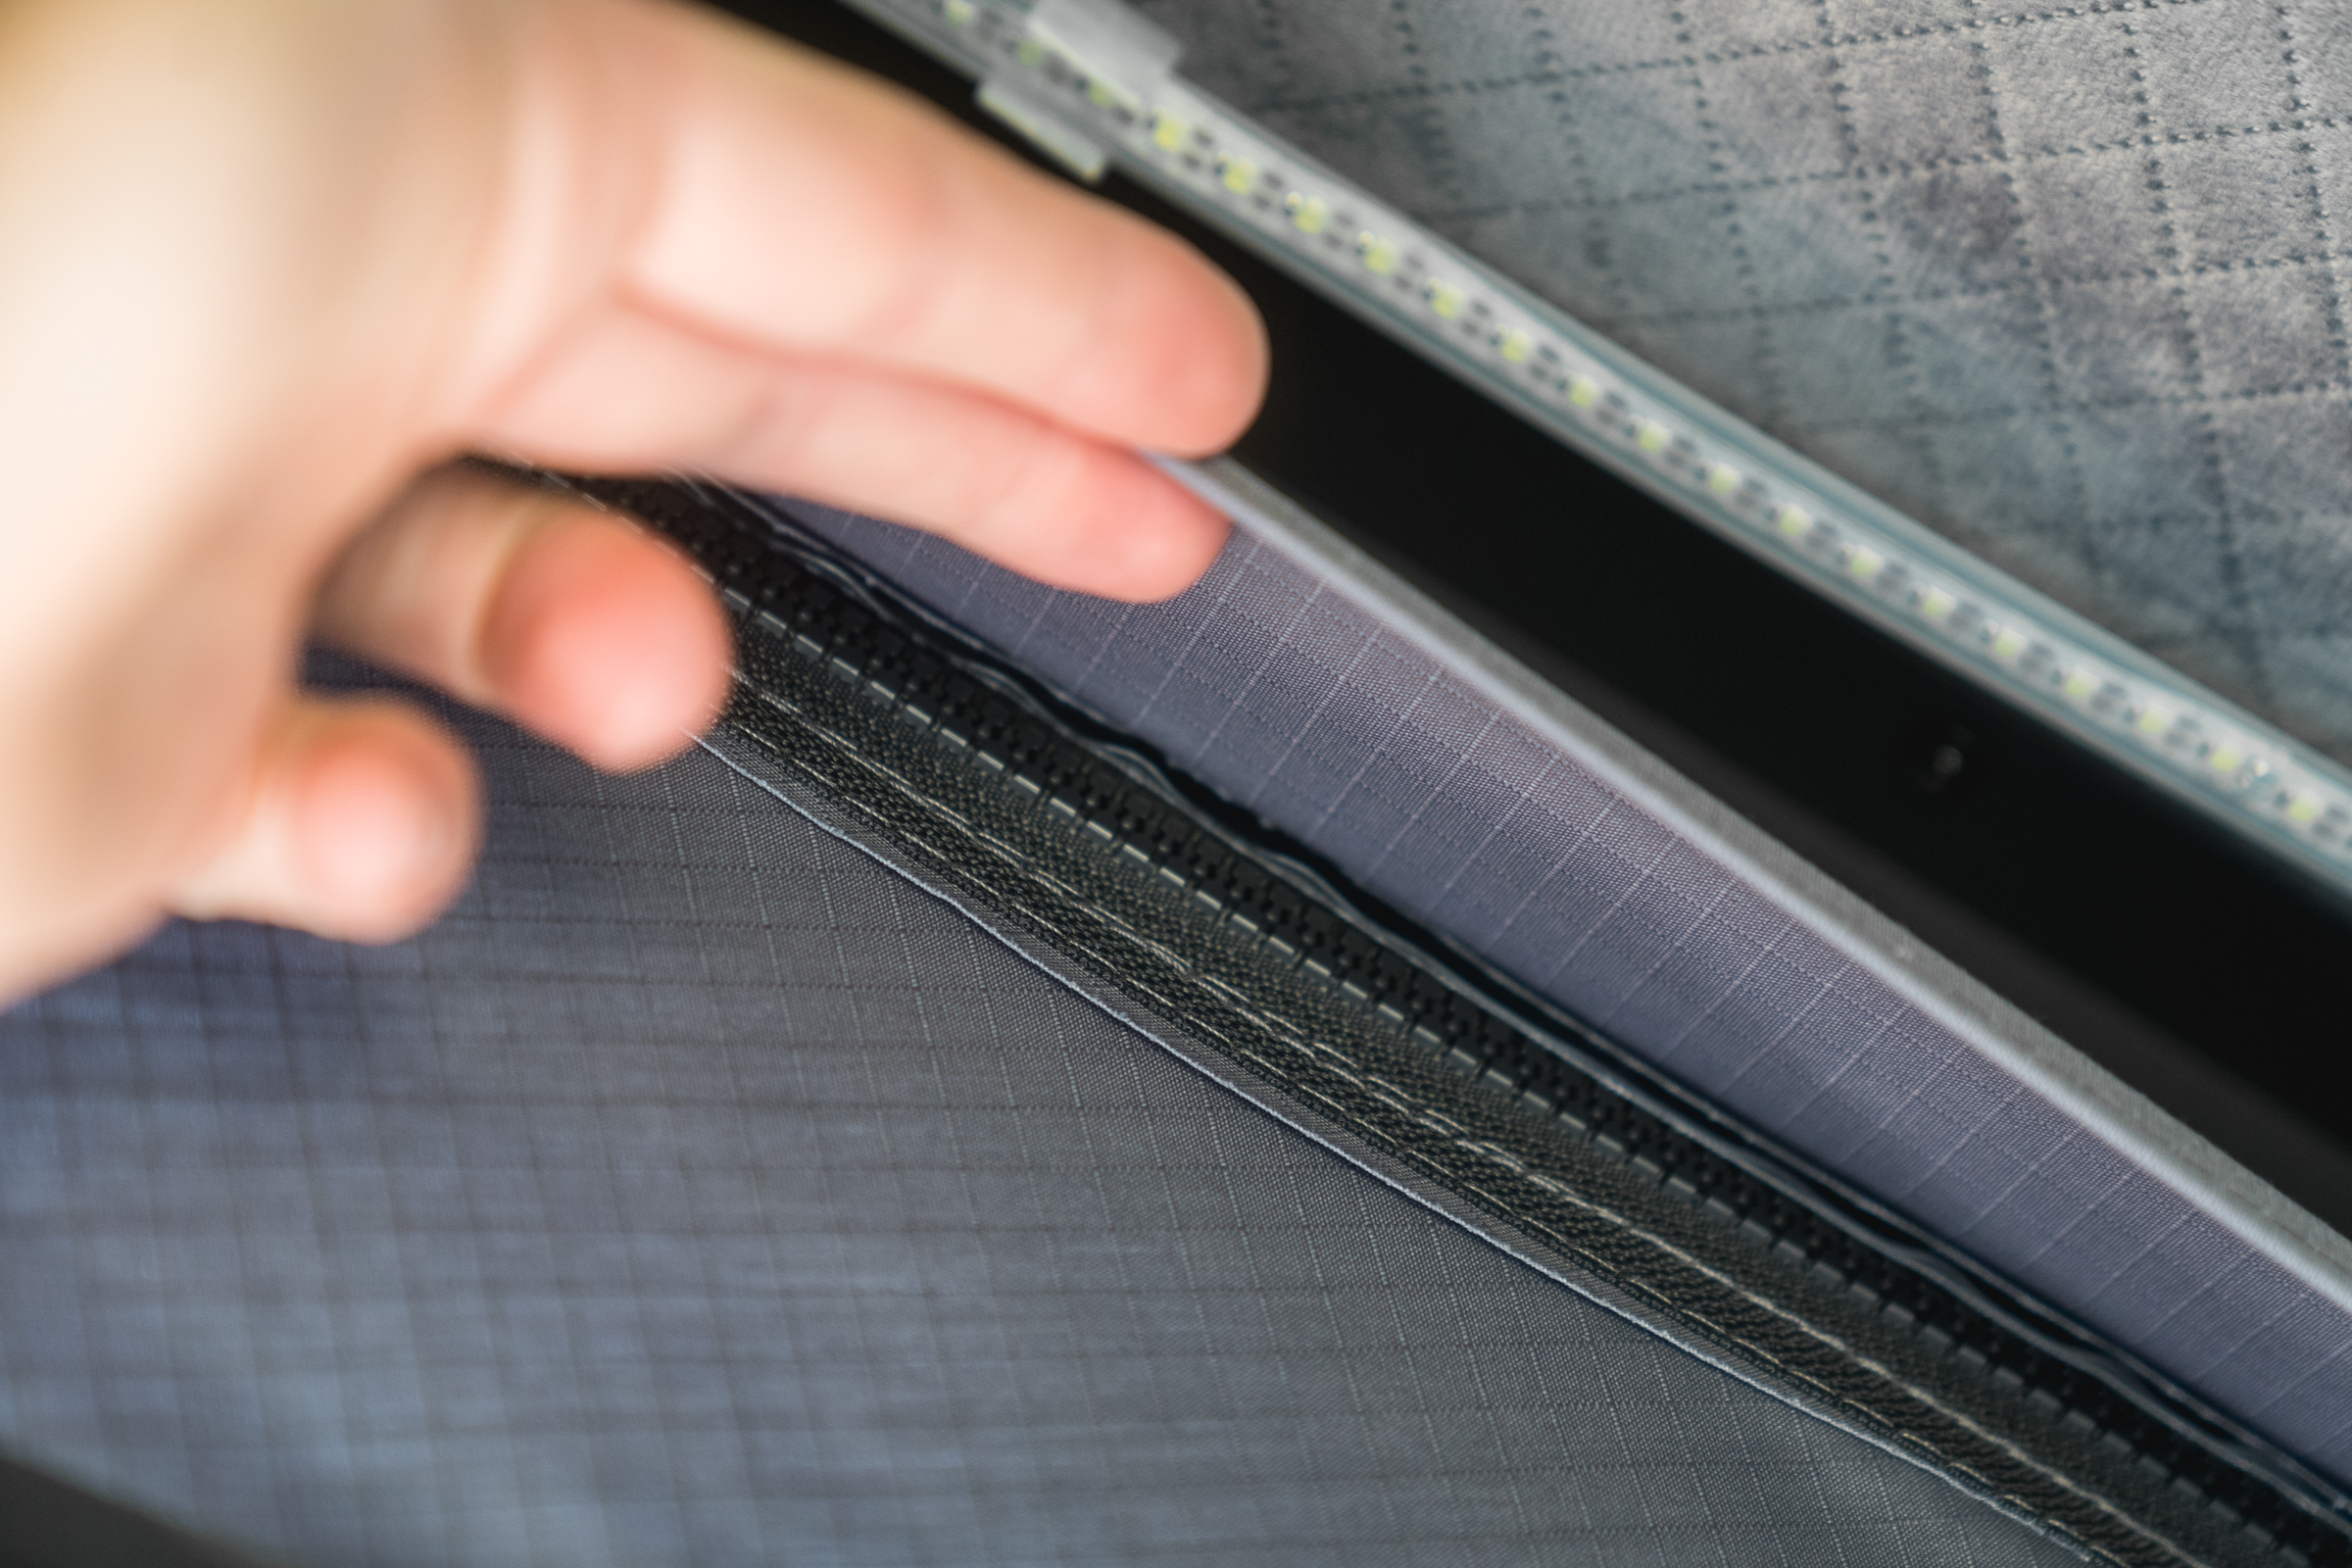
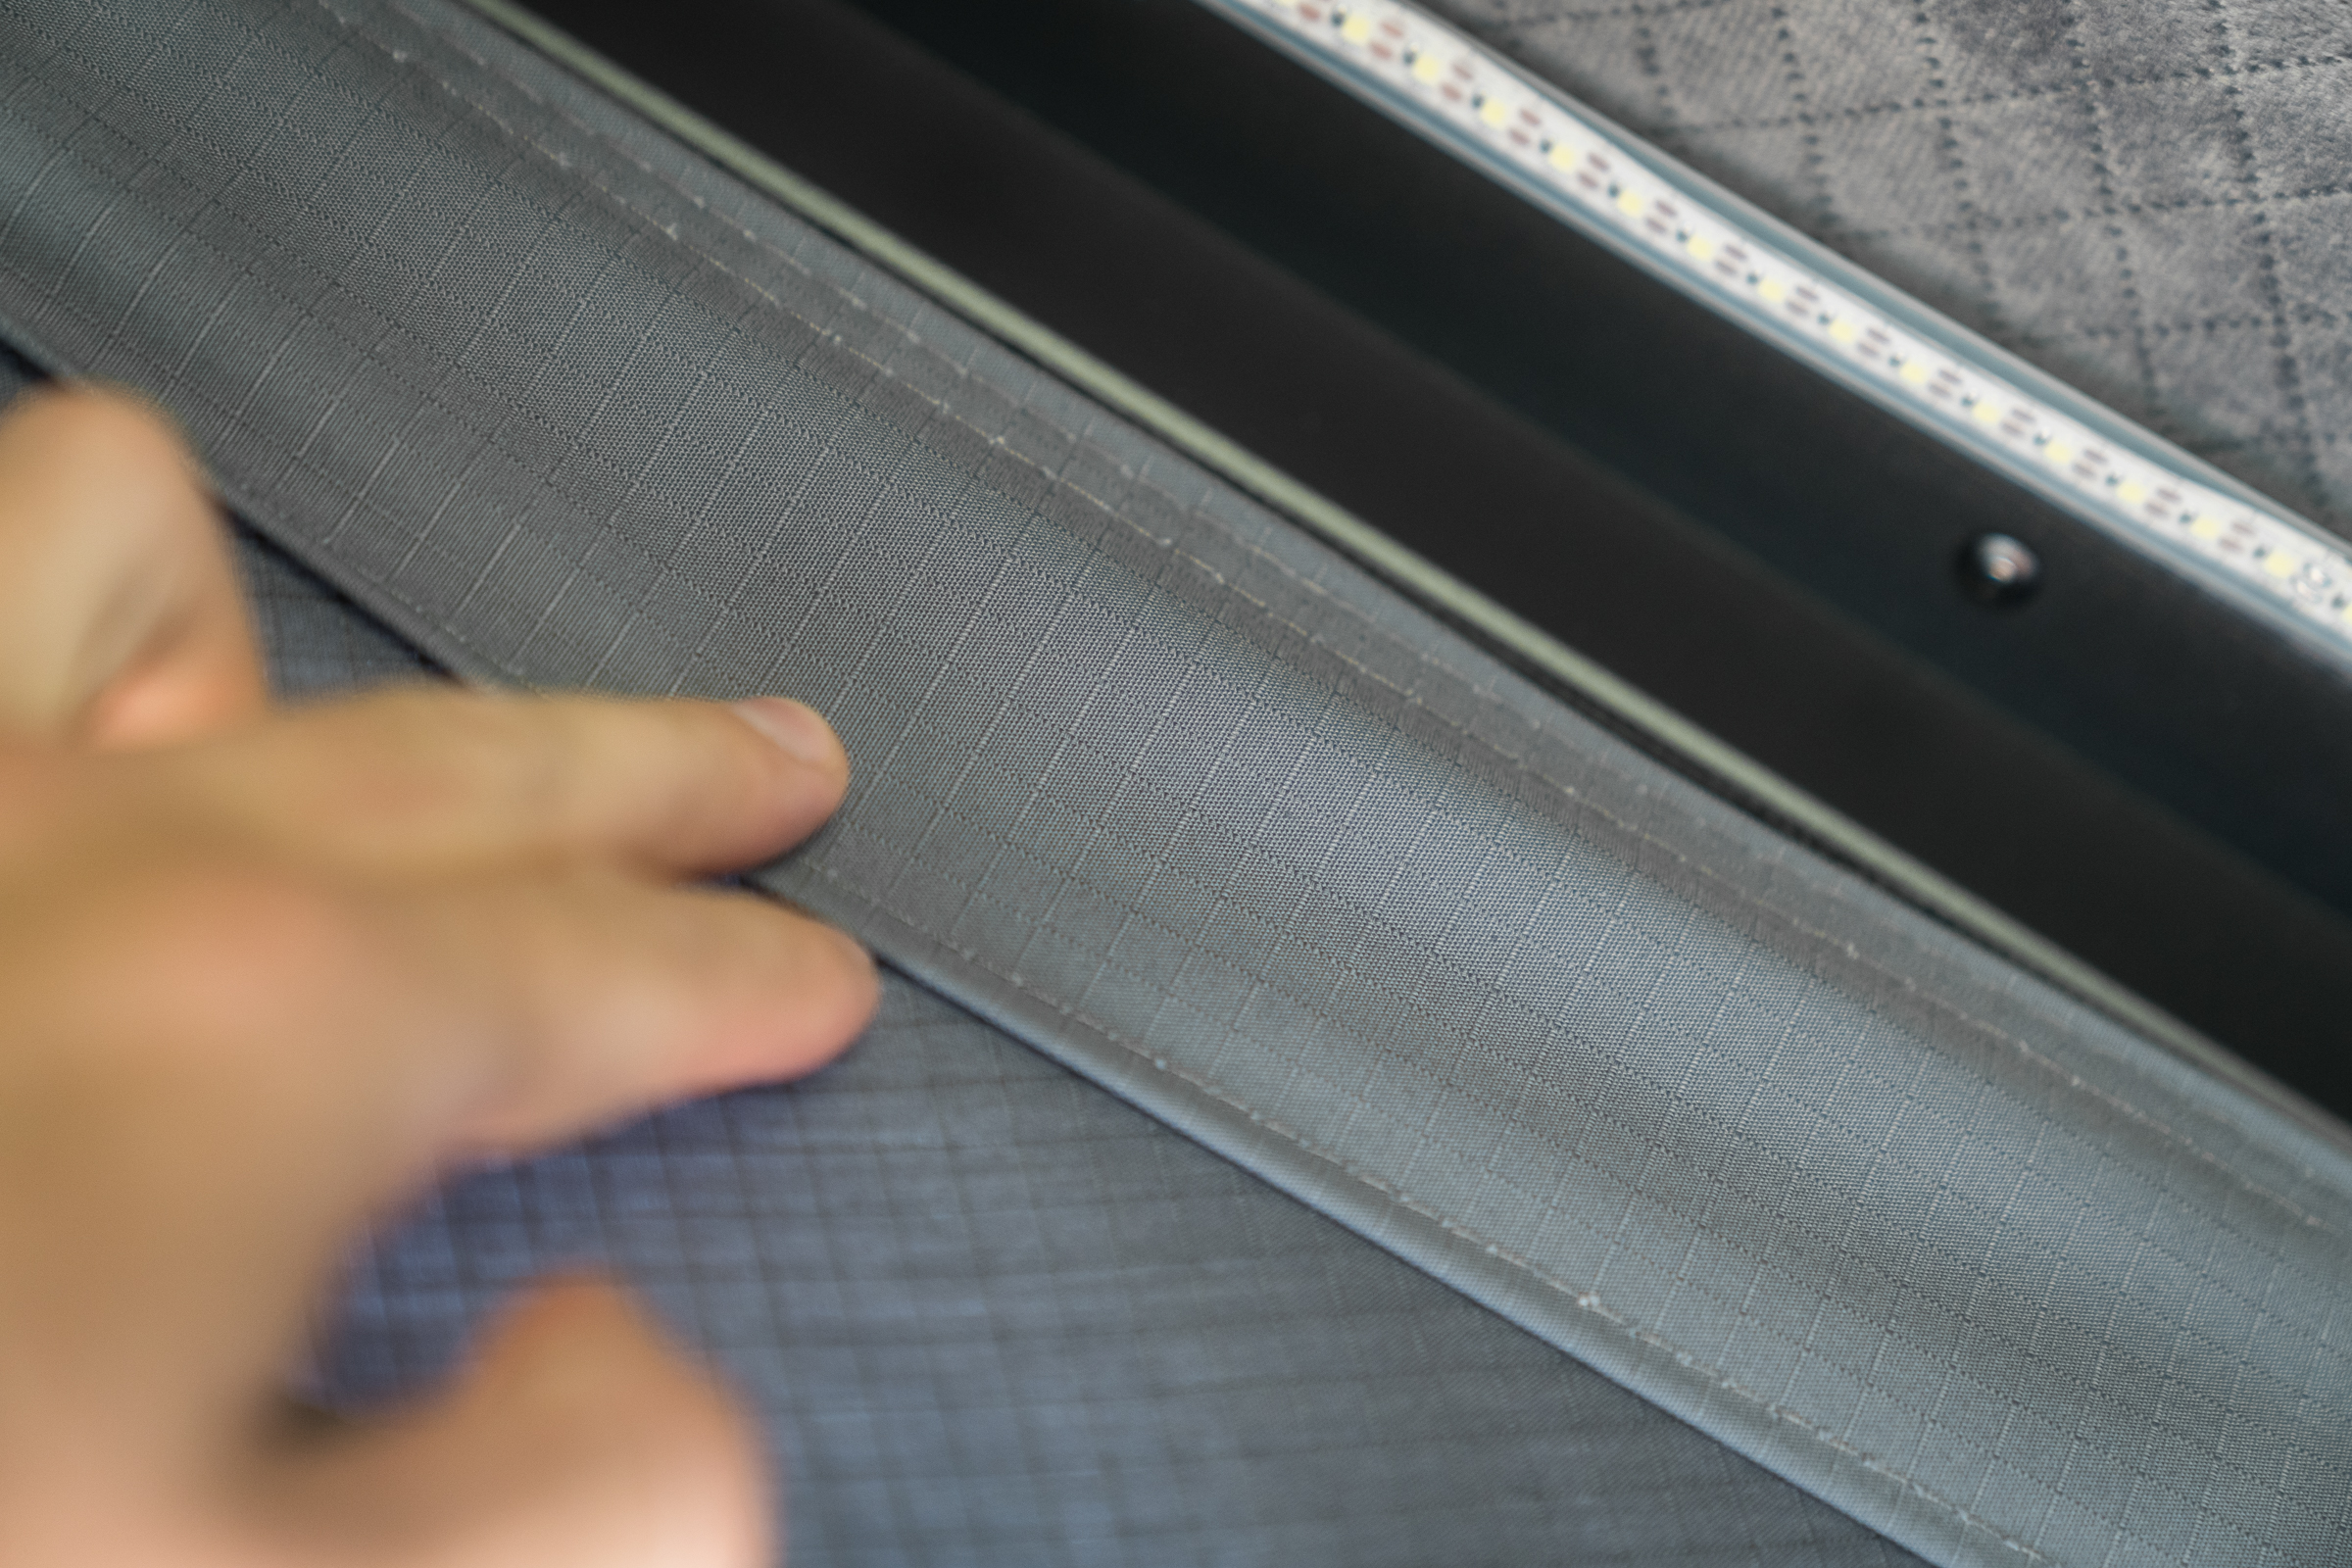
Seal and zippers
The quality of the sealing, material bonding, and zippers is excellent. What I particularly appreciate is that every component of the tent can be unfastened. In case of any damage, you won’t have to worry about sending the entire tent for repairs.

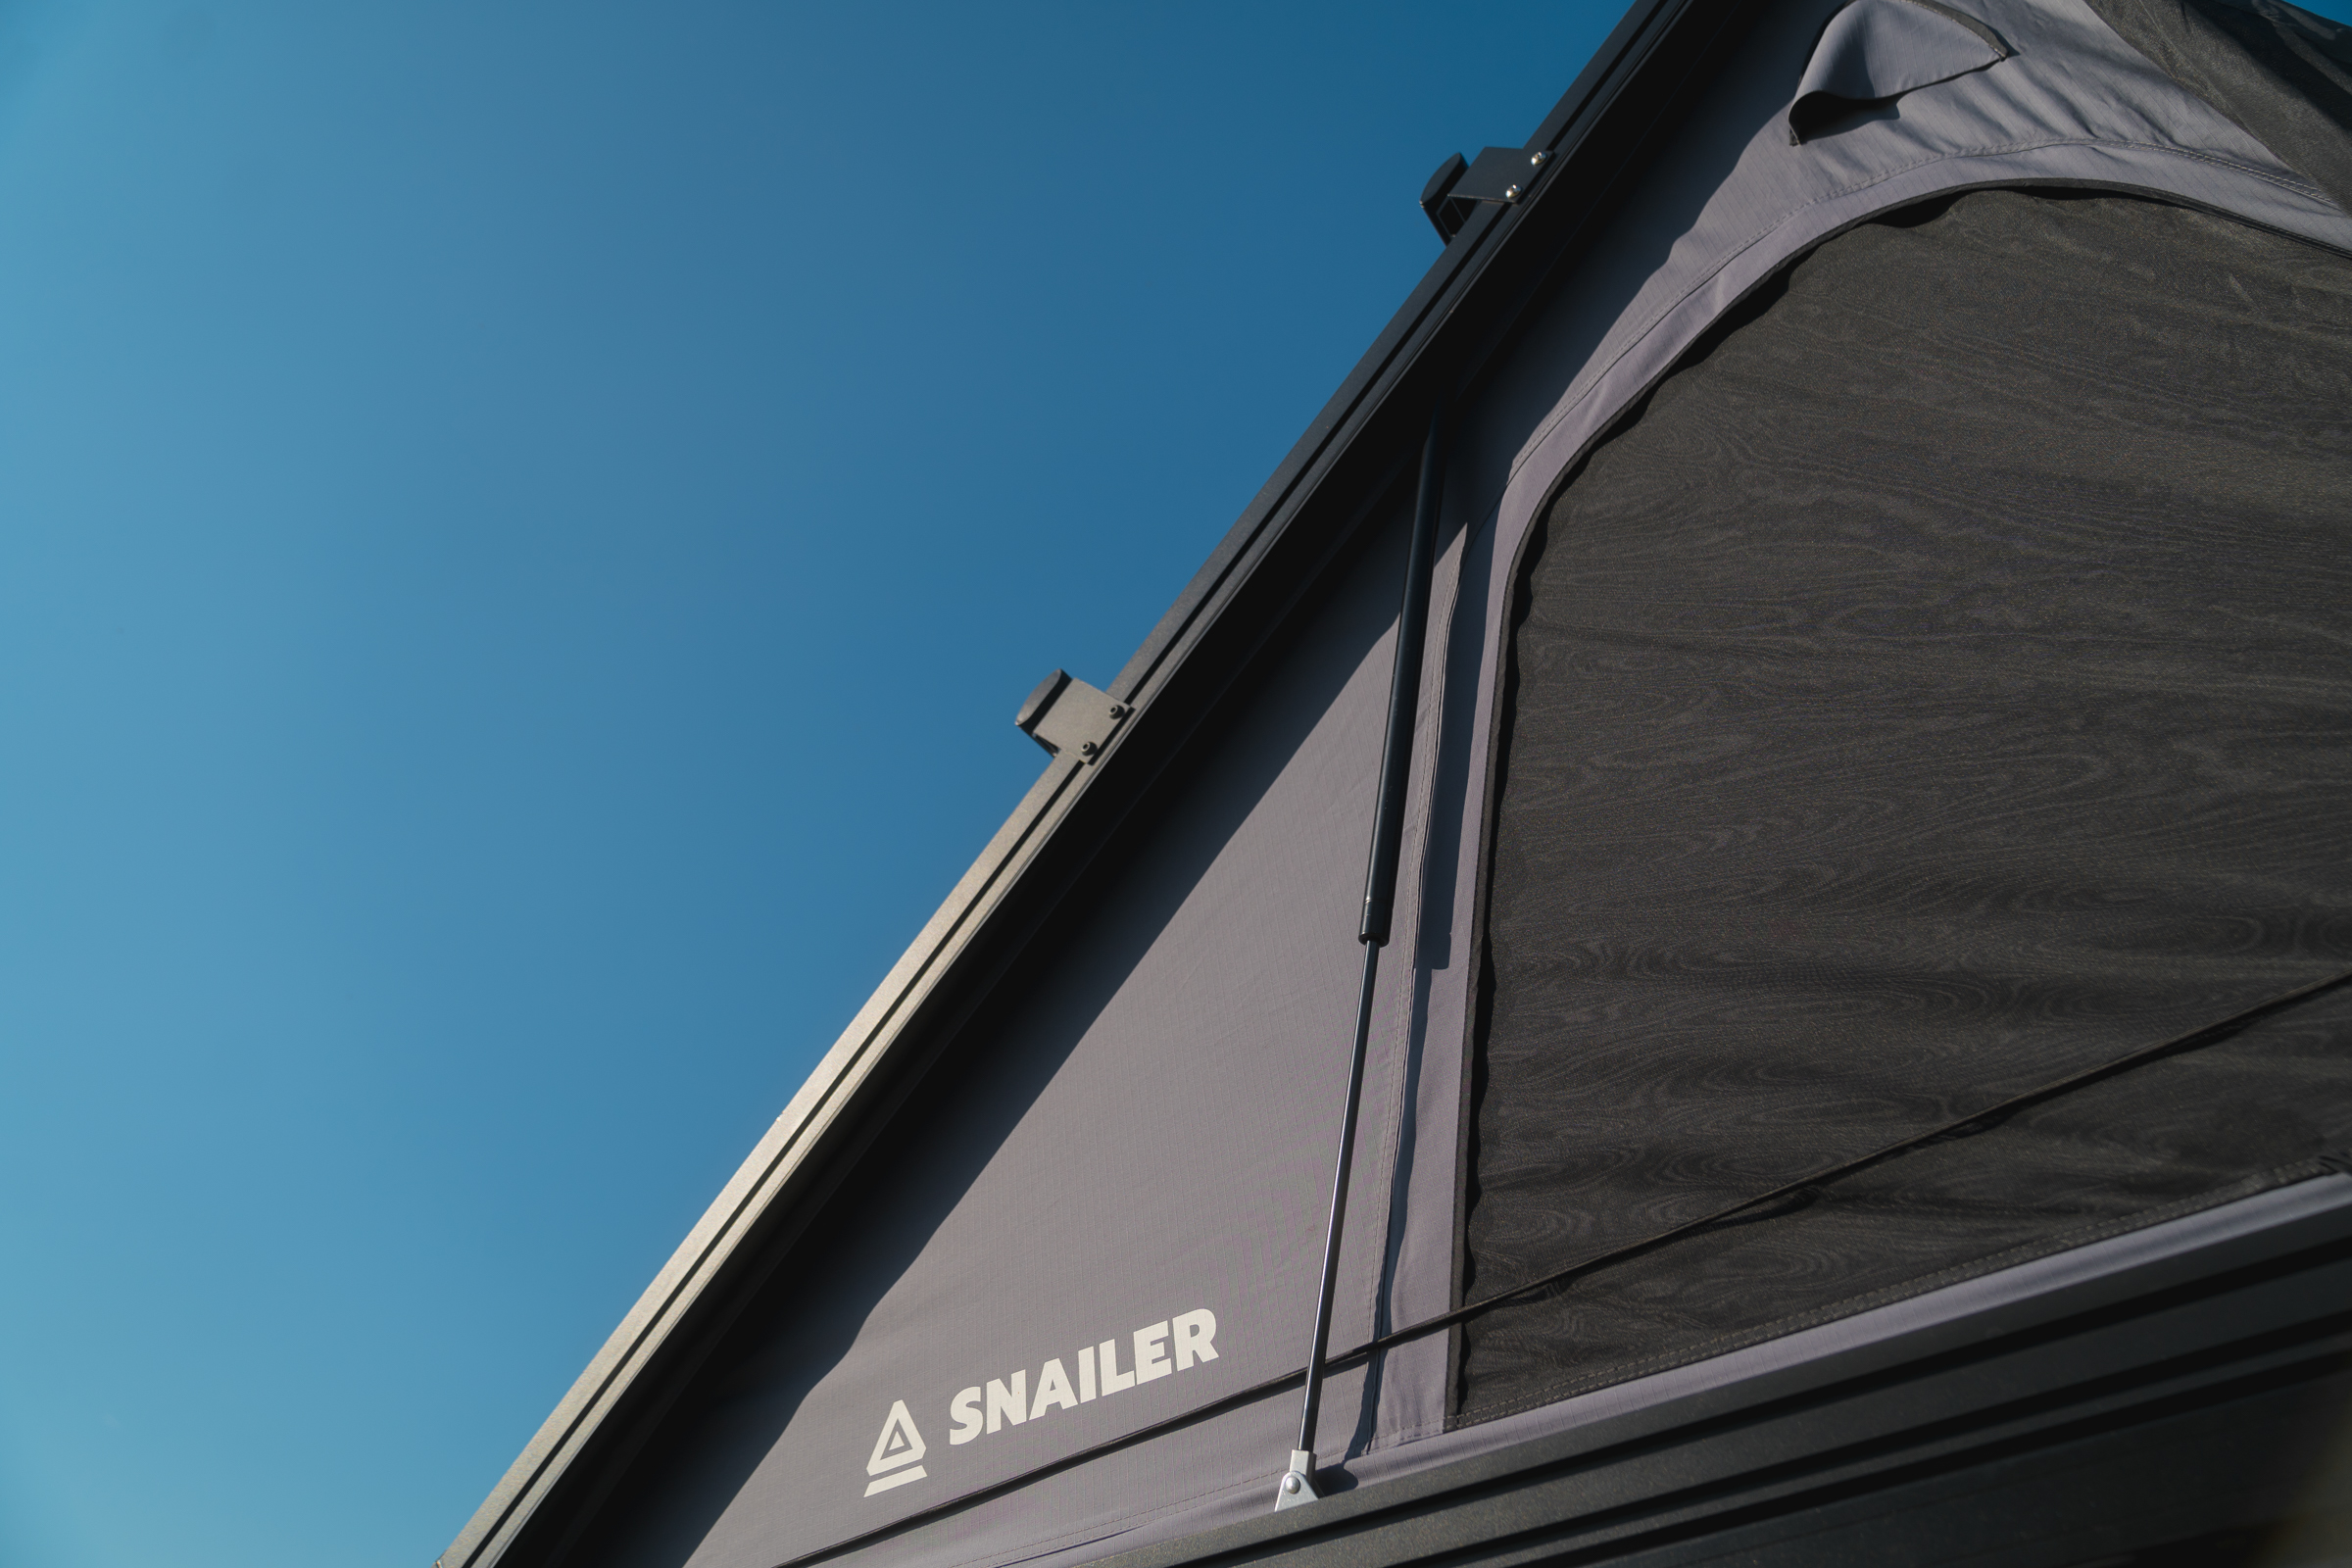
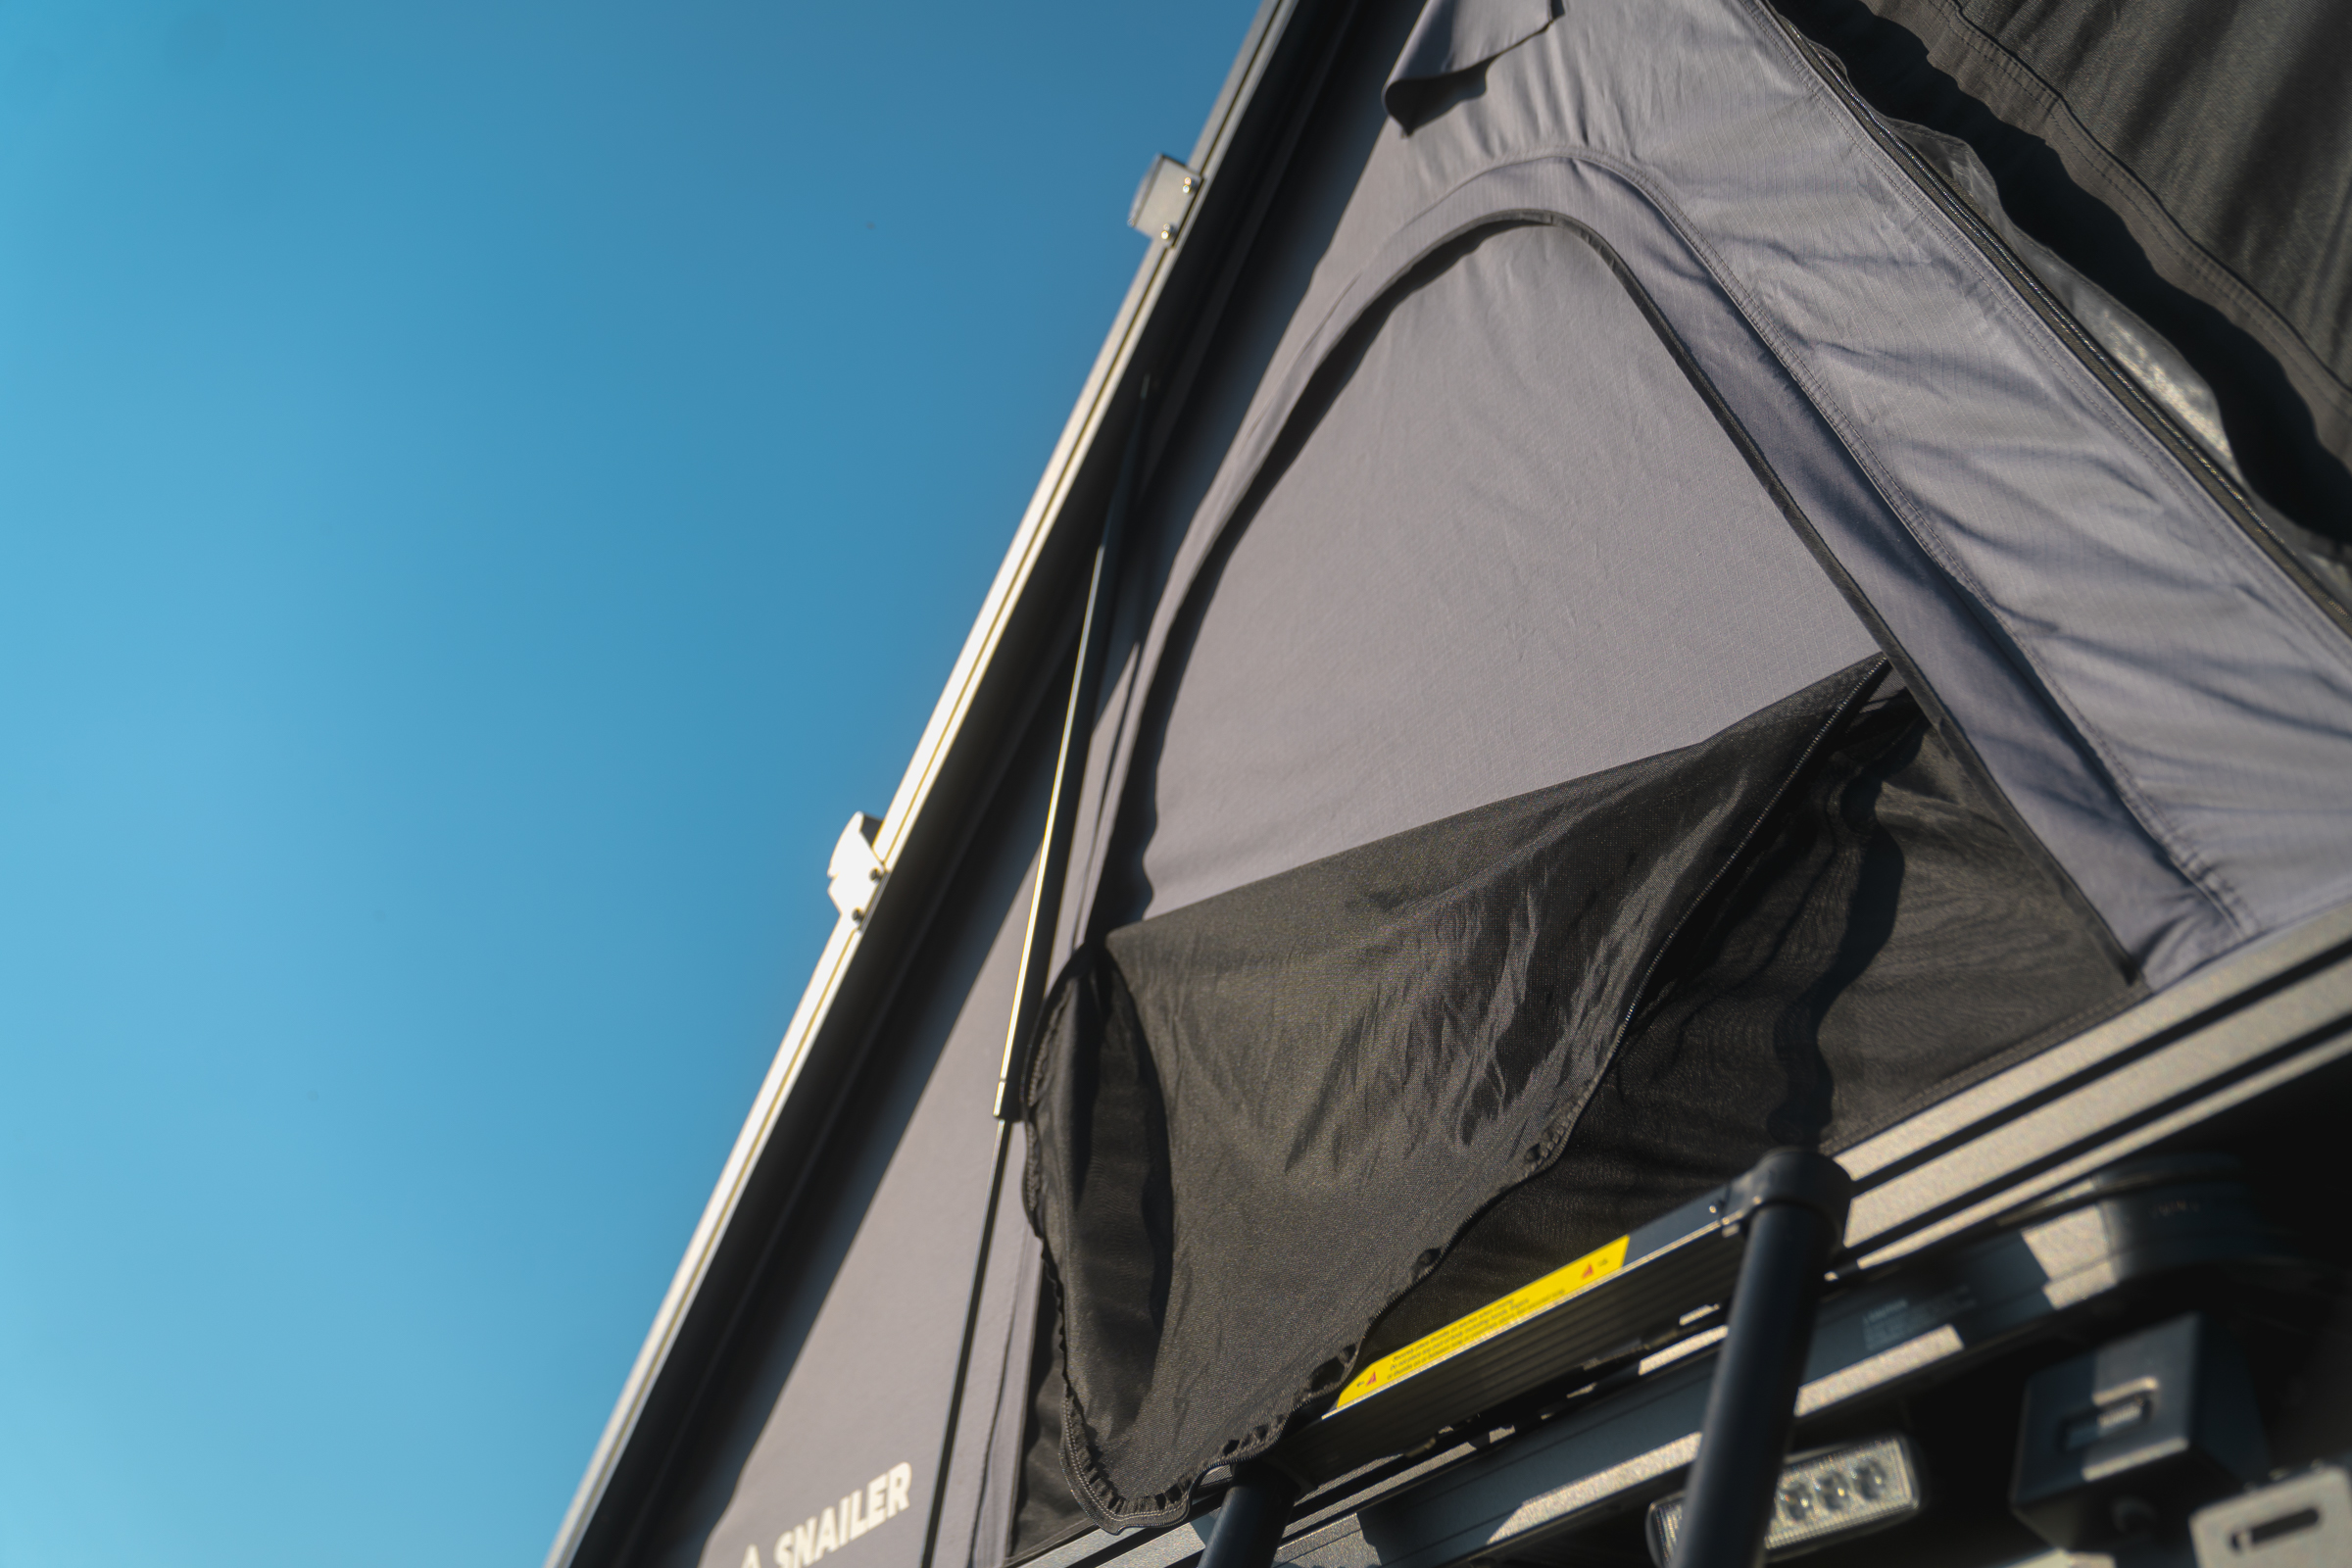
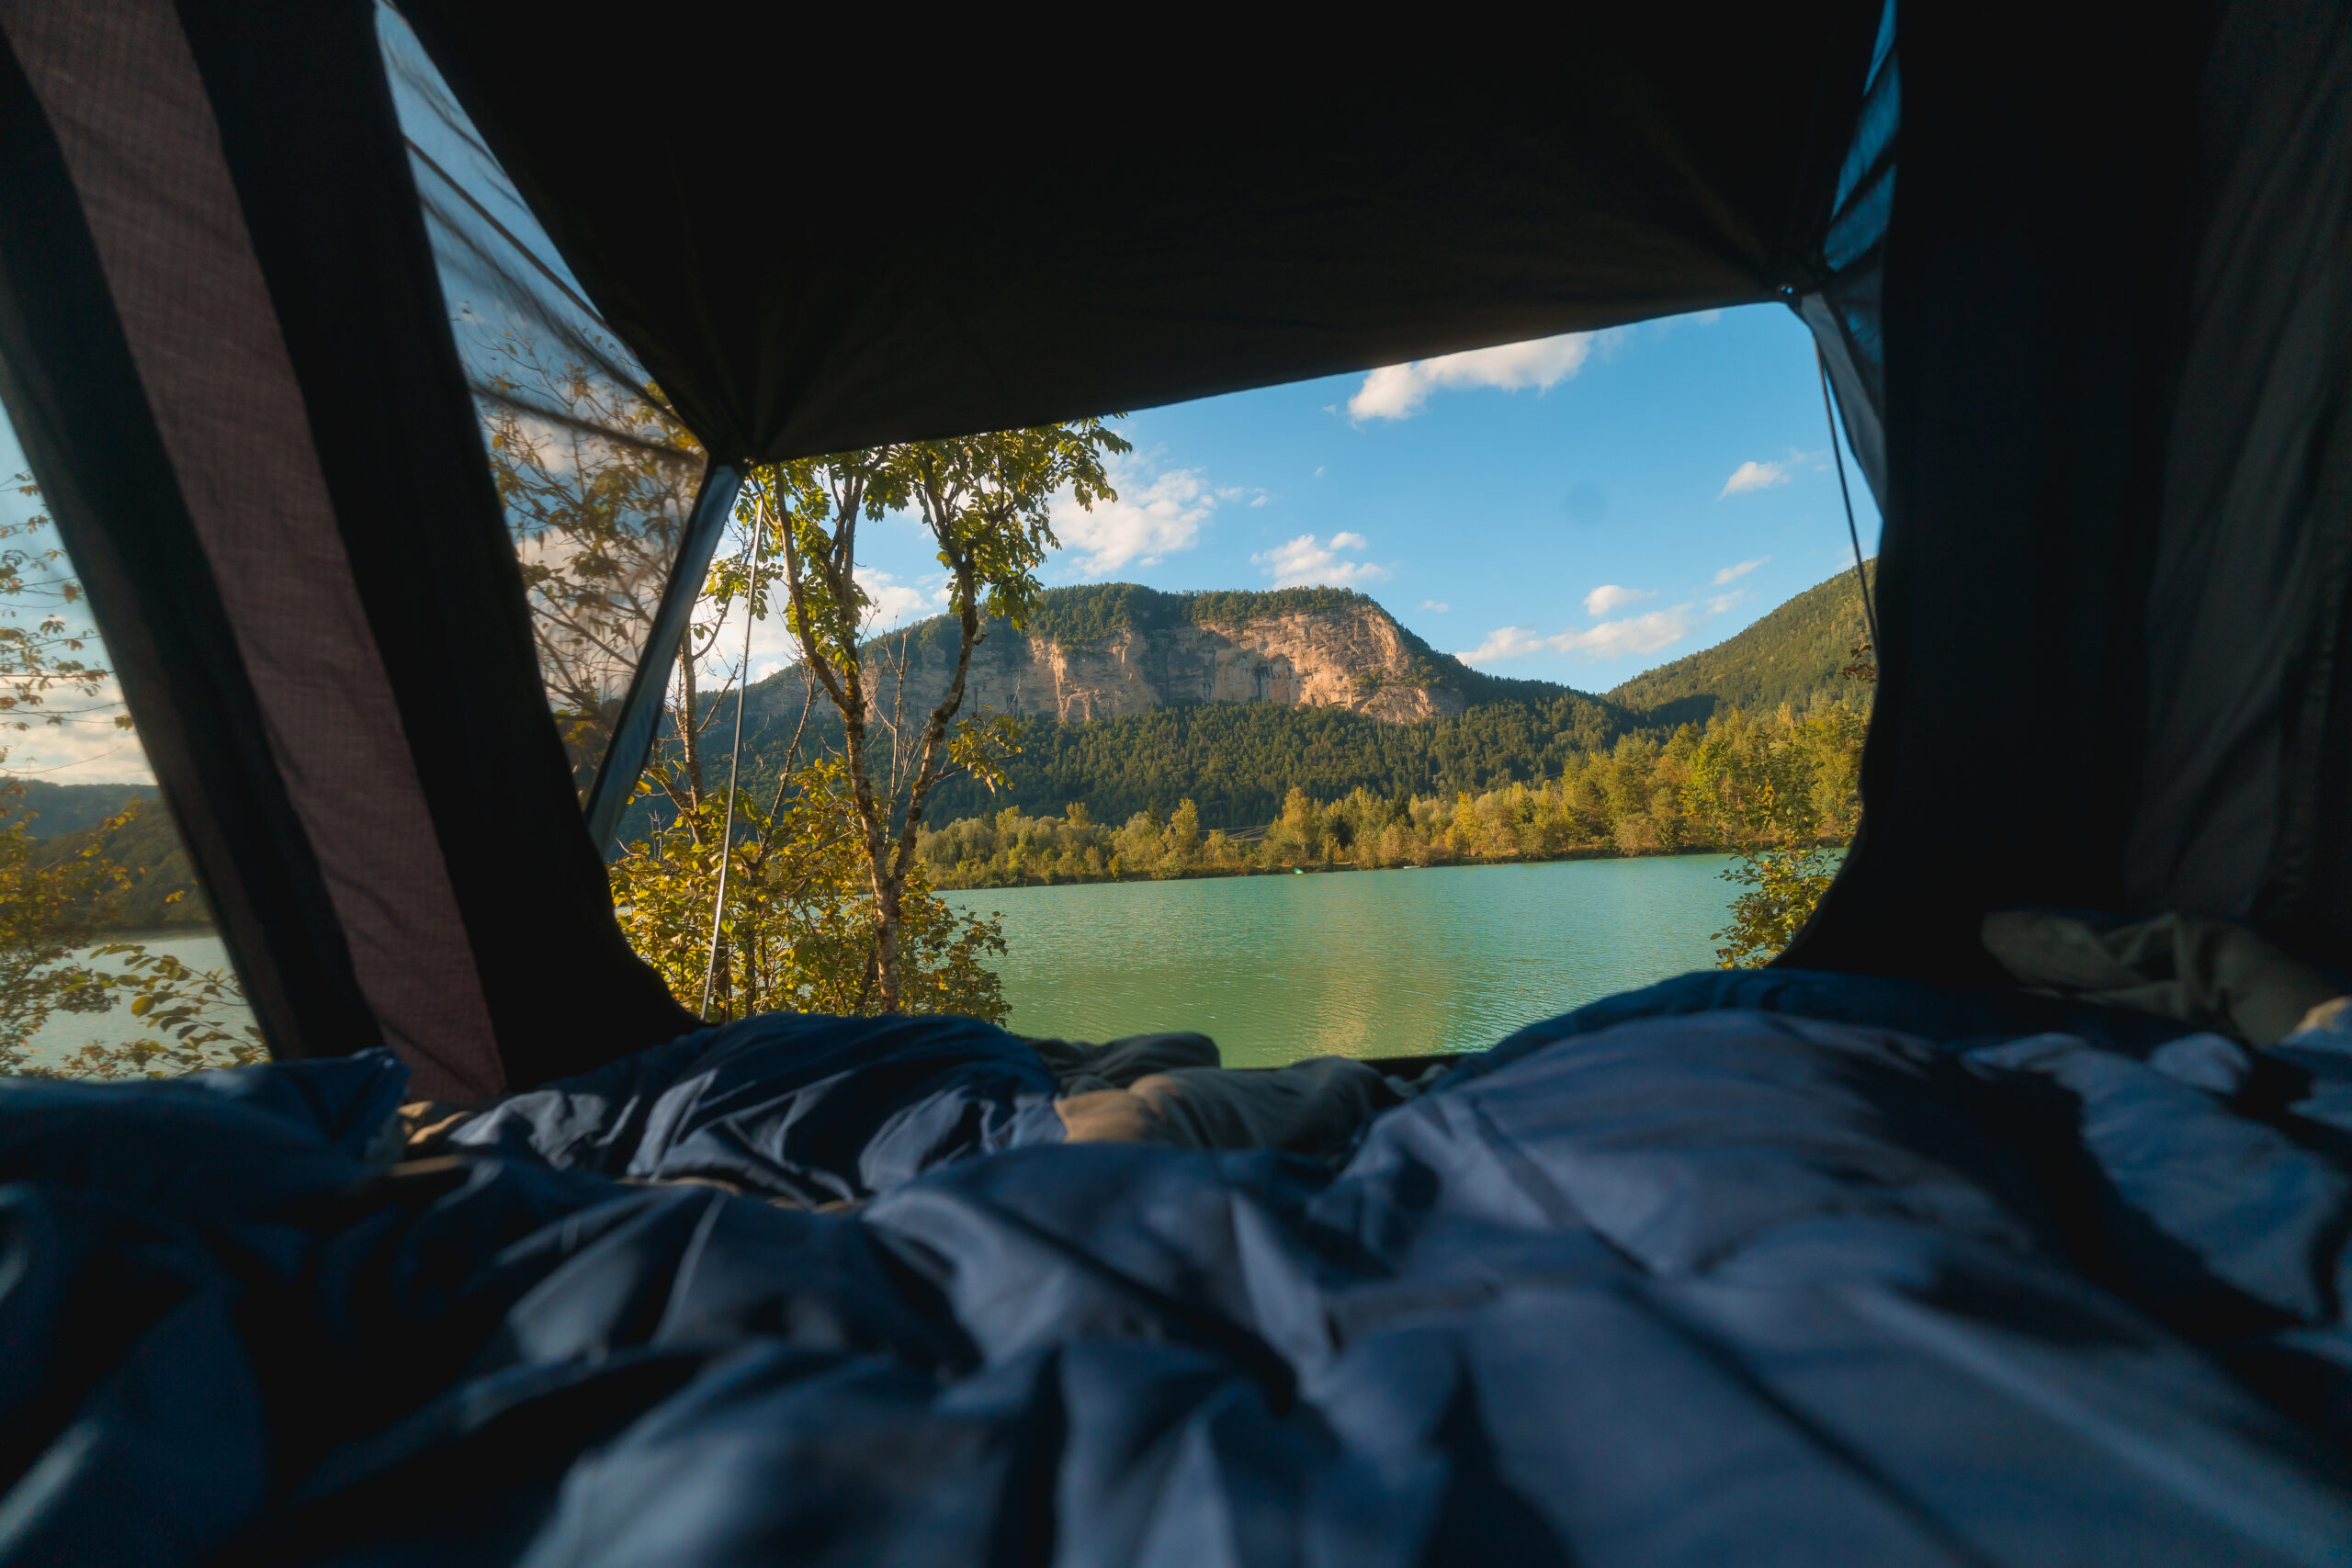
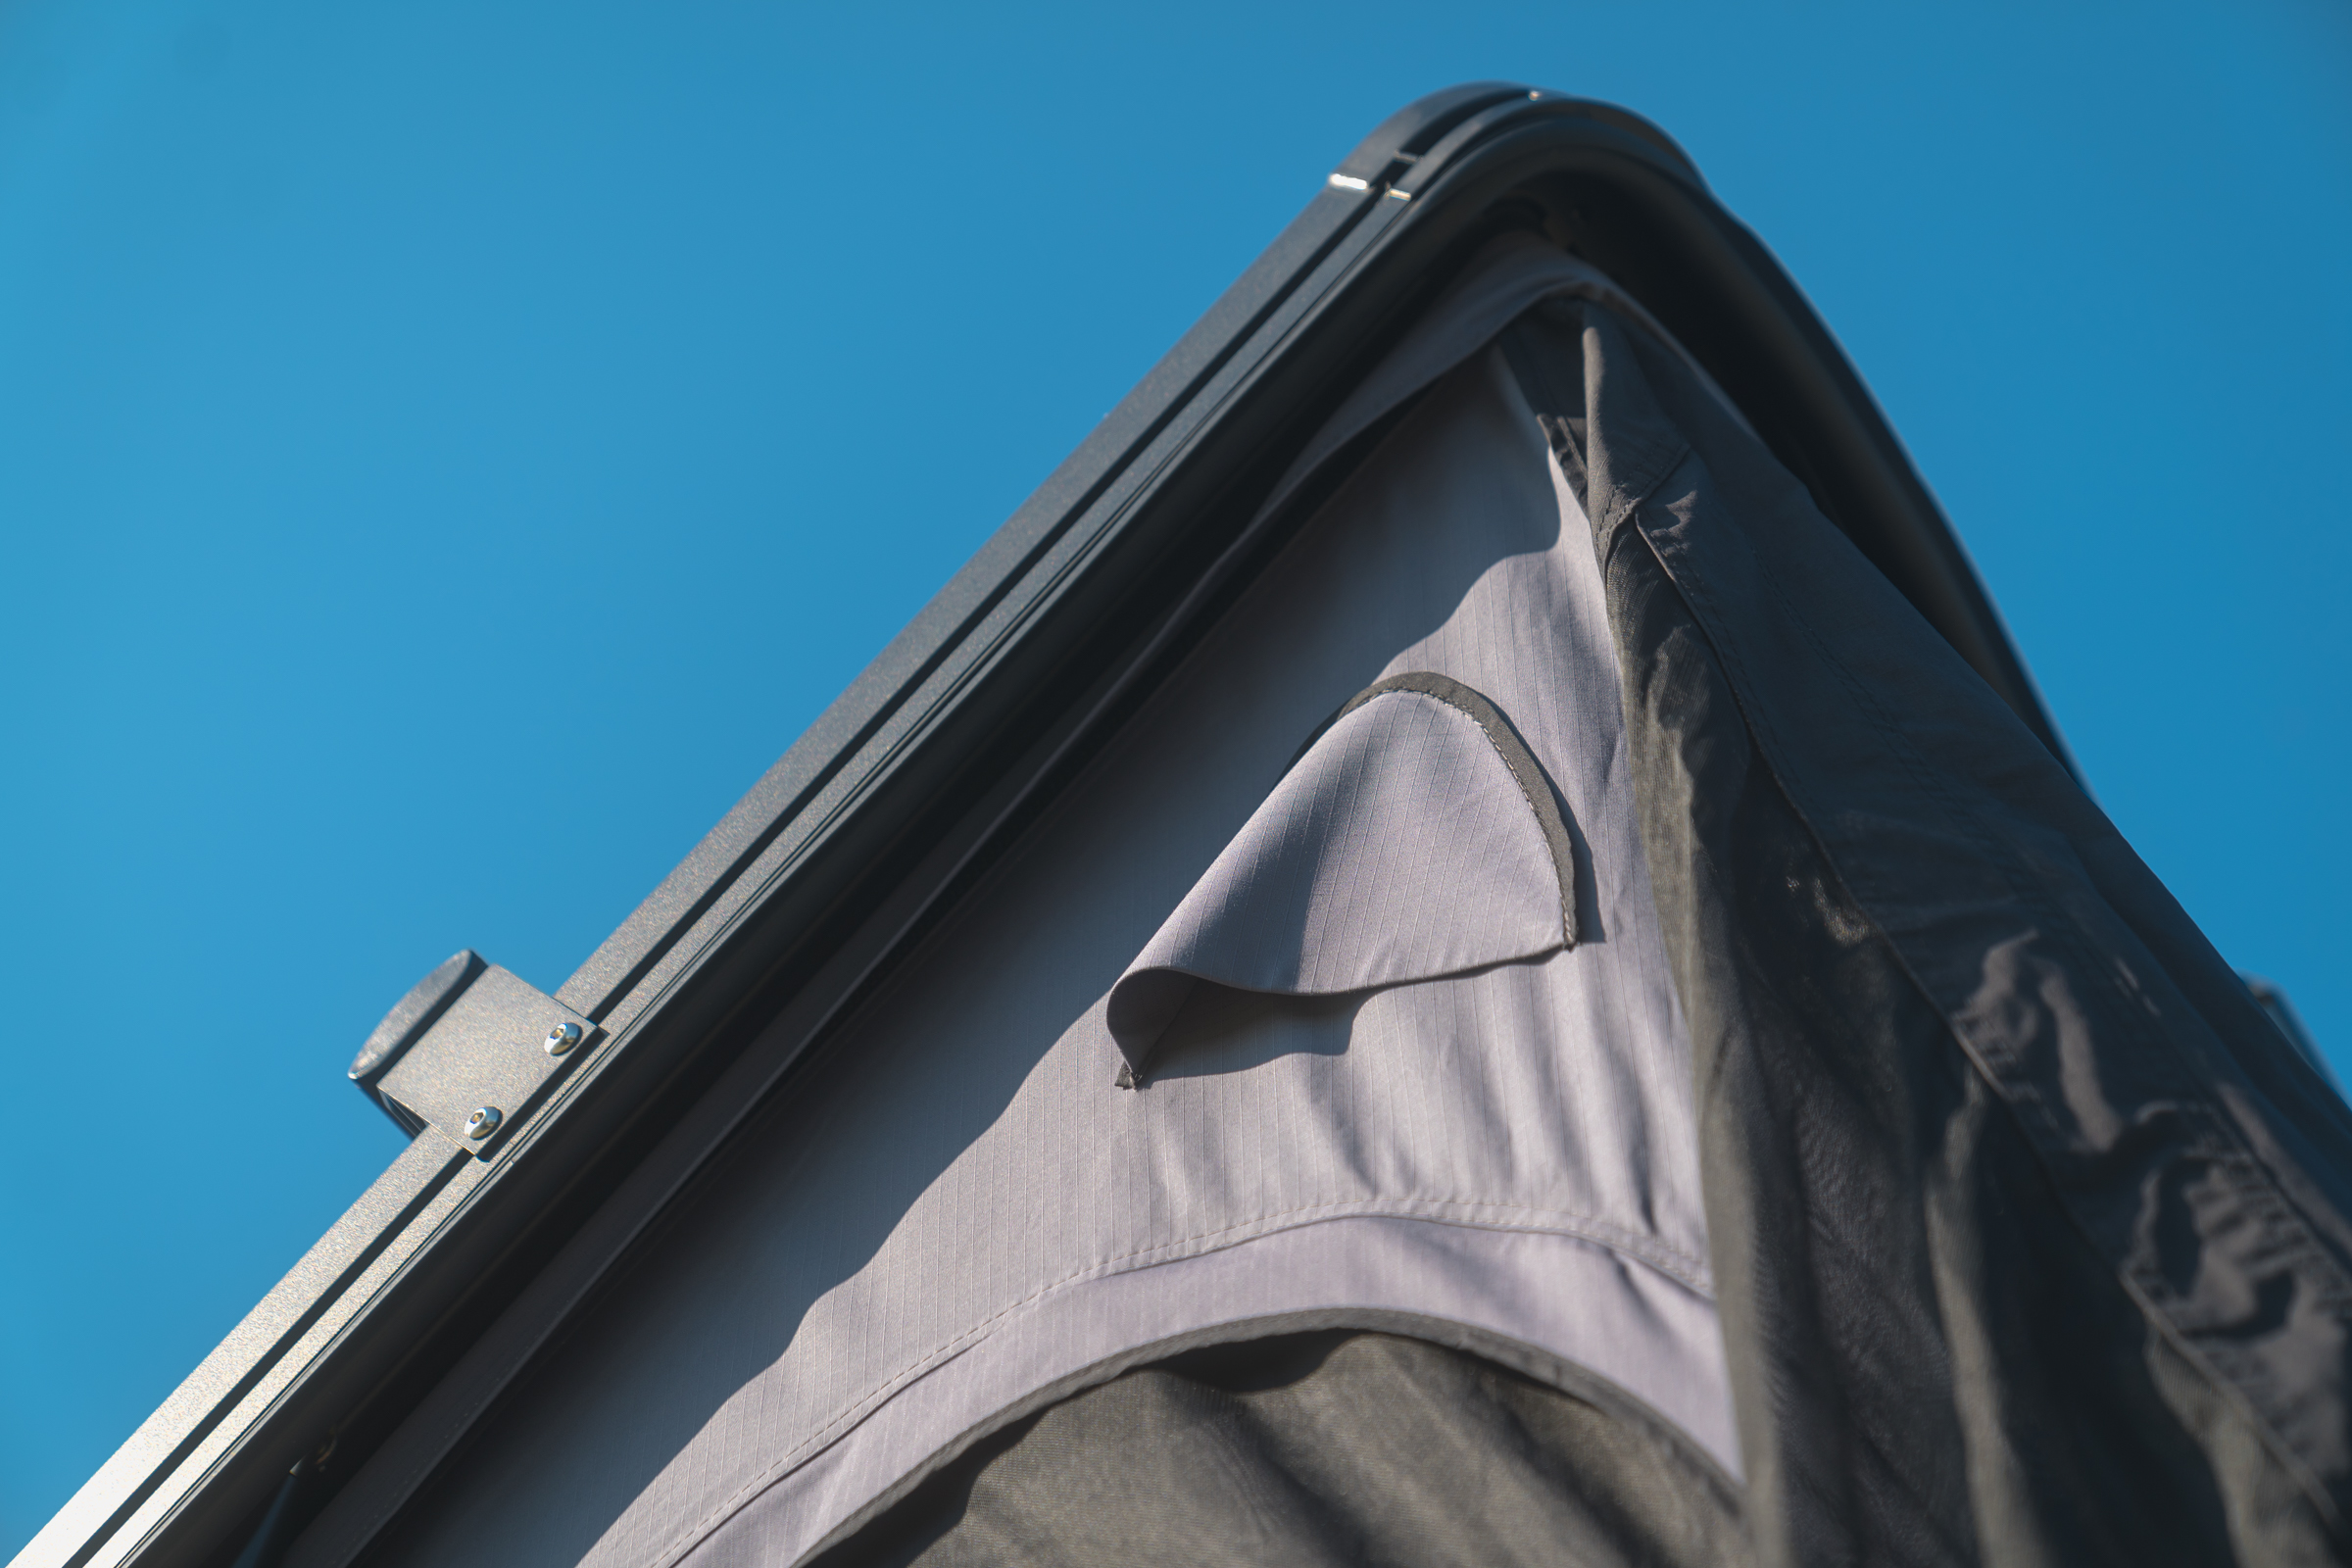
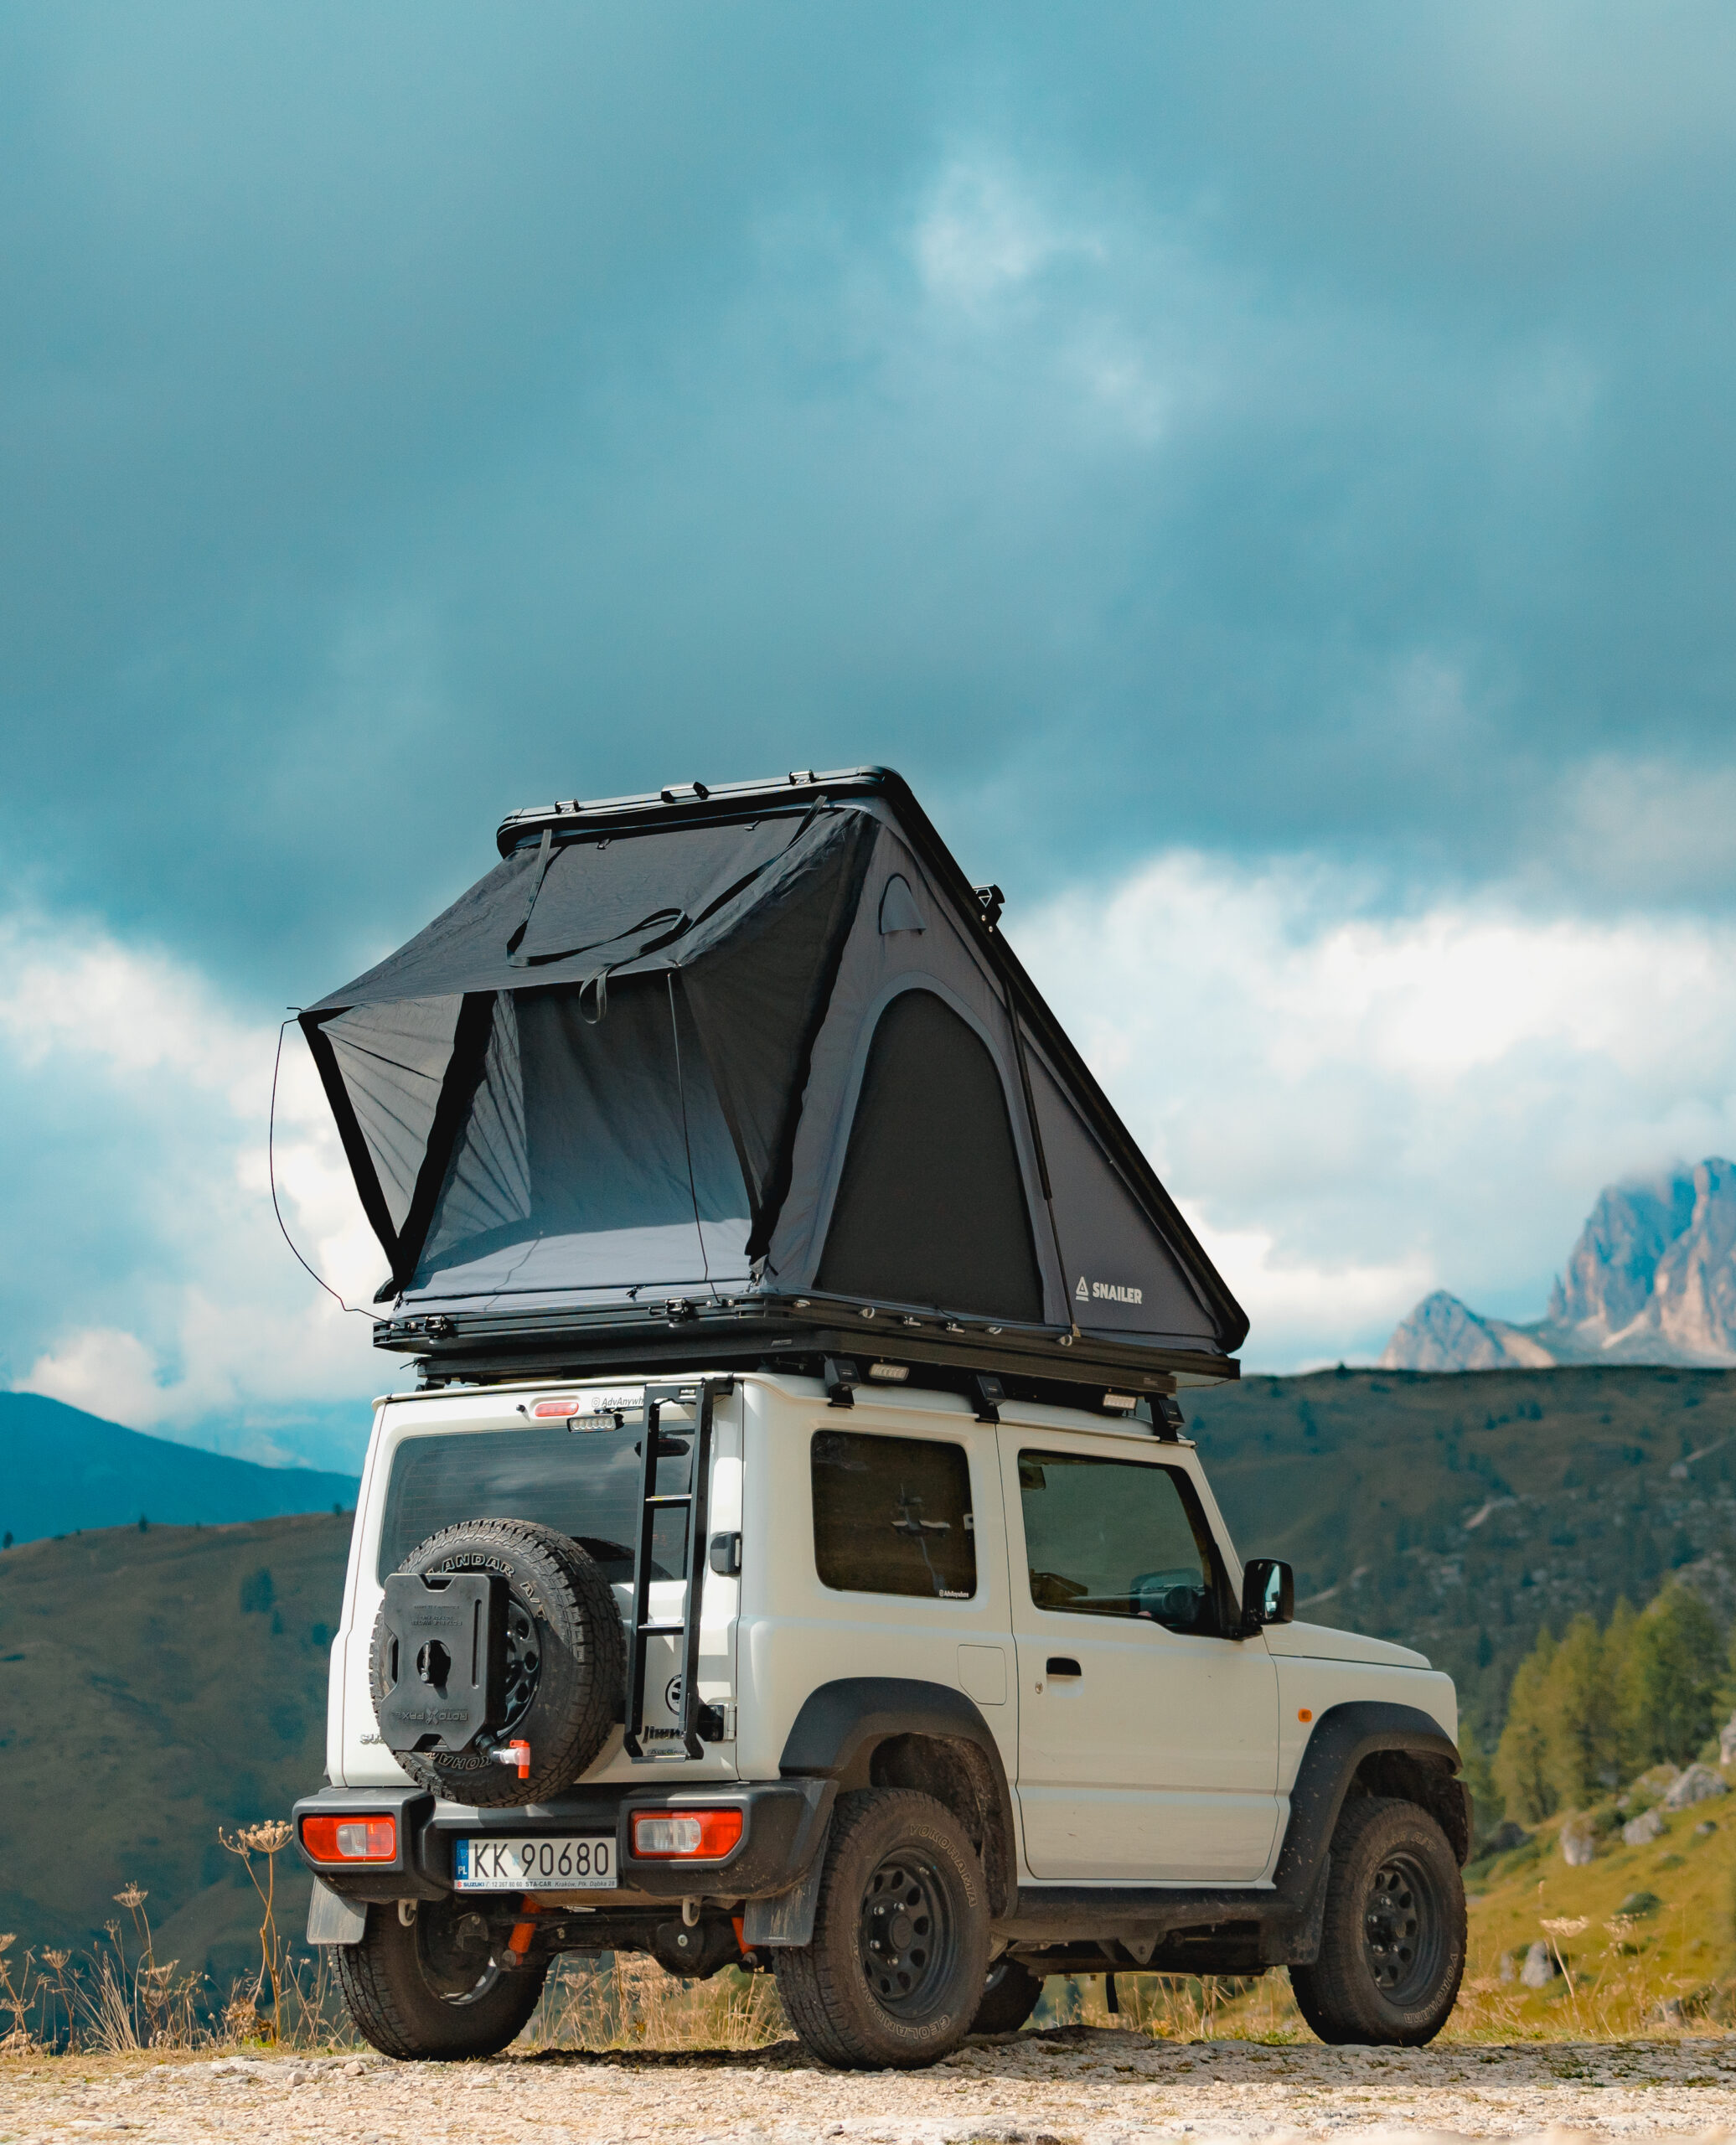
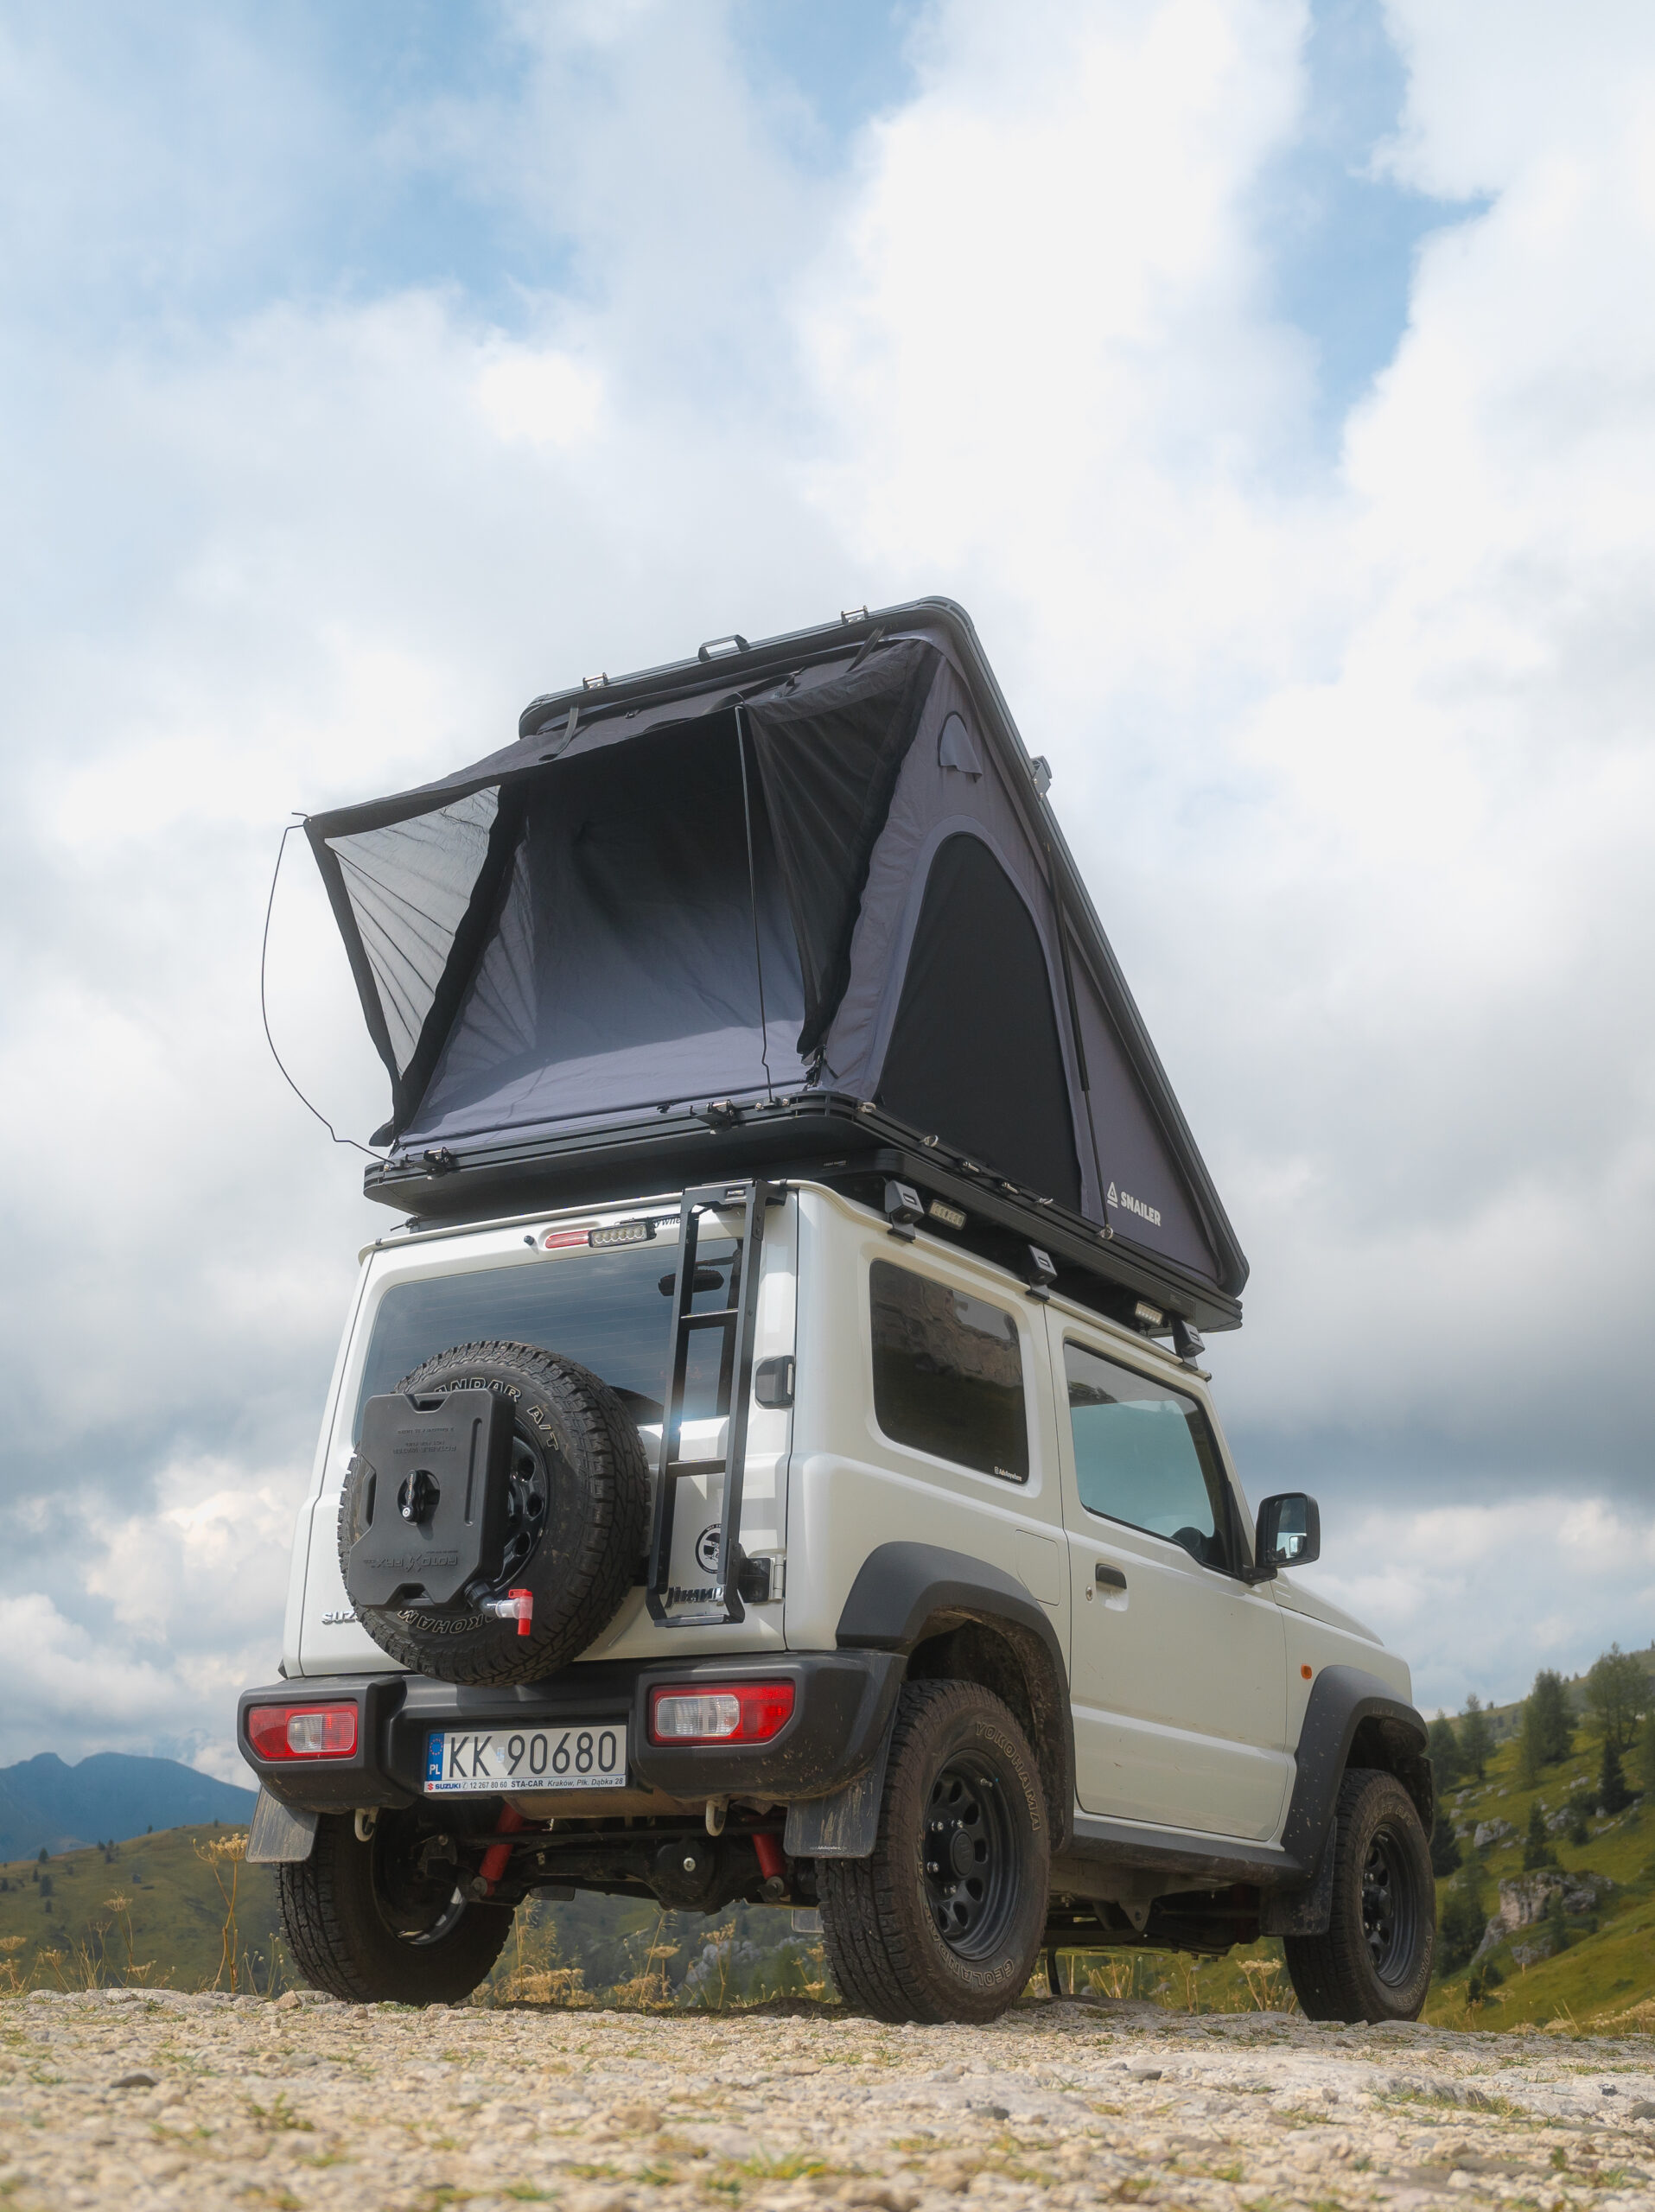
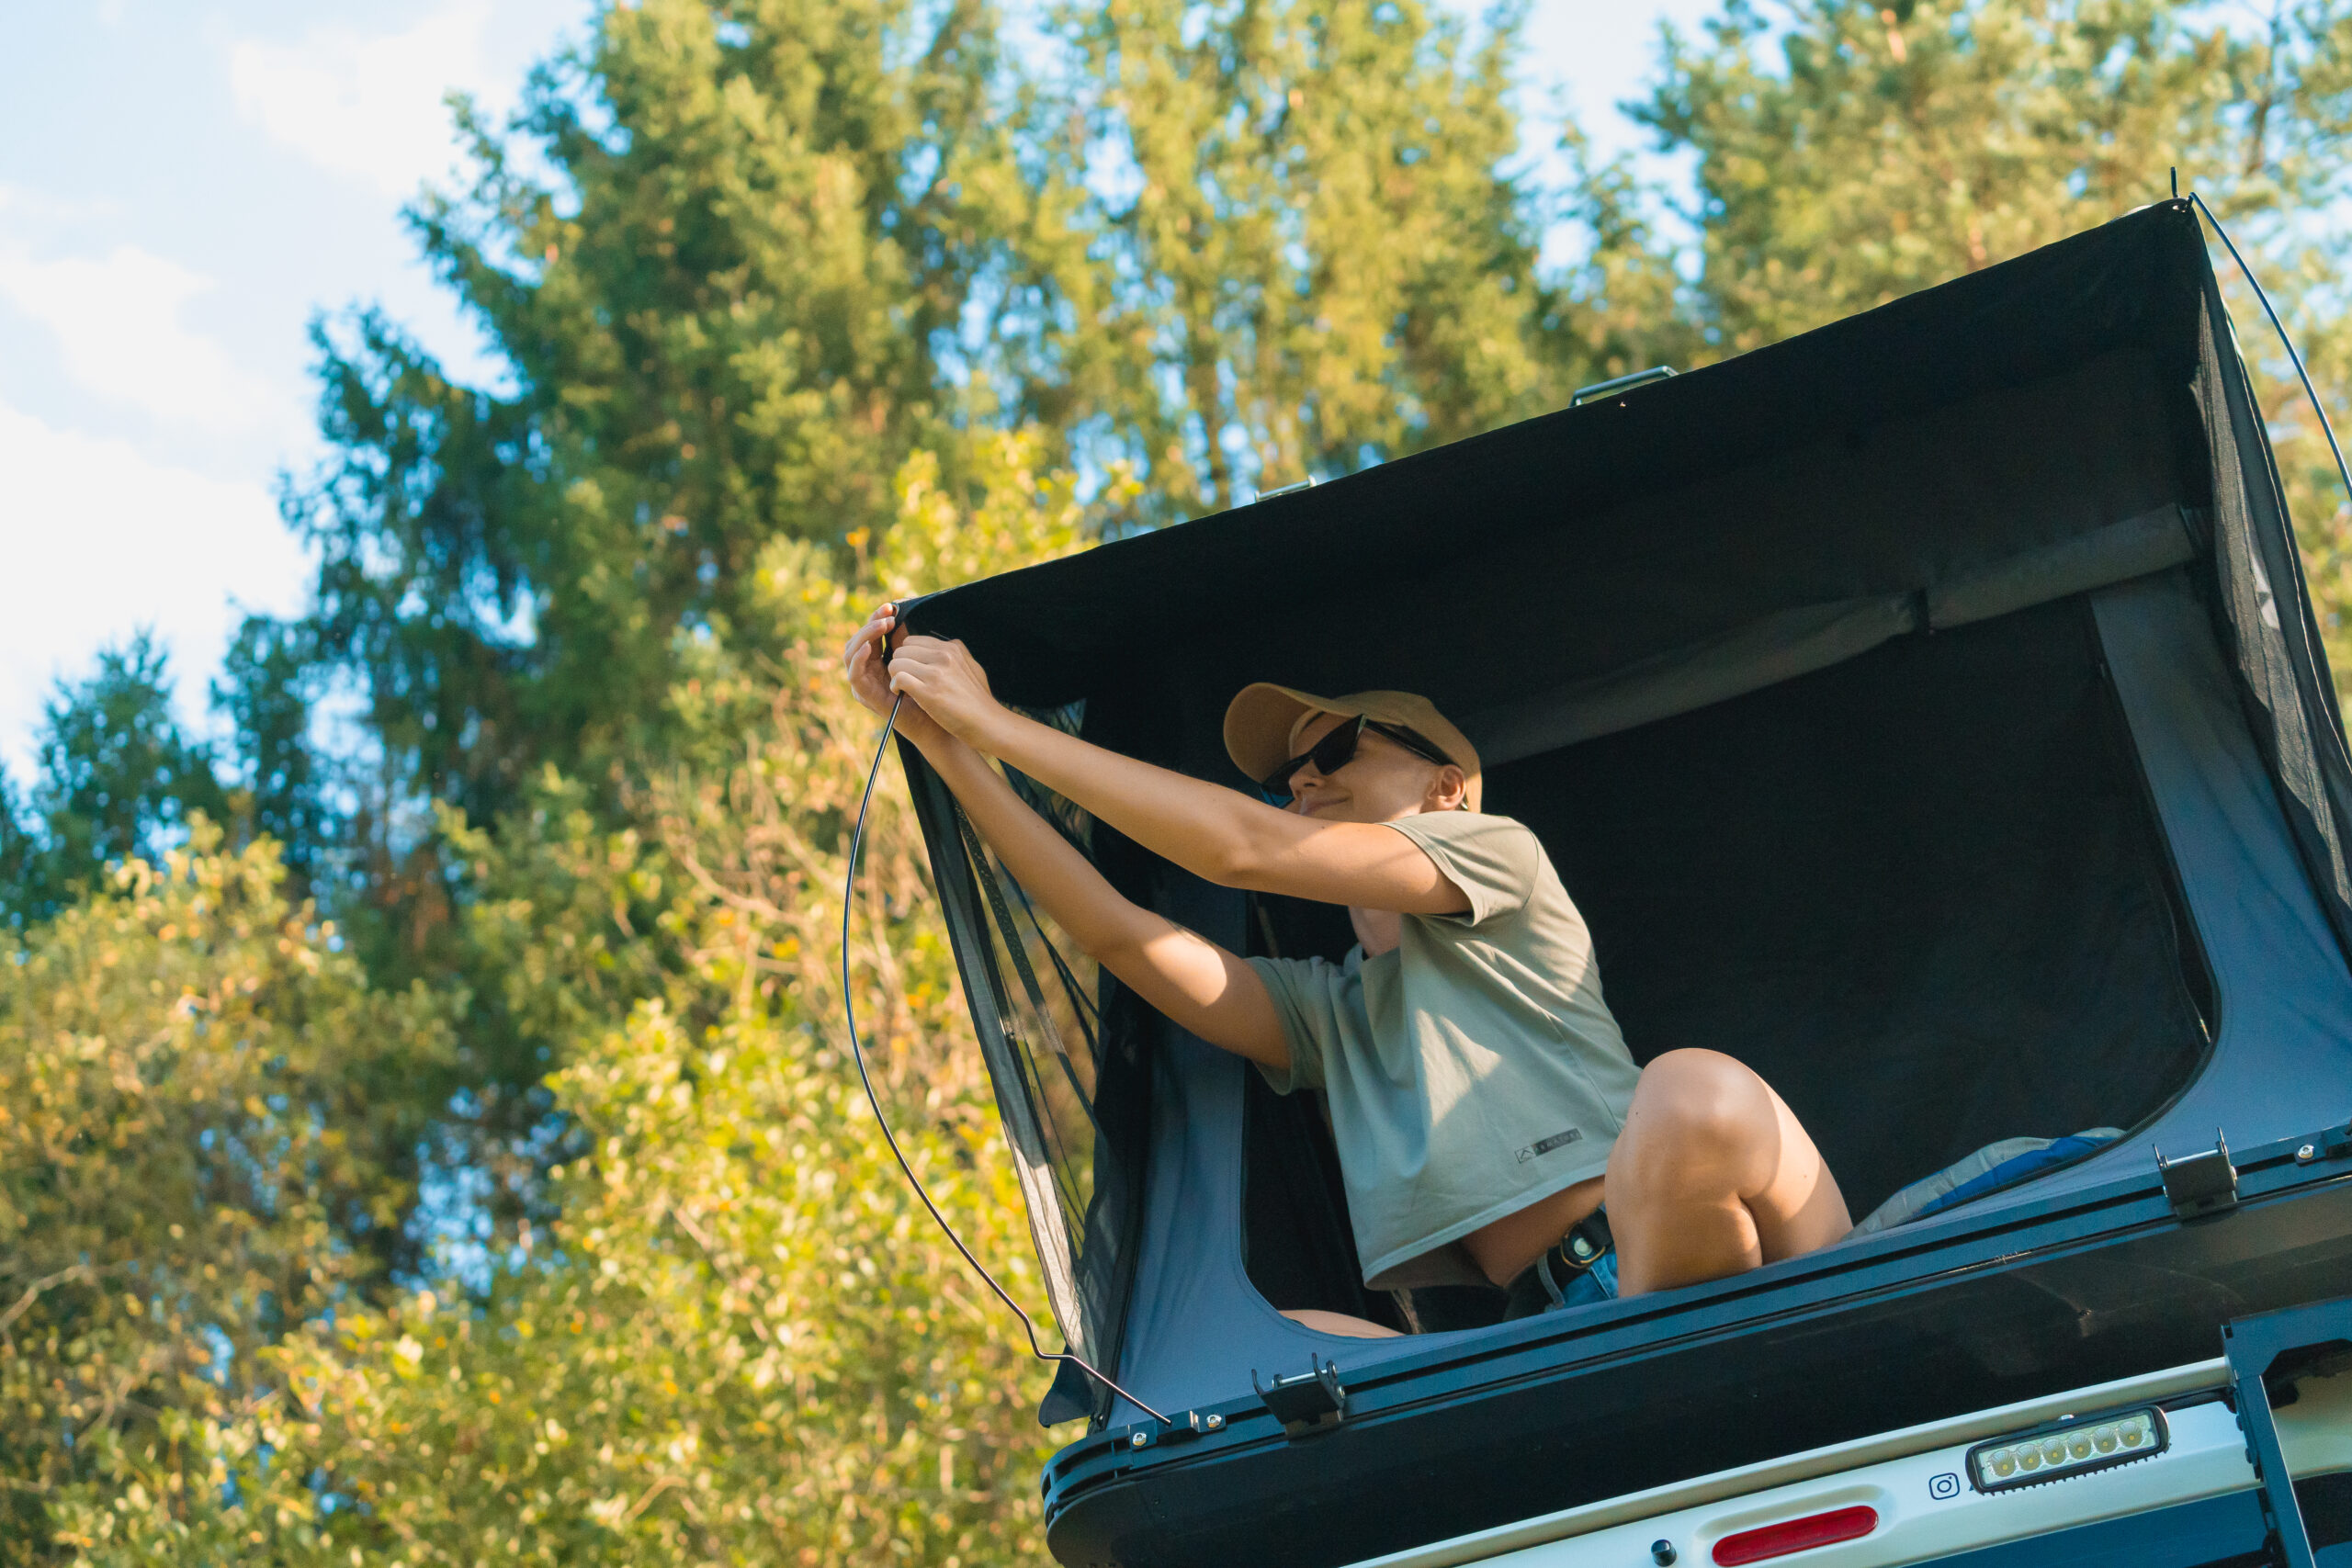
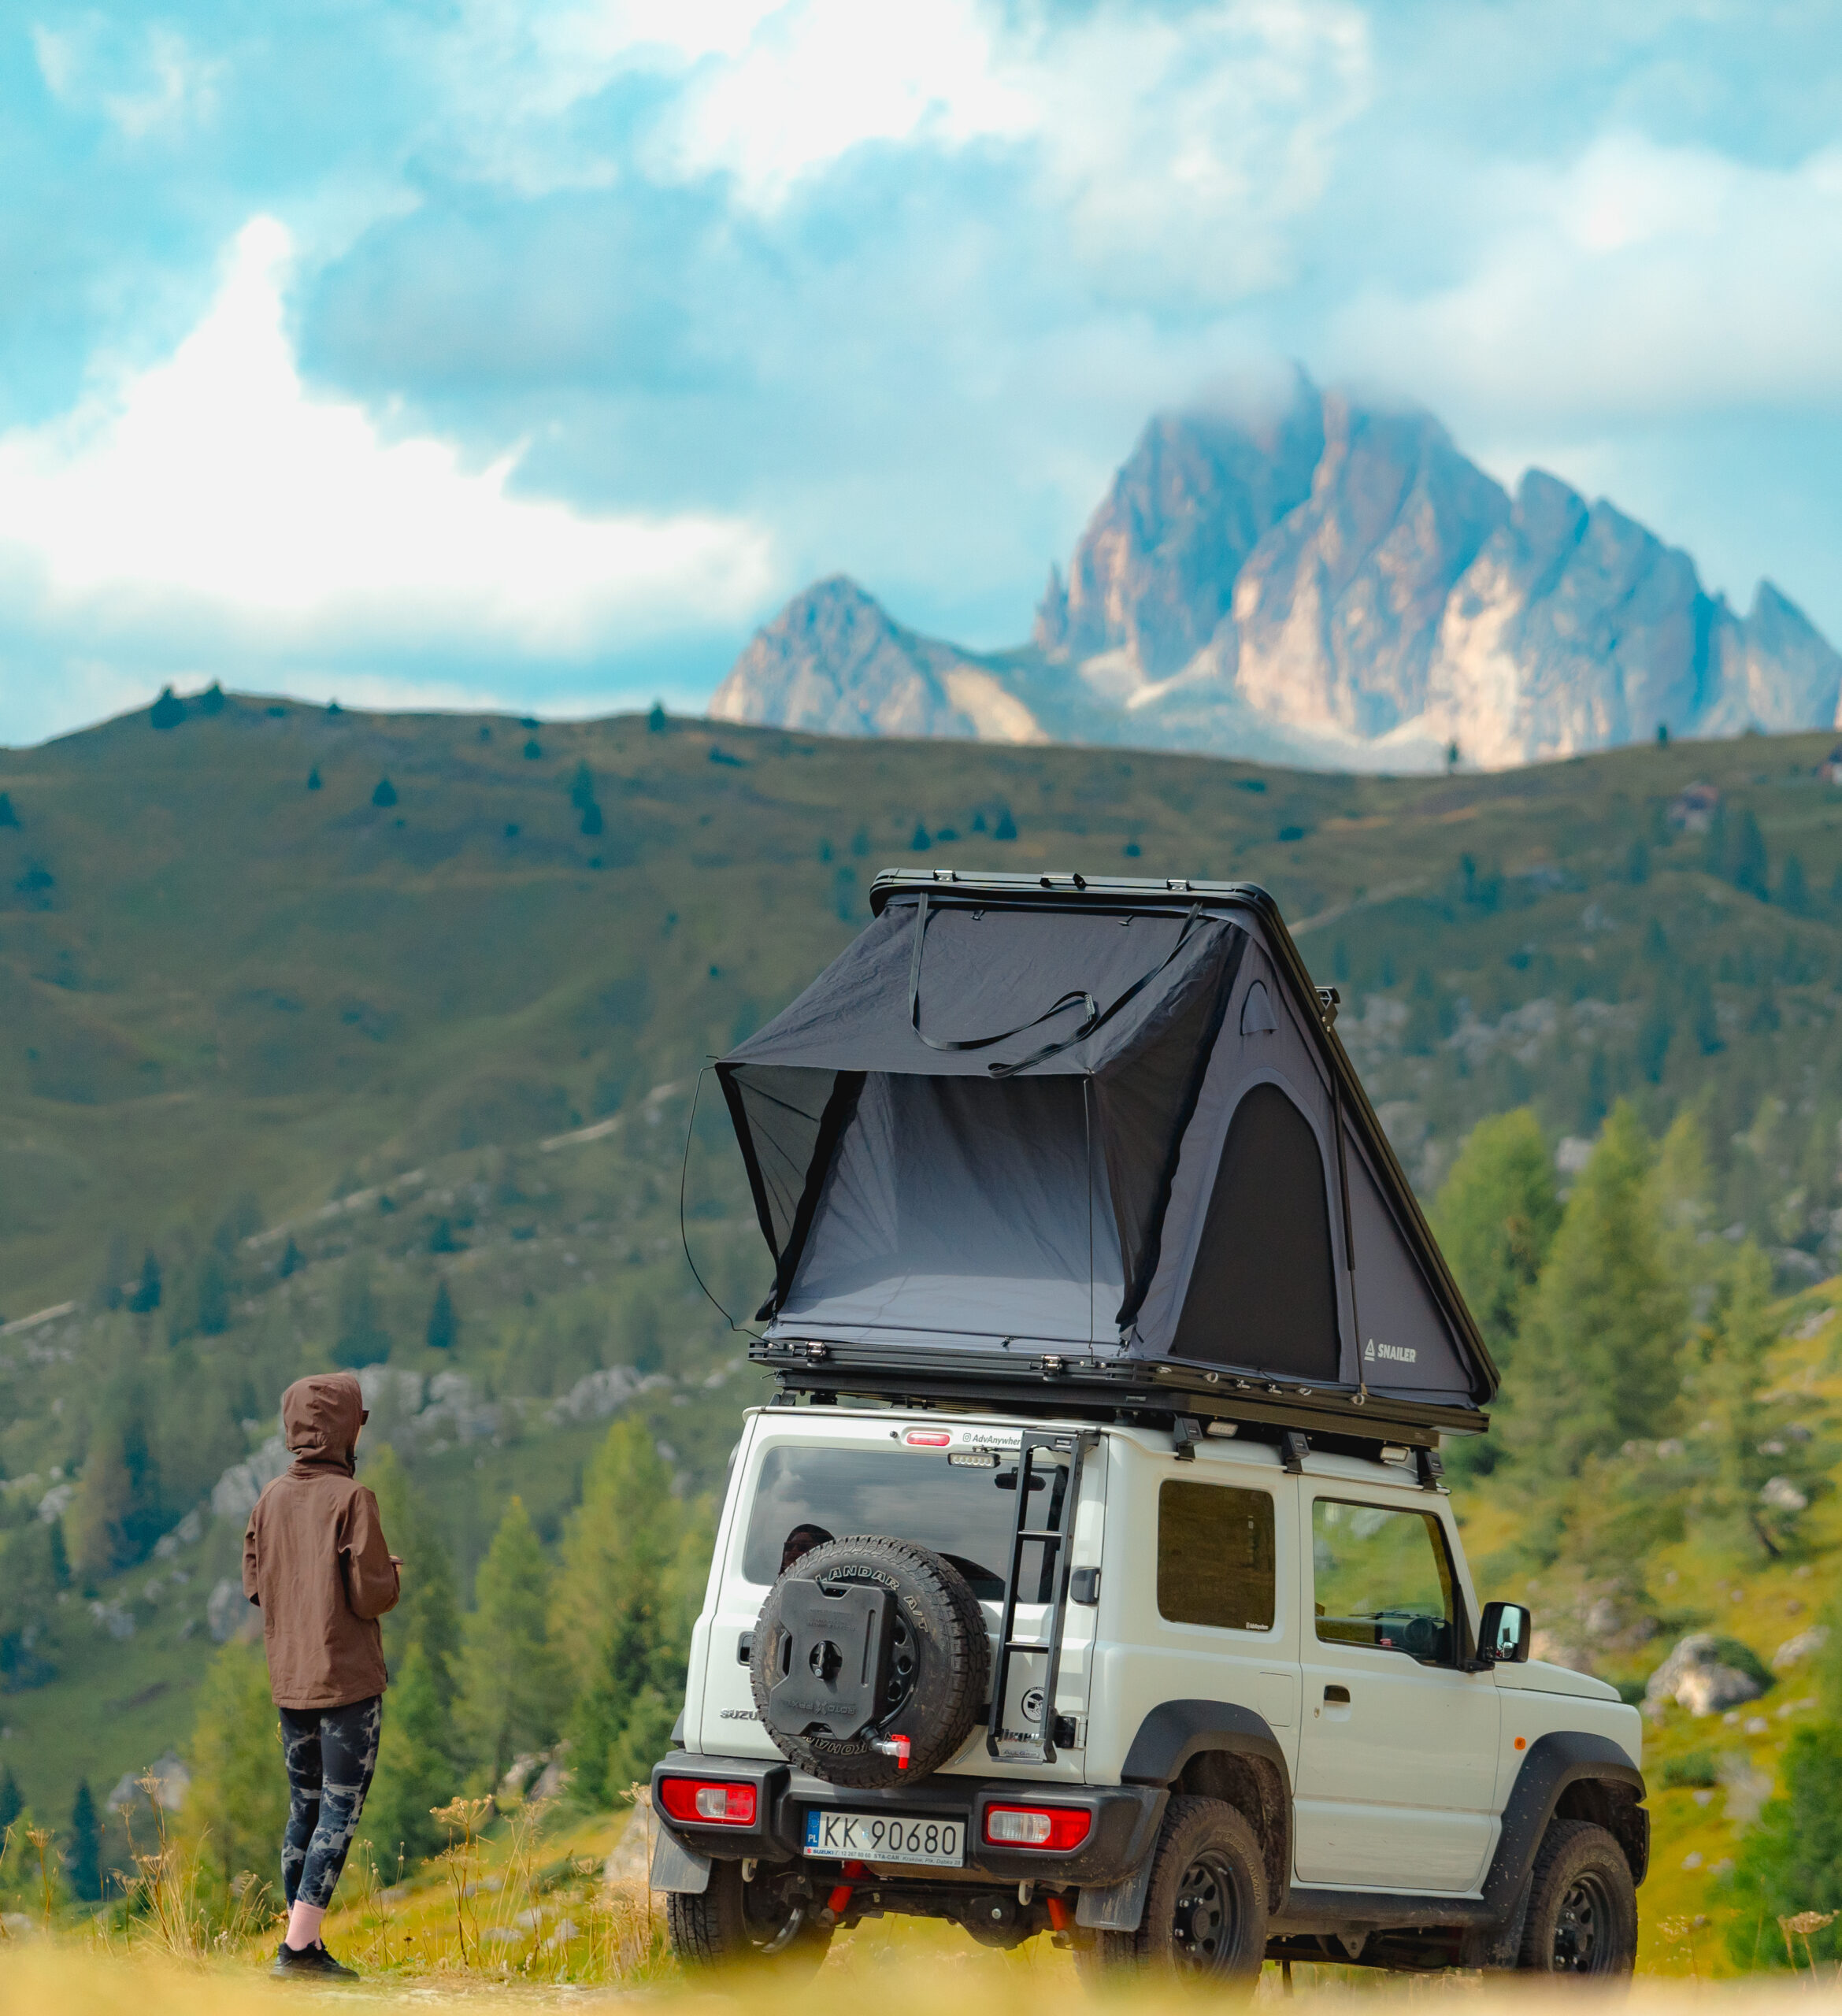
Entry openings in the SNAILER roof tent
The tent features two symmetrical entrances on the sides and one large entrance at the back, all equipped with two layers: a fabric layer that fully closes the space and a mosquito net for insect protection. This setup offers numerous options for regulating temperature and airflow.
While mosquito nets allow air to flow through, they do slightly obstruct it, which is beneficial on colder days, ensuring a comfortable sleep without the worry of freezing. When the fabric layer is closed, it provides complete insulation from wind and cold. By opening or tilting the opposite windows, you can promote air circulation and enjoy a pleasant breeze. You can also close the side walls, leaving only the mosquito net at the back, eliminating the risk of getting too cold. The variety of options for regulating temperature and airflow is truly impressive—we could write an entire article about it!


The rear door features the opposite layering compared to the side doors—here, the fabric layer is on the outside, which prevents water from entering the tent when pitching it in the rain before deploying the canopy. Additionally, the main door includes a built-in bar that keeps it from flapping in the wind, even if it’s not fully zipped.
The side doors have the fabric layer on the inside, allowing for a quick closure of the tent when the temperature begins to drop.

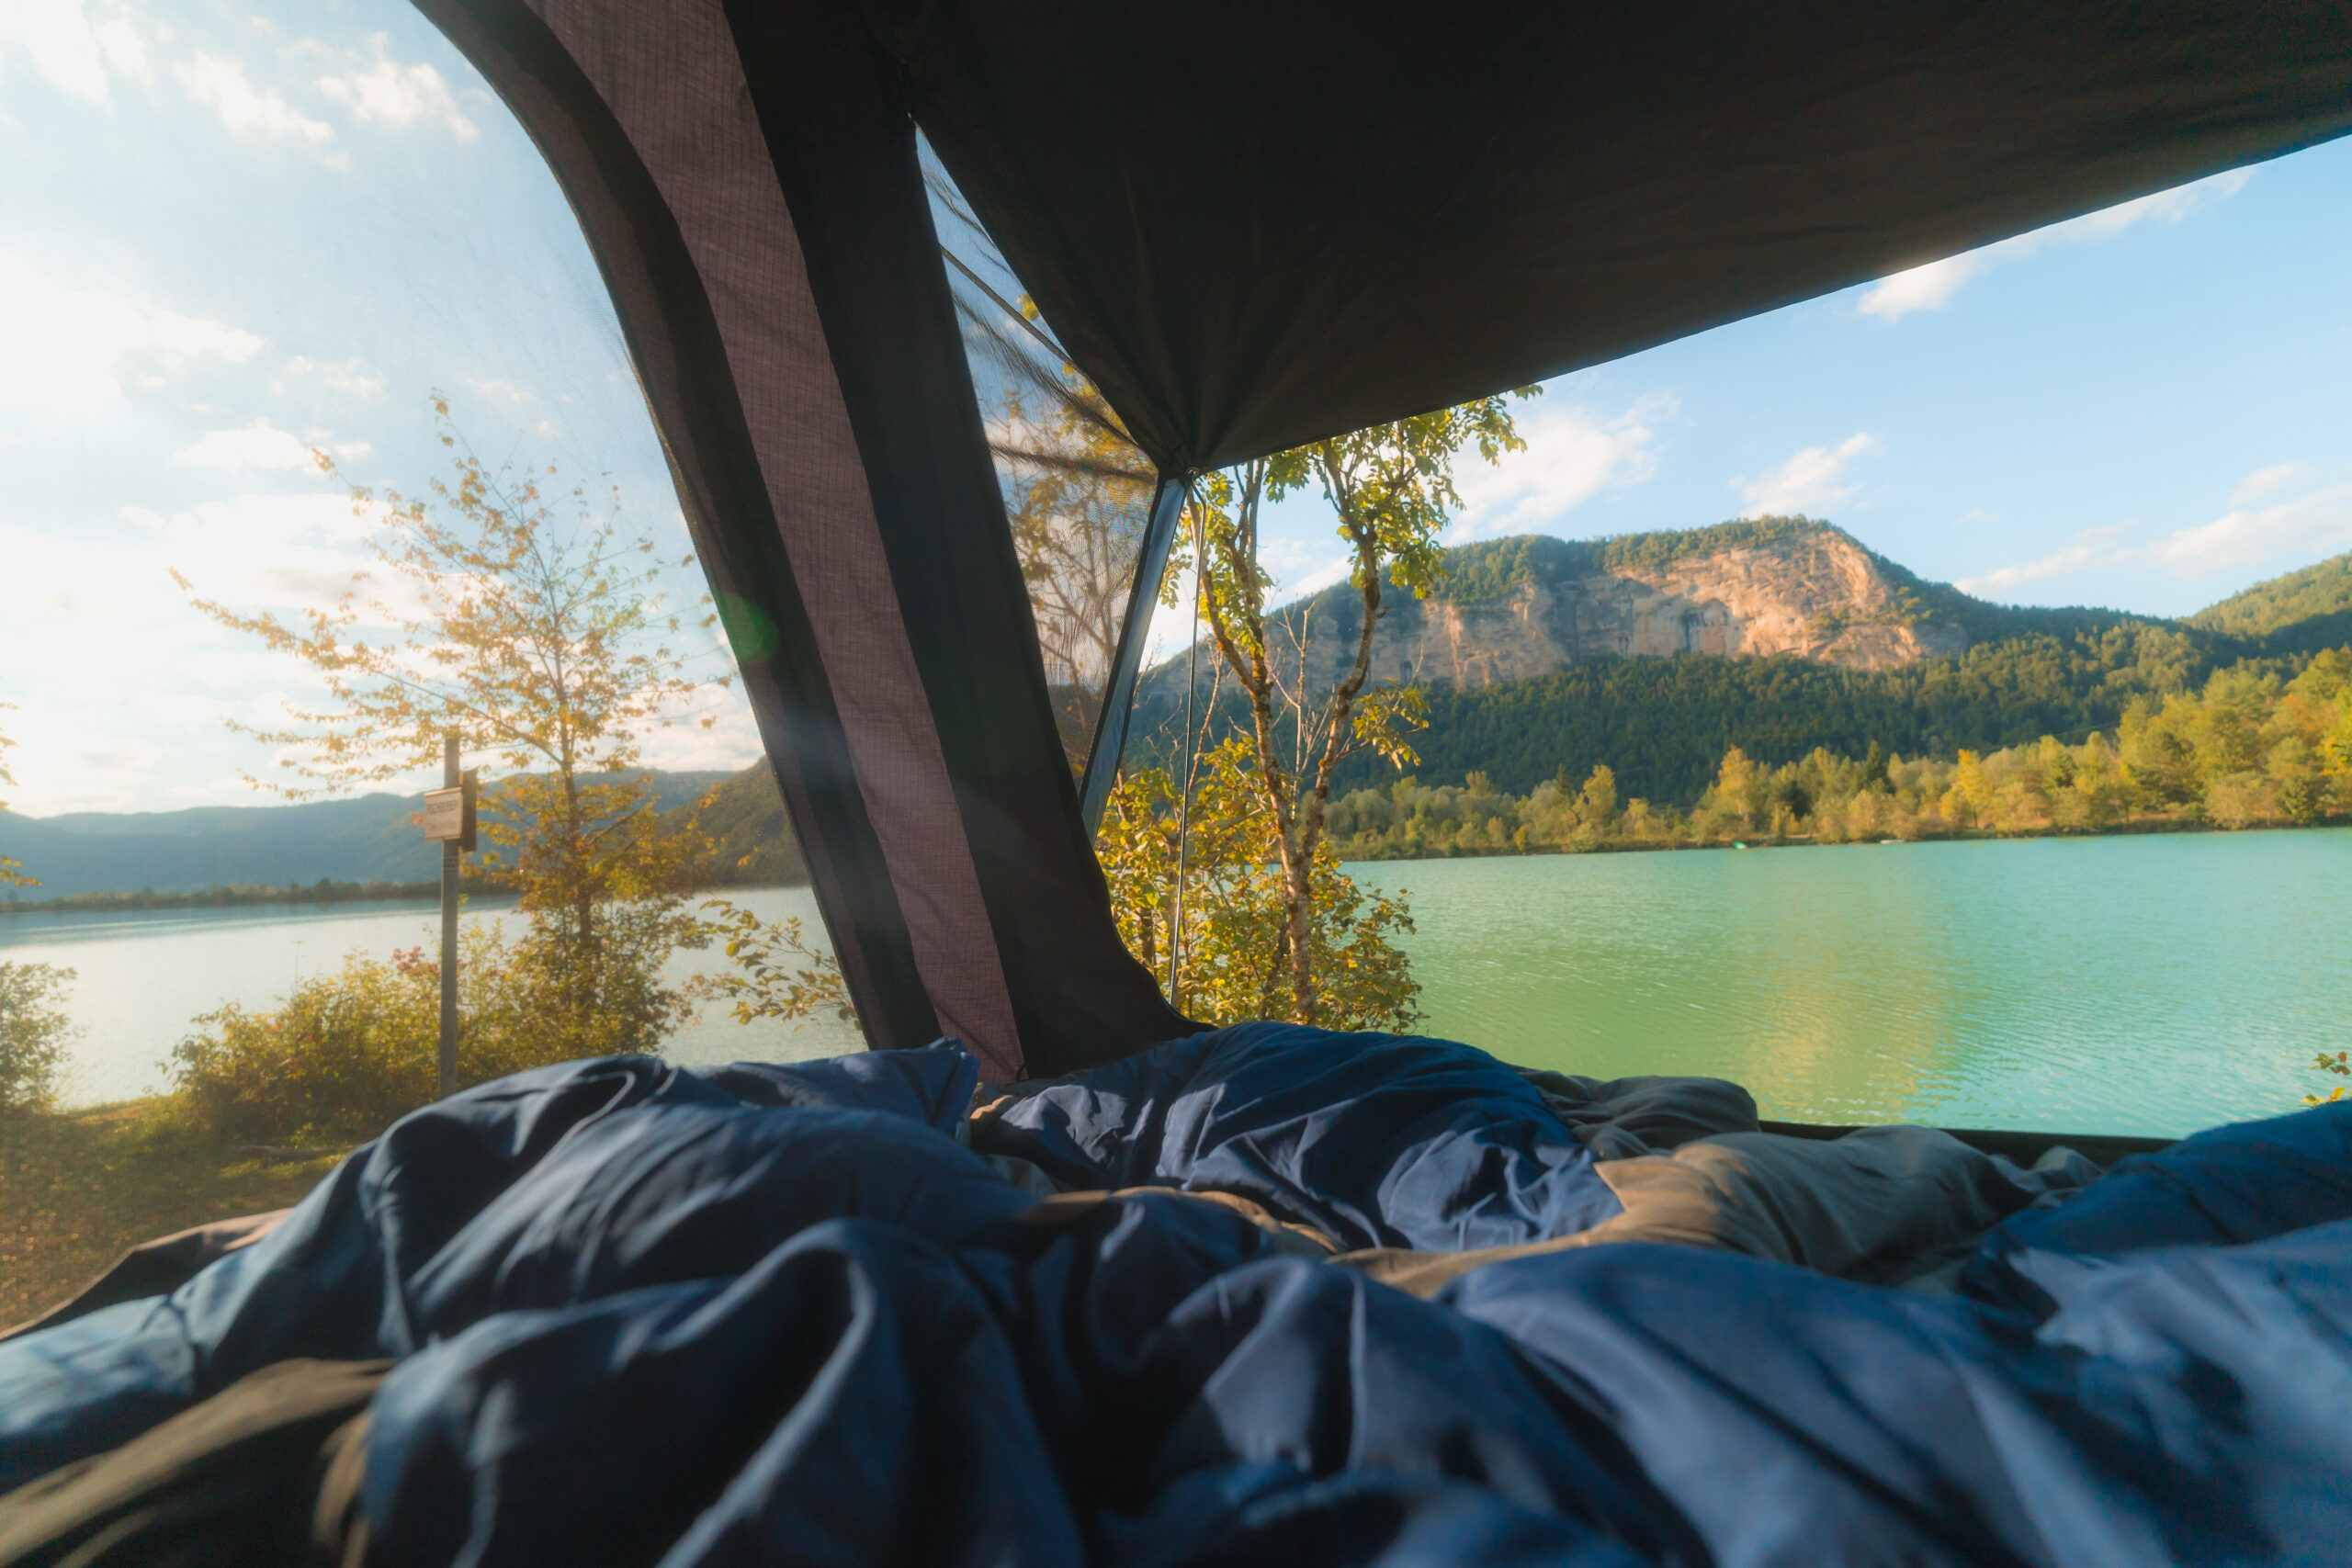
How to sleep in a roof tent?
As often as possible!
But seriously, I just wanted to mention that the Outwell Contour Lux Double sleeping bag works wonderfully. With two of my favorite pillows, it provides everything you need for a good night’s sleep in a roof tent. I leave a thick duvet and those pillows in the tent while traveling, so when I open it, everything is ready for bed.
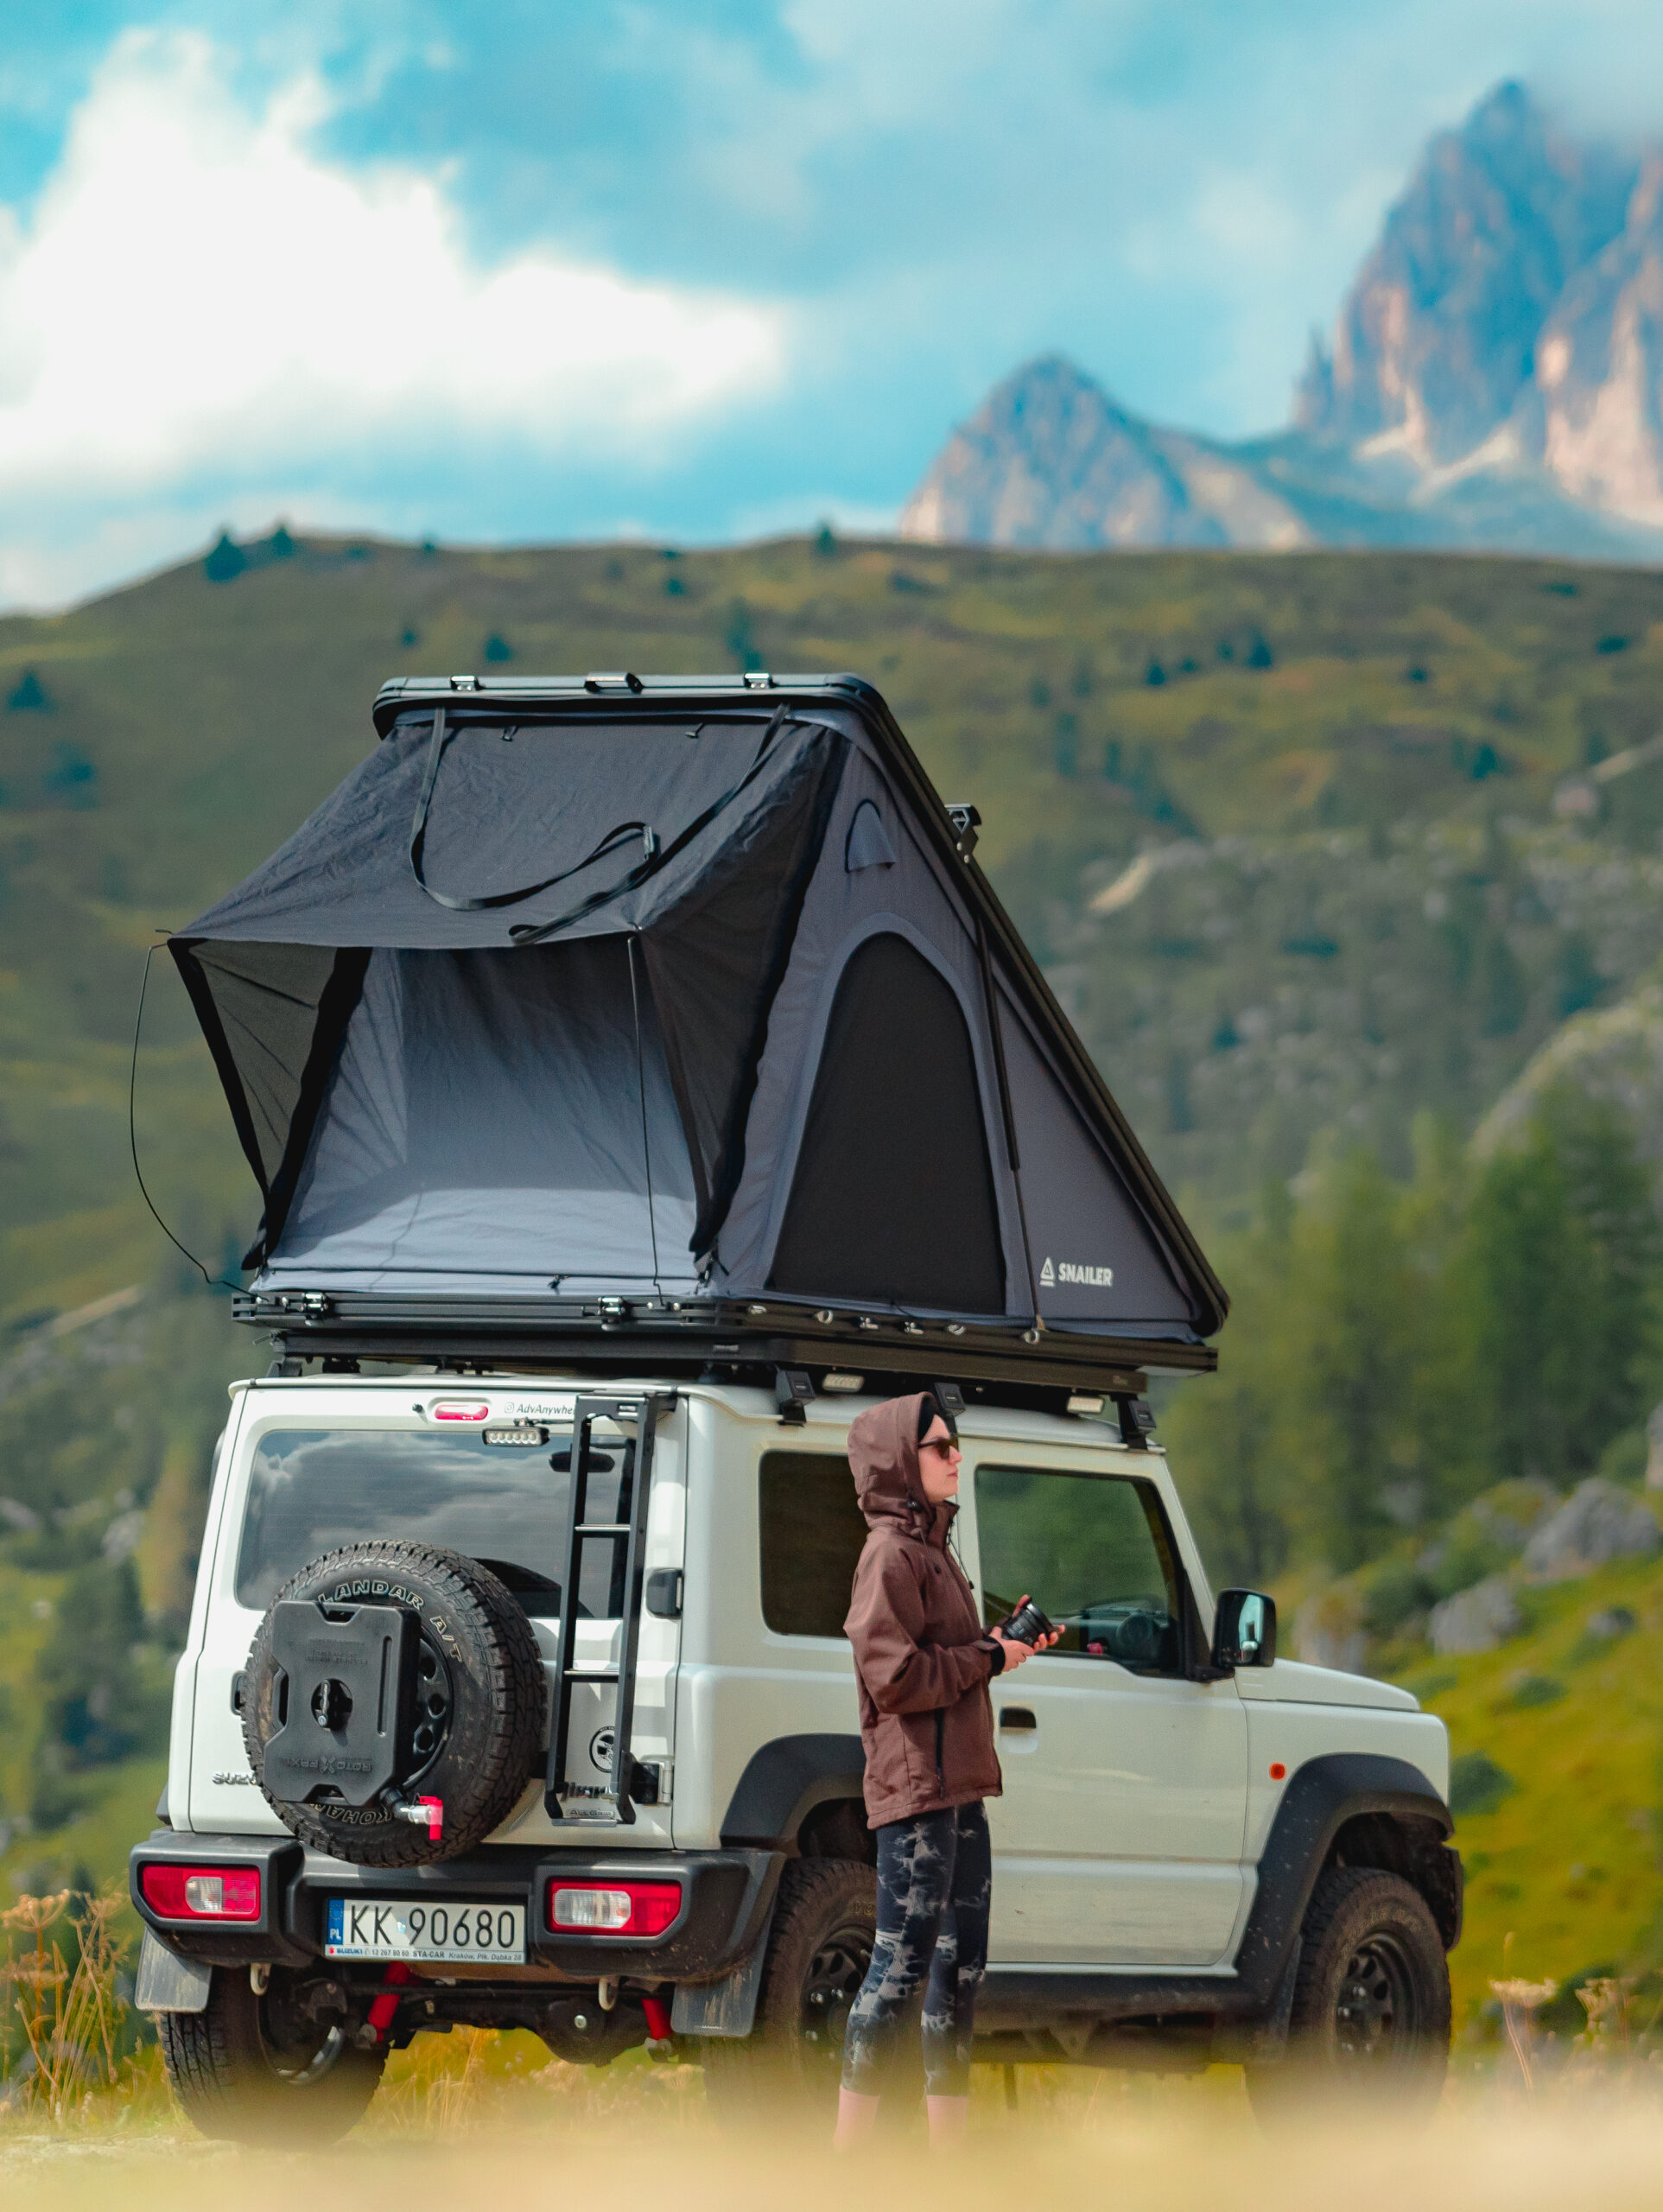
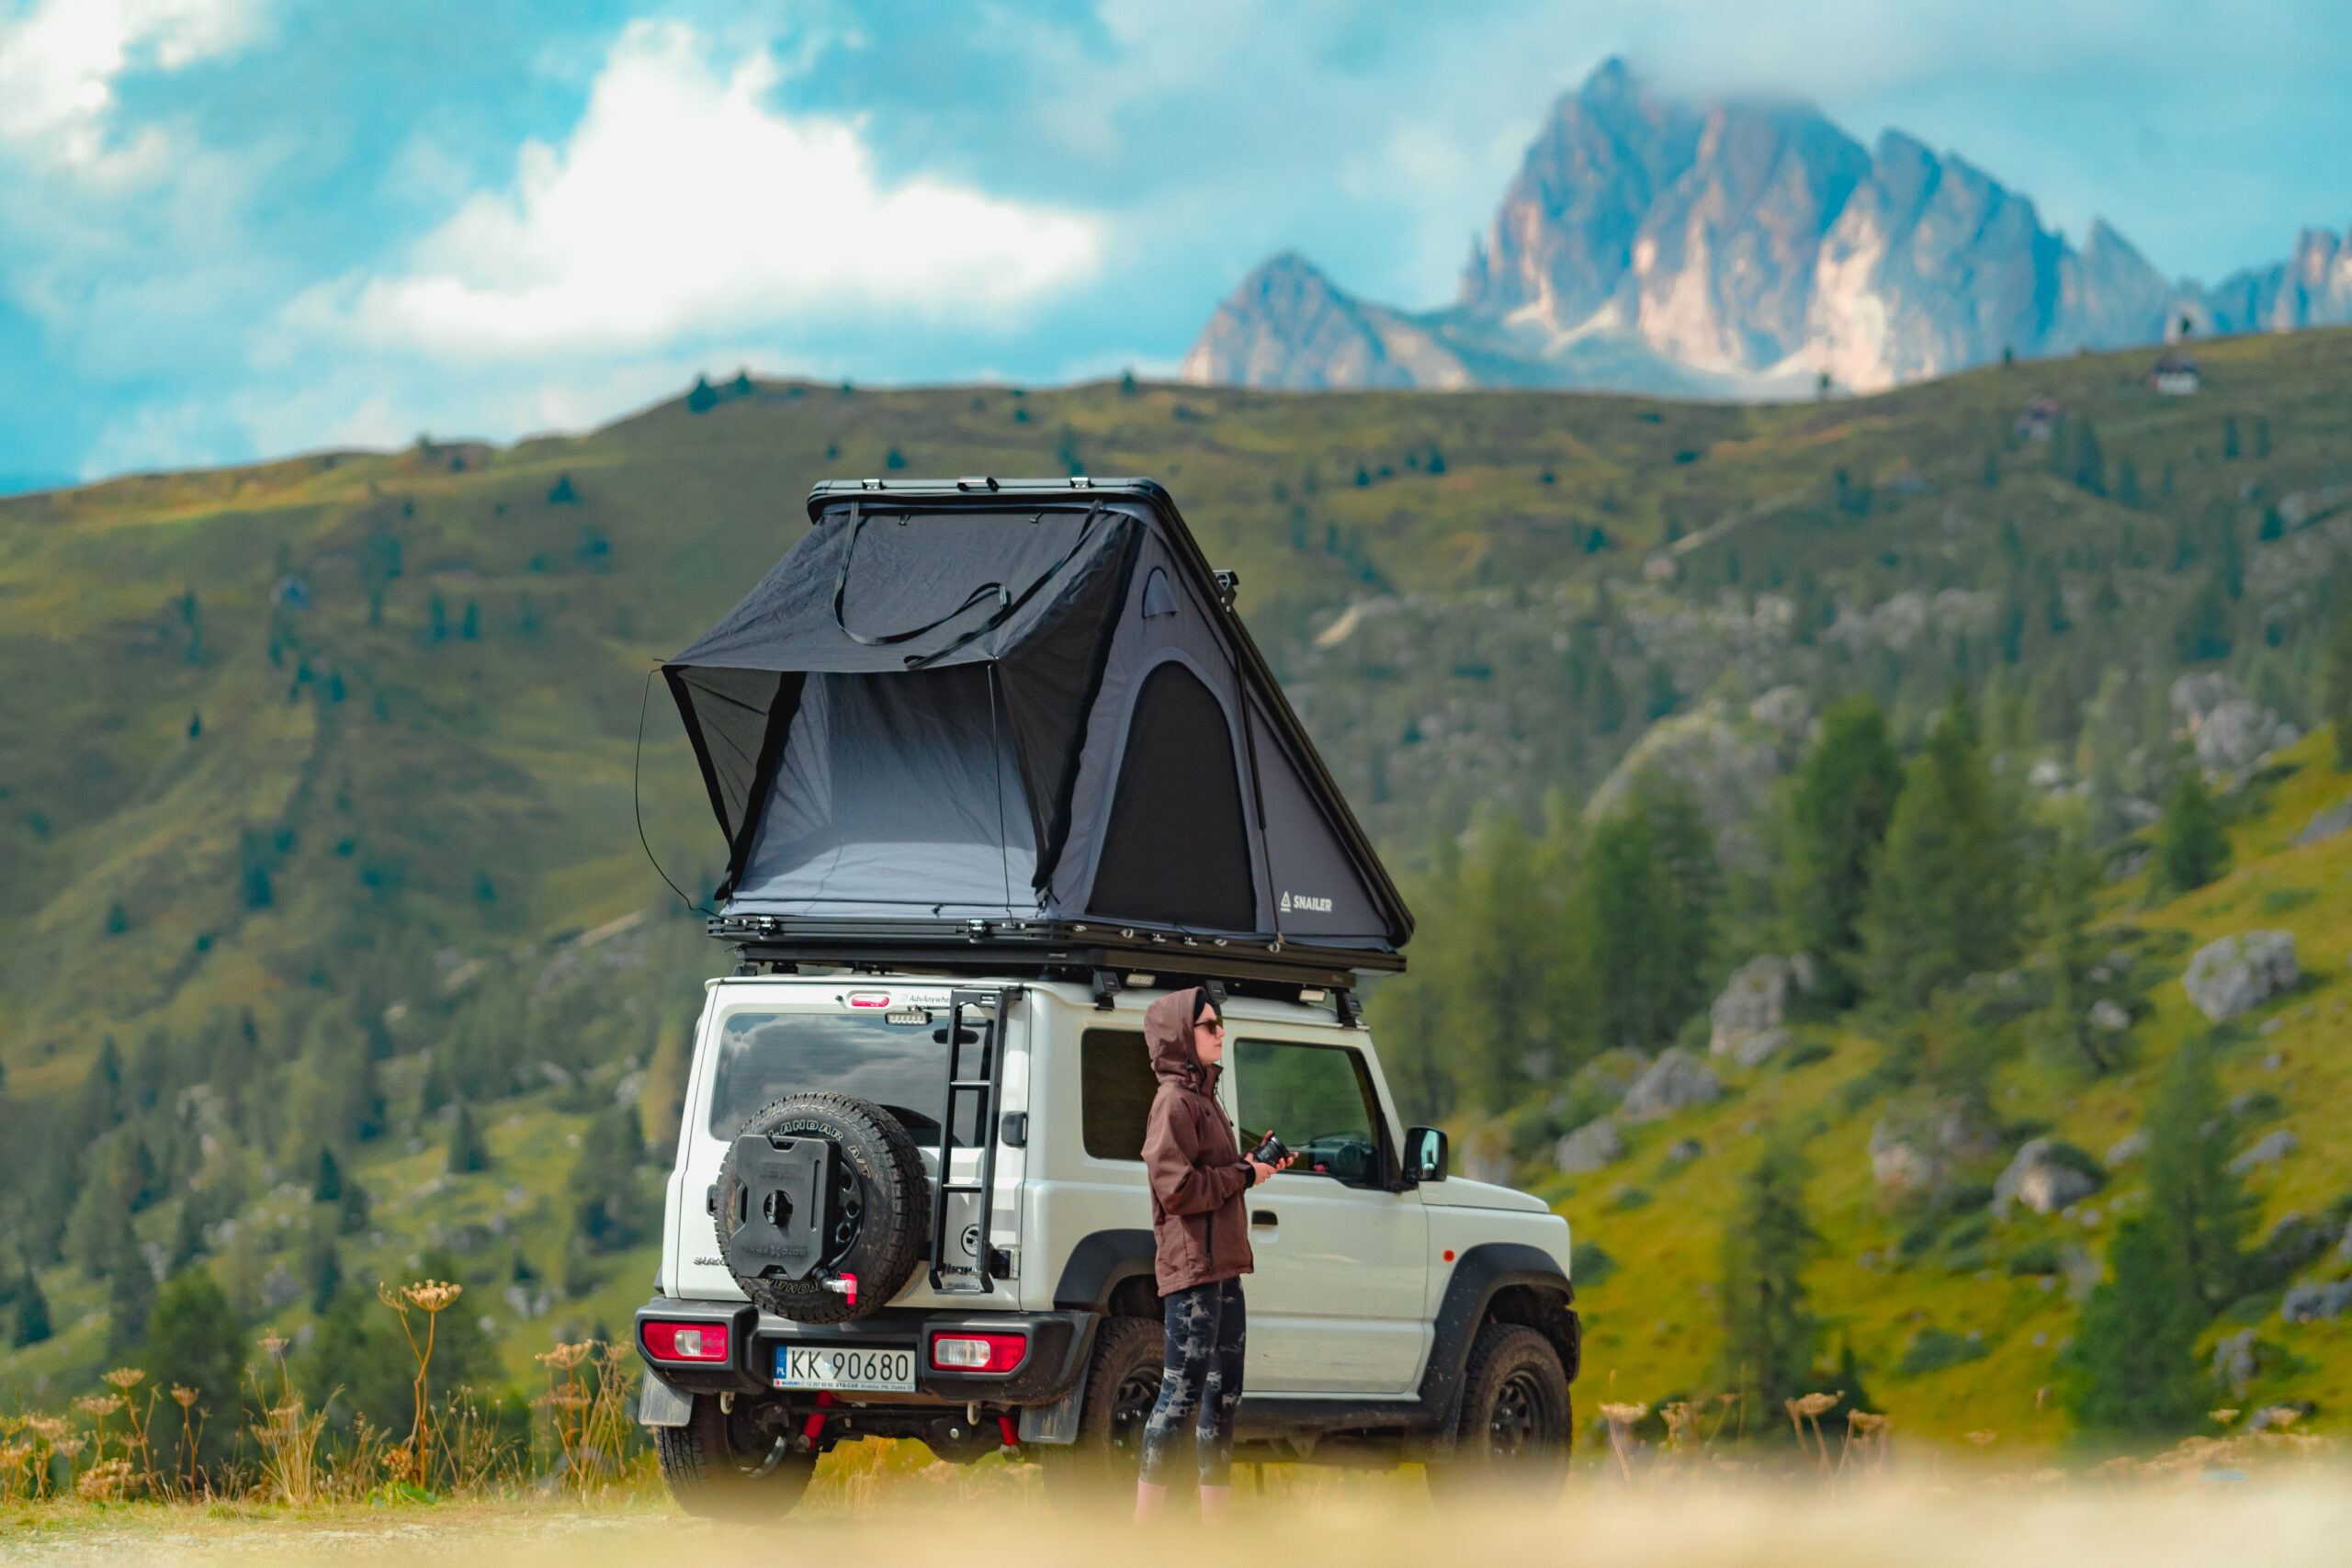
The SNAILER Alduo tent is big and spacious enough for two people to sleep comfortably. For reference, I’m 181 cm tall.
Accessories for the SNAILER Alduo tent
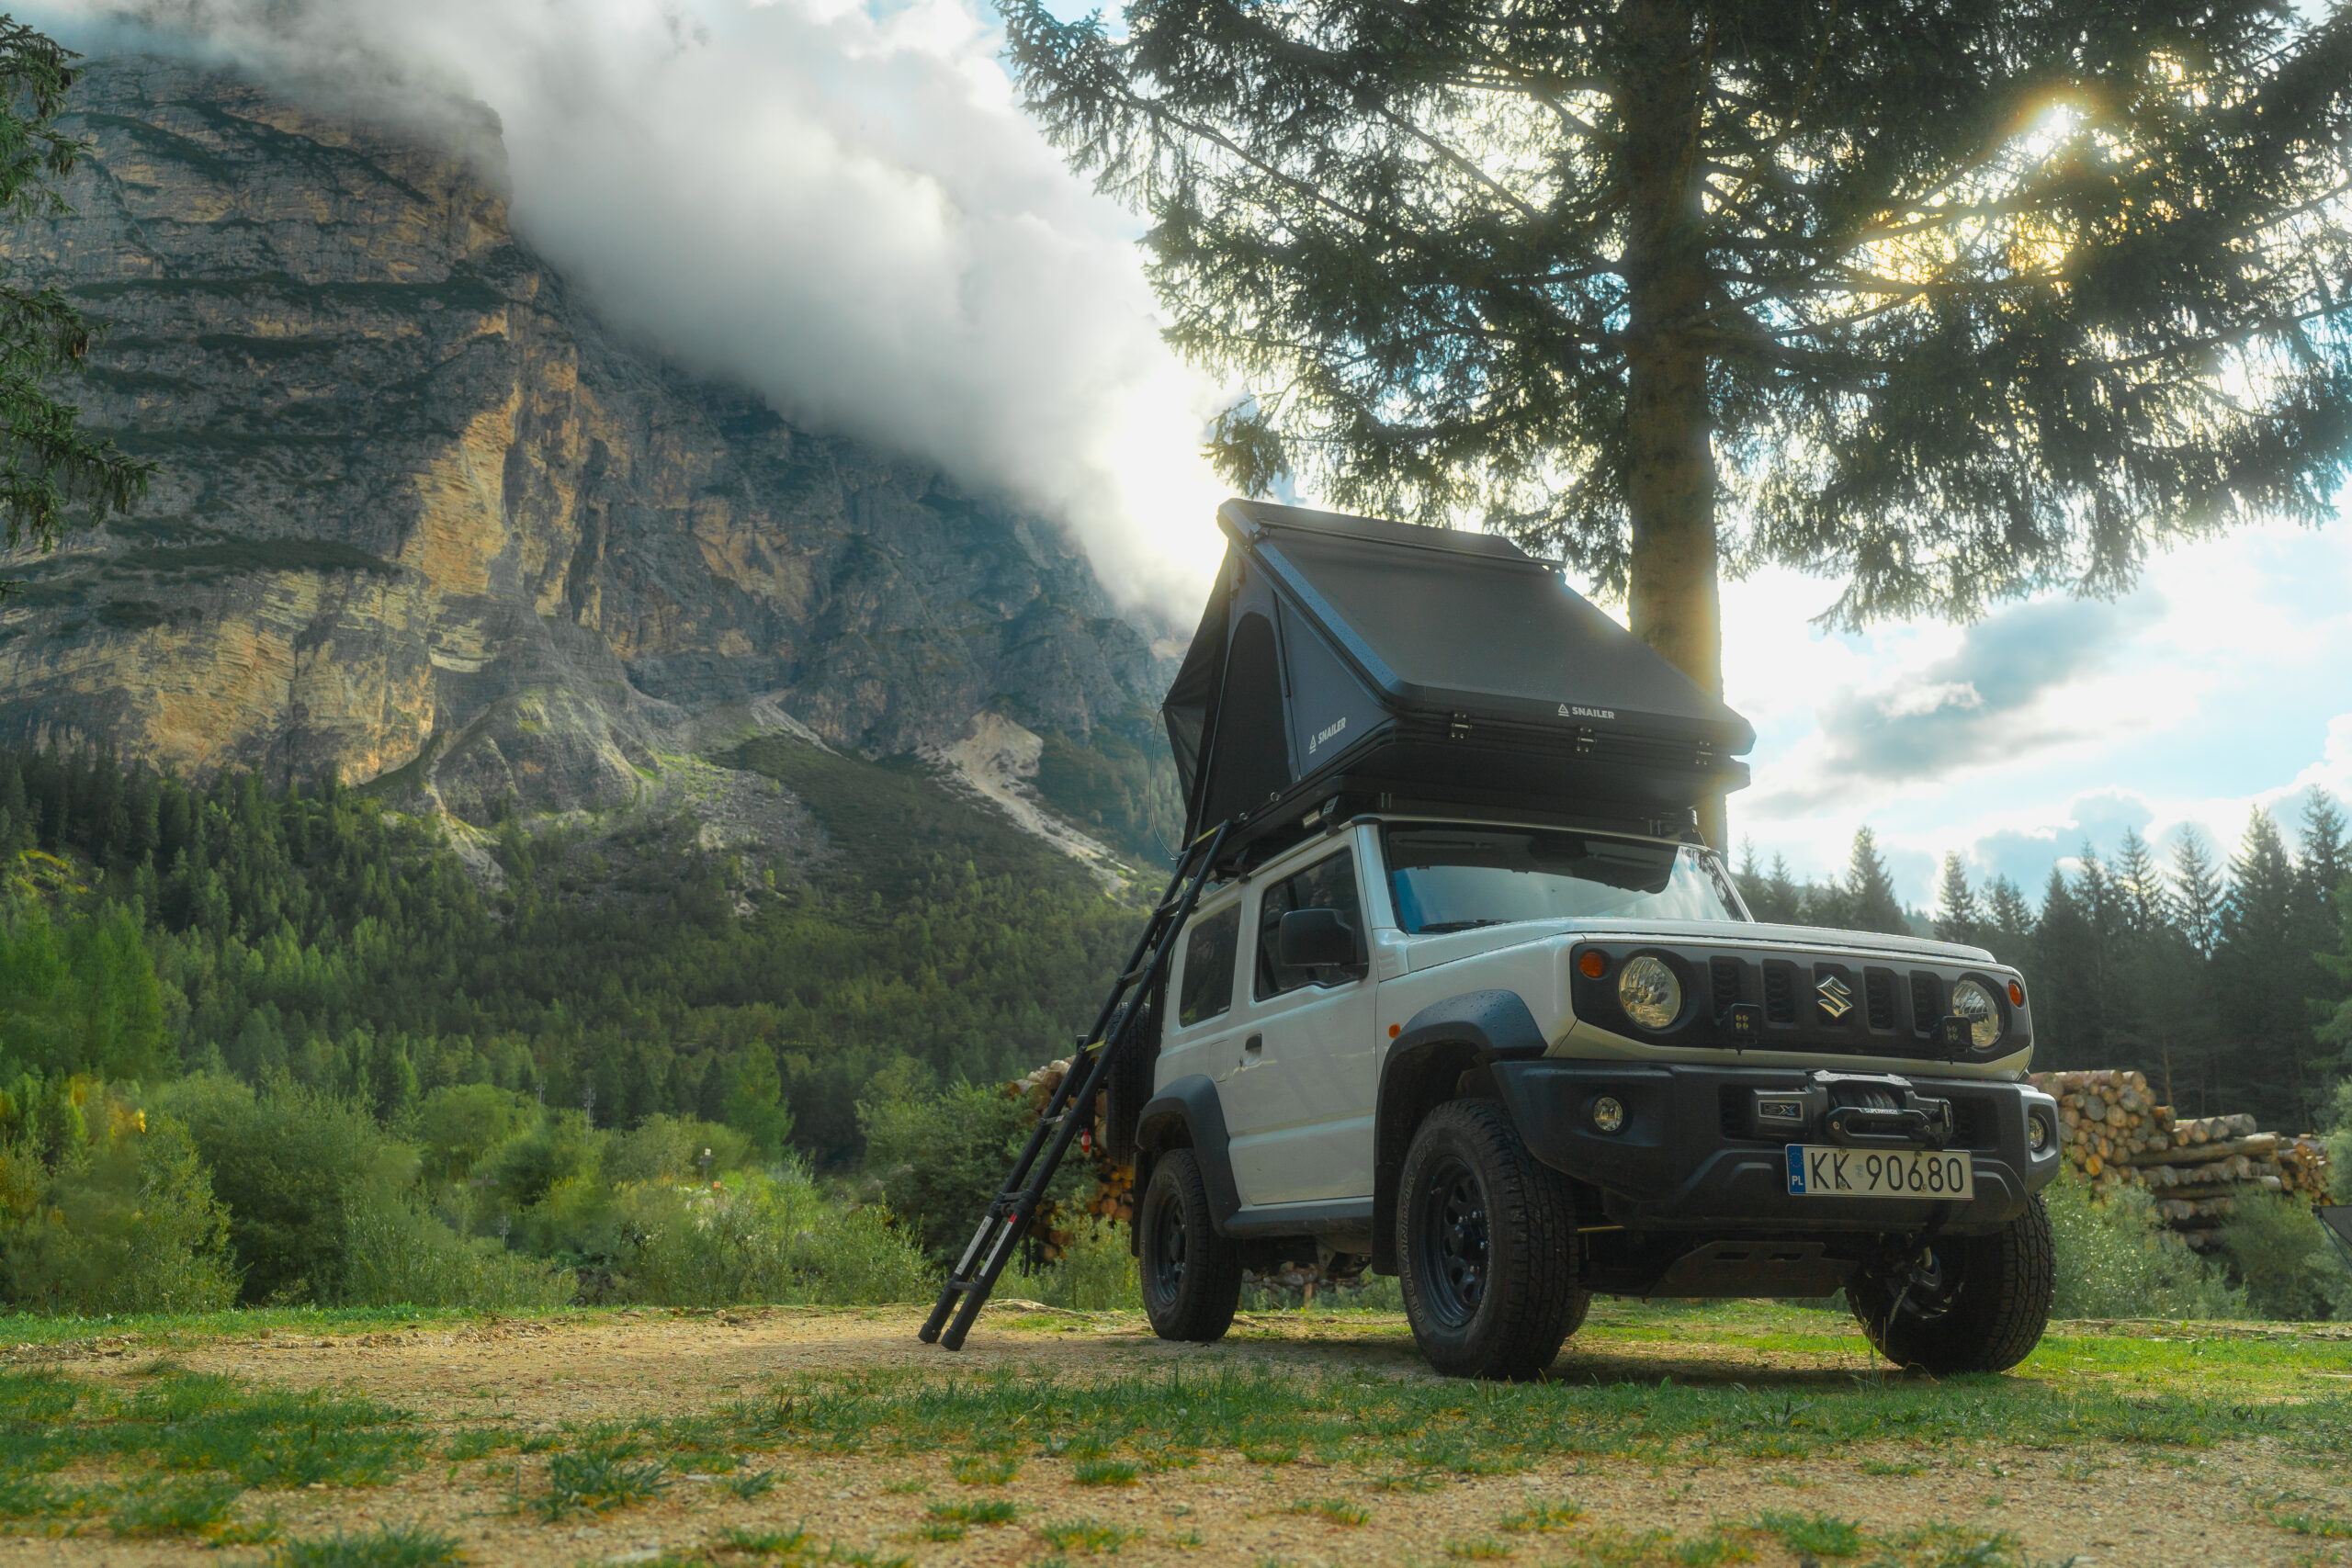
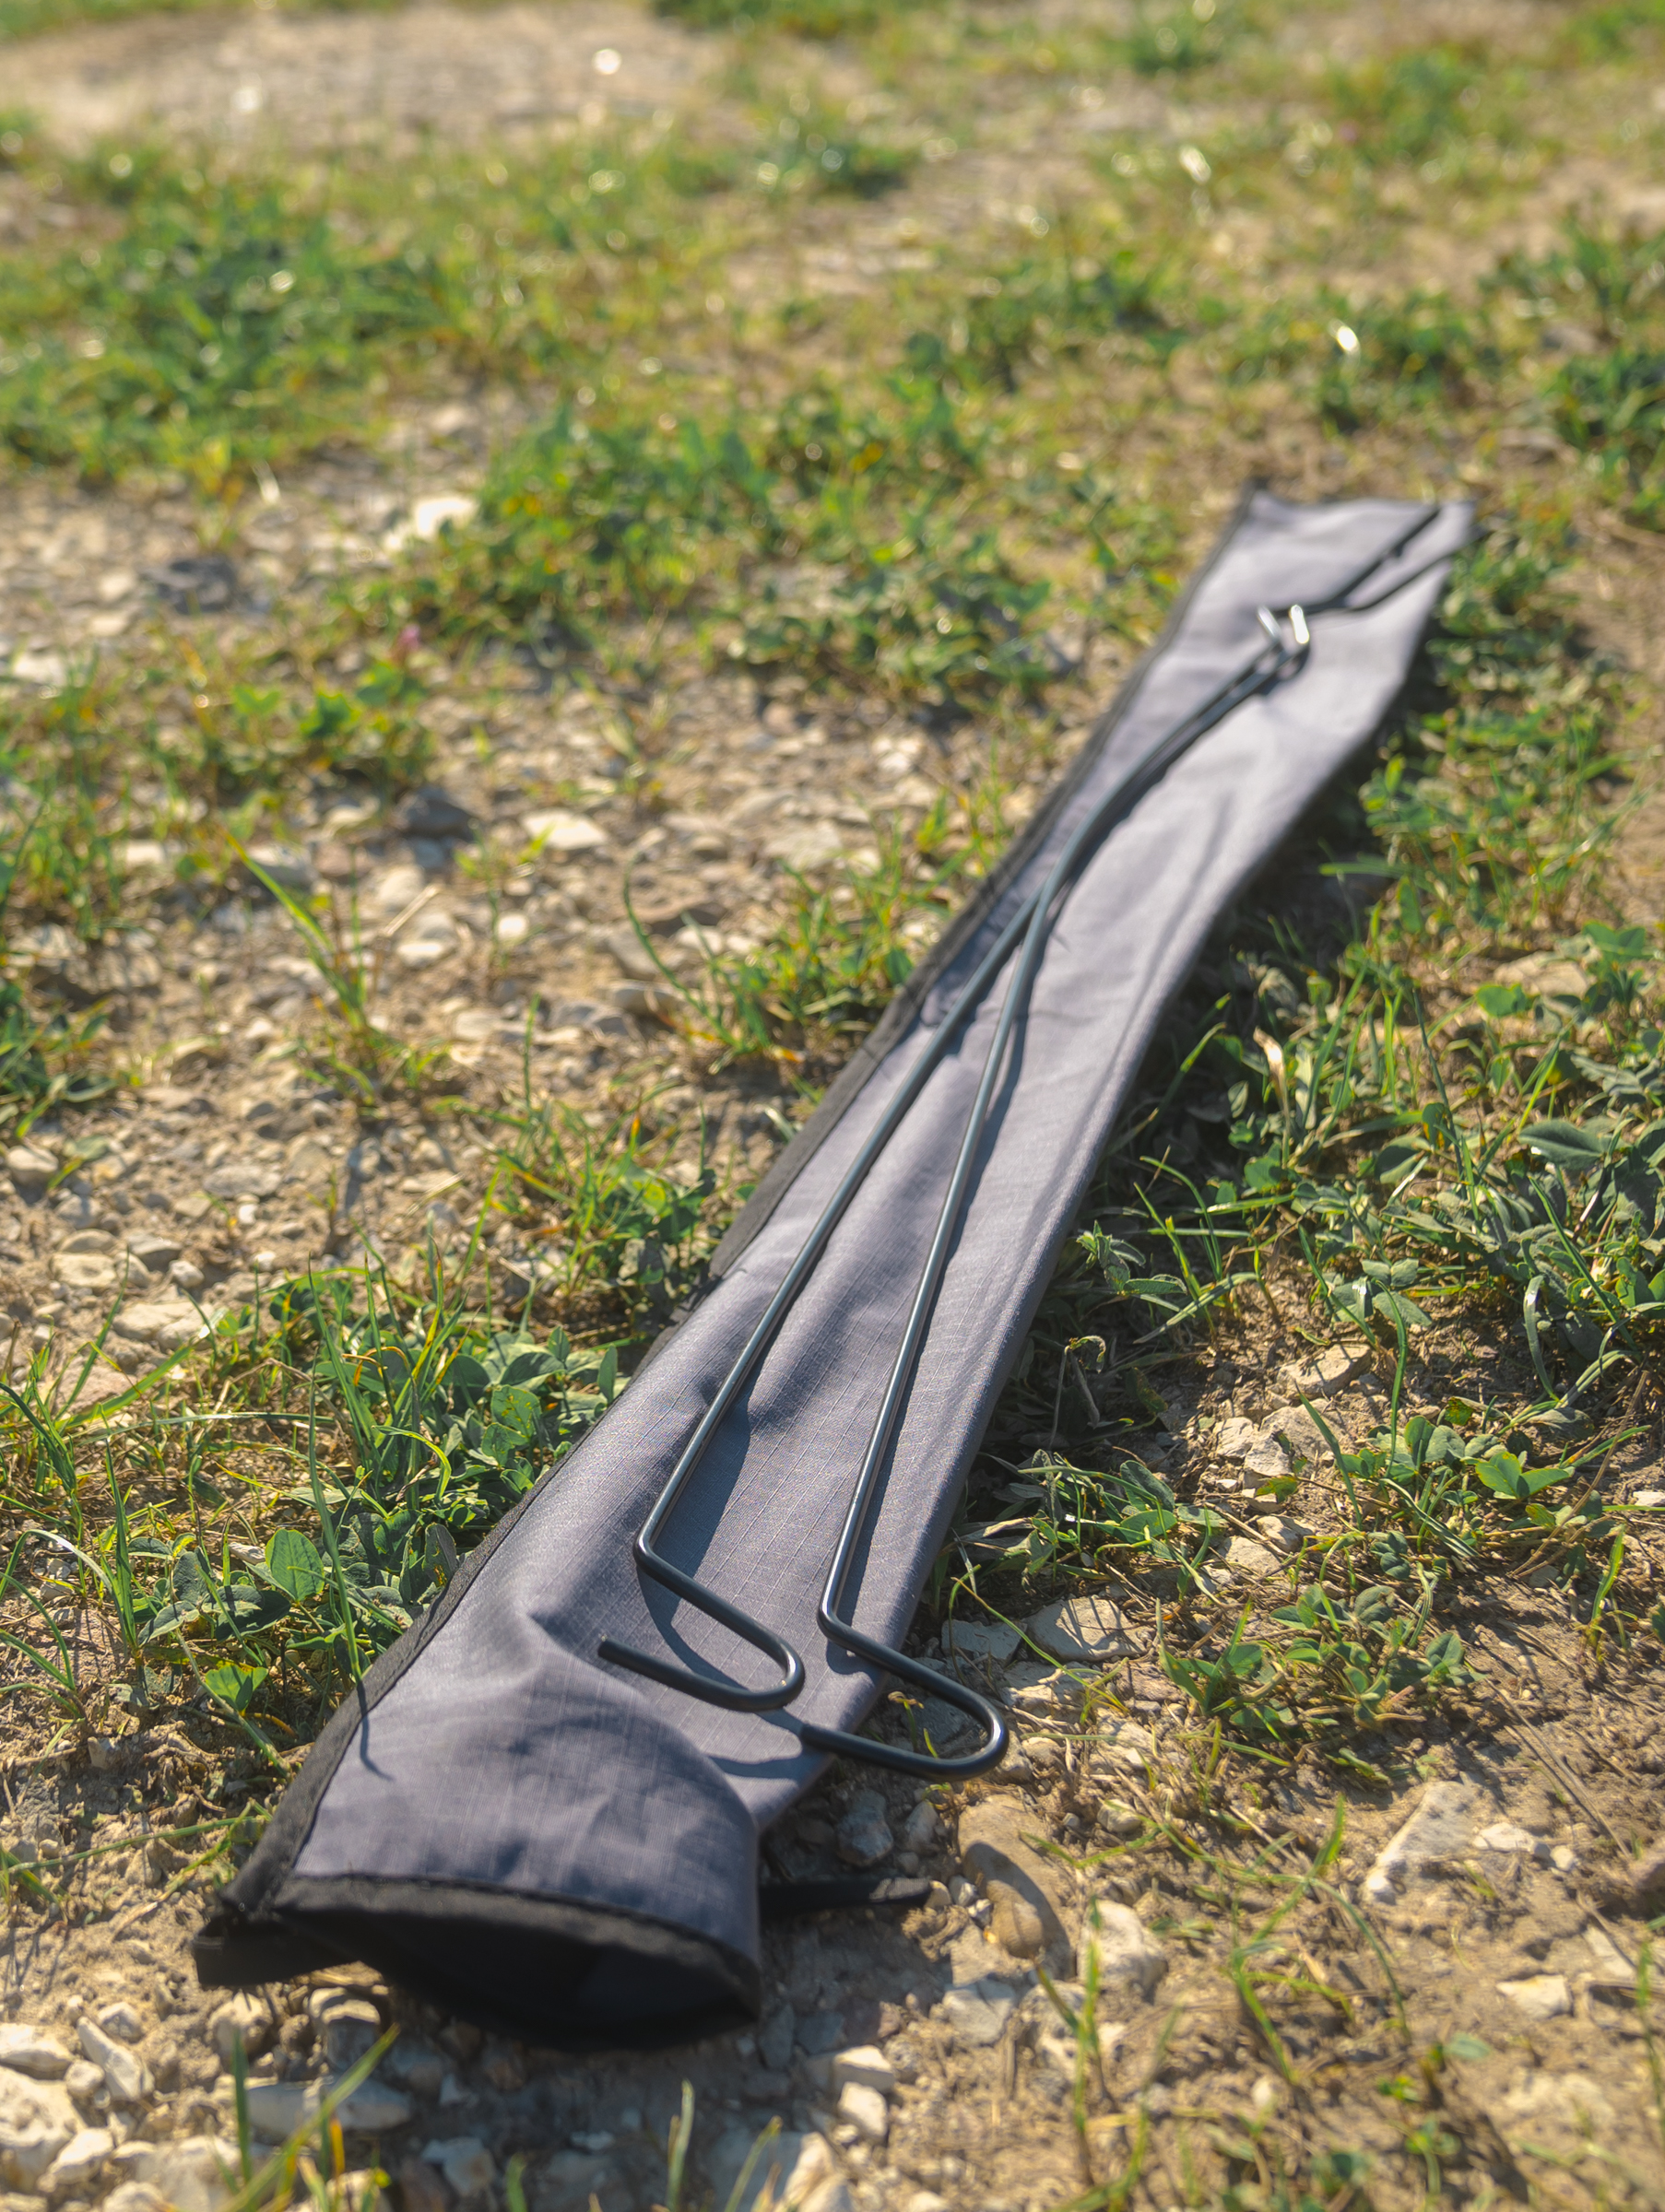
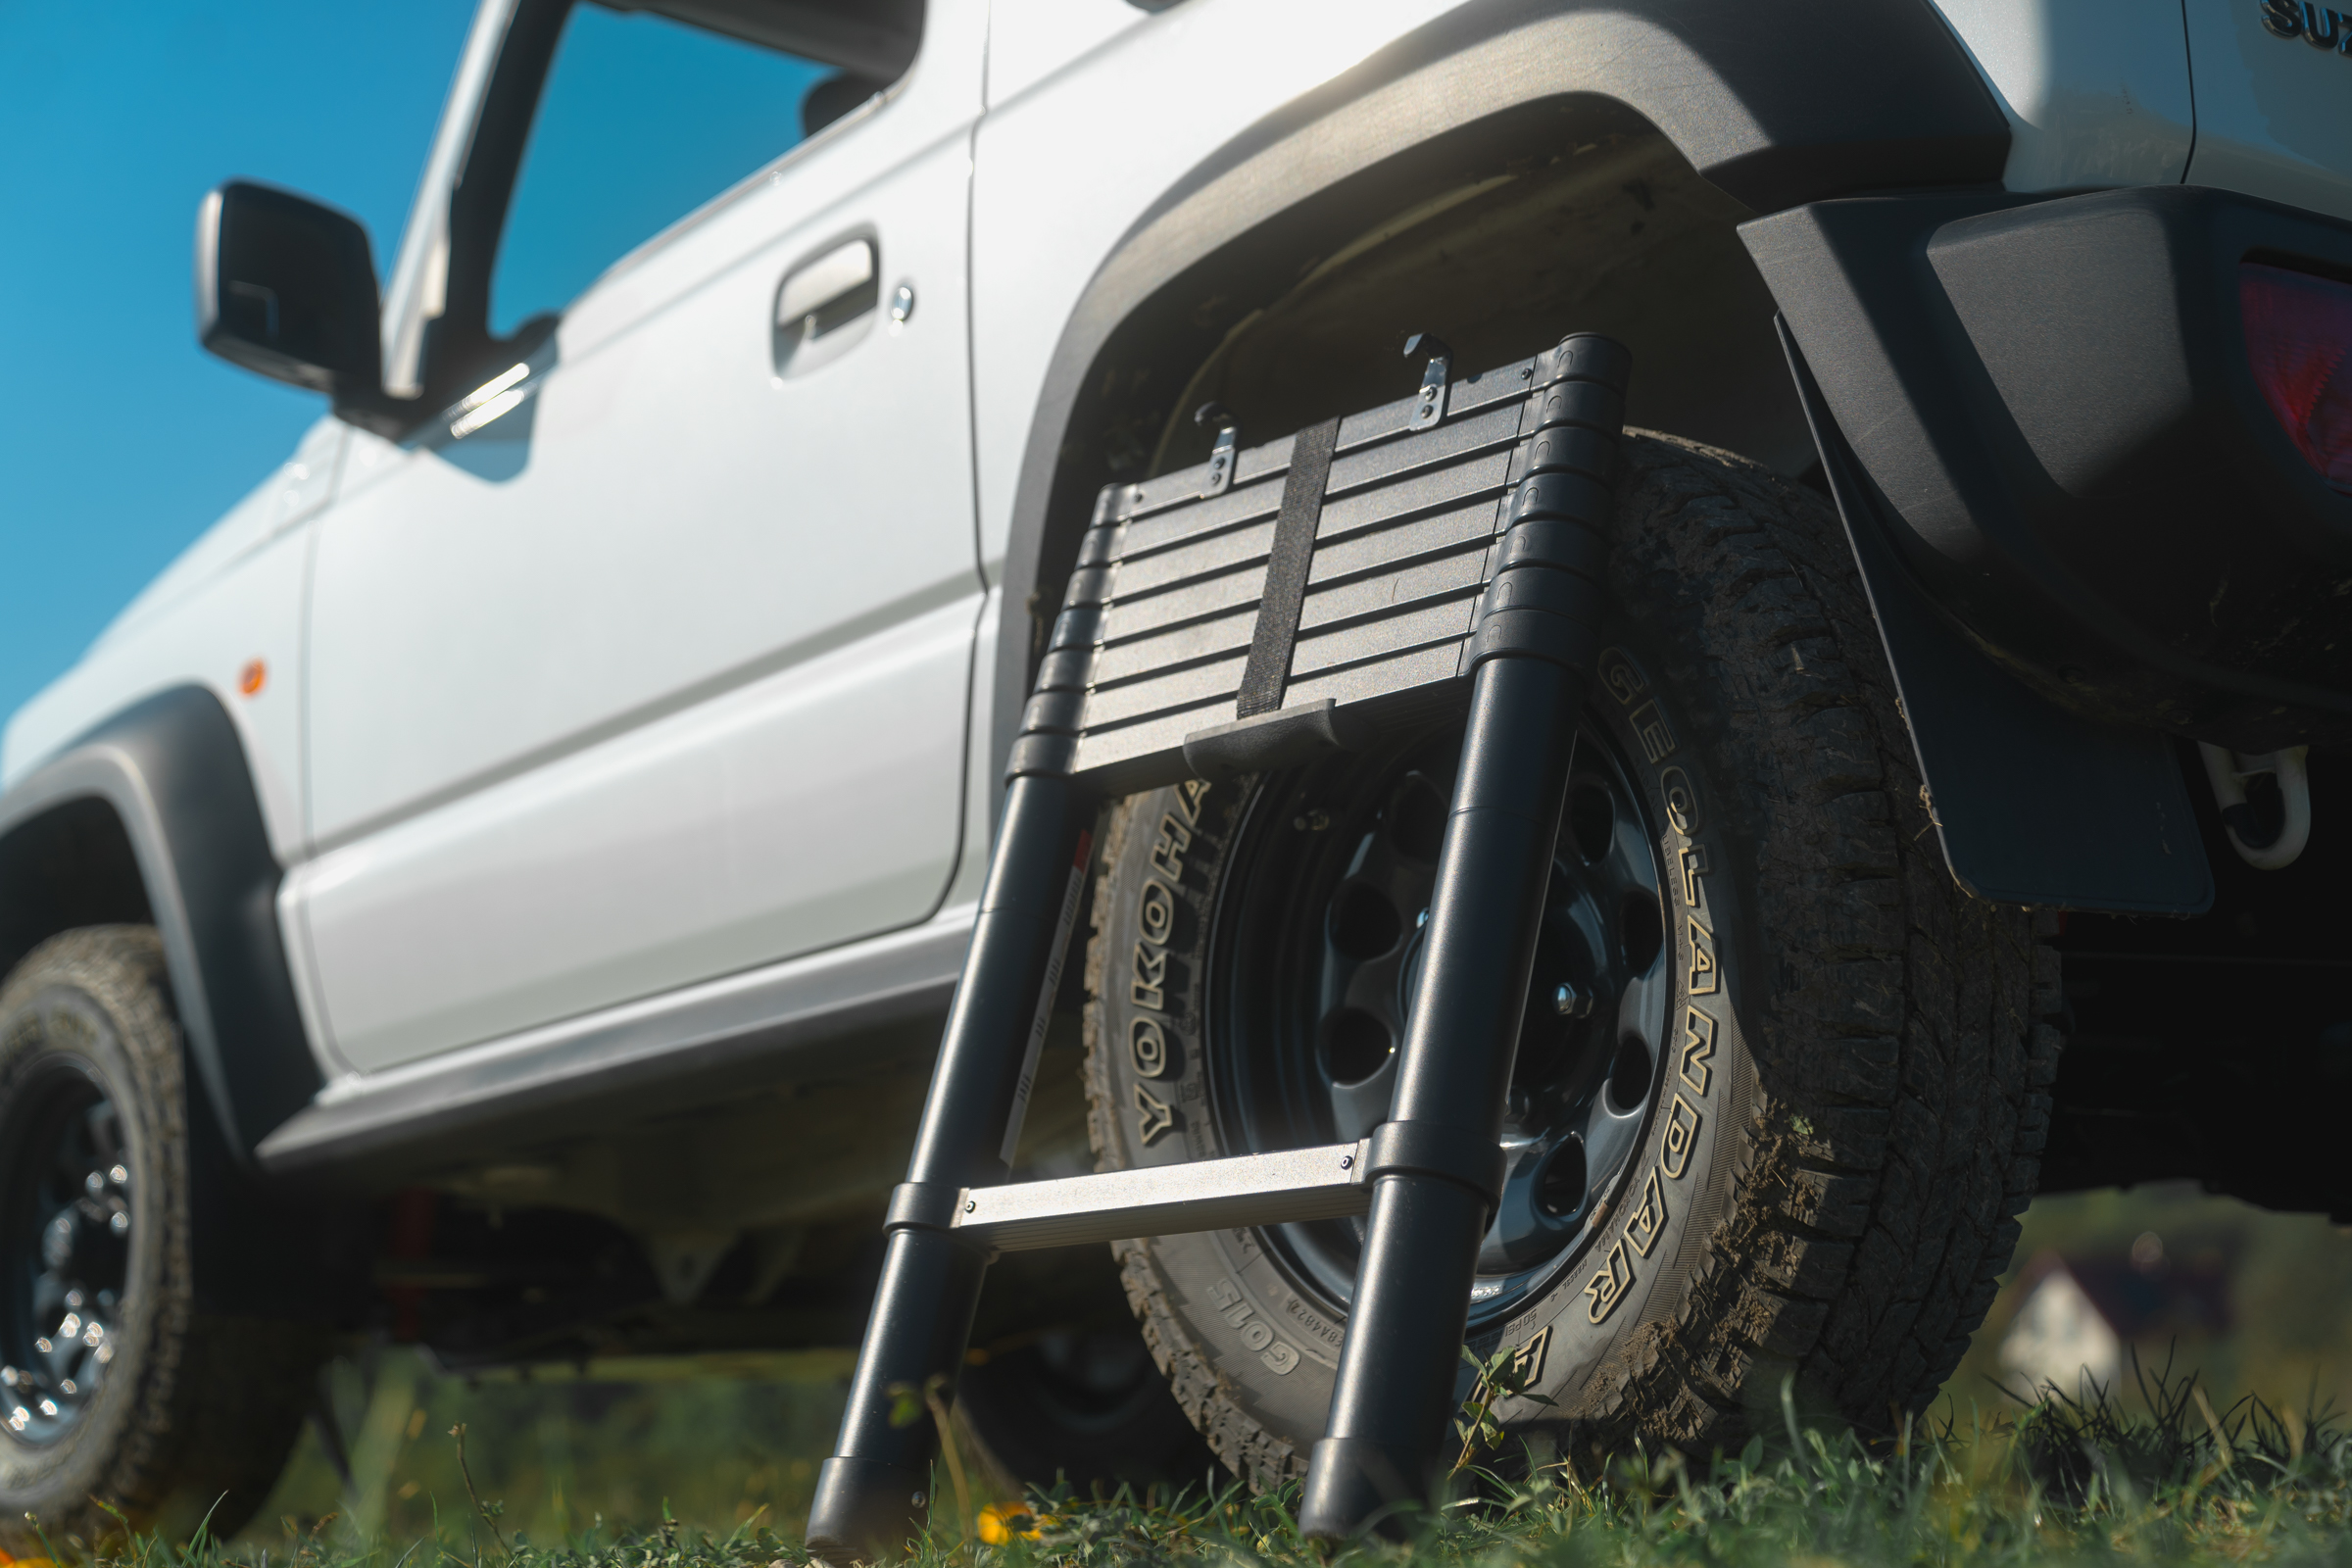
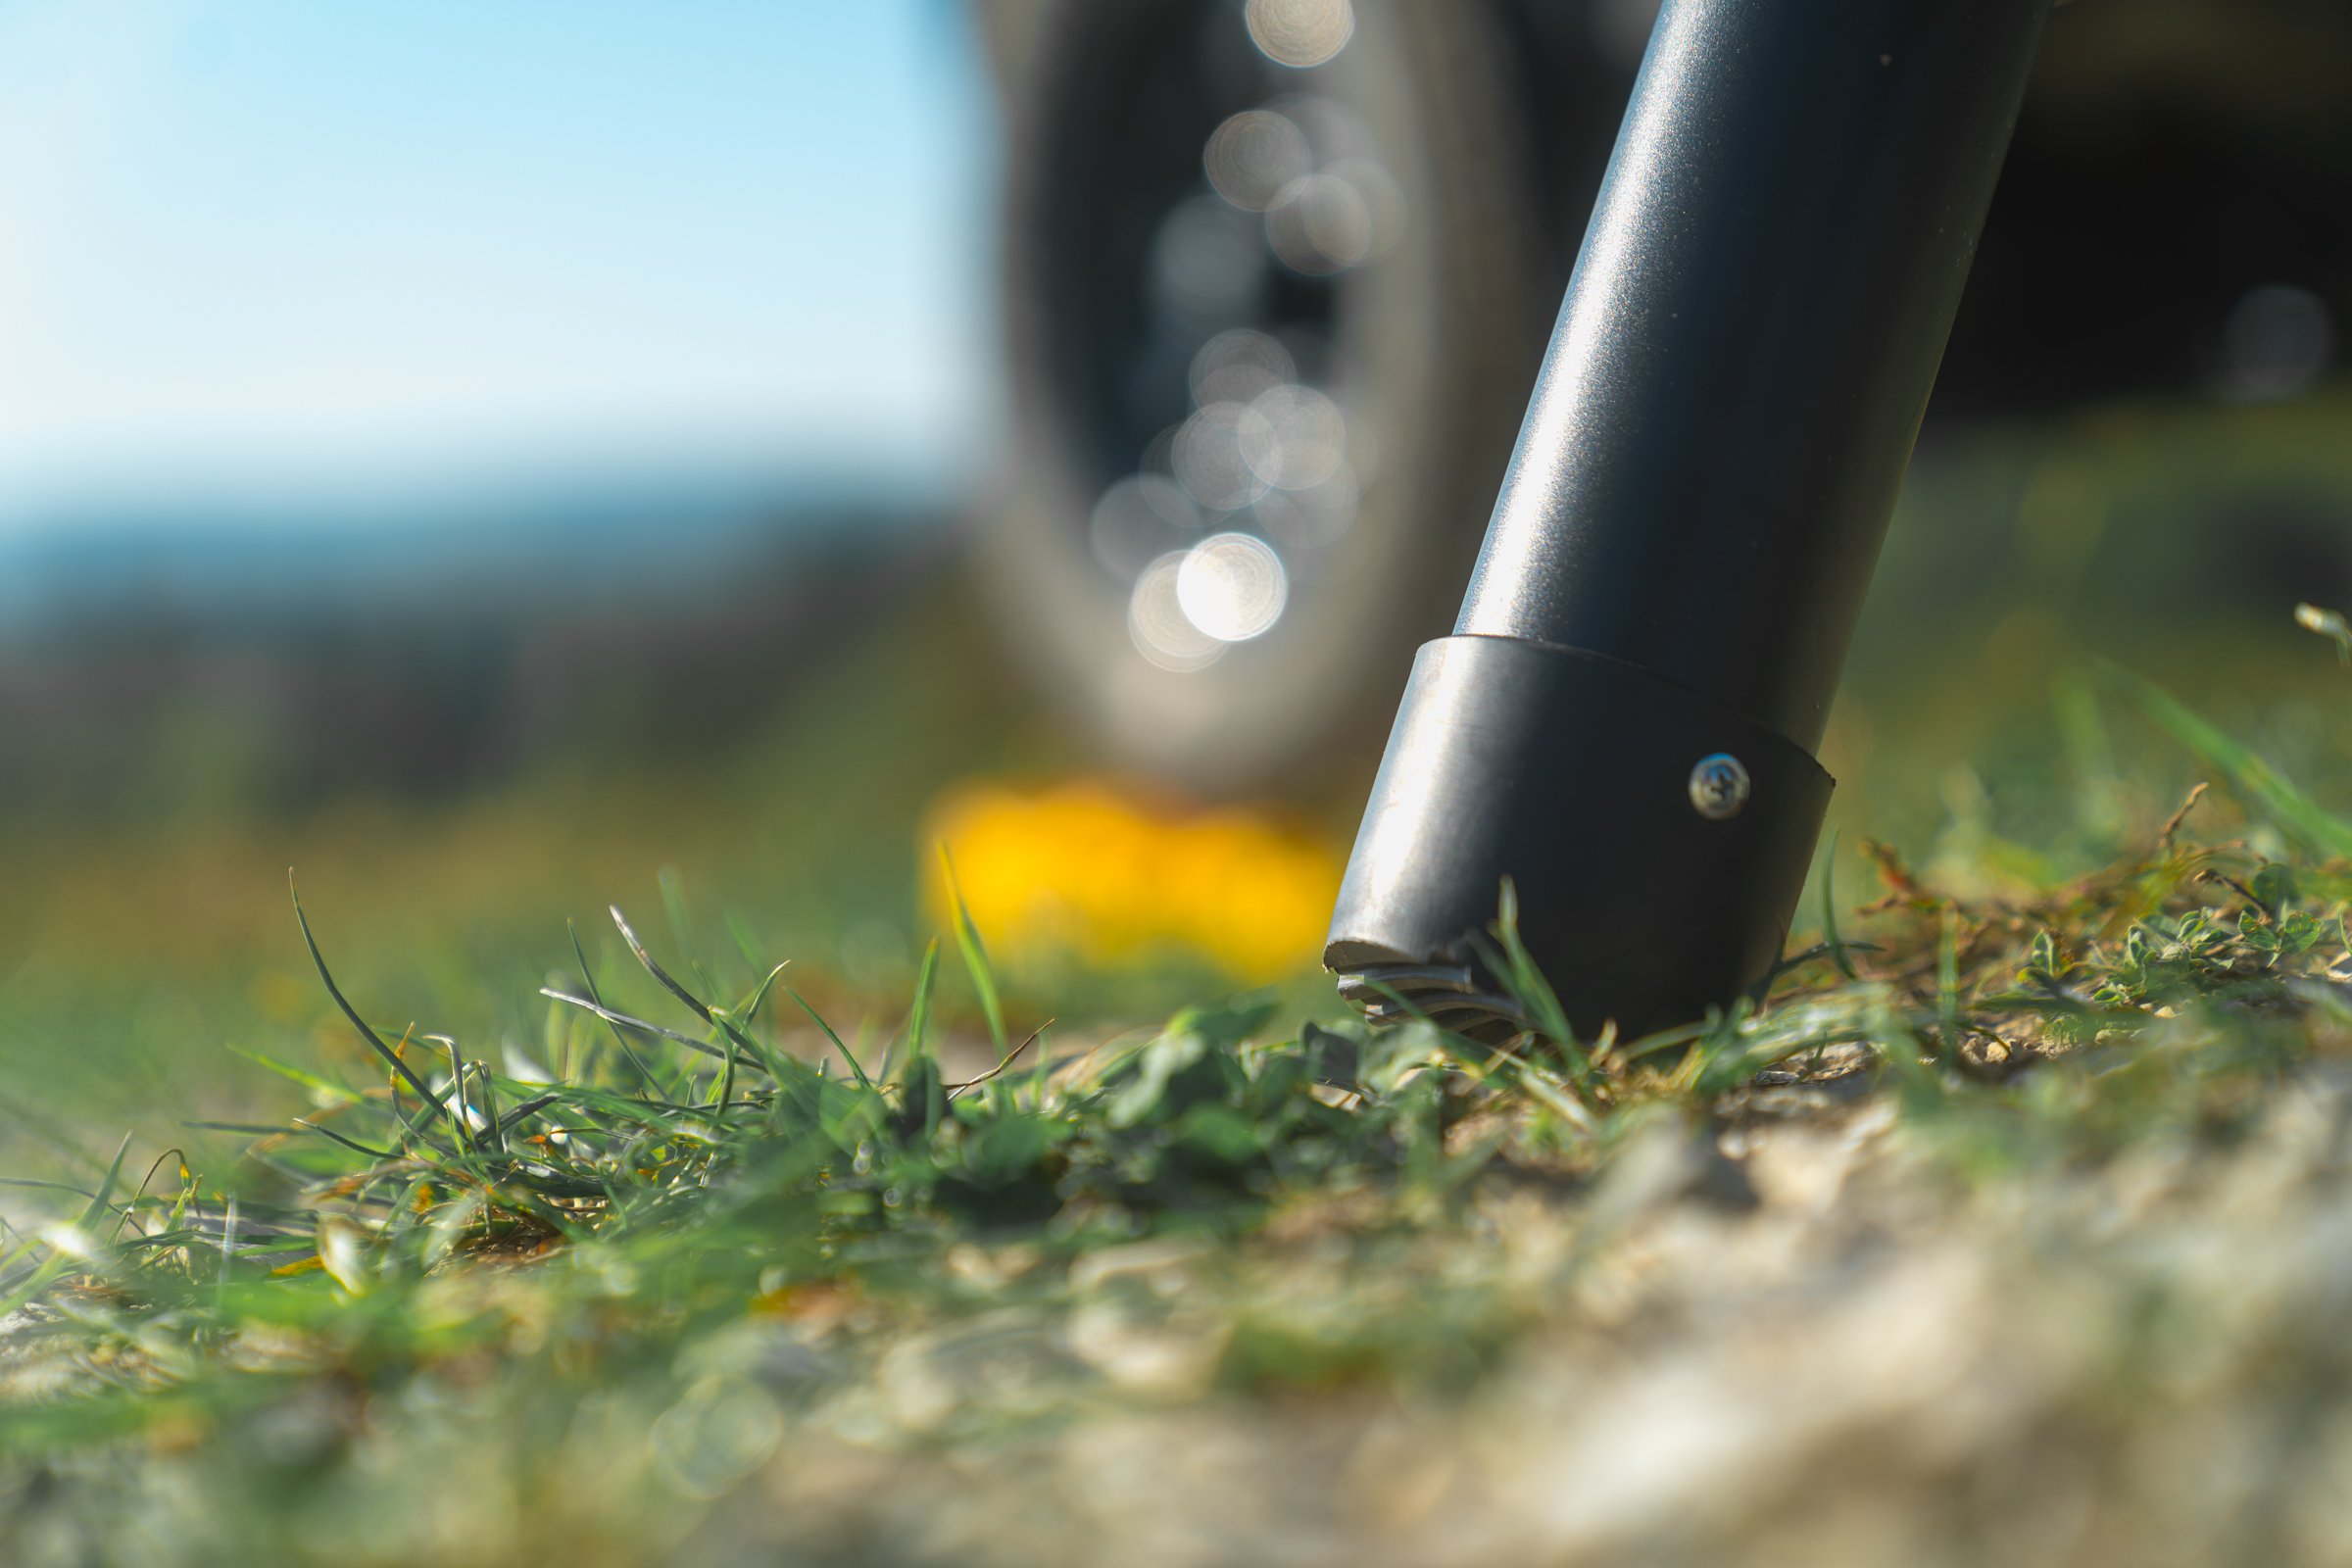
Ladder
The telescopic ladder, with a maximum height of 230 cm, weighs just 6 kg, making it one of the lightest ladders of its kind.
I store the ladder in a cover behind the armchairs instead of inside the tent.
This way, I avoid having a potentially wet or dirty ladder where I sleep. I also don’t have to reach into the tent when folding or unfolding it, which significantly speeds up the process. Plus, I reduce the load on the roof by 6 kg.


The ladder is so quick and easy to use that I will end this topic in the sentence you are reading right now.
Hooks and bags for shoes
The SNAILER Alduo rooftop tent also includes two waterproof bags with mesh bottoms.
These bags are perfect for leaving your dirty or wet shoes in before entering the tent. They’re well-designed to keep moisture from seeping through, even during heavy downpours, while allowing wet shoes to drip and dry through the mesh.

Summary
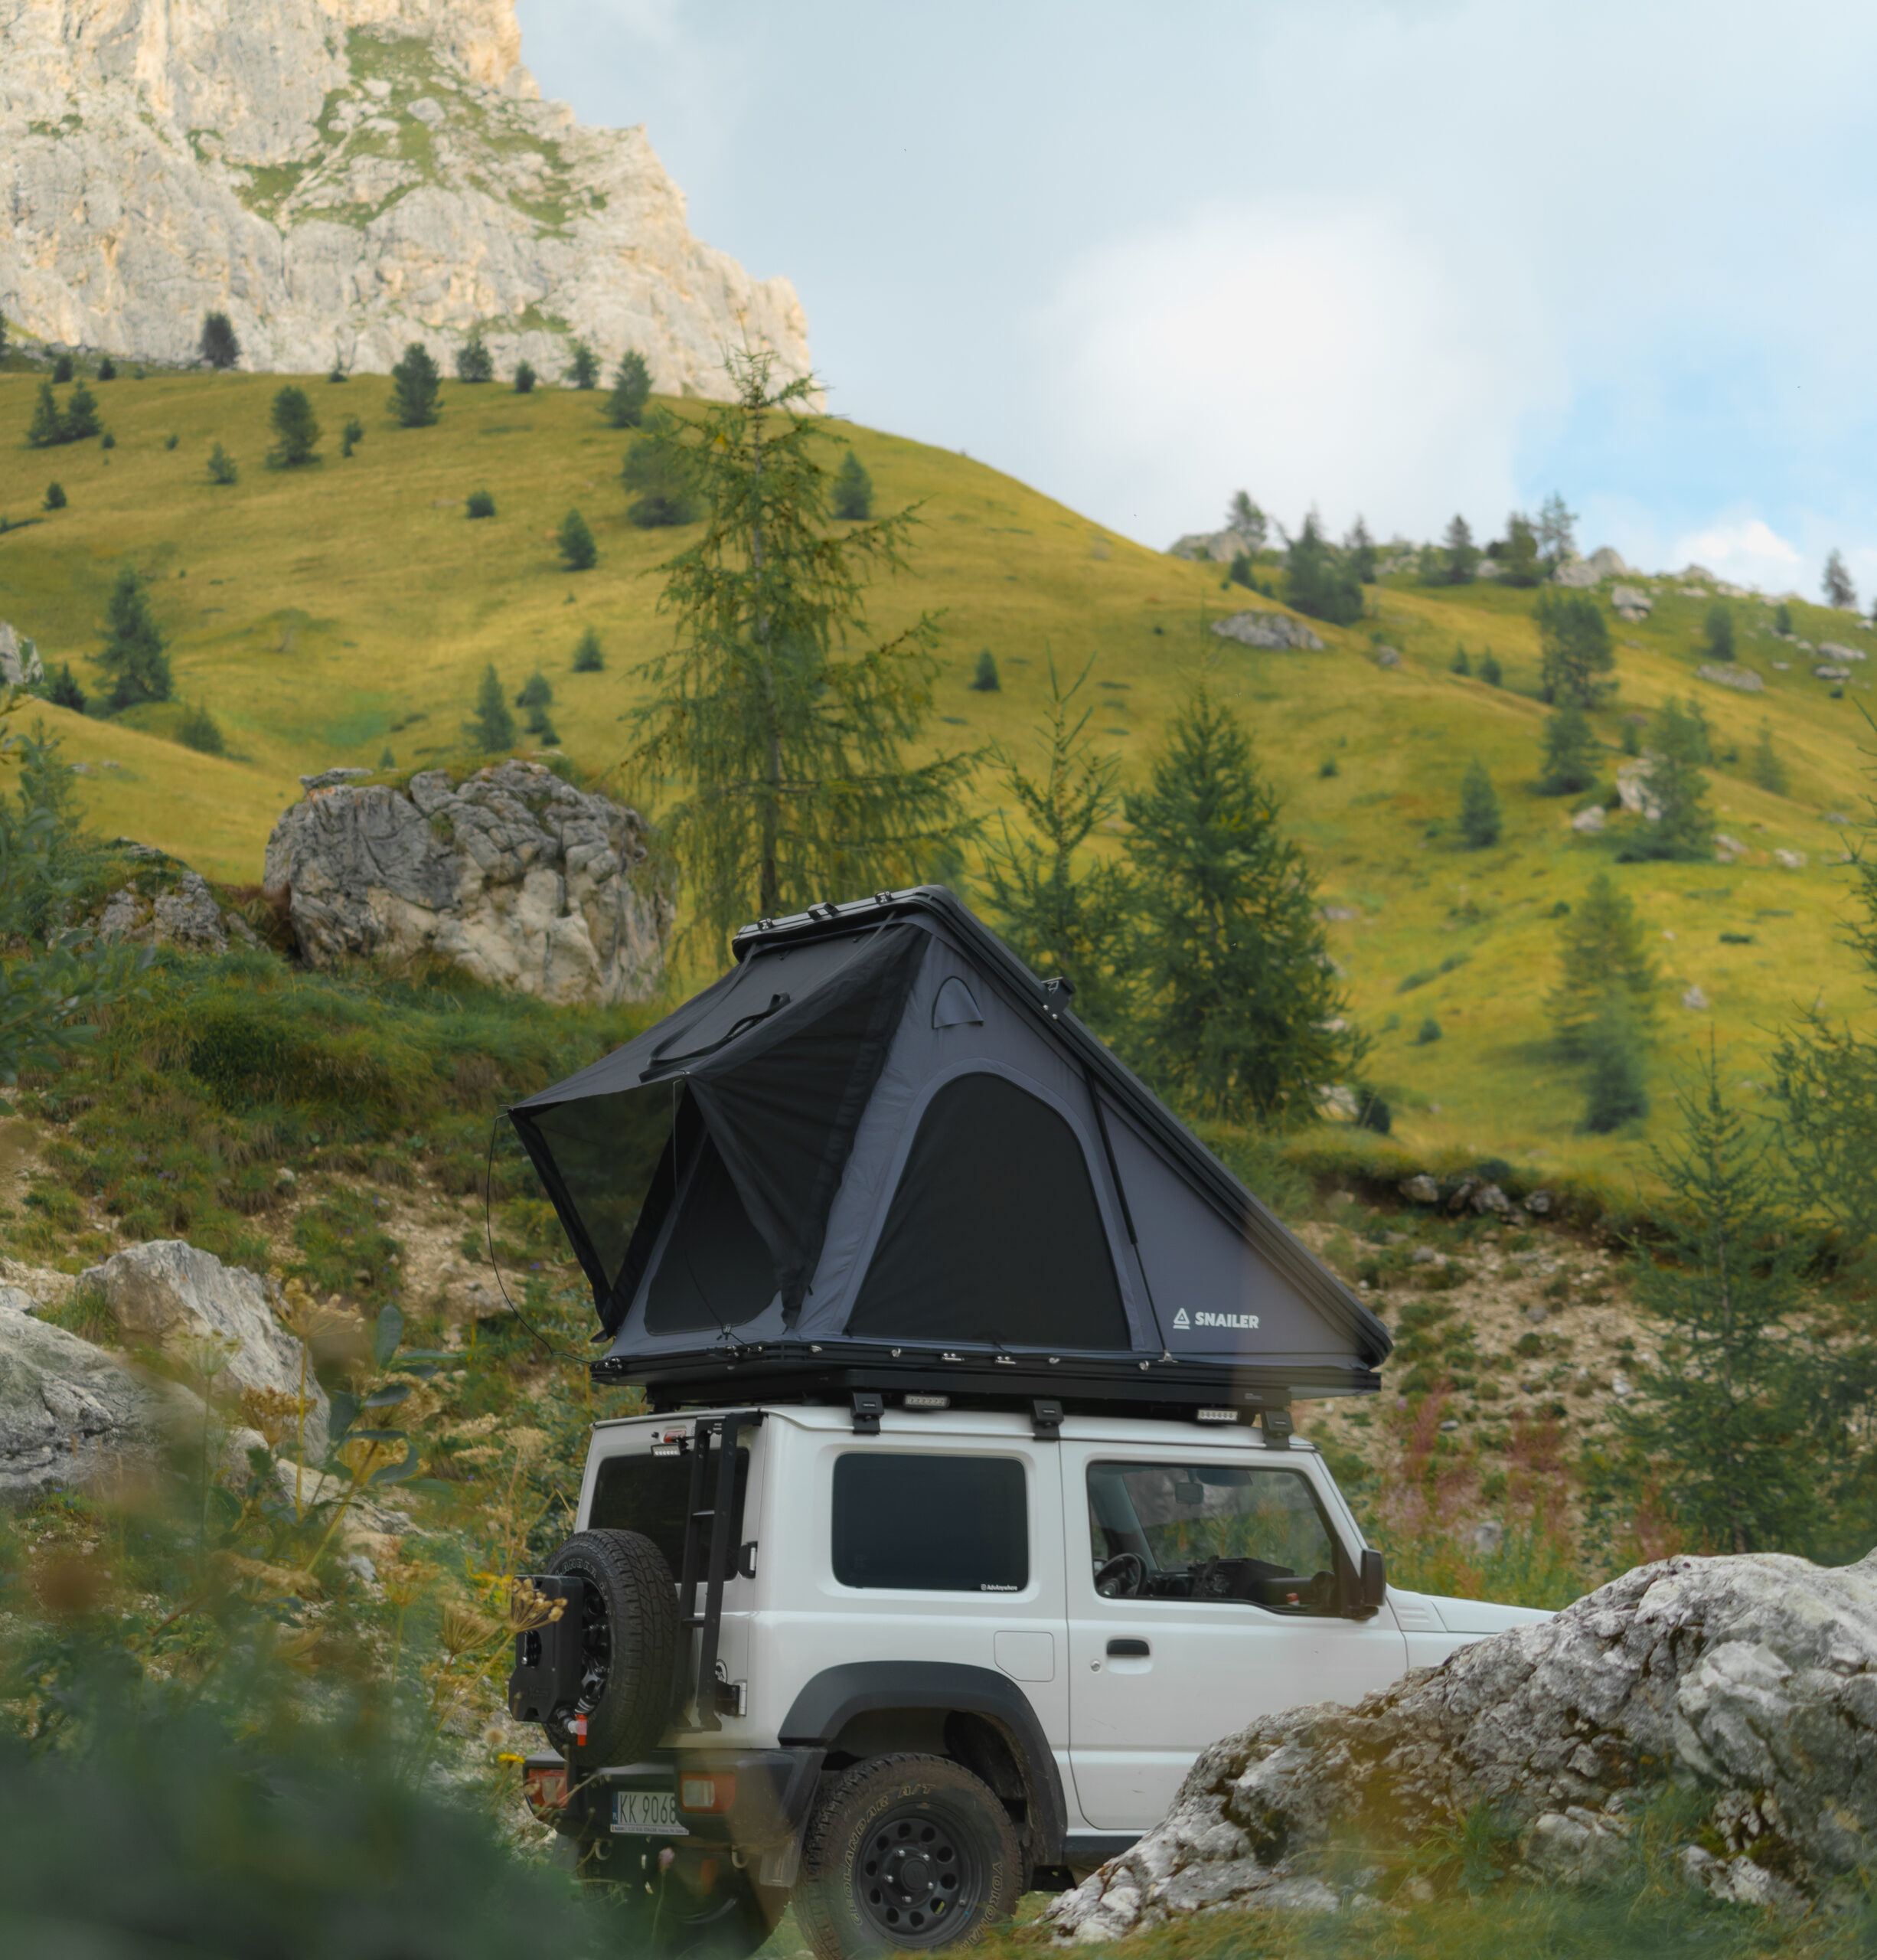
A rooftop tent on an off-road vehicle is not just the beginning of a completely different style of traveling; it also enhances comfort and saves time.
Why choose the SNAILER Alduo? After reading this review, I hope you understand why. For a long time, I tried to convince myself to go for a “soft tent,” but the numerous advantages of a hard-shell tent ultimately led me to choose the SNAILER Alduo. It’s incredibly well thought out, refined, and offered at an affordable price.
The tested tent will remain in my small off-road vehicle for good. If this article has helped you decide whether to get a rooftop tent and which one to choose, I can confidently recommend the Alduo model from SNAILER, which I have thoroughly tested: https://snailer.eu/roof-tents/1-snailer-alduo-rooftop-tent.html
SNAILER Tents
Get €100 off when you buy a Snailer tent!
Use promo code: ADVANYWHERE
Top-quality rooftop tents that elevate your camping experience to new heights. These durable hardshell rooftop tents, designed in Slovakia, feature locally manufactured, extra-thick mattresses for the ultimate sleep experience.
My review of the Alduo Rooftop Tent:
SNAILER Alduo Rooftop tent – review
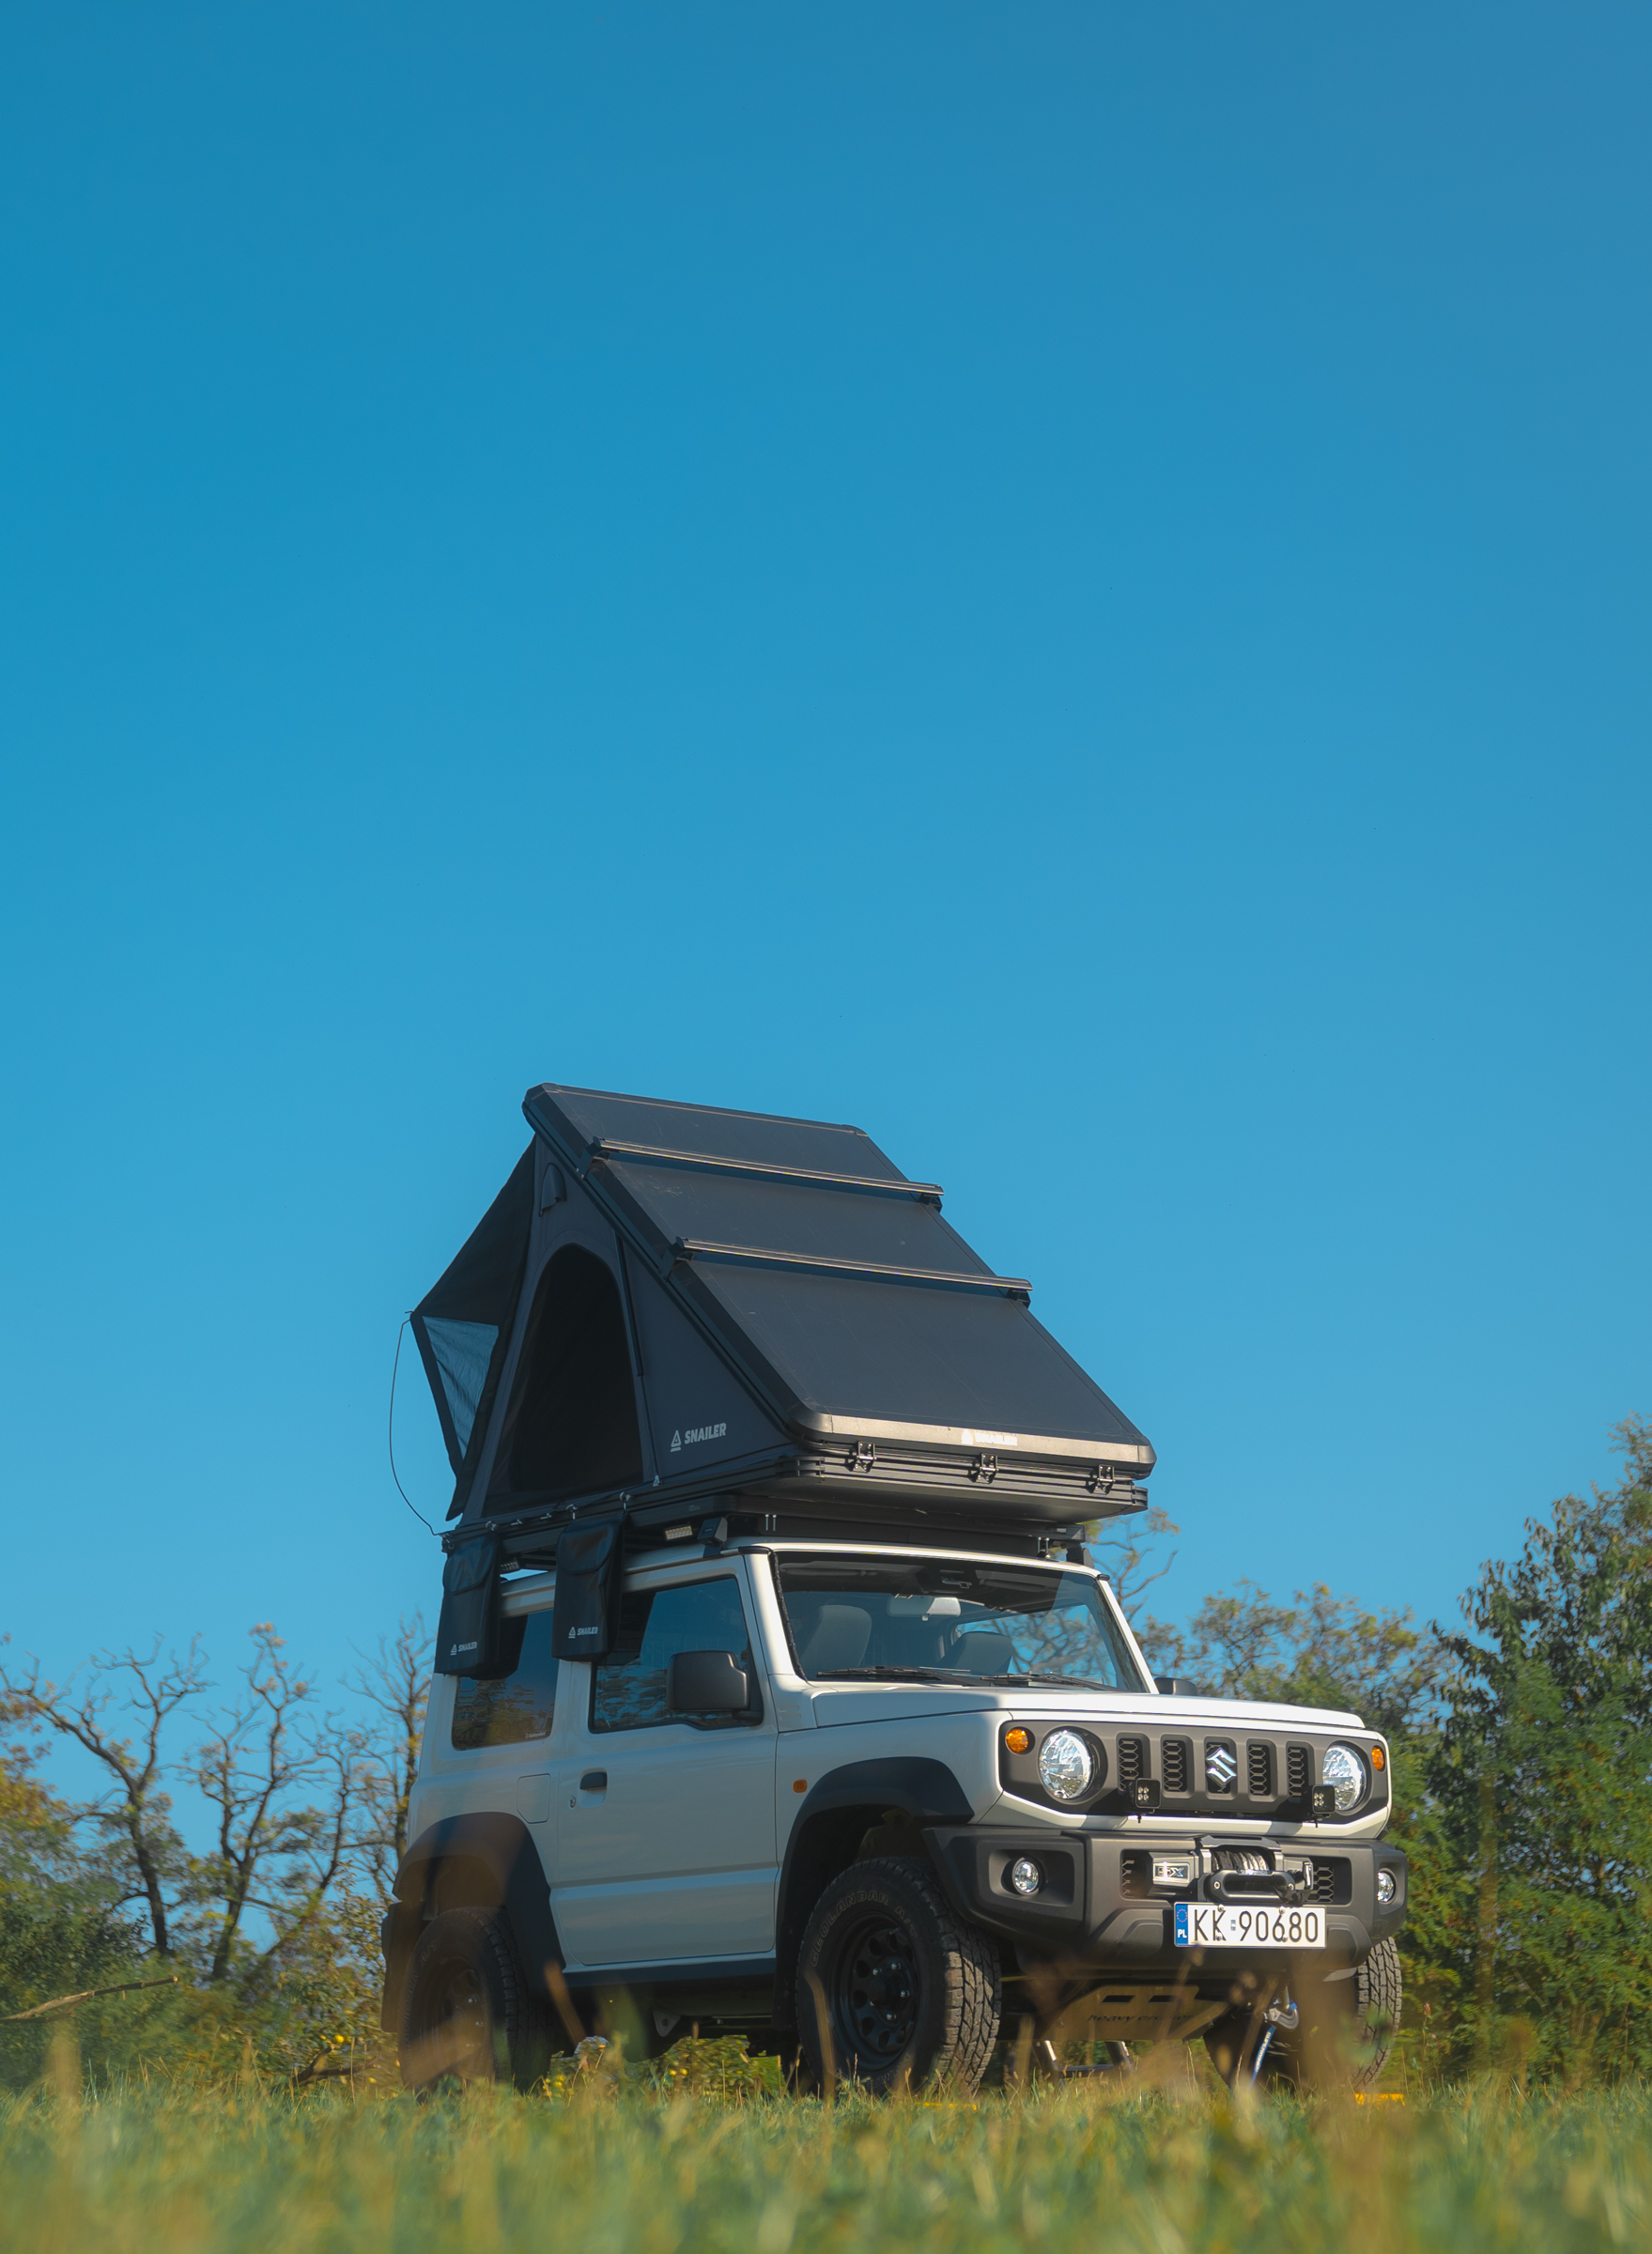
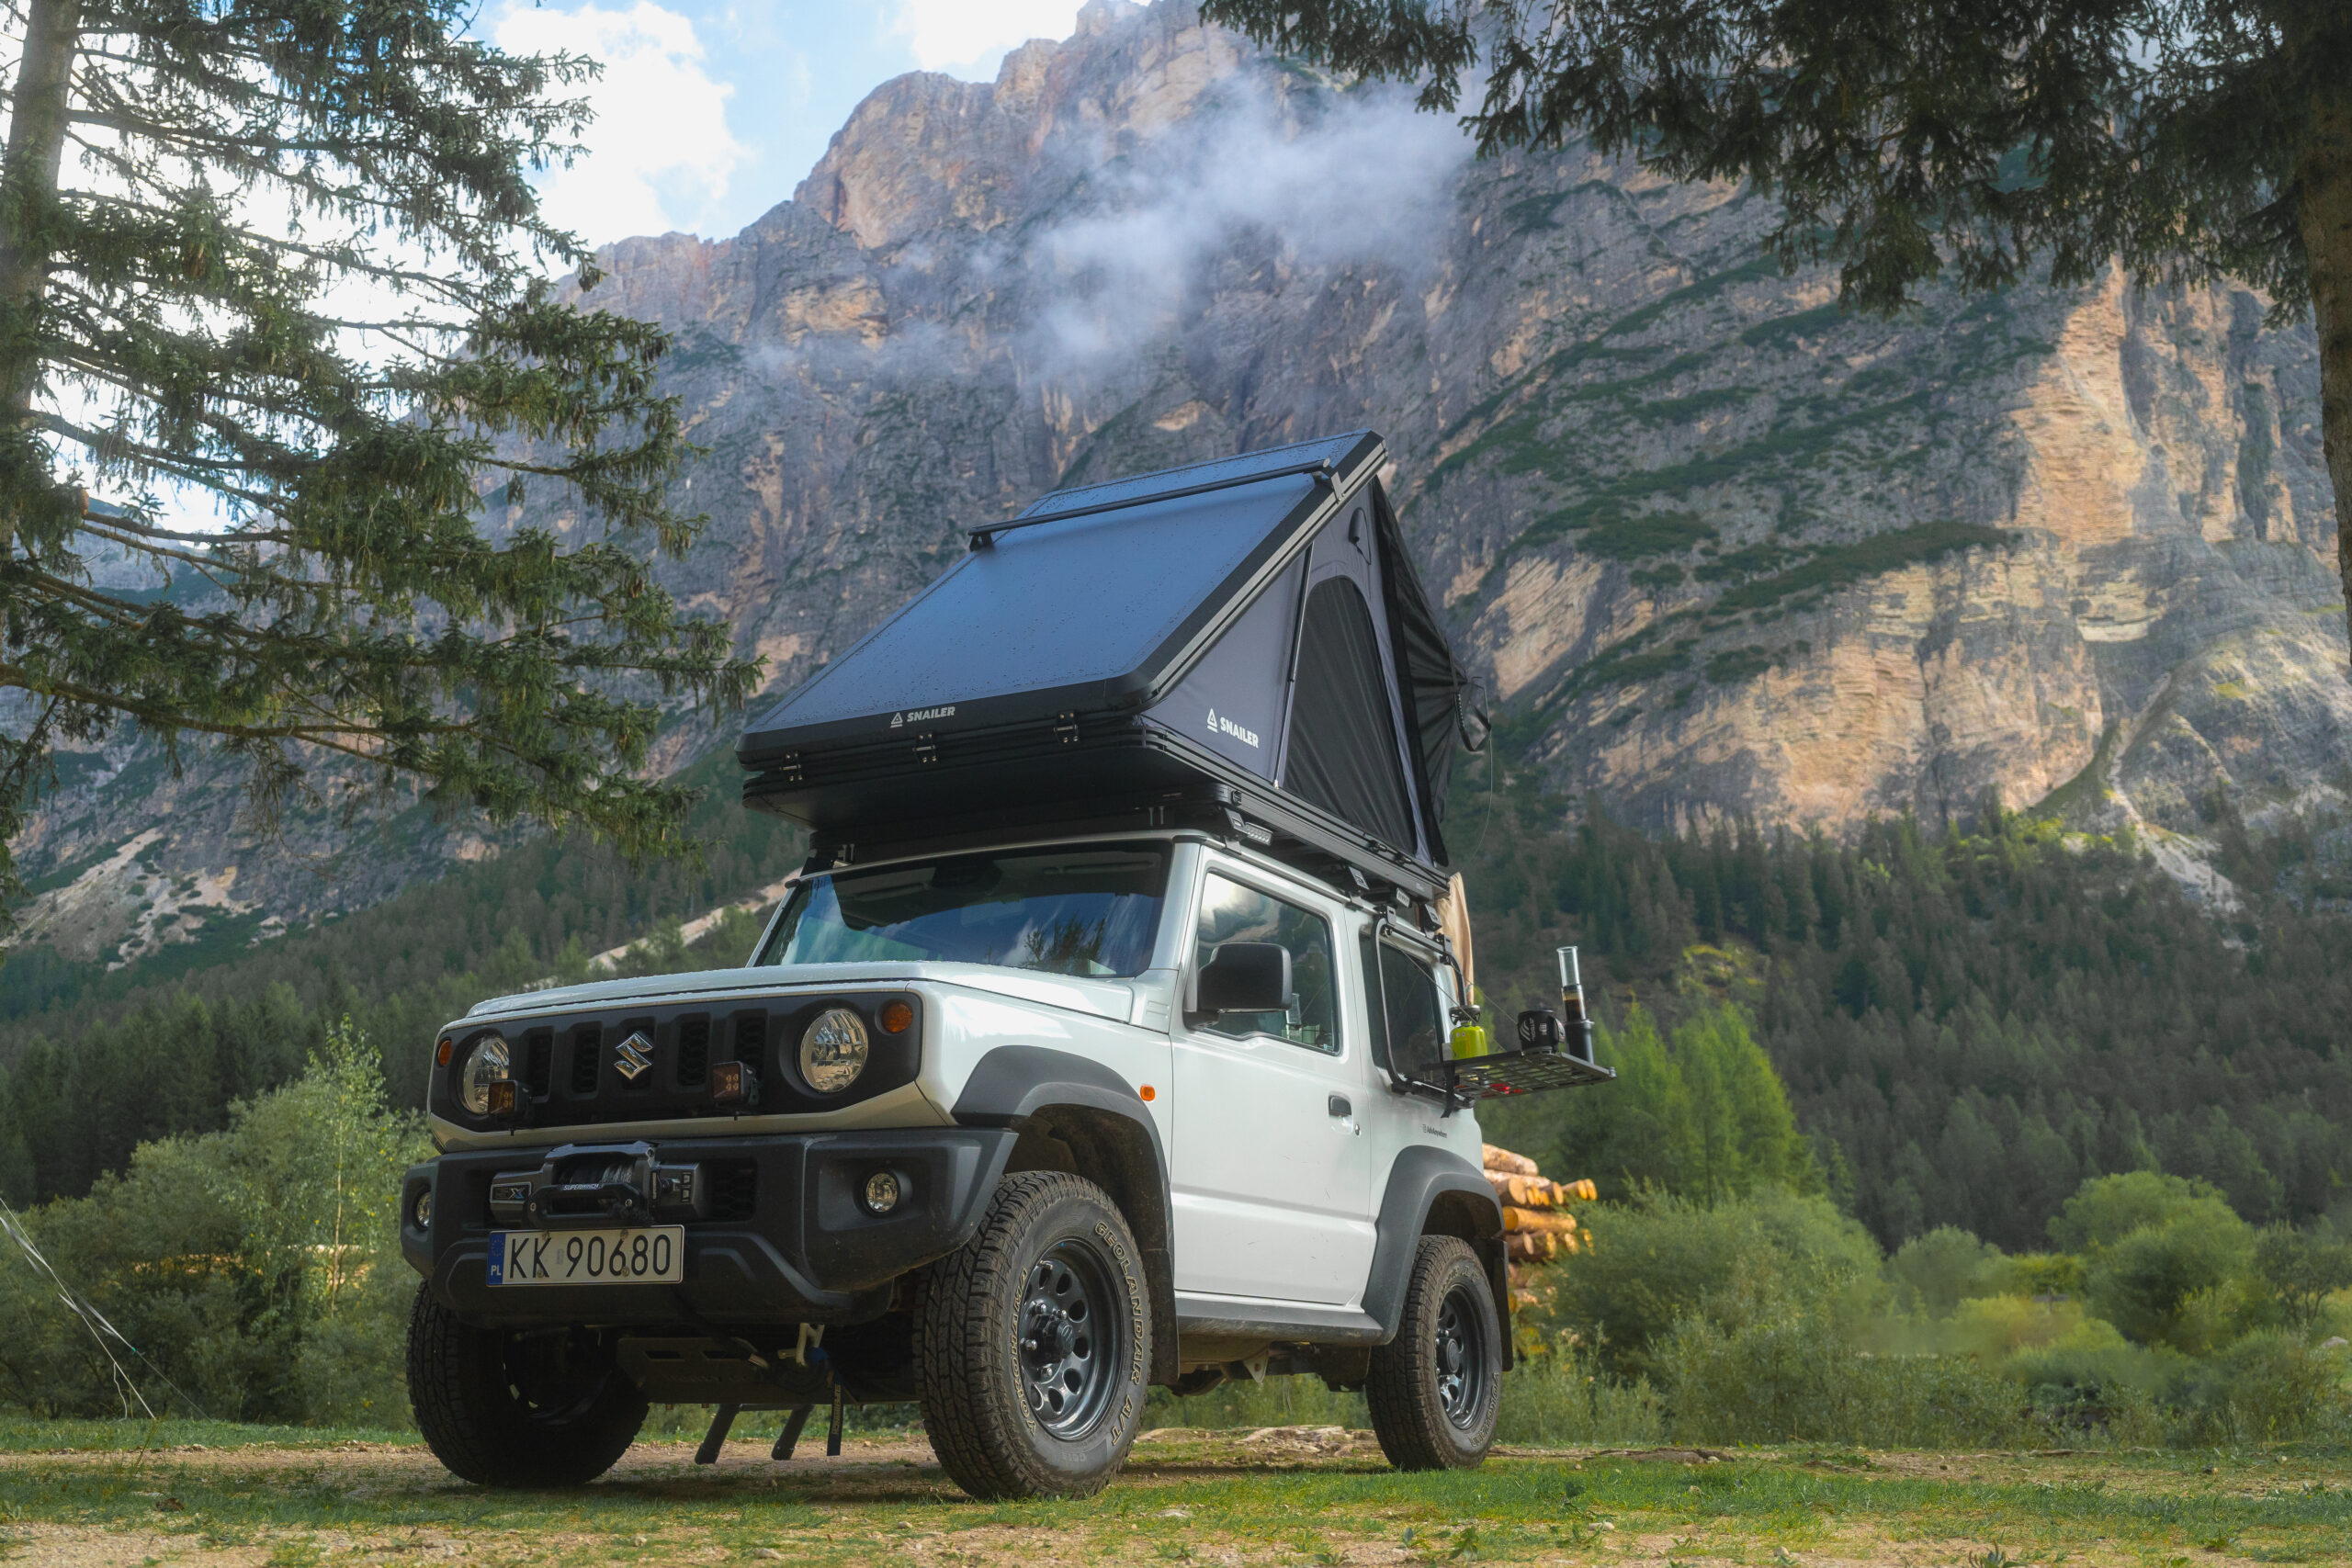
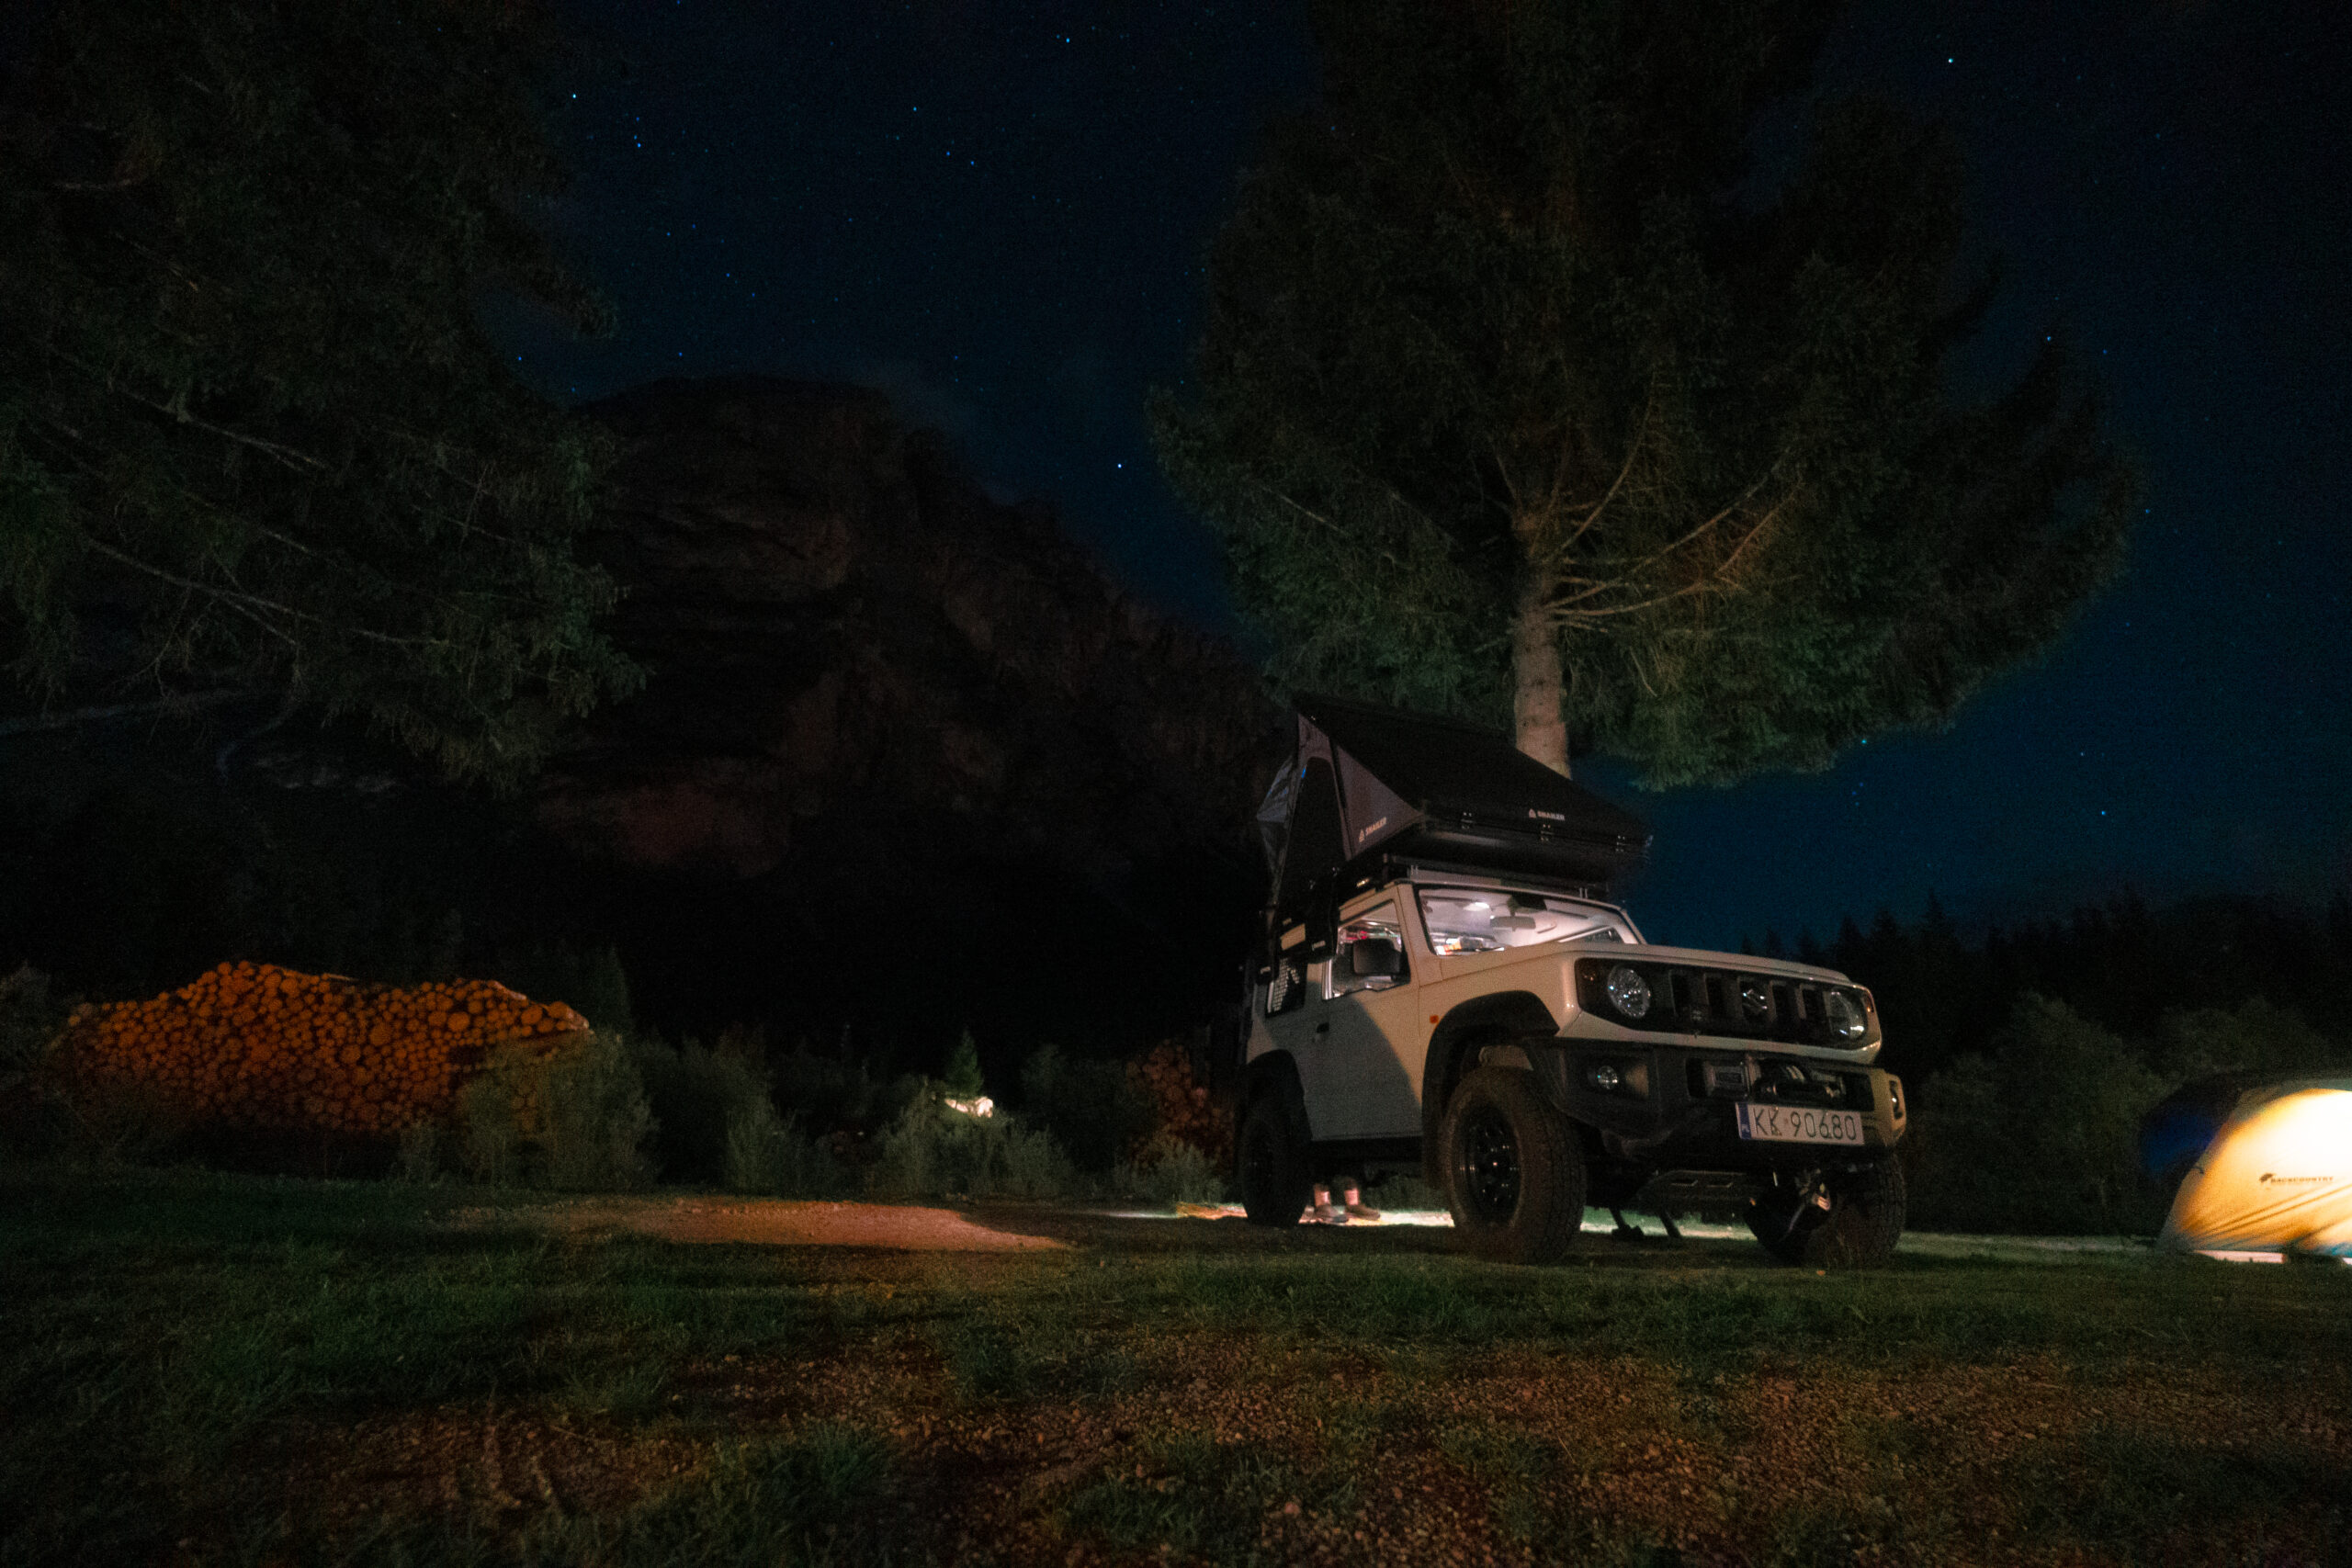
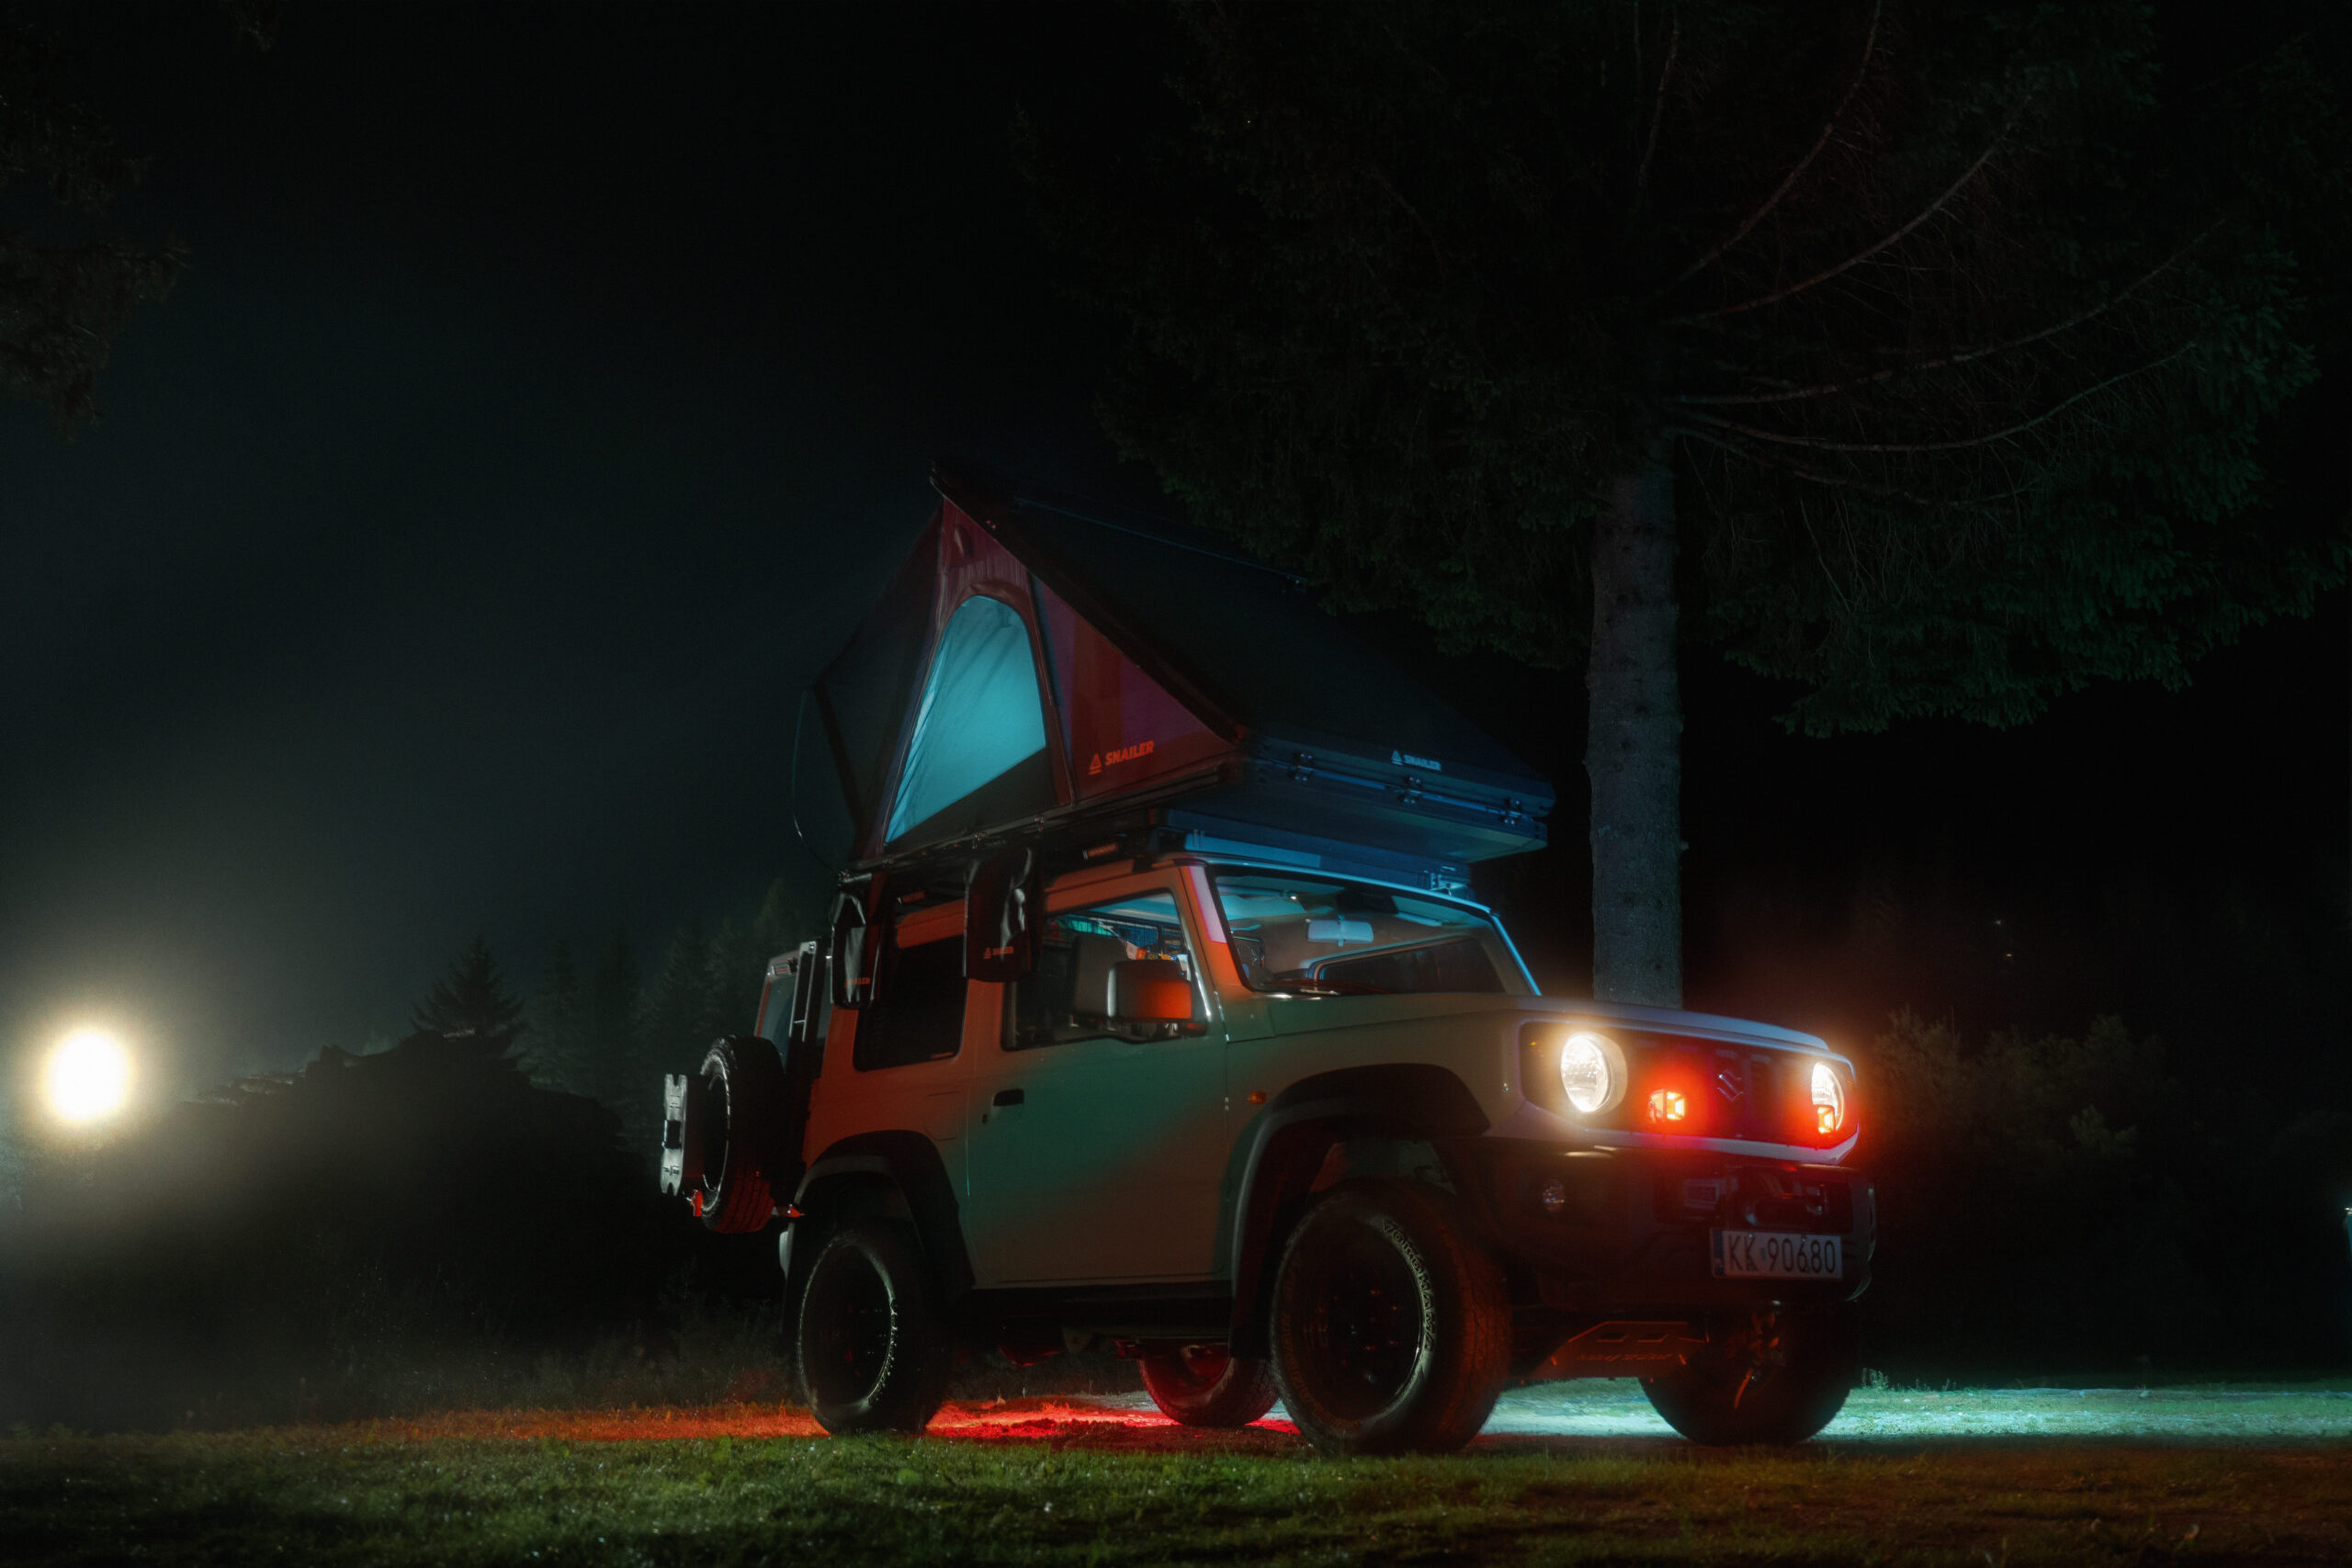
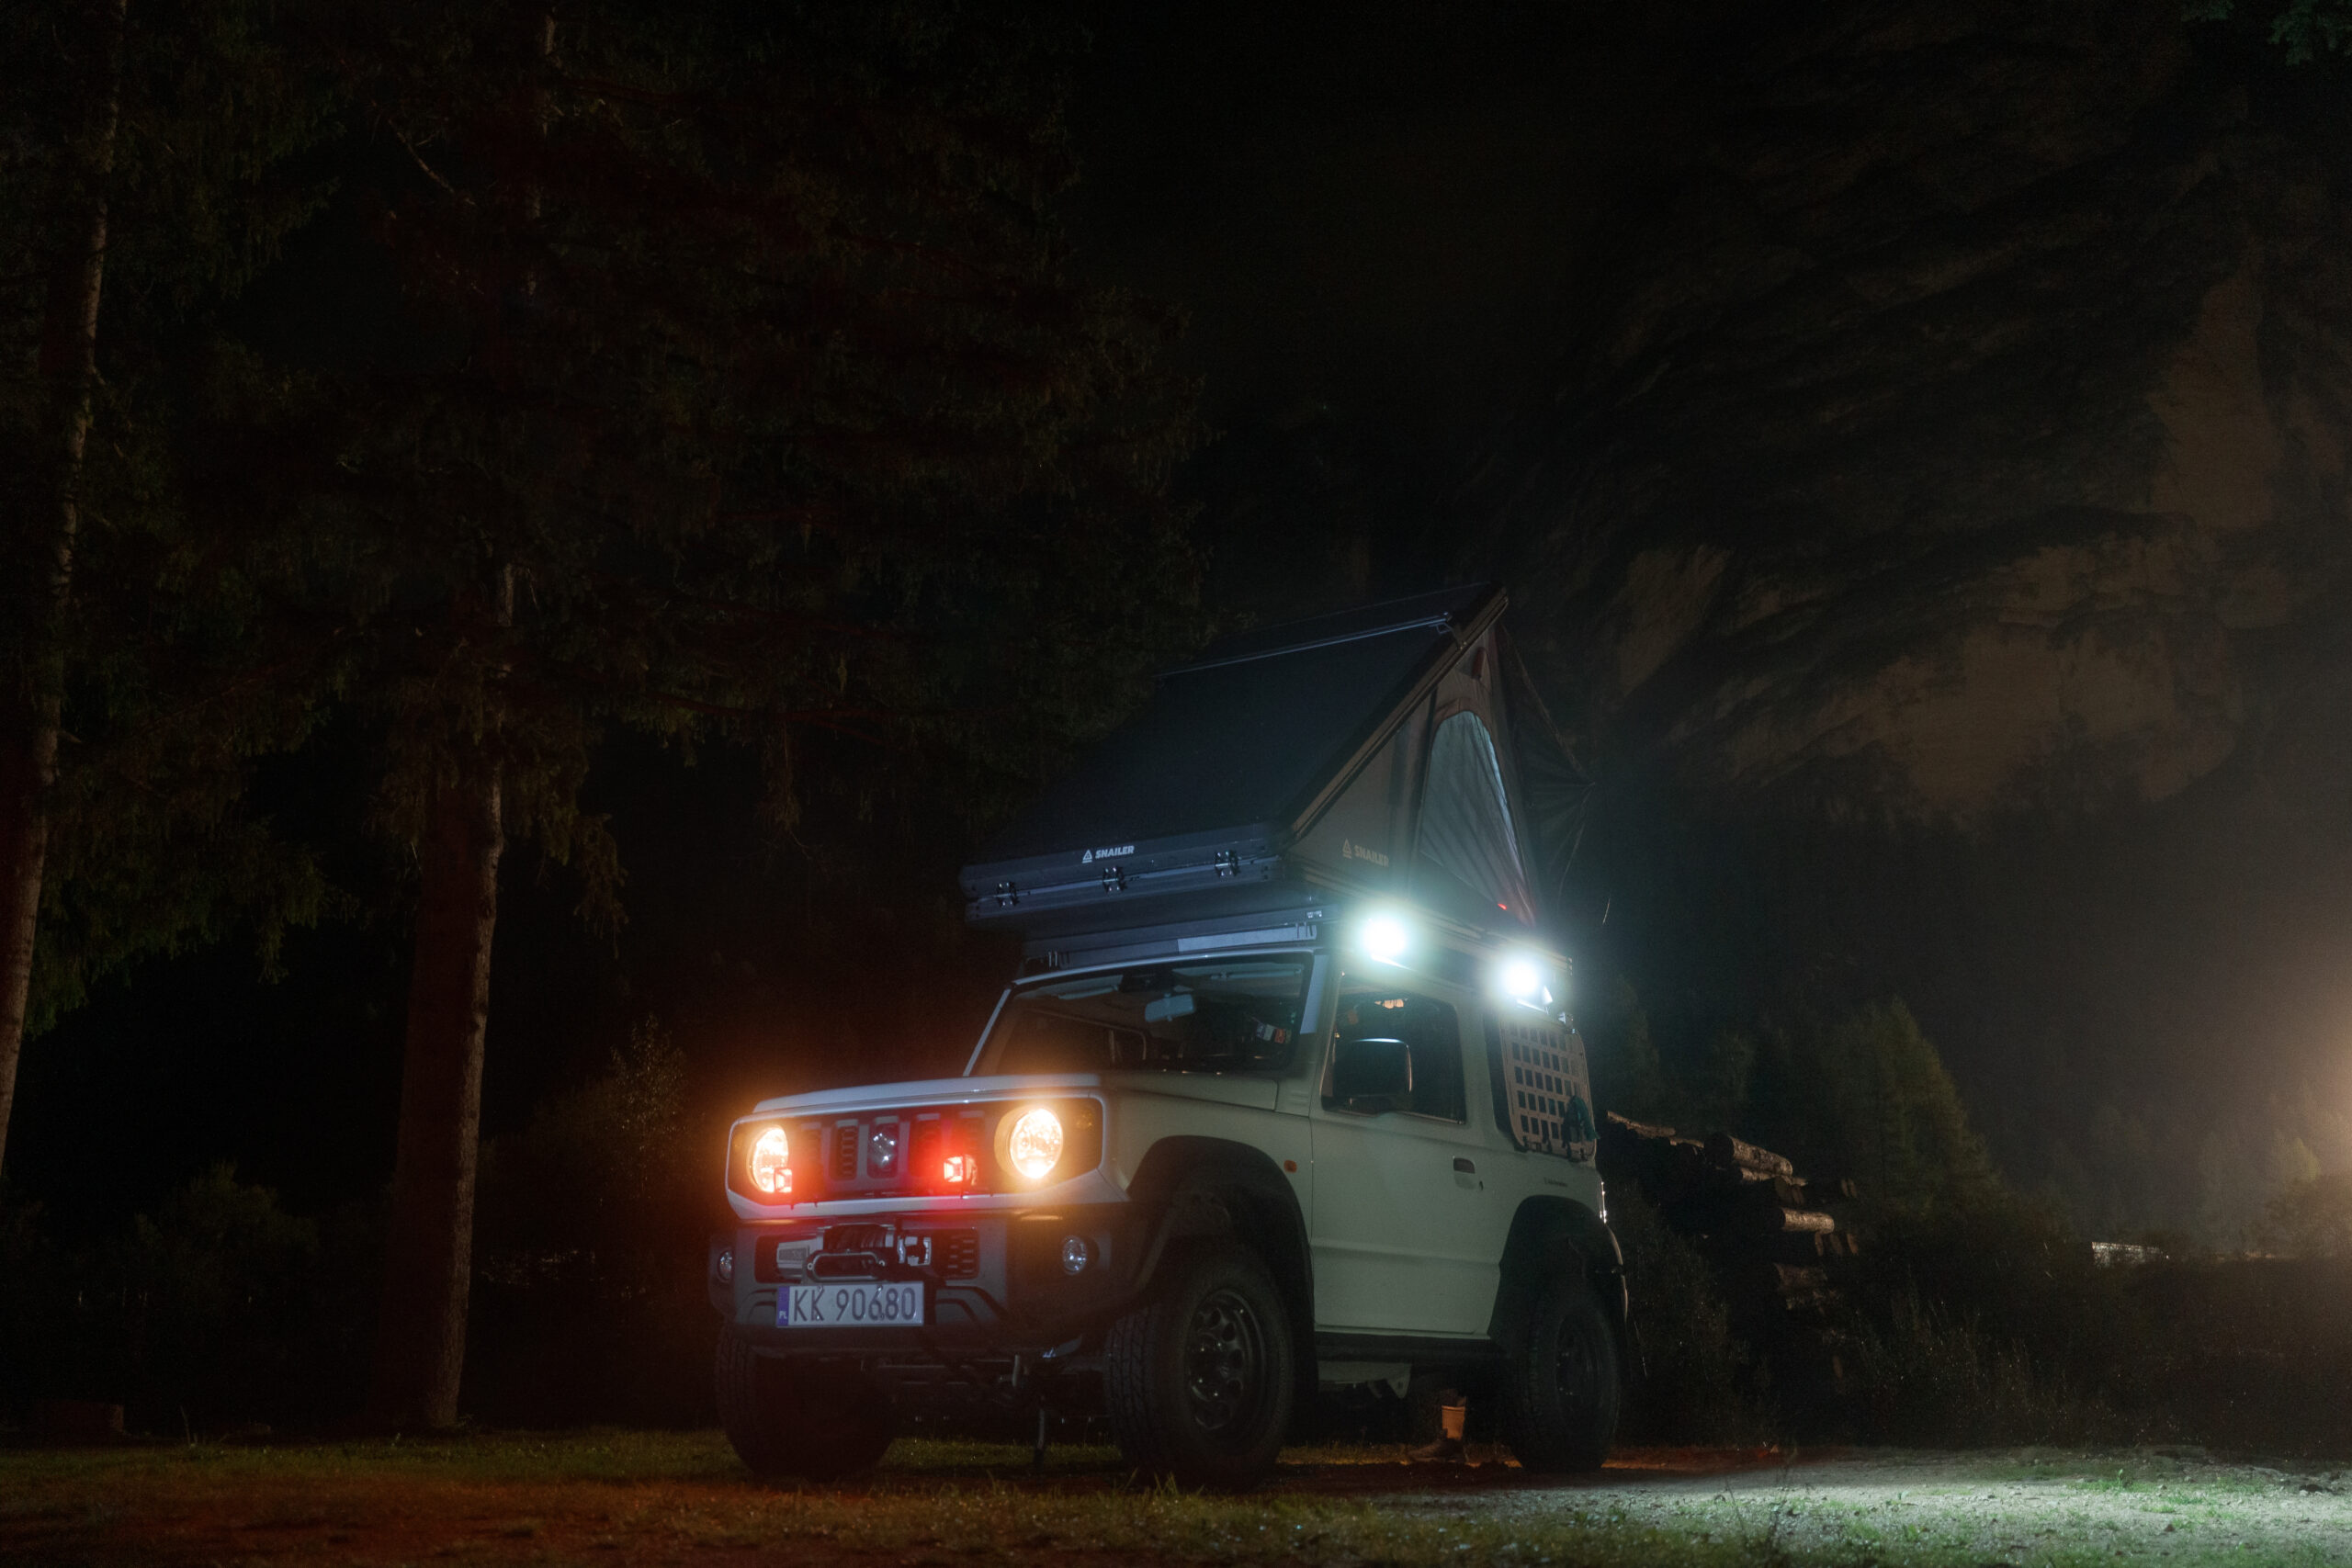
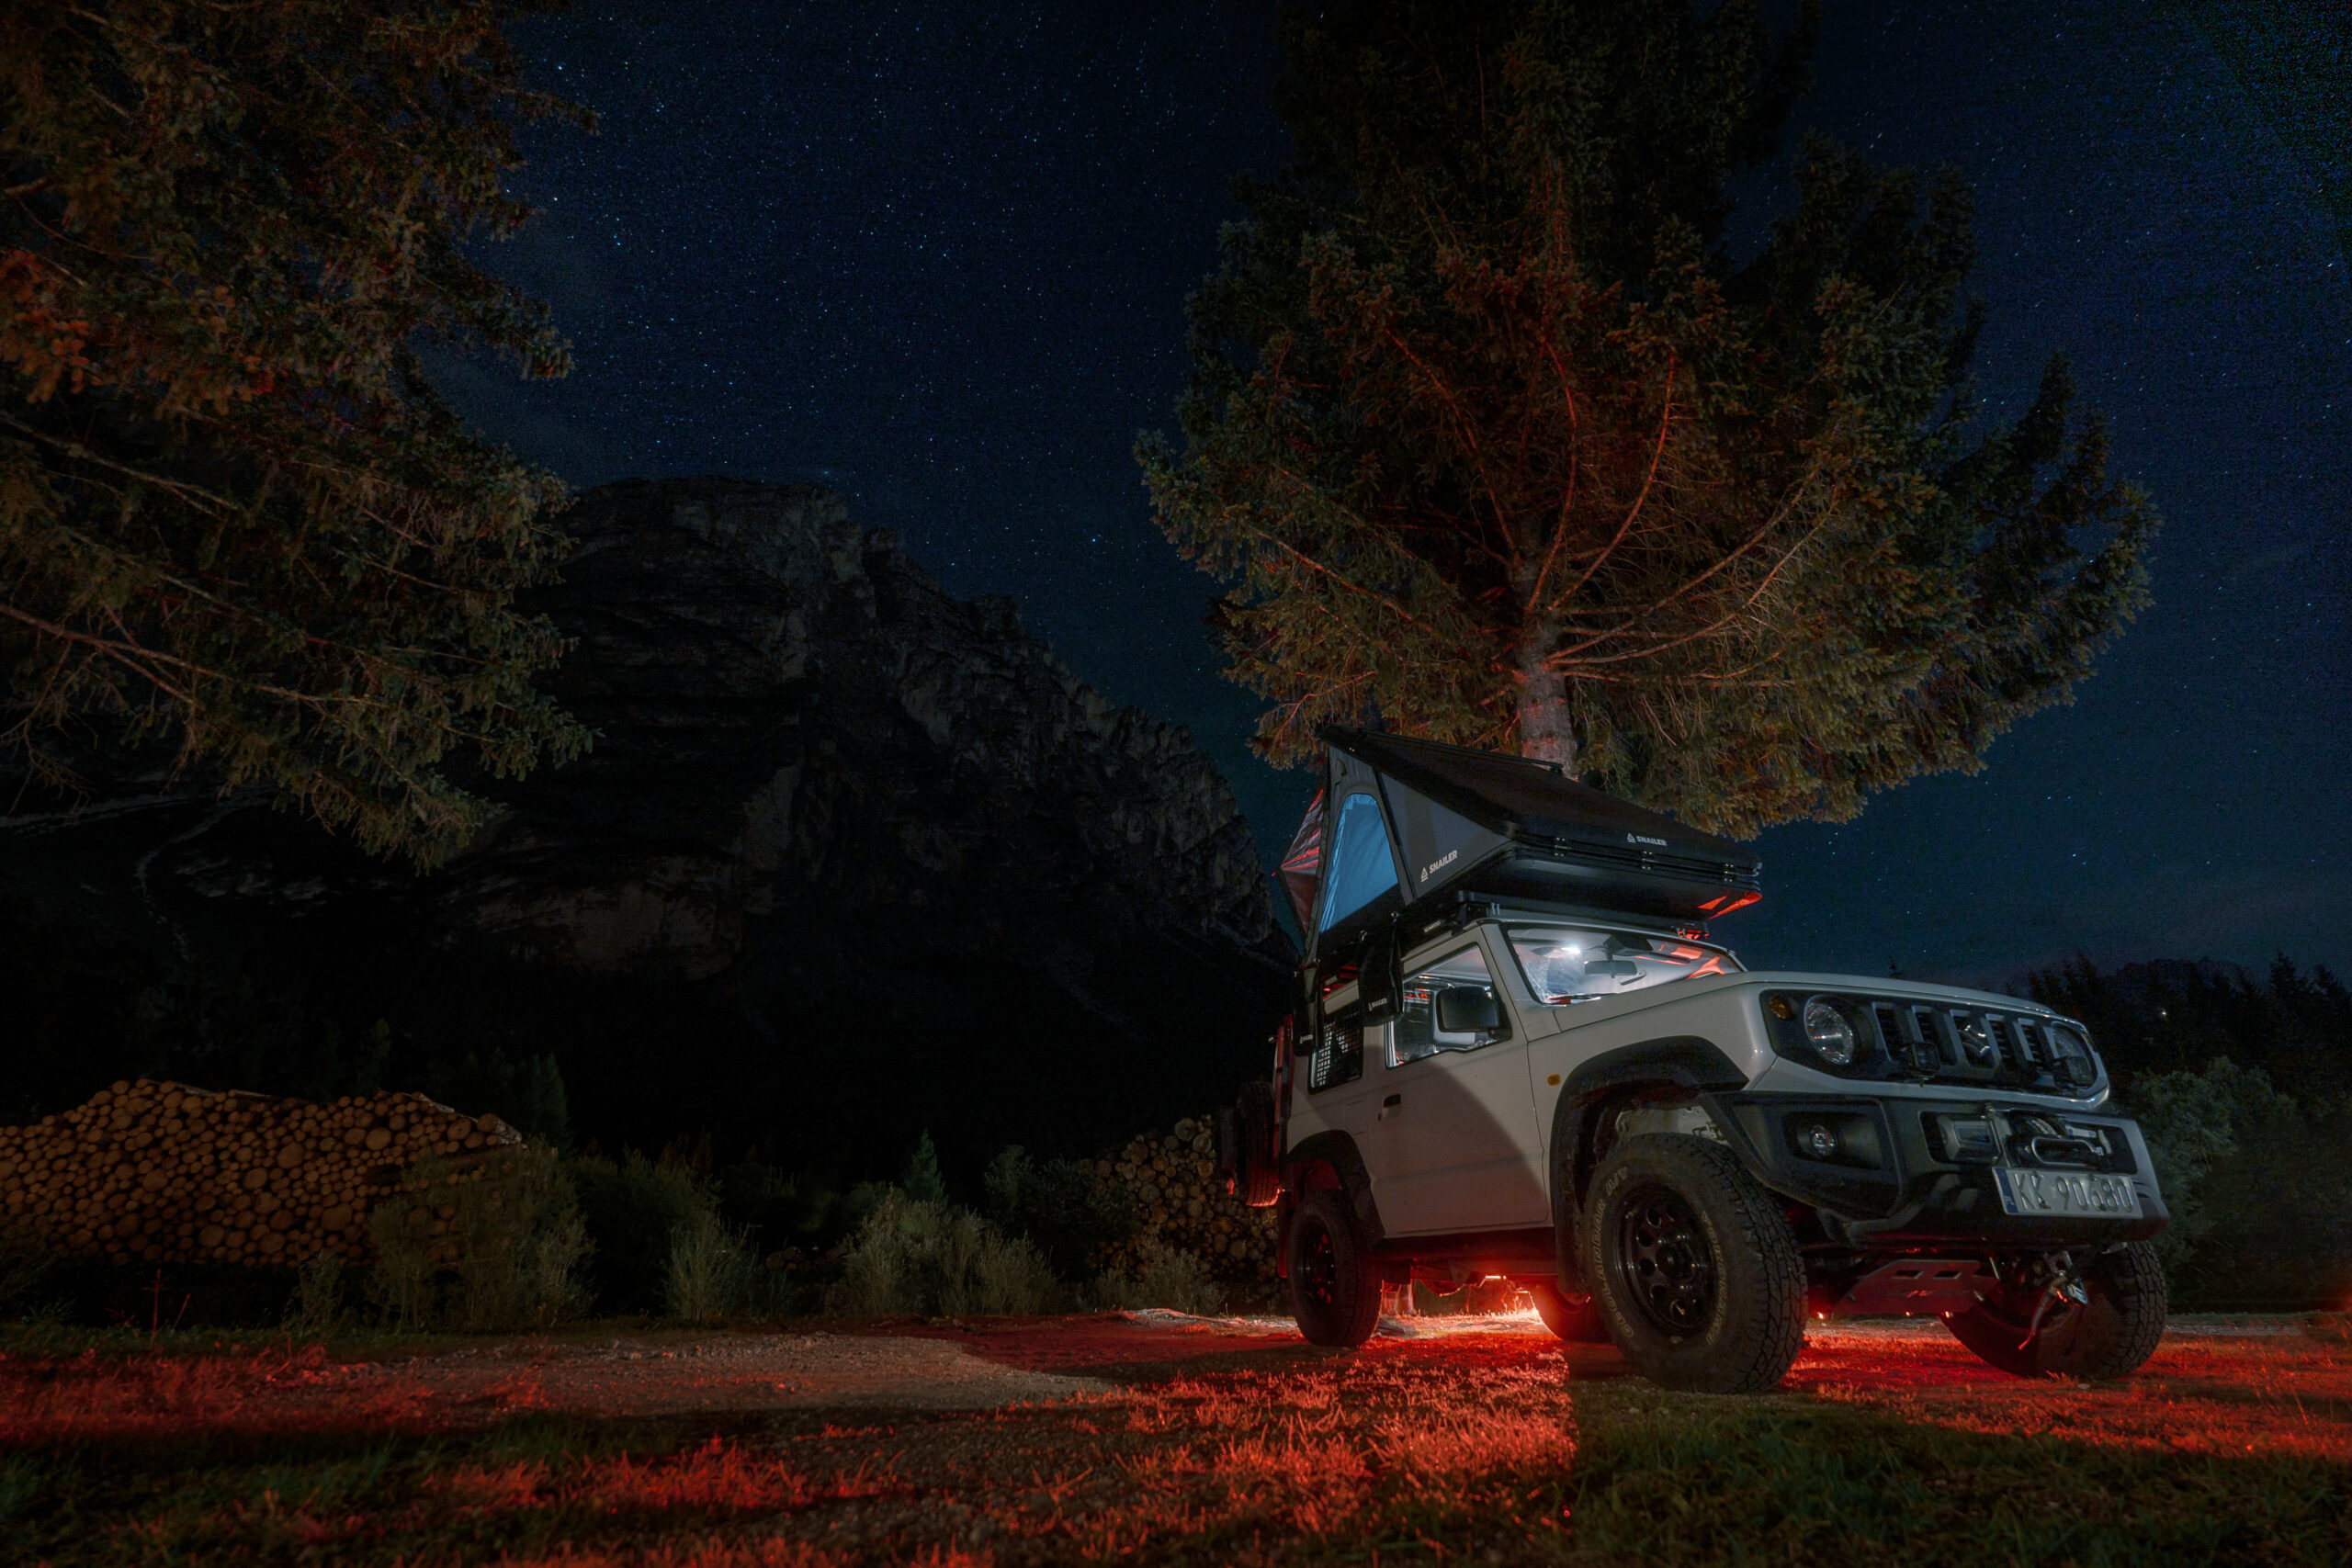
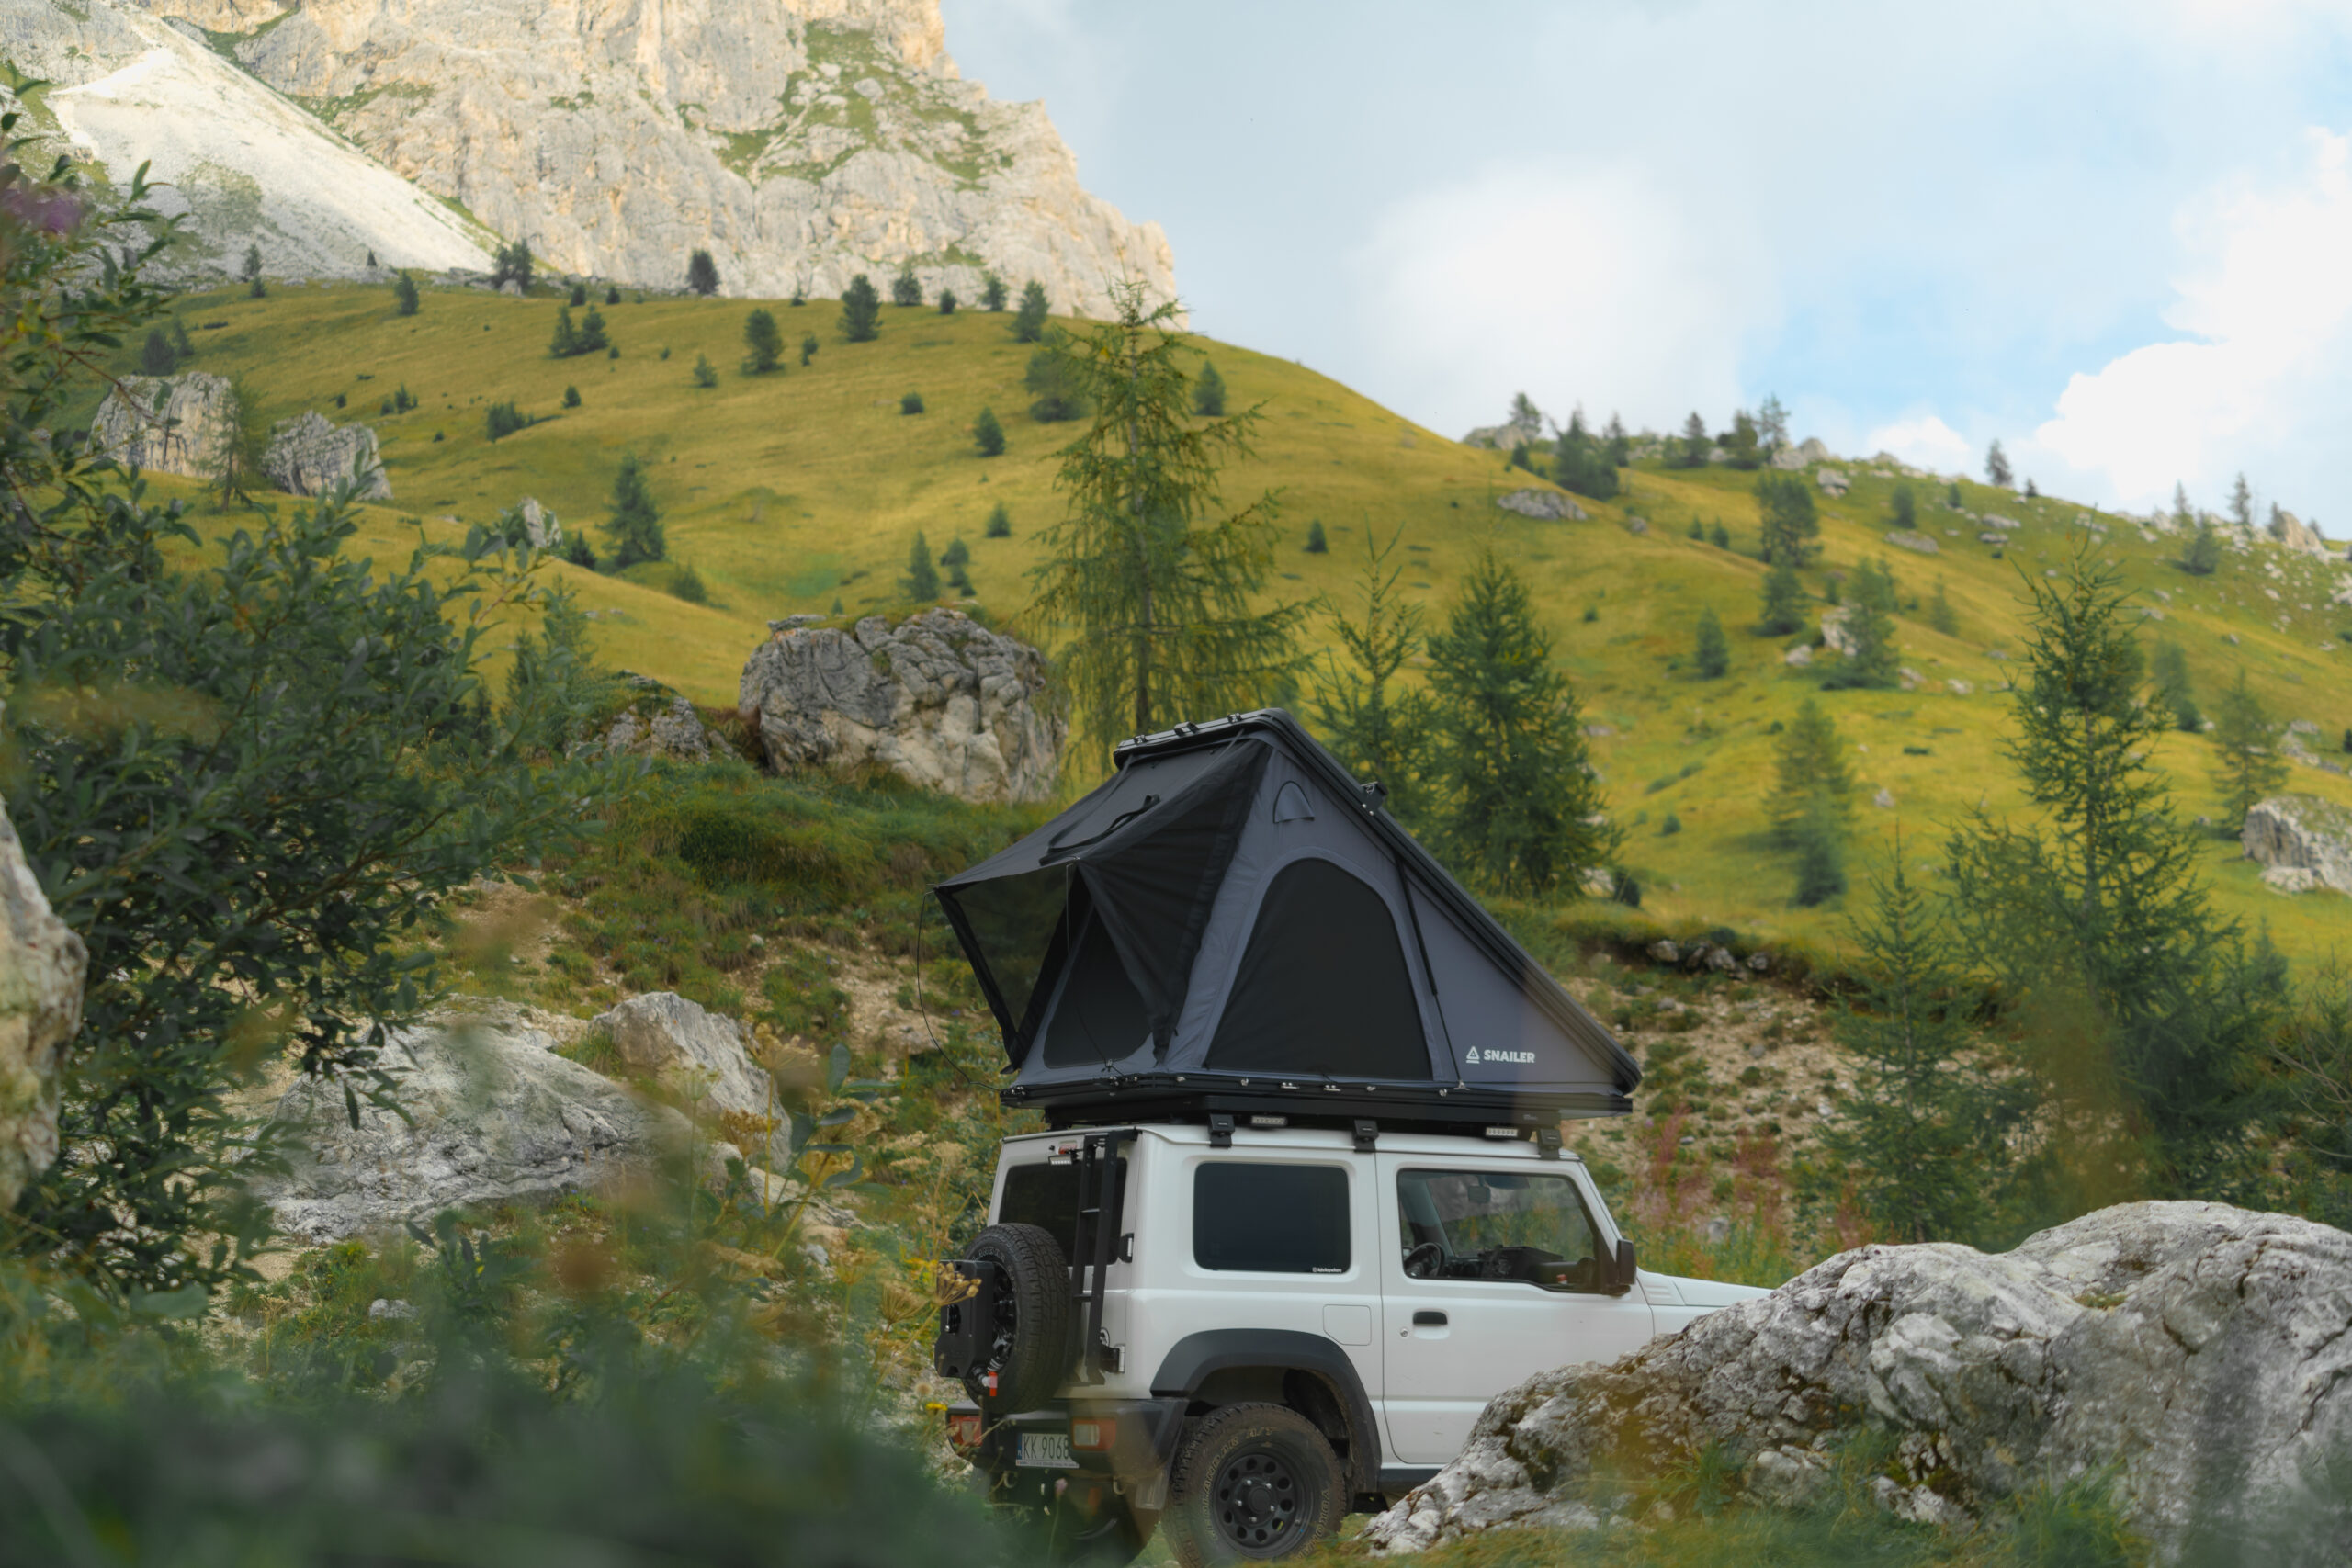
Photo gallery of the SNAILER roof tent on the Suzuki Jimny


 Facebook
 Instagram
 Youtube